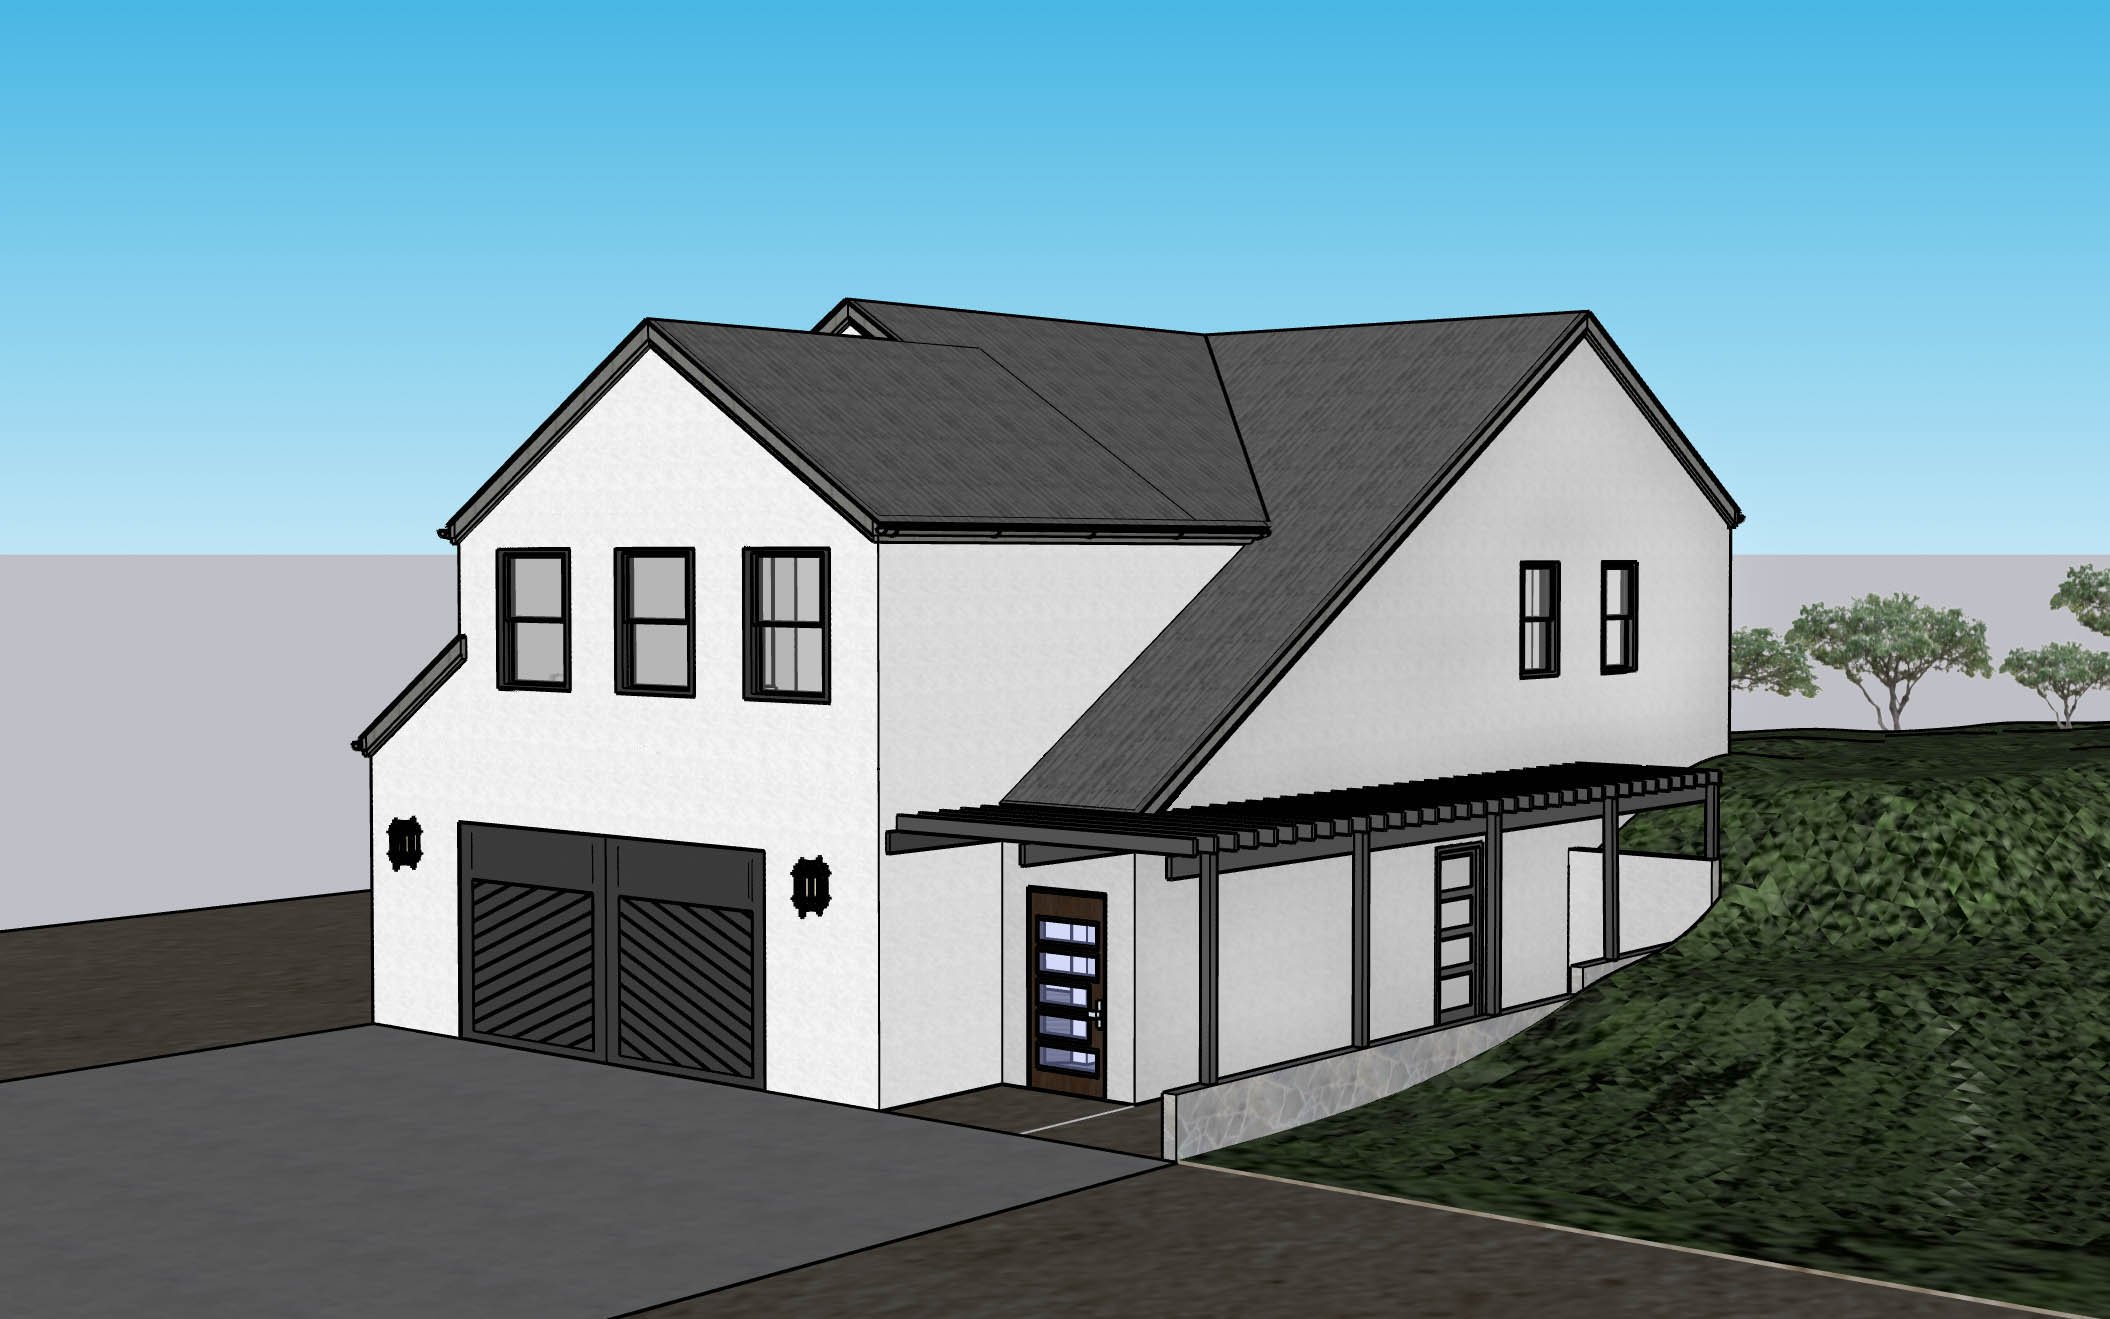
At last, we start on the house! Let the digging begin!
Step 1: Excavation
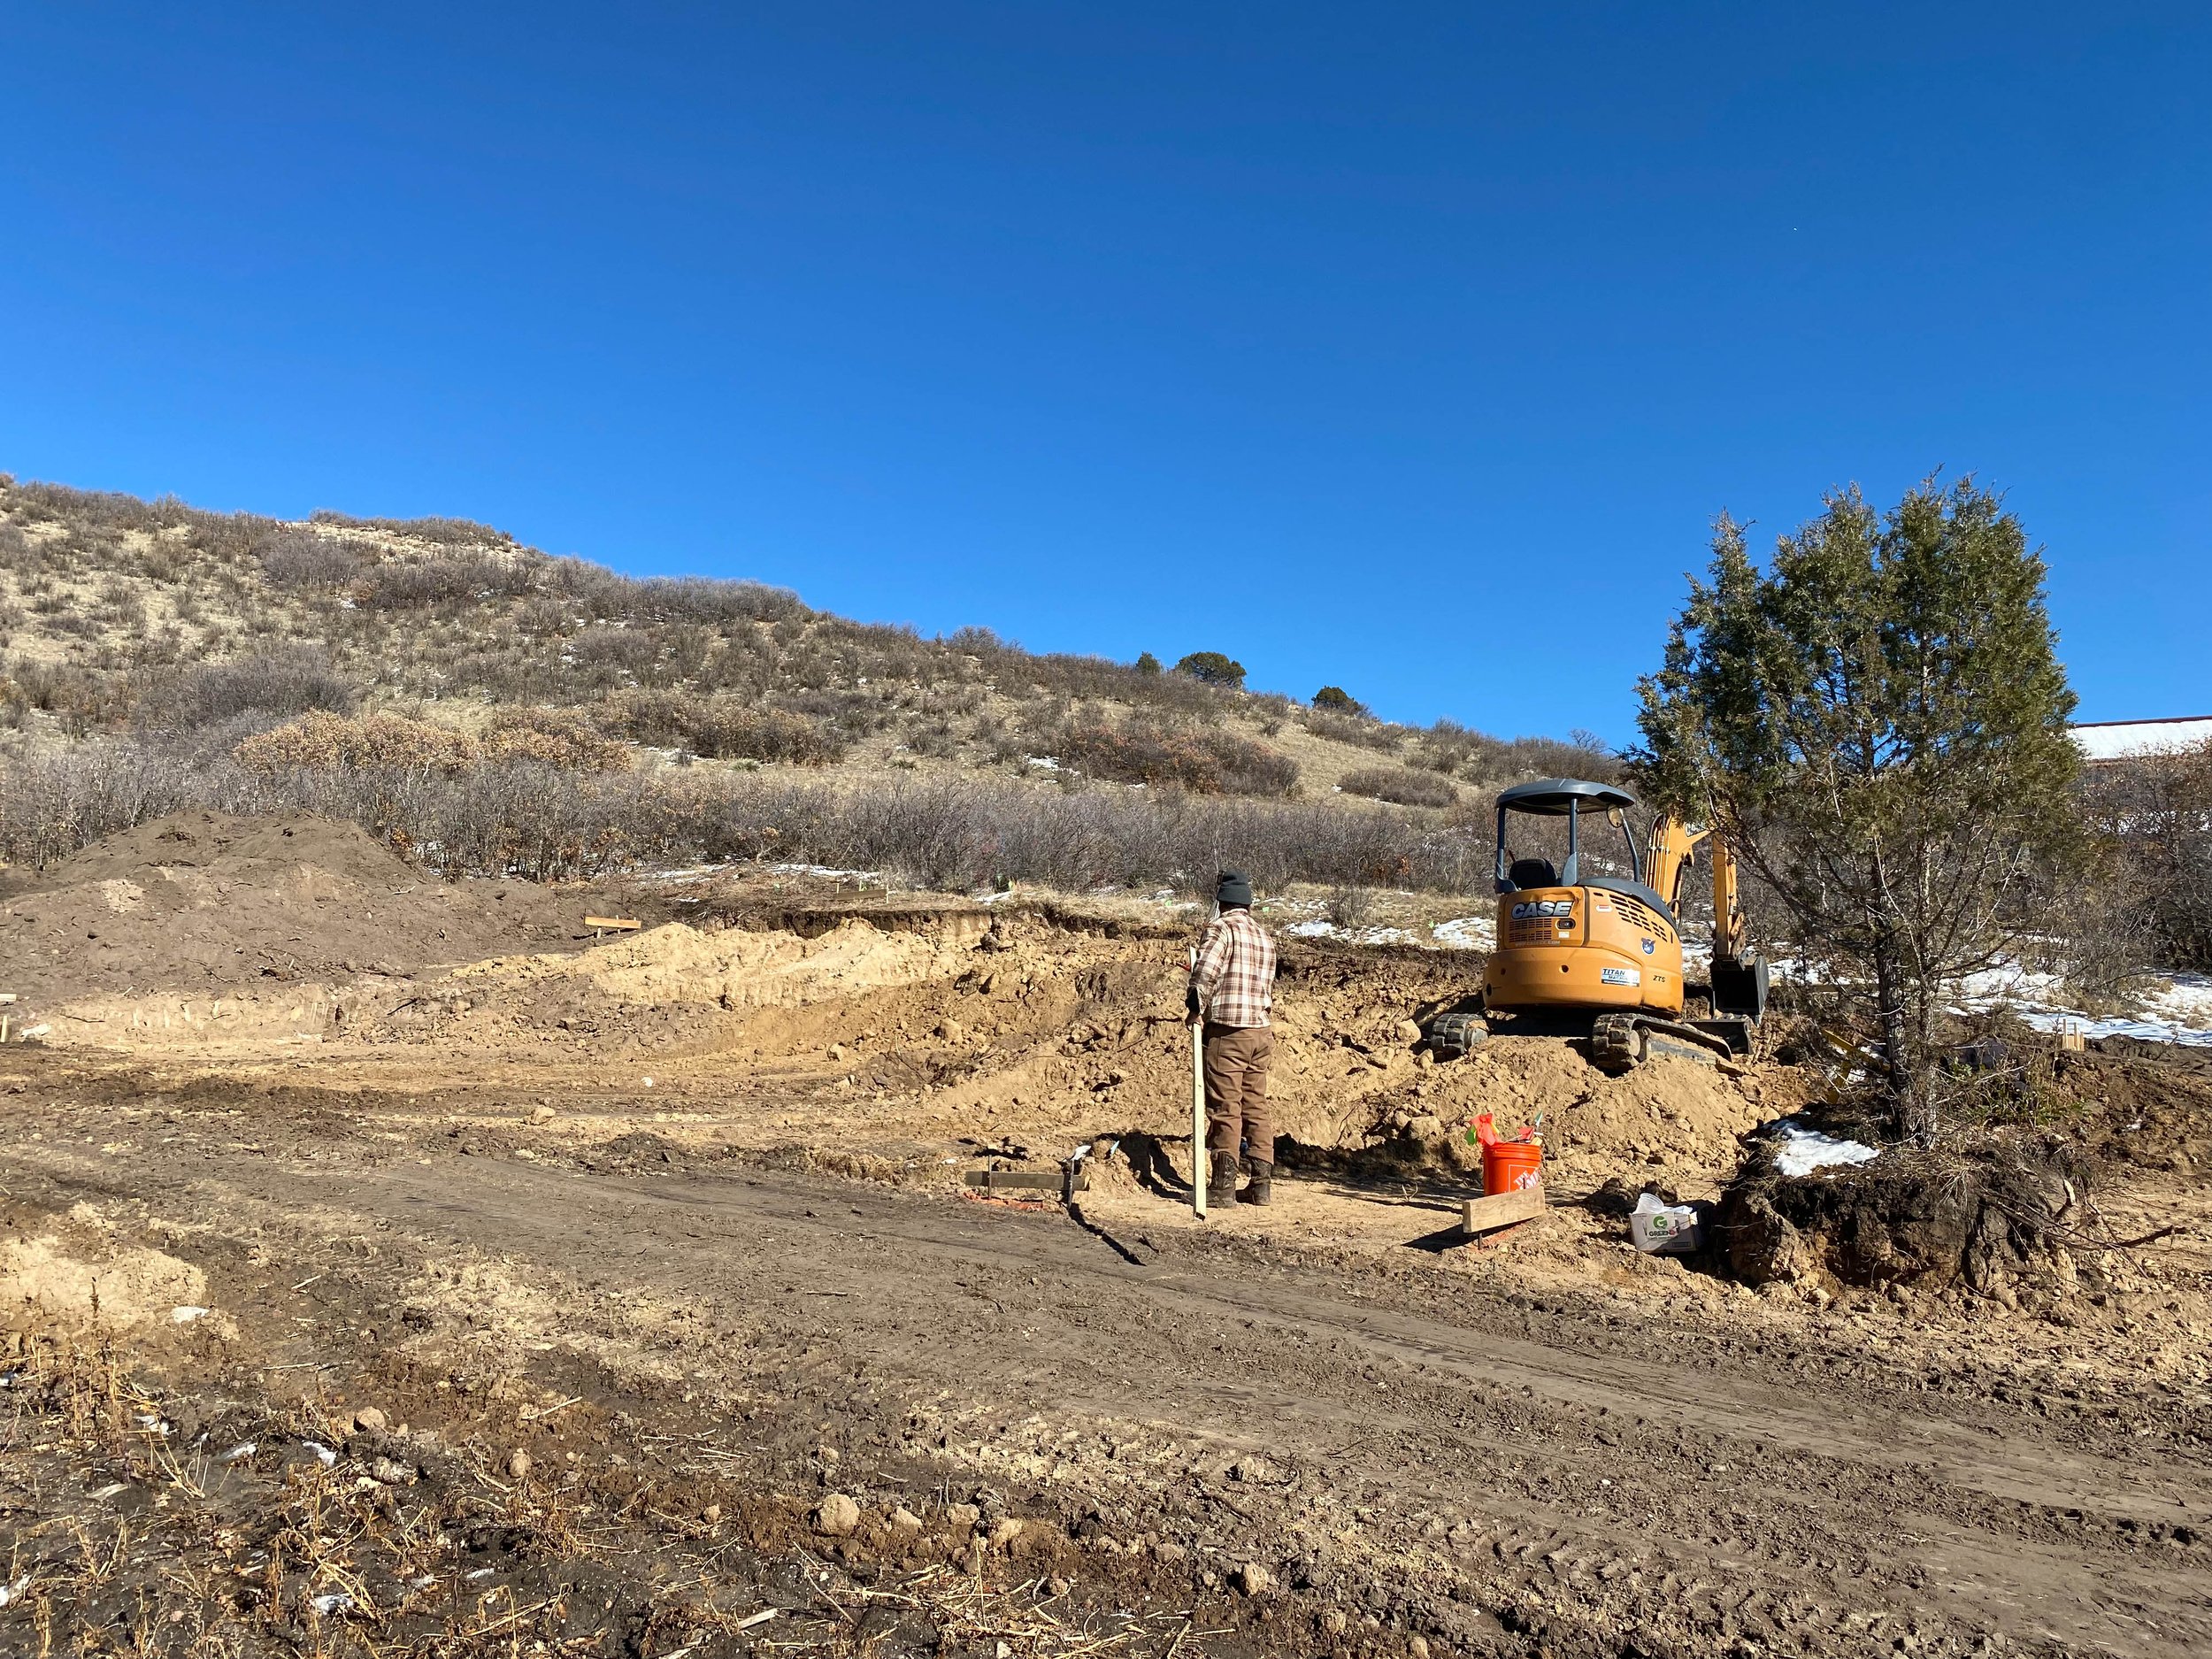
Time to get dirty! Bring in the backhoe!

Not sure if they have a plan yet. Maybe they're just having fun with the construction equipment?

Long days on the ranch working til dark.

Now it's starting to look like something!

Carving out the hillside.

This might be a dirty, tough job, but you can't beat the weather and the views!

It's actually starting to look like a build site! Lookin' good out there Kris!

Here's some perspective on how deep the hole is so far.

Rachel's already climbing the walls and the house build hasn't even started!

Yes, I think this spot will do!

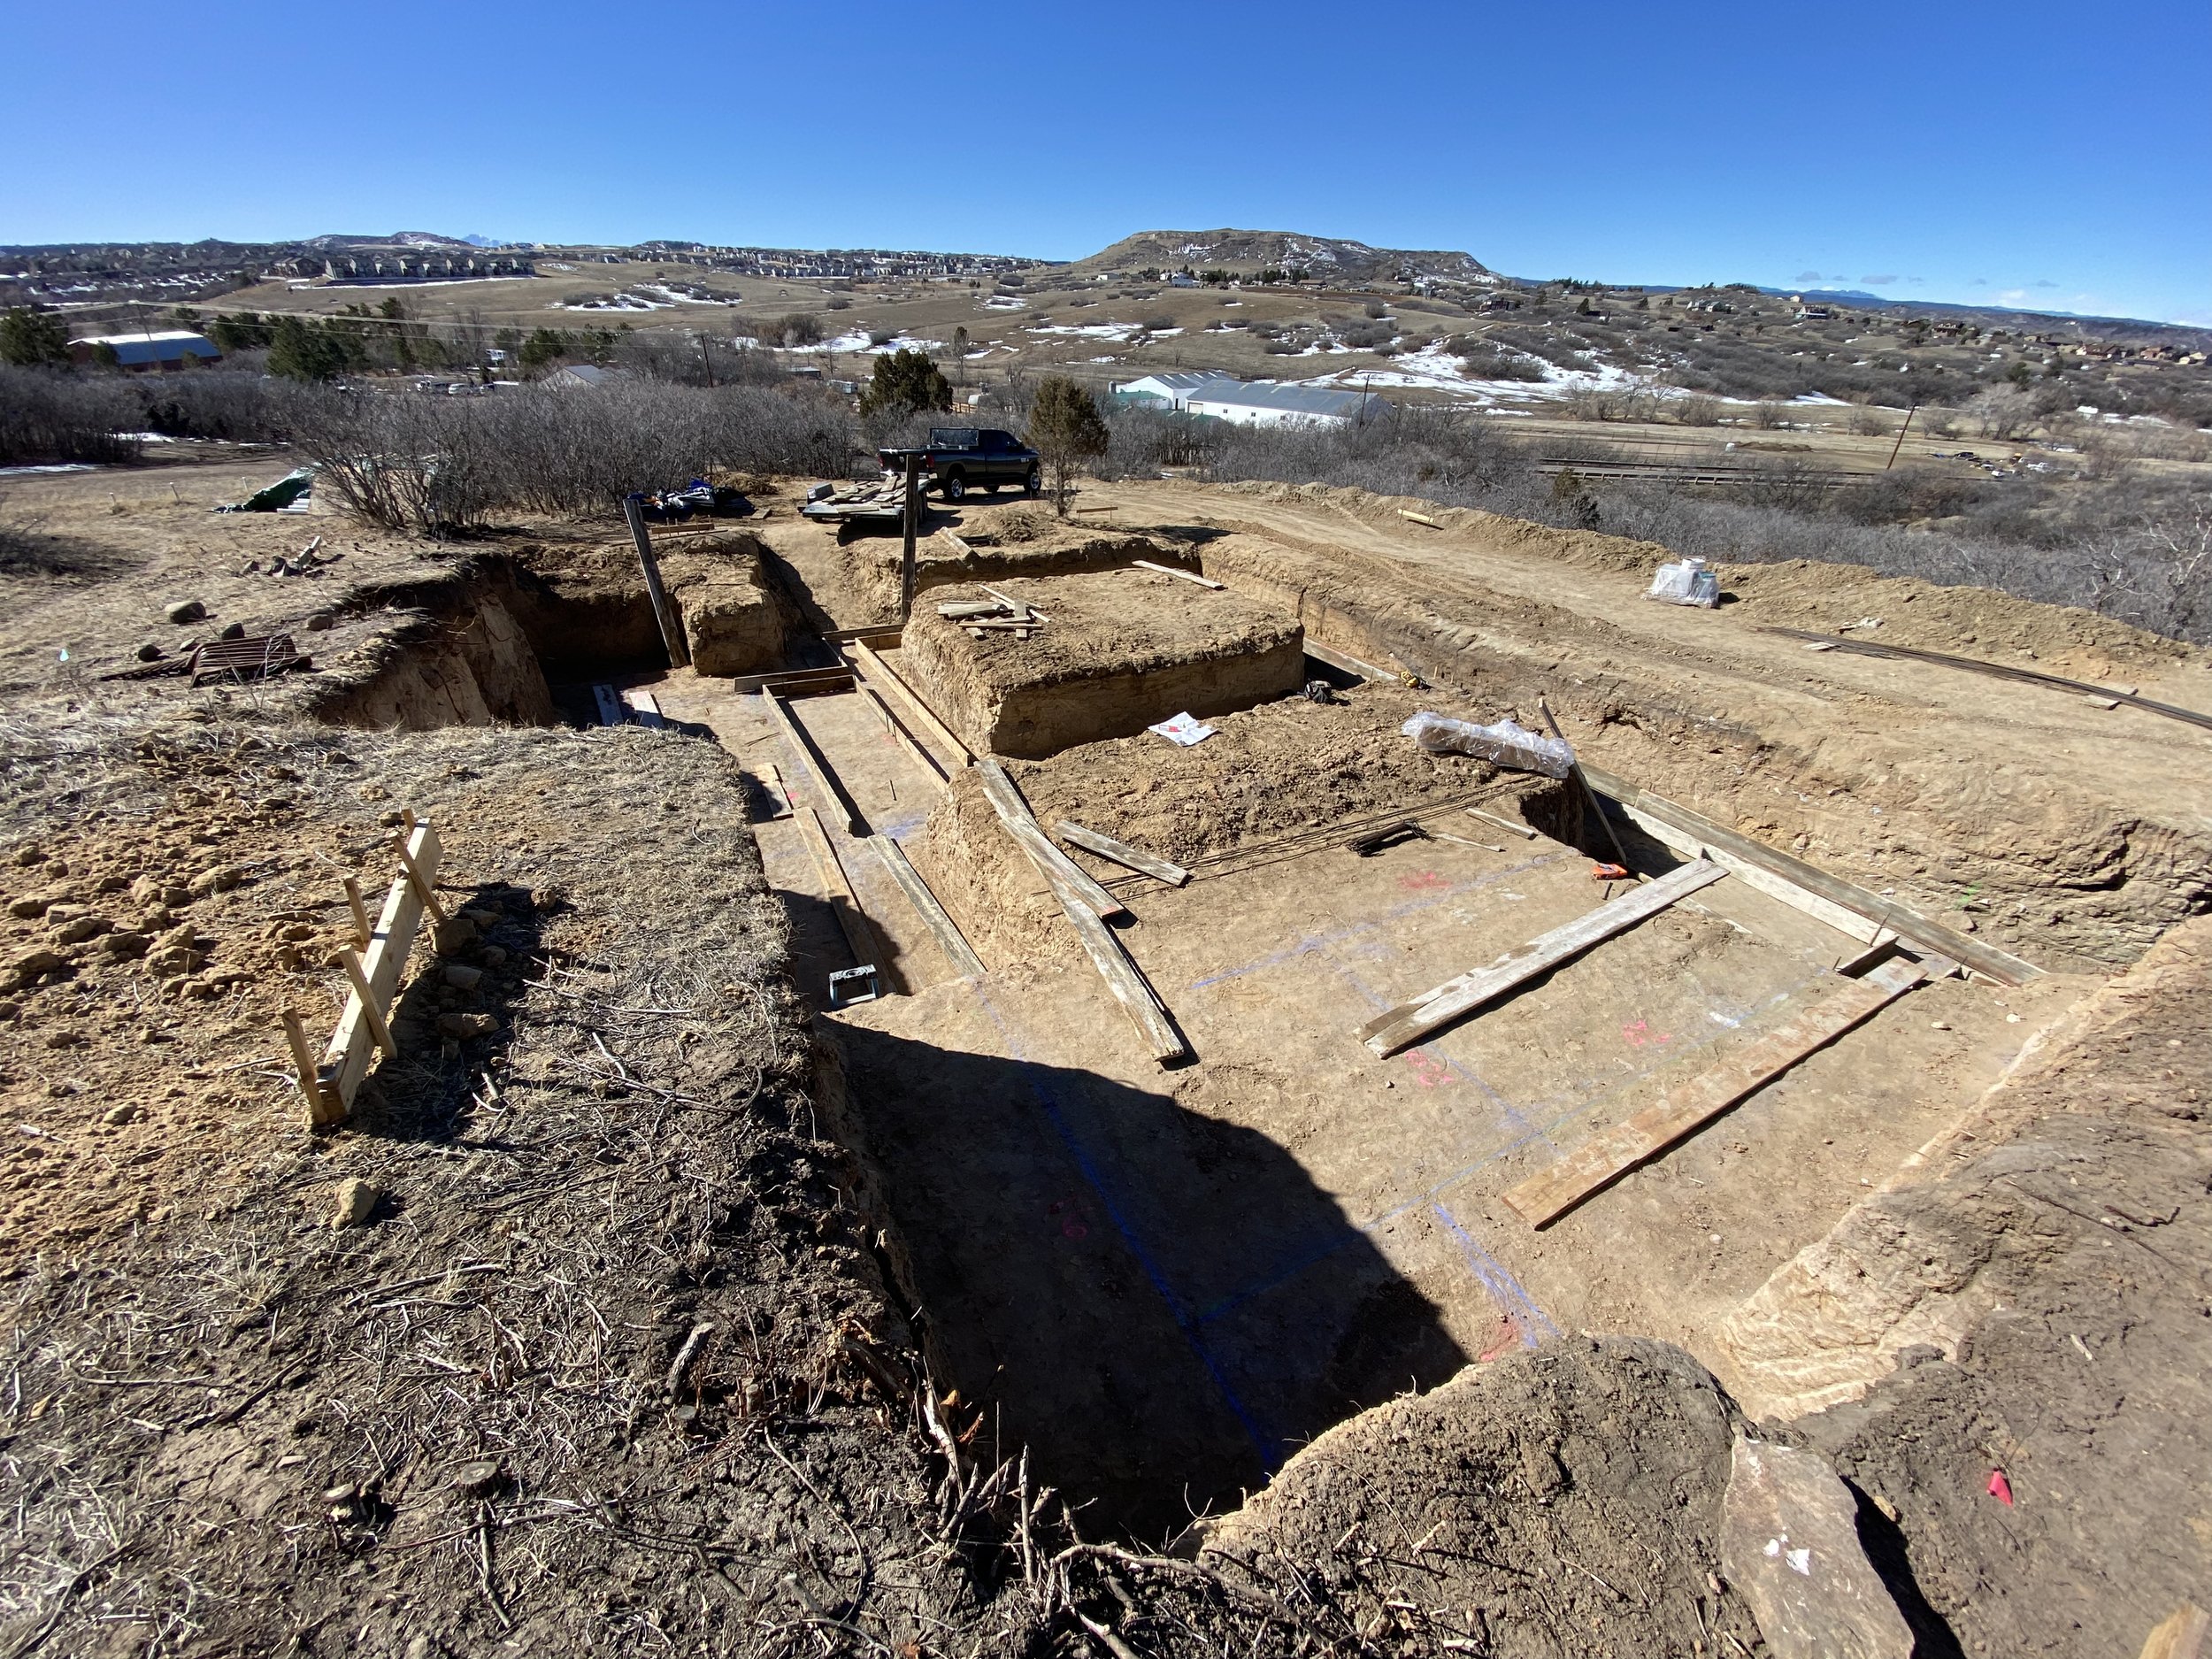
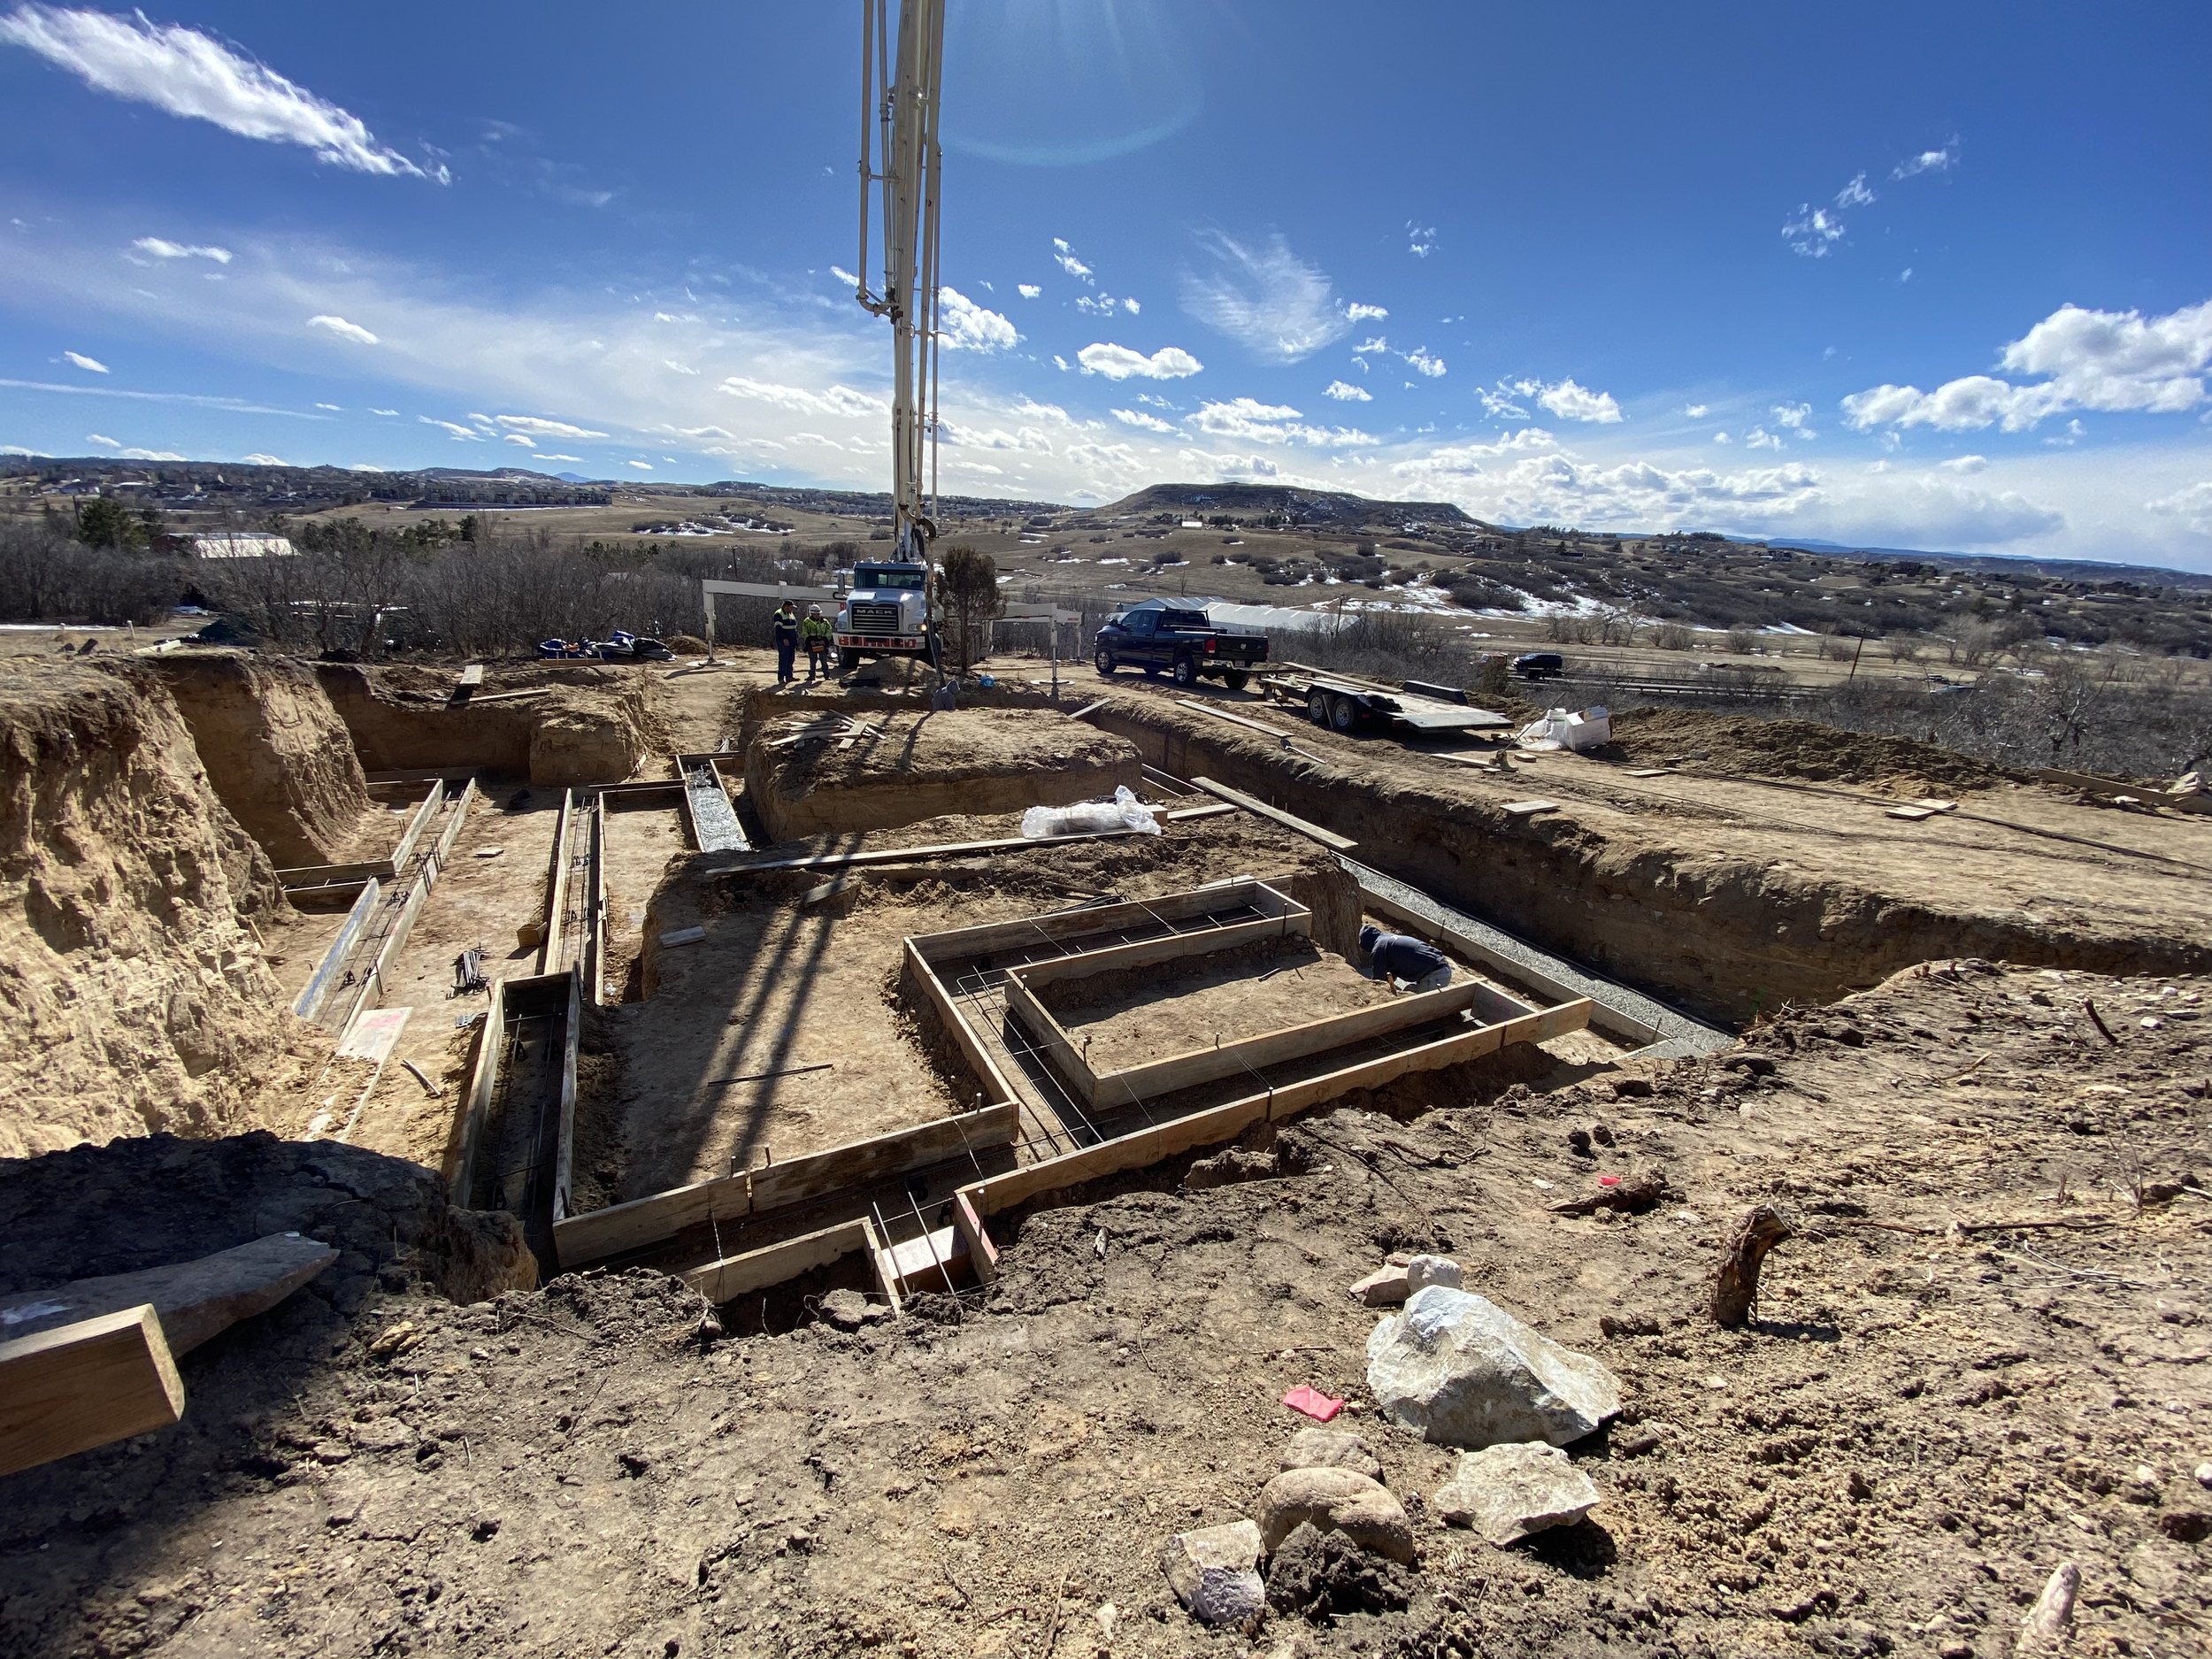
Now they begin digging our the footings for the foundation,

It looks like we're digging a moat around a castle!

We could just leave it like this as a maze for our fur-baby Hobbs?

Guests will stay on the middle peninsula! Haha!

...all in a days work...or many days...

Additional excavation is required over Thanksgiving weekend. Just what we wanted!

Shortly into the workday the mud and snow create a bit of a sticky situation.

...a REALLY sticky situation that set us back hours. Not off to a good start.

We're back on track so the work begins...again.

Not sure how they can keep track of where to dig and where to dump the dirt at this point.

Additional excavation required compacting the soil in one area. This requires lots of water and adding different dirt.

A compactor creates a nice strong base for the foundation.

Starting to look a bit neater!

The finished product looks perfect!

Unfortunately we had some erosion where the equipment got stuck, so now we have to dig more dirt out to add footings to this area.

Kris takes on this task by himself! Can't hurt to get better at driving these things, right?

...and drive it he did...well into the night!

The site is getting muddier by the day. The little snowfalls here and there are starting to accumulate too.

Trekking through the mud is no easy task.

Rachel resorts to melting the snow and ice with a torch!

With news of a major storm arriving, we rush to string together as many tarps as possible to cover the dirt.

The storm arrived and dumped massive amounts of snow. So much for drying out the mud!

The tarps certainly helped, but Kris about broke his back shoveling all that snow out.

At least the tarps preserved most of the markings.

...and our Christmas tree still stands!

Next plan is to stop fighting Mother Nature and make a better cover for the site. Kris begins building a frame for a more permanent snow mitigation system.

The snow cover is going to need LOTS of wood.

Subzero temps won't keep Kris from working! Mother Nature doesn't know who she's dealing with!

So many nooks and crannies to cover.

Snow mitigation system is nearly done!

Take THAT Mother Nature! Now I'm sure we'll get no snow the rest of the winter.

Crawling below that topper is what I imagine it feels like to be a miner. Perhaps we need to bring a canary down there next time?

So much snow melt seeping down into the hole. All we can do is scoop out a bucket at a time.

Monitoring the temperature of the dirt. We need it to be above freezing.

It's starting to dry out! Time to add the heaters!

Some visitors wander in!

Enjoying a little sunshine!

Apparently this is a boys only outing!

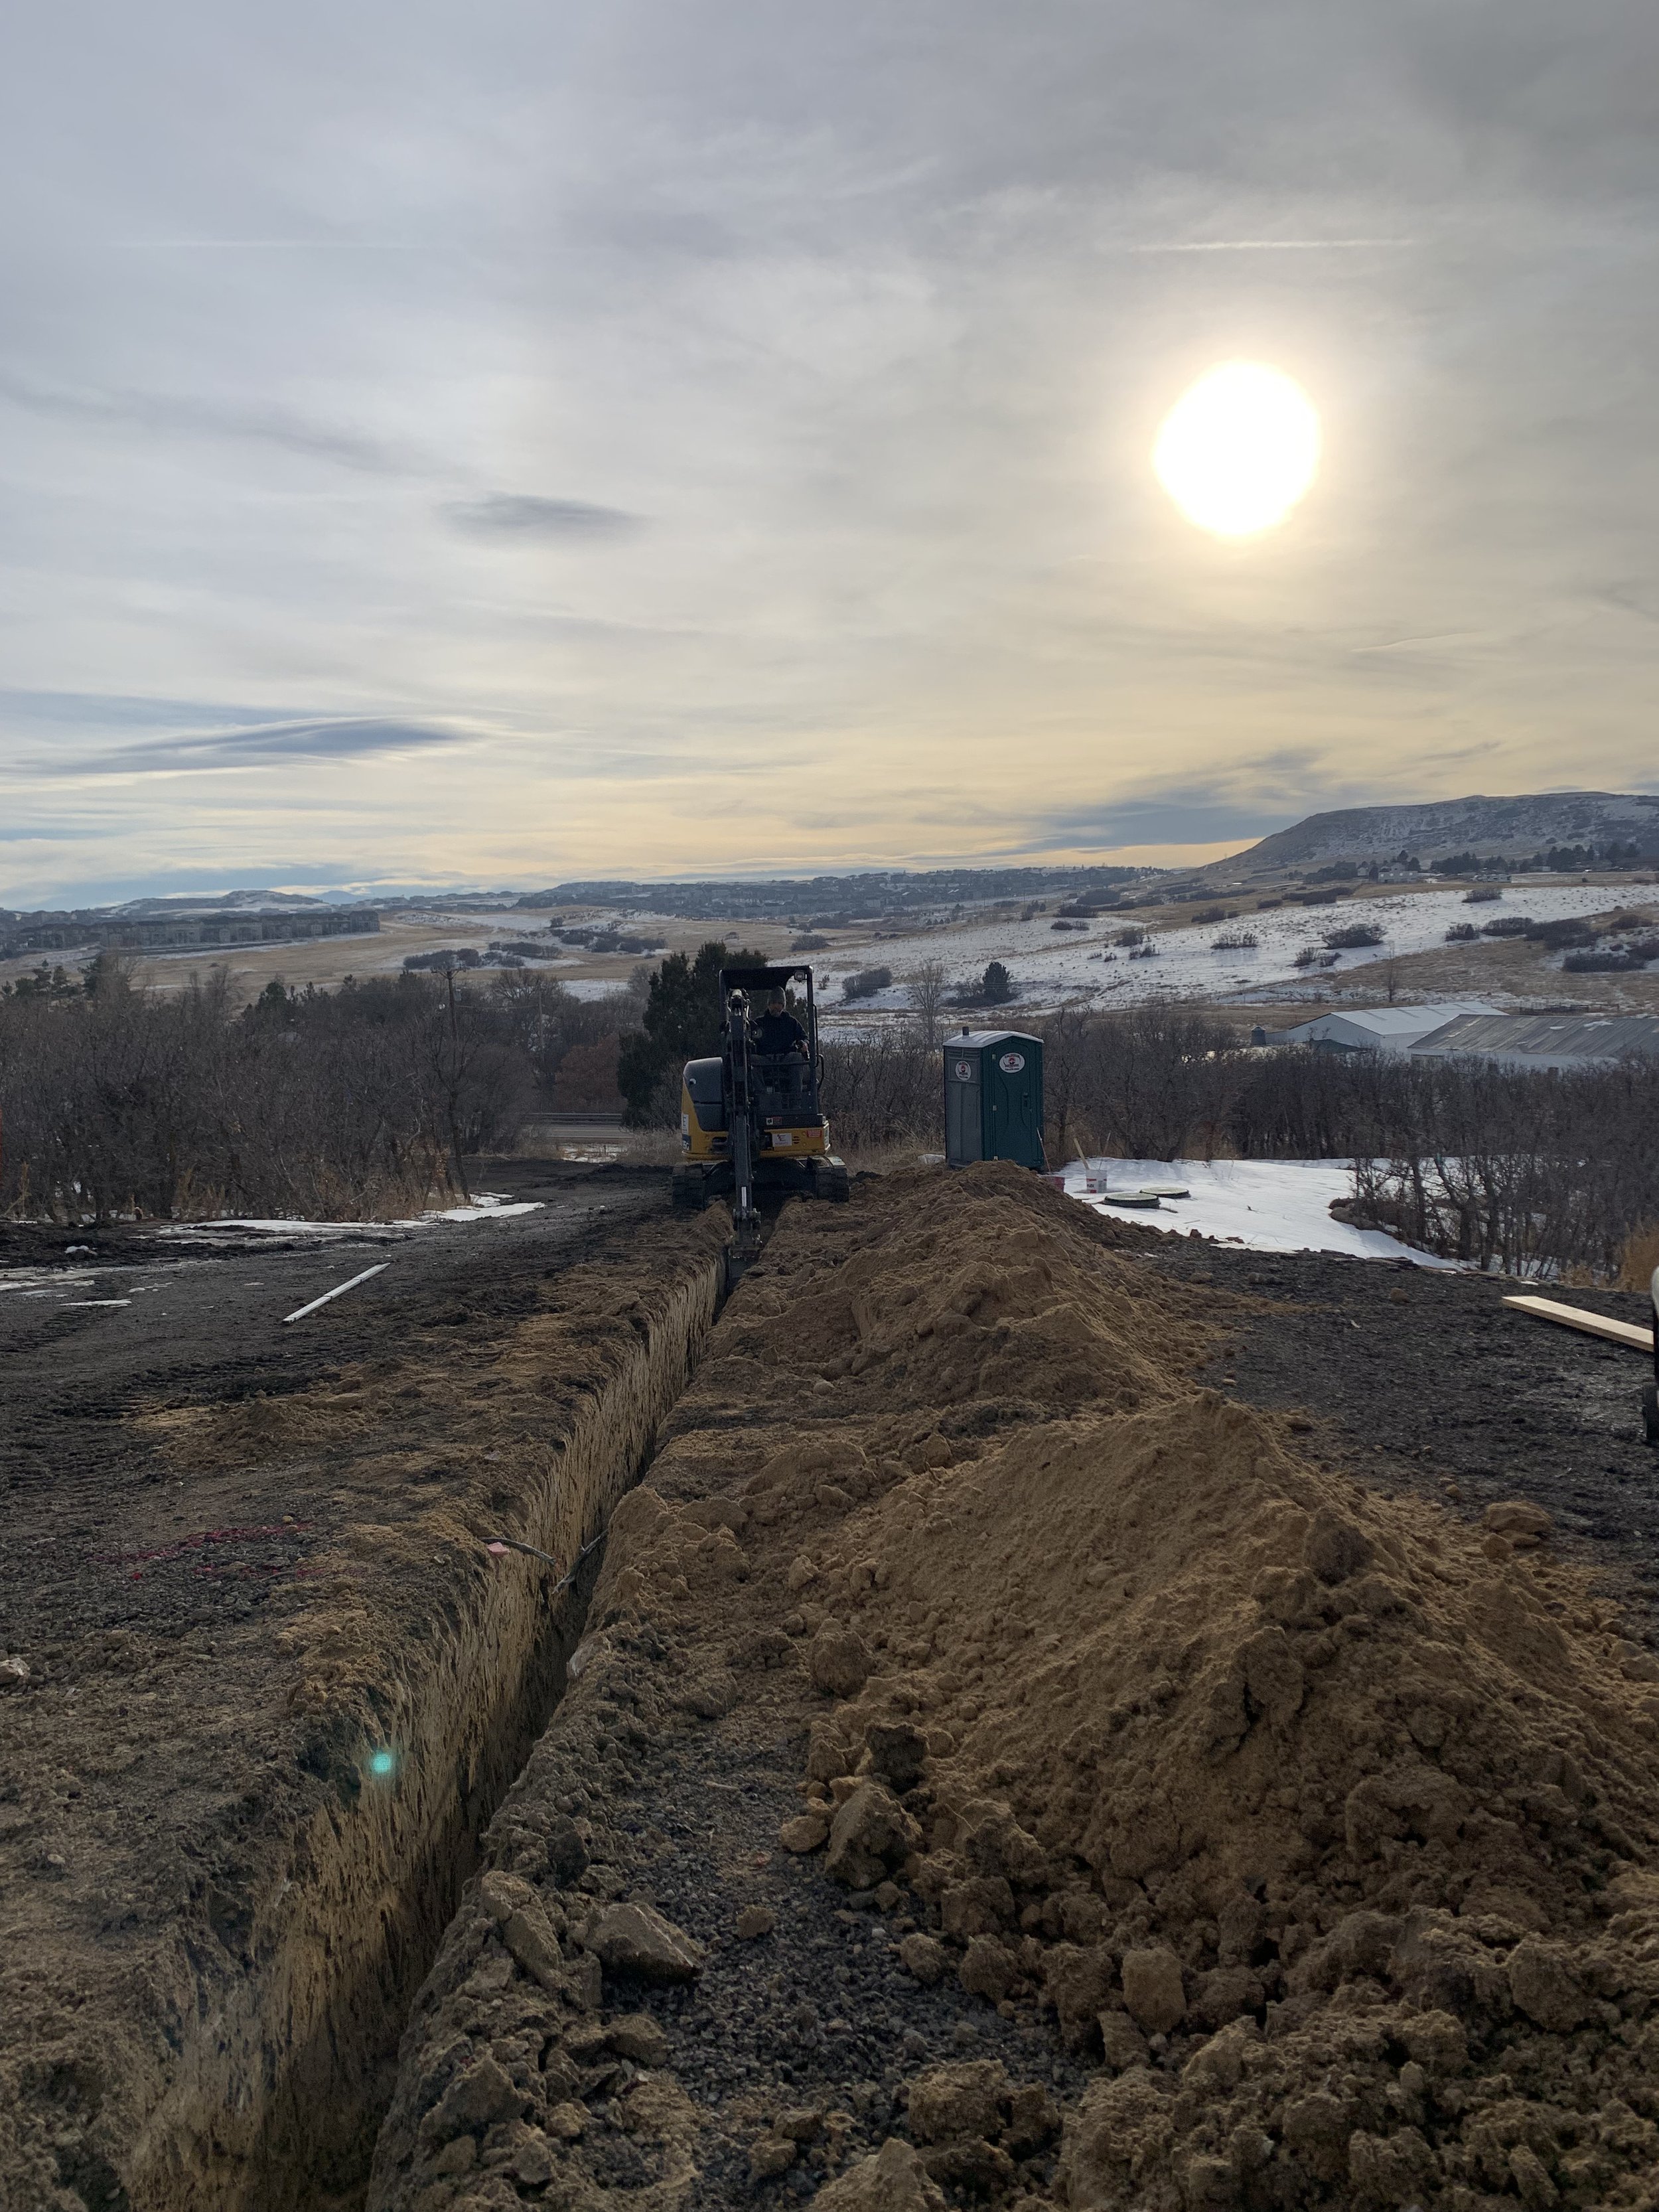
Prepping for a big snowstorm! Kris dug trenches and filled them with our foundation drainage pipes to hopefully pull water away from the foundation area.

...and the snowstorm arrived. Another foot of snow to deal with.

At last the snow has melted and we take a huge gamble and remove the cover, hoping to pour concrete before the snow returns!

Kris definitely built that topper to last!

These little heaters kicked butt and melted the ice and snow under the topper.

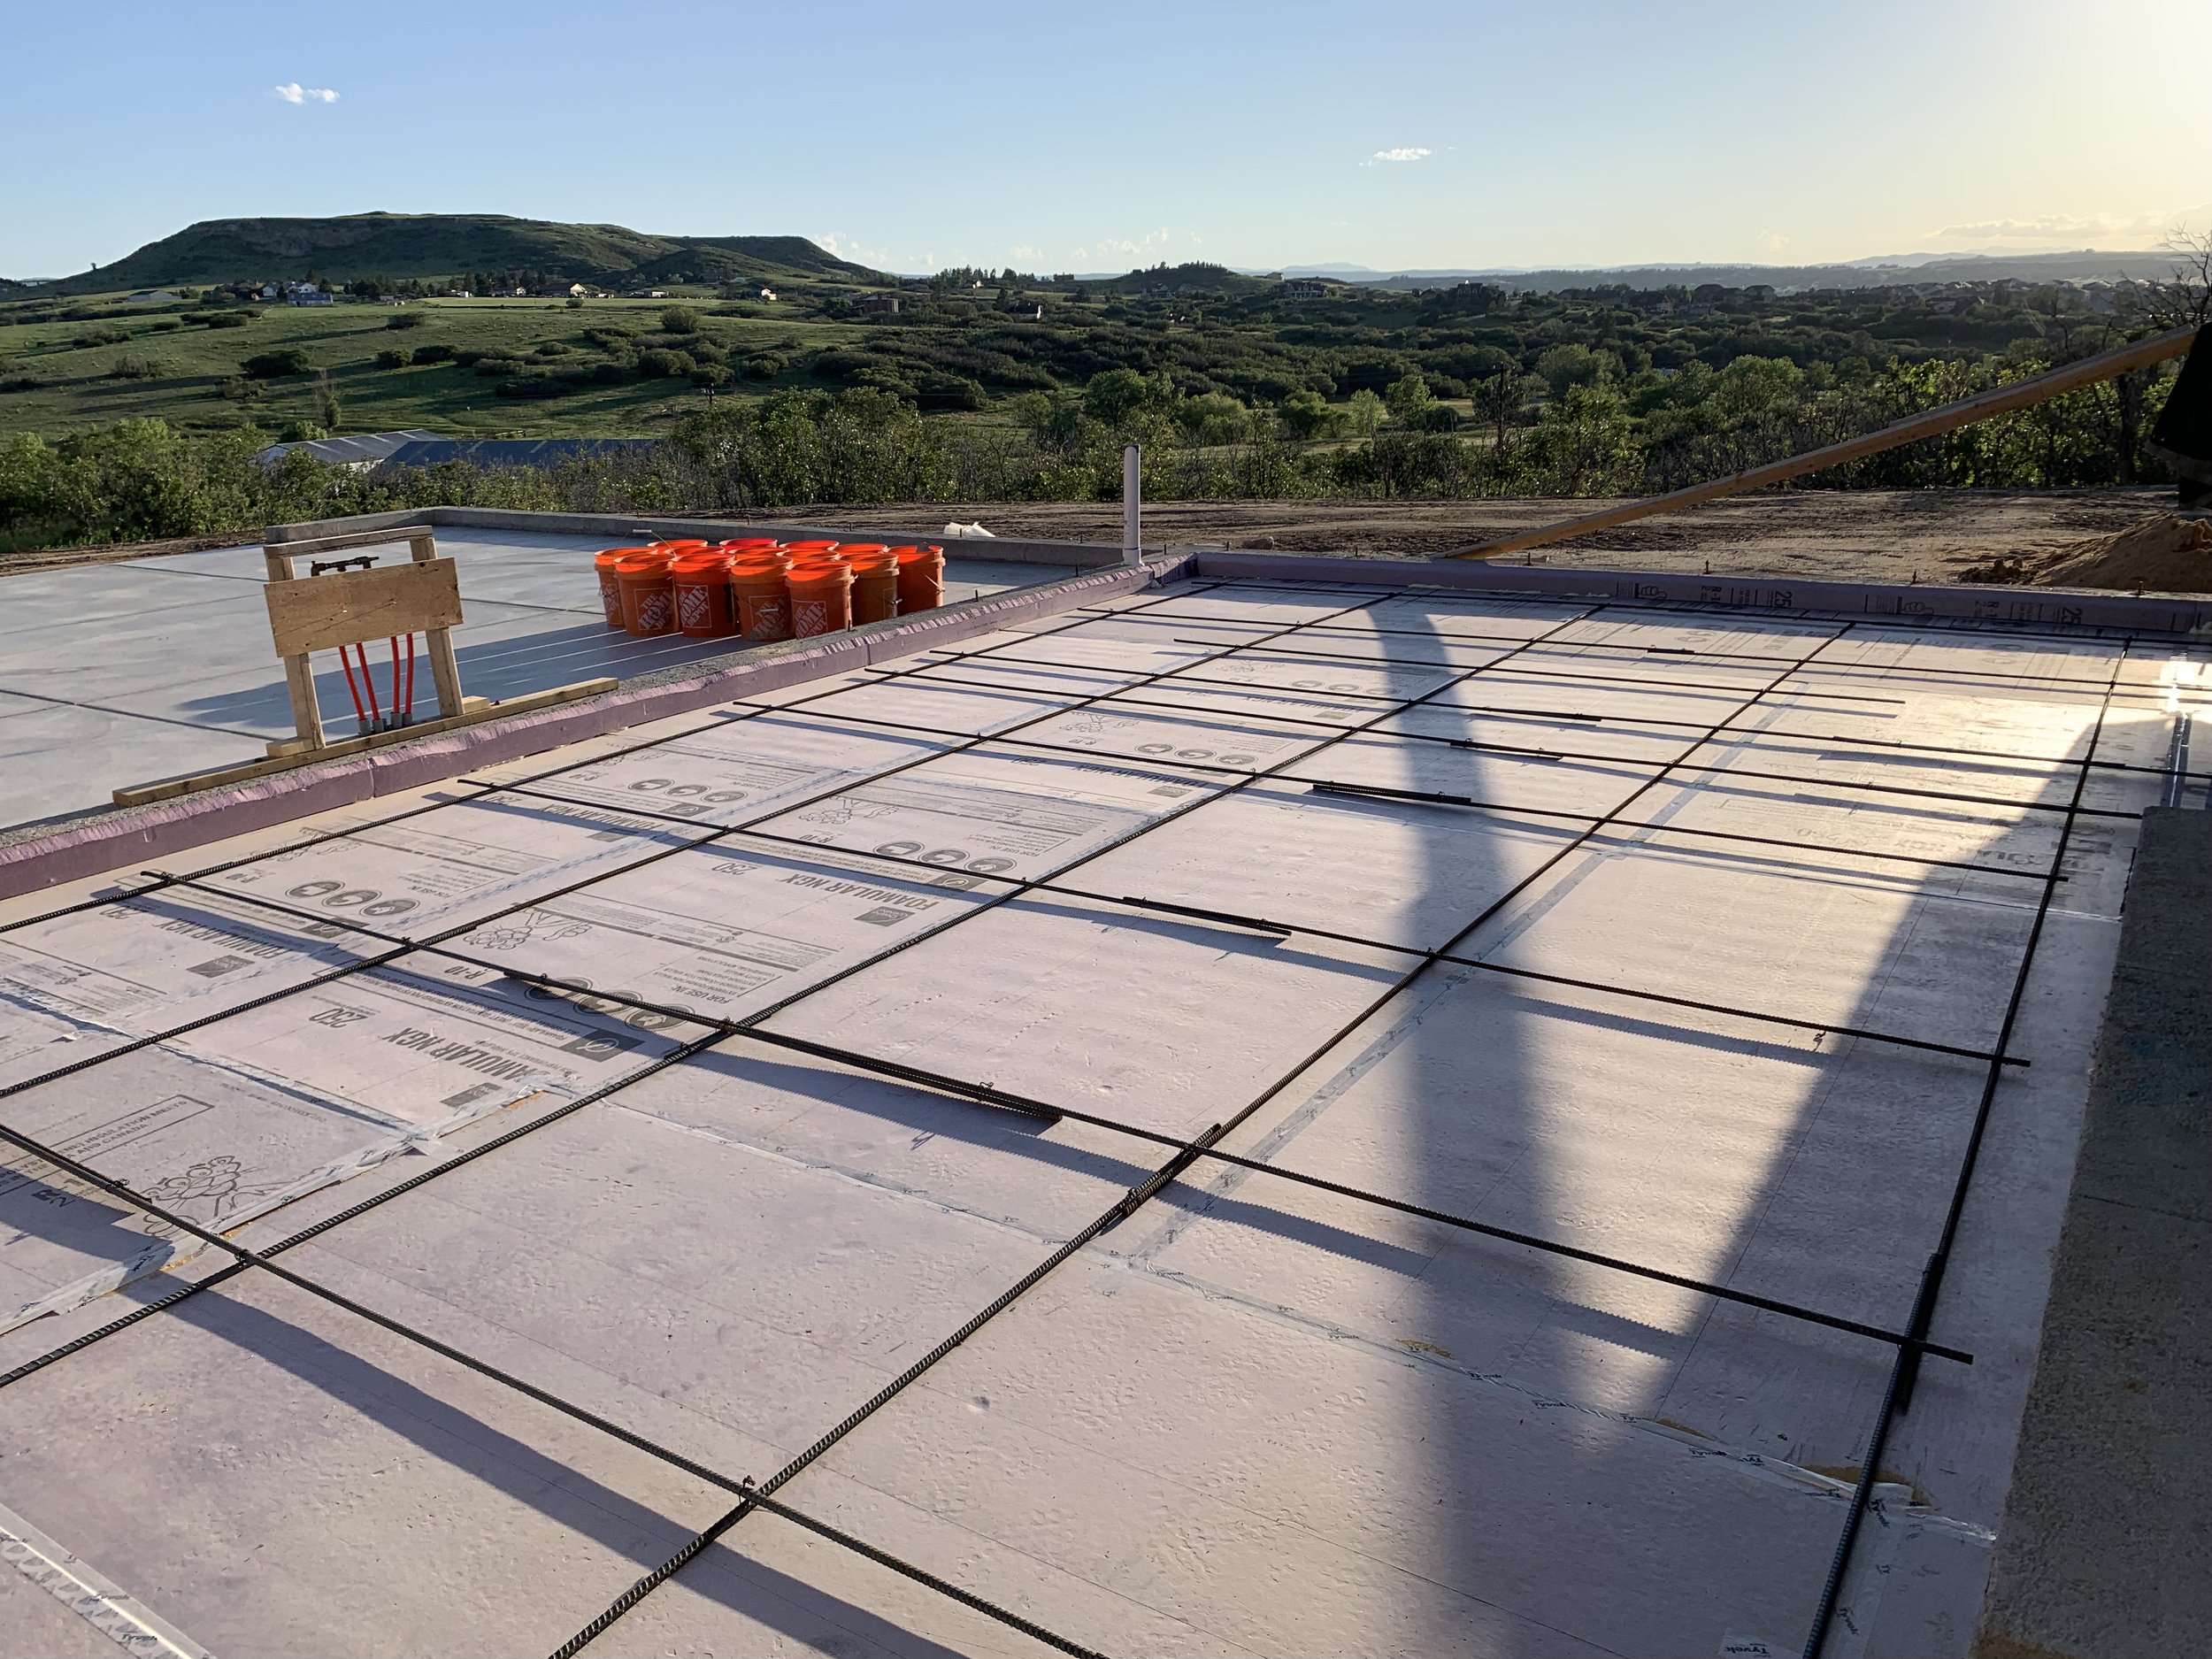
Here's the field of Home Depot buckets! I think we picked 50 this season! Pretty sure they multiply every year! Ha!

Starting to look a little neater!

We were very thankful for help on this one. The amount of lumber these guys hauled off today was crazy...and in 40 mph winds!

Now that the topper is removed, Rachel gets to work insuring the ground will be above freezing for inspection by blasting the dirt with a torch!
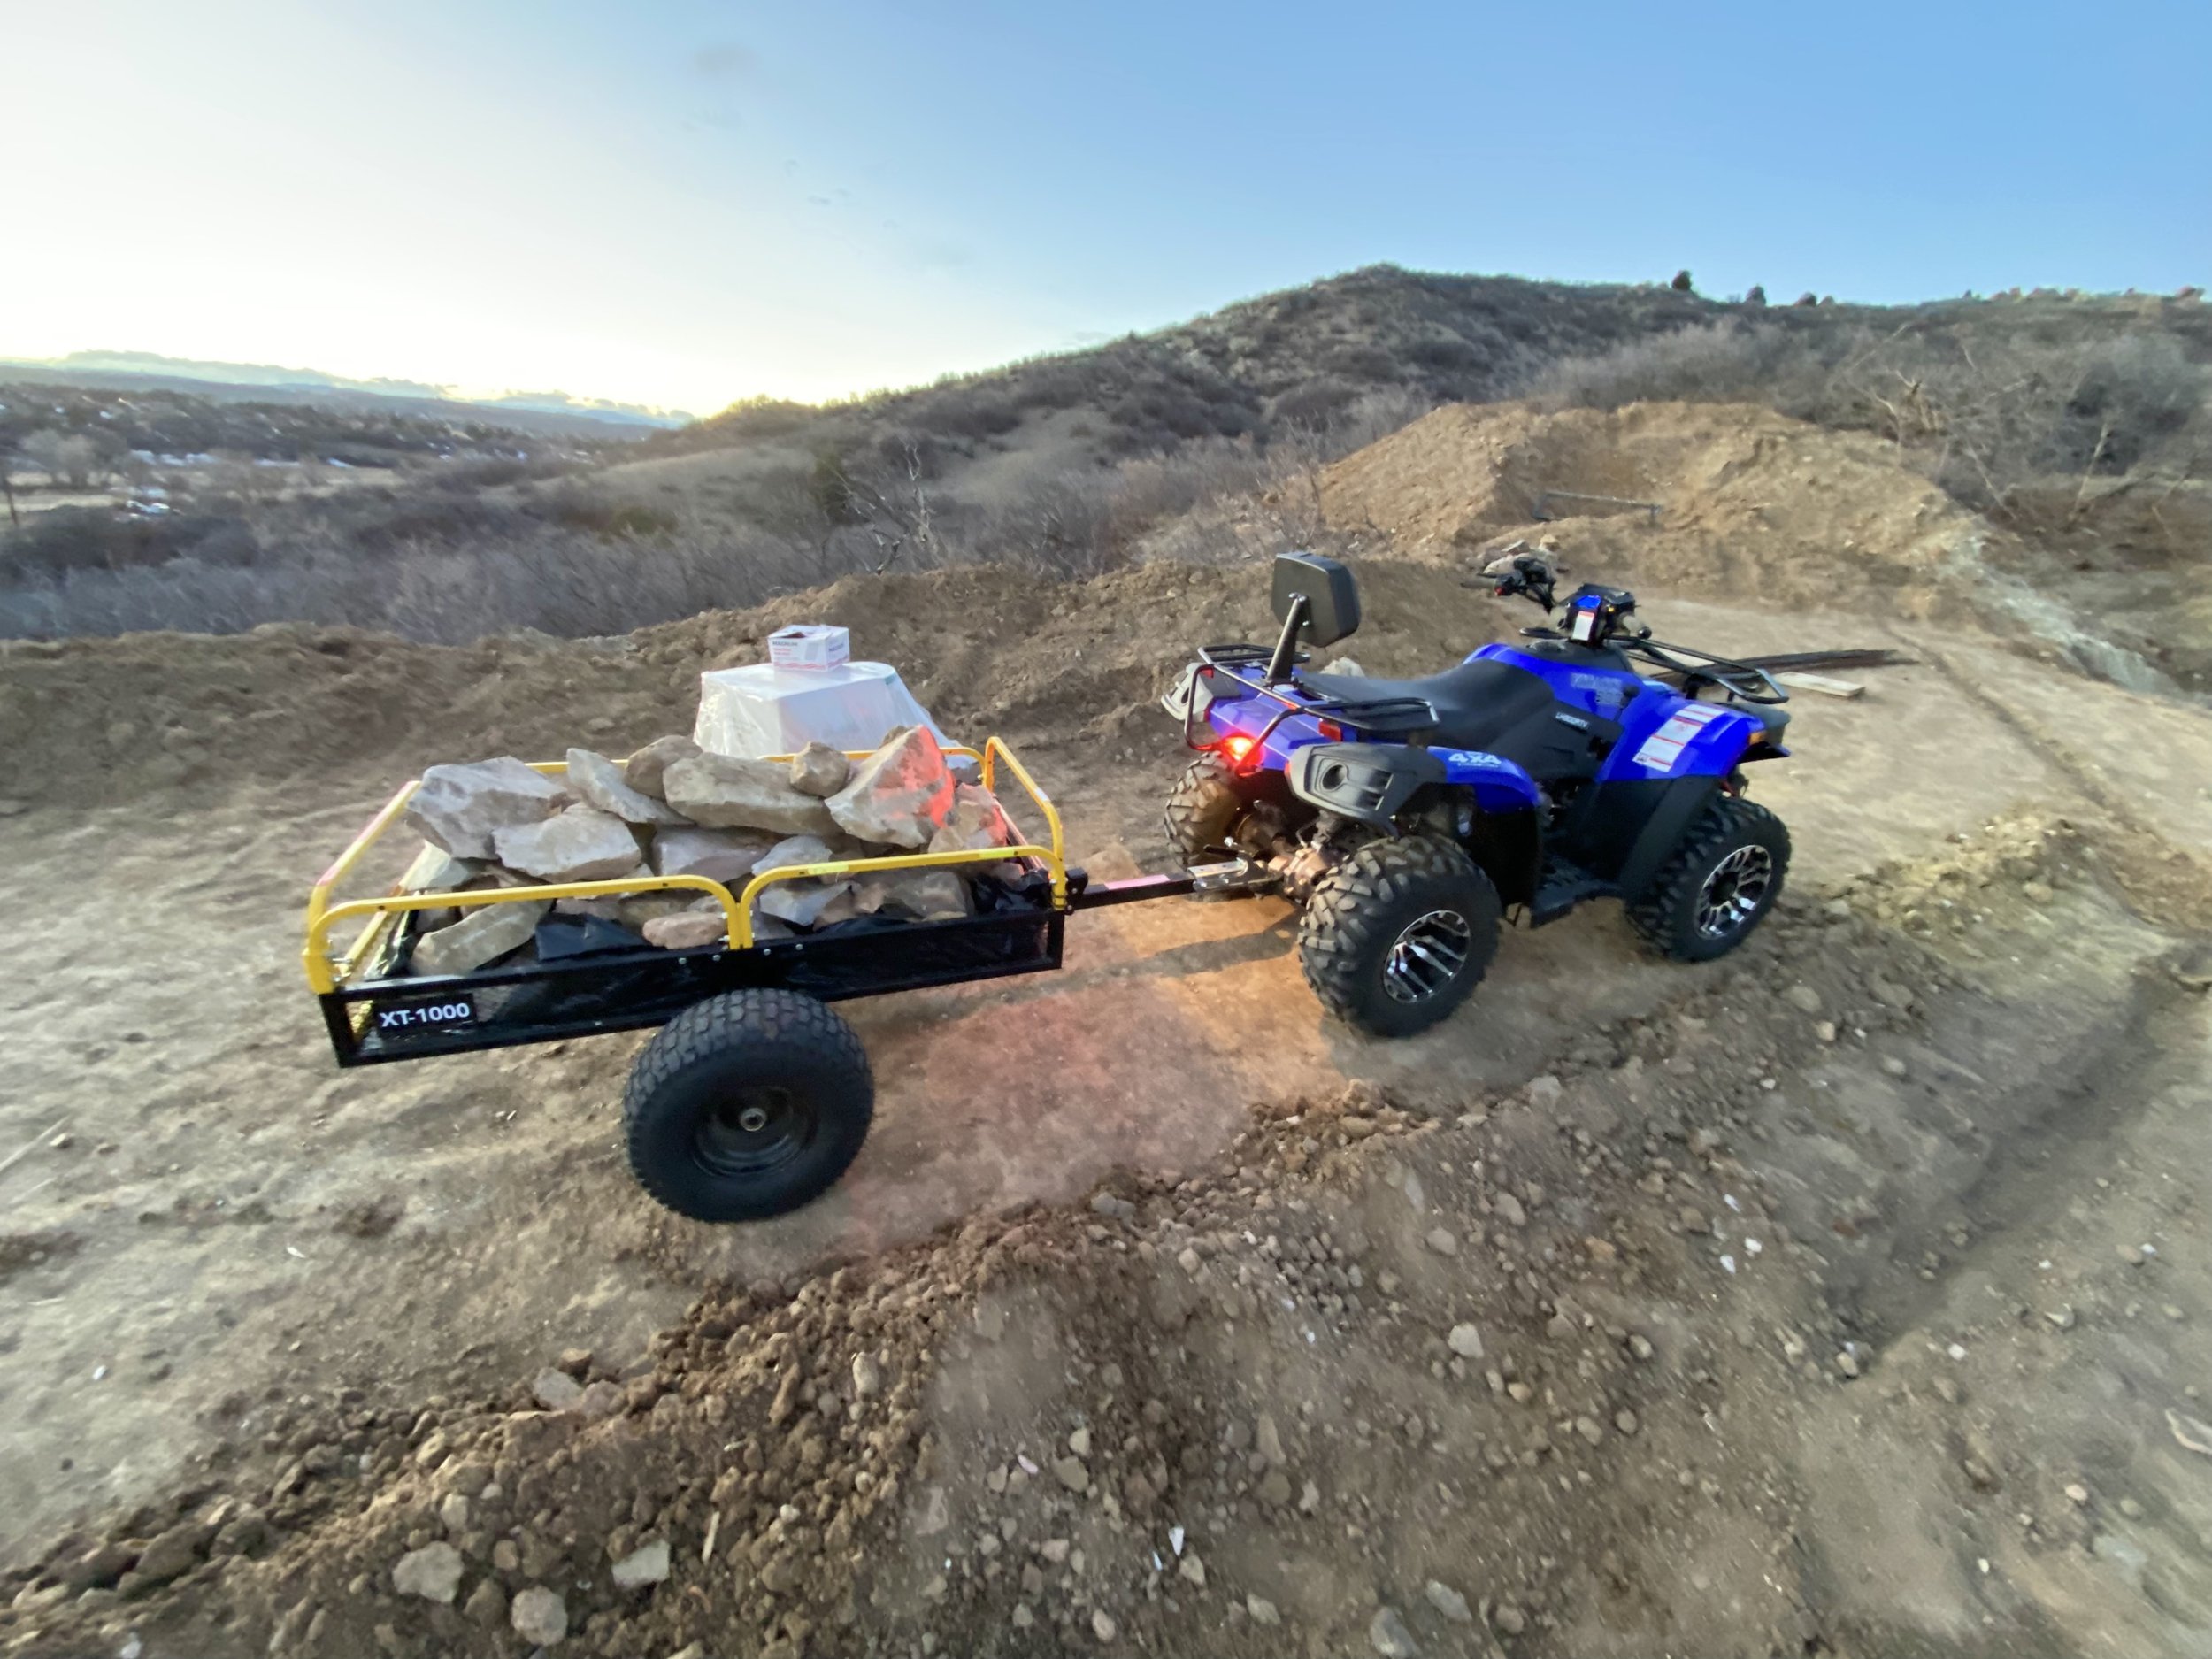
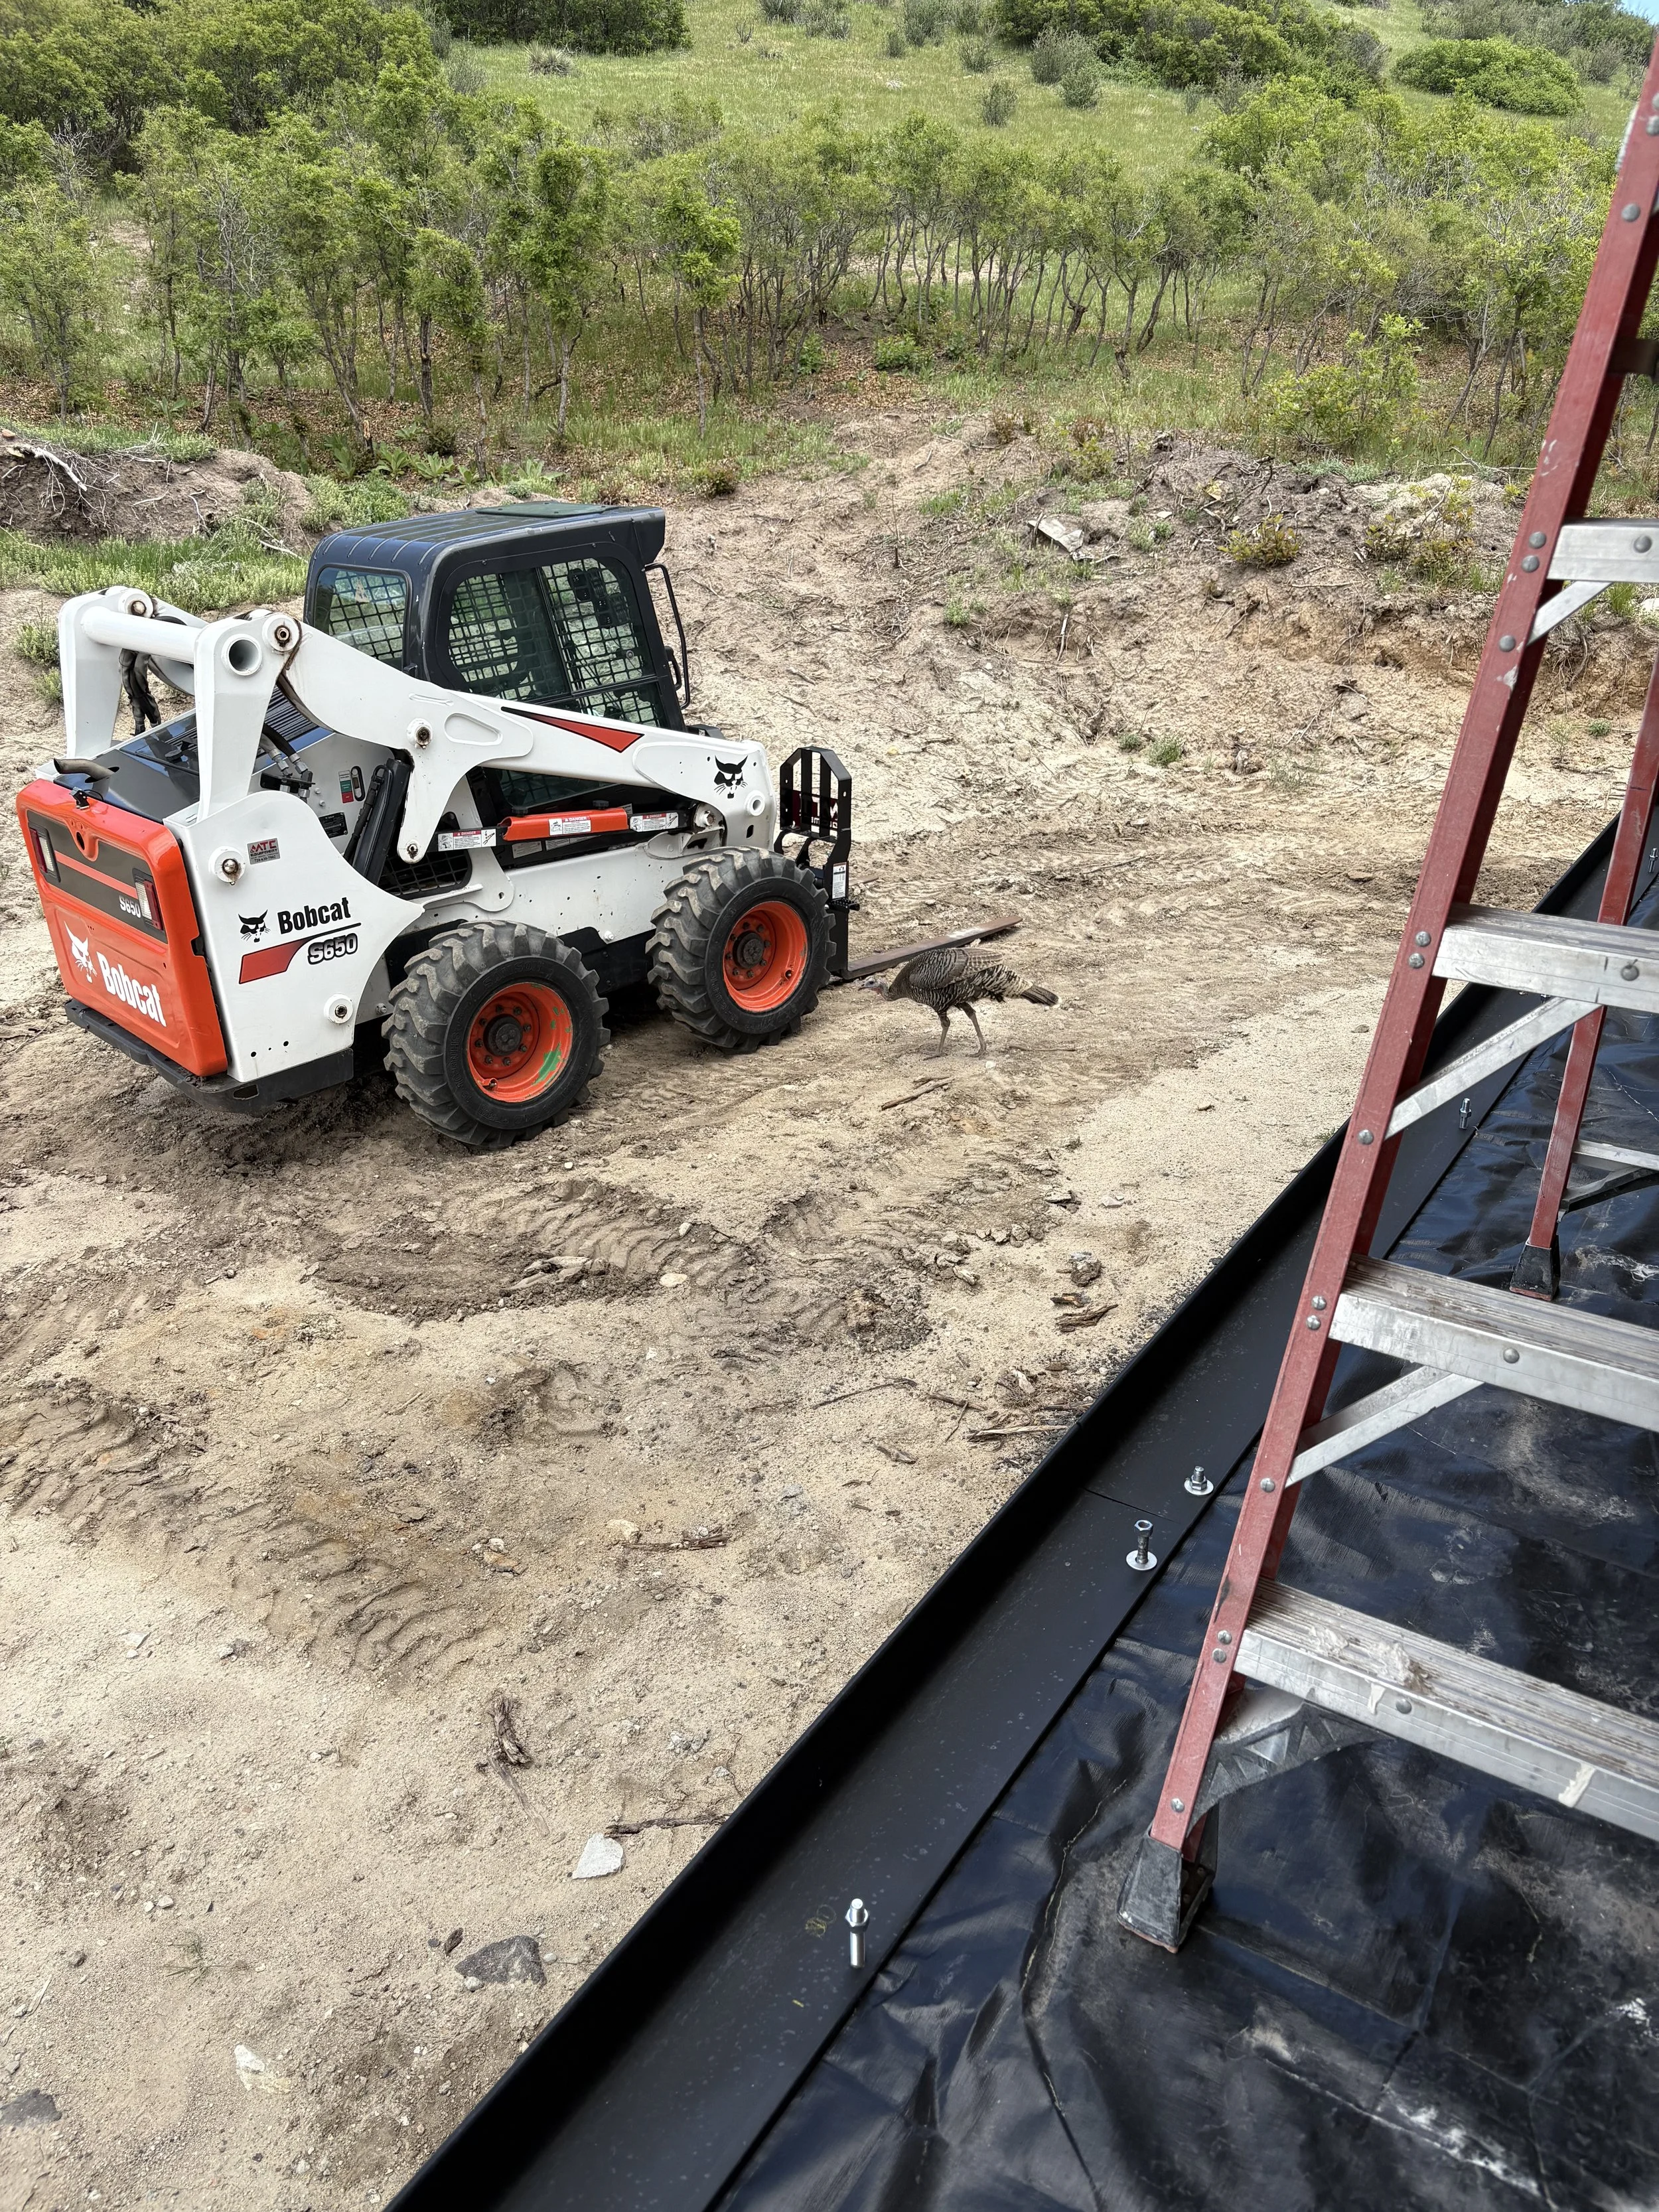
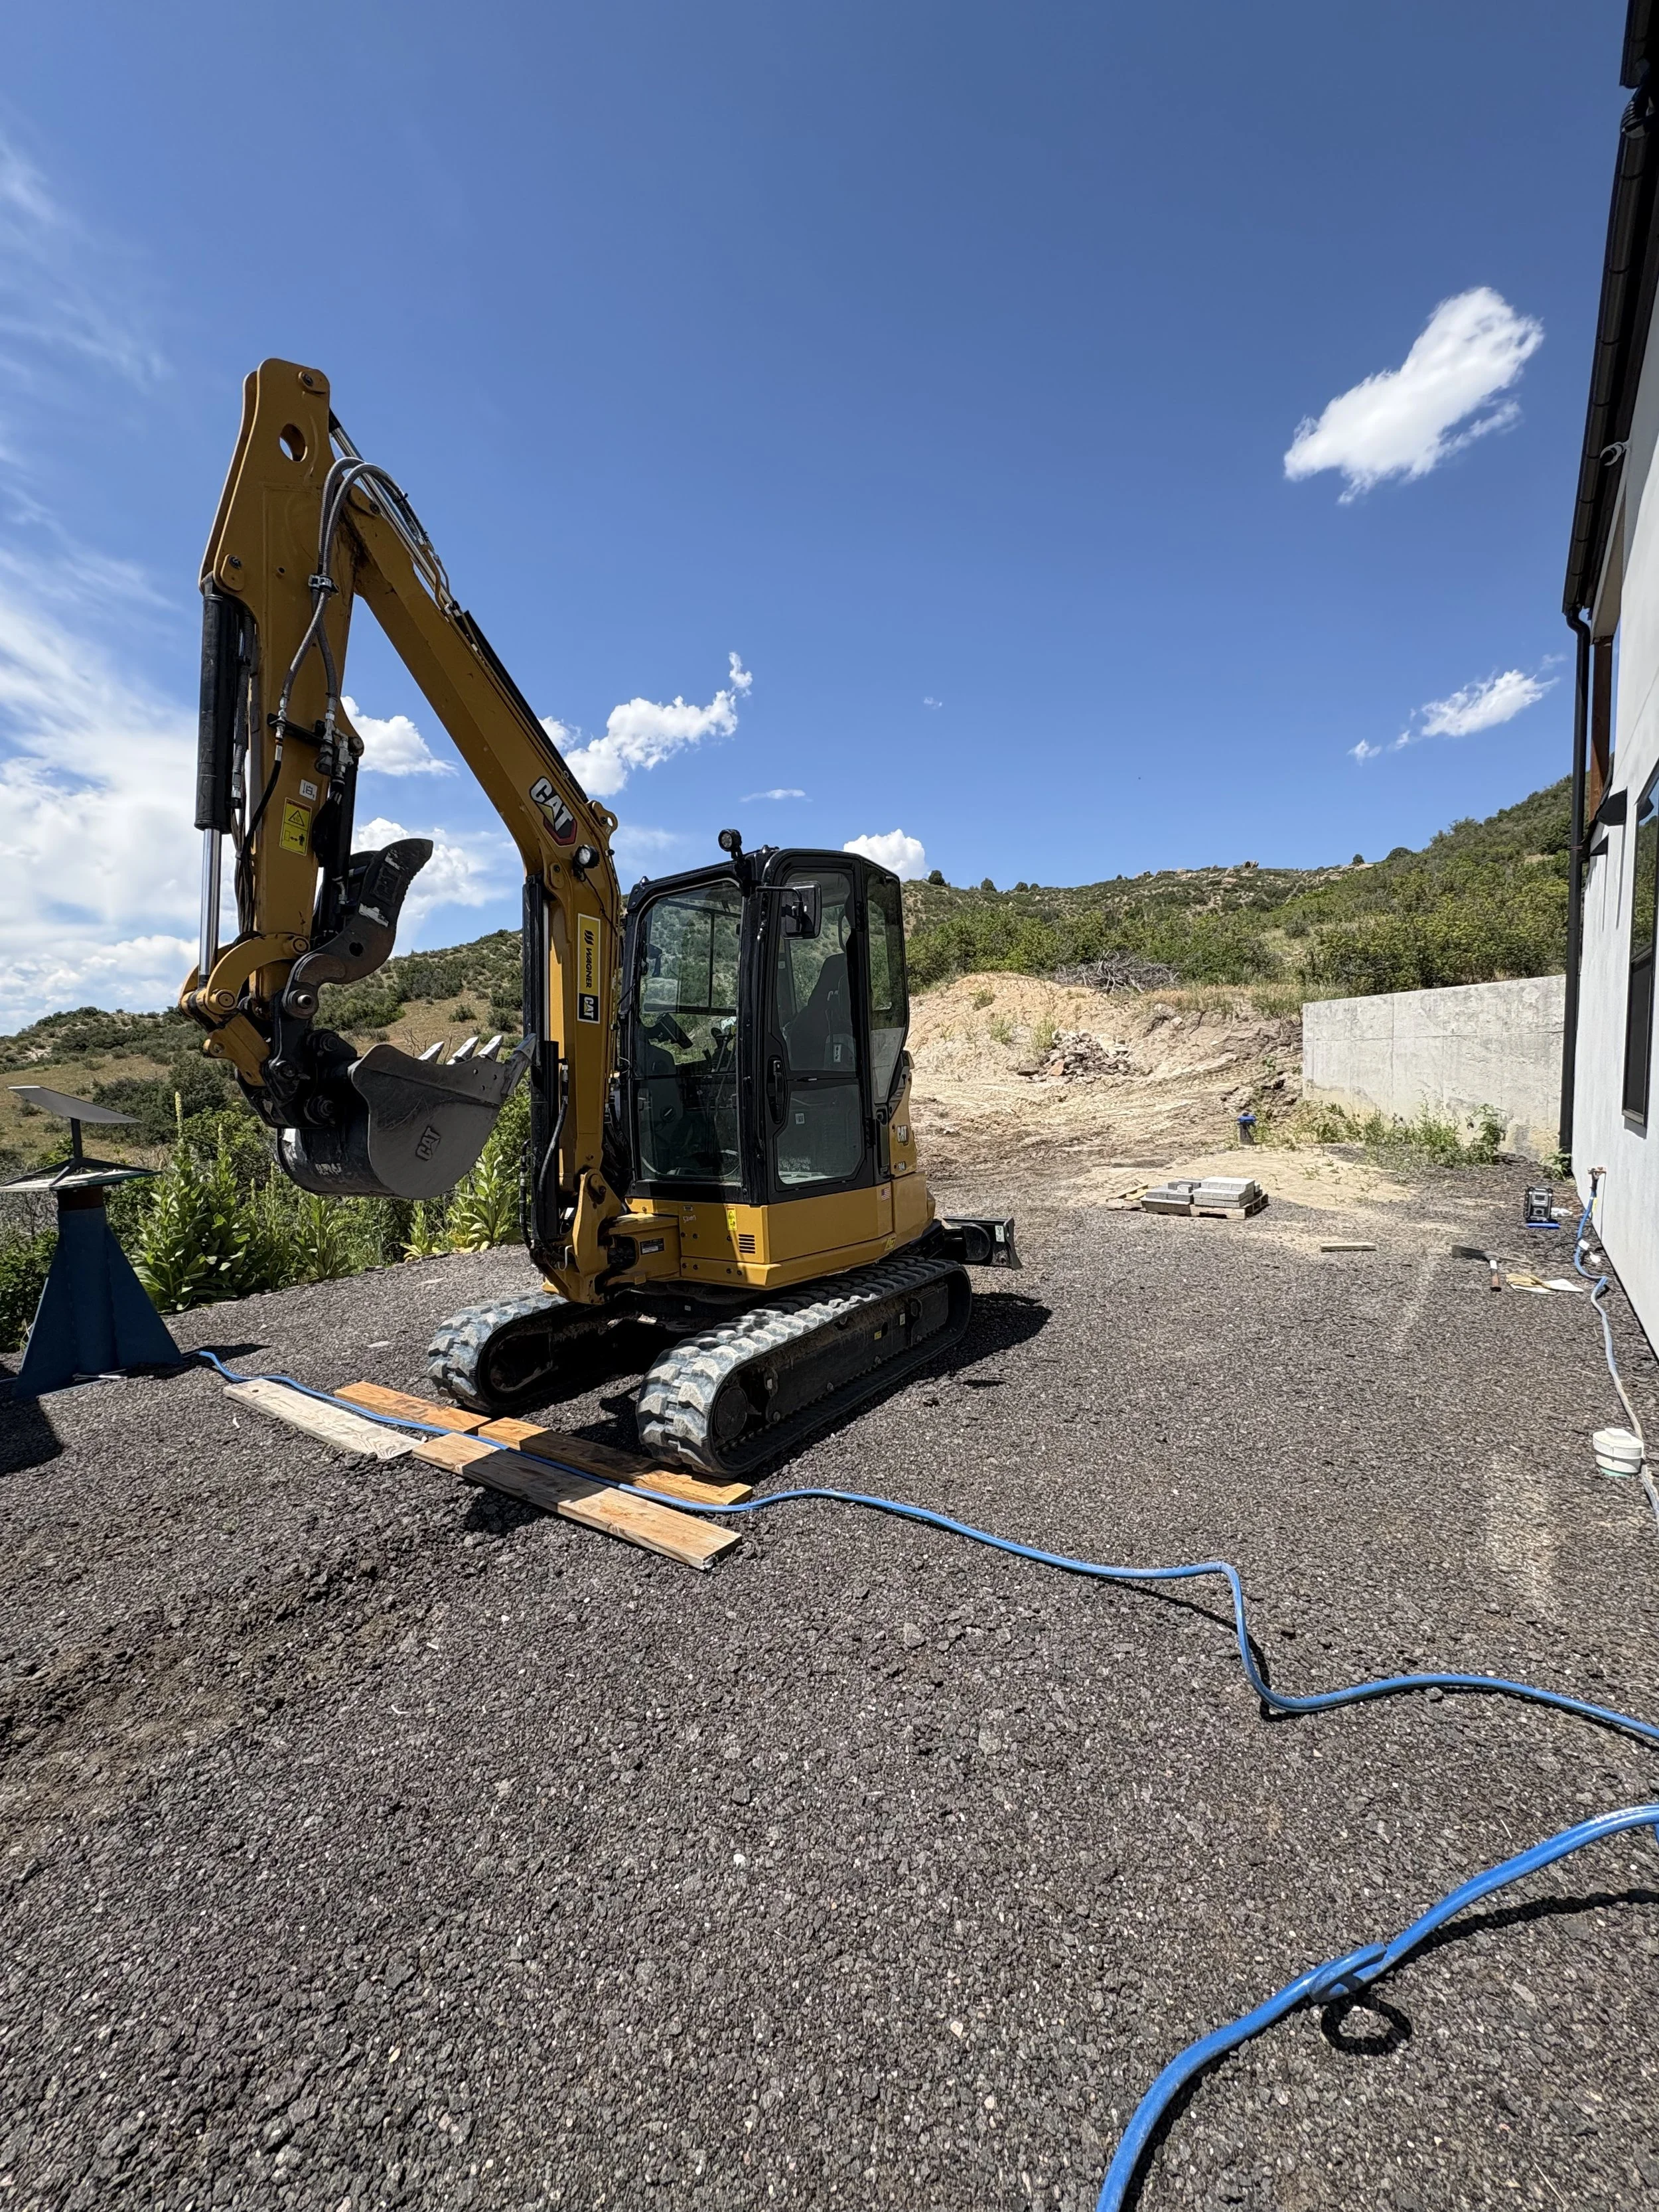
Testing out our new addition! This little guy can haul some serious weight! Pretty handy!
Step 2: Pouring the Foundation
The foundation framers arrive!

These guys are crazy fast! I think they've done this a few times.

Foundation framing continues...
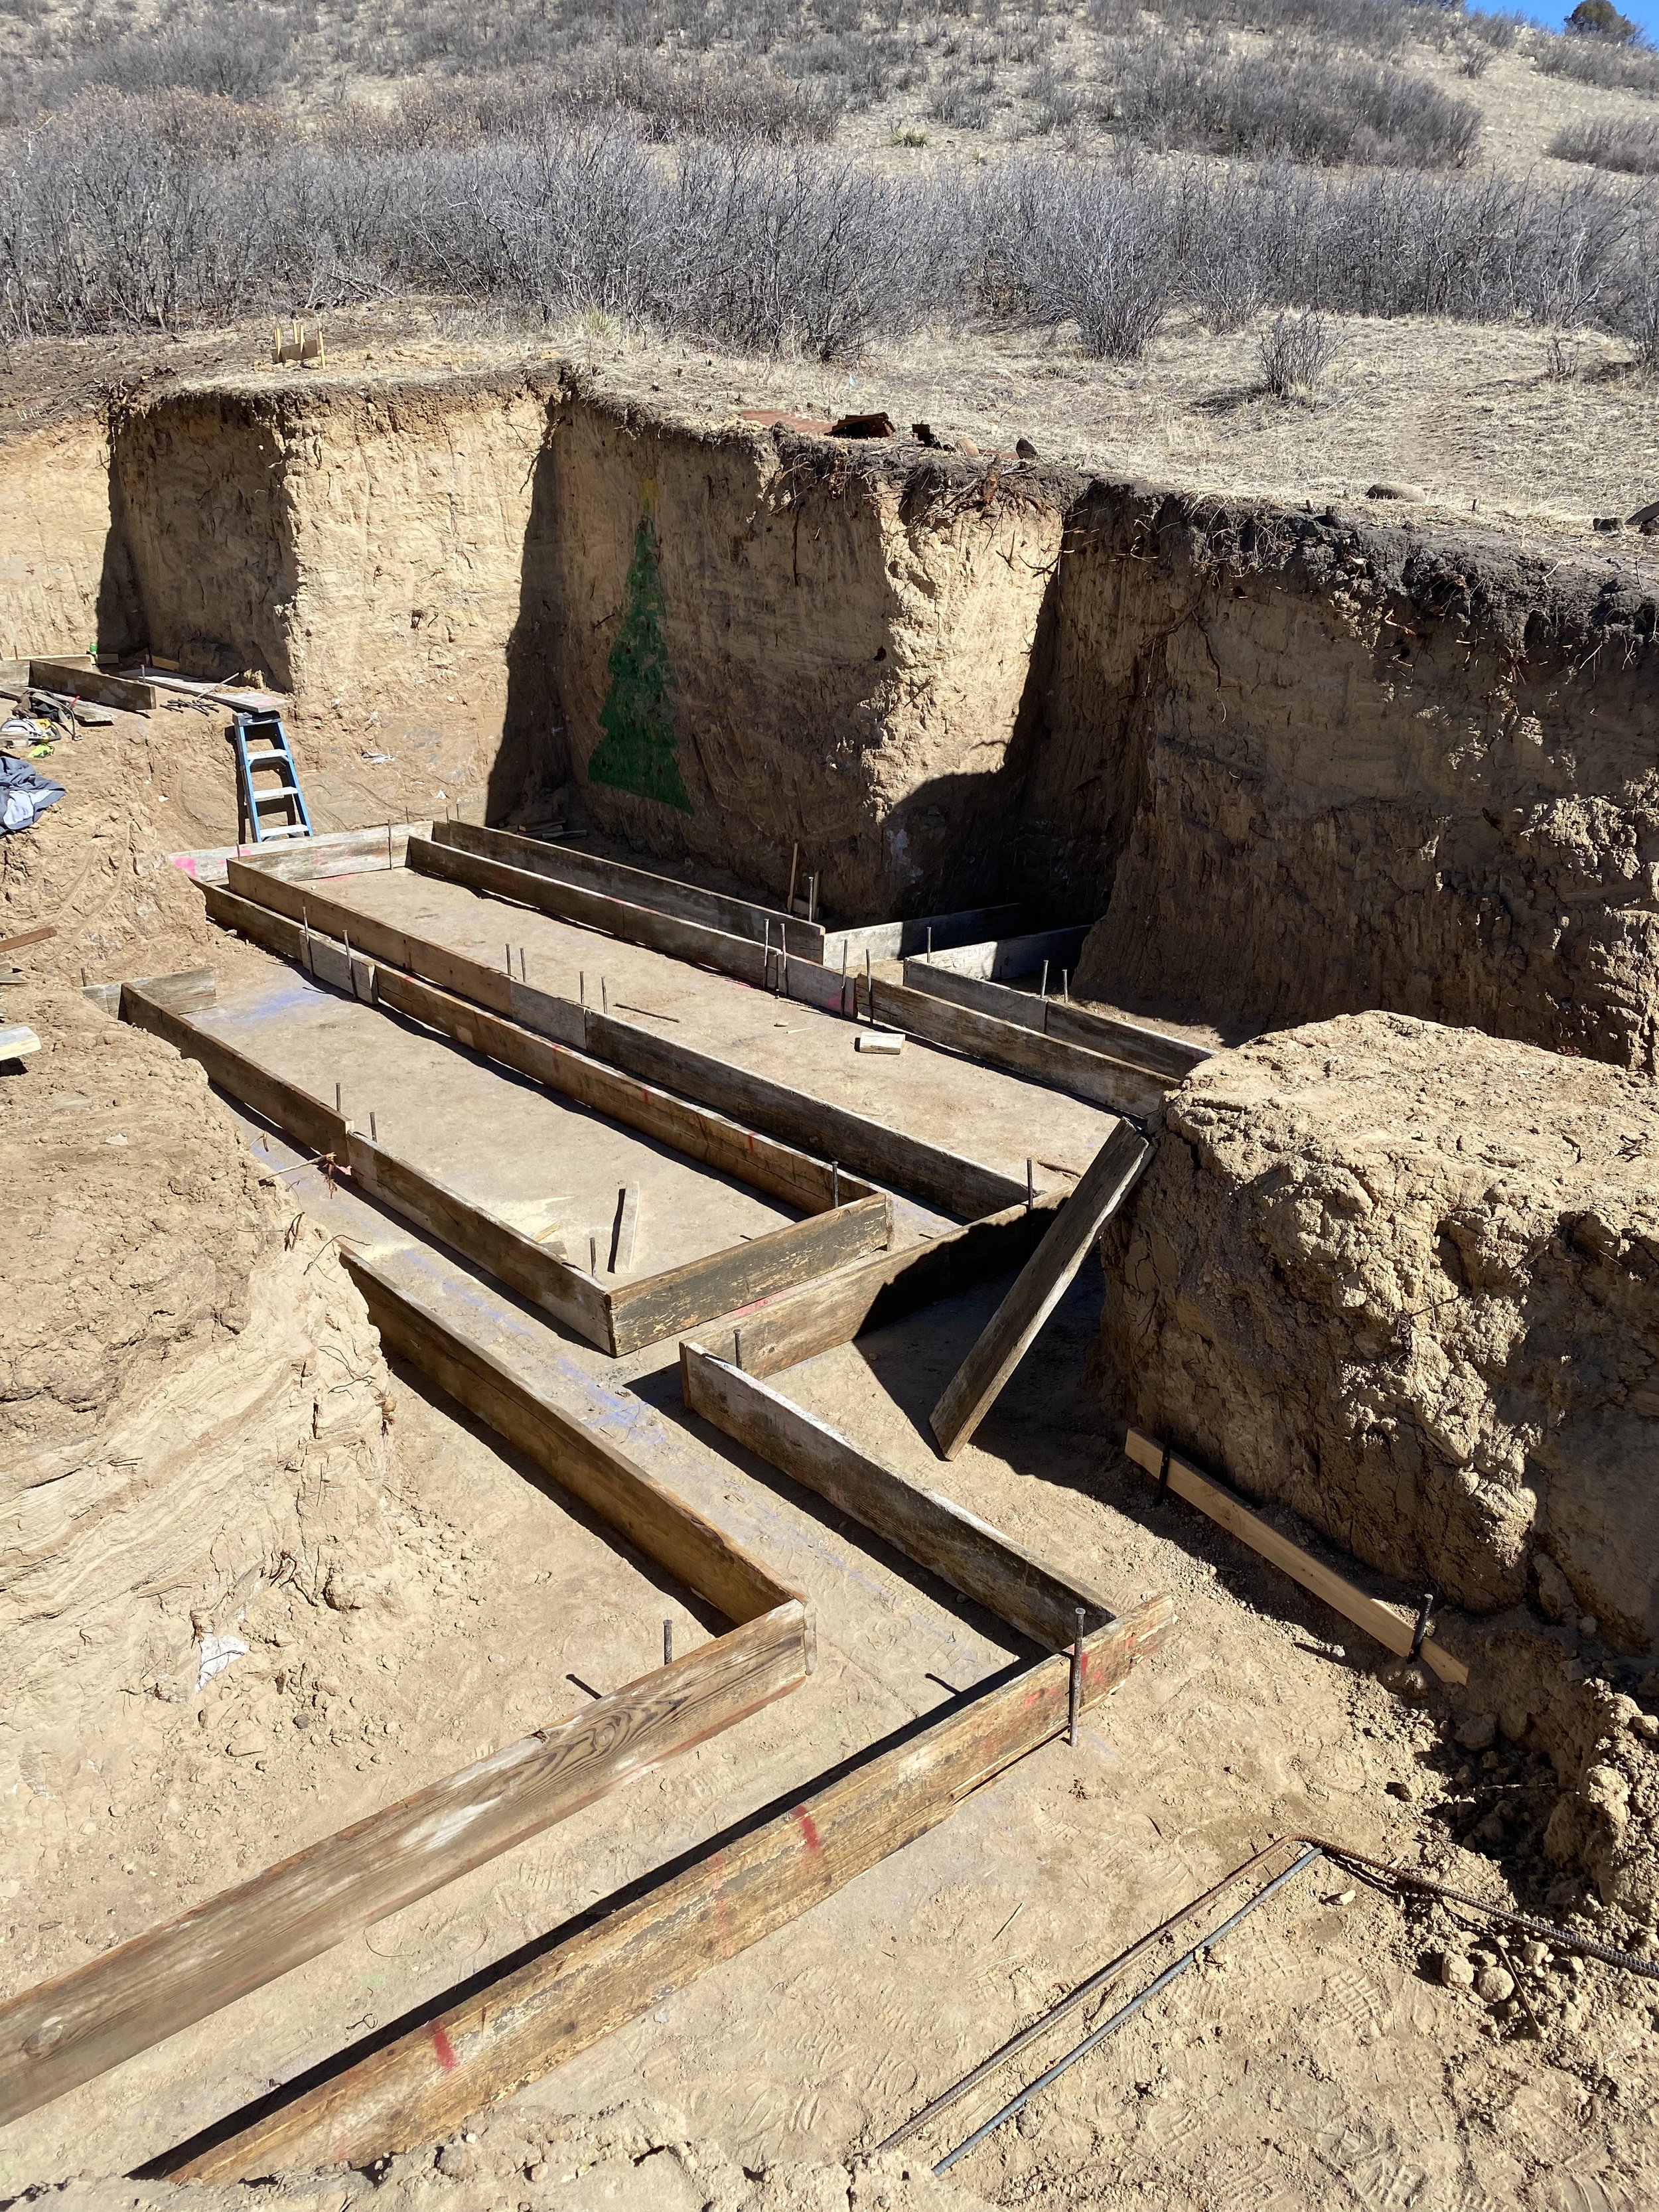
This is starting to look like an archeological dig!

Gotta love those nice straight lines! Do you notice our Christmas tree in this photo? It's still there!

Rebar is placed in each footing area.

Not sure how they can make sense of this maze.

Framing is done for the day and inspection looms first thing in the morning!

Another gorgeous day and we passed inspection! Not wasting any time, the concrete trucks start showing up!
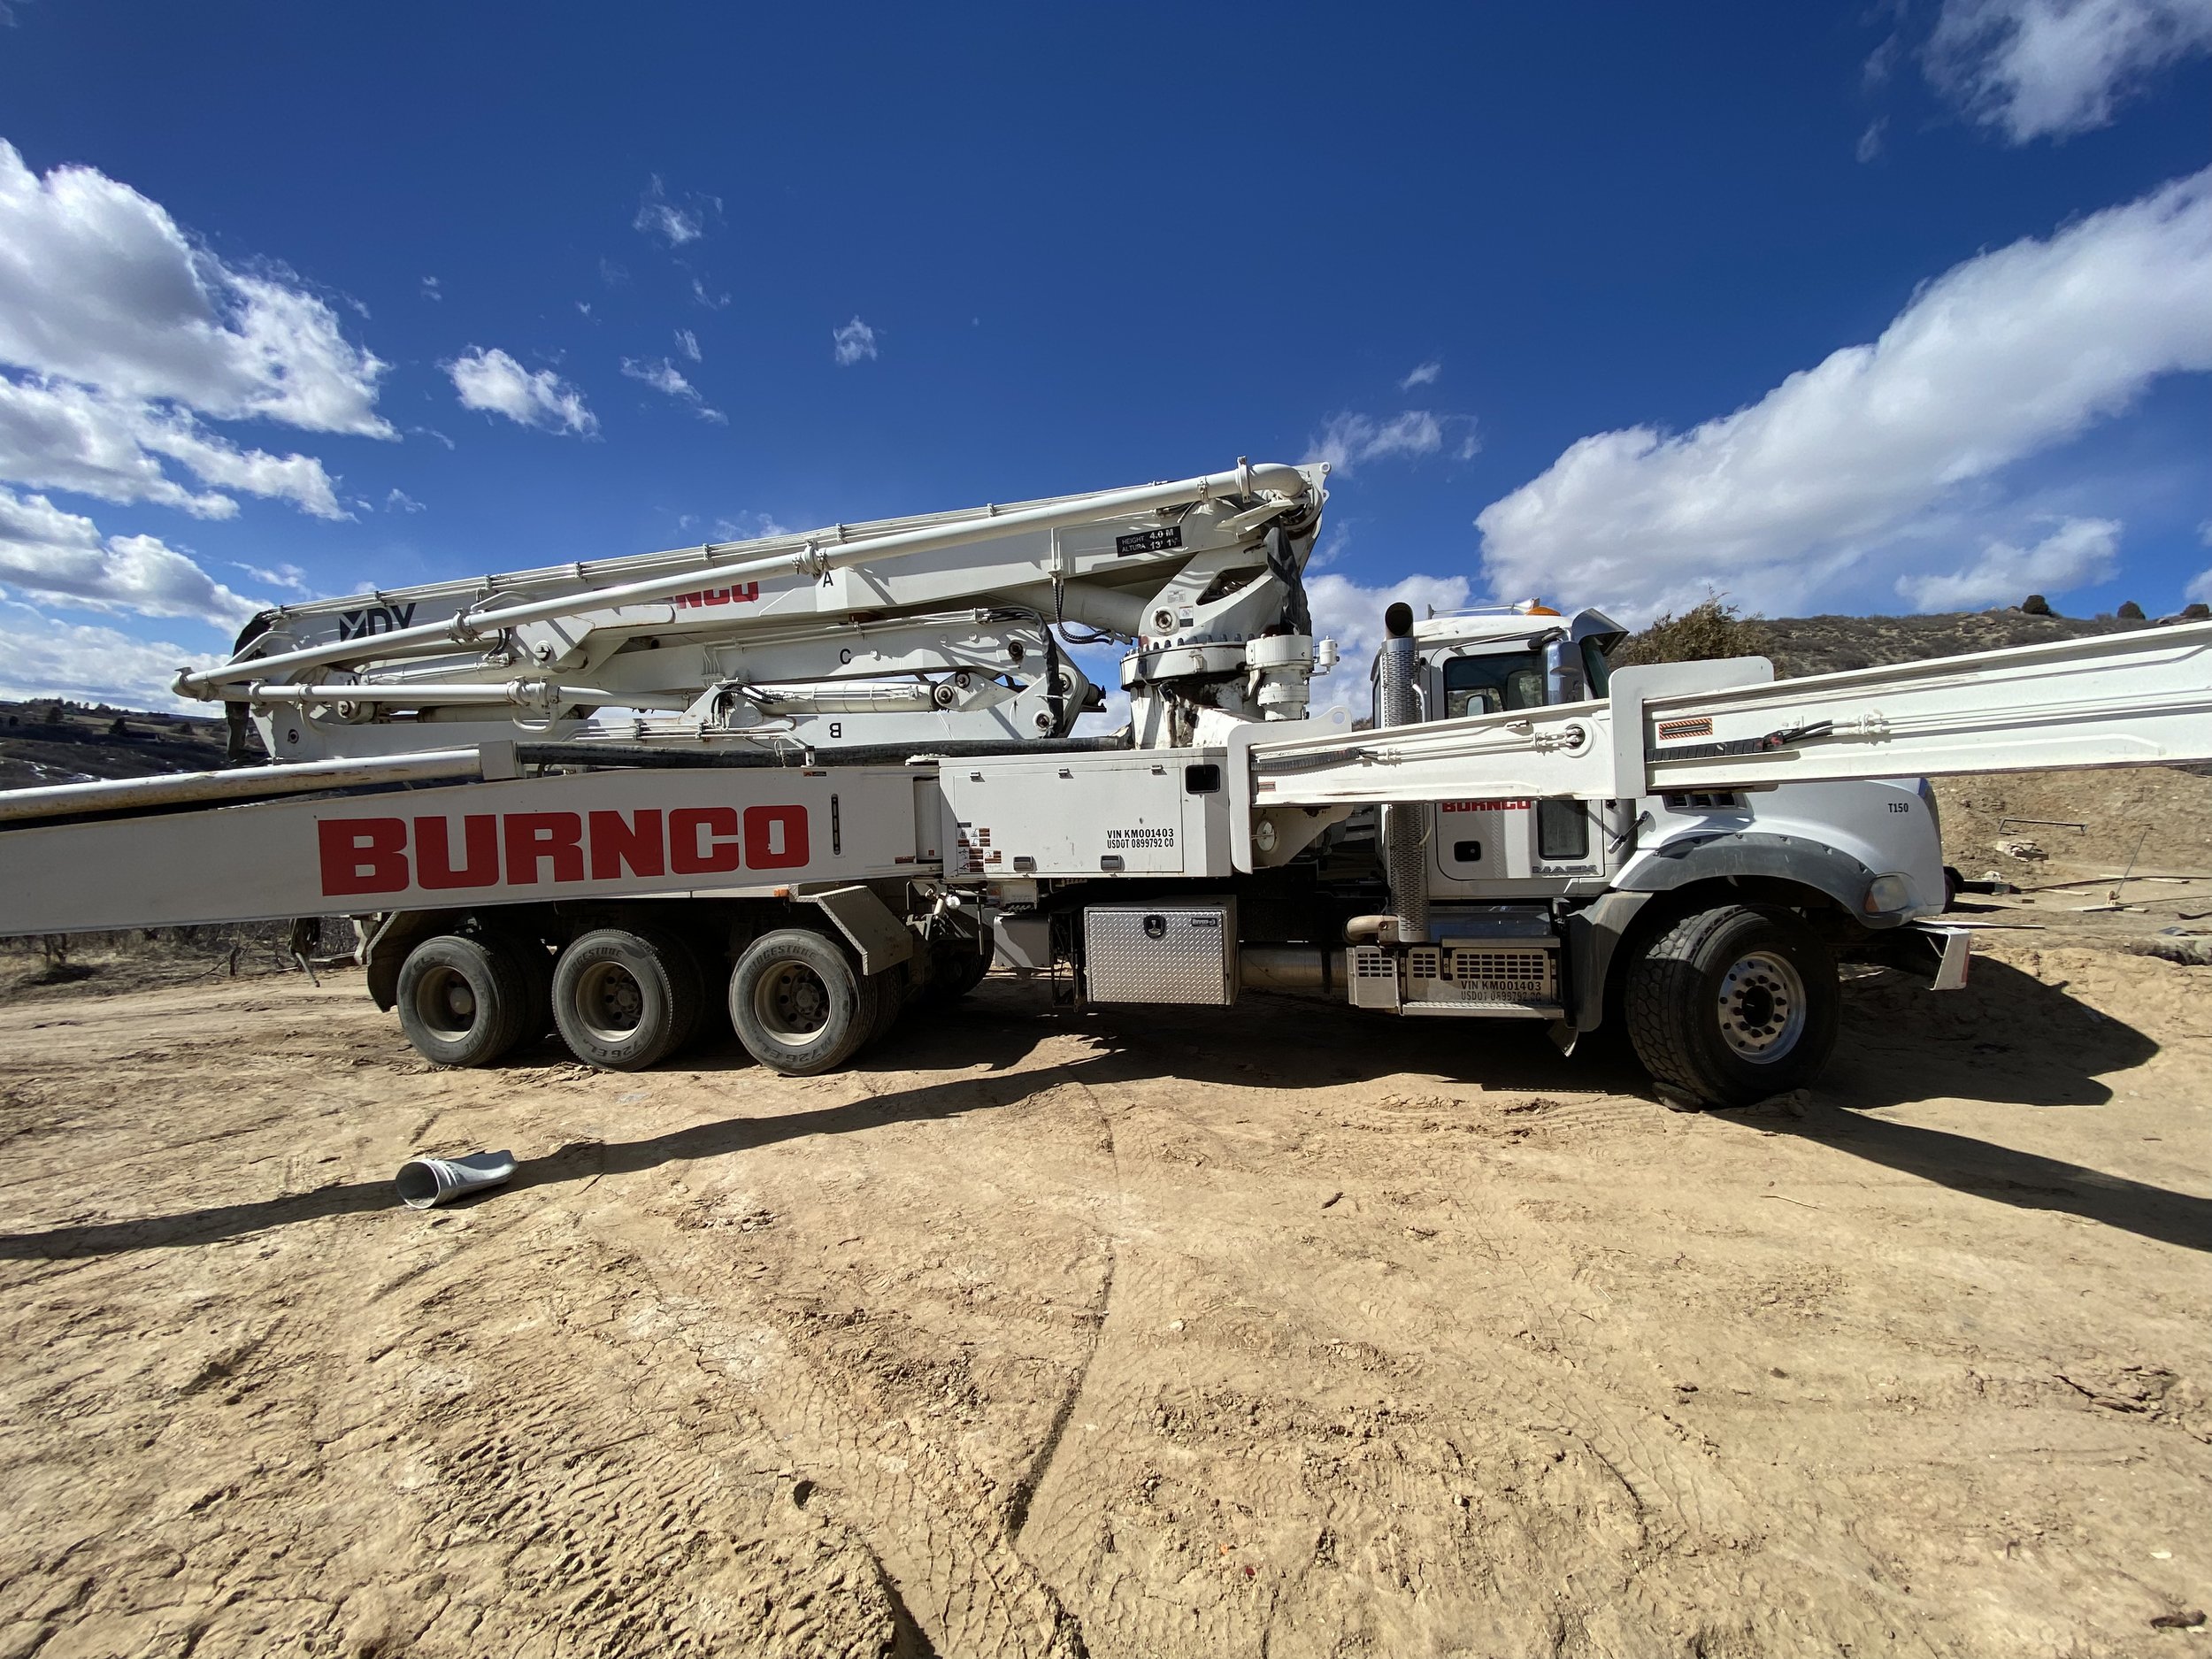
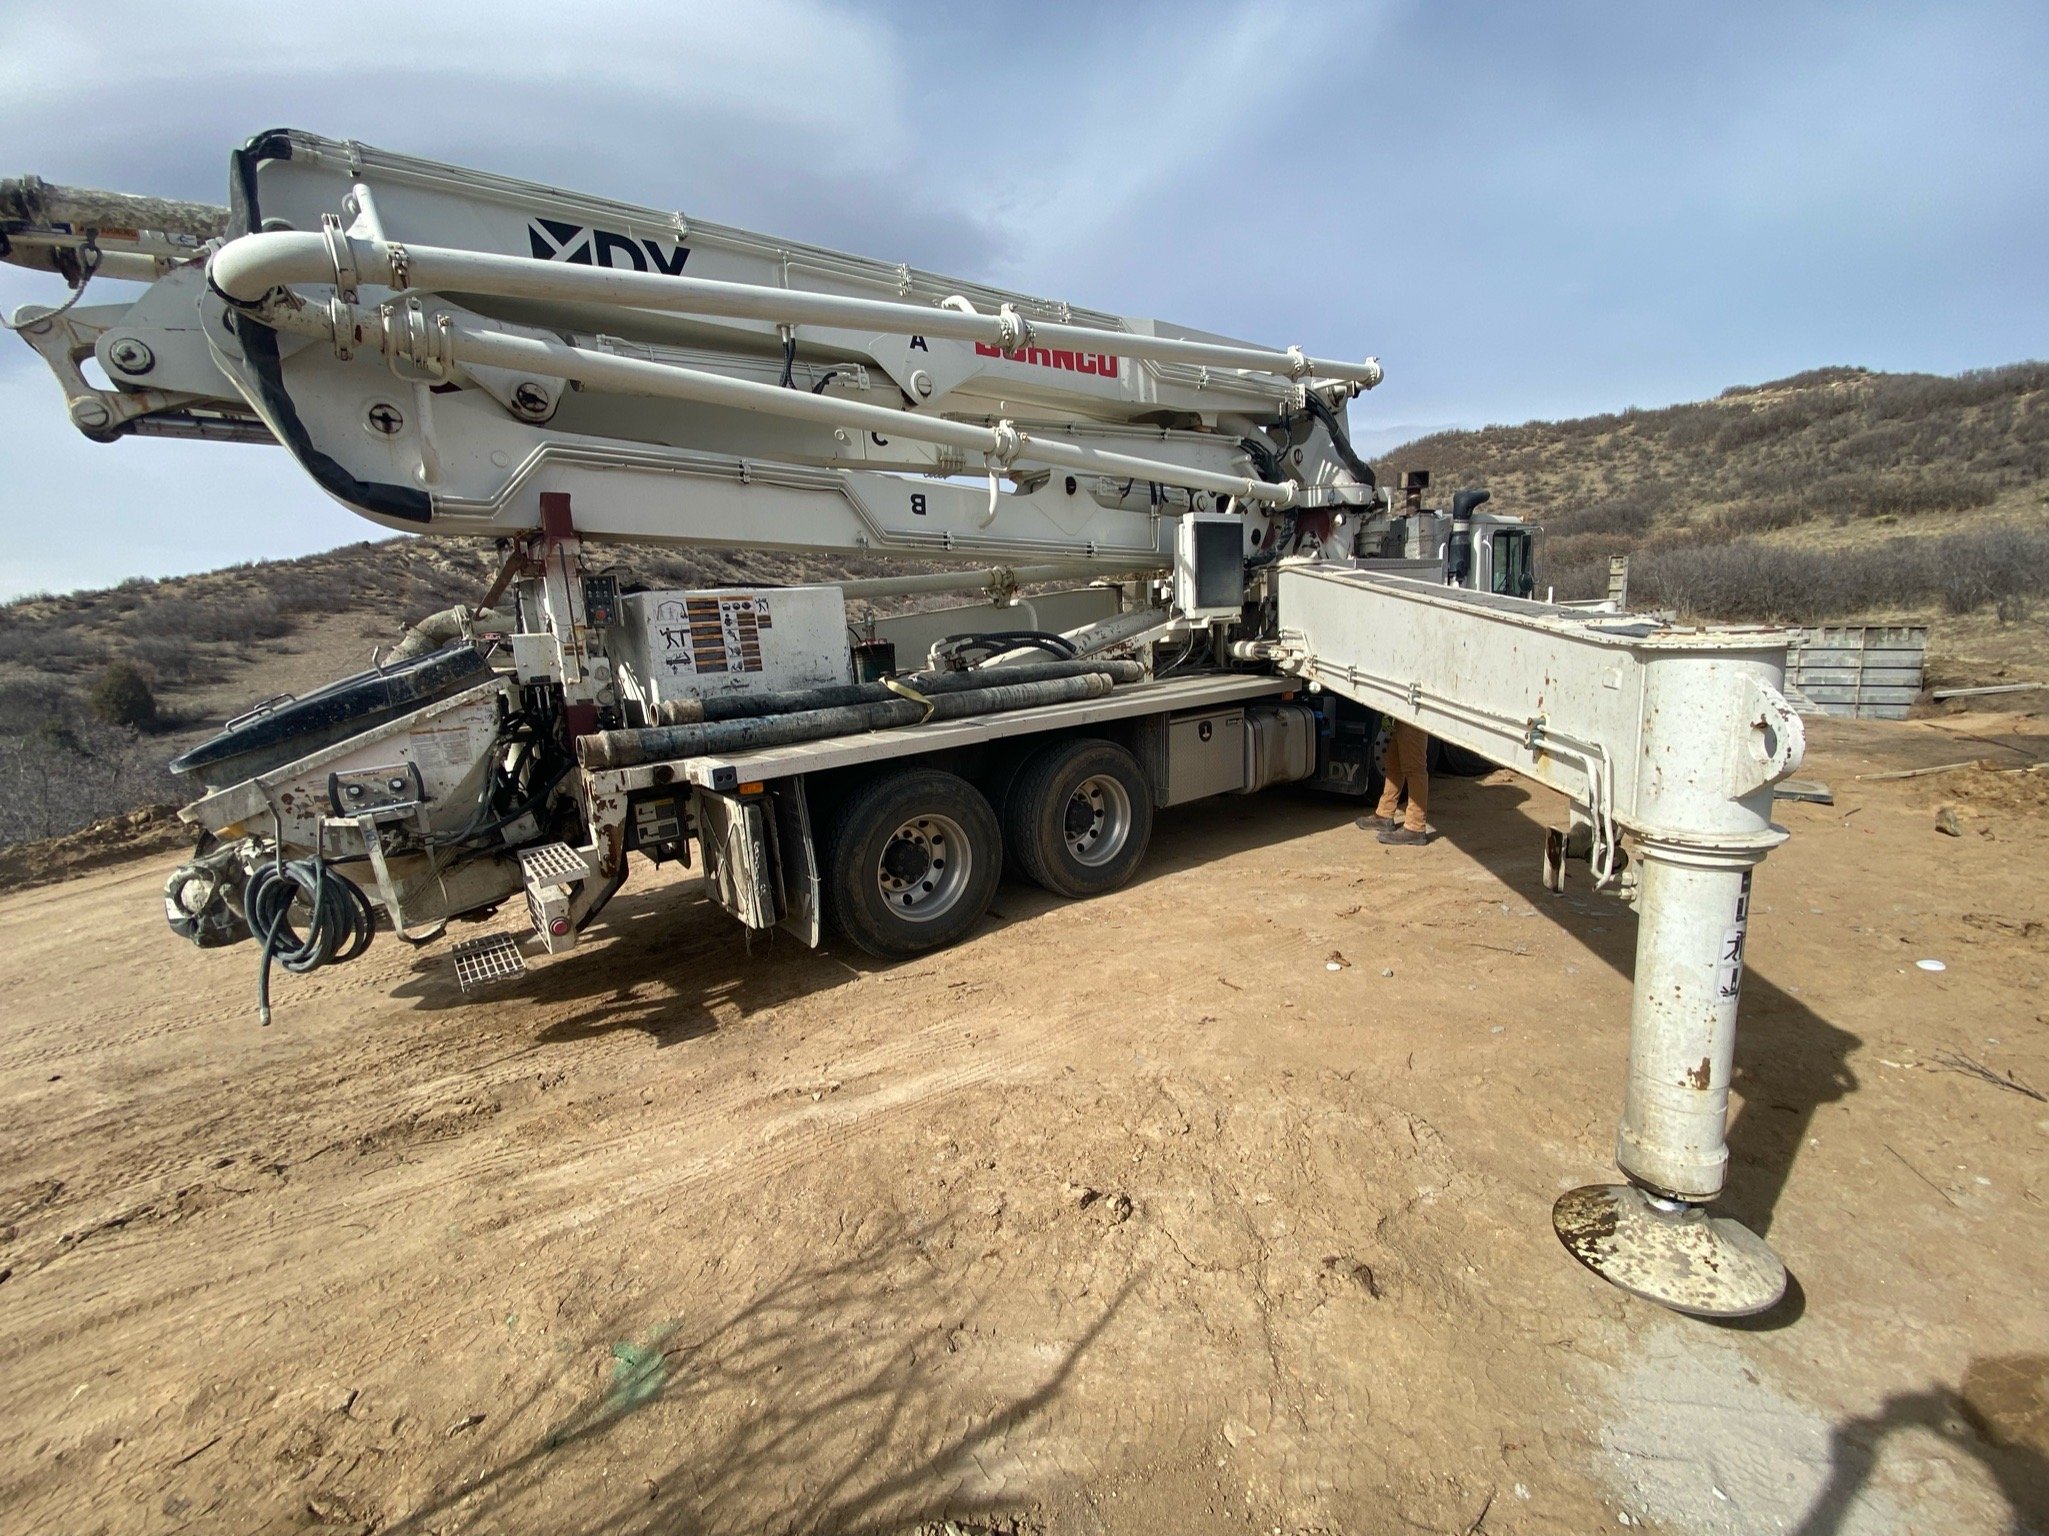
A bit of surprise, the massive rig that shows up is 2x bigger than was ordered. Eek!

This thing is a beast!! Will it fit all opened up?

This is gonna be interesting.
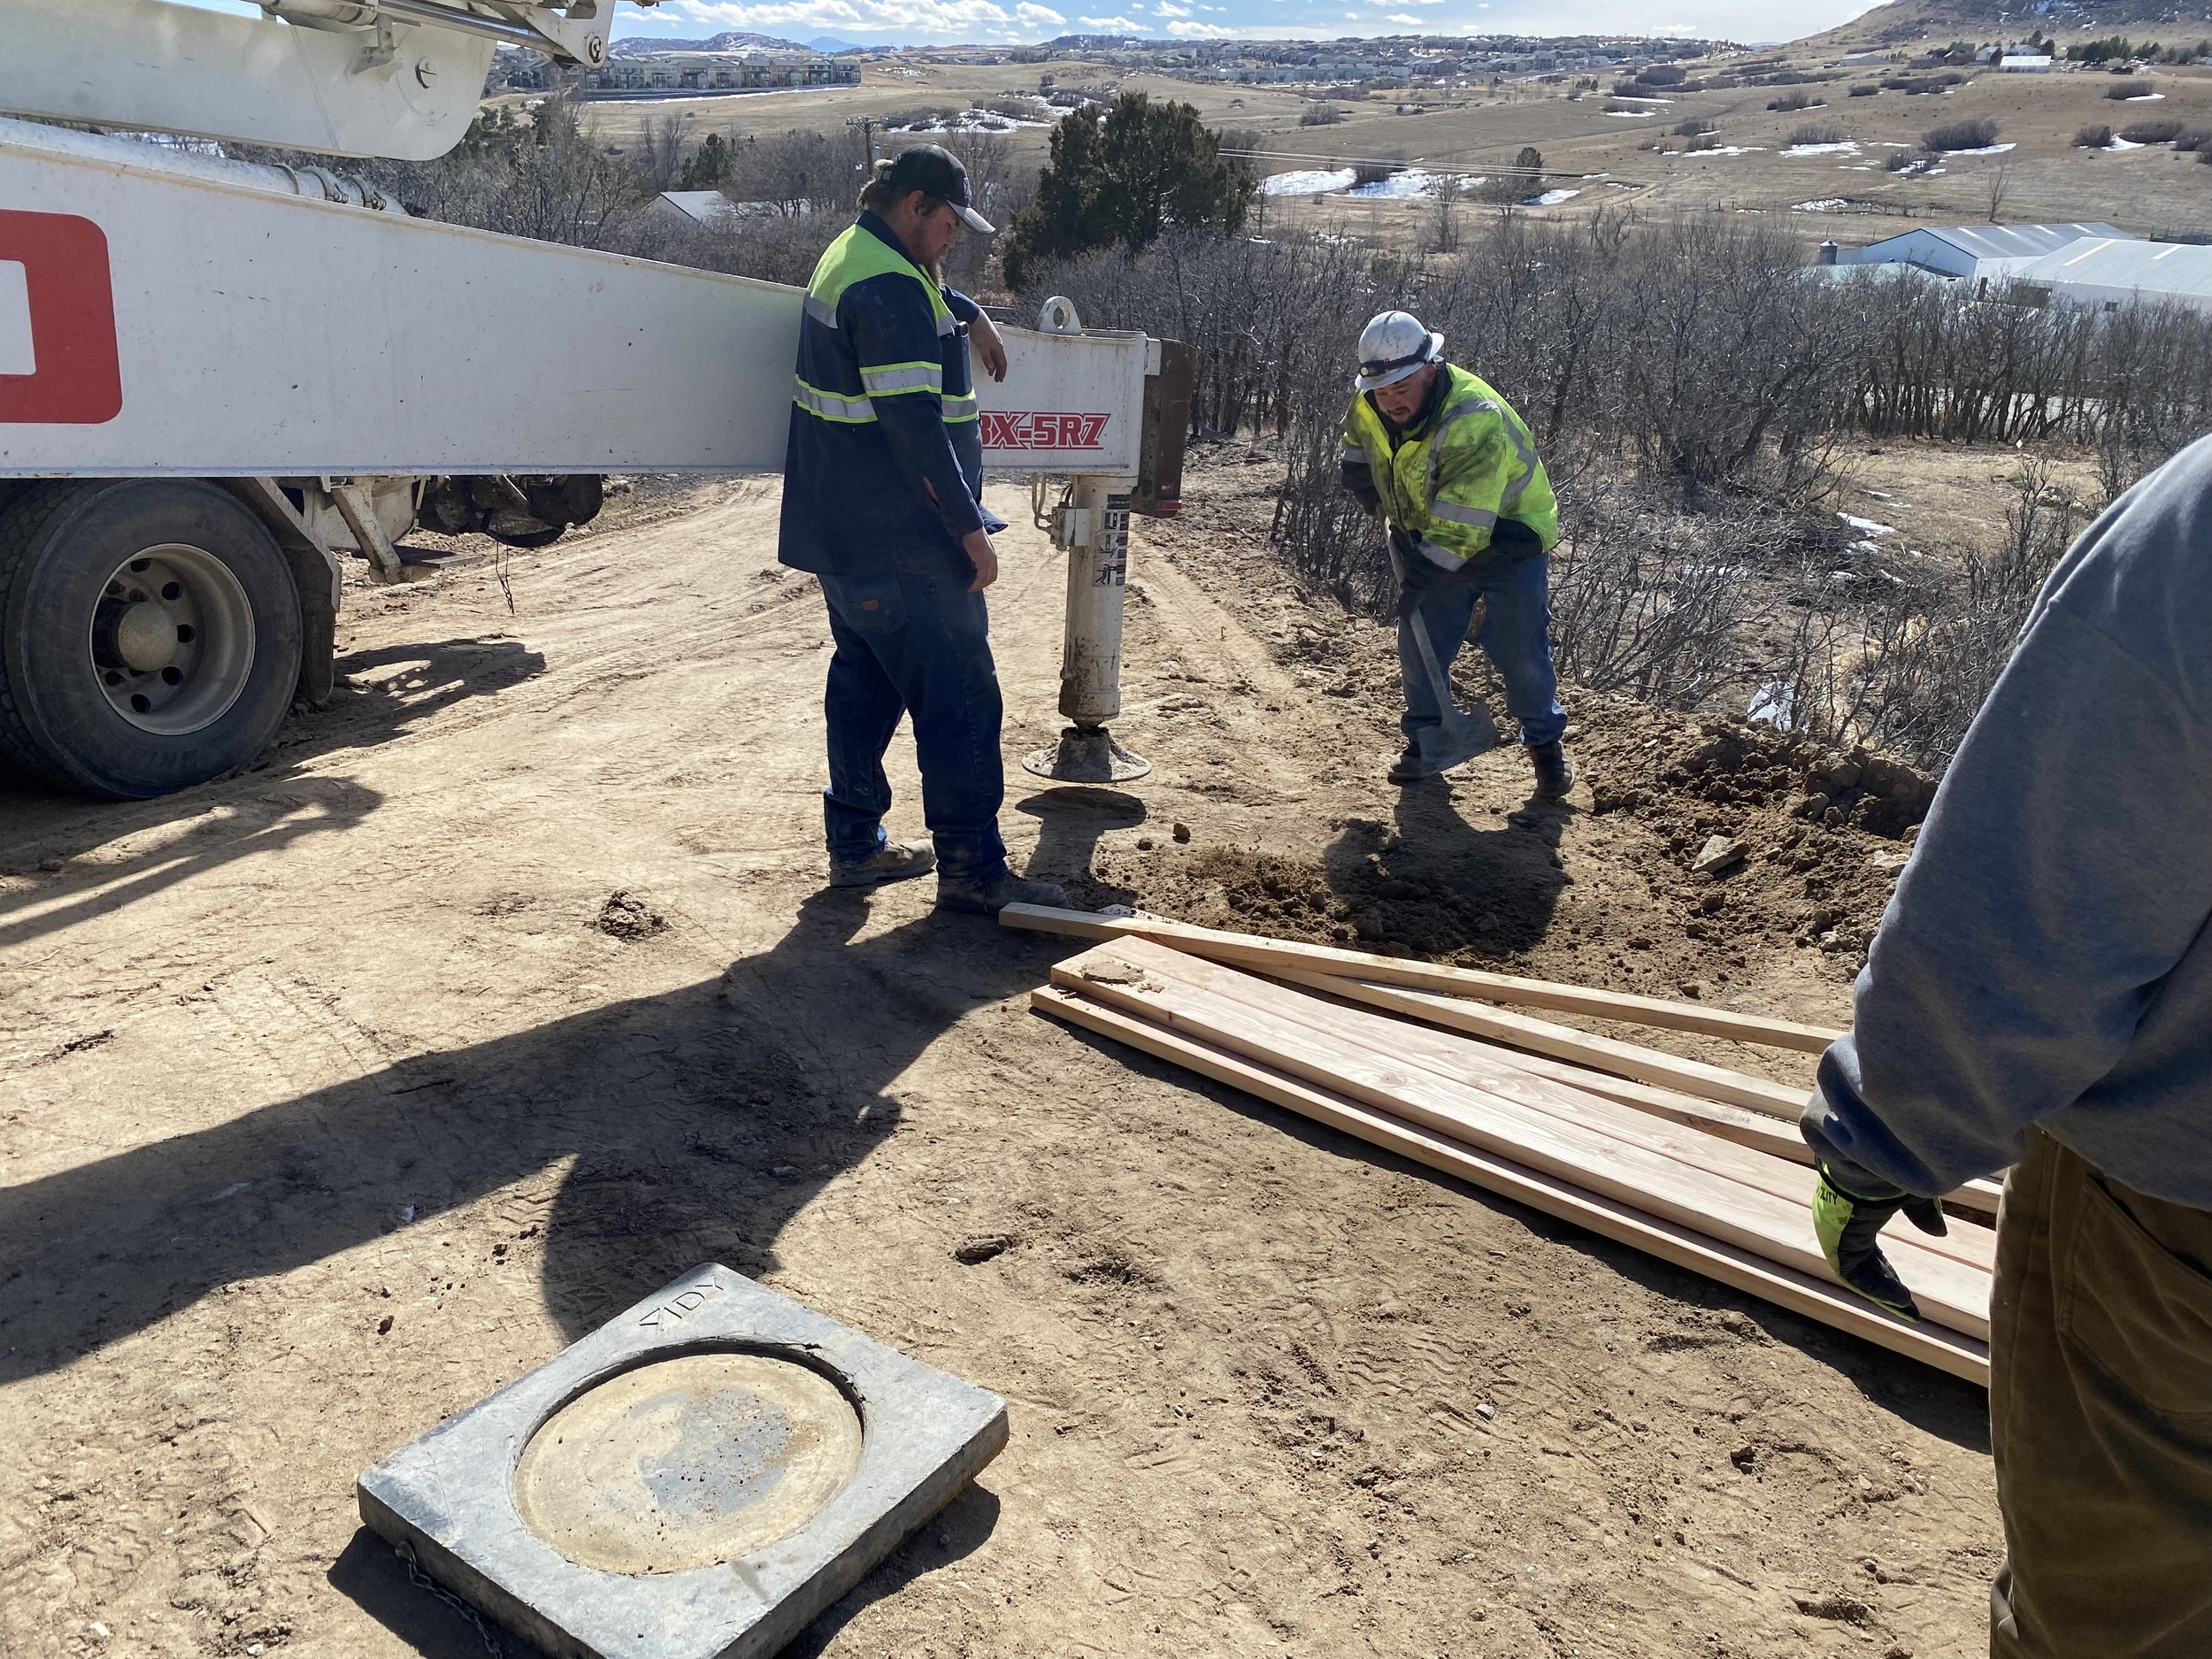
First issue is the foot goes out so far it's now on soft soil and is sinking.
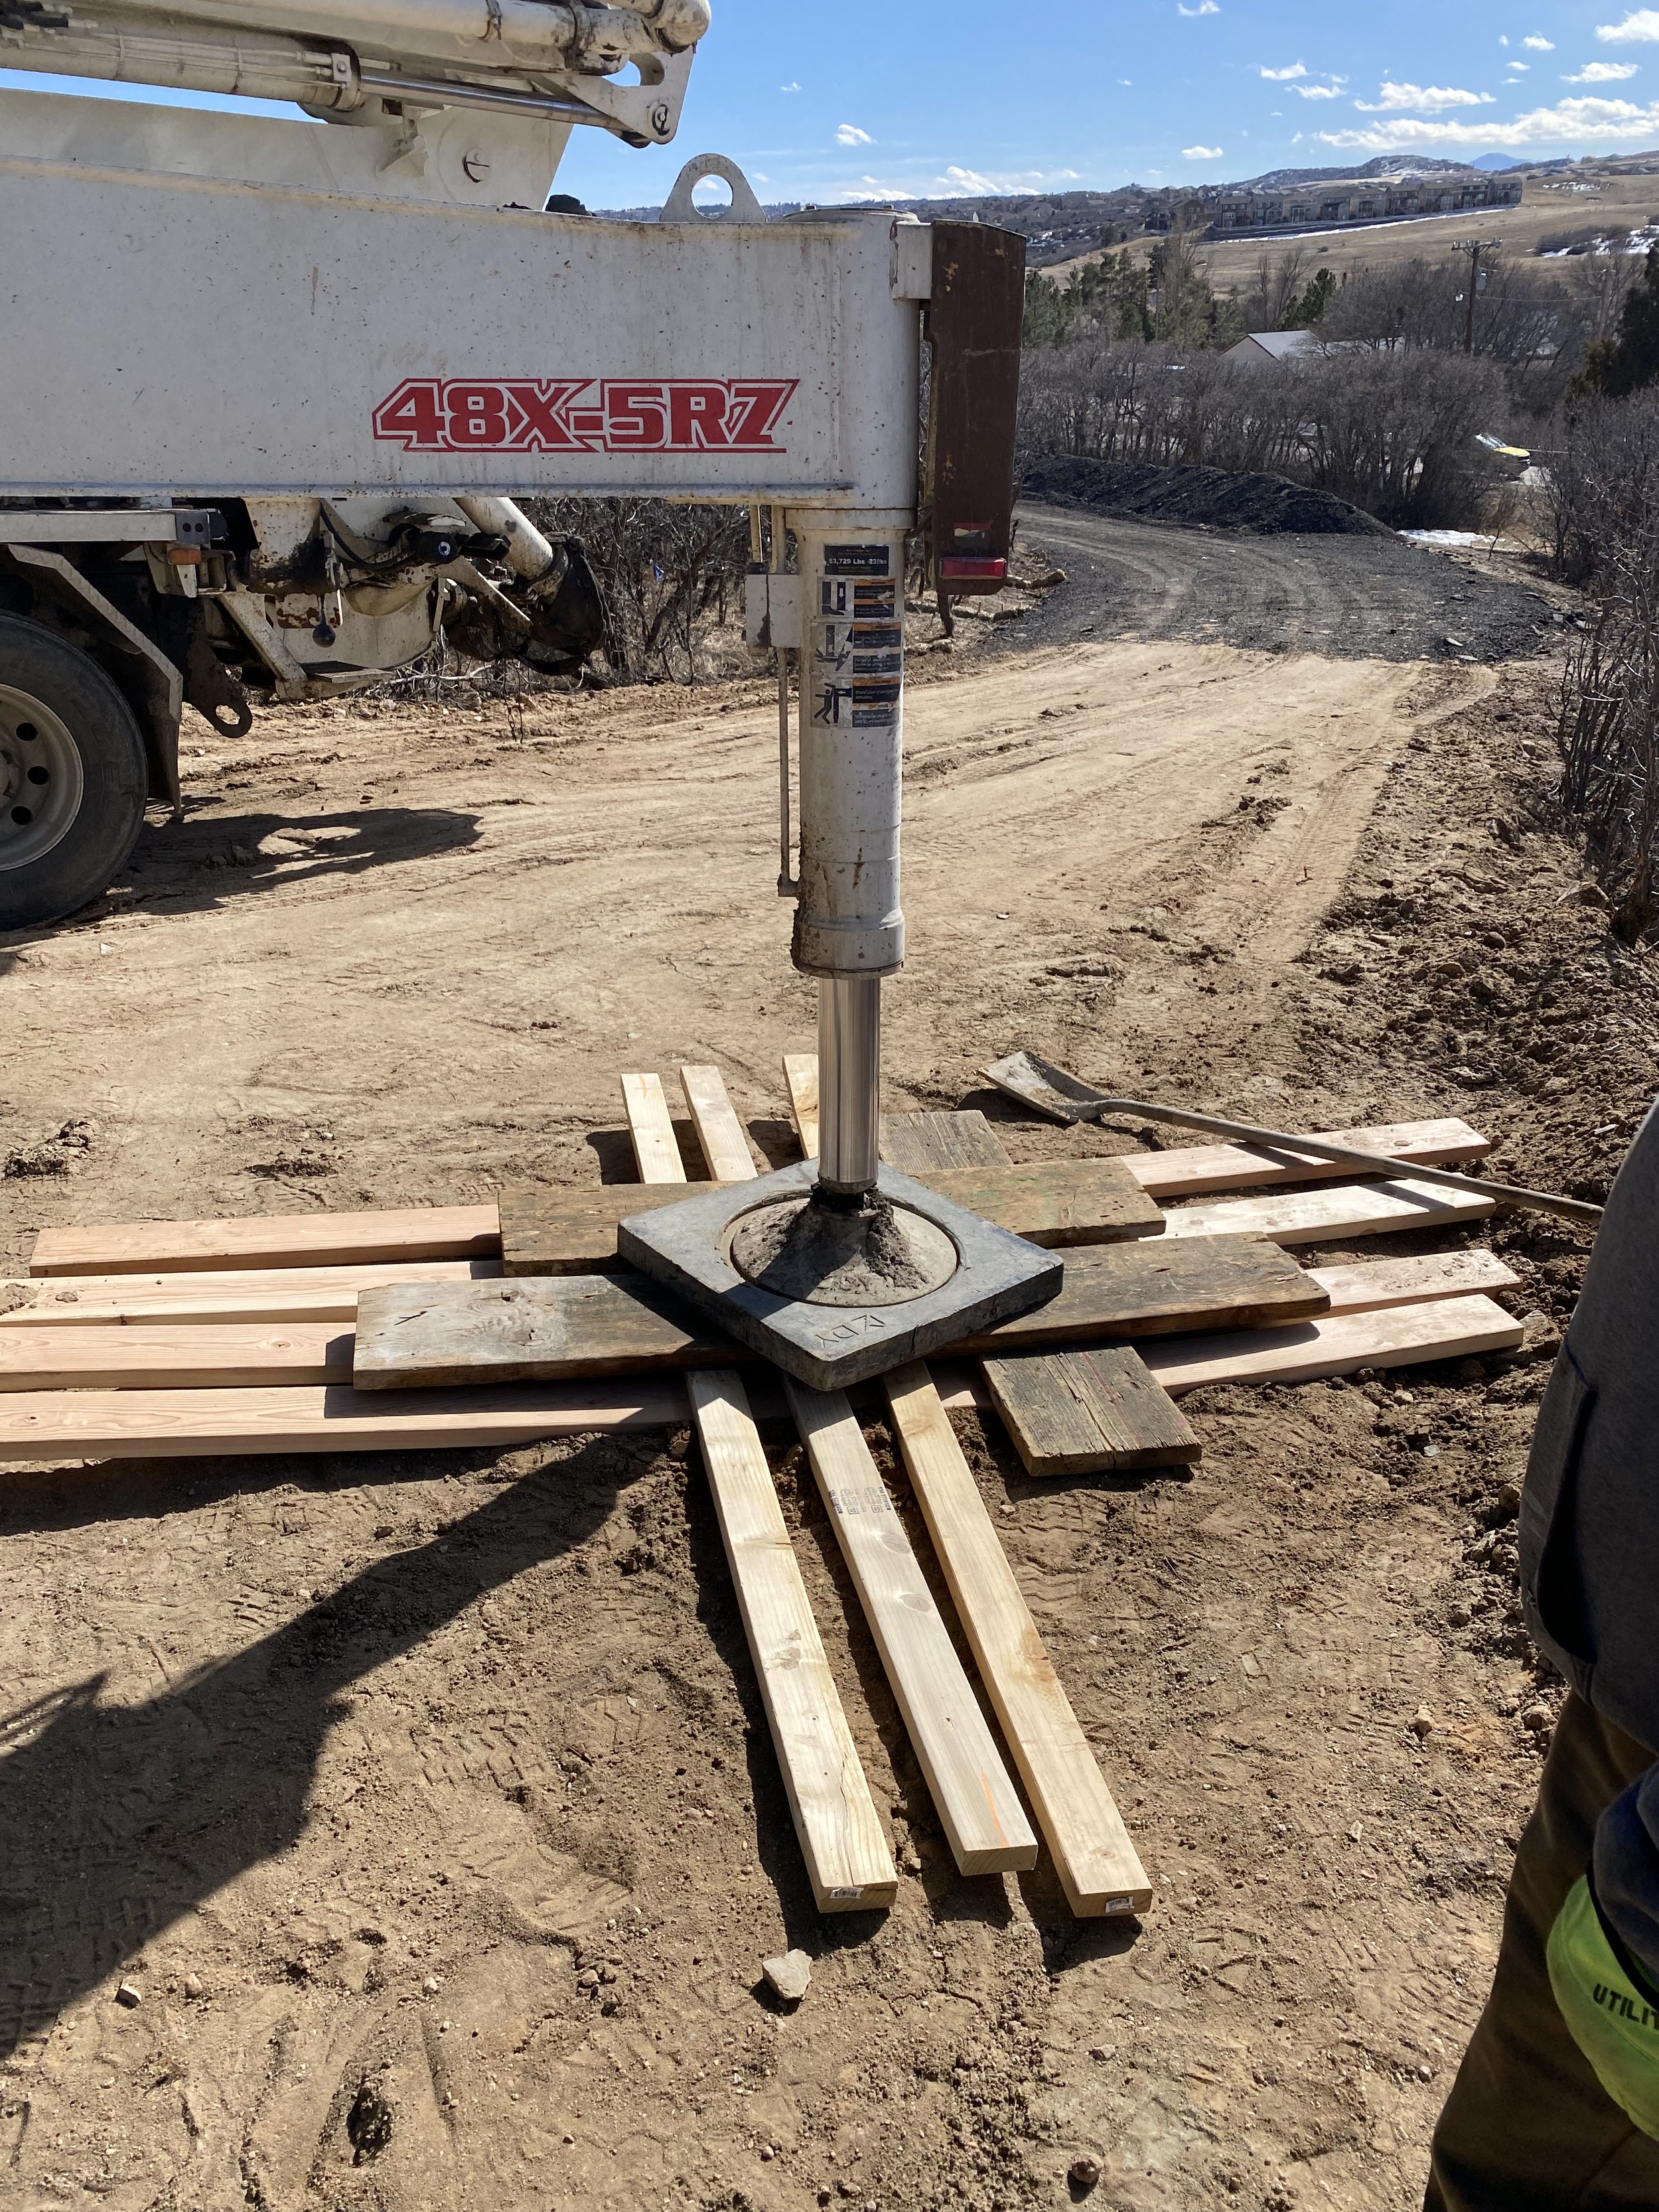
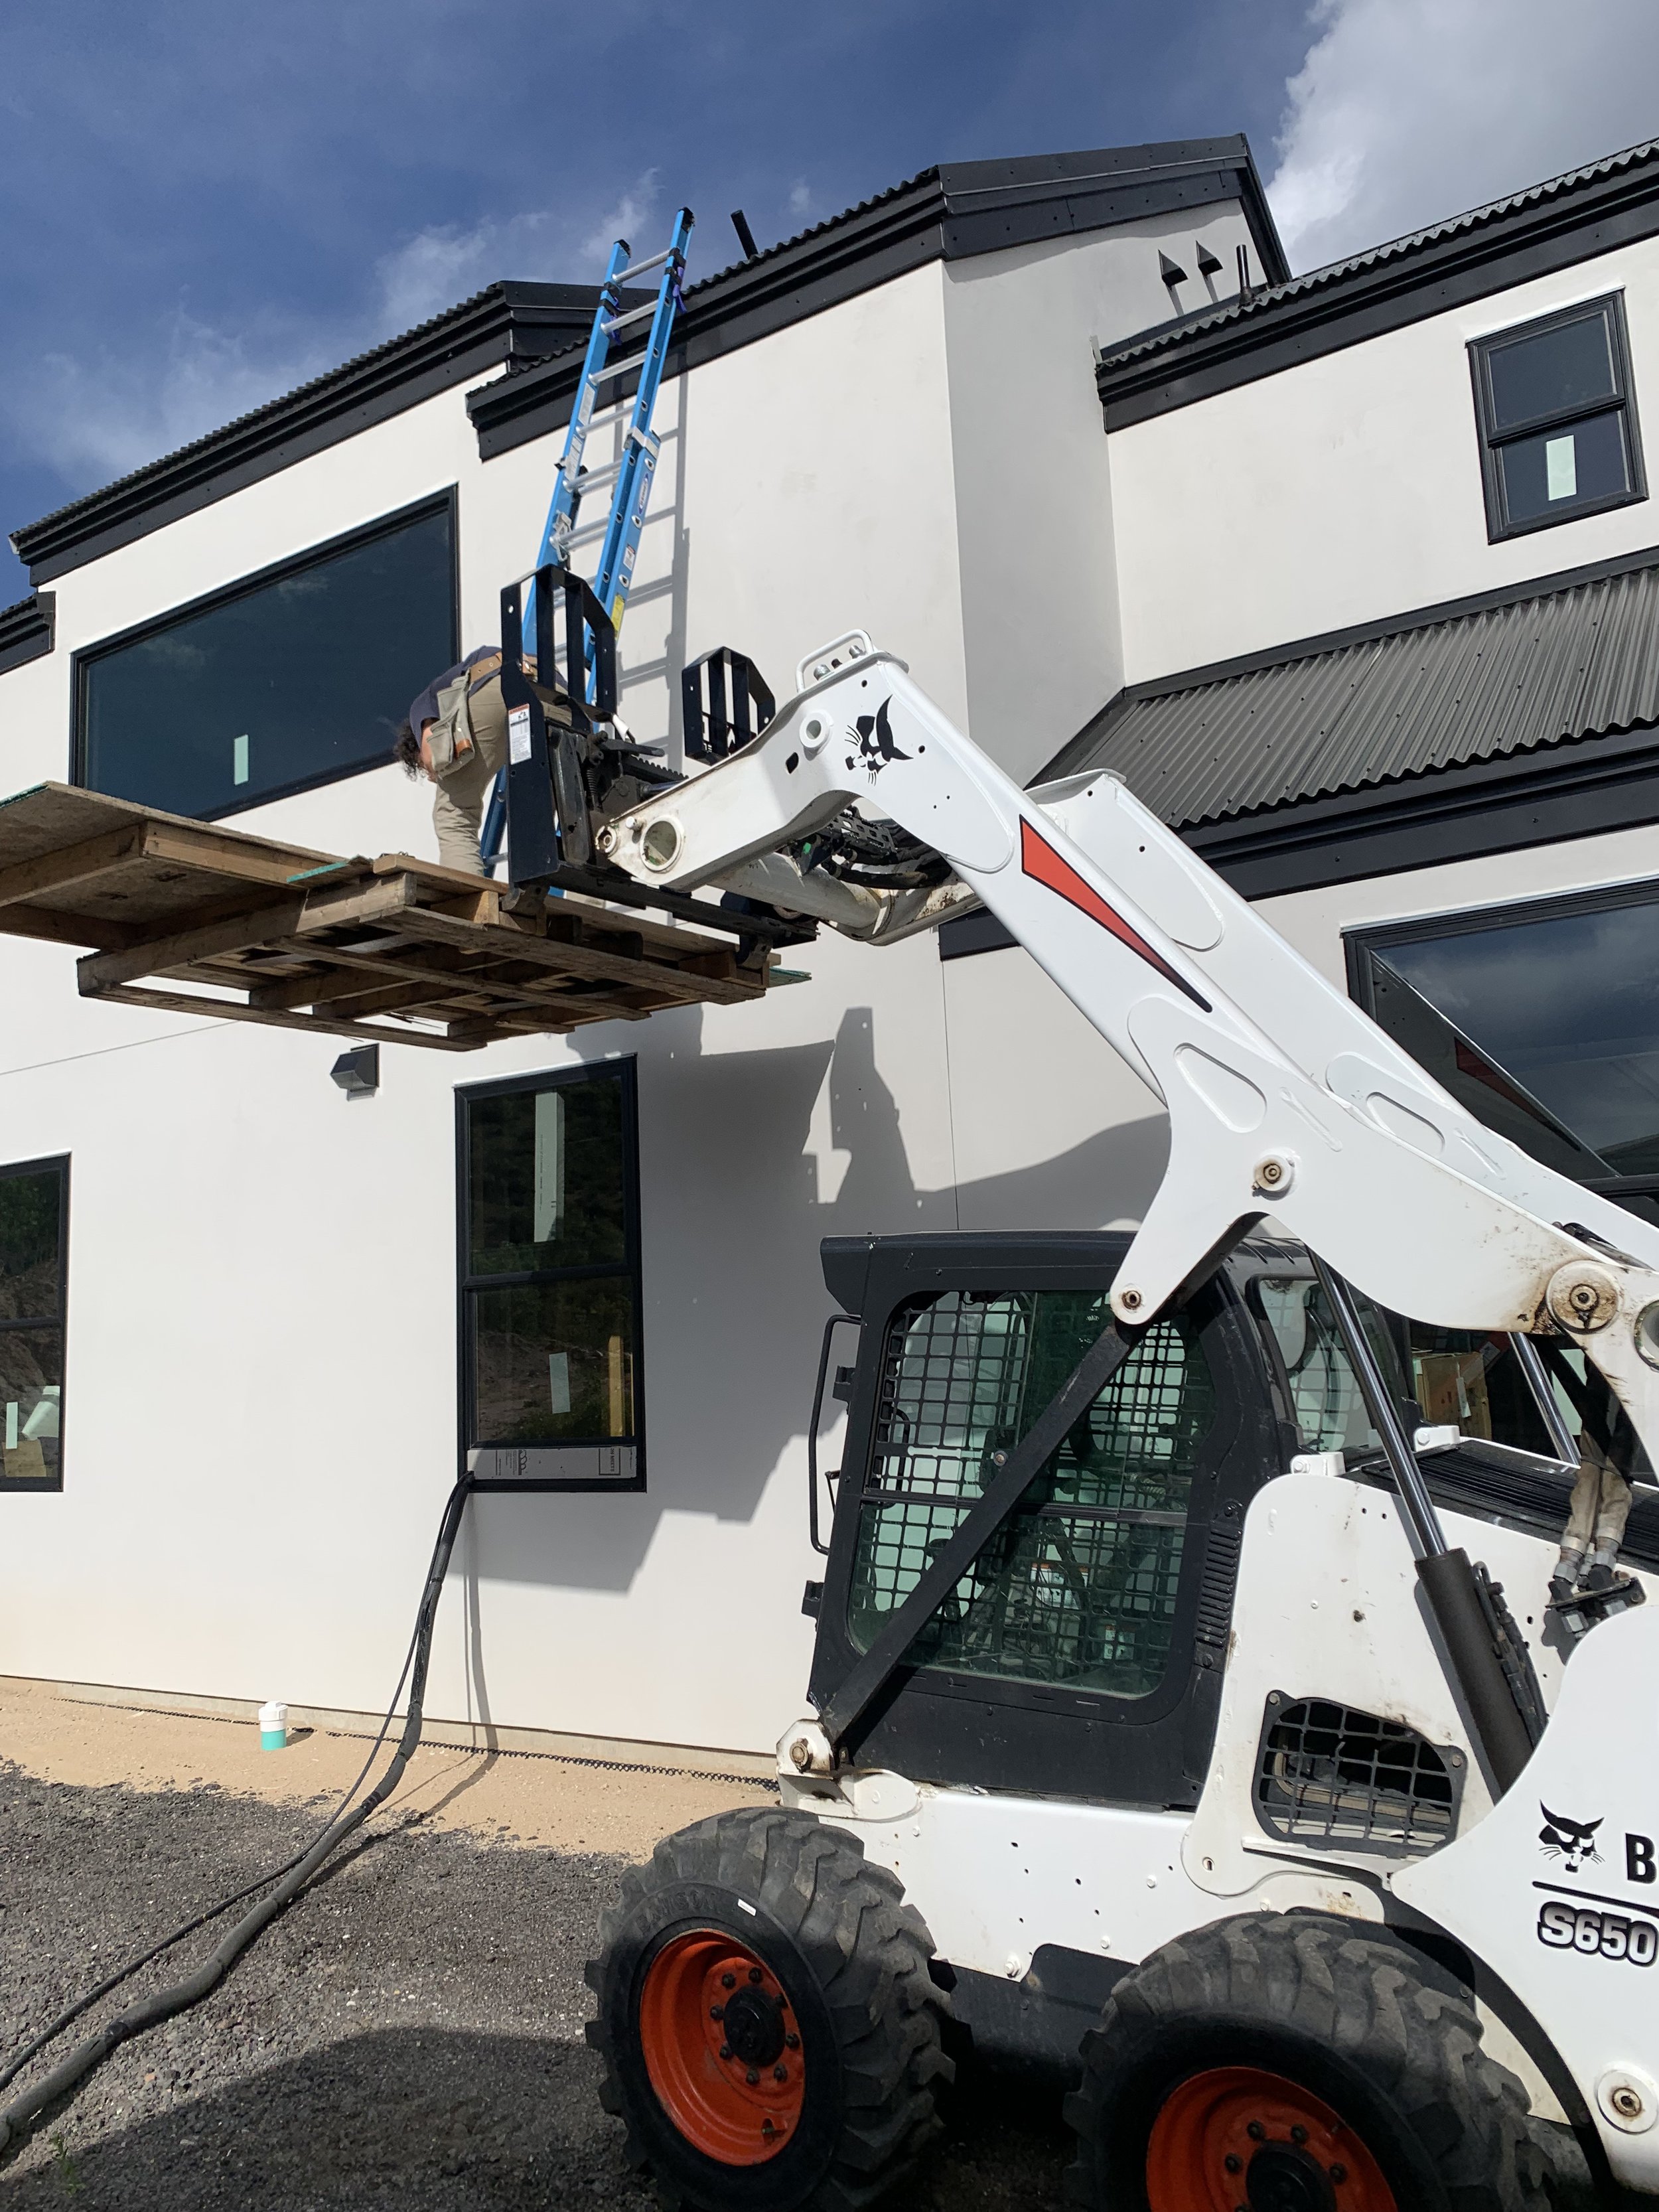
Kris the engineer to the rescue! Make a large platform with our foundation topper wood. Worked like a charm!

Those boards are only slightly bending! Yikes!

Bring on the concrete!

Everyone's very ready to go!

The "beast" starts to unfold.

This rig is absolutely huge! Looks like a transformer bug, right?

A view from farther away. Definitely looks like a construction site.
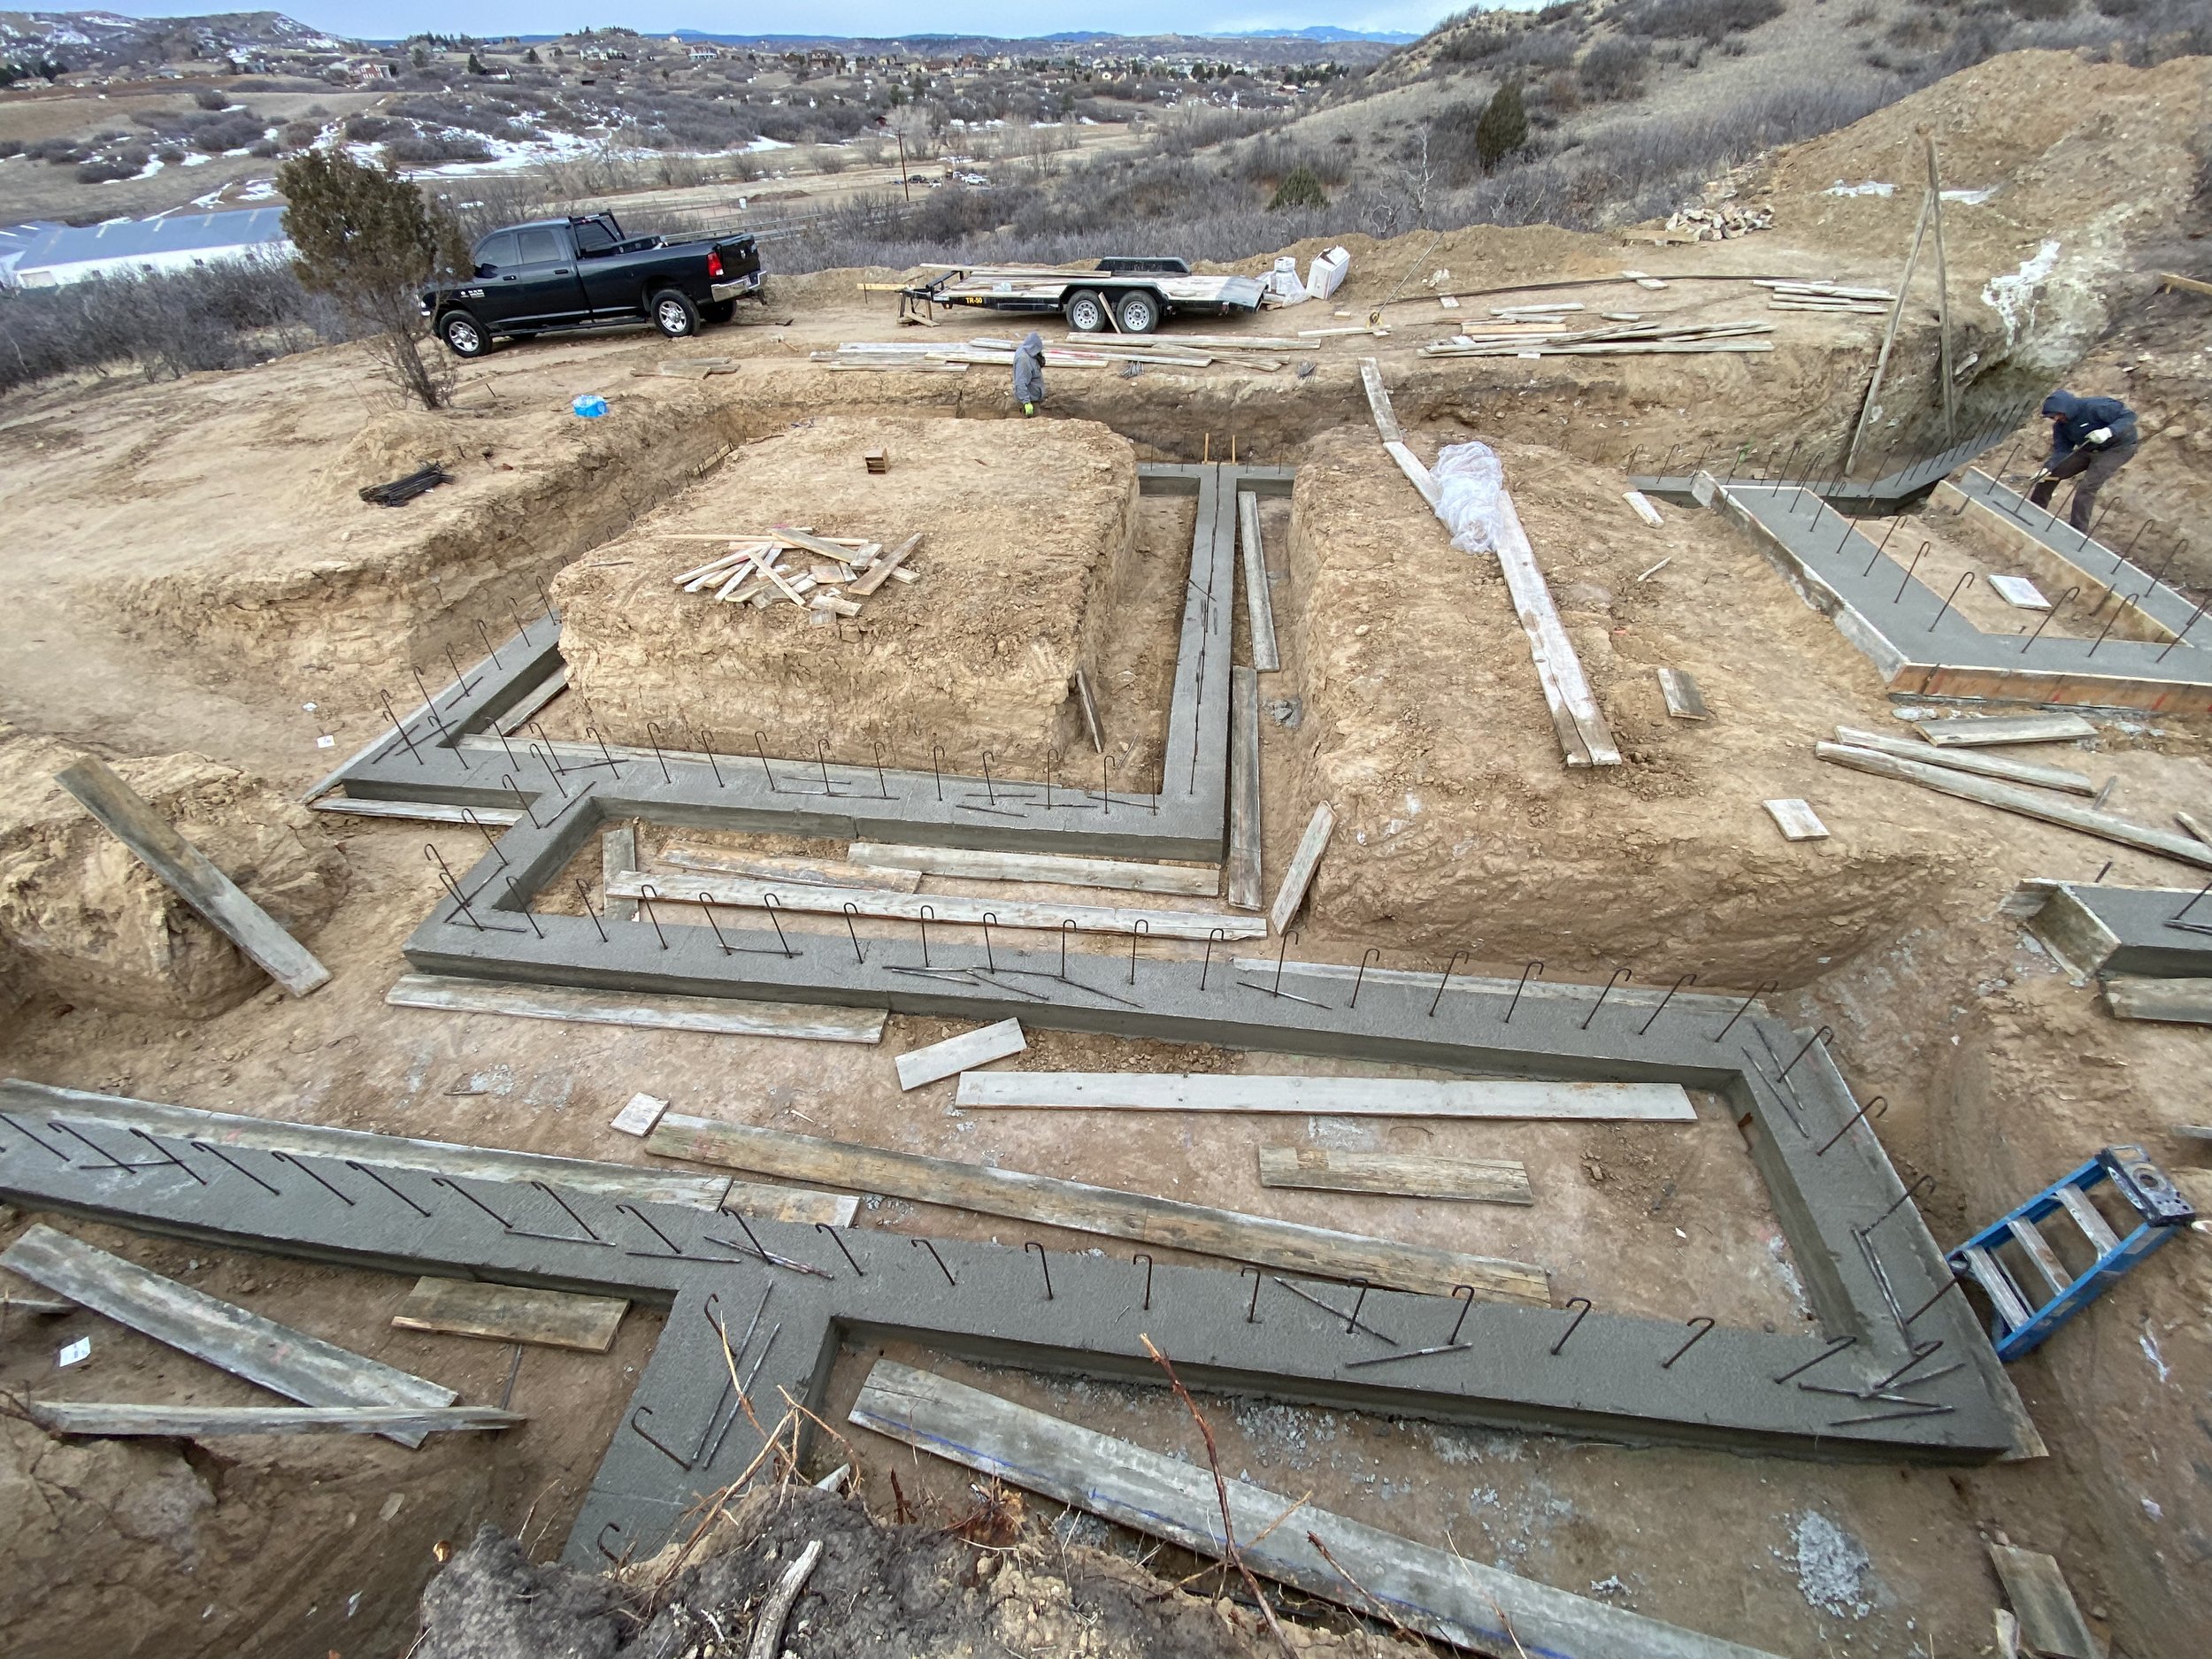
...and the concrete flows!

Precision pouring!

This will support retaining wall!

Making quick work of this job.

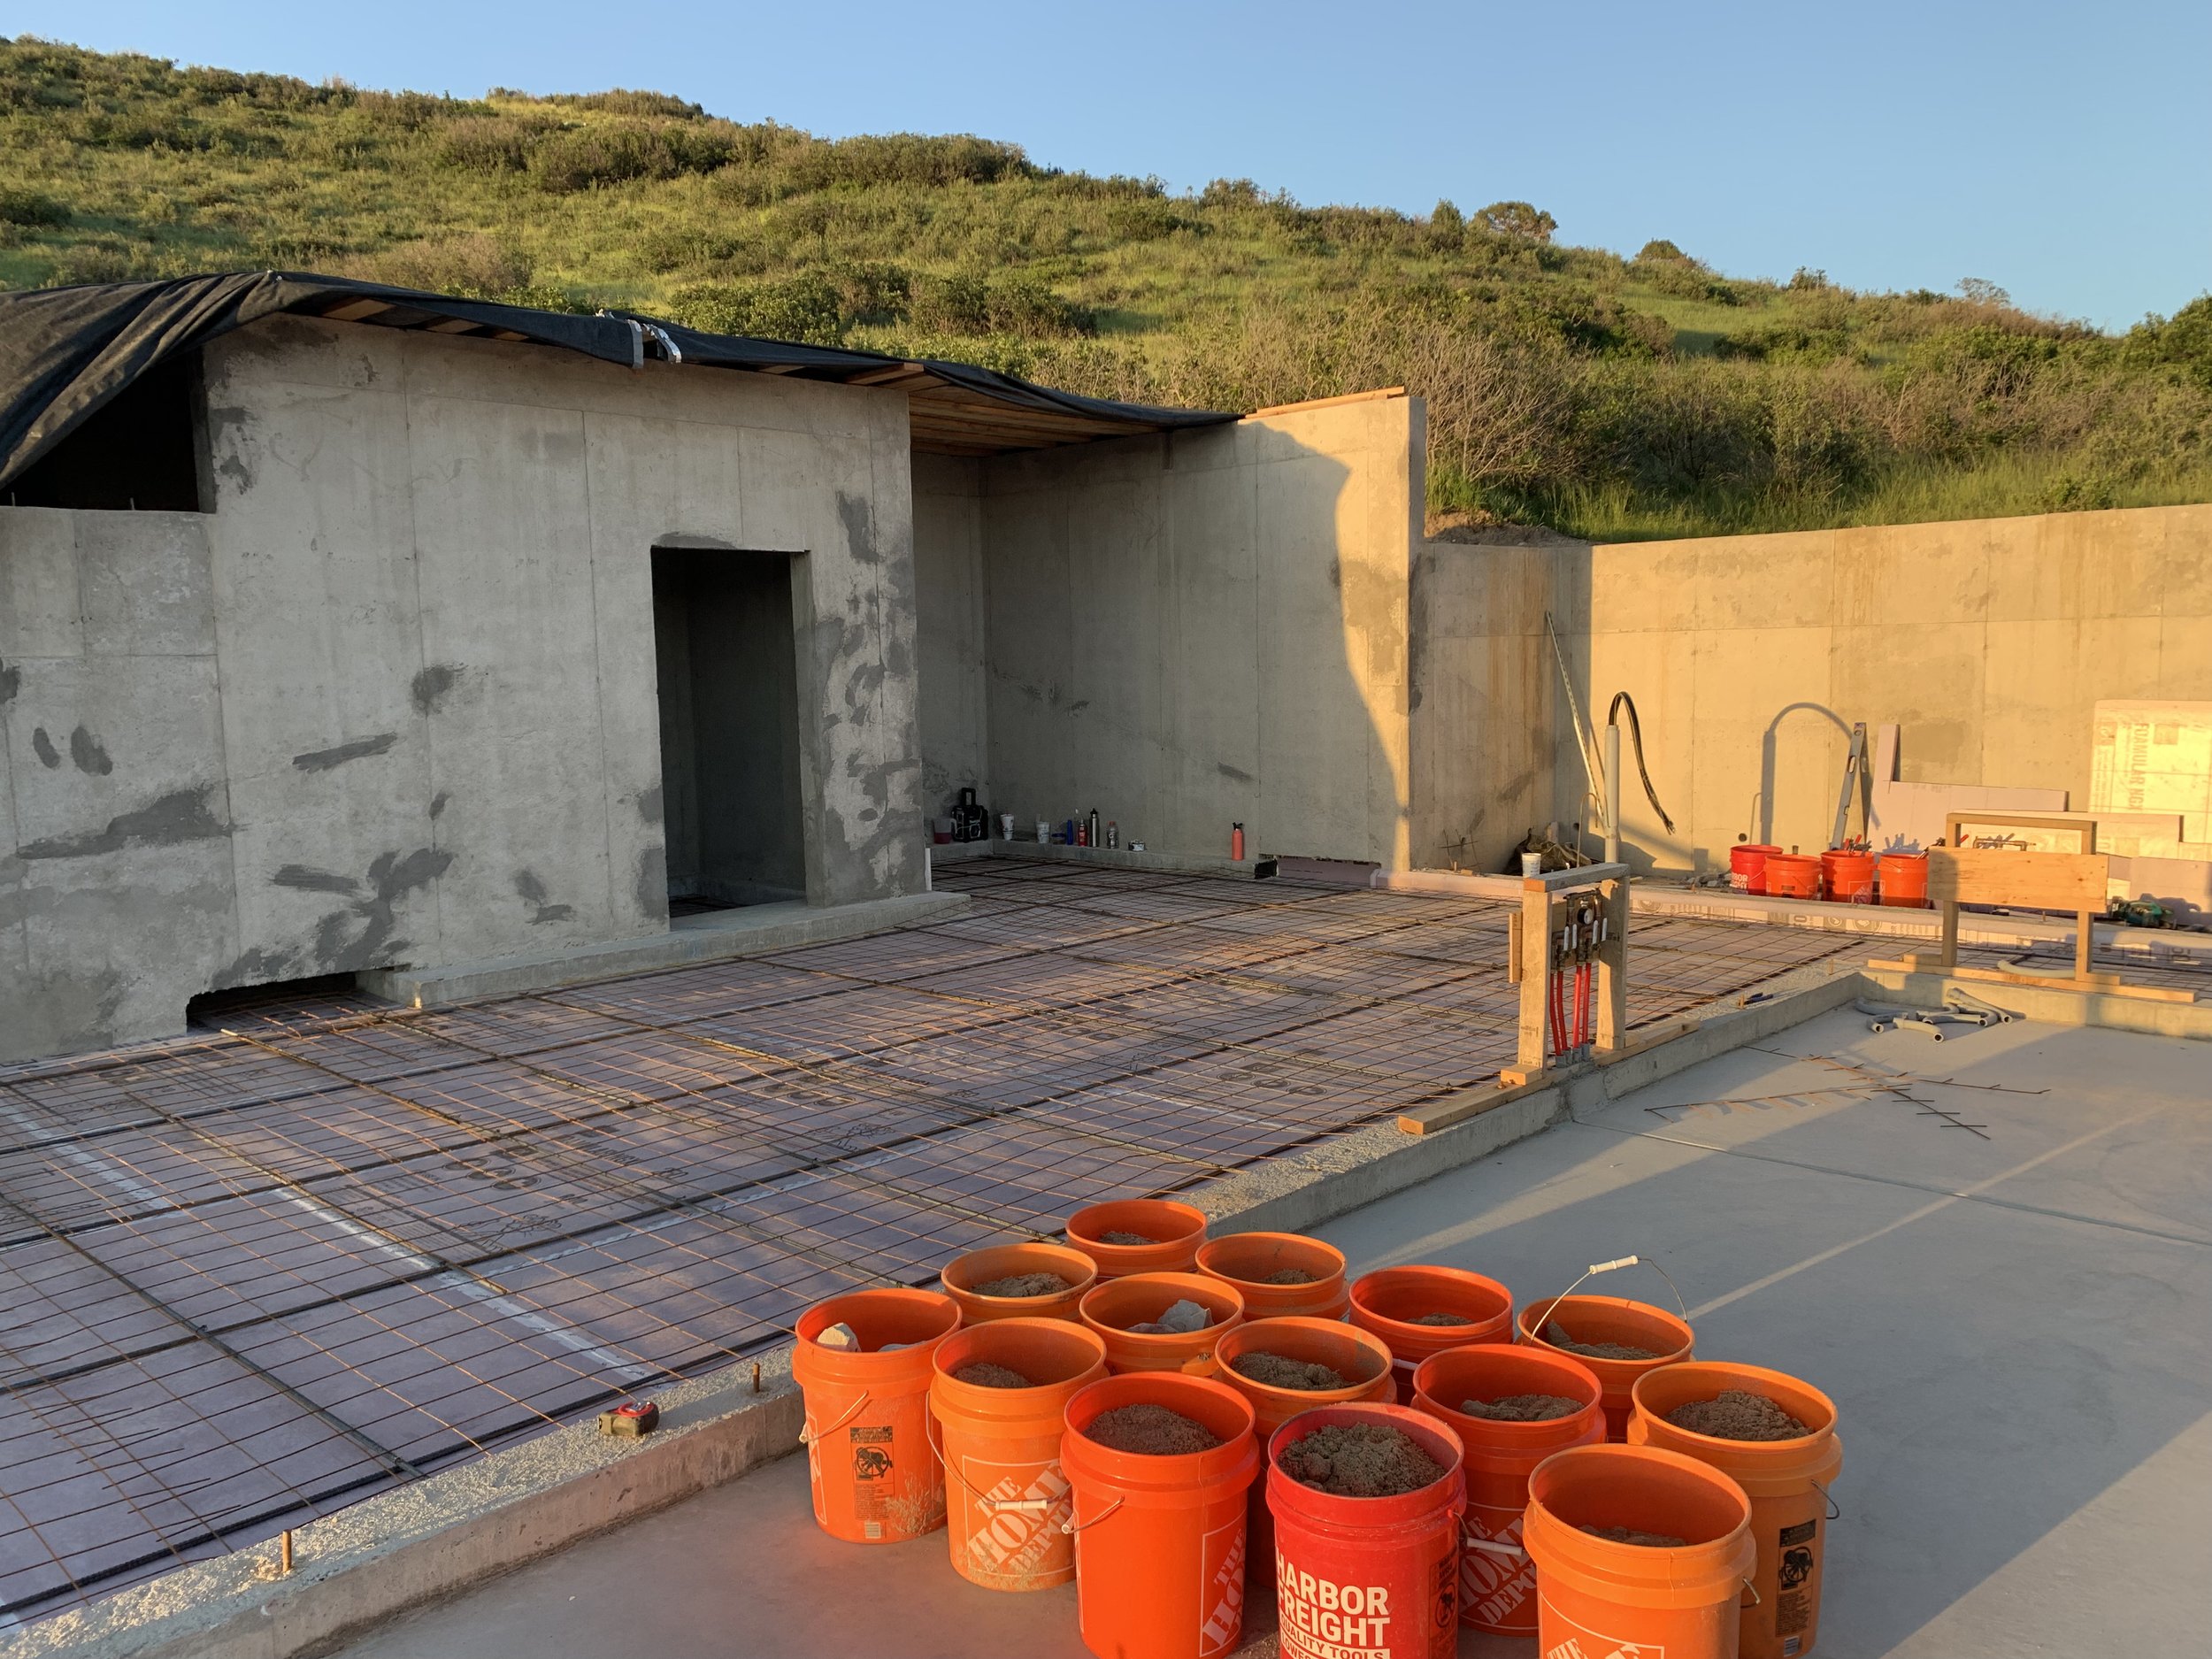
Rebar is put in place. Apparently the candy cane look is for safety in case someone falls in the hole! Hmm, I think that would still cause some damage.

So neat and tidy looking.

Perfection!

A bit closer look.
The forms are removed and the footings are officially complete! Only took us 5 years to get here!

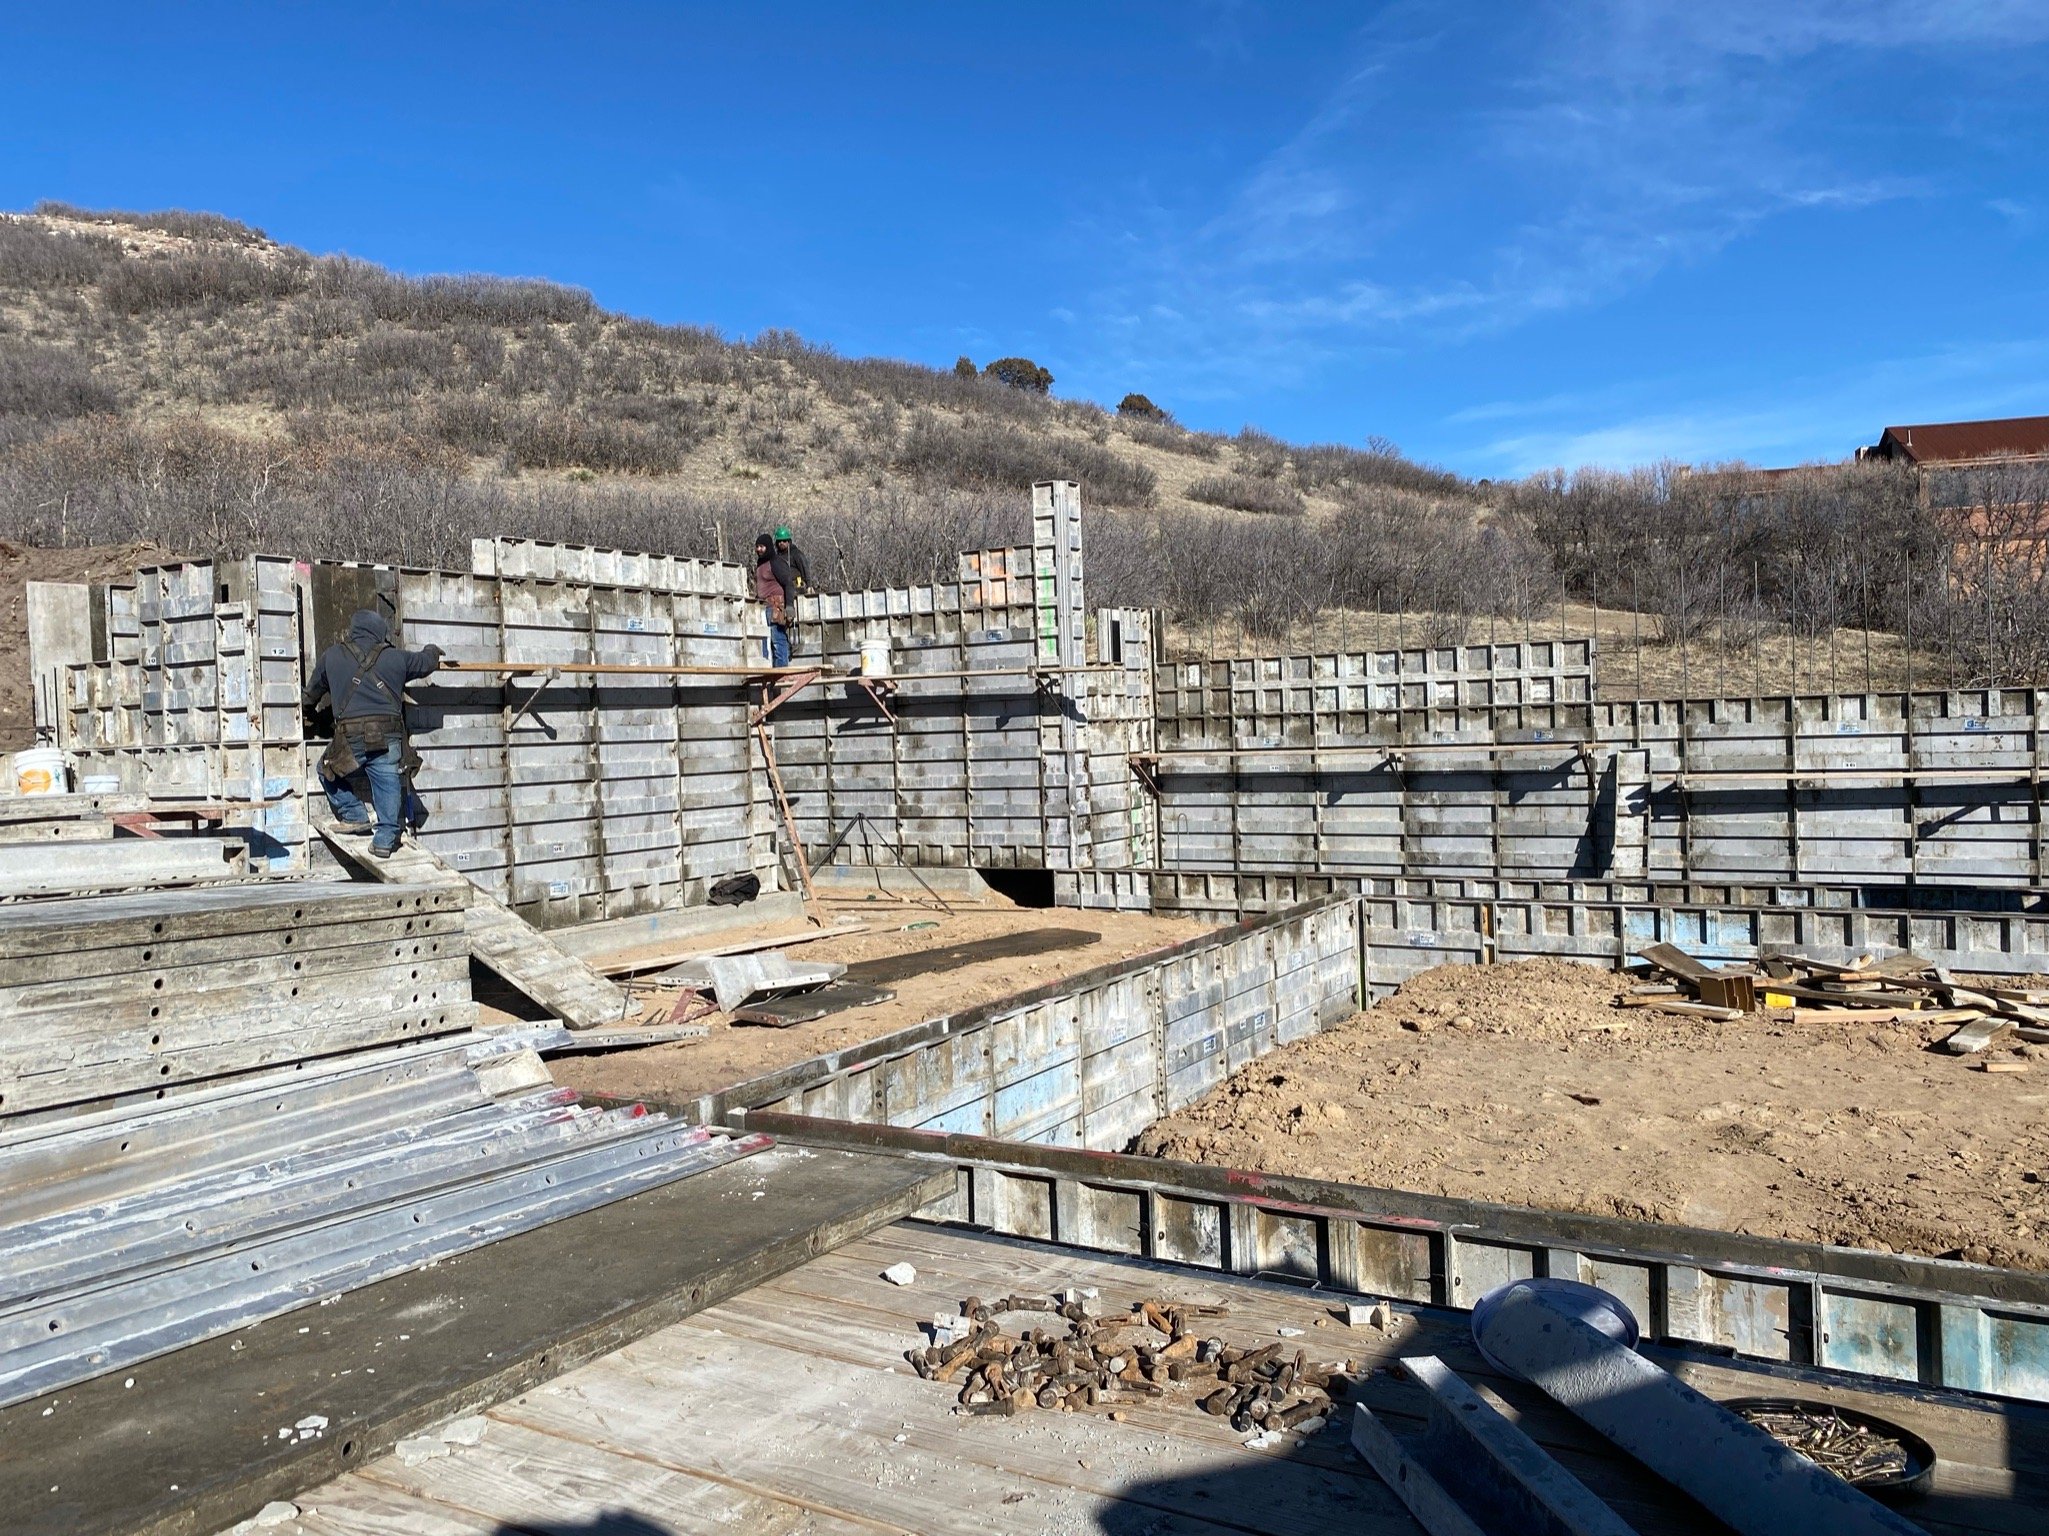
Foundation wall forms are delivered!

The crew starts to organize the forms.

Assembly begins.

For newbies to foundation work (like me!) the concrete will be poured in between the wall panels once they're all in place.
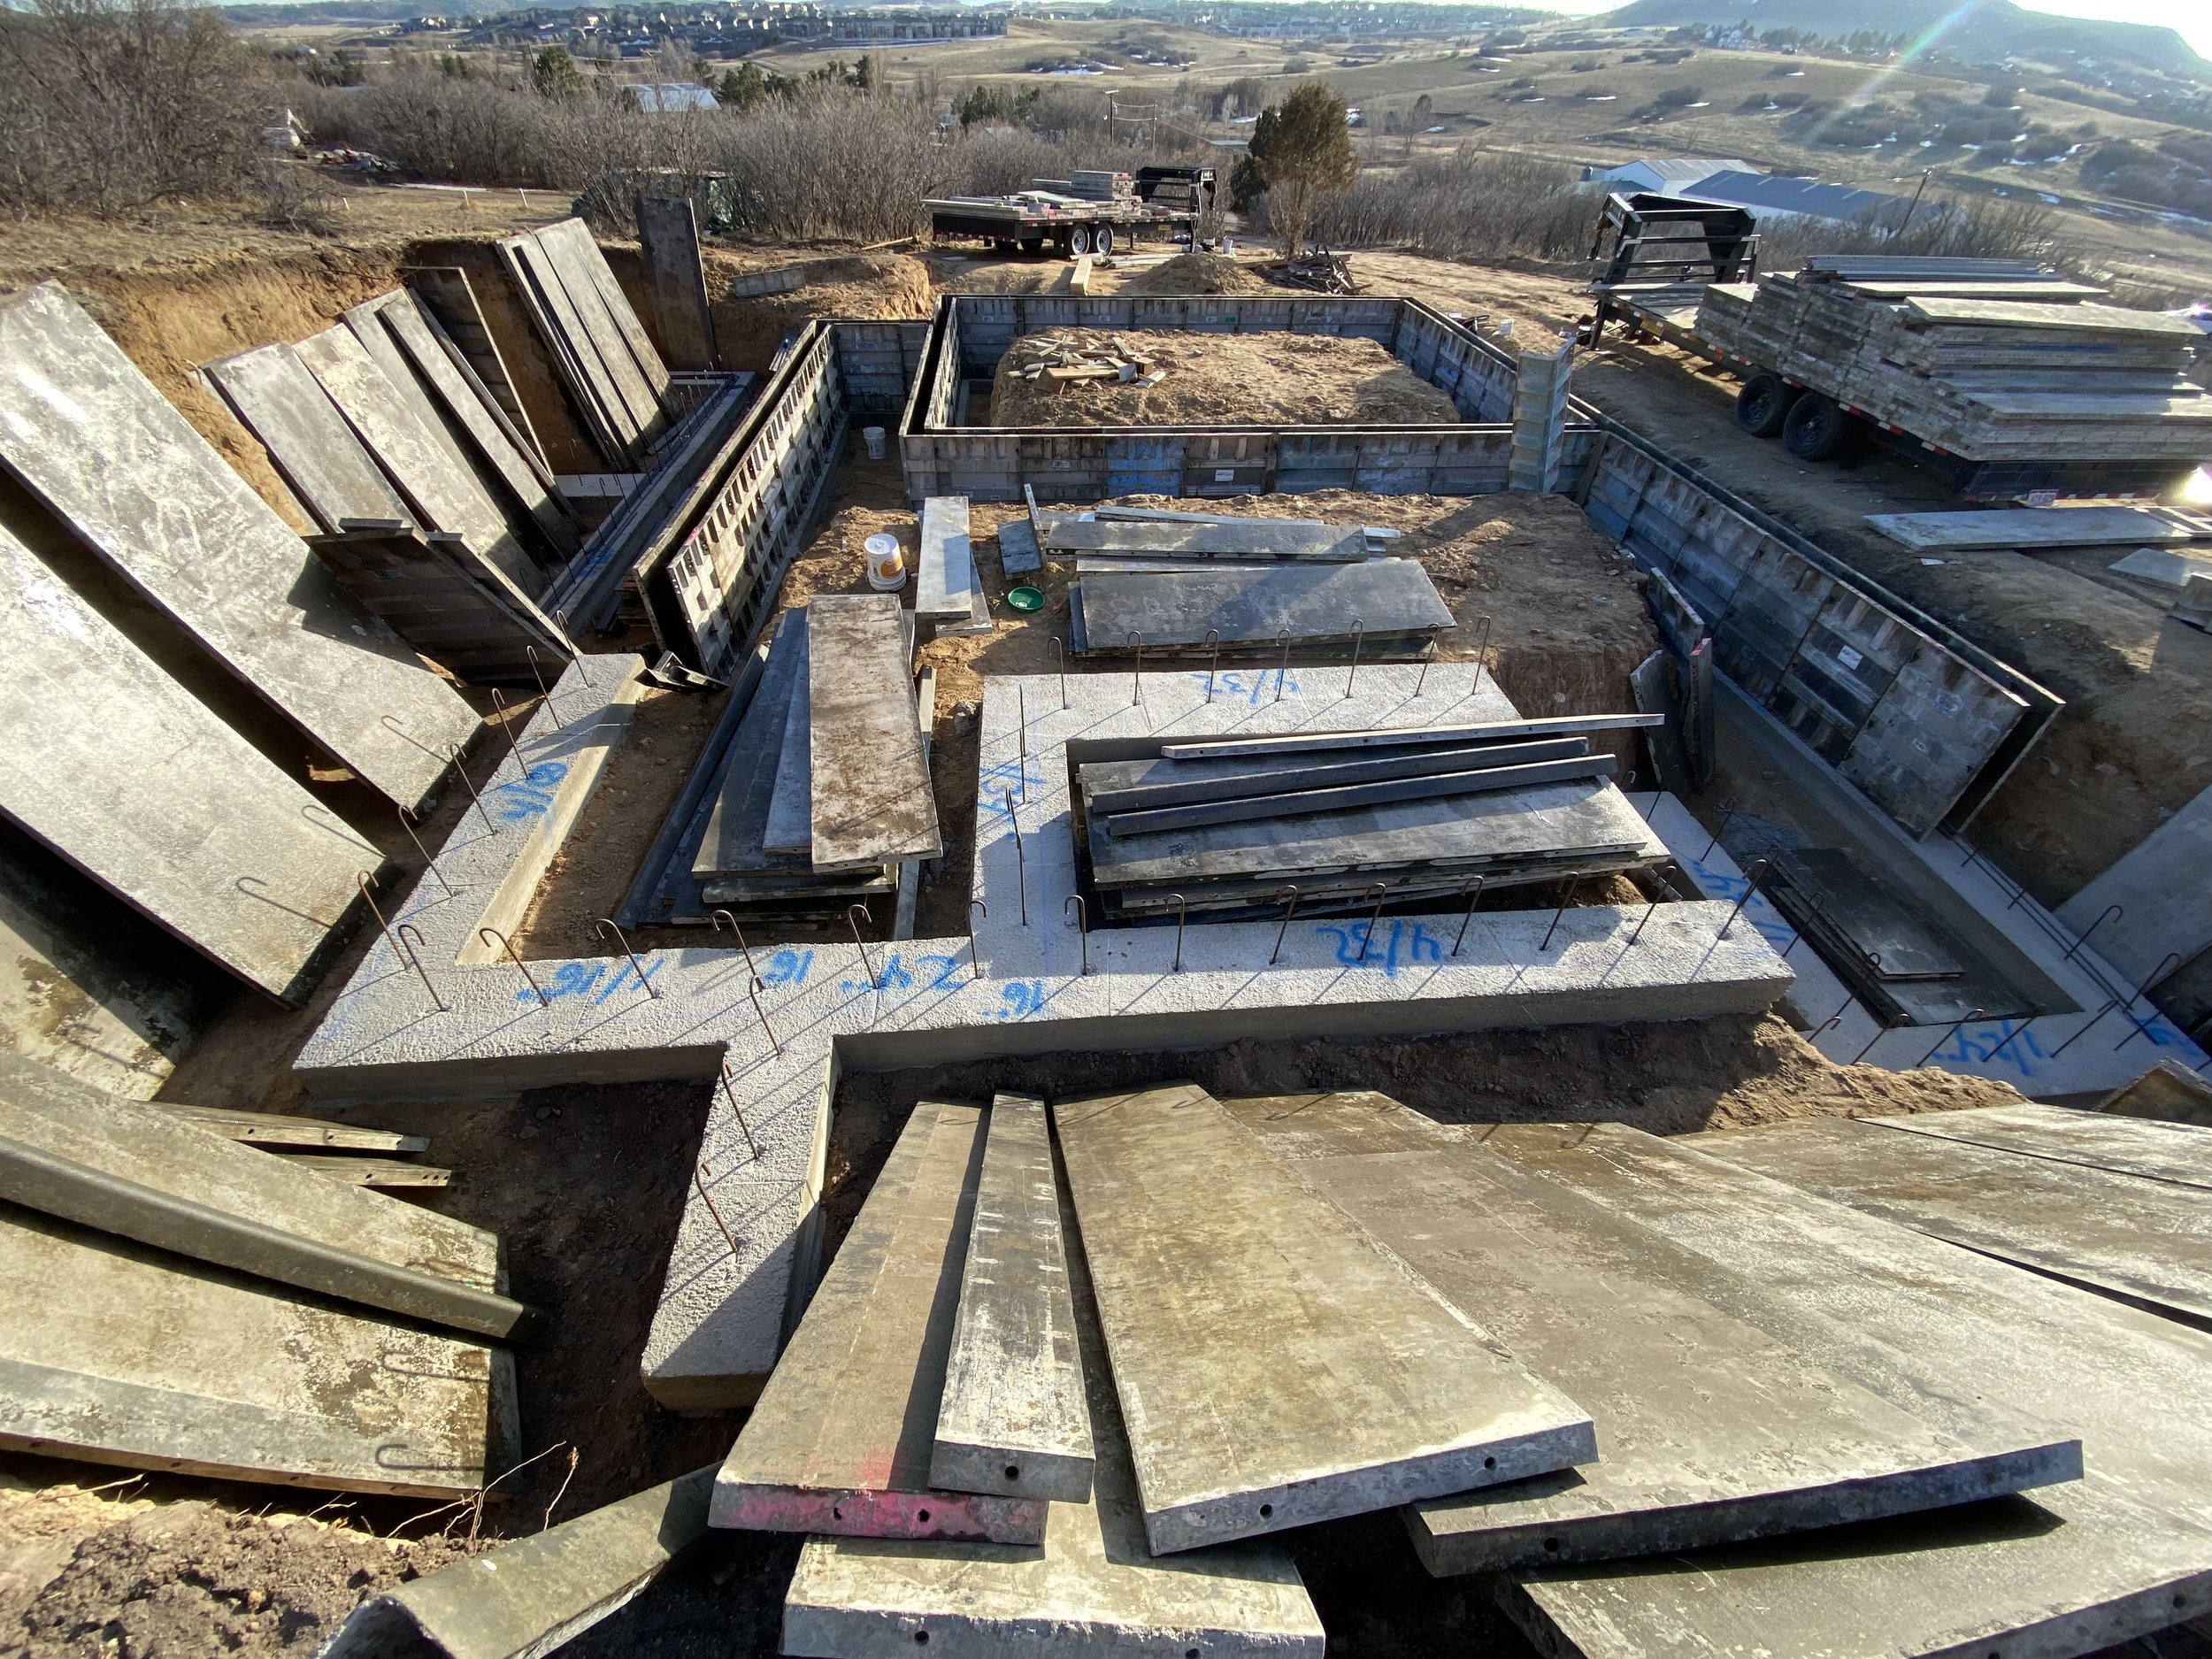
Not sure how they can keep track! This is like a giant jigsaw puzzle!

The long end section is going to be part of our massive retaining wall.
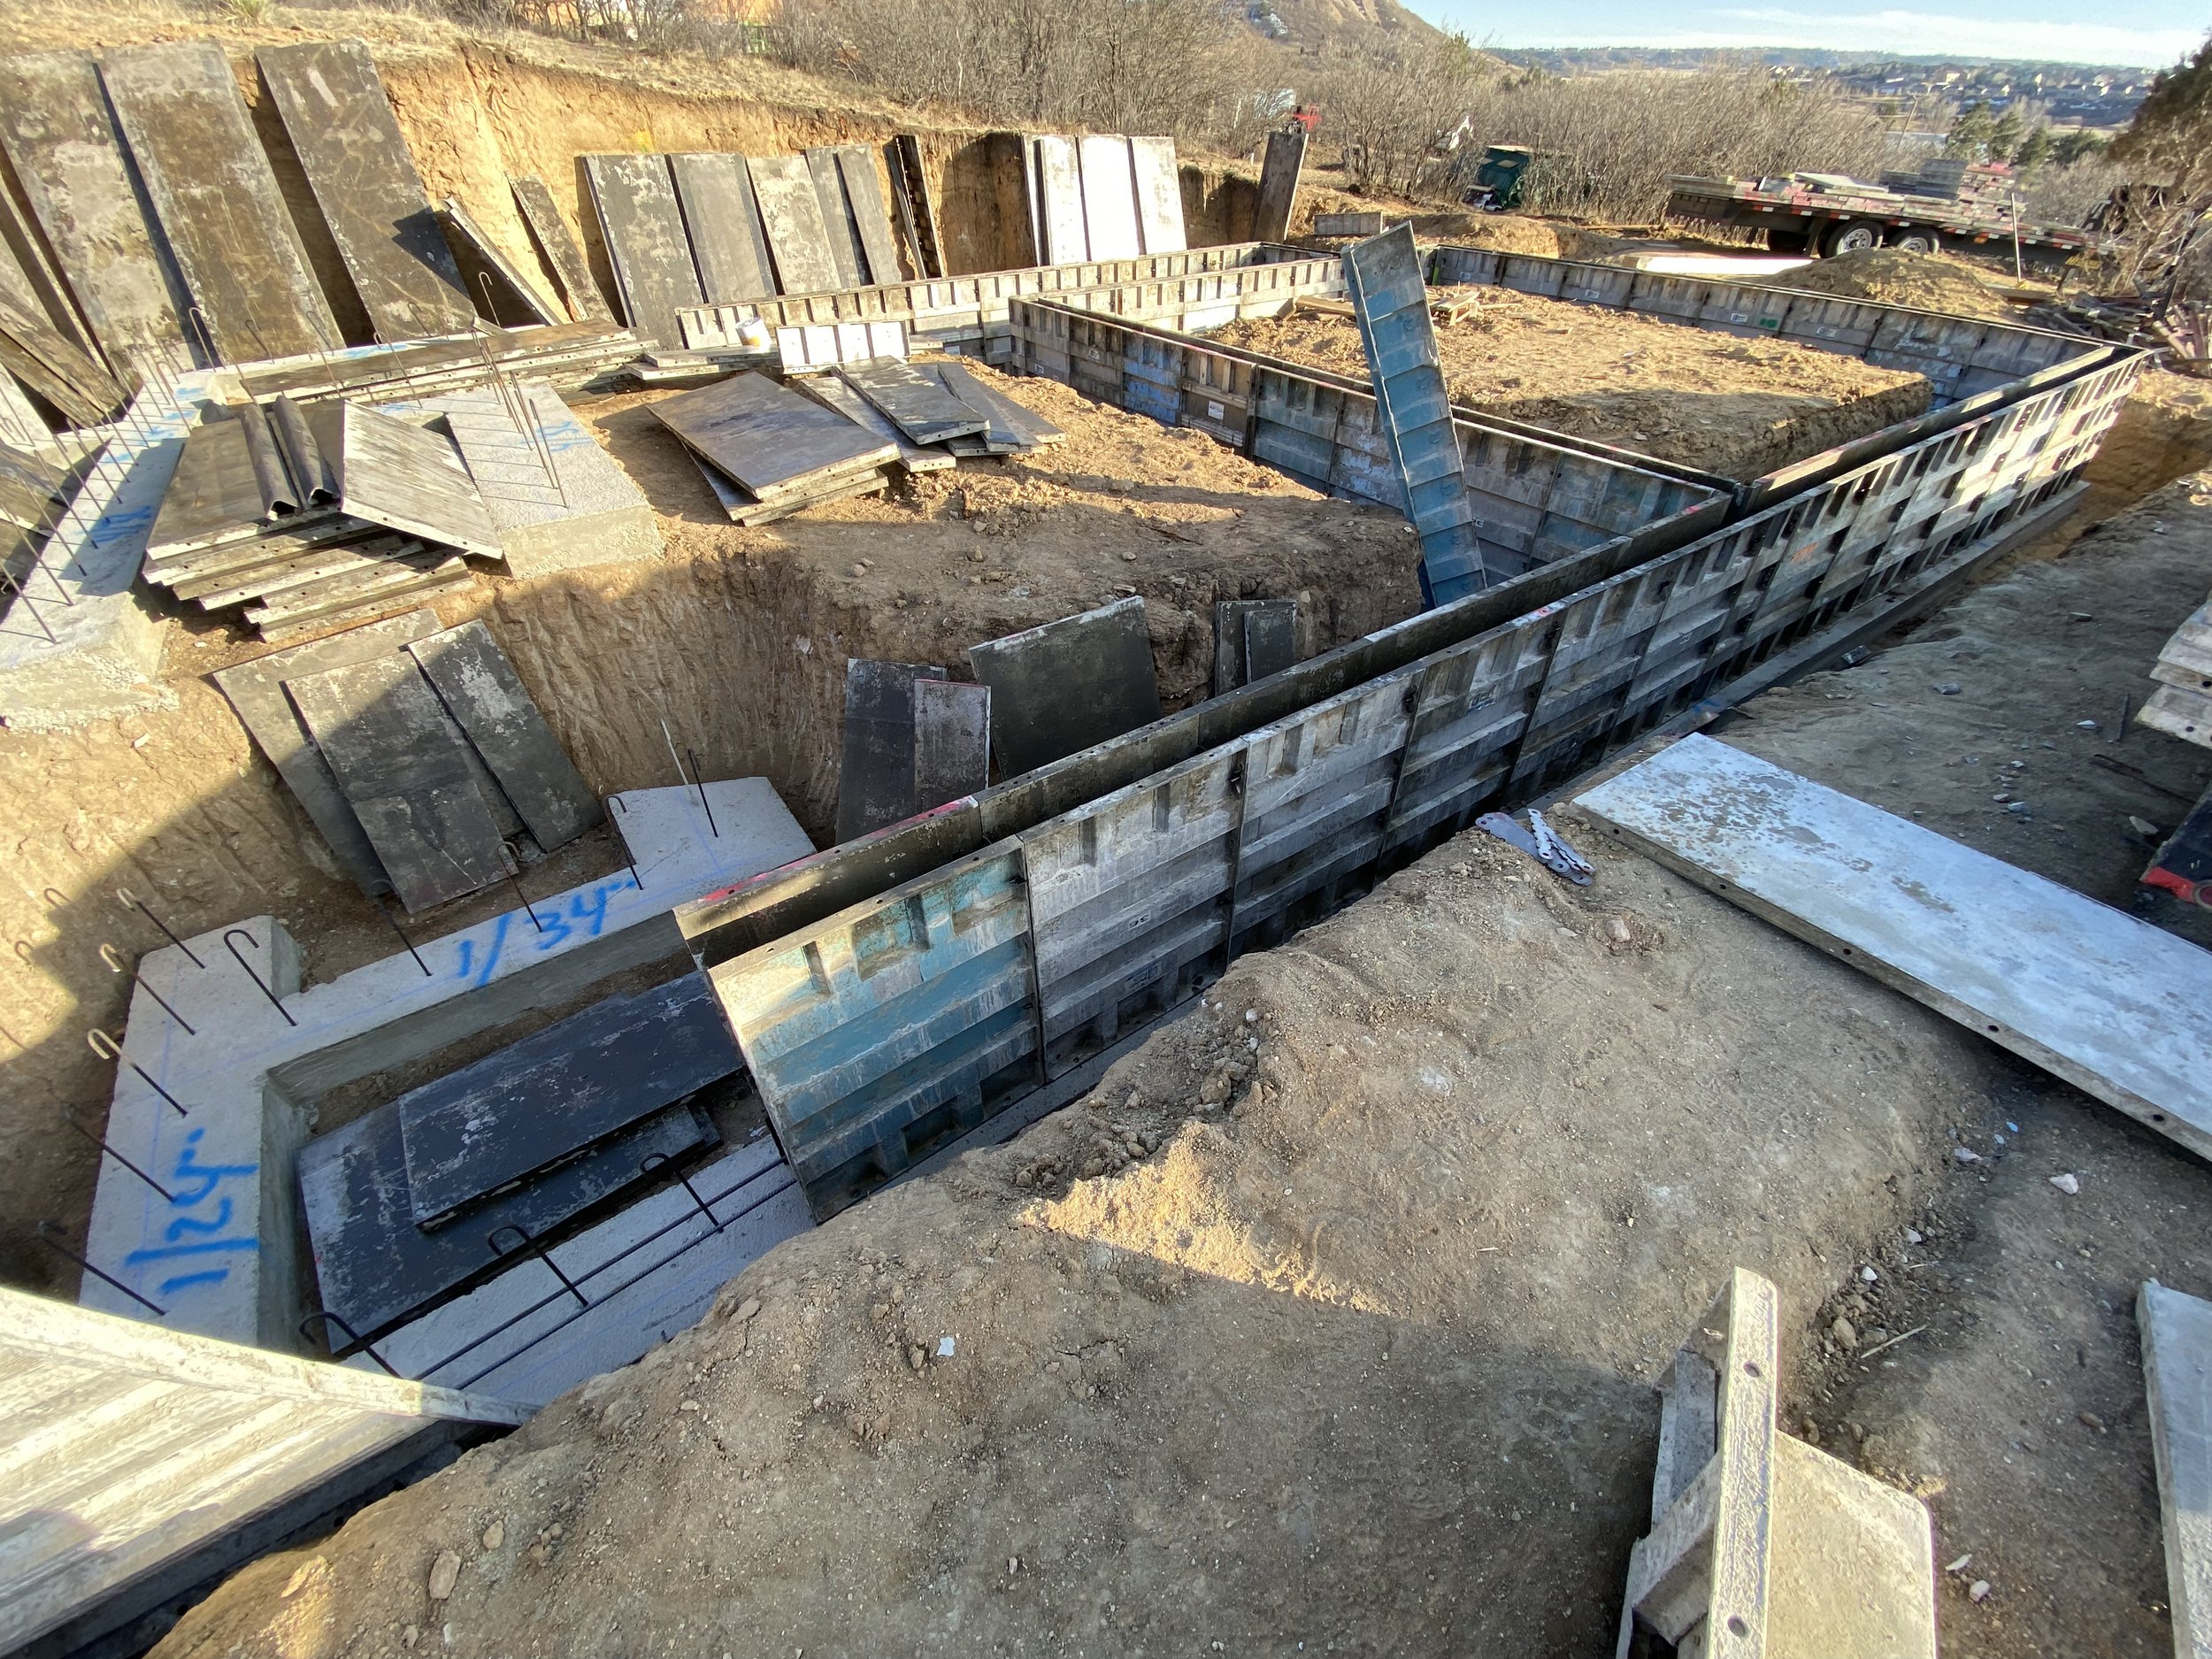
Little by little the pieces come together.

Now it's starting to look like we might be building a castle!

The retaining wall forms start to peek above the hillside.

This is quite the process.

Starting to look like an industrial site now!

Check out all the rebar inside our retaining walls! These walls are gonna be seriously strong!

More retaining wall forms go up.

This might qualify us for one of those container home tv shows!

This eventually will be the sidewalk to our day jobs!

Long day of work pays off! So thankful for the beautiful weather!

A new day of work begins and the foundation crew is hard at work first thing in the morning.

It's definitely looking more like a castle. The big gap around the forms could easily become a moat! Ha!
Pretty impressive work today!

The final forms are placed as we prep for concrete day tomorrow!
We hoped a somewhat smaller rig would show up for concrete day, but no...the same massive rig shreds our driveway once again. We're happy to have it here though because our foundation will soon be complete!

Release the concrete!

The first pour of the day begins!

Attention to detail.

The transformer bug returns! Ha! This rig is just so massive!

The crew is clearly right at home hopping from one wall to the next.

Concrete day is nearly complete. Working hard to finish before it's too dark to see!

...and concrete day is complete! What a crazy whirlwind this day has been!

Less than 48 hours later, the forms come down.

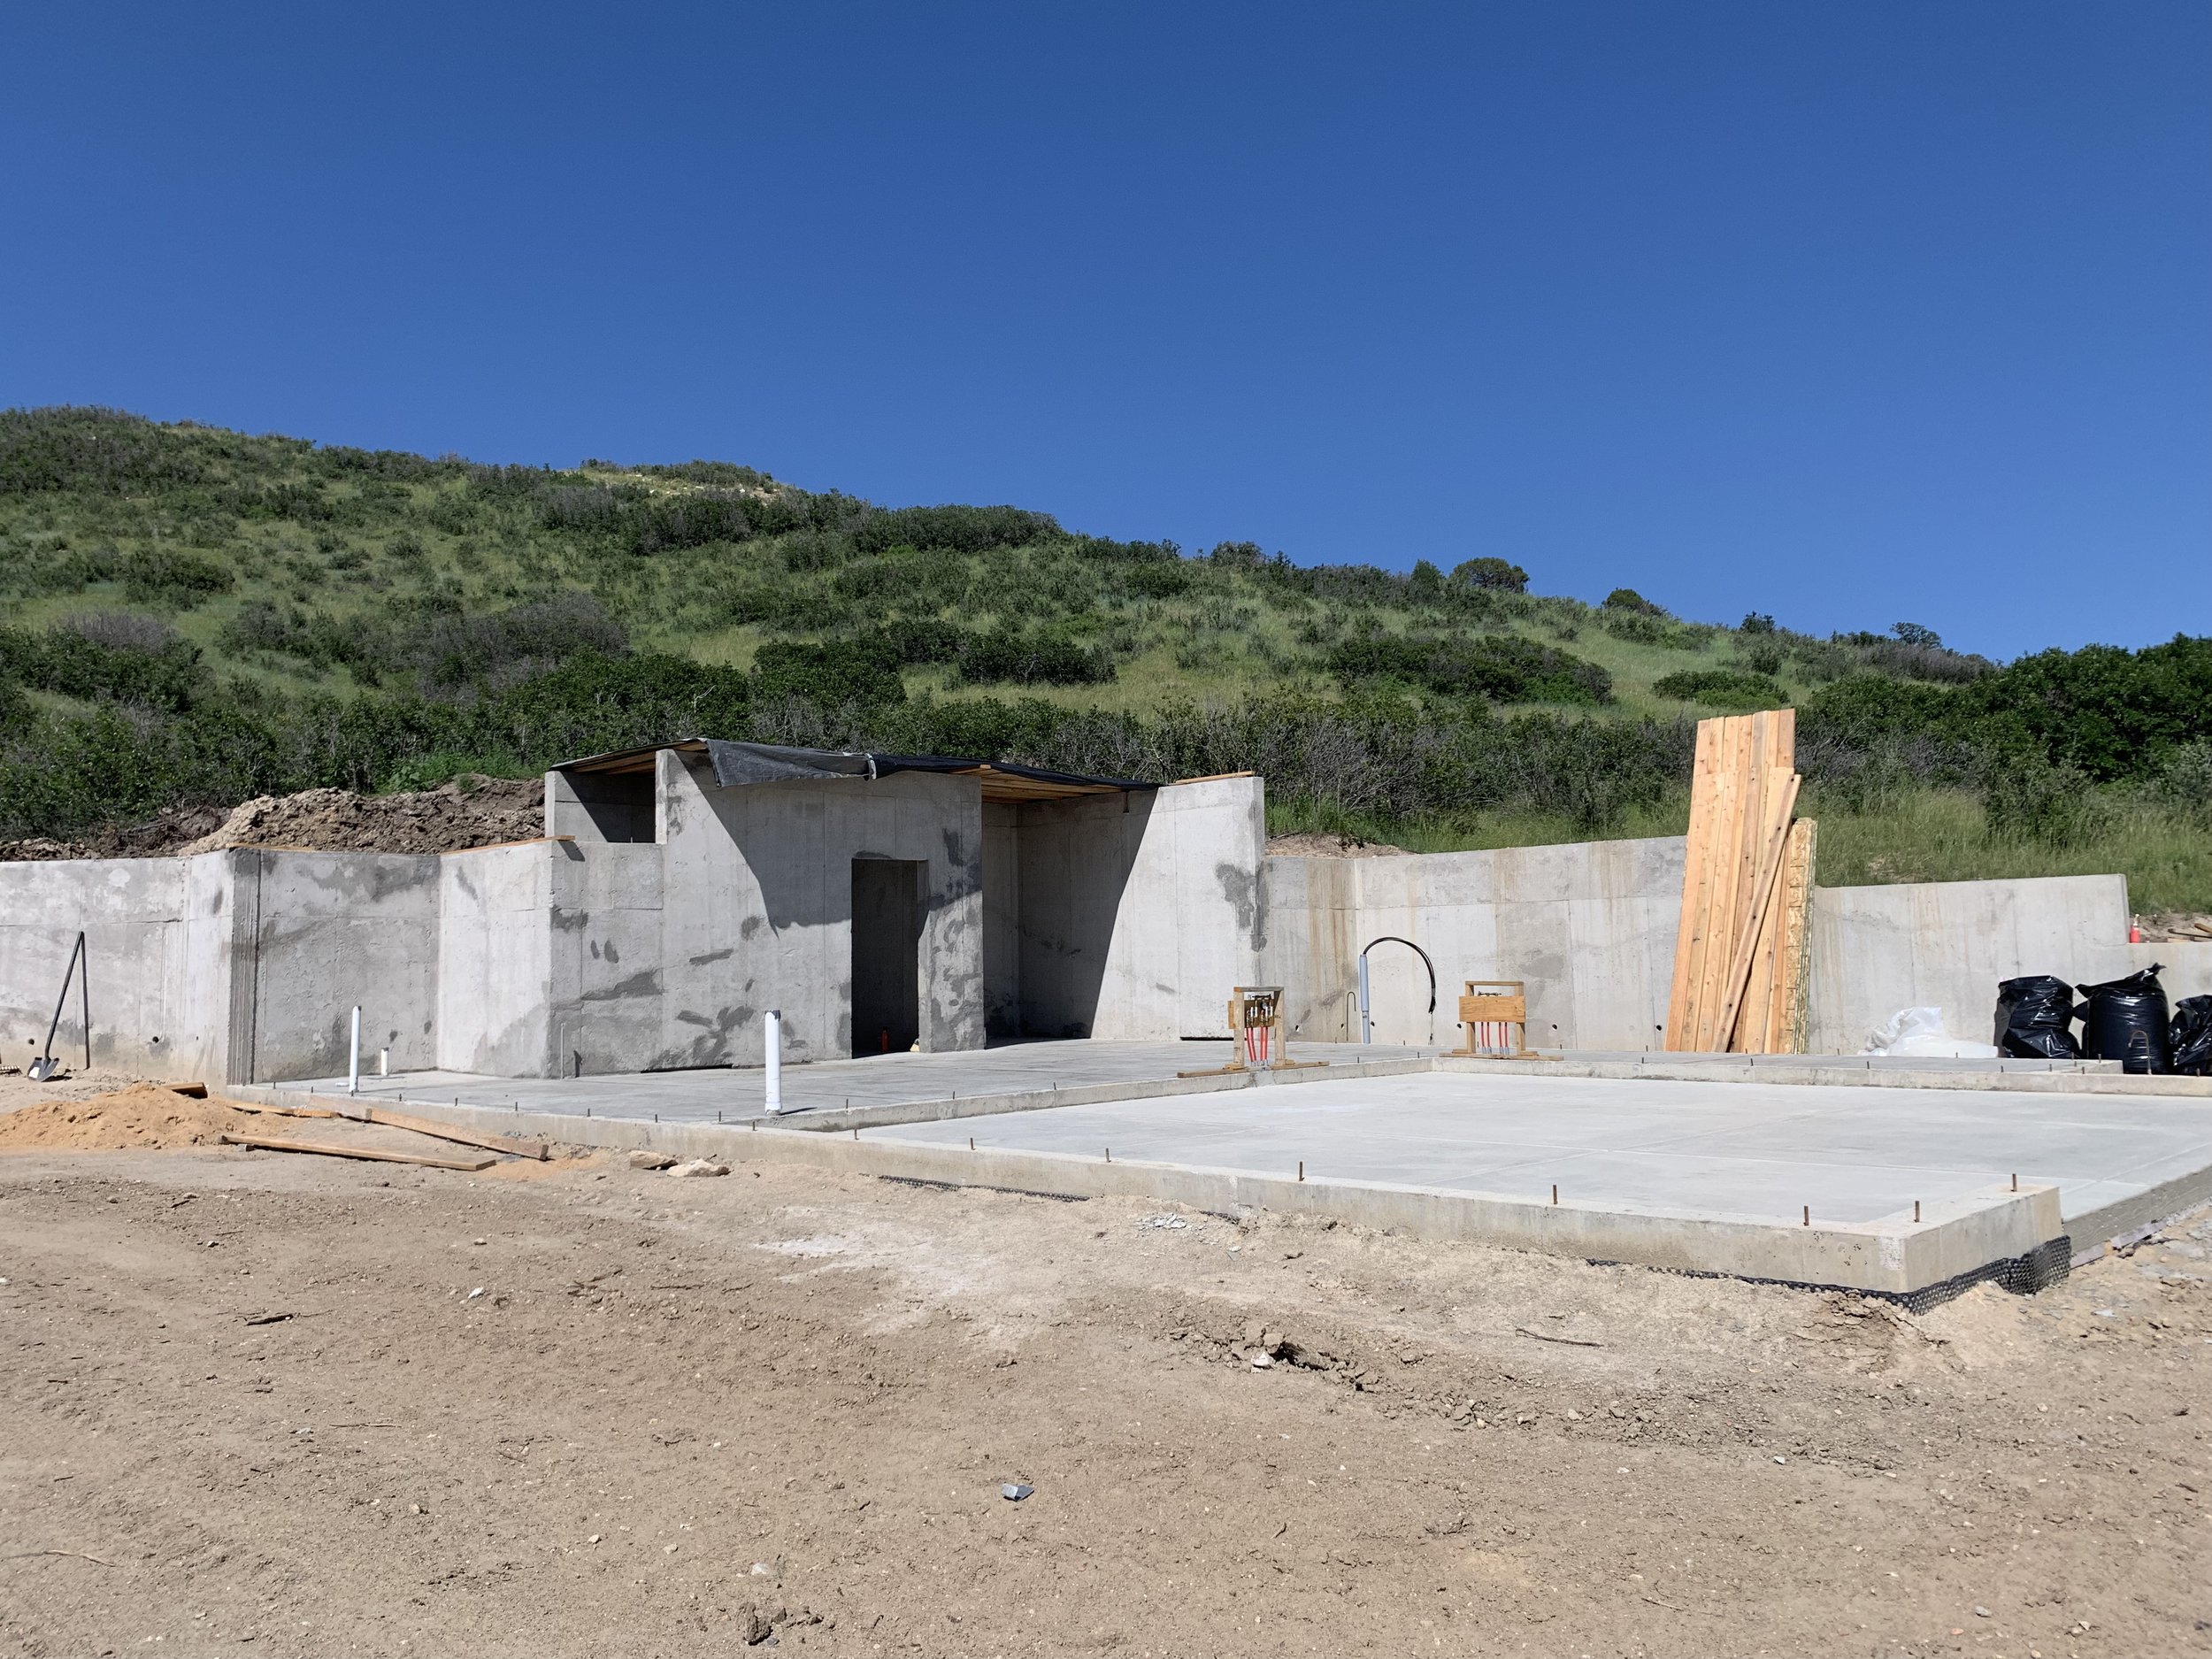
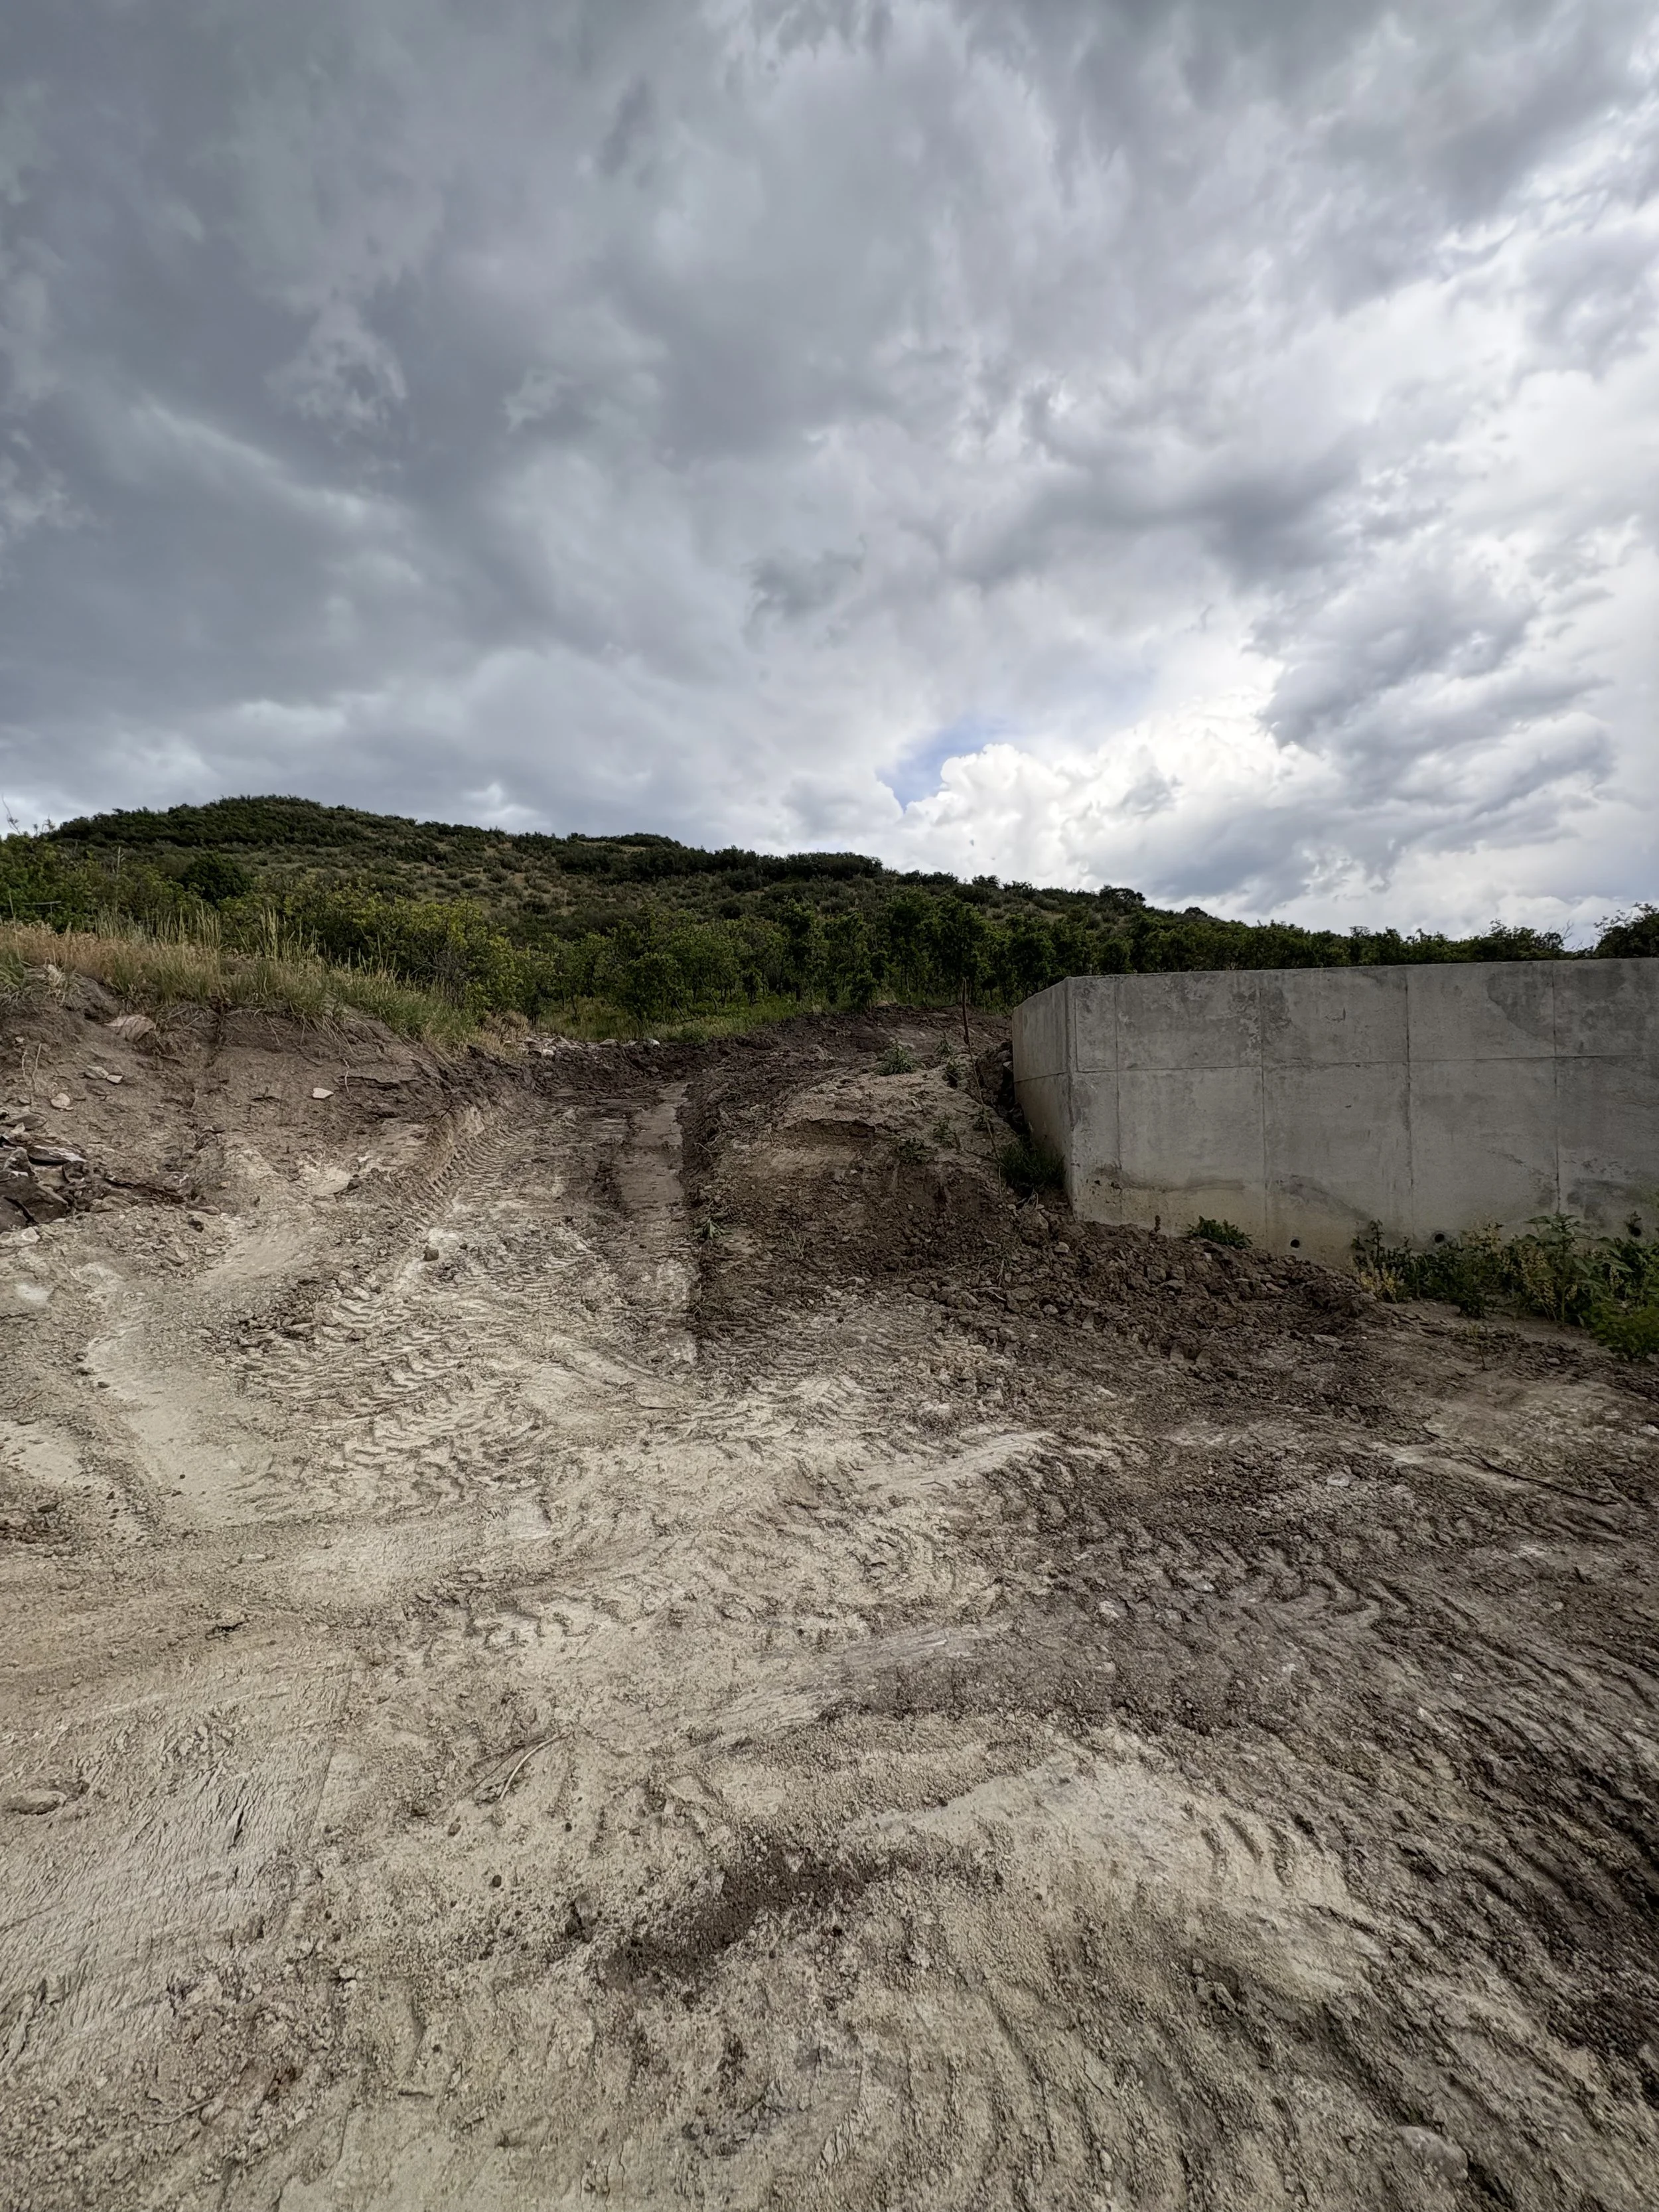
Here's the reveal of our massive retaining wall!

Well look at that! We might actually be building a house!

It was so exciting to watch this in person!

The forms are all down!
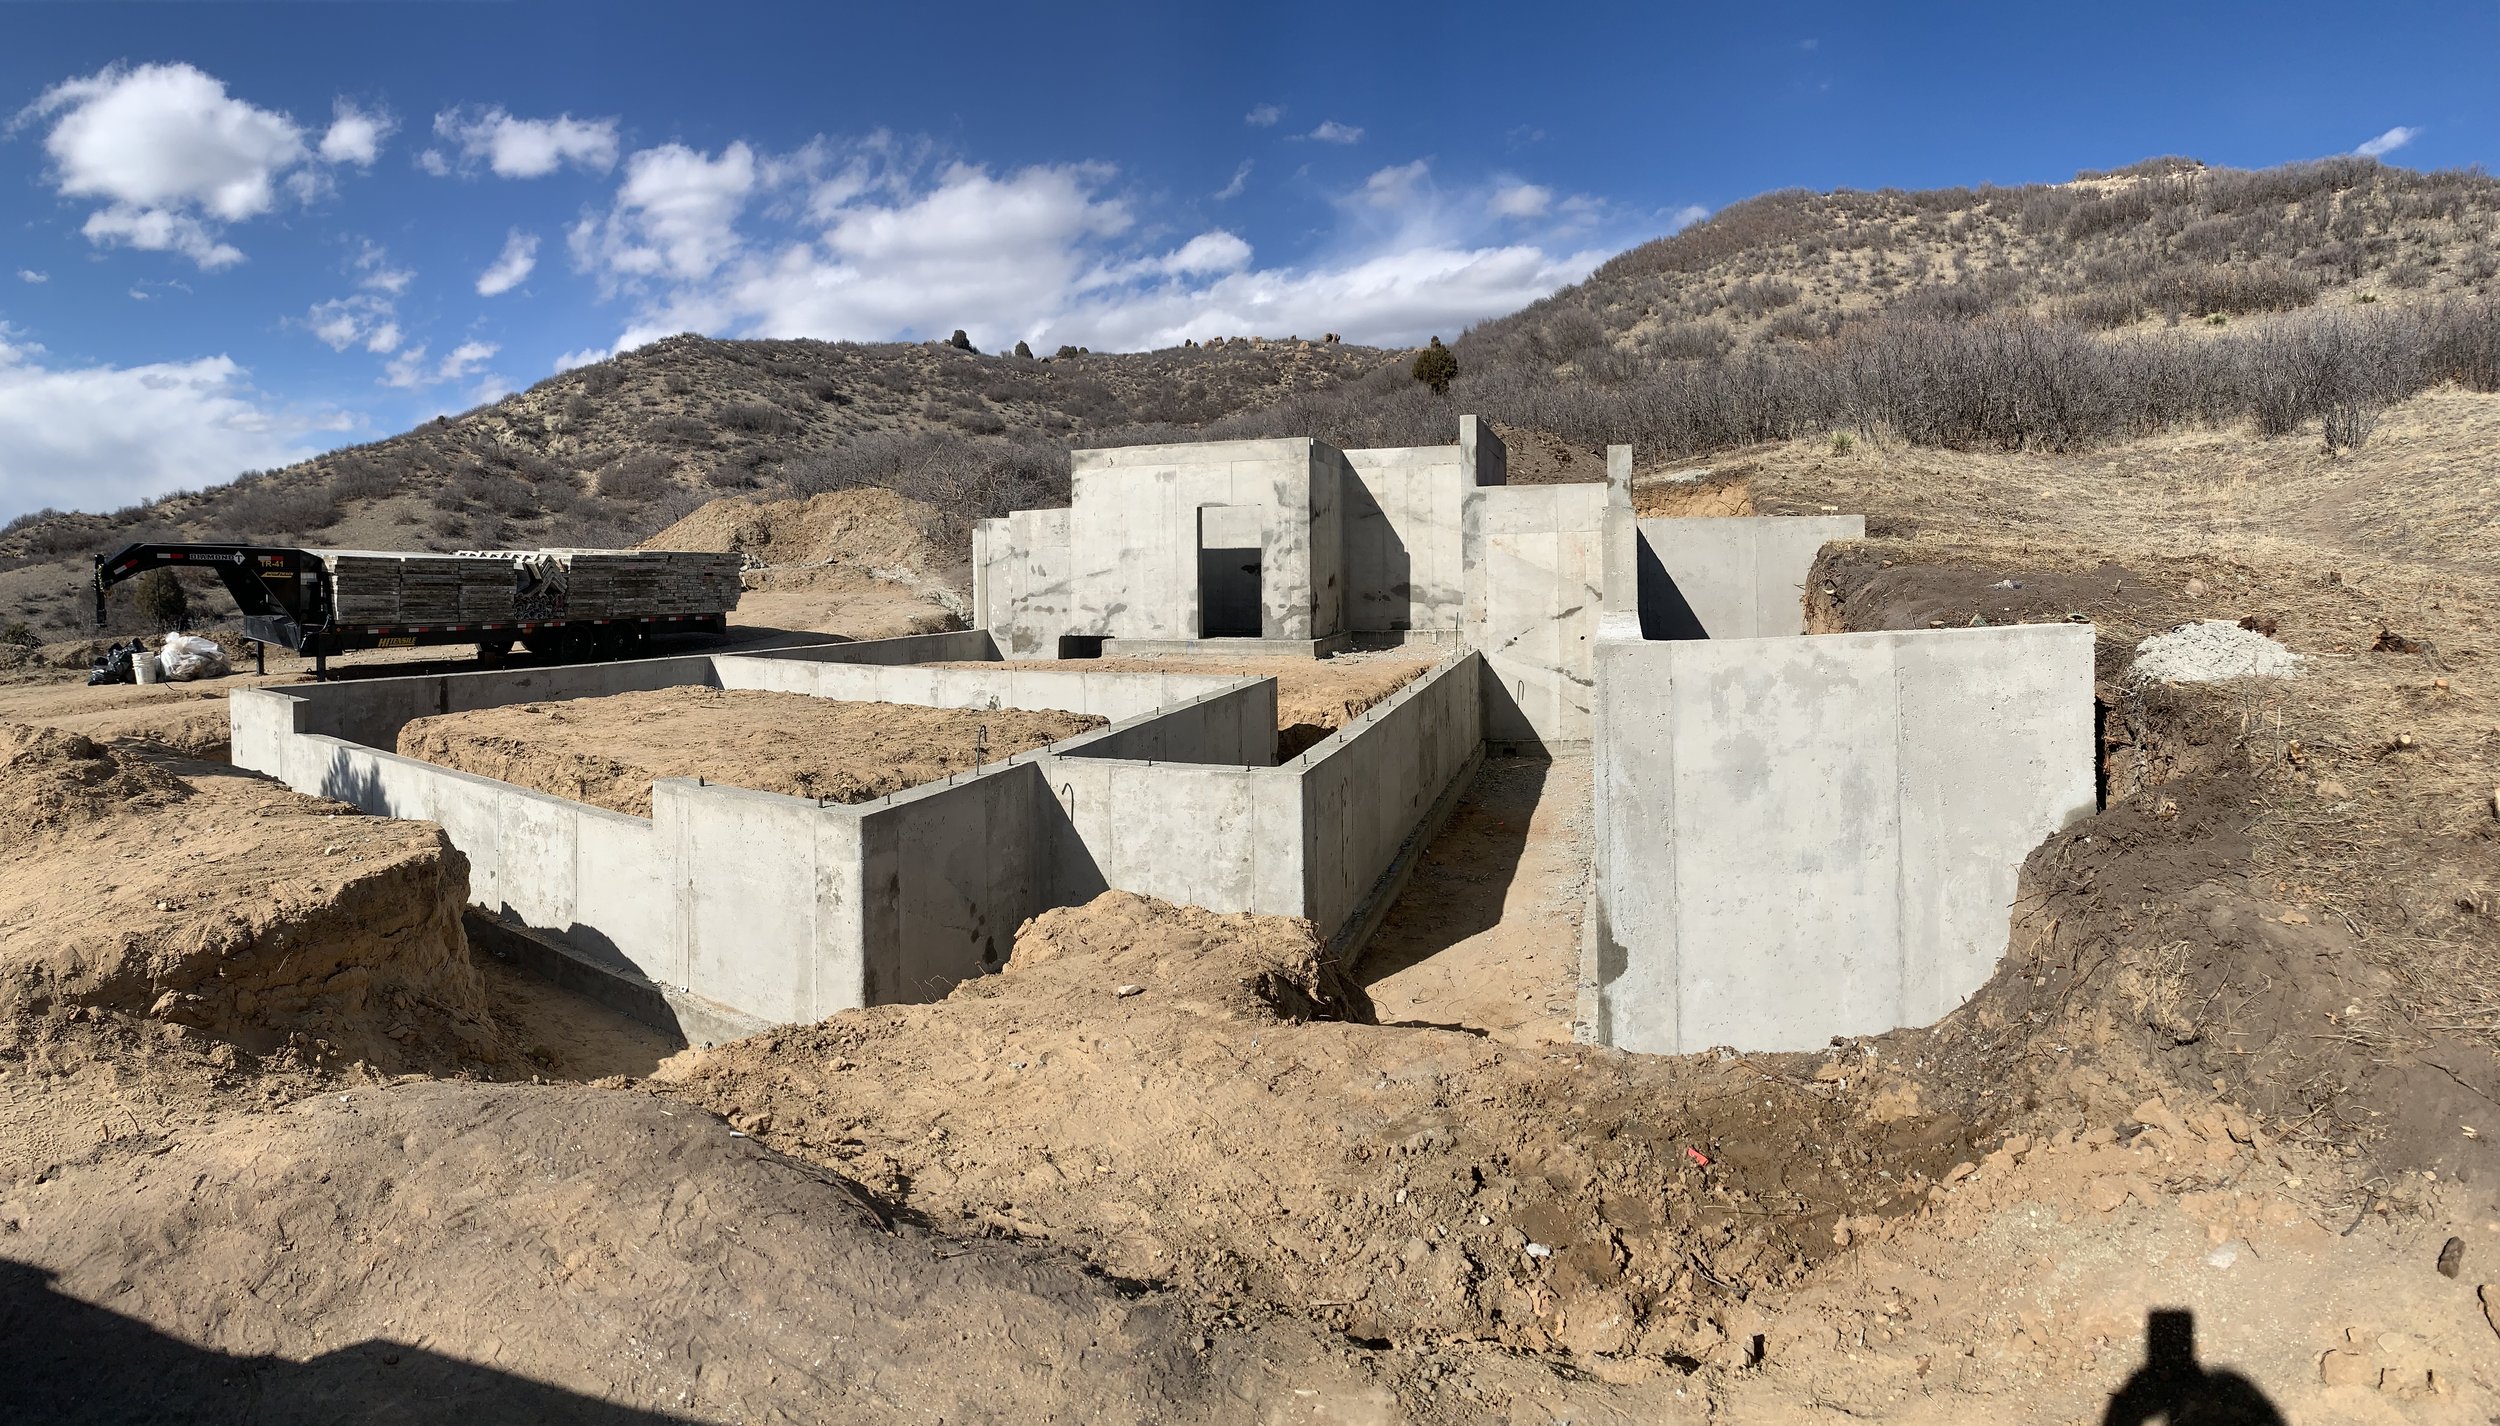
A thing of beauty is all we can say! The best day we've had so far! Our crew was AMAZING!
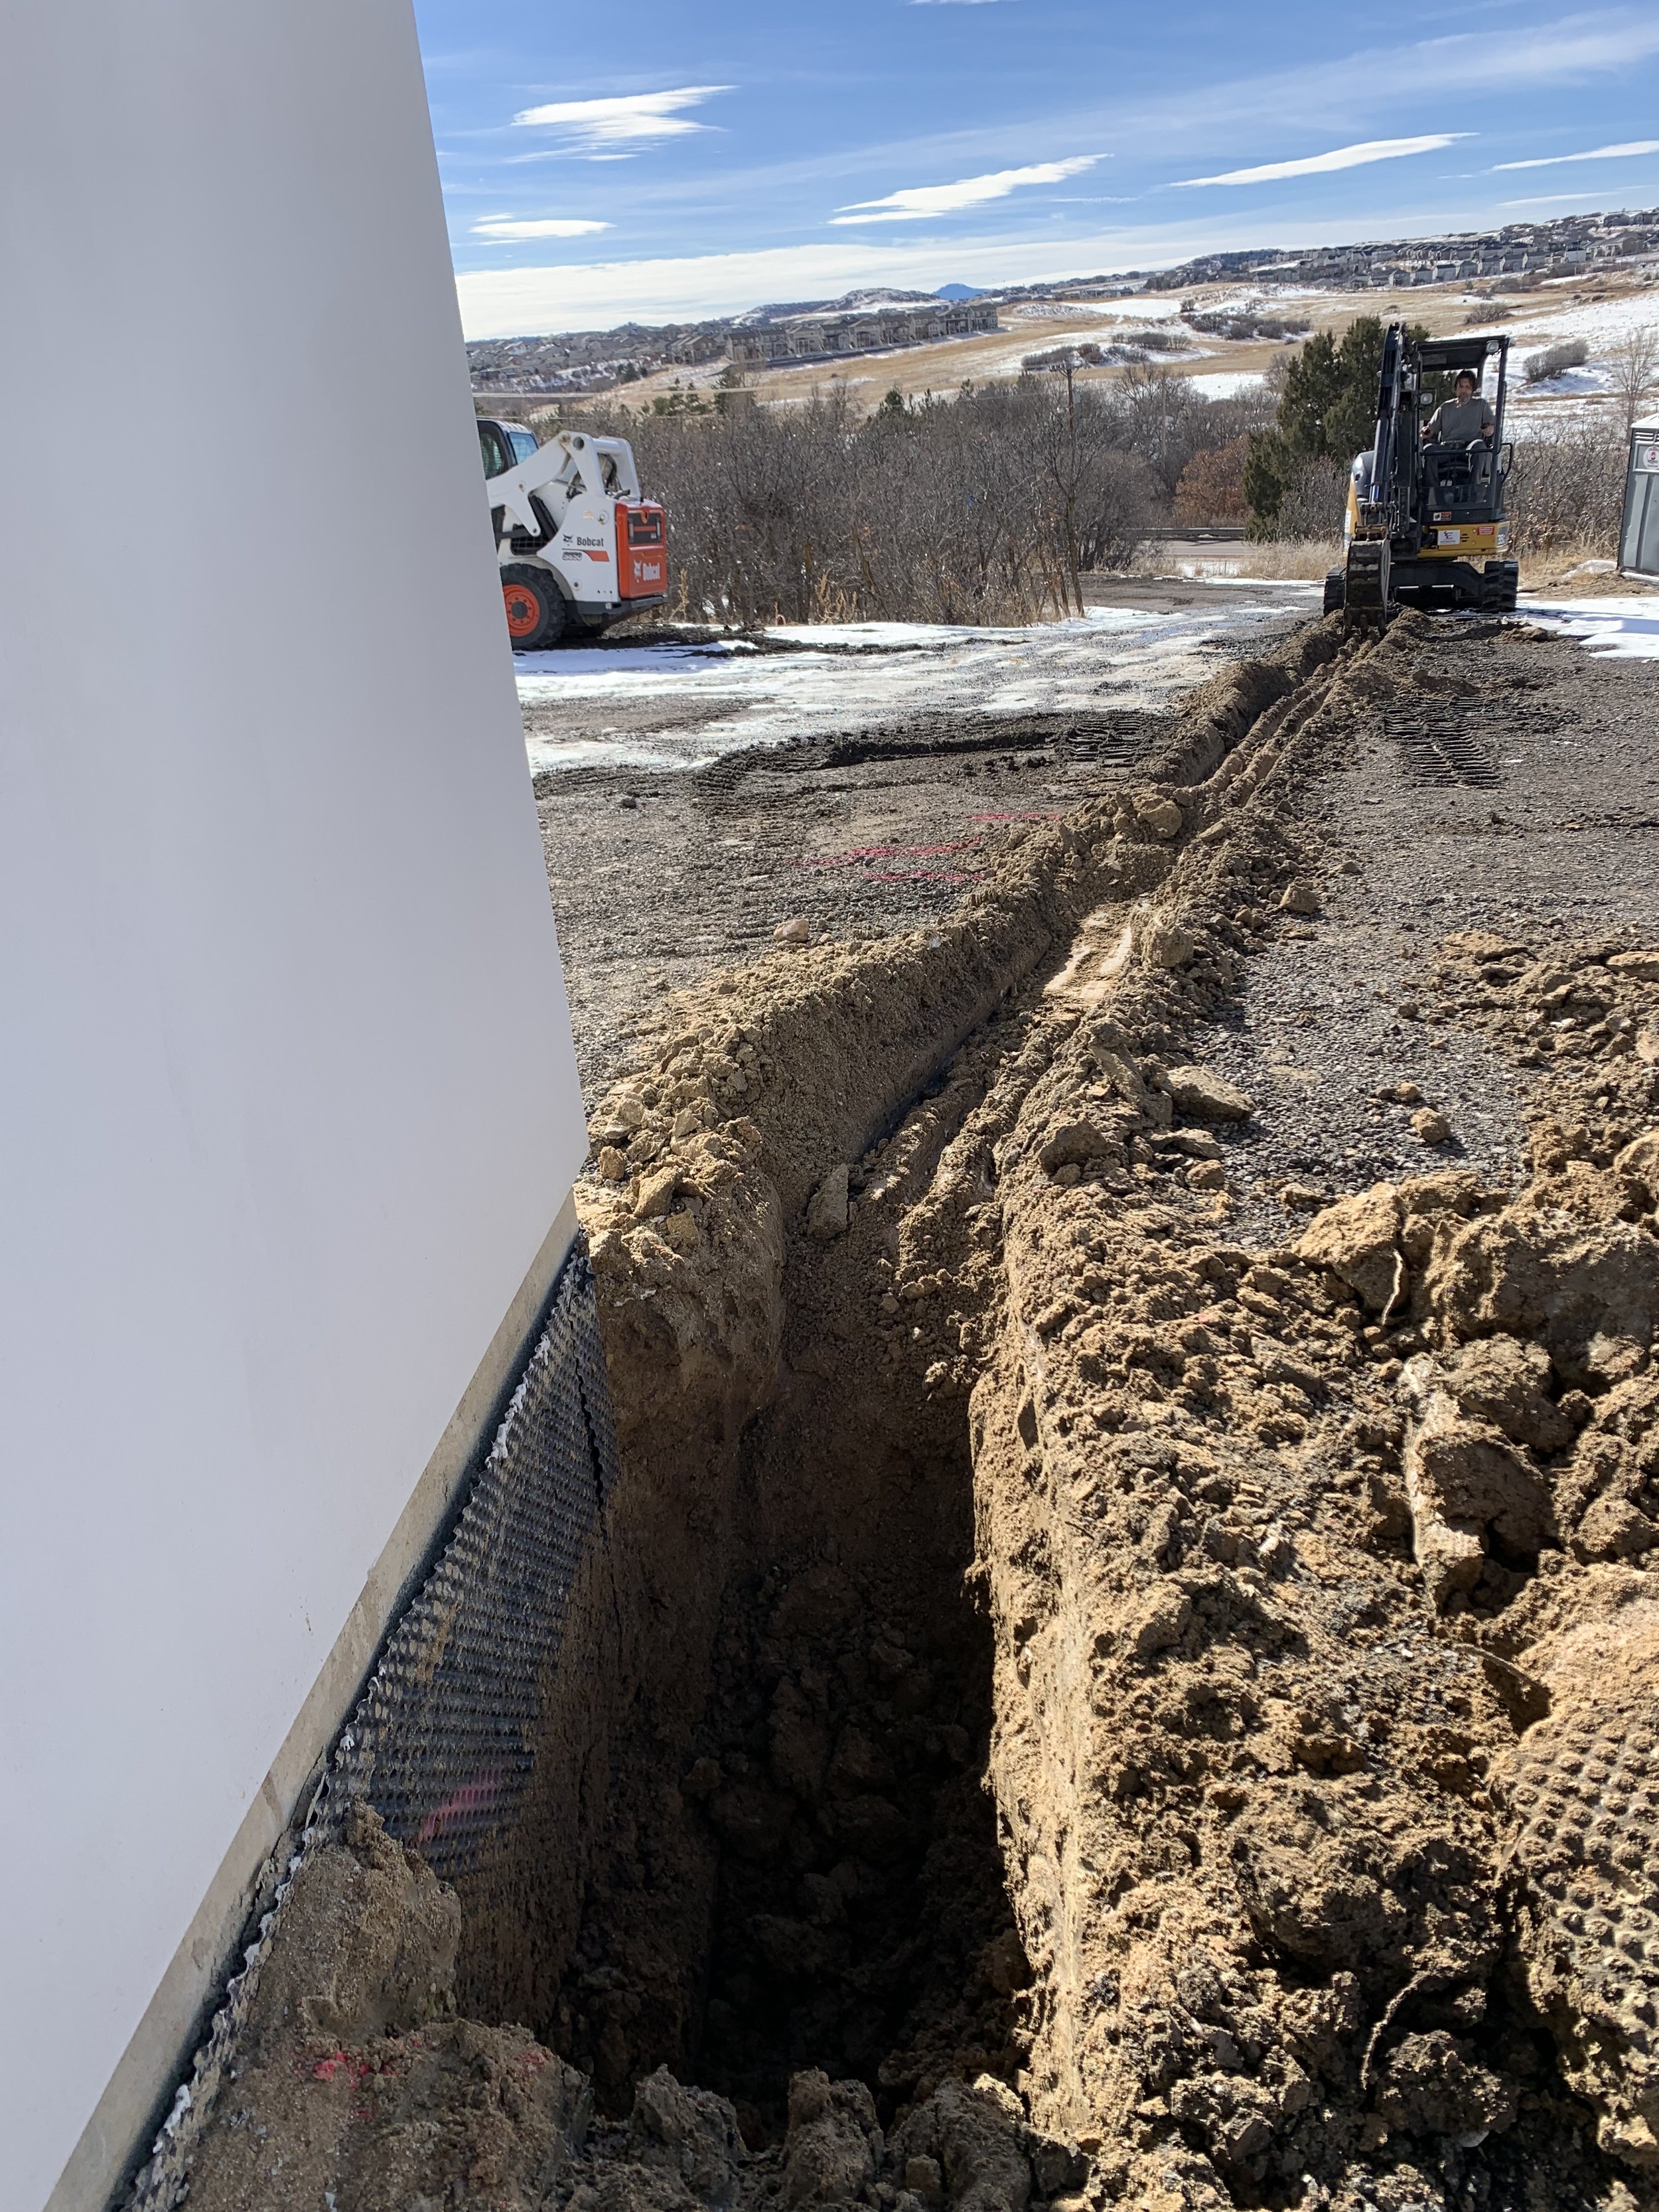
Step 3: Power, Sealant, Drainage & Backfill

Soon after the foundation was complete, the power company moved in and started installing our power pole.

Burying the power lines is going to take a few days and unfortunately winter returned to "help" them out! Let the fun begin!

The electrical trenching continues! Do you think they're just digging designs now to have fun?

Cutting out a space for the utility boxes.

...and we officially have the power hookups in place!
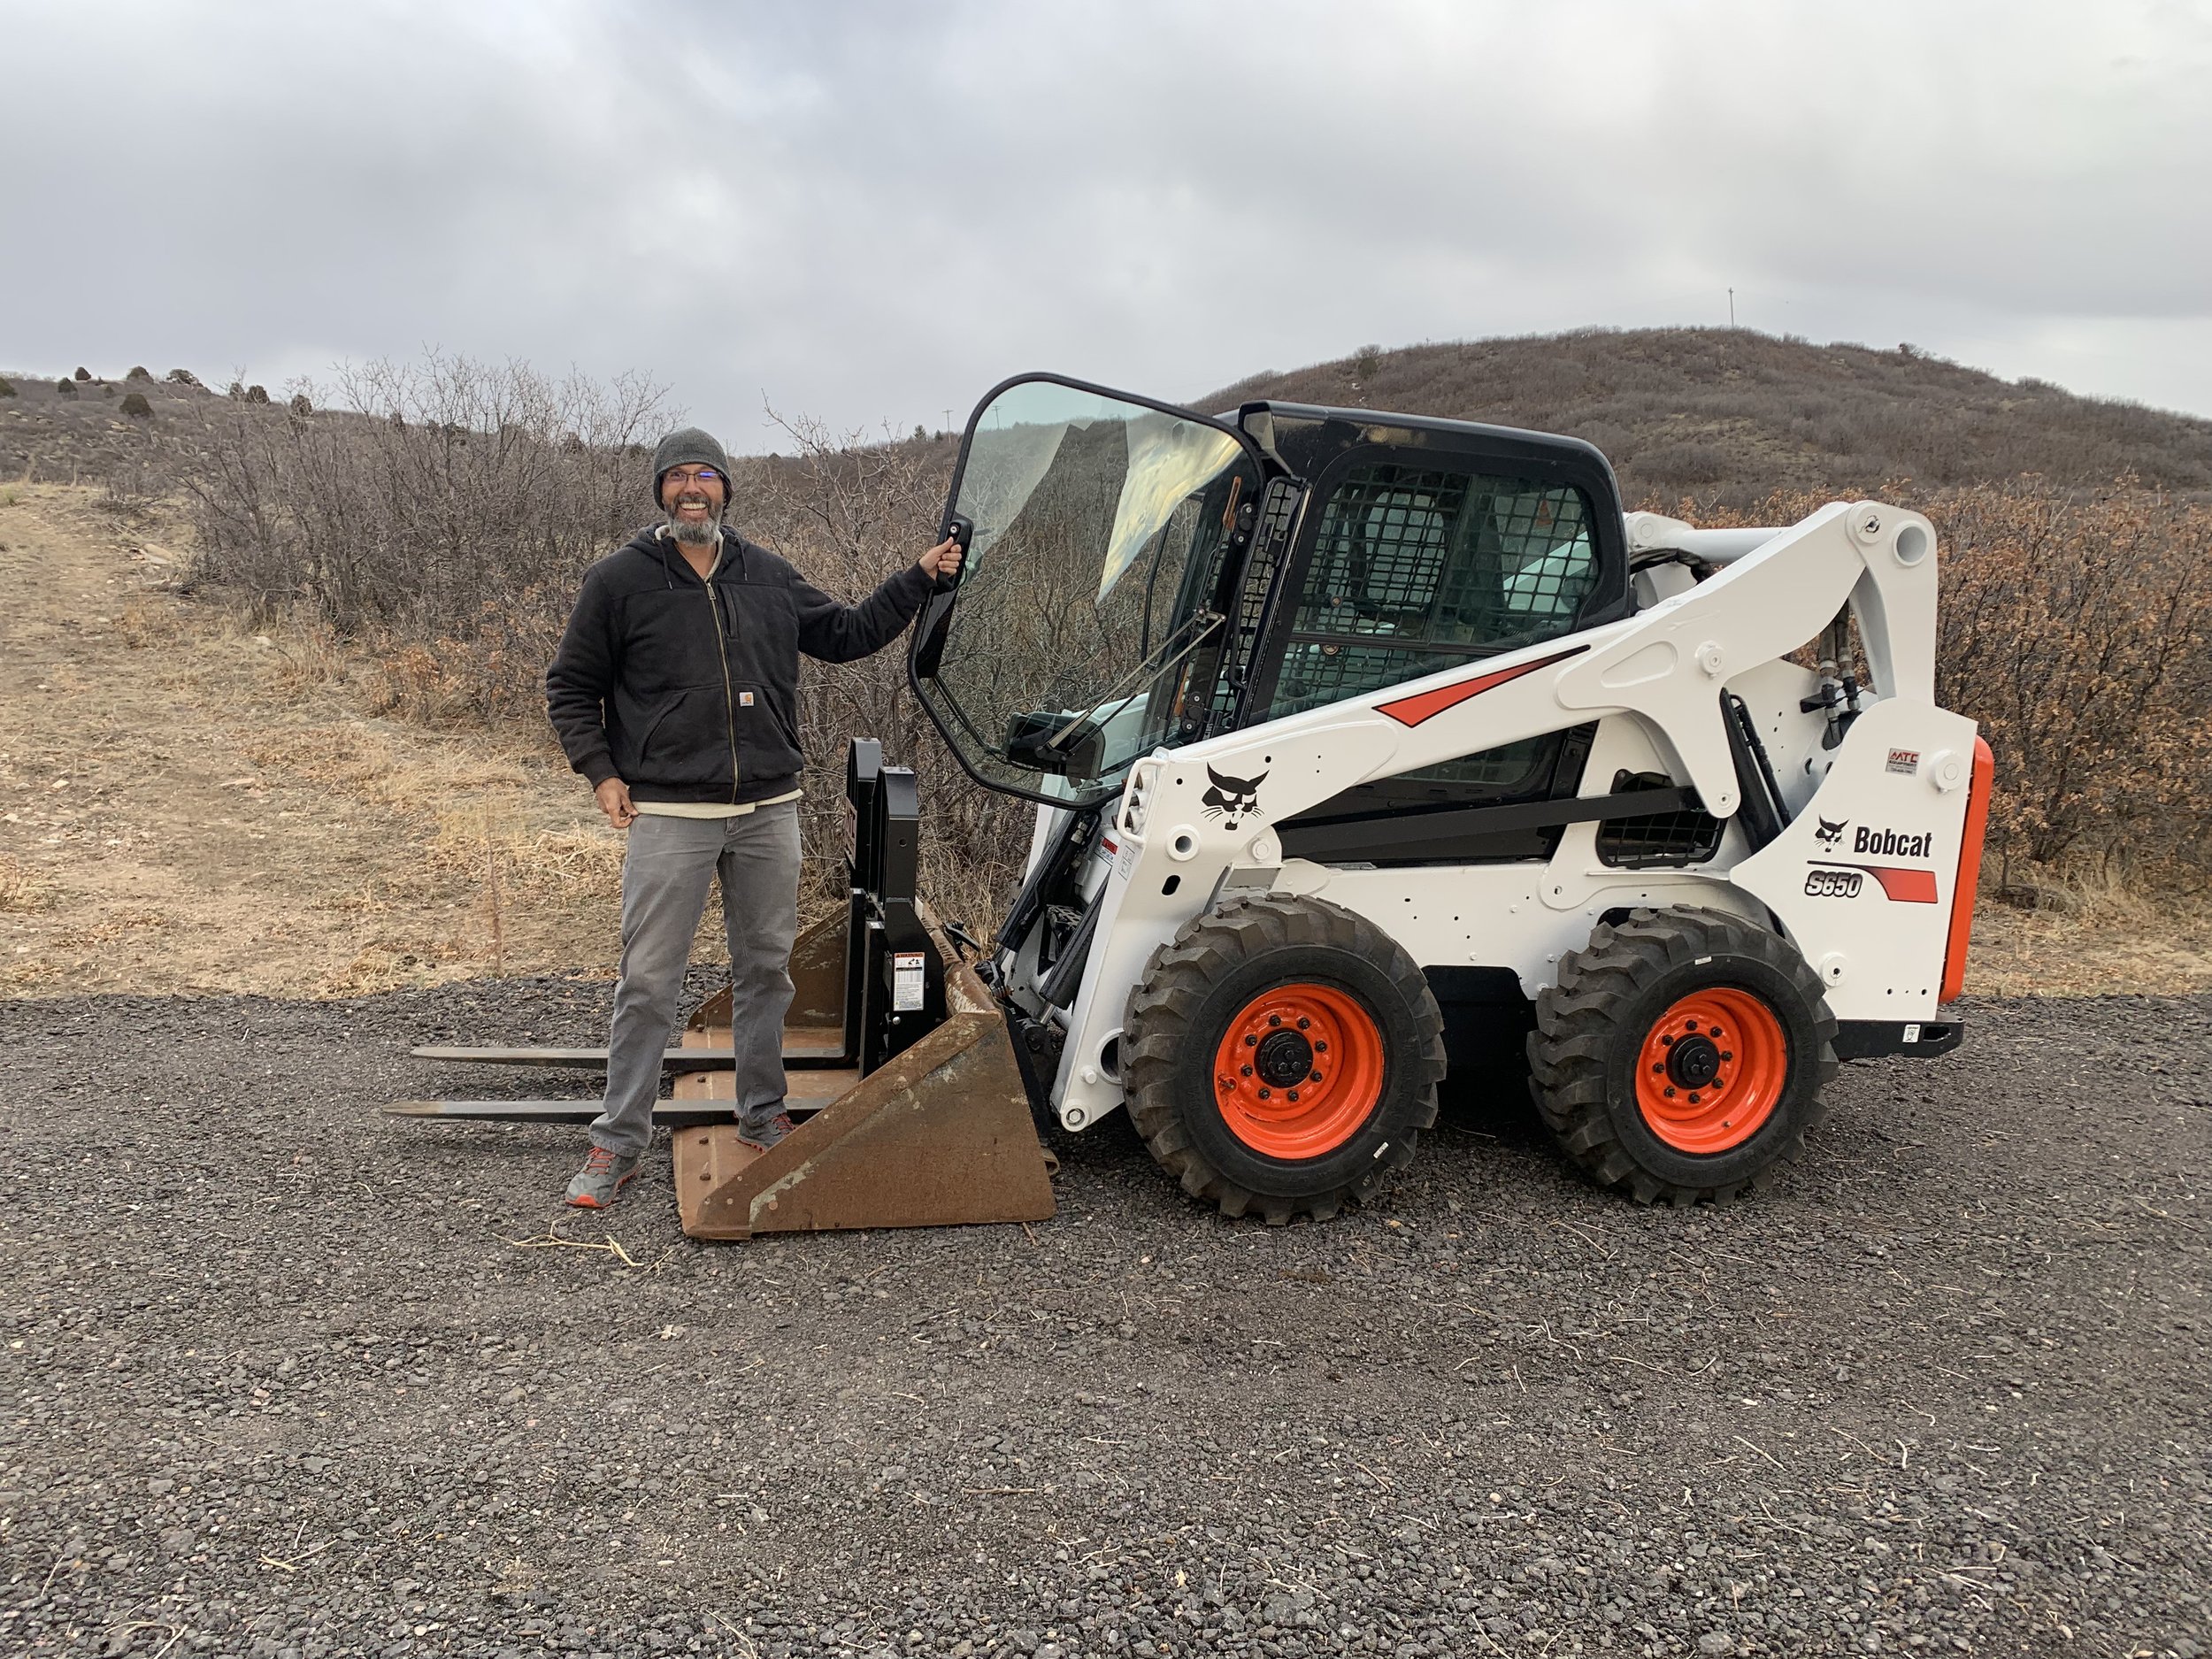
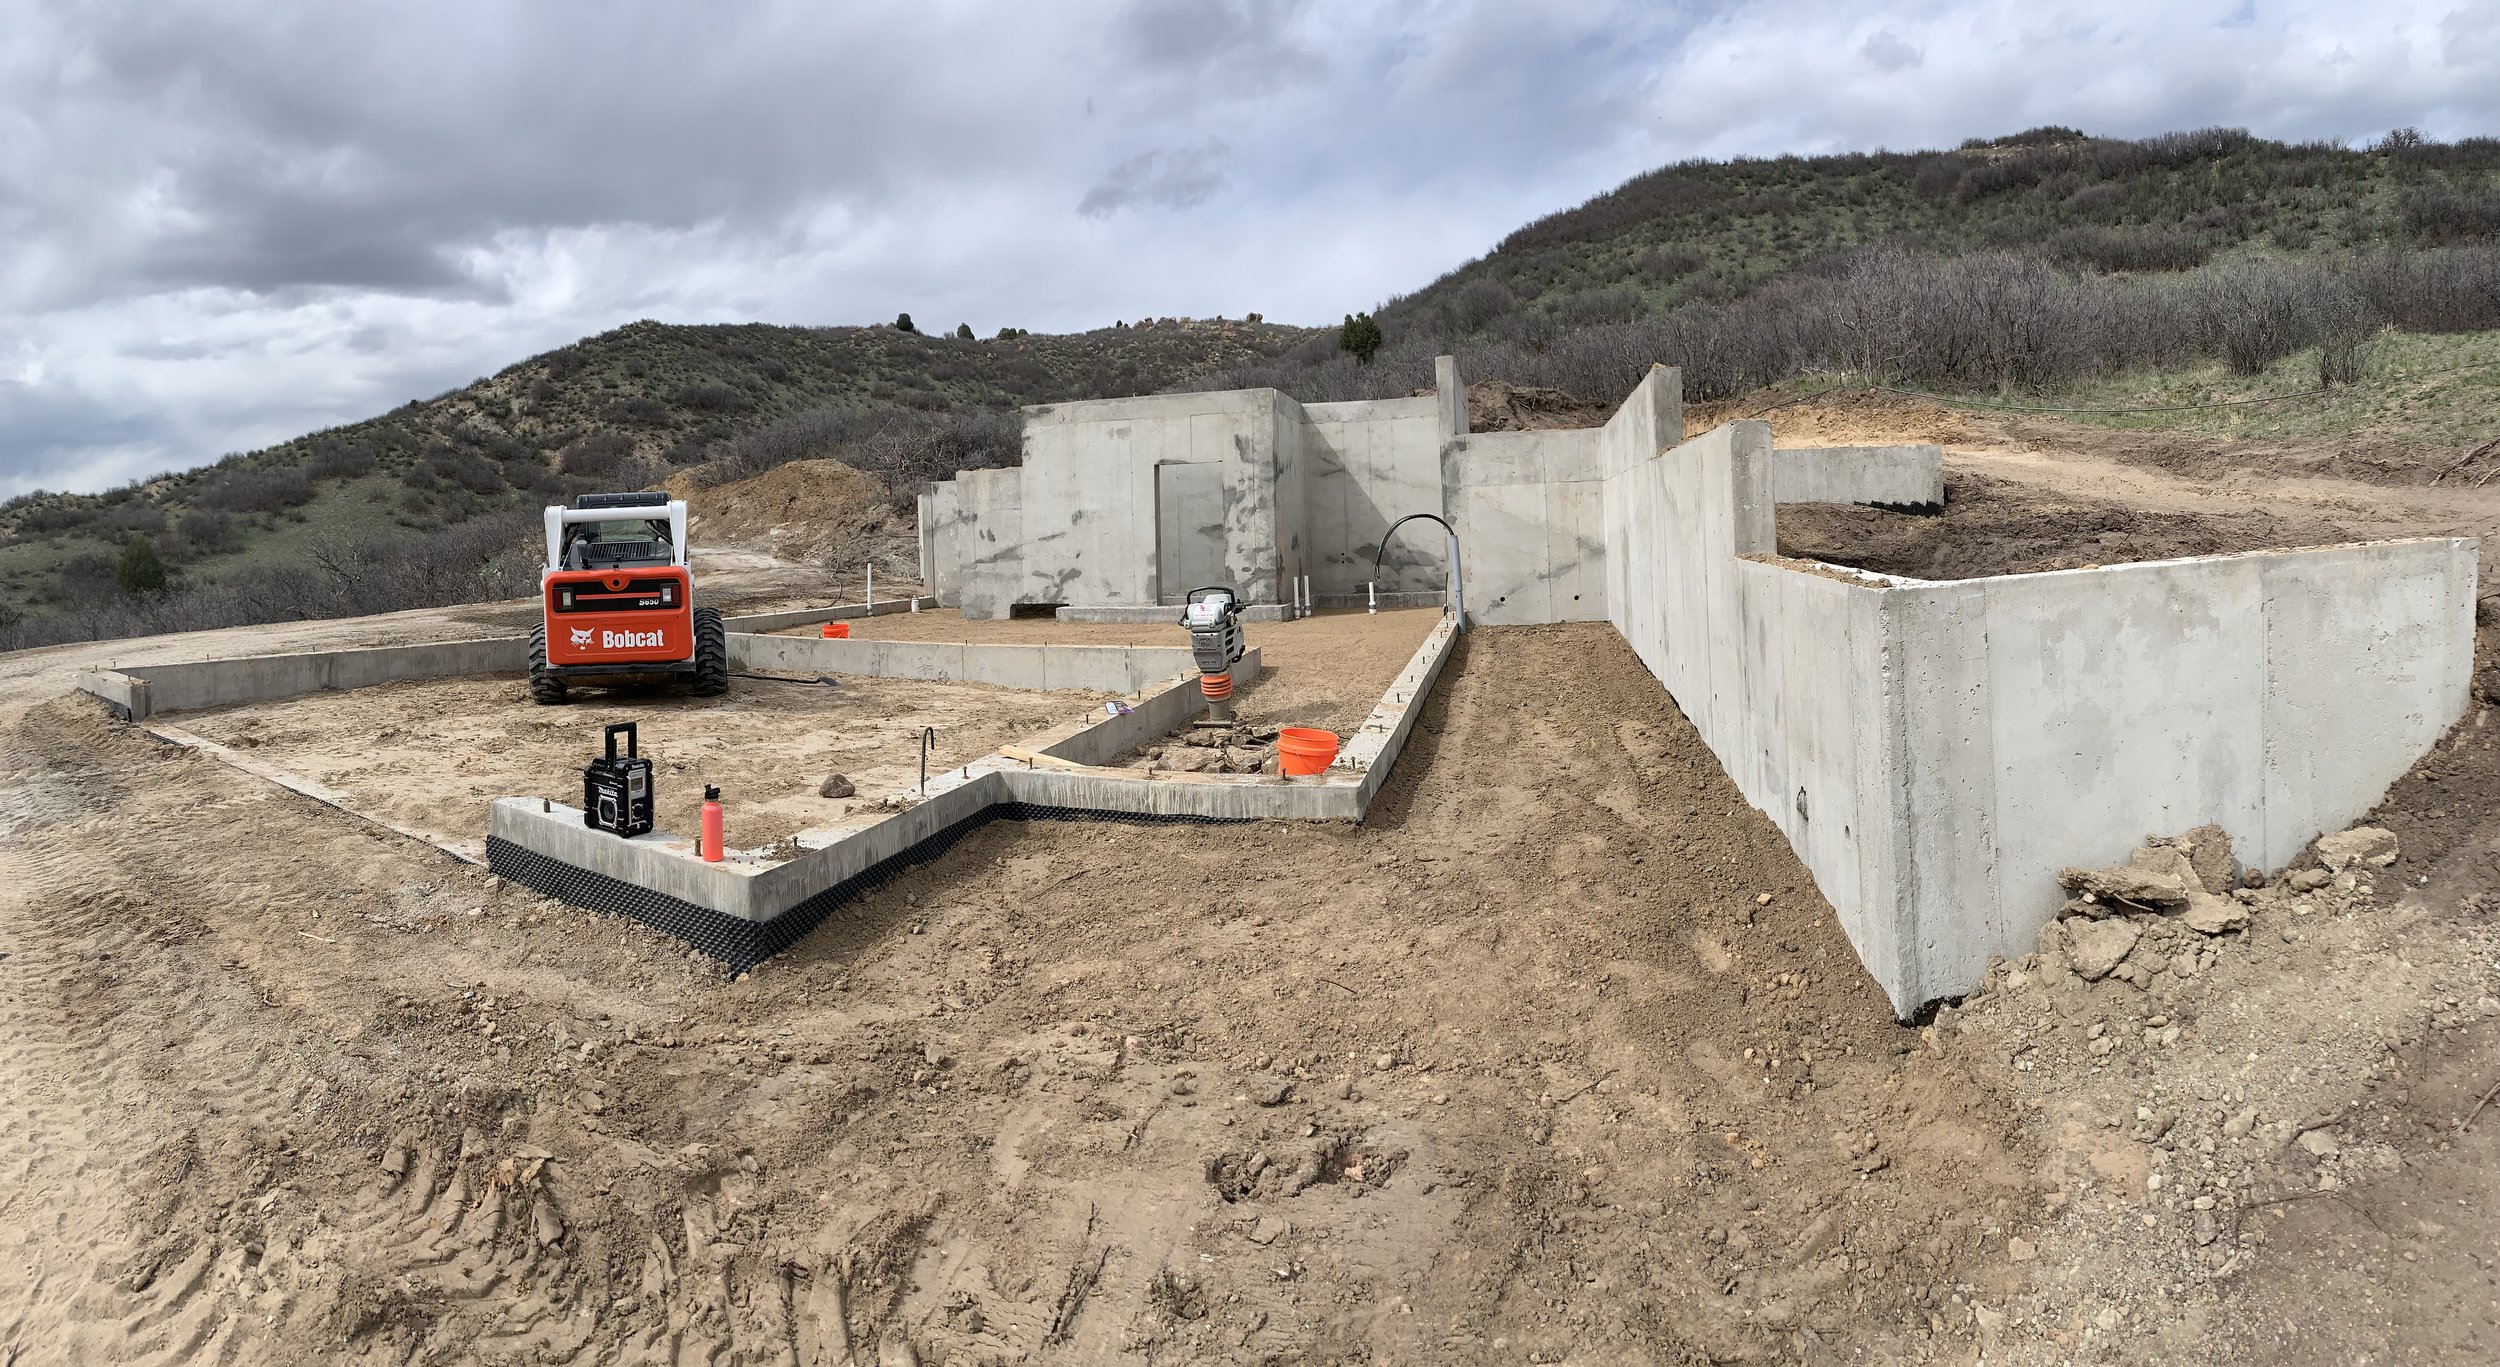
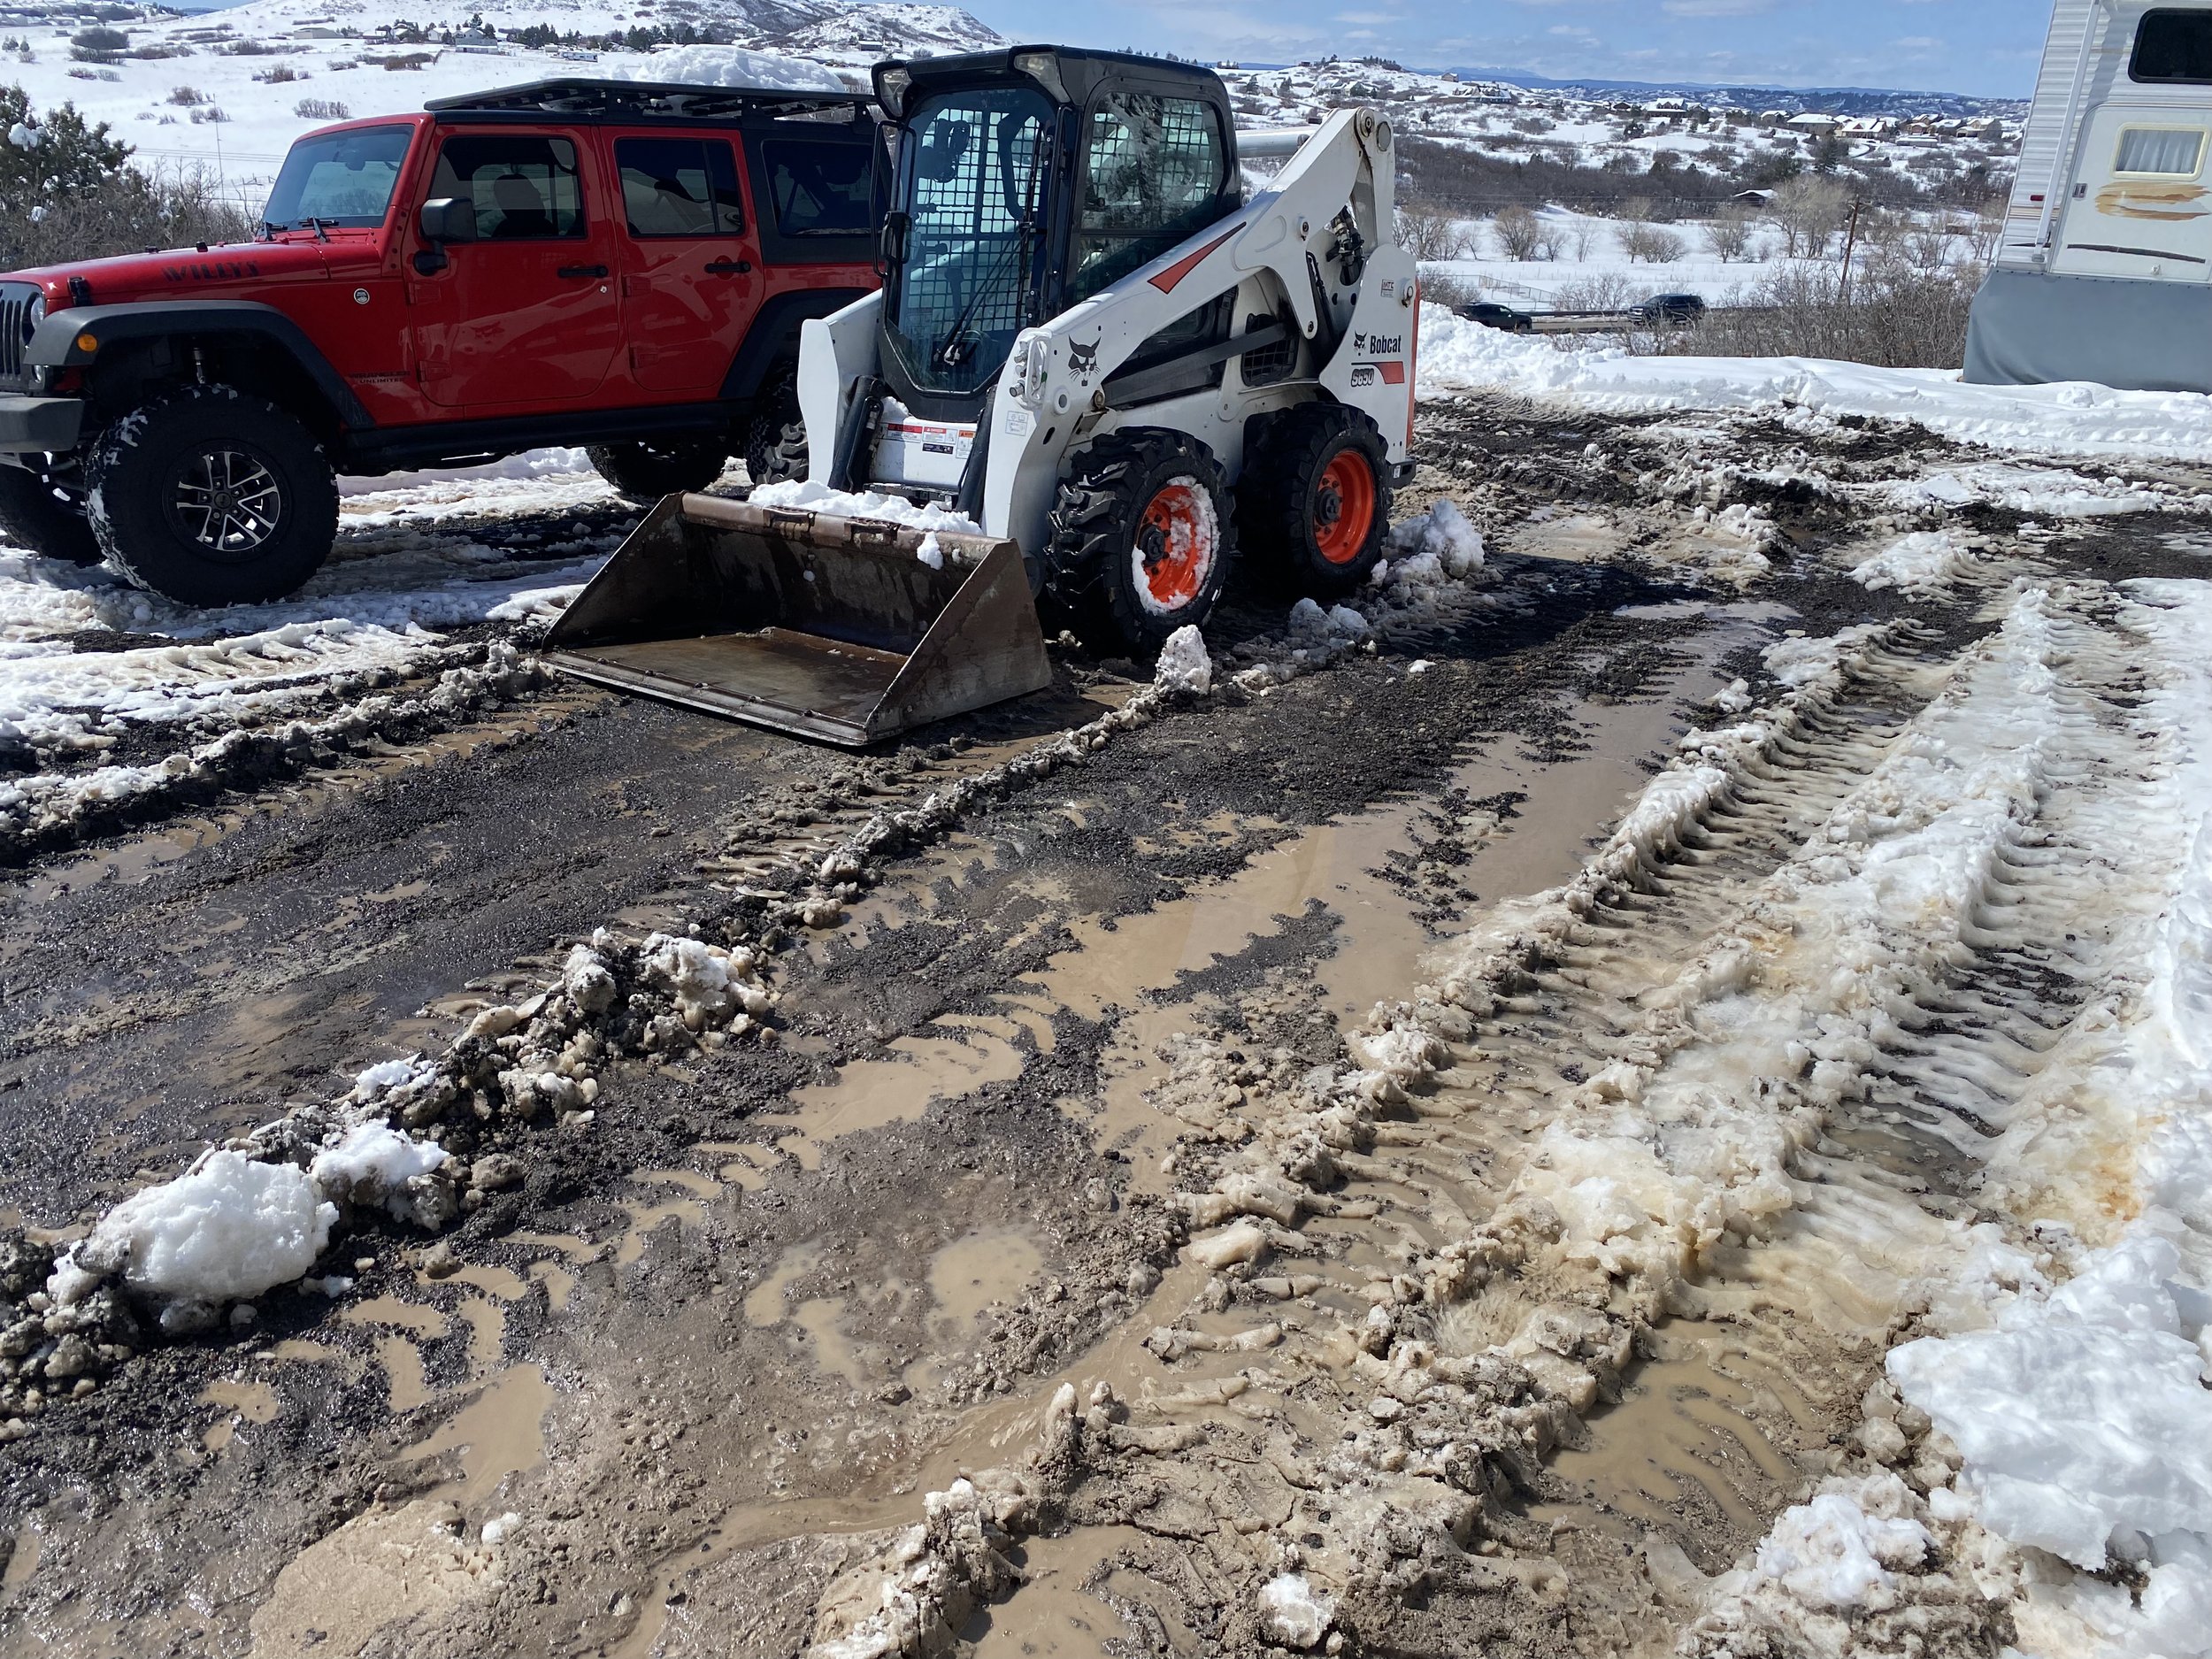
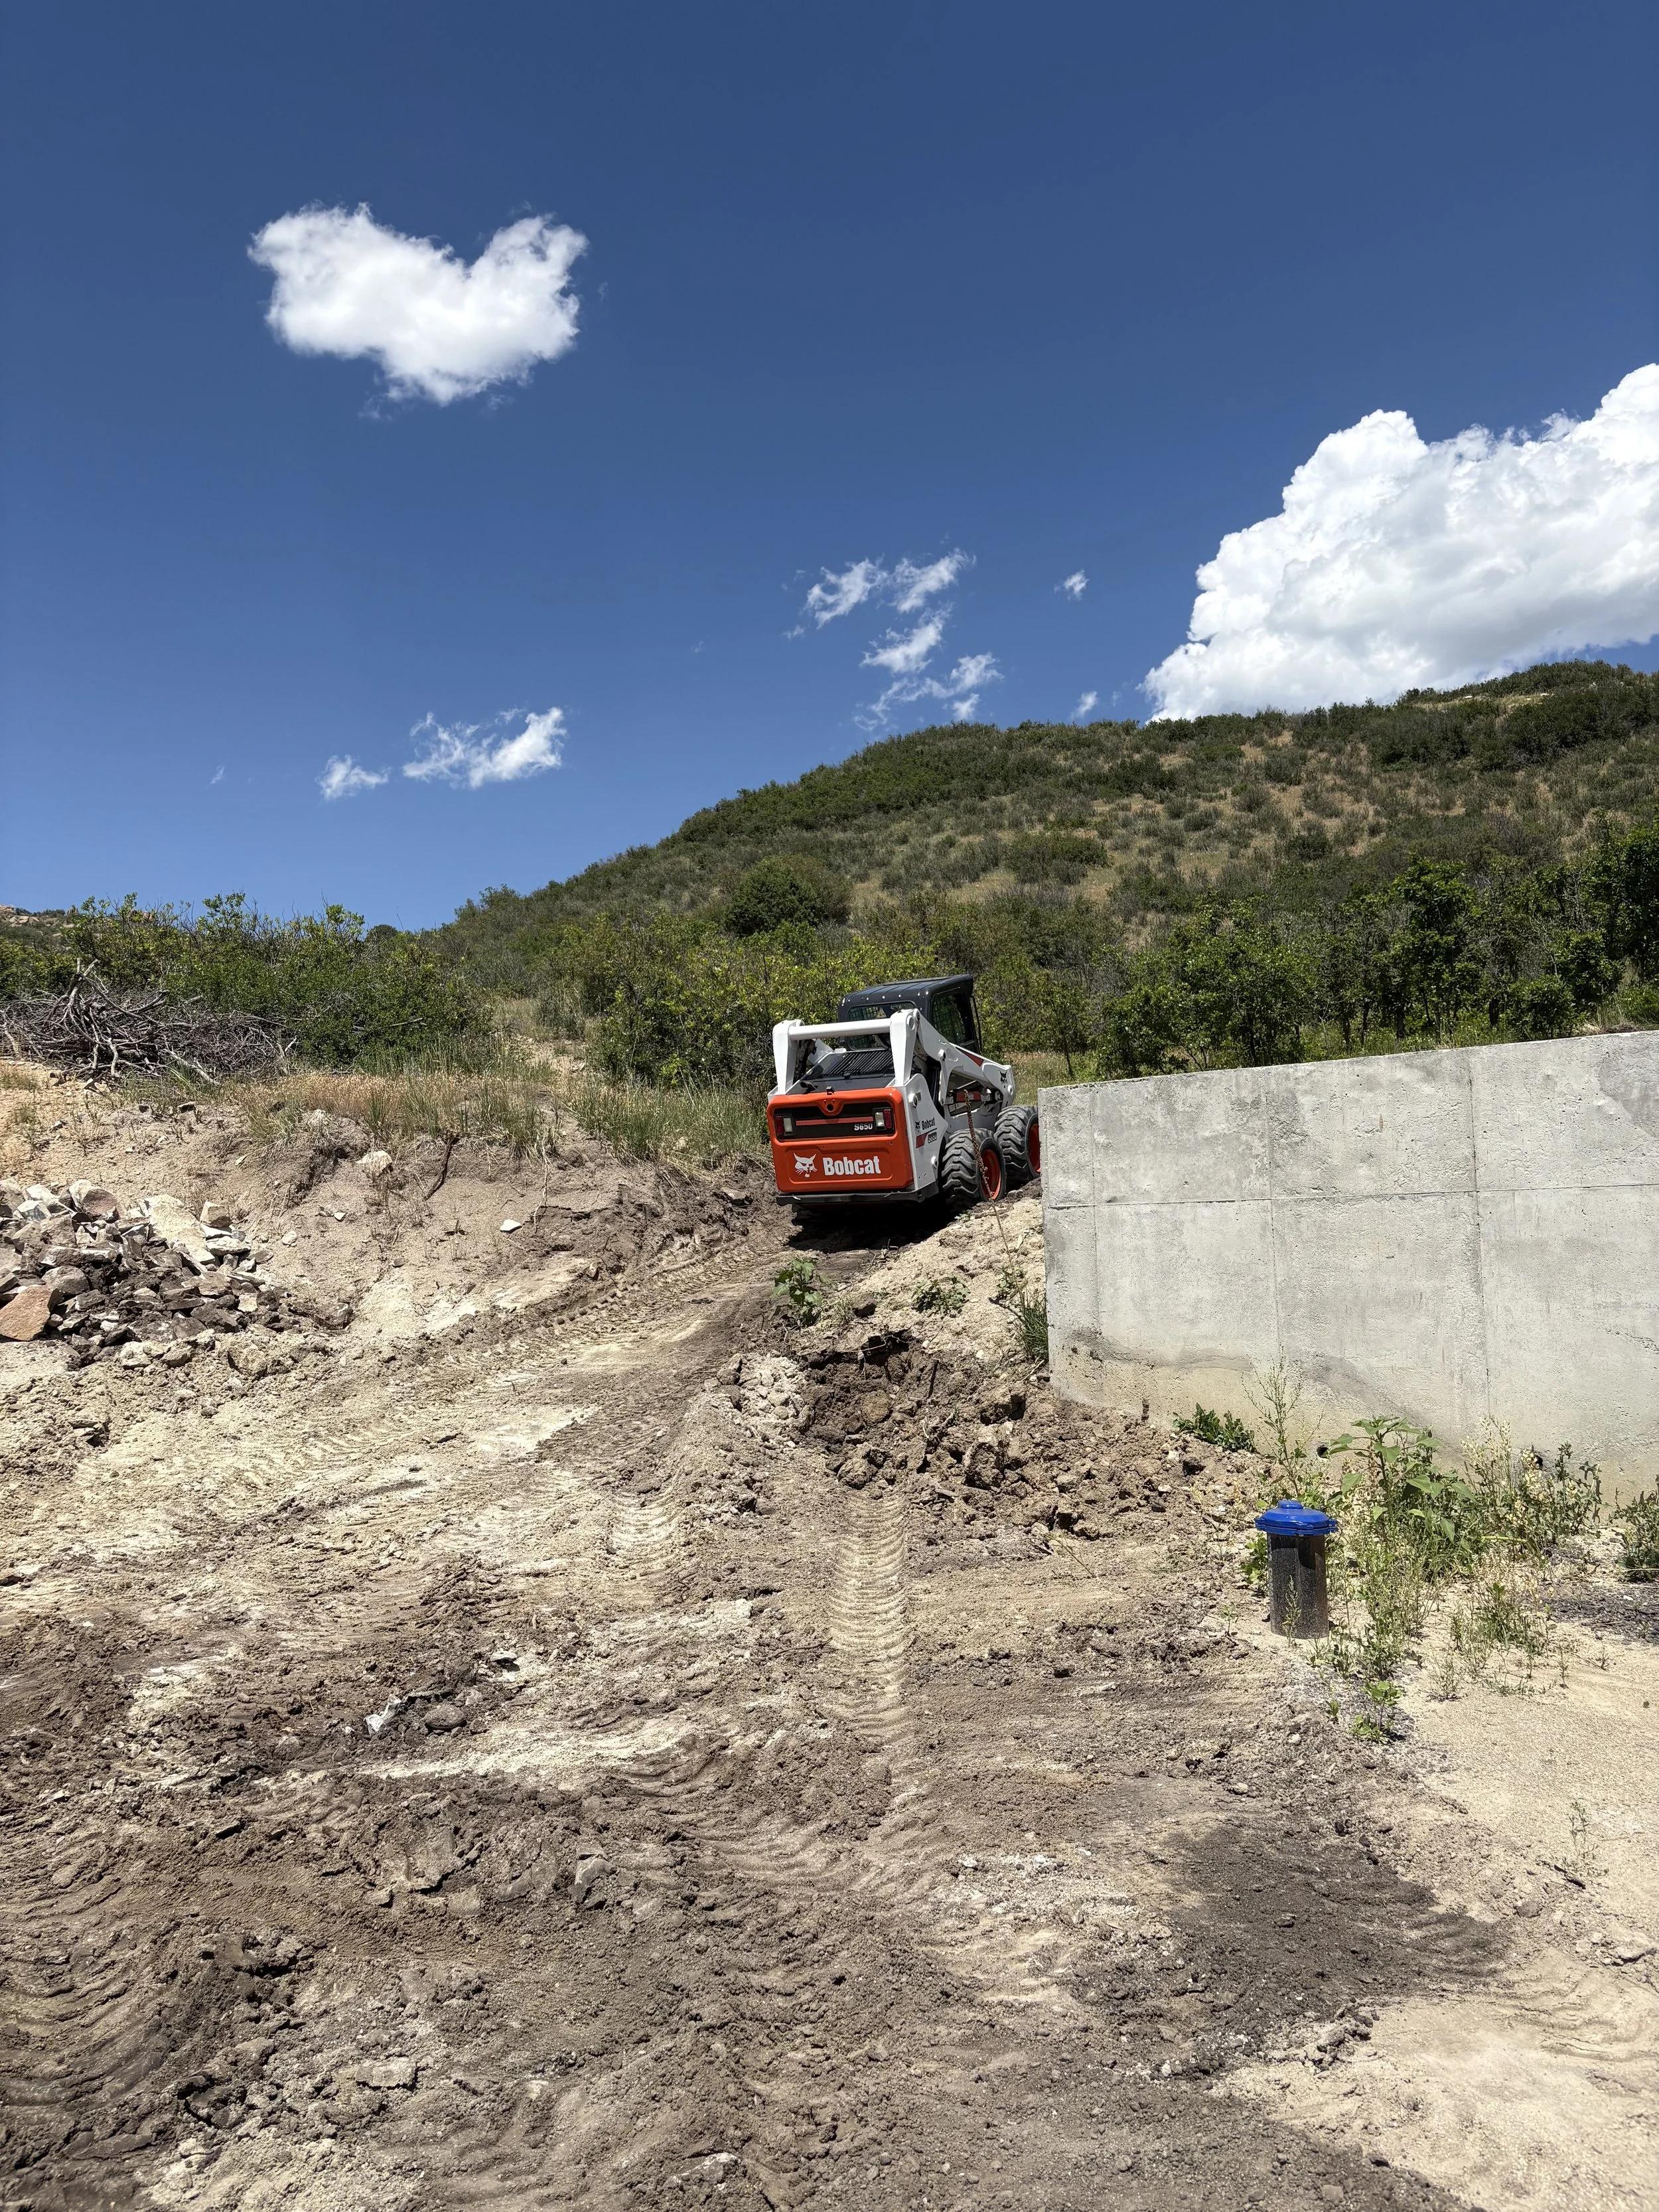
Kris got a new toy! This will definitely come in handy!

Maybe we can use that Bobcat to scoop up our mess at the build site?

Rachel's not super excited filling holes in the foundation walls. At least the sun's out?
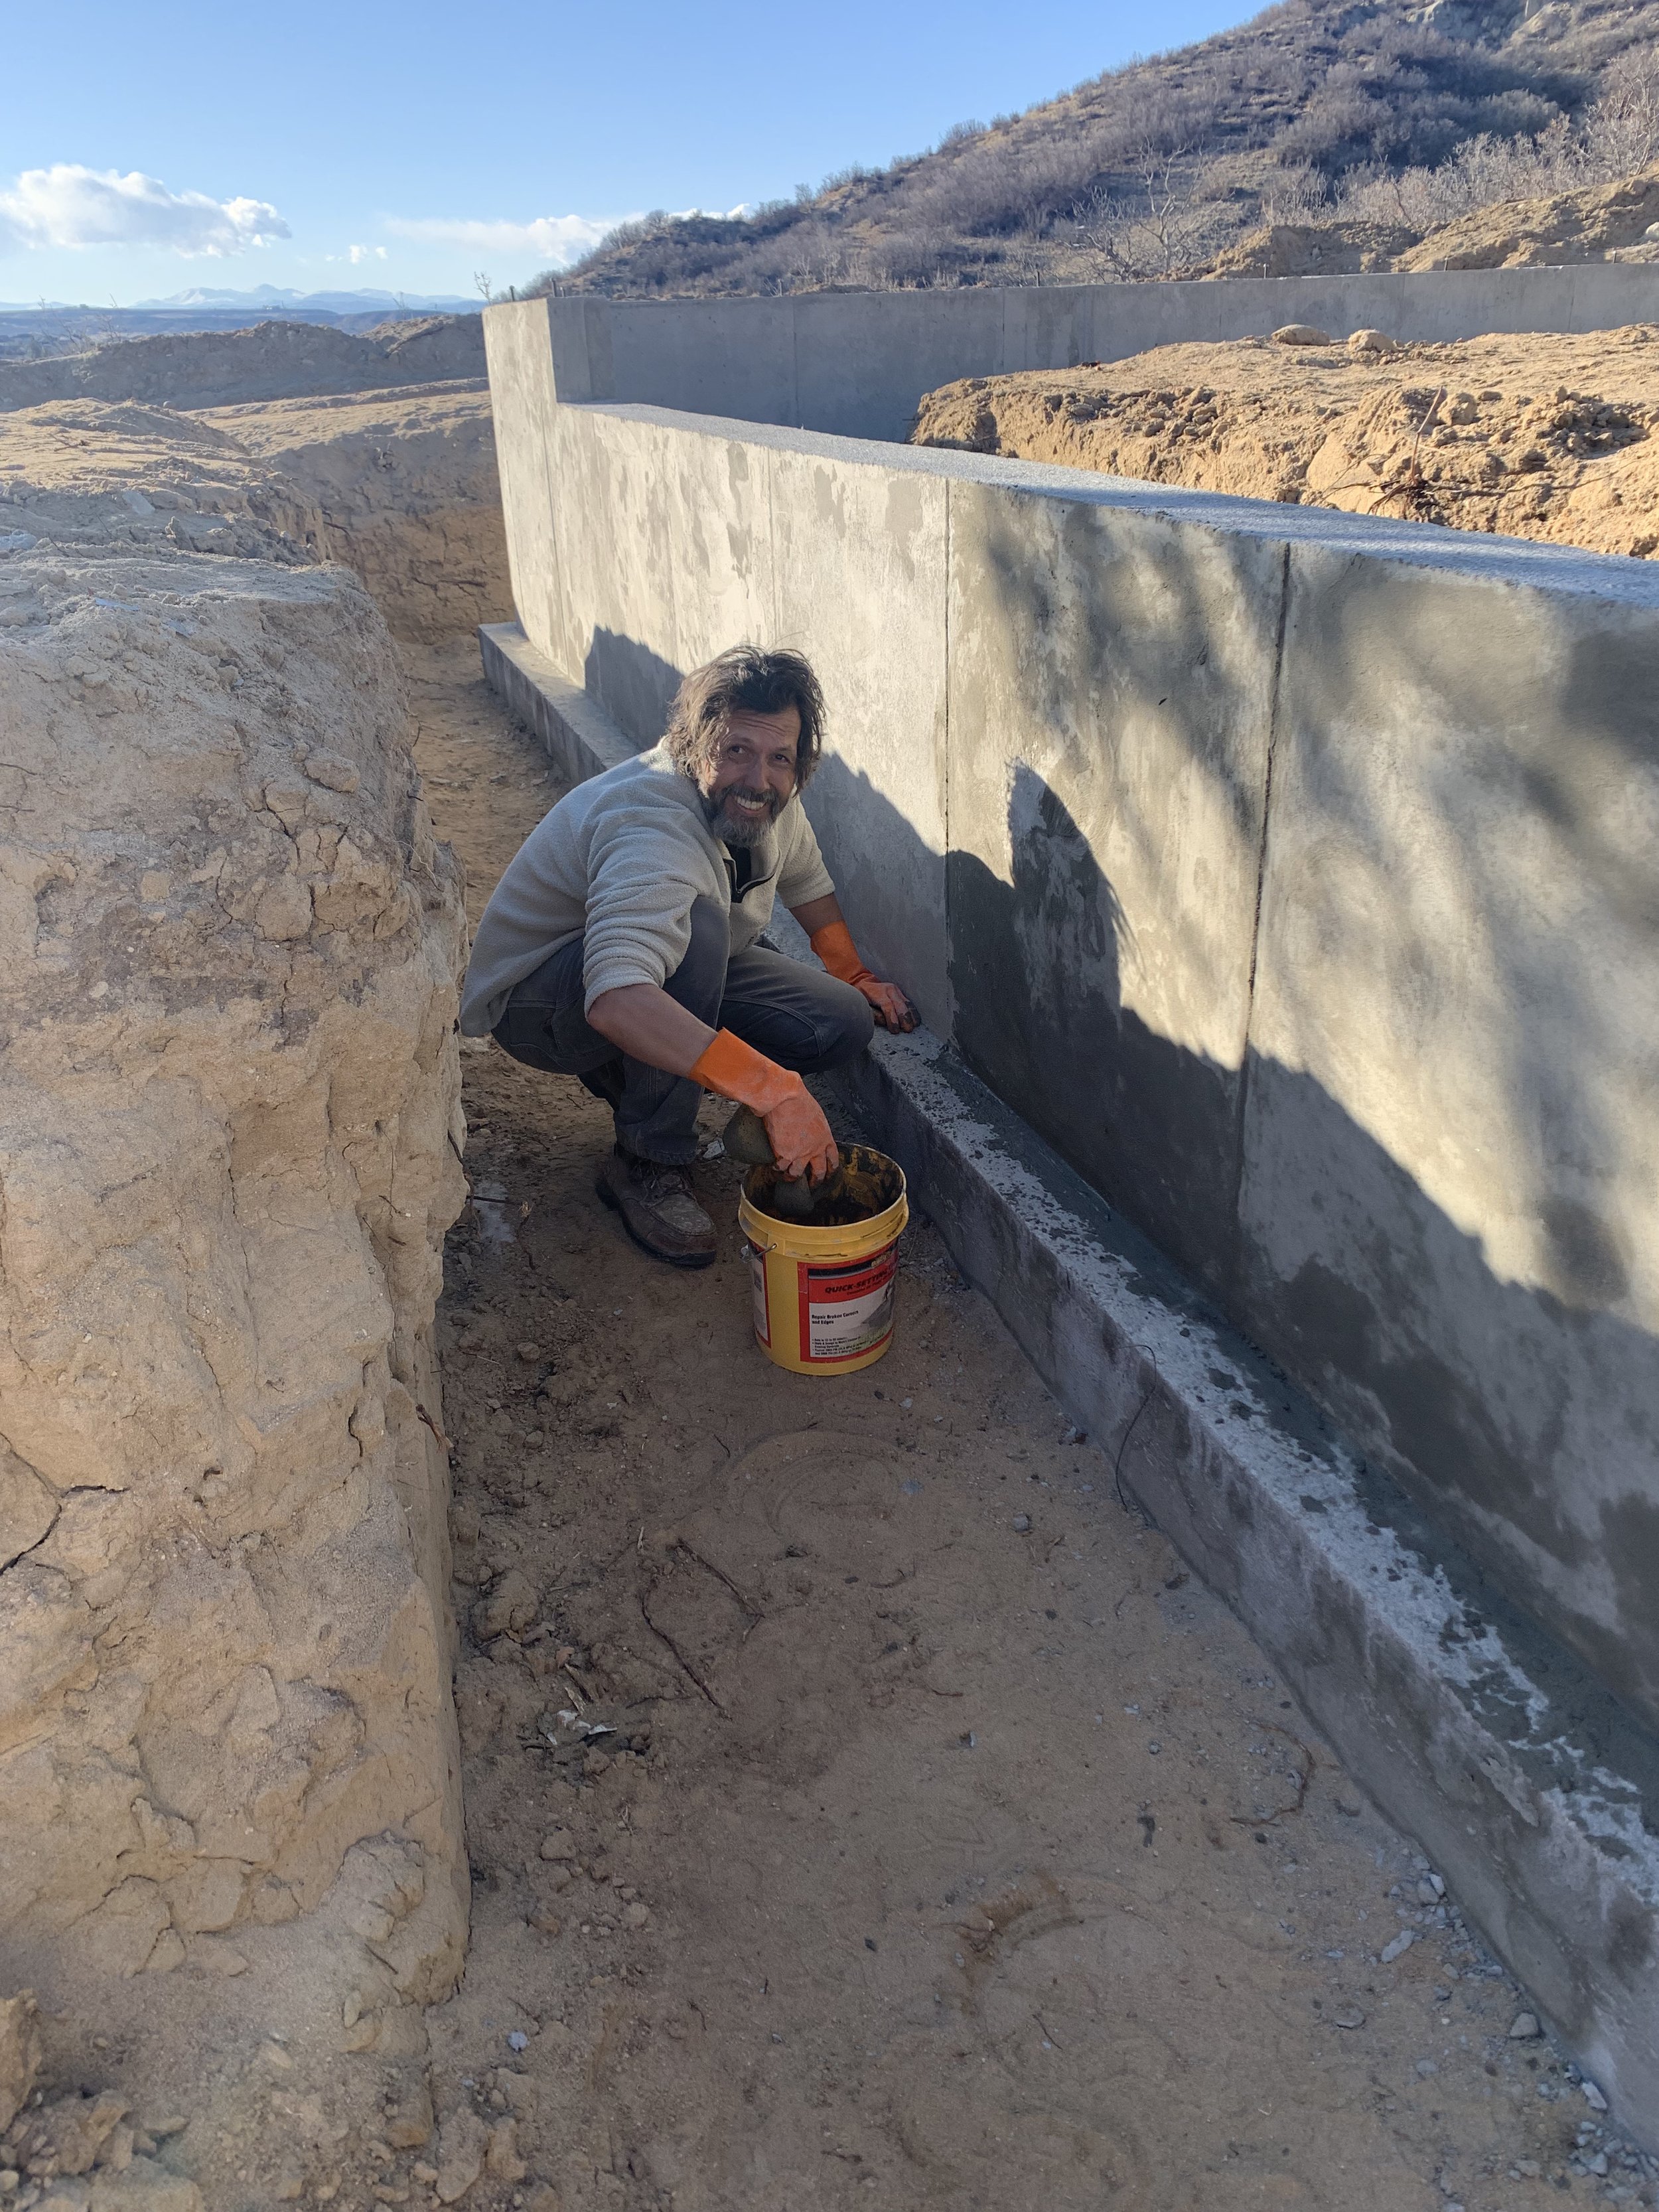
Kris is just happy to not be shoveling snow!
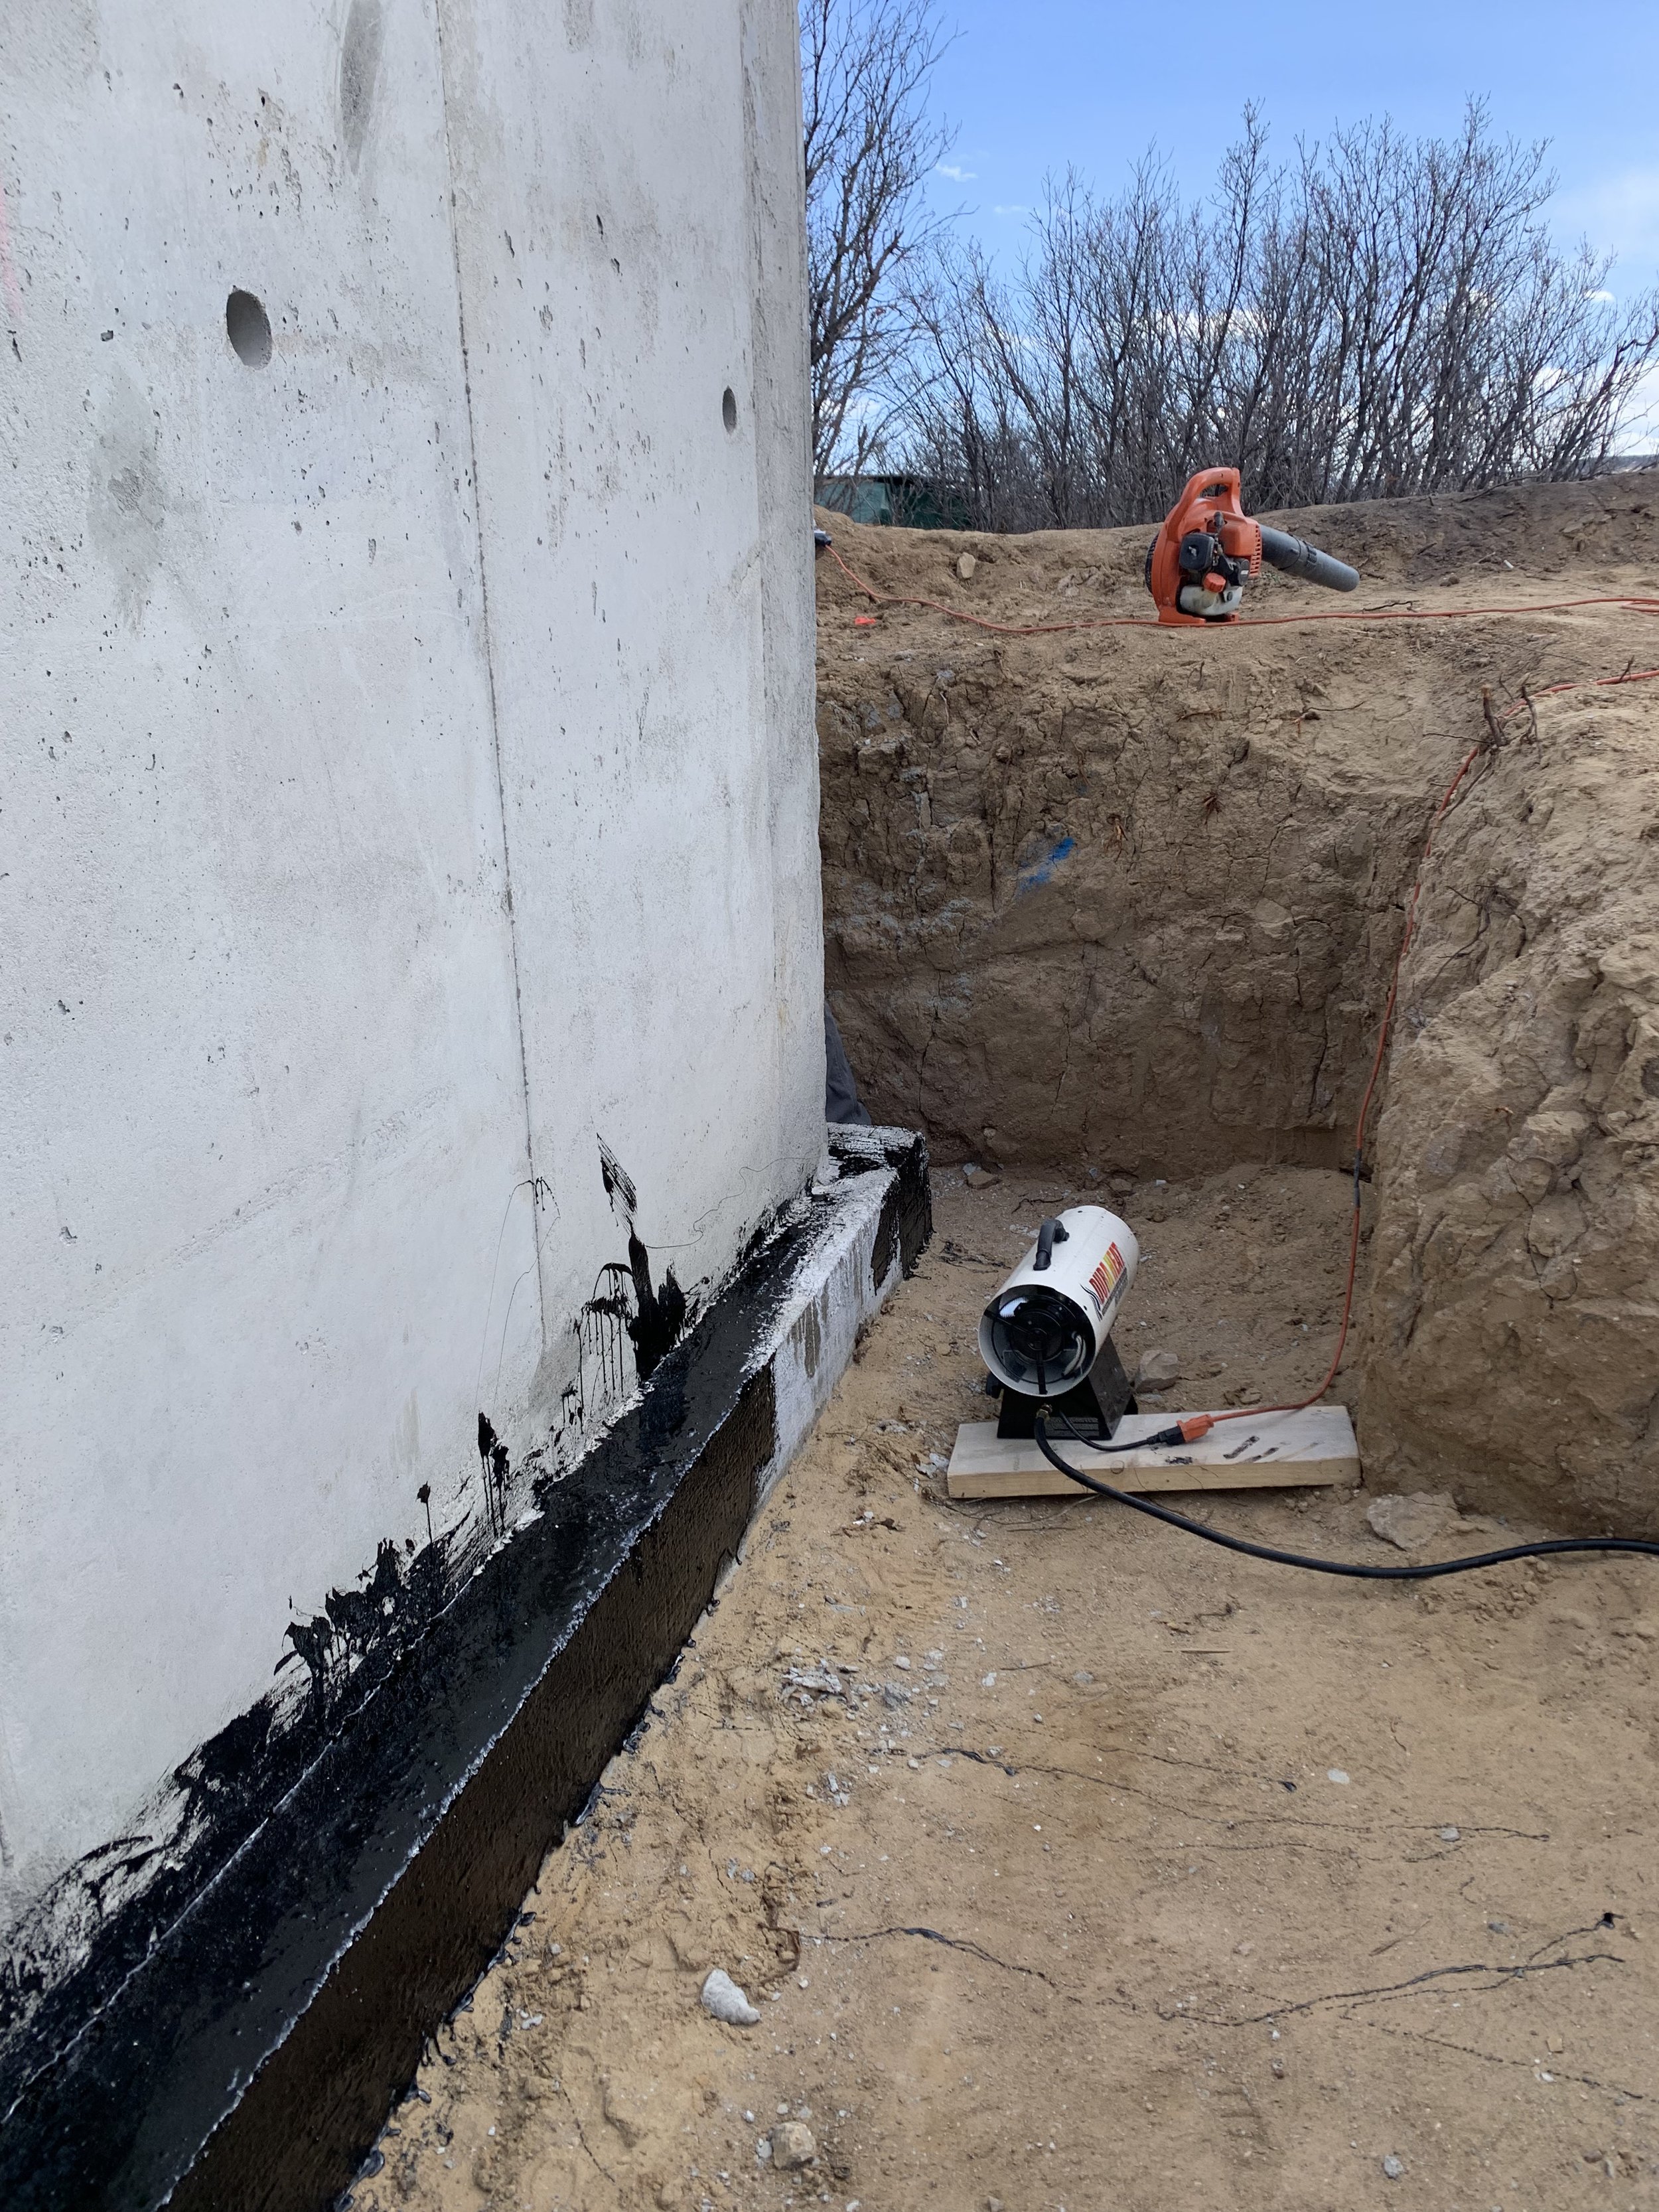
Now the REAL mess begins. Tarring the walls. As you can see the heaters are out, which means that it's cold!

Do we really have to do ALL the walls??!

Slowly plugging away at each wall.
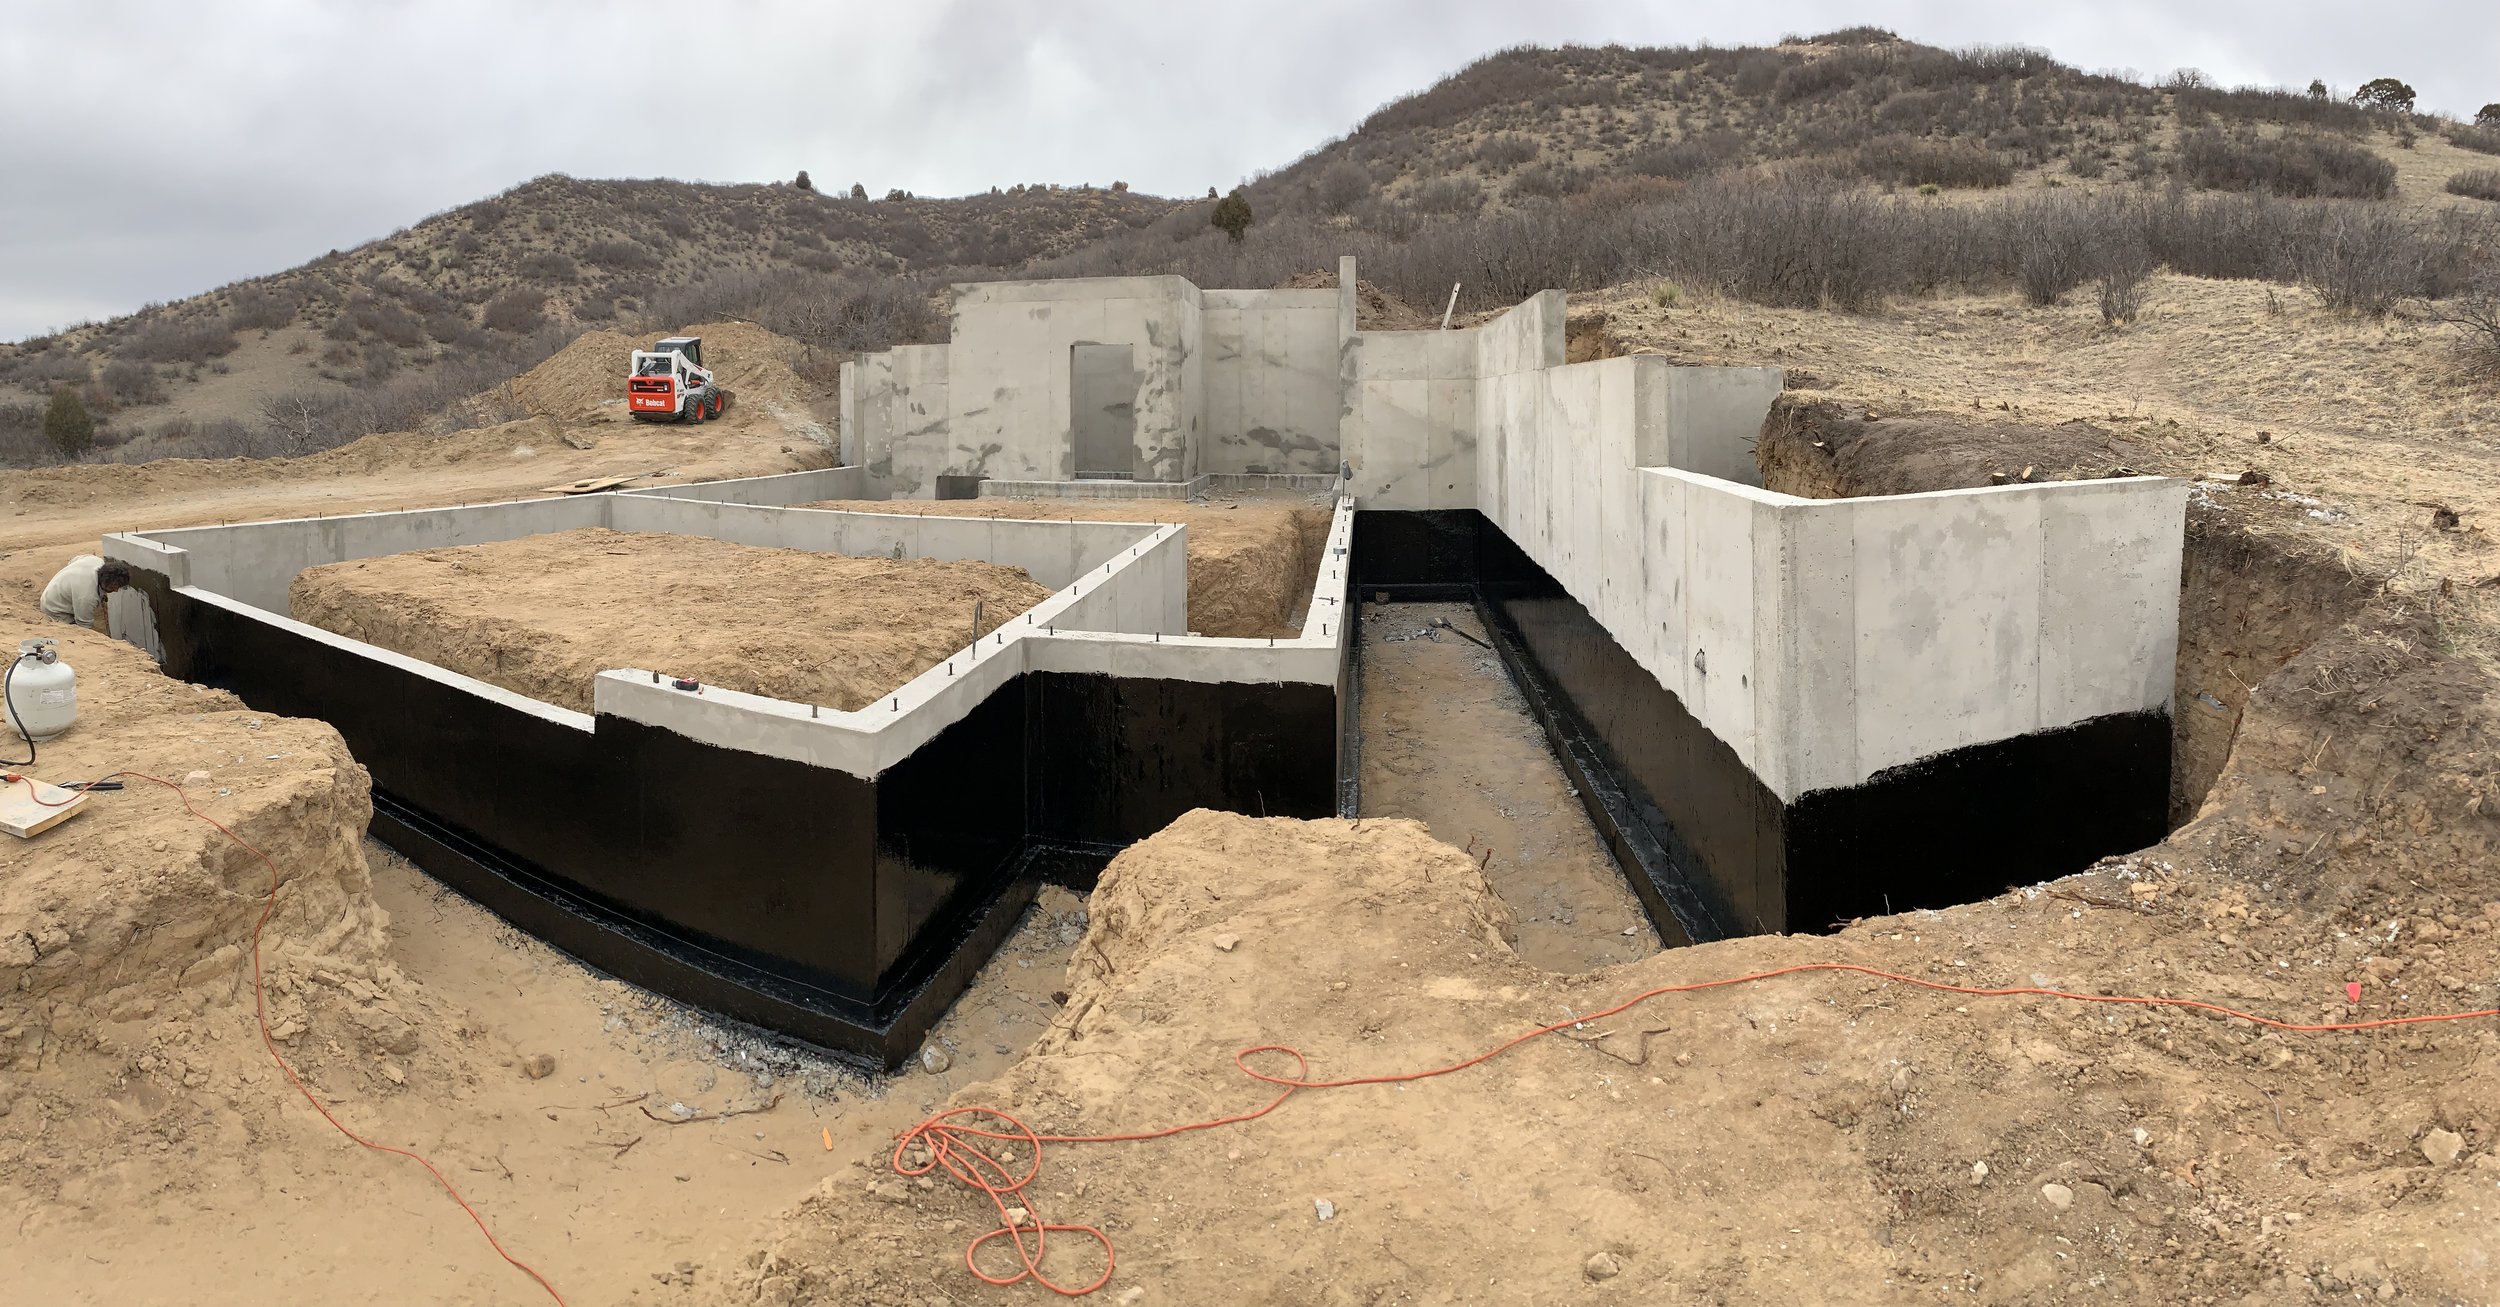
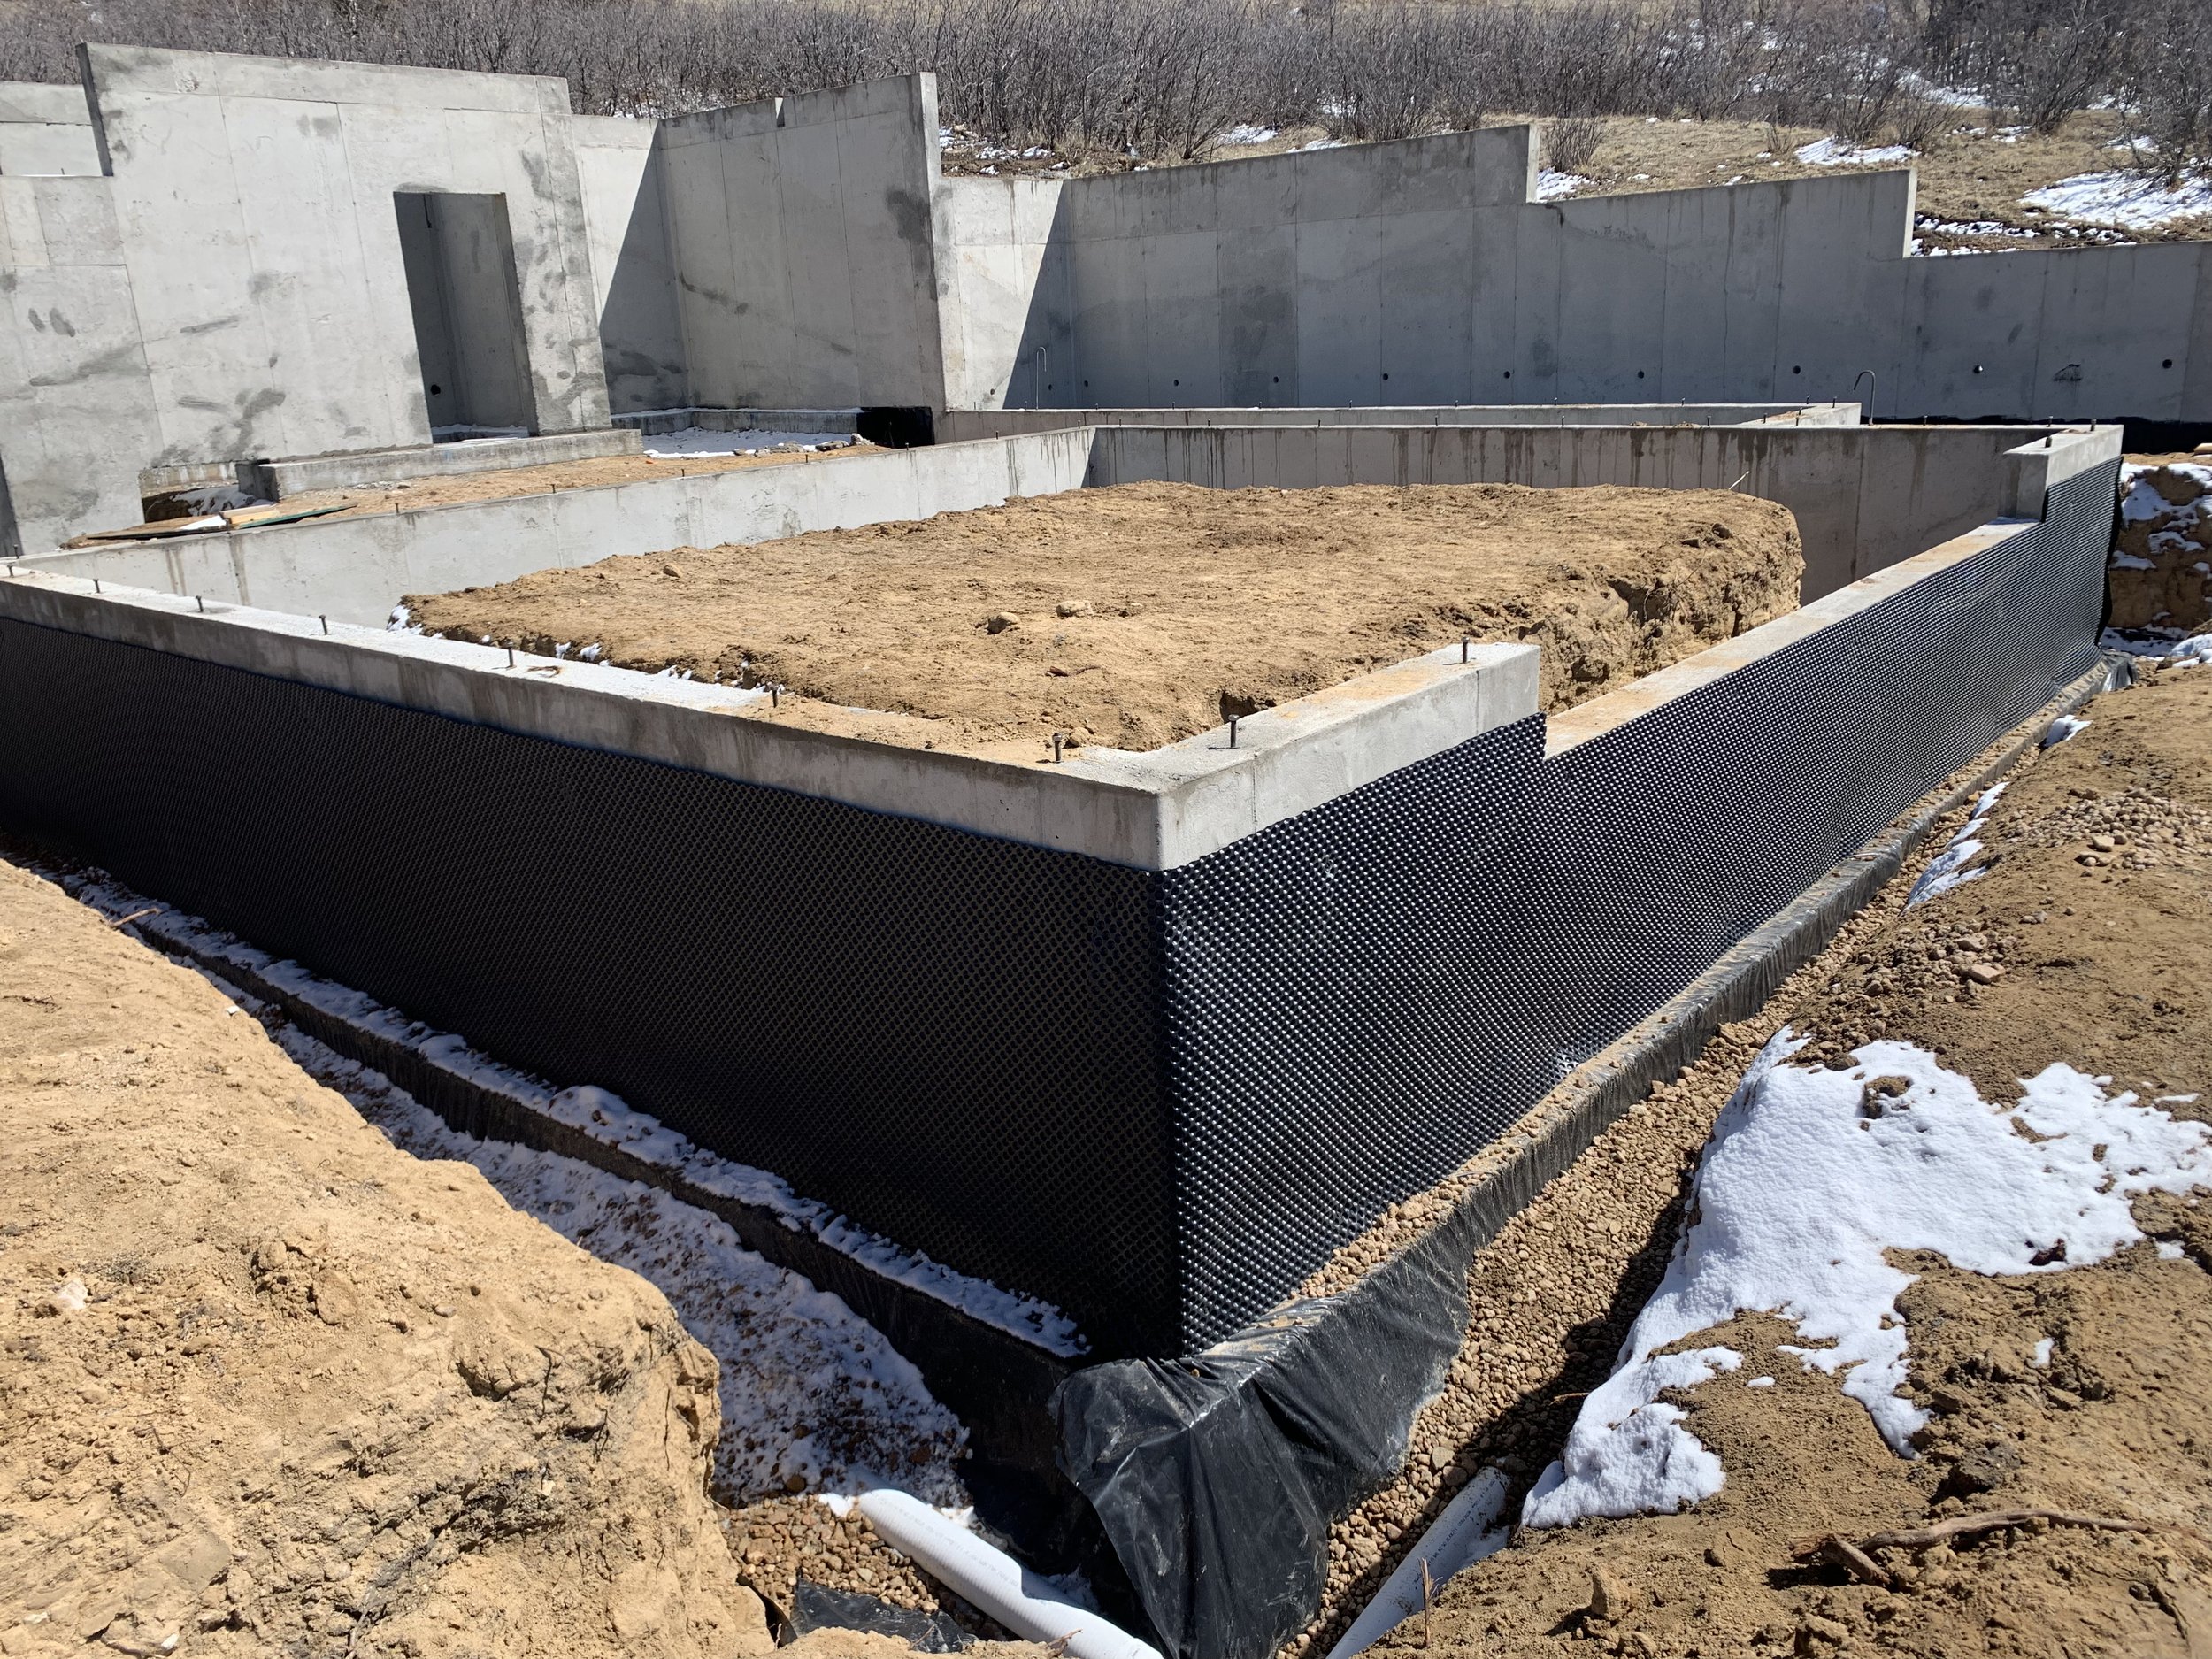
Tarring was a huge mess, but at least it looks nice and neat now that it's done!

Now we start on the foundation drainage. Kris dug trenches all the way around to hold rock and drainage pipes.

We had 2 of our nephews fly in to help with the build! Did they know what they were getting themselves into? We shall see!

Looks good so far!
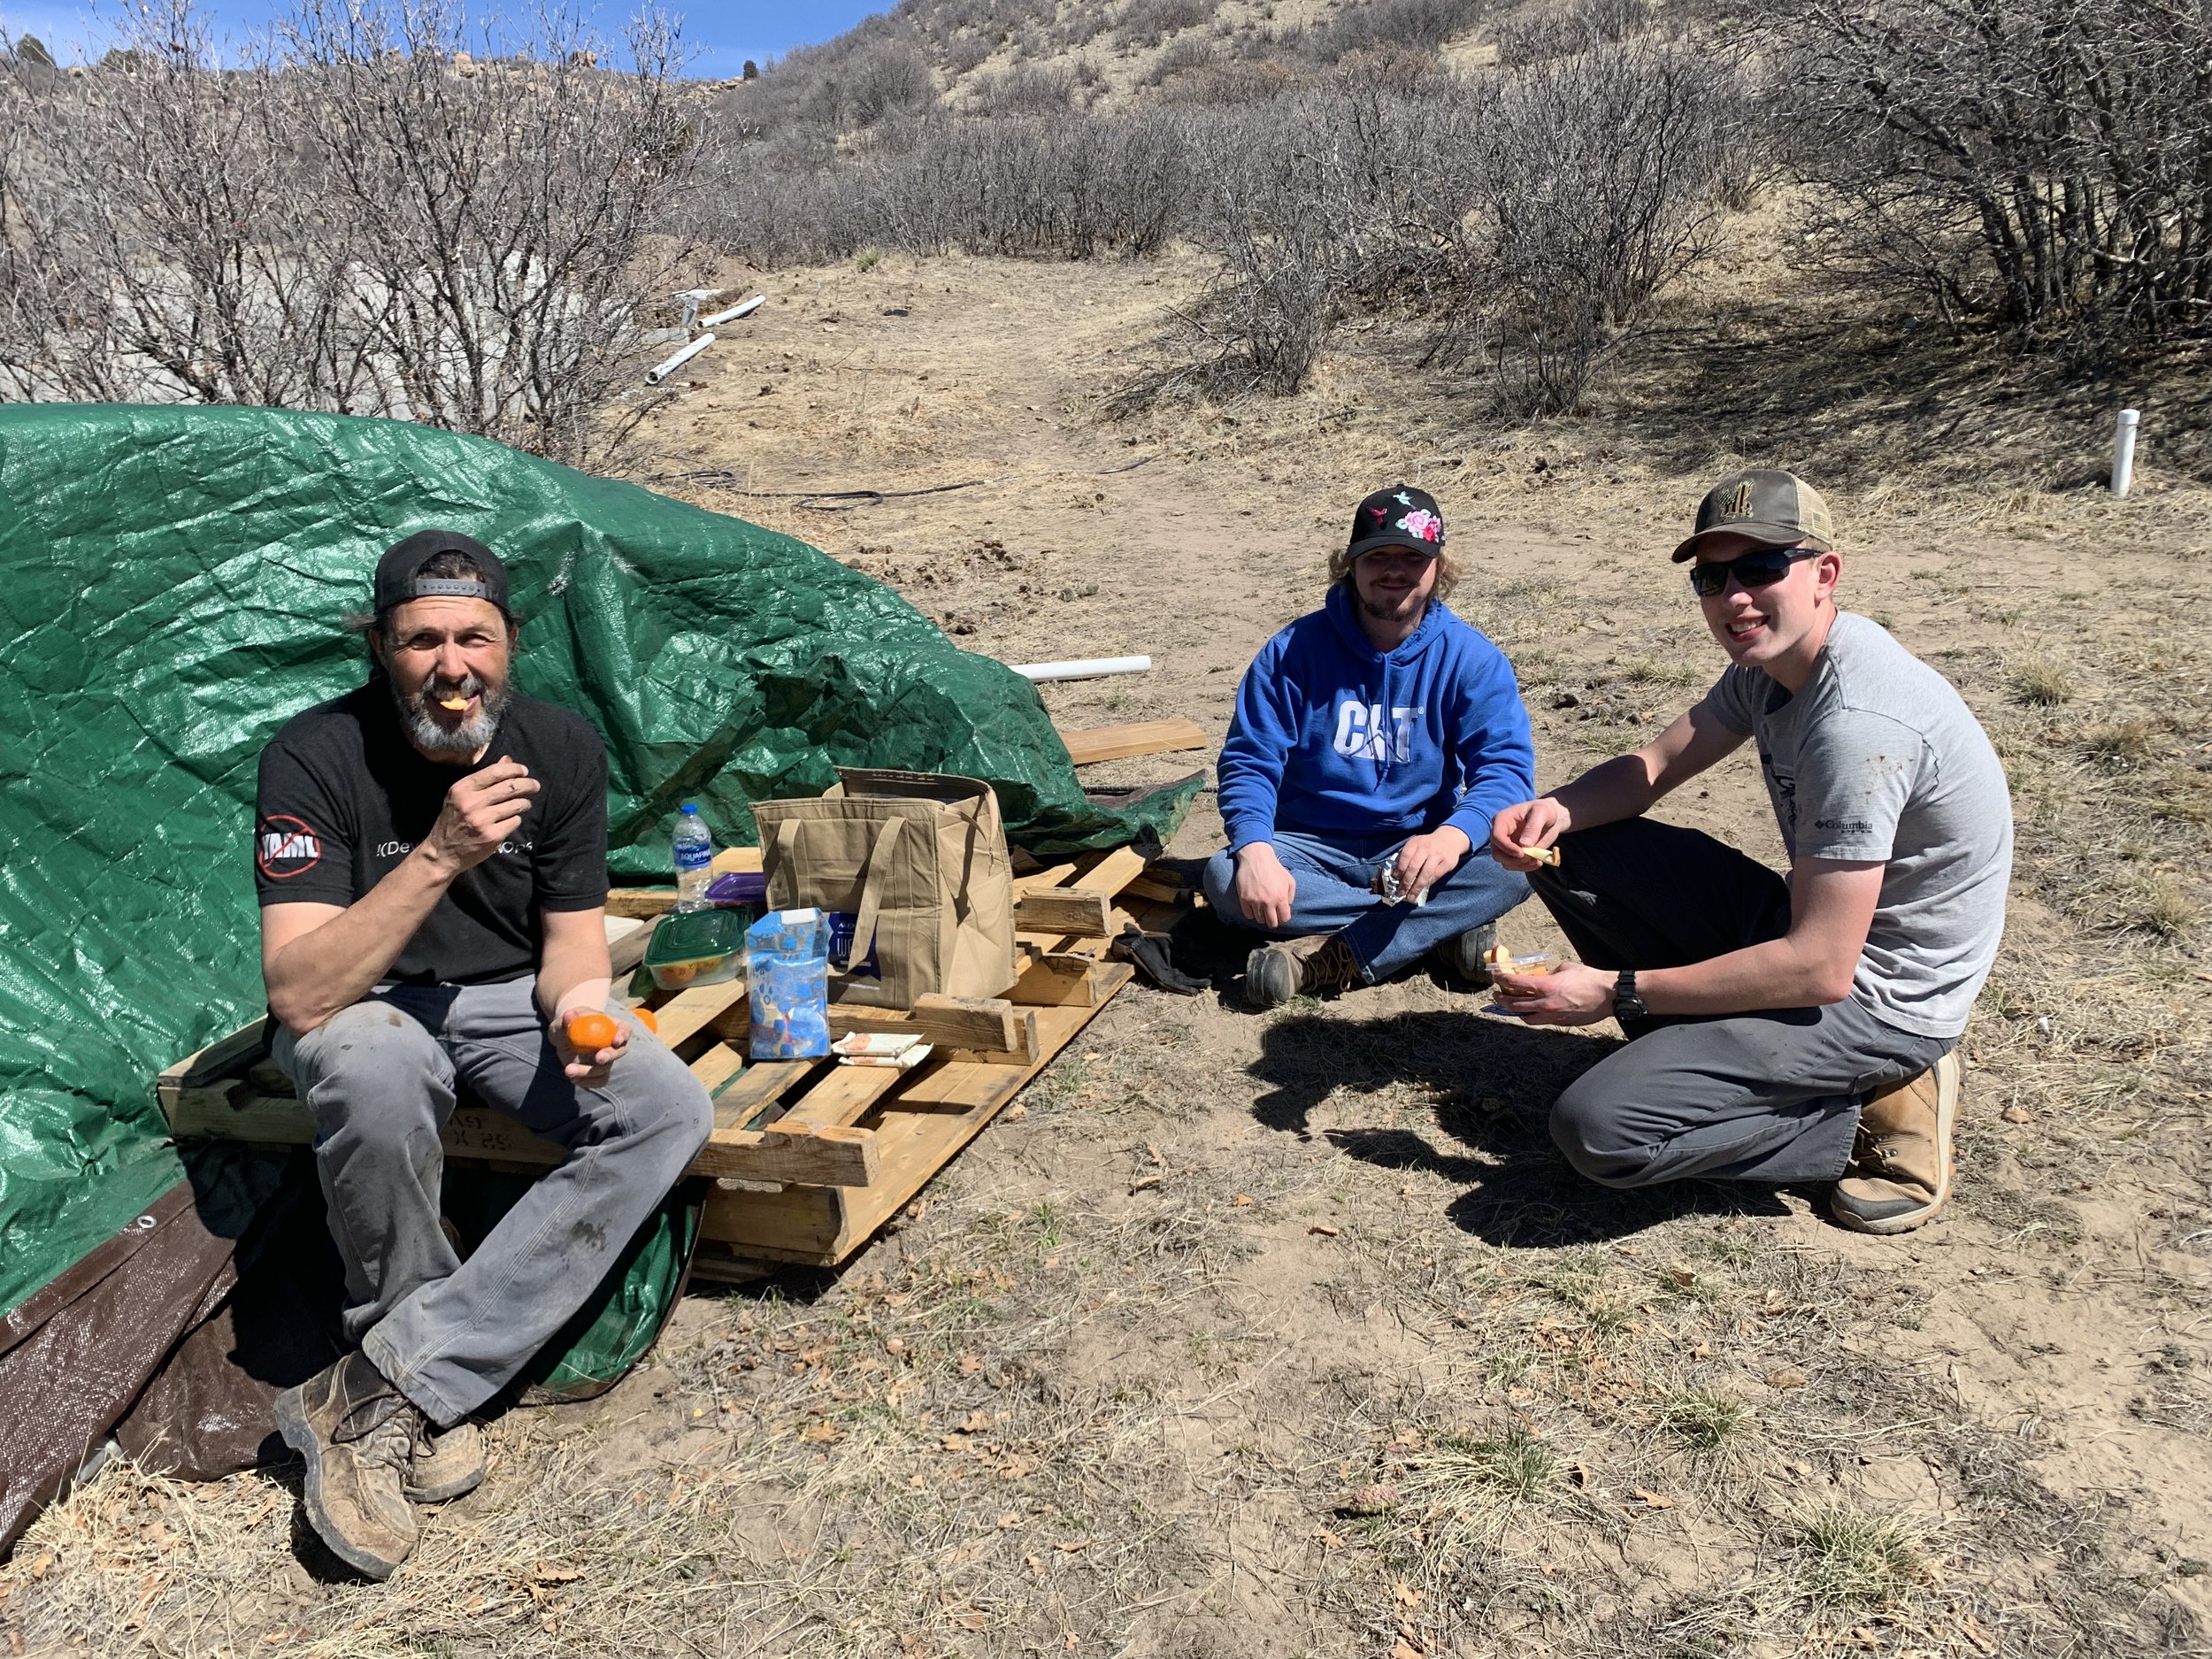
Snack time! Rachel kept very busy feeding 3 hungry guys all week!

Now each section gets drainage pipe...

...and rock to help hold the drainage pipe in place.

Shoveling massive amounts of gravel may not be in the "fun" category, but think about all the muscle you're building guys!

Shoveling rock went well into the evening.

Unfortunately mother nature once again wreaked havoc on the build site. What a cold miserable day!

The sun eventually came out and boosted spirits! Still chilly, but the hard work continued.
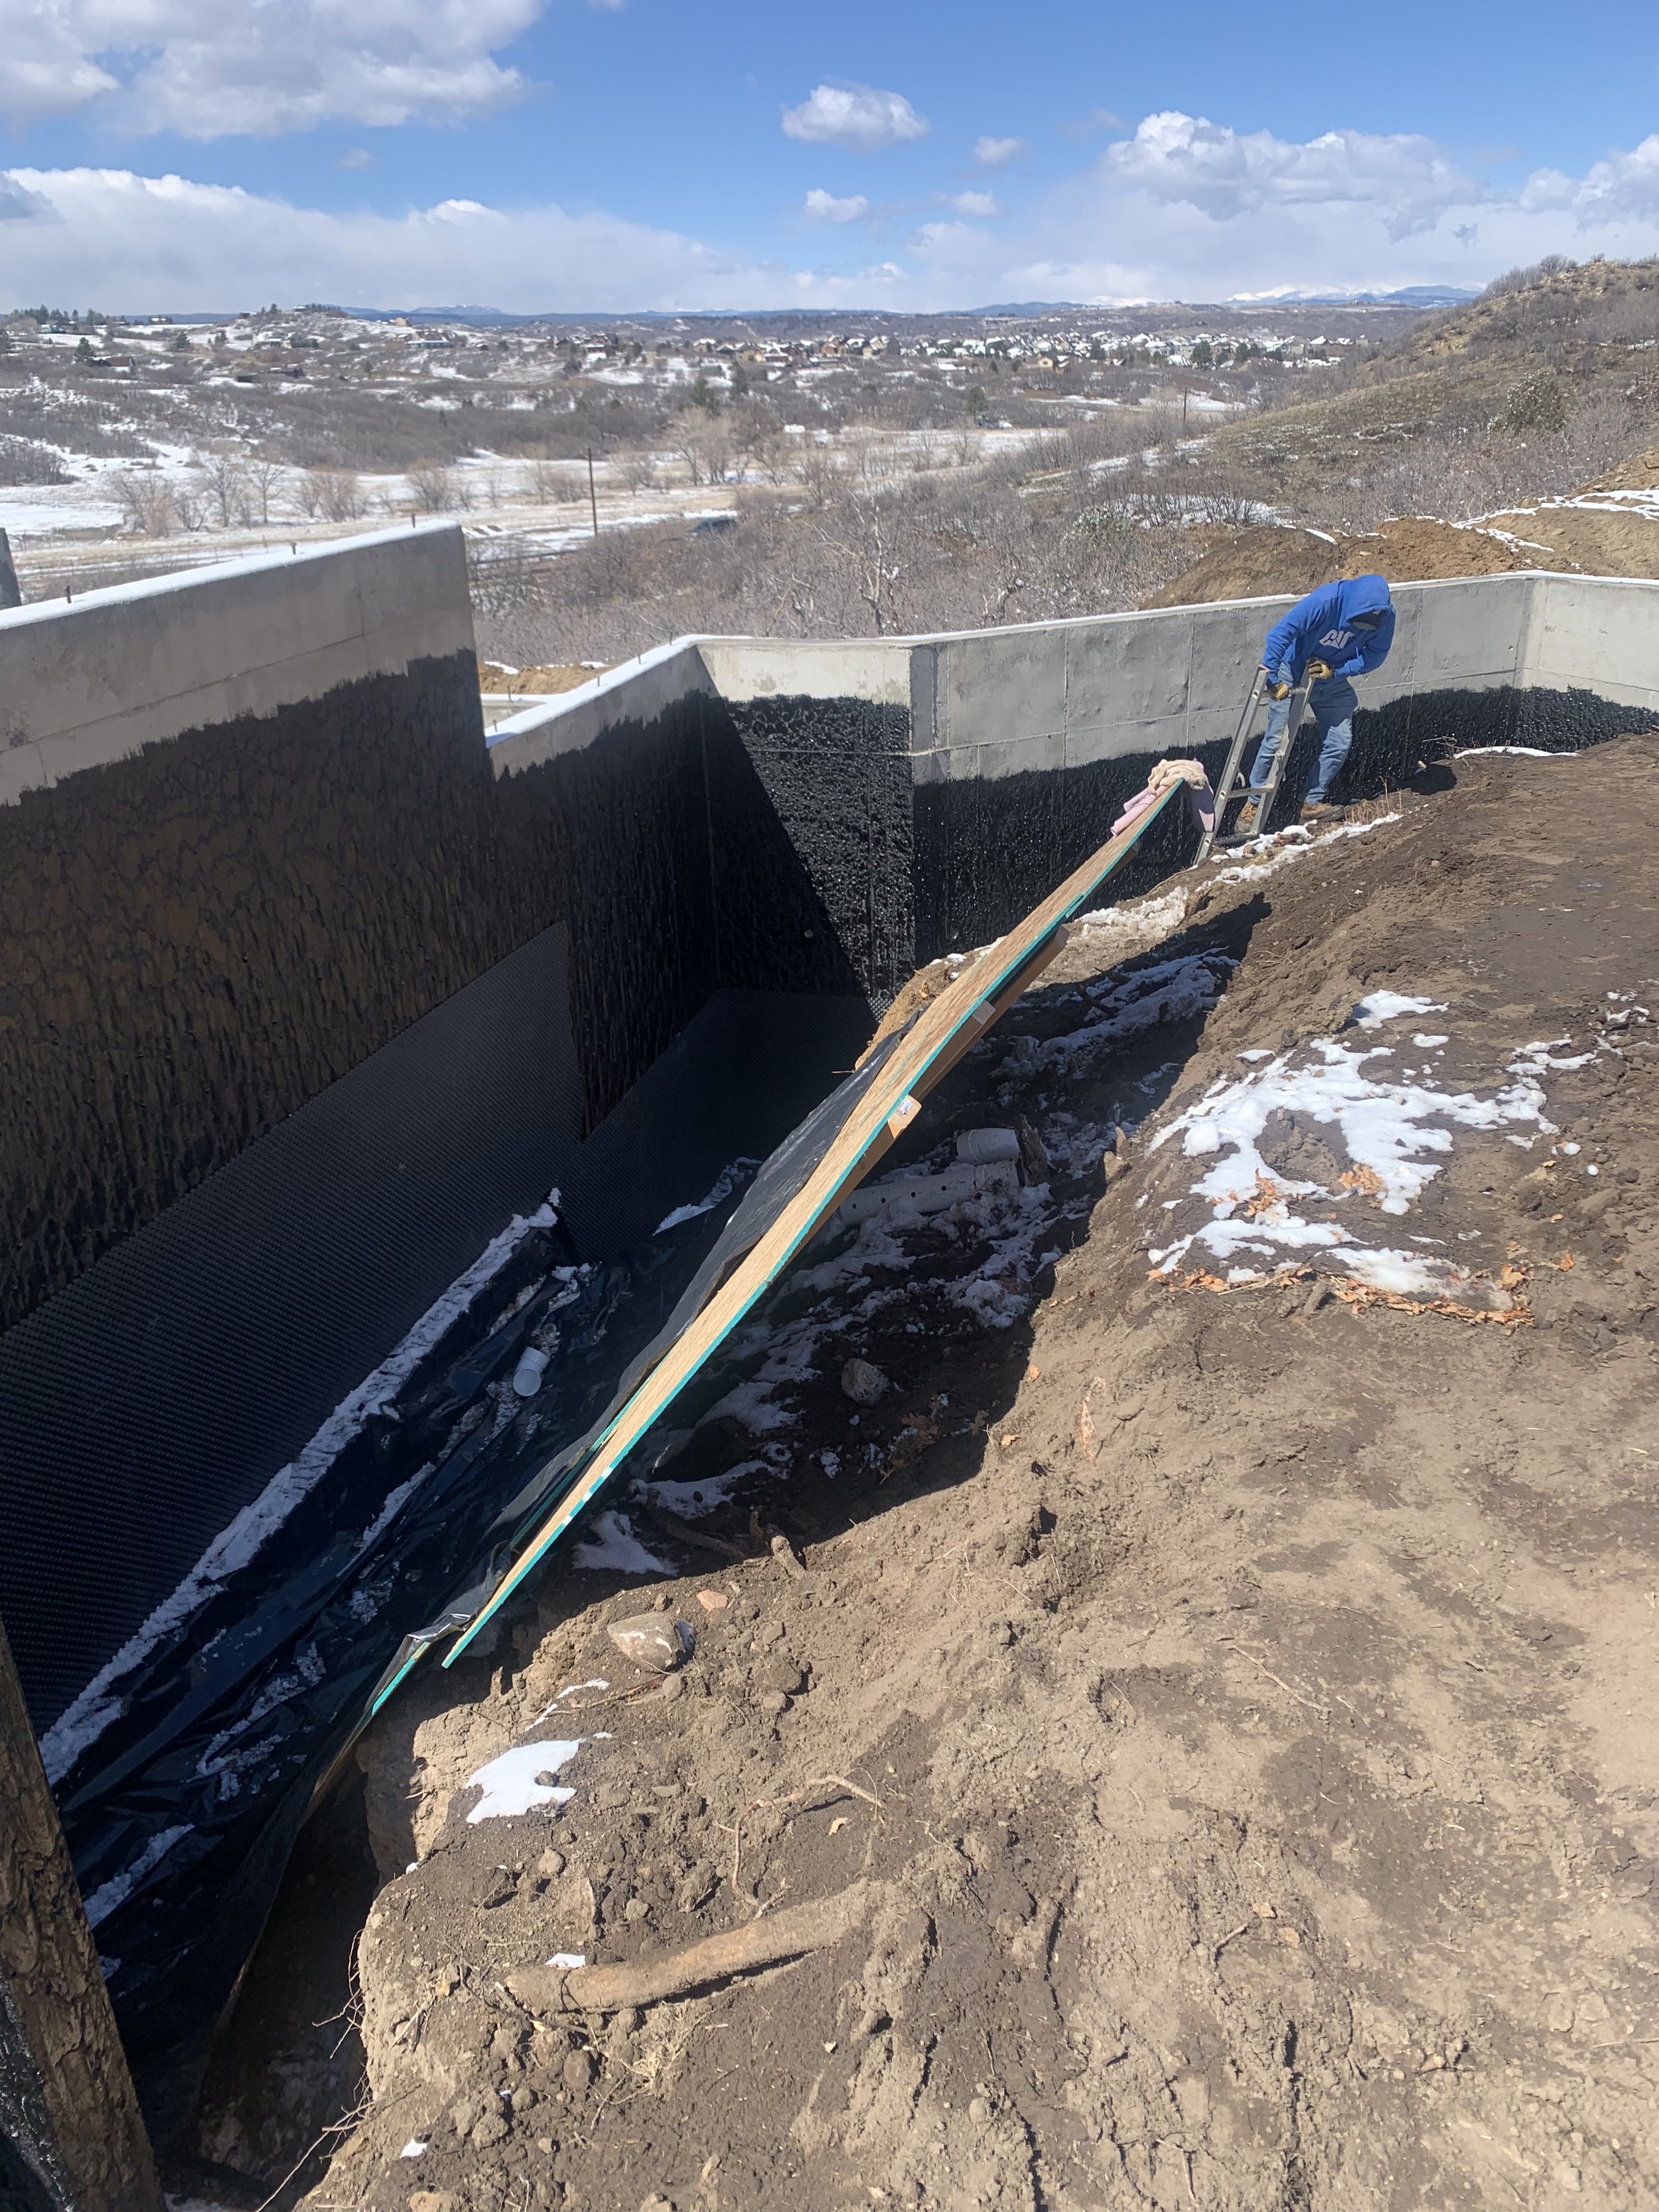
Situating the drainage was quite a bit trickier behind the retaining wall. The guys built a plywood slide to dump some of the rock down into the hole, but the rest still had to be hauled down 1 bucket-full at a time.

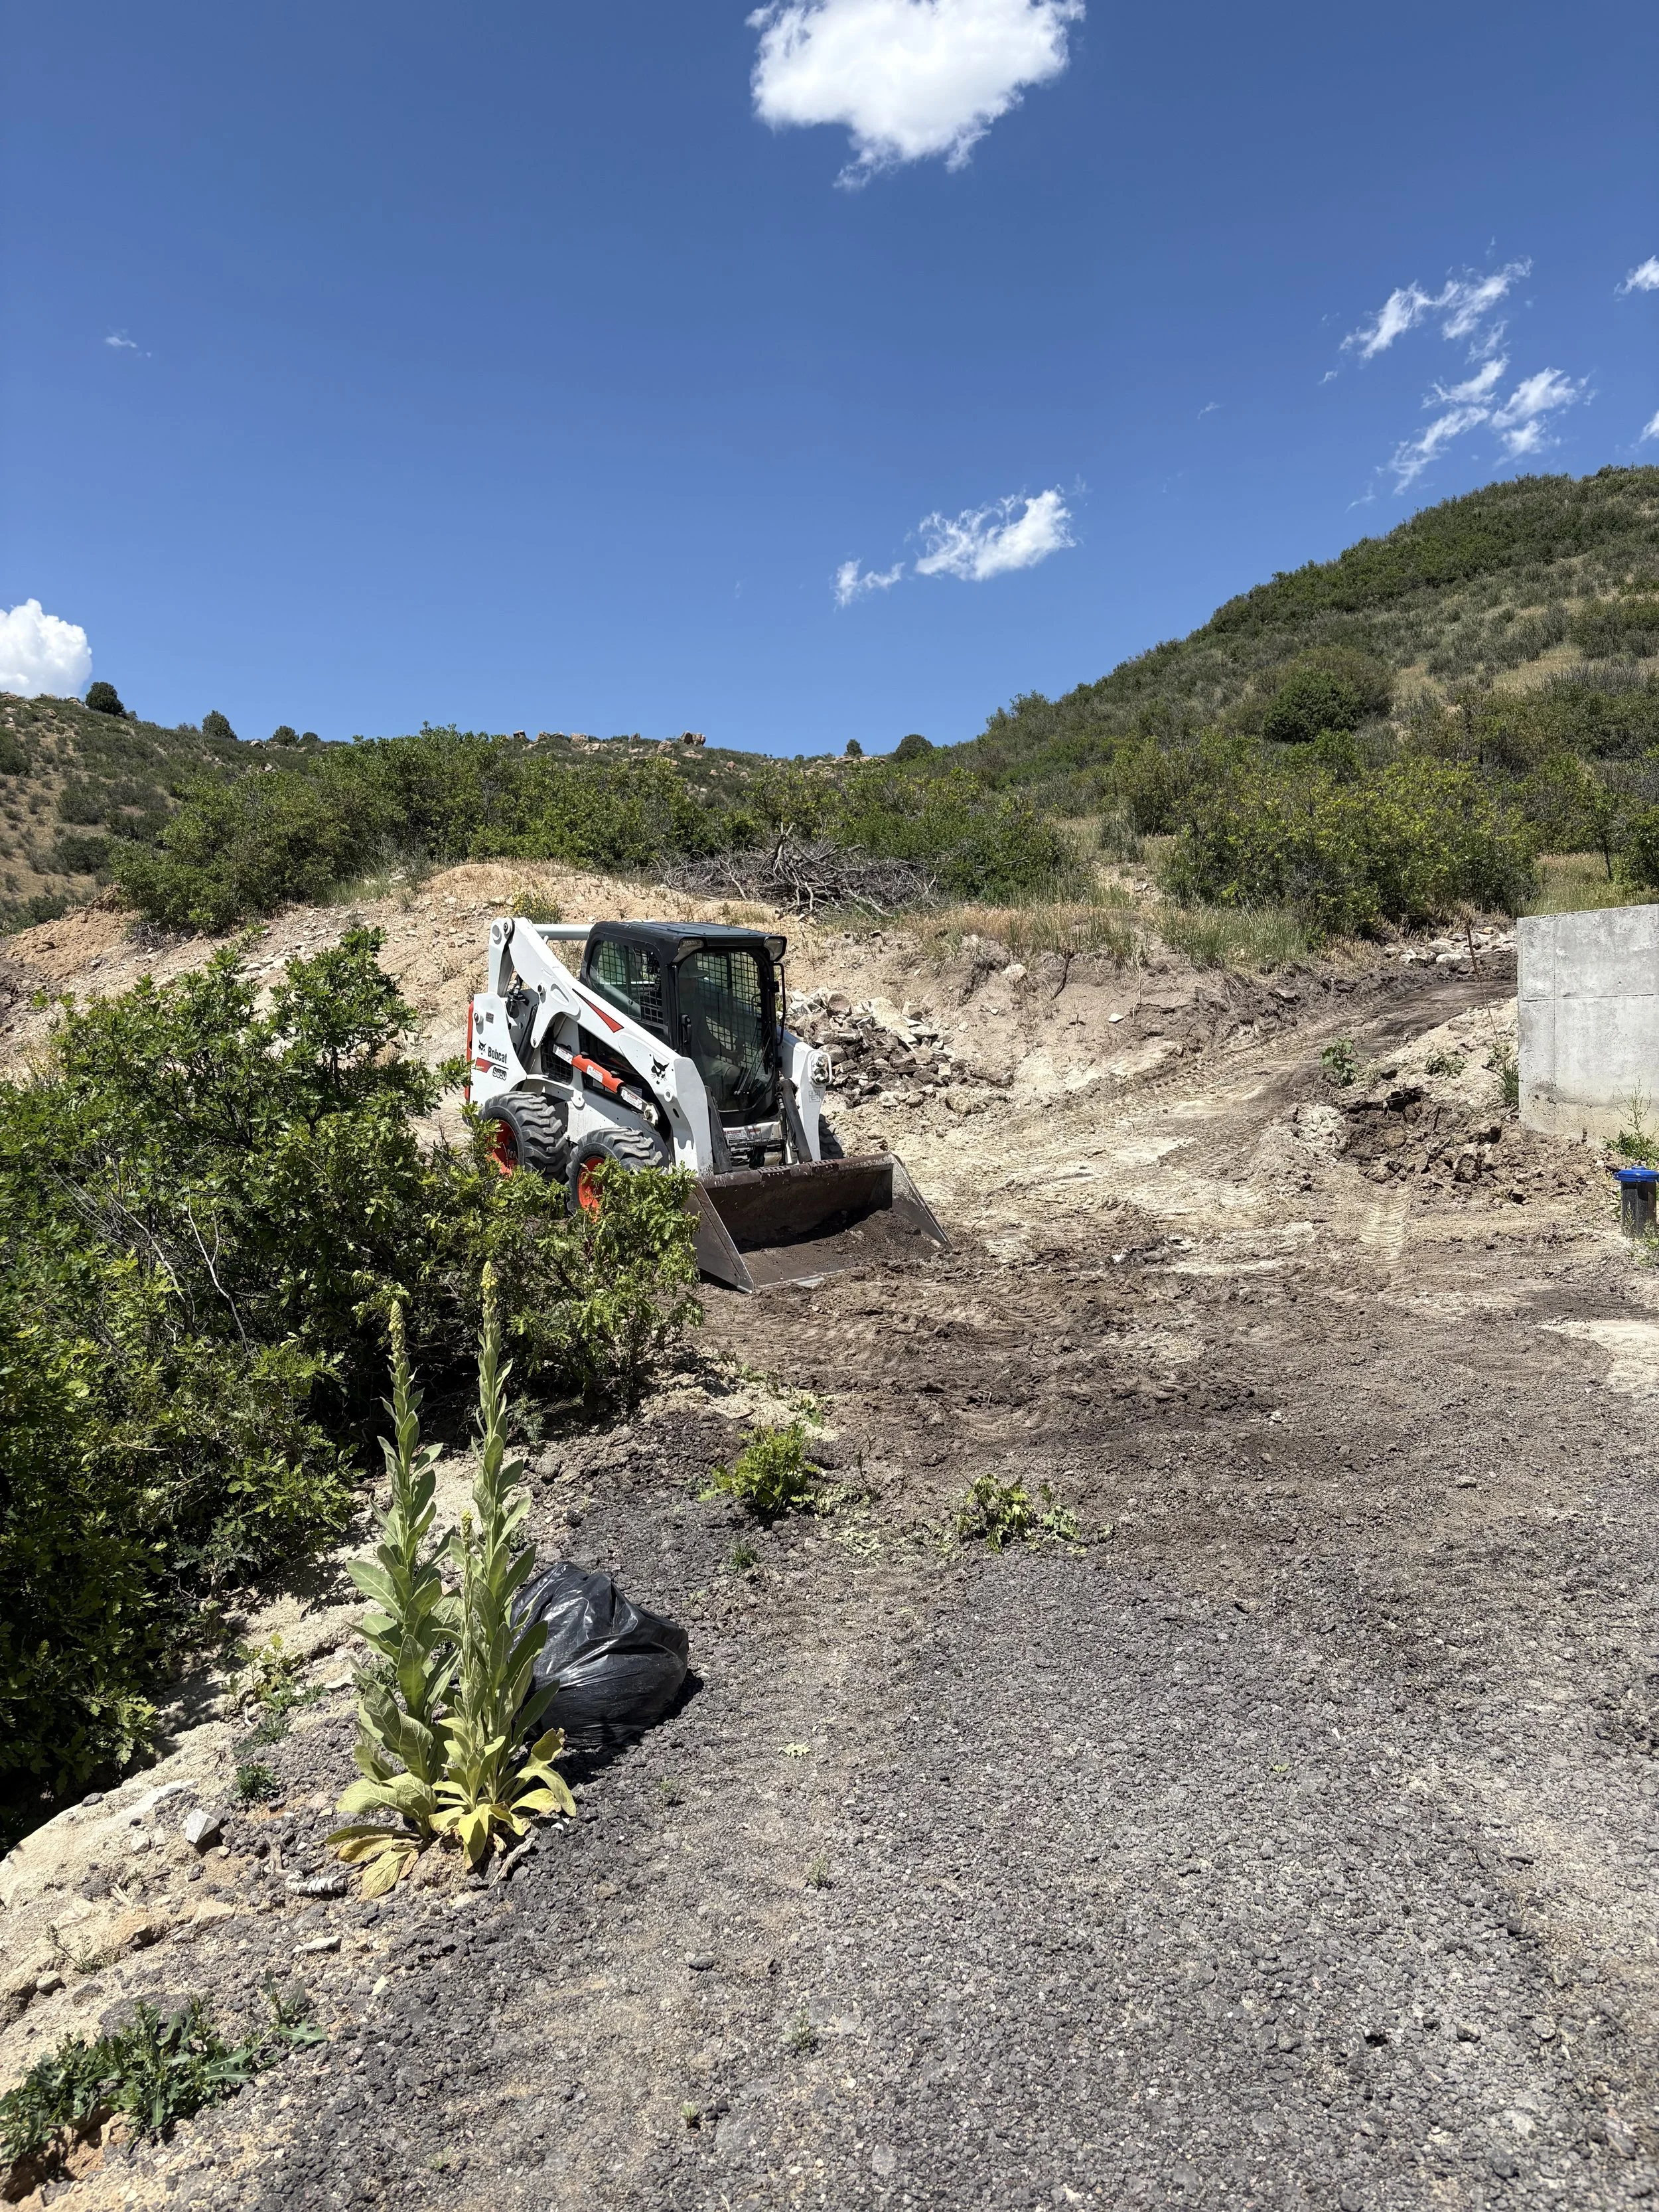
Kris used our handy new Bobcat to bring the rock where it was needed.

Back breaking work!
Despite the snow, the drainage is completed around the house!

Now the drainage has to be run away form the house. Kris starts digging more trenches across the driveway.

Was anyone supervising this trench digging??? This looks VERY precarious!

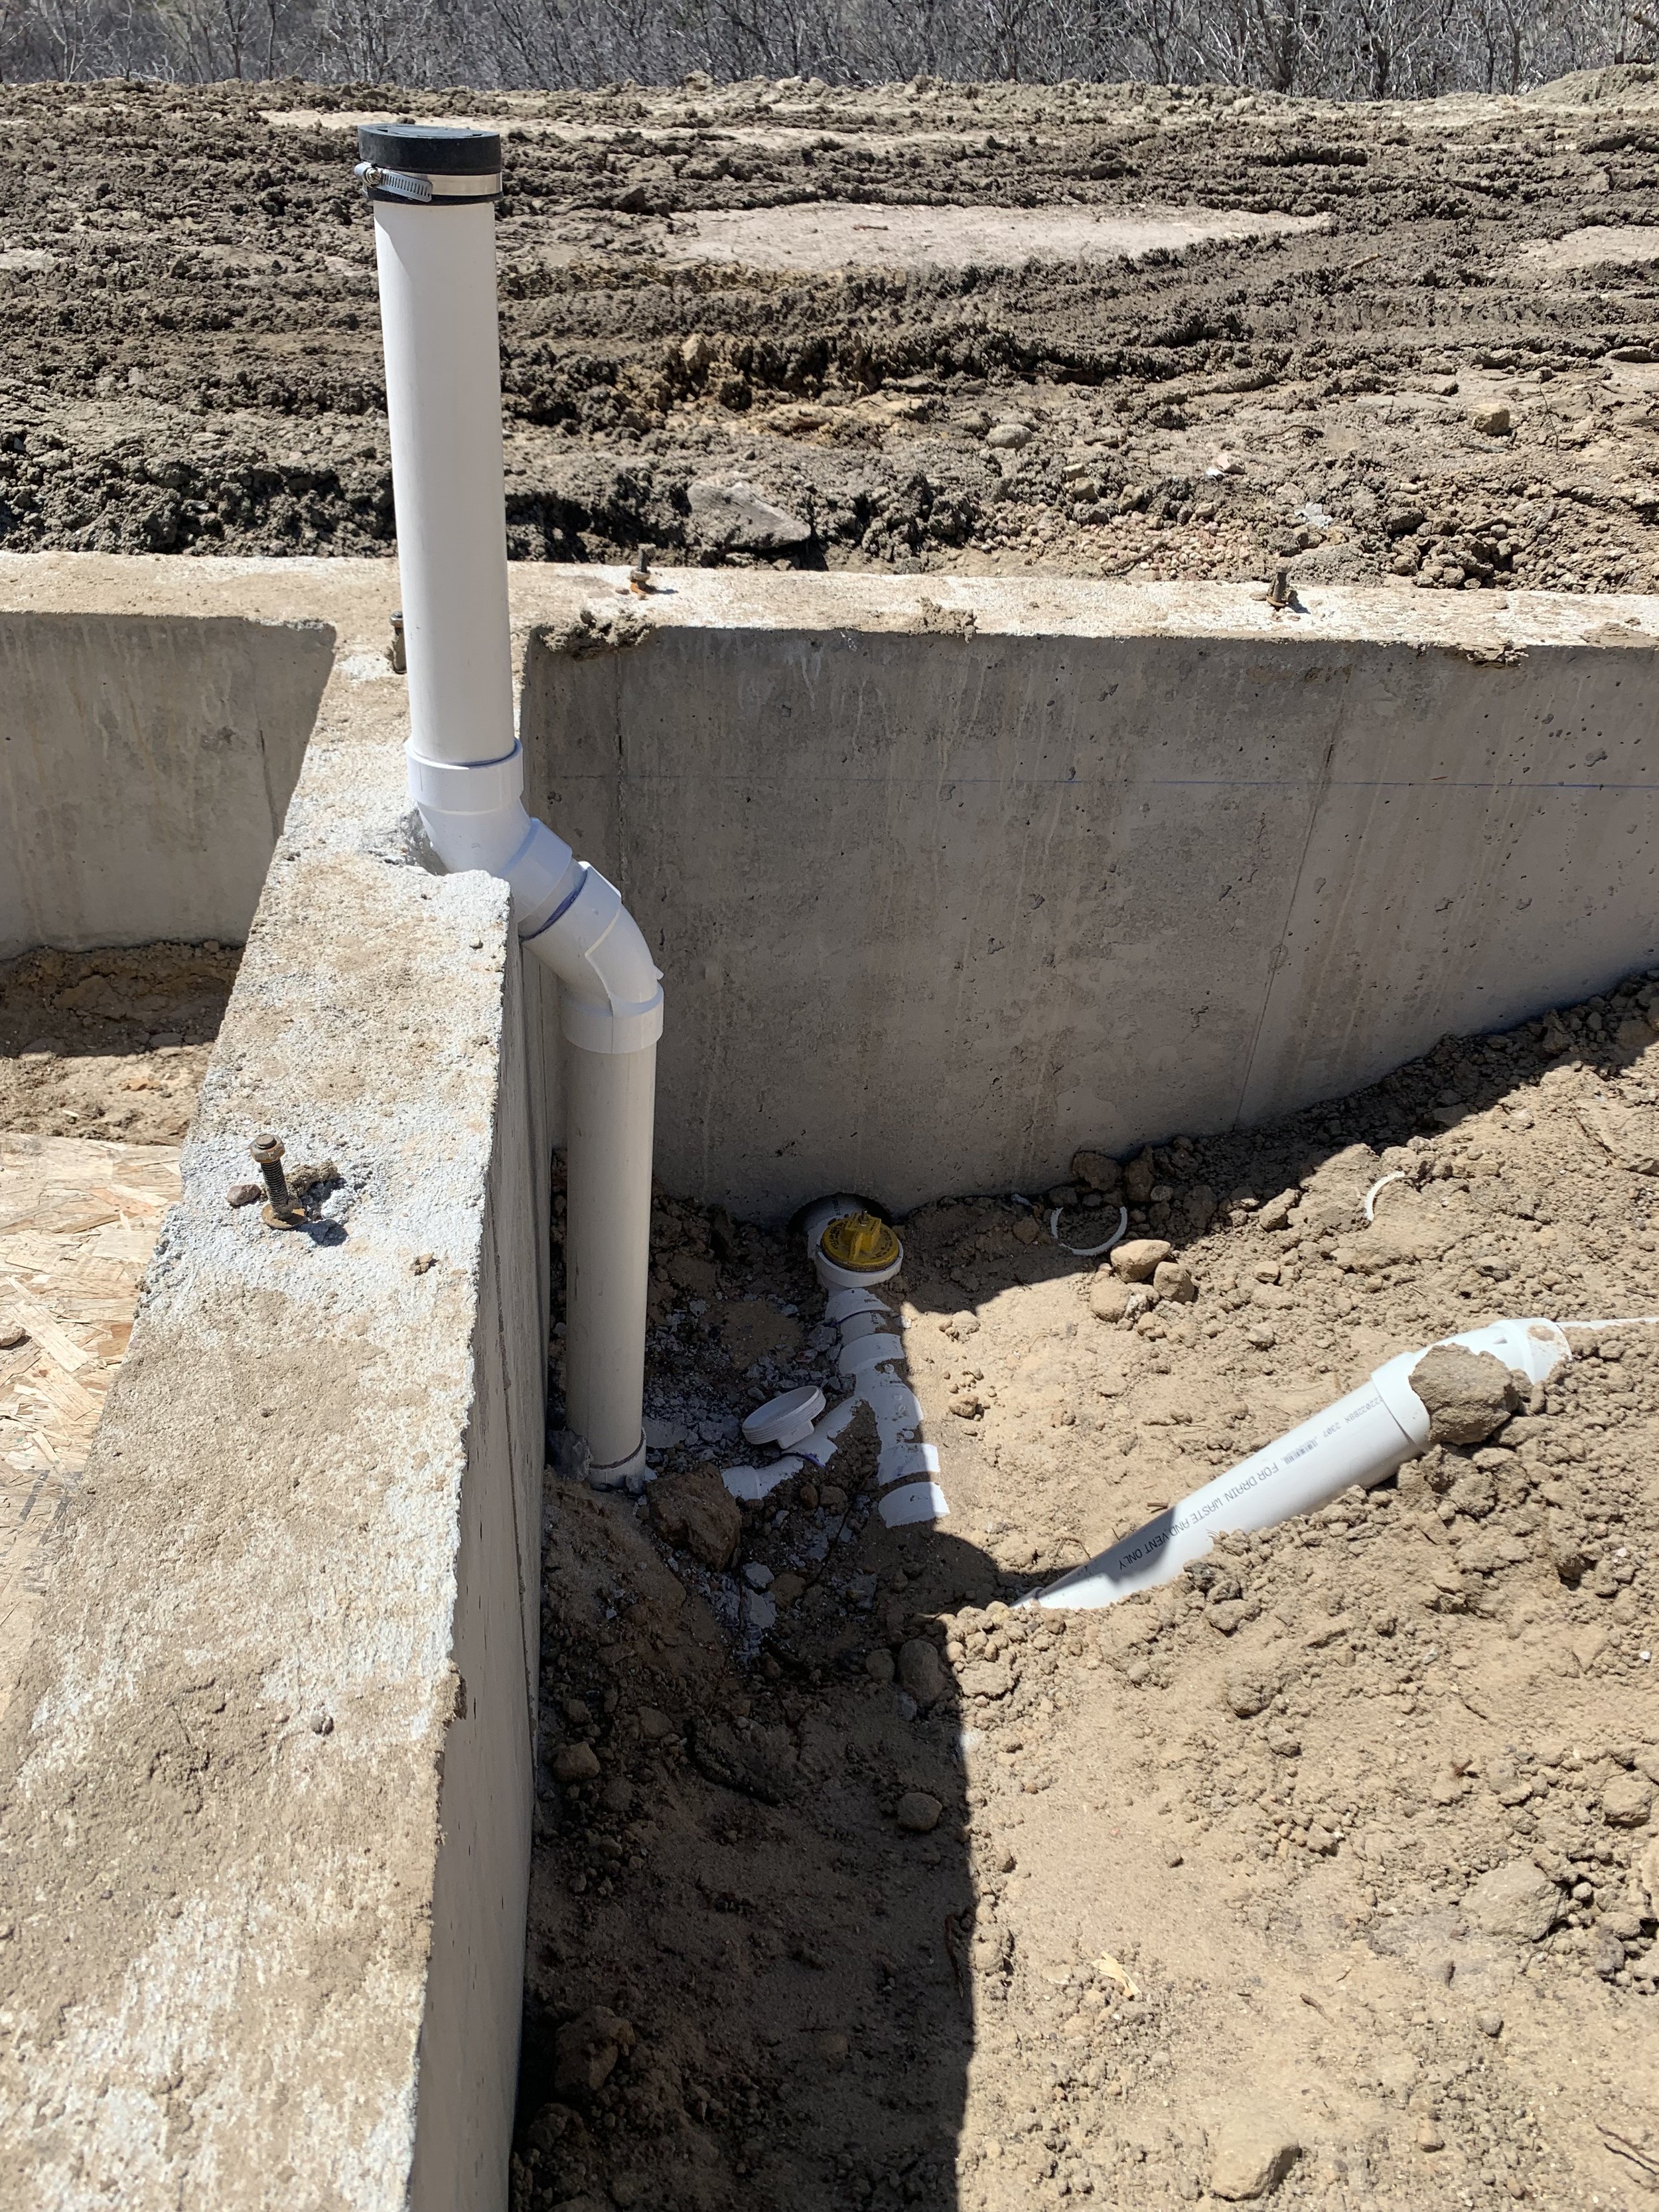
Drainage pipe is hooked into the foundation.

At last it's completed! No water issues are gonna plague THIS house!

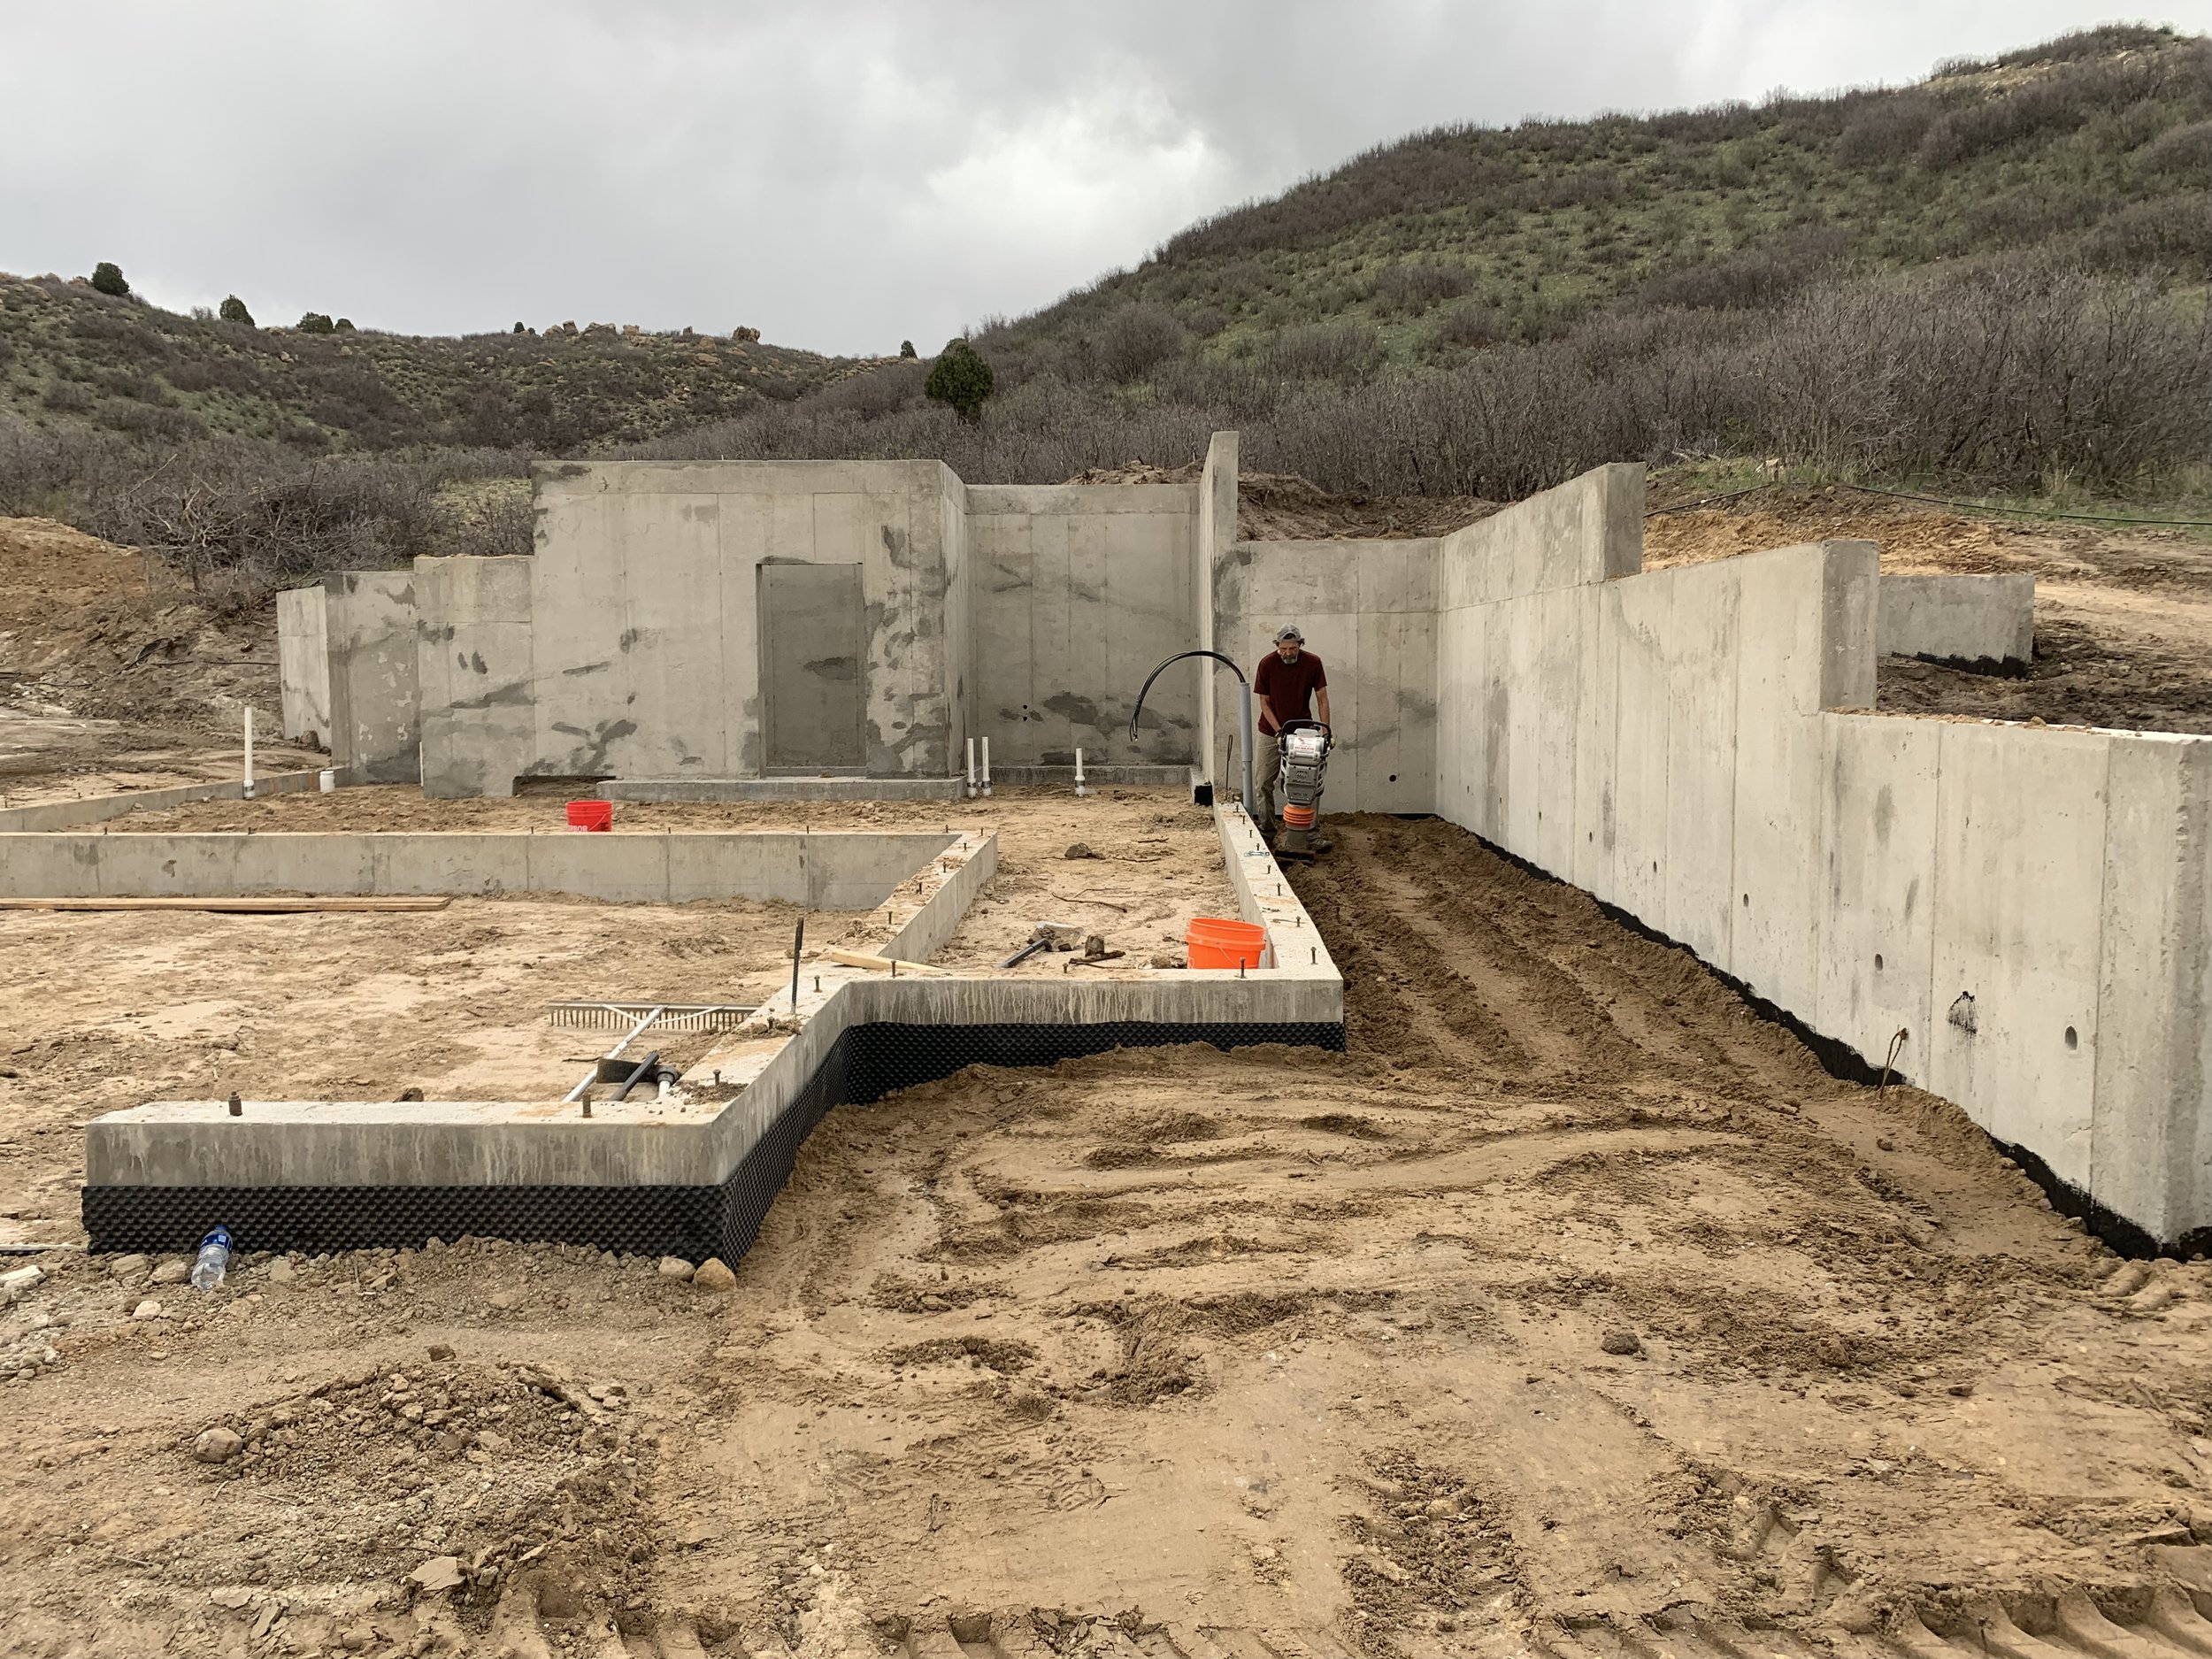
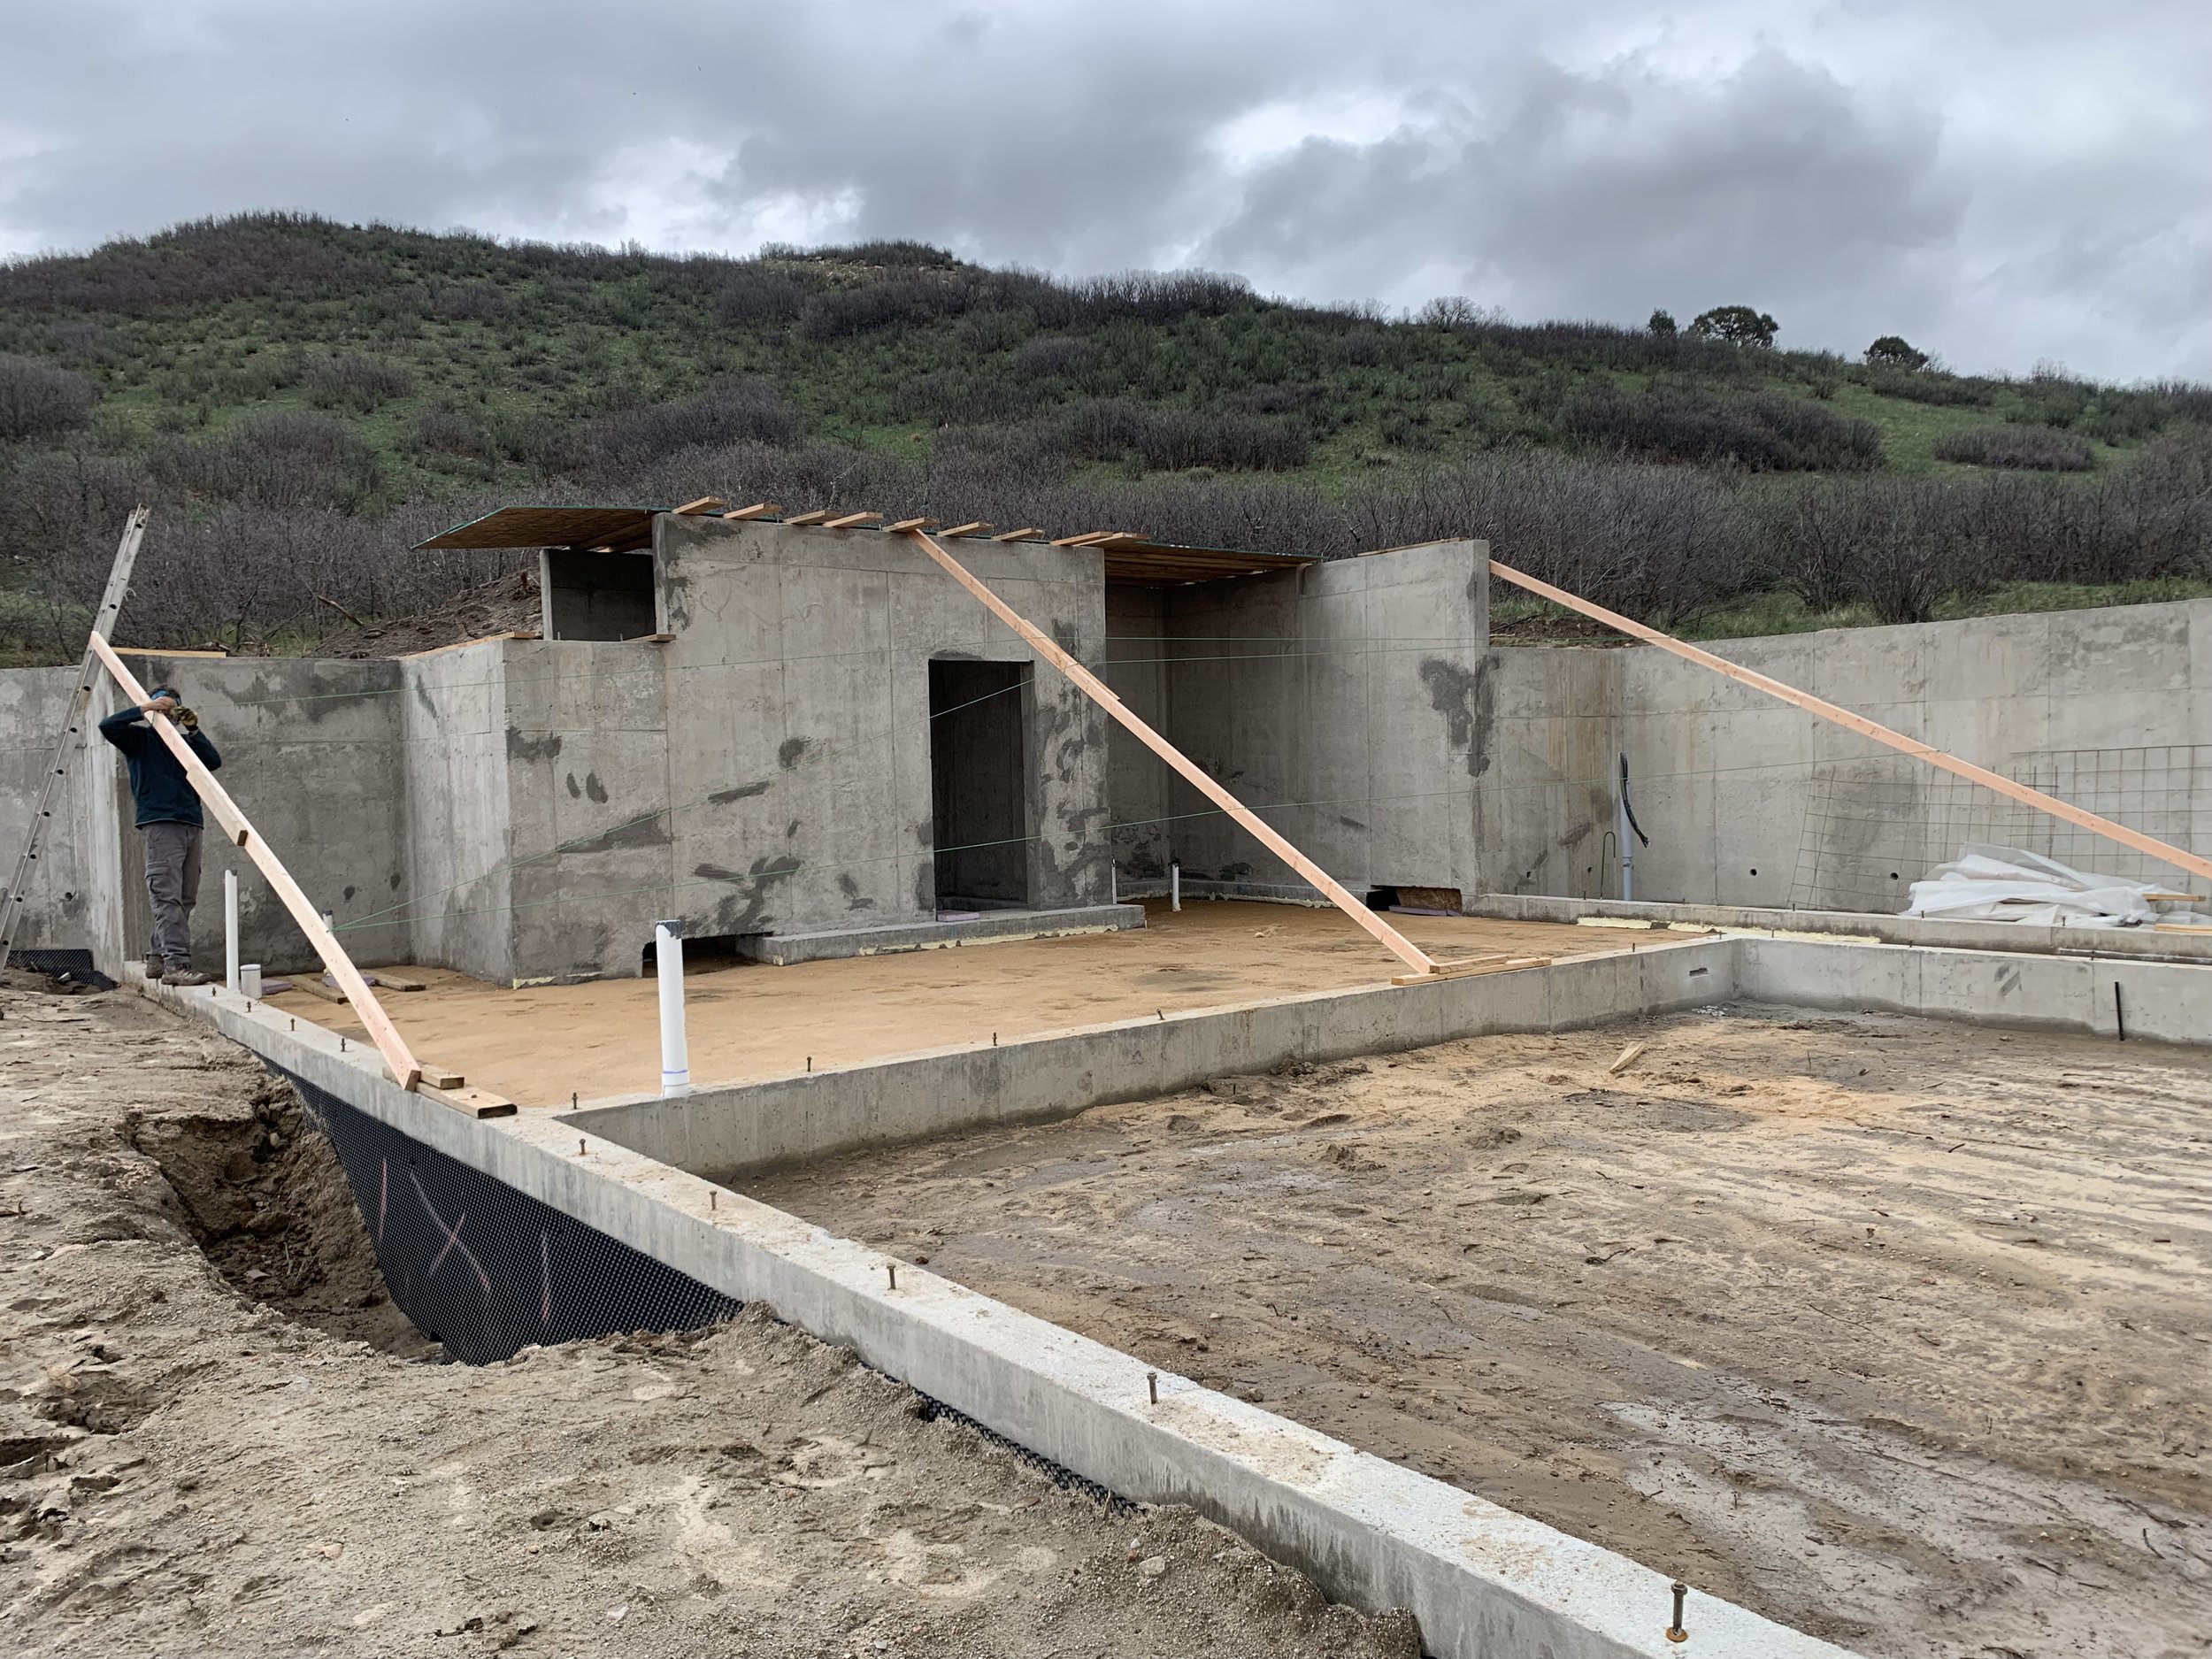
Now we move on to backfill!

Building a bridge to get inside the future garage.

Bring in the earth compactor!

If you haven't had the "privilege" of using an earth compactor, it's not a fun job. Kris is NOT enjoying this part of the house build!

The dirt bridge is now drivable!

Surprise! Winter has returned...again!
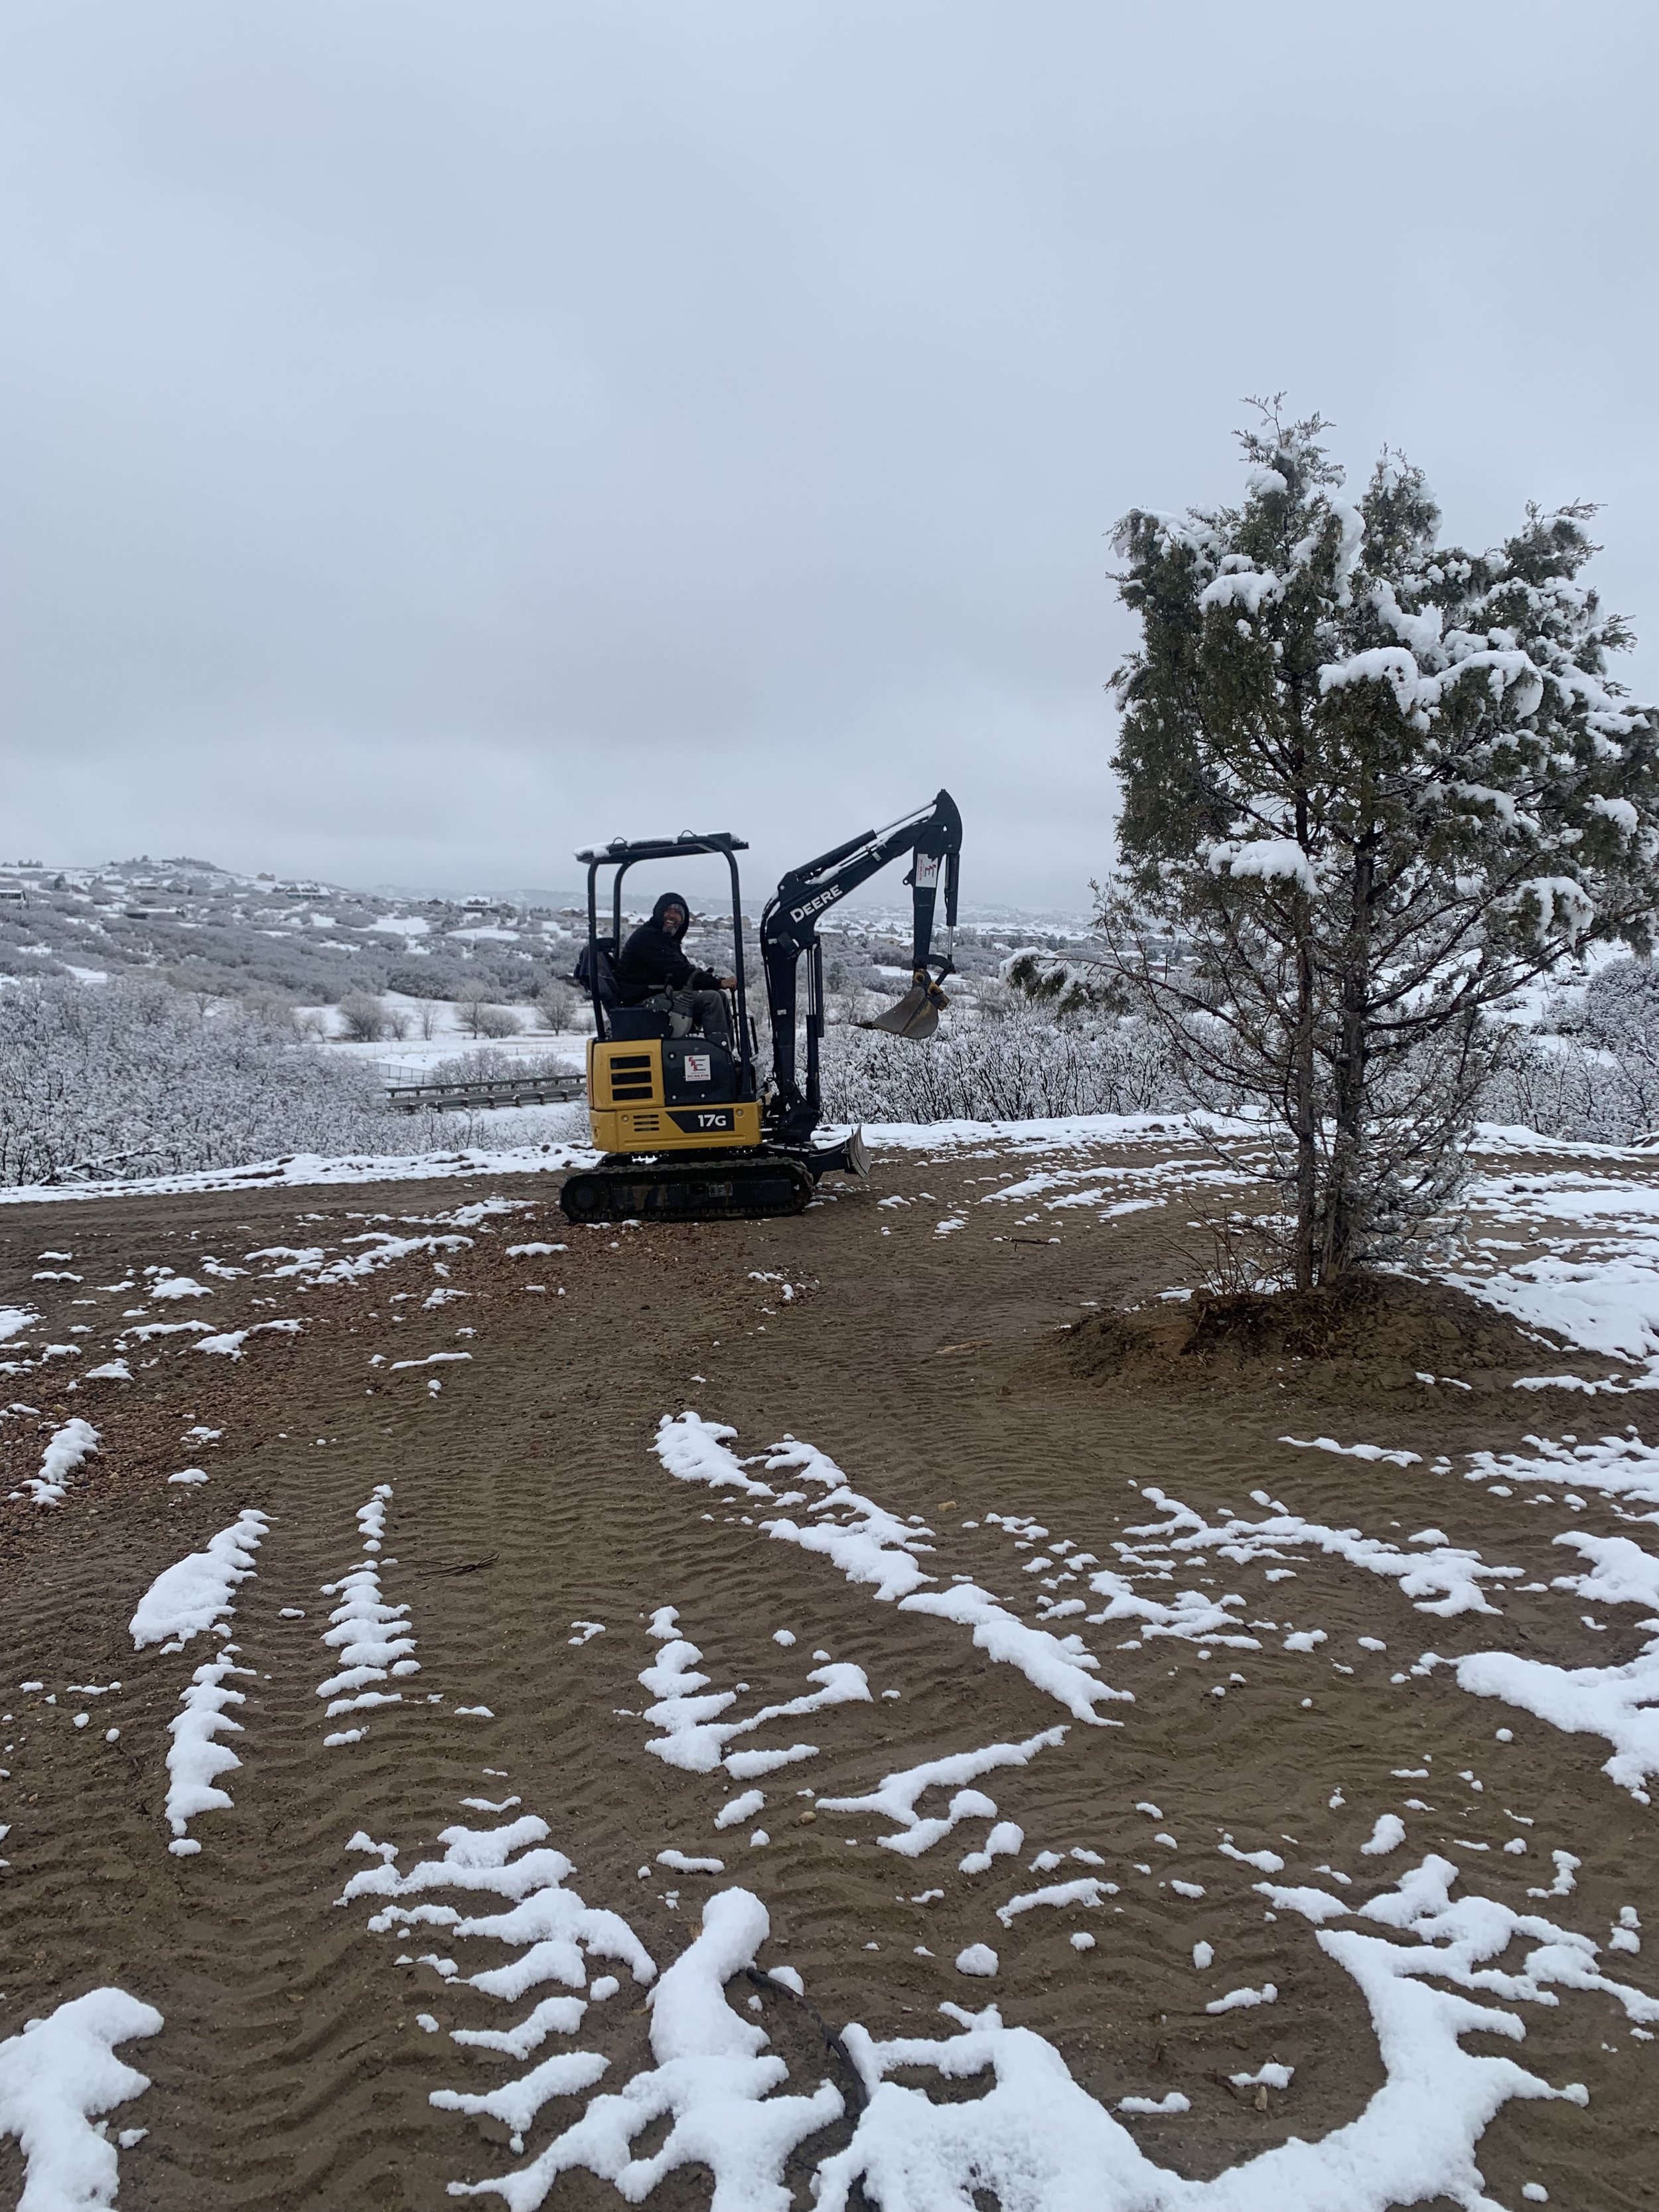
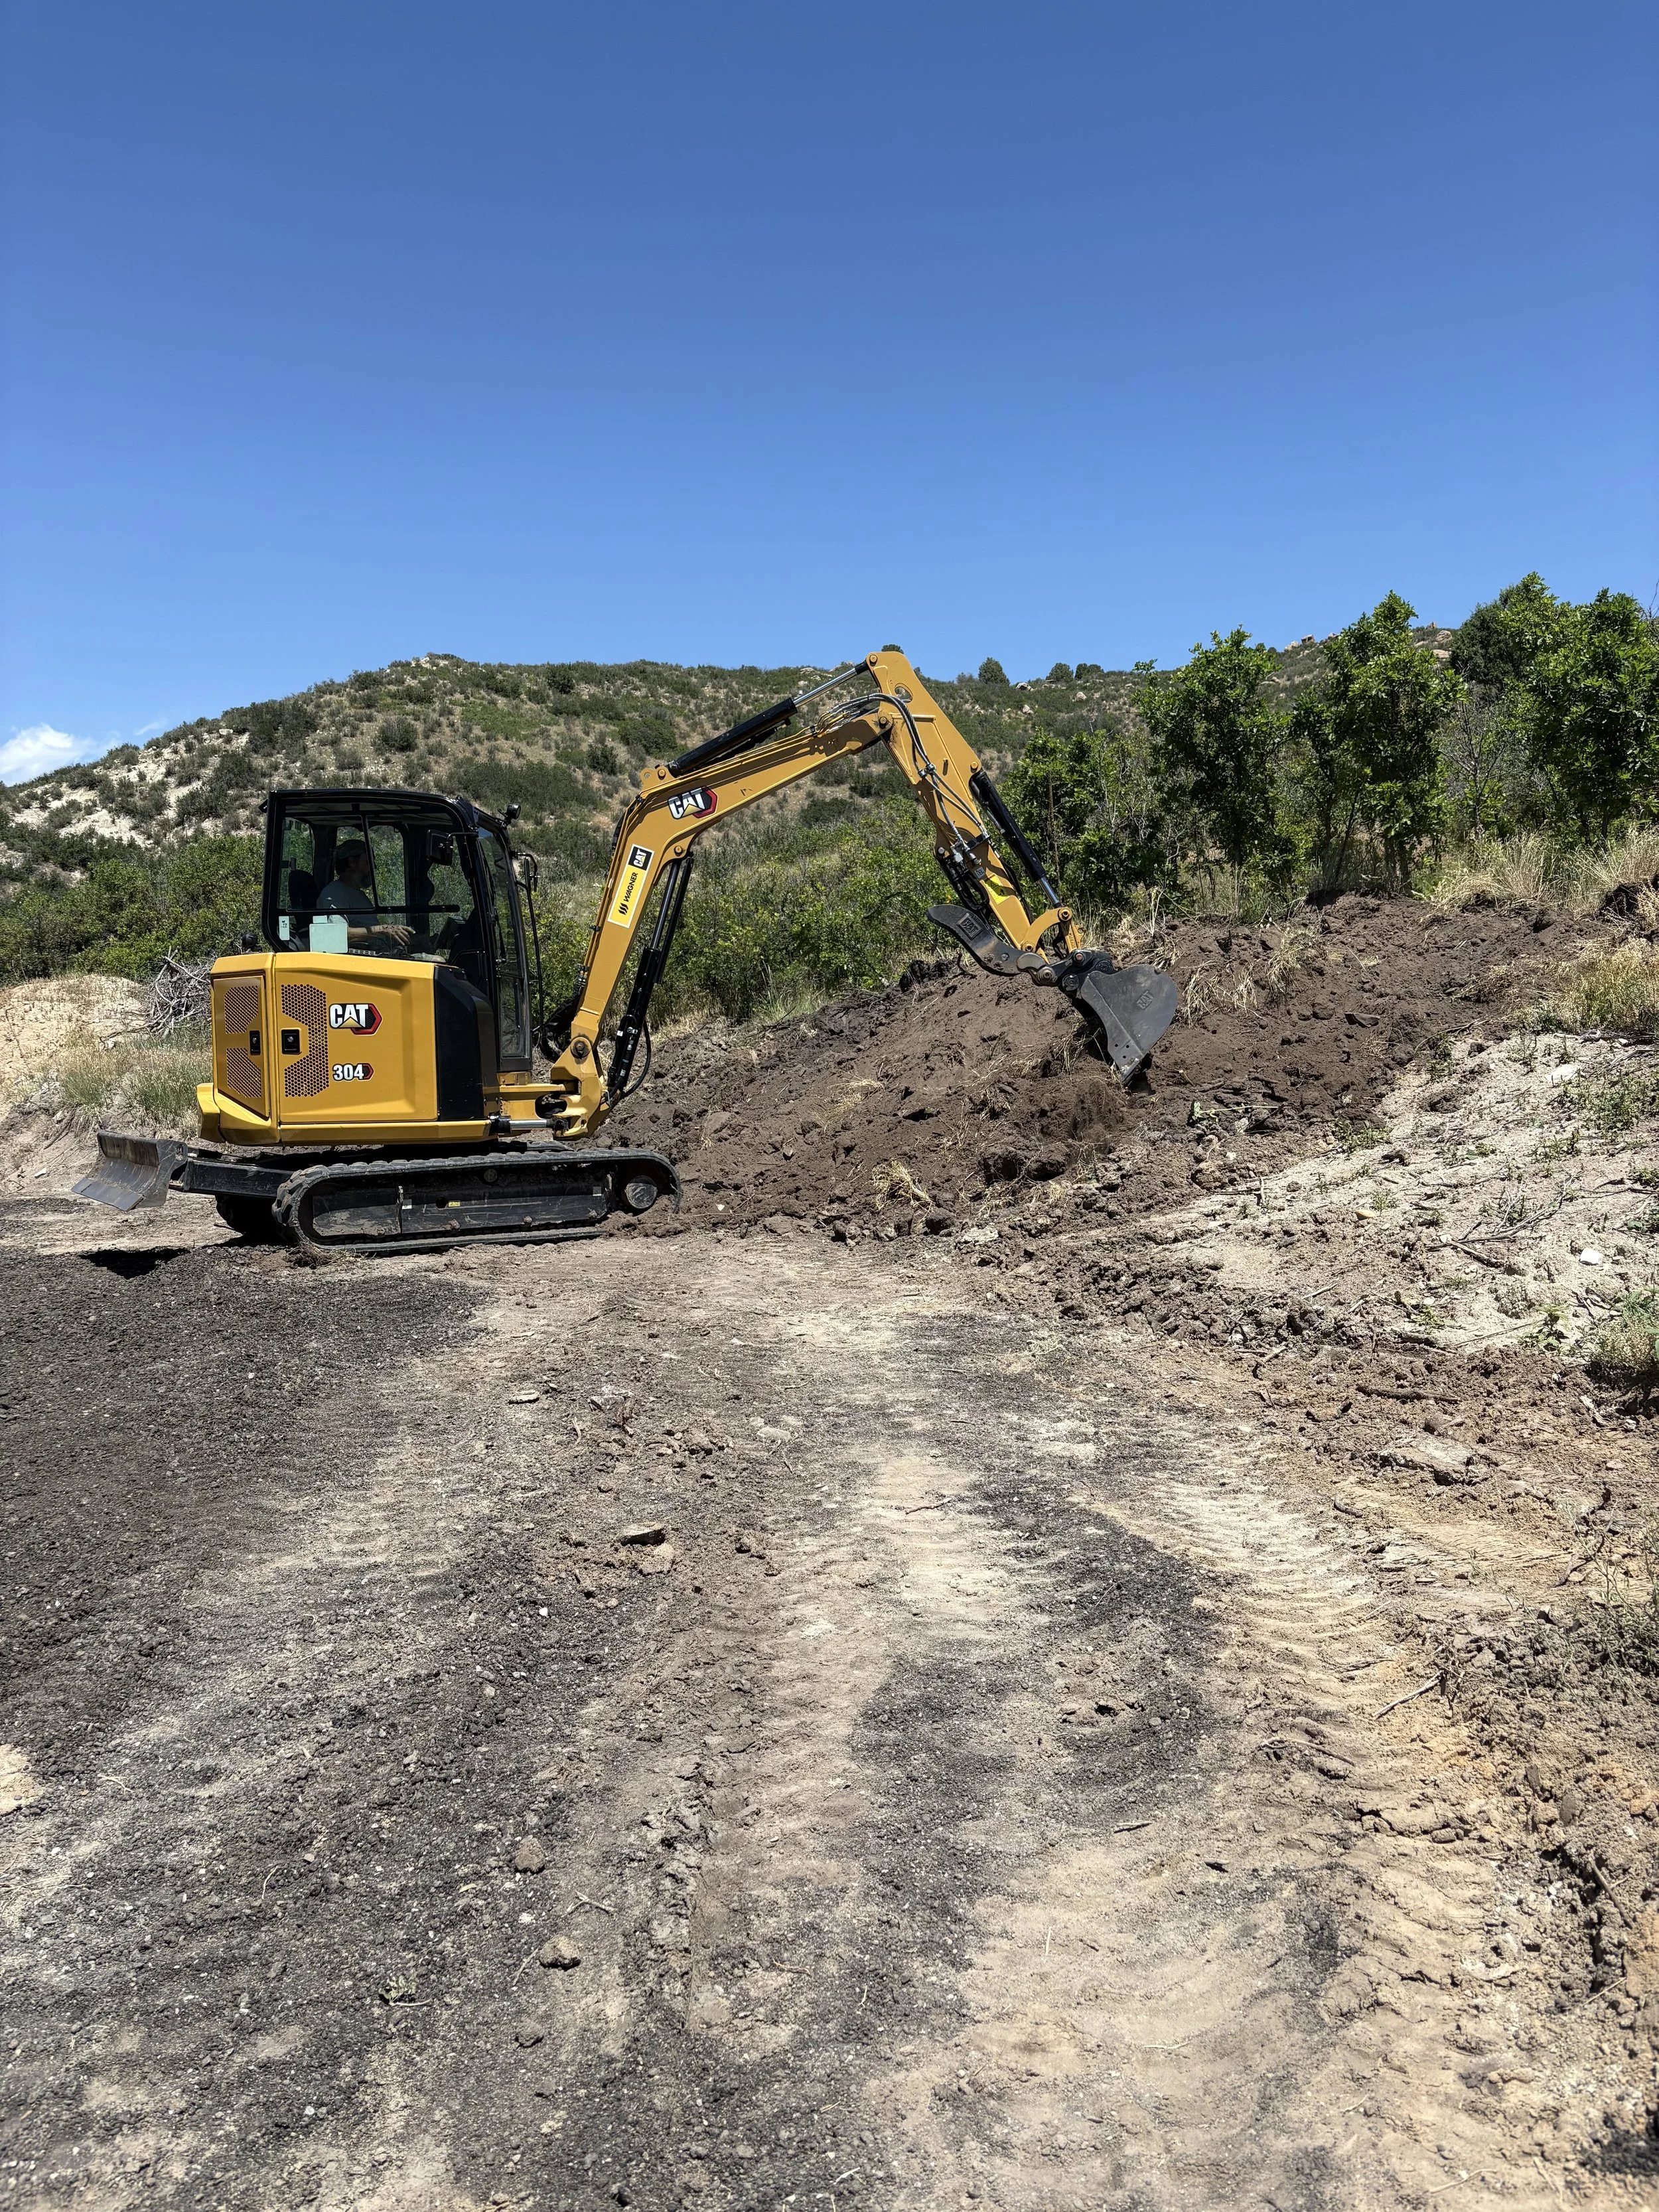
The mini excavator arrives to start pulling more dirt down for backfill. Good thing this little machine doesn't care about the snow!

Kris, with gigantic wind-blown hair, lives his childhood dream of digging in the dirt with construction equipment! Ha!

IT's starting to come together!

A look from behind the retaining wall.

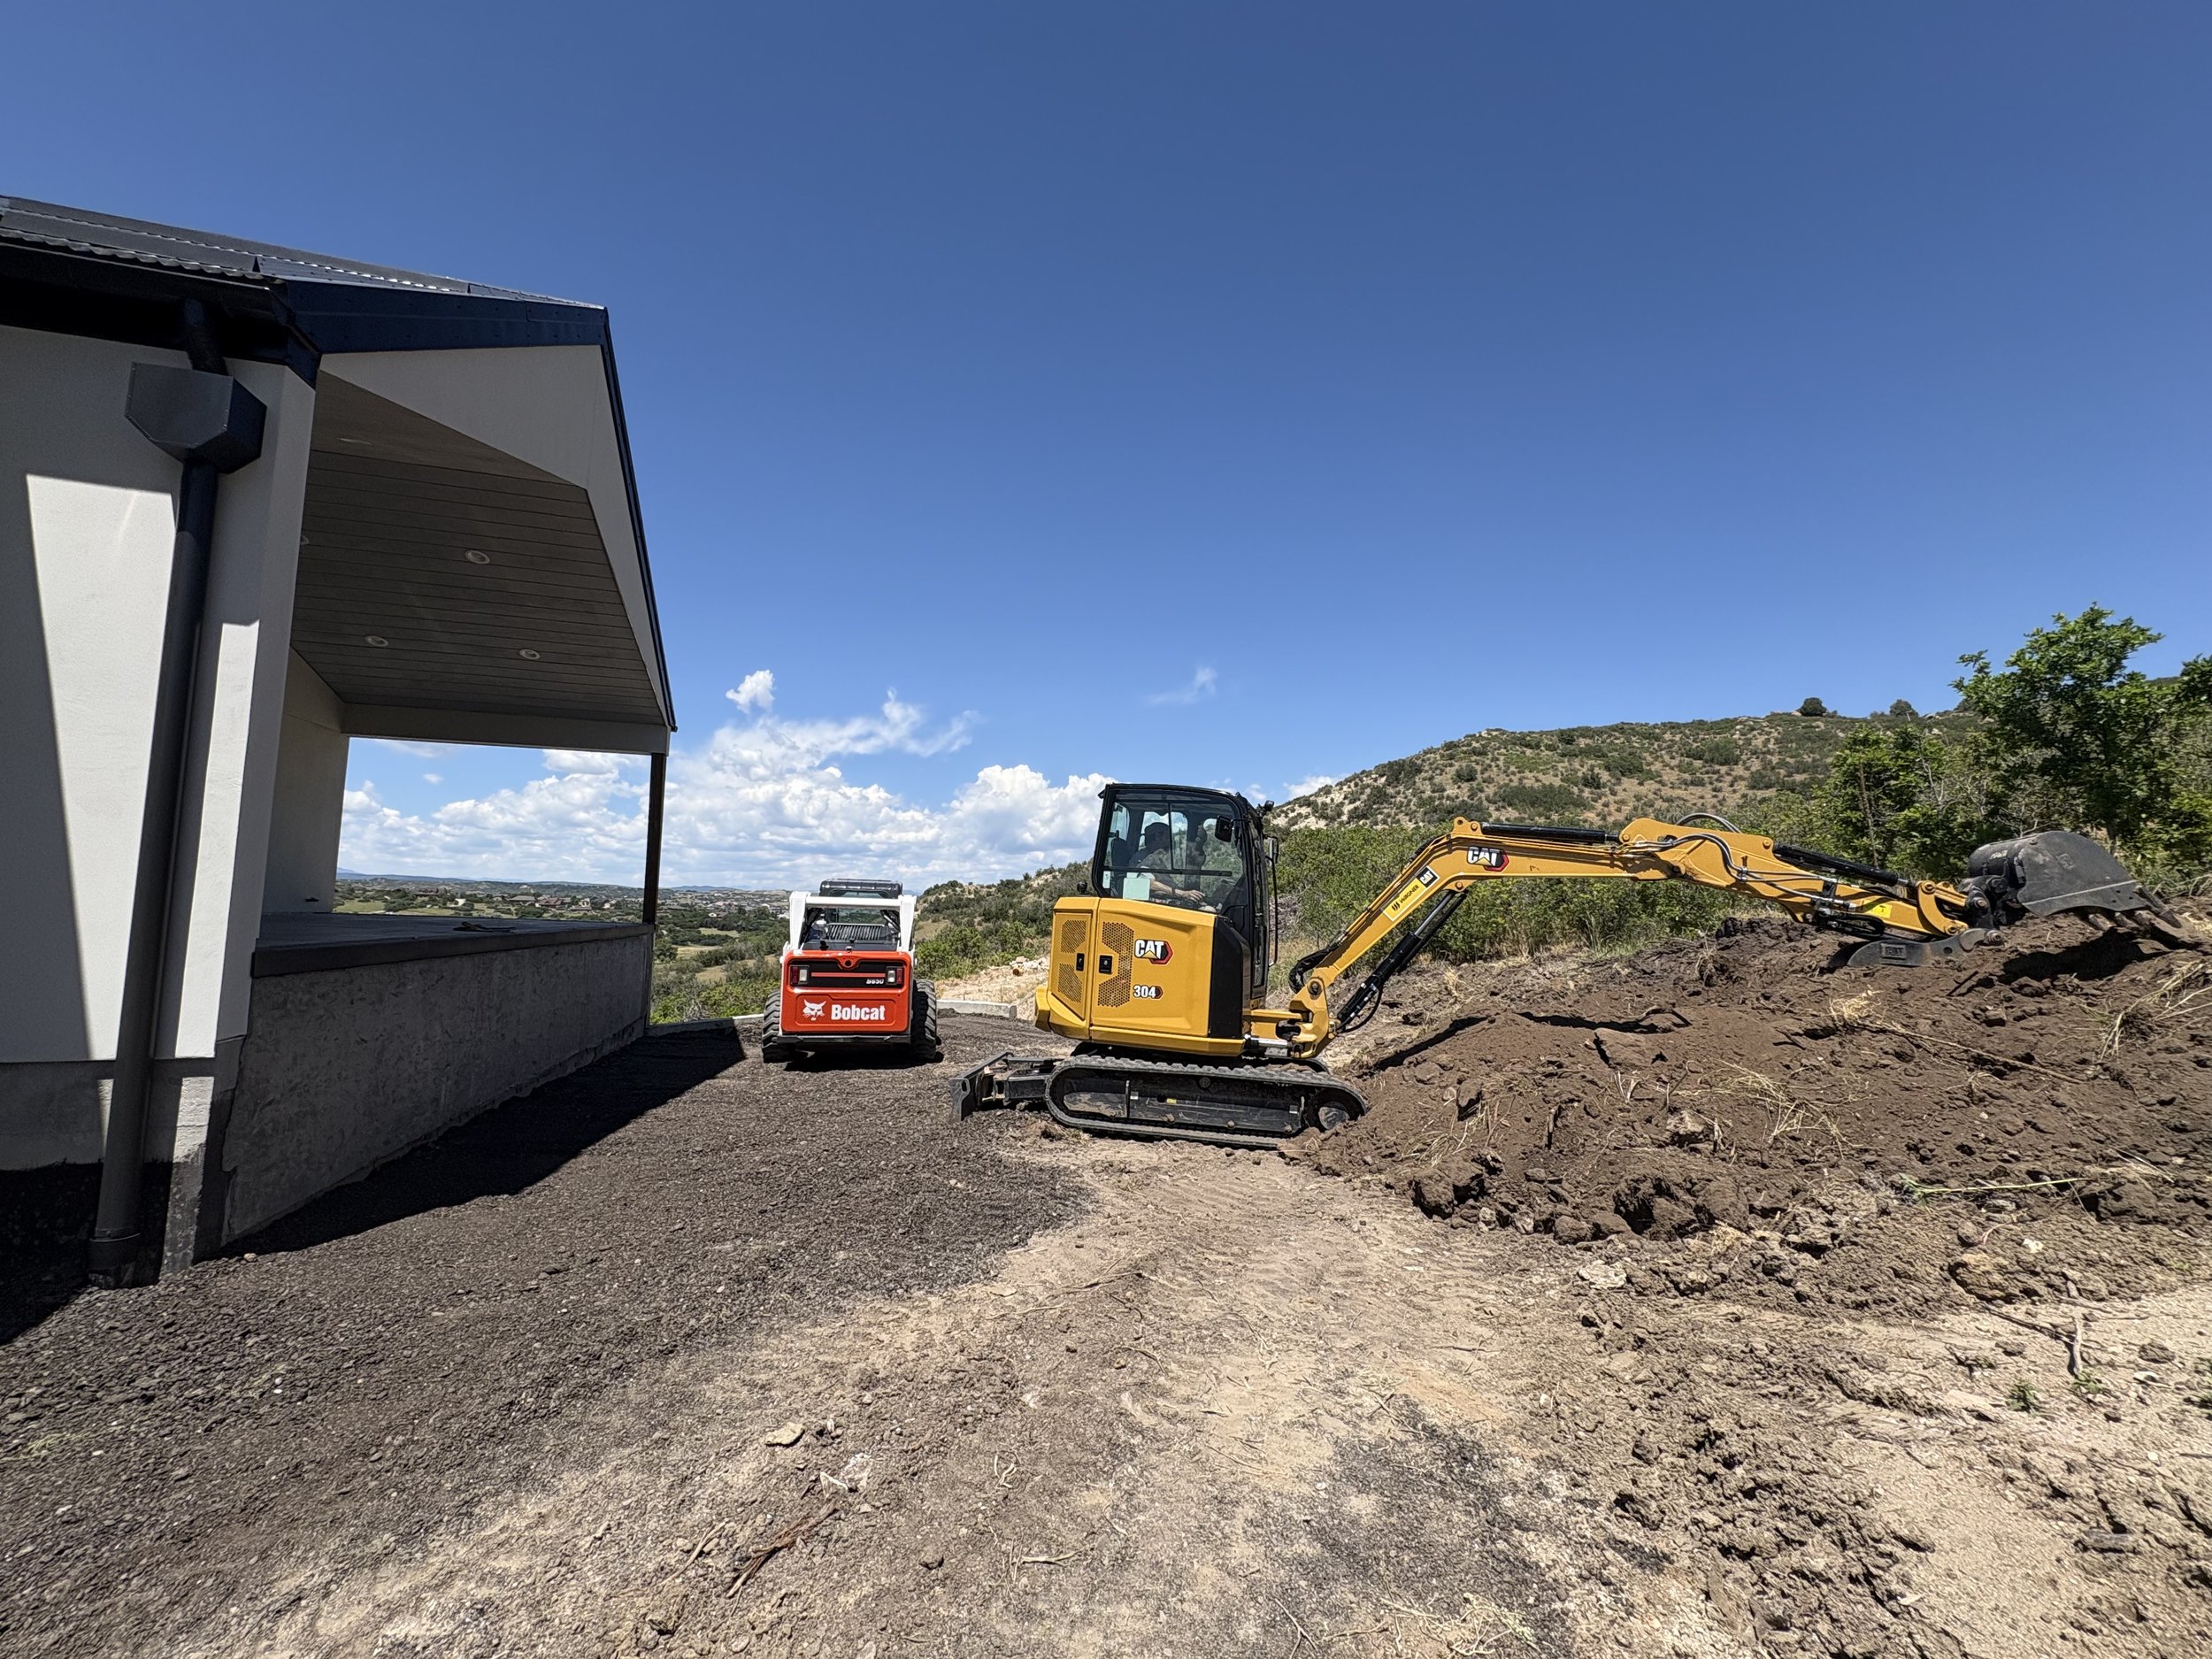
Dig, dig, dig! More dirt needed!

While we have the excavator, Kris does some work on grading our driveway a bit more.

Now we'll have a little more room to move at the site with the driveway expanded a bit more.

Stepping back to get a full view of the site!

Back to back-filling!

Chilly days earn you a hot cup of coffee!

Oh no! There's a Bobcat in the Pilates studio!!! :)

A view from up higher.

Garage is about done!

Looking down from the retaining wall. The Pilates studio looks nearly completed too!

Aside from the corner that awaits plumbing, this section is complete and perfectly level.

More trenching begins for the electrical conduit.

The trench runs all the way down to our utility boxes.

This roll of wire is 1000 pounds! Yikes!

Time to relocate our baby cedar tree!

Everyone's been driving around our tree as it was in the middle of our driveway.

Hopefully it enjoys it's new location!
Today the plumbers arrived!

I guess we shouldn't have worked so hard making the dirt level. The plumbers ripped everything up!
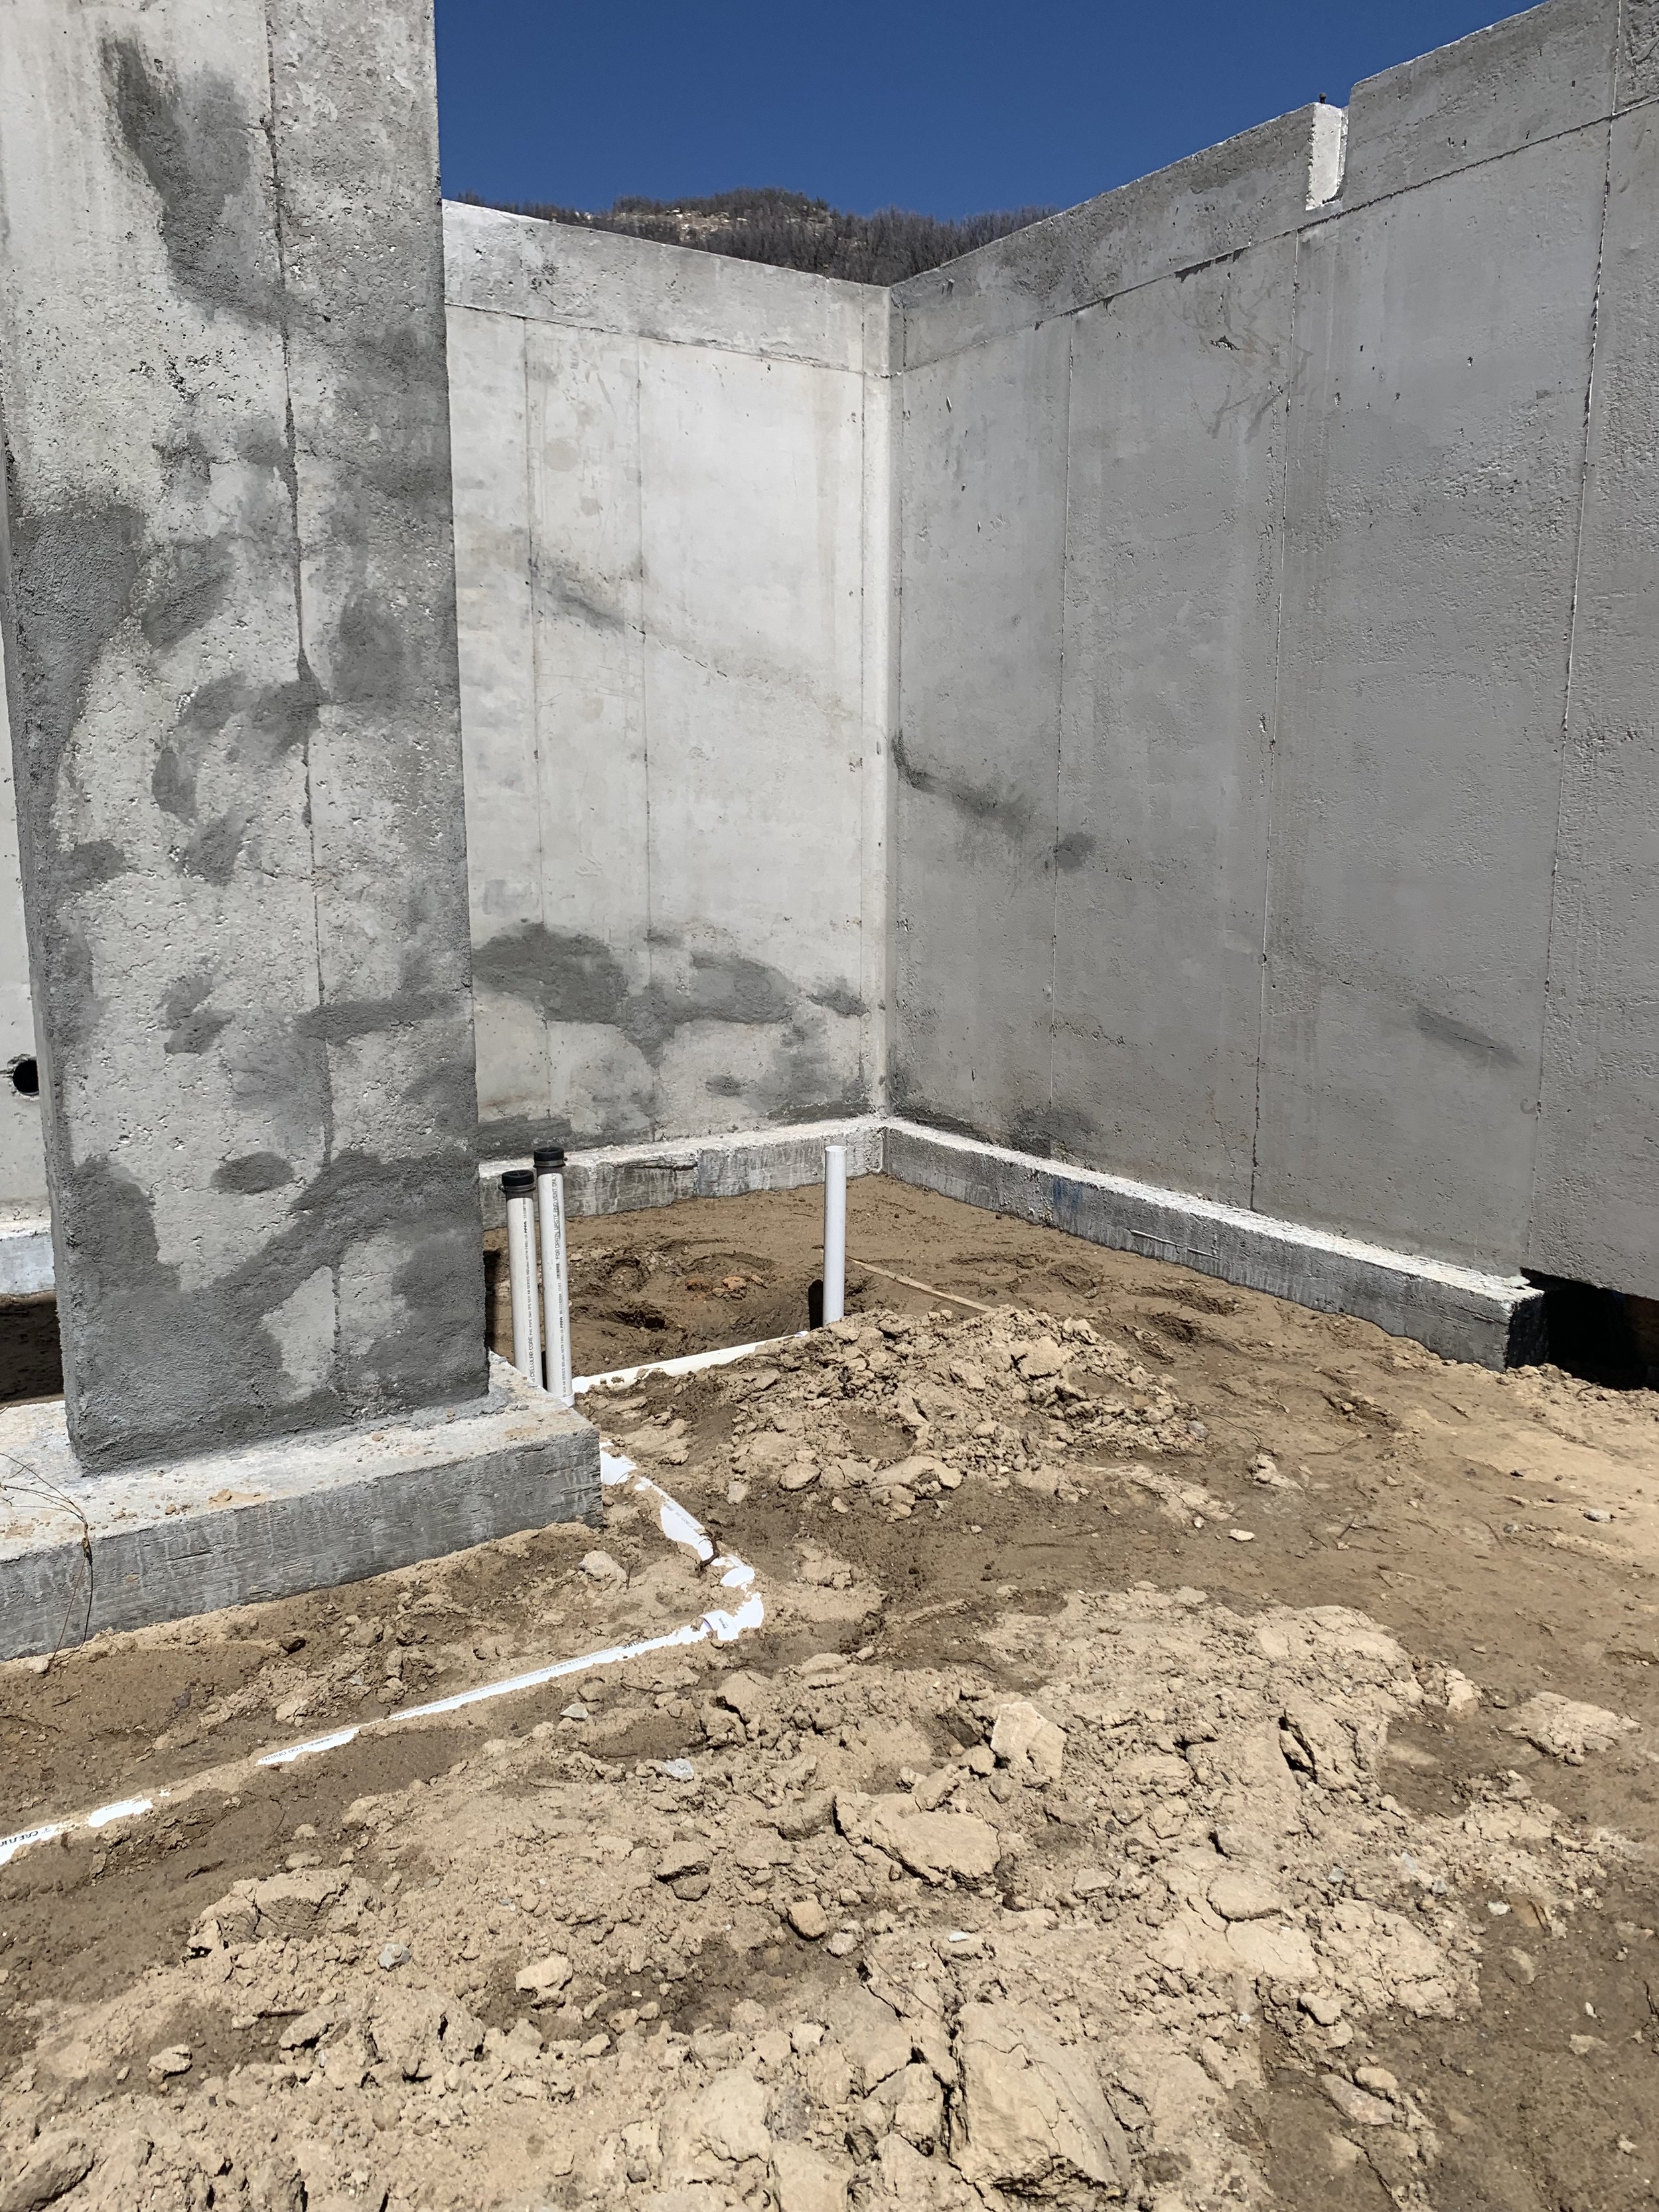
Running the plumbing into the future mechanical room.

Kris finishes running the electrical conduit so we can continue the backfill.

Rachel finds an use for the electrical conduit spool! OSHA would approve of this on-site construction wheel chair! Ha!

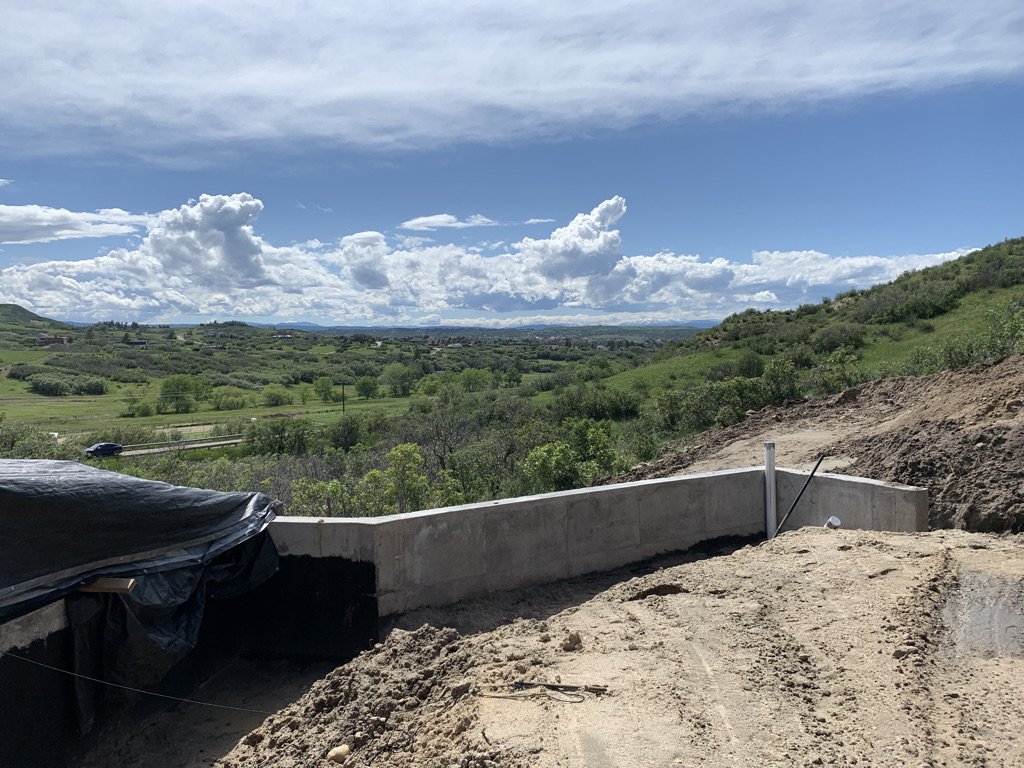
A view of the build from behind. Our second story will have some amazing views!

This is a view from behind the house looking at the unfinished portion of our driveway.

...and a long distance view of the build.

Good work Kris! It's all coming together and looking more like a house!
This will eventually be our front door and the sidewalk to our home offices and guest room.
The house backfill is complete!
Step 4: Expect the Unexpected

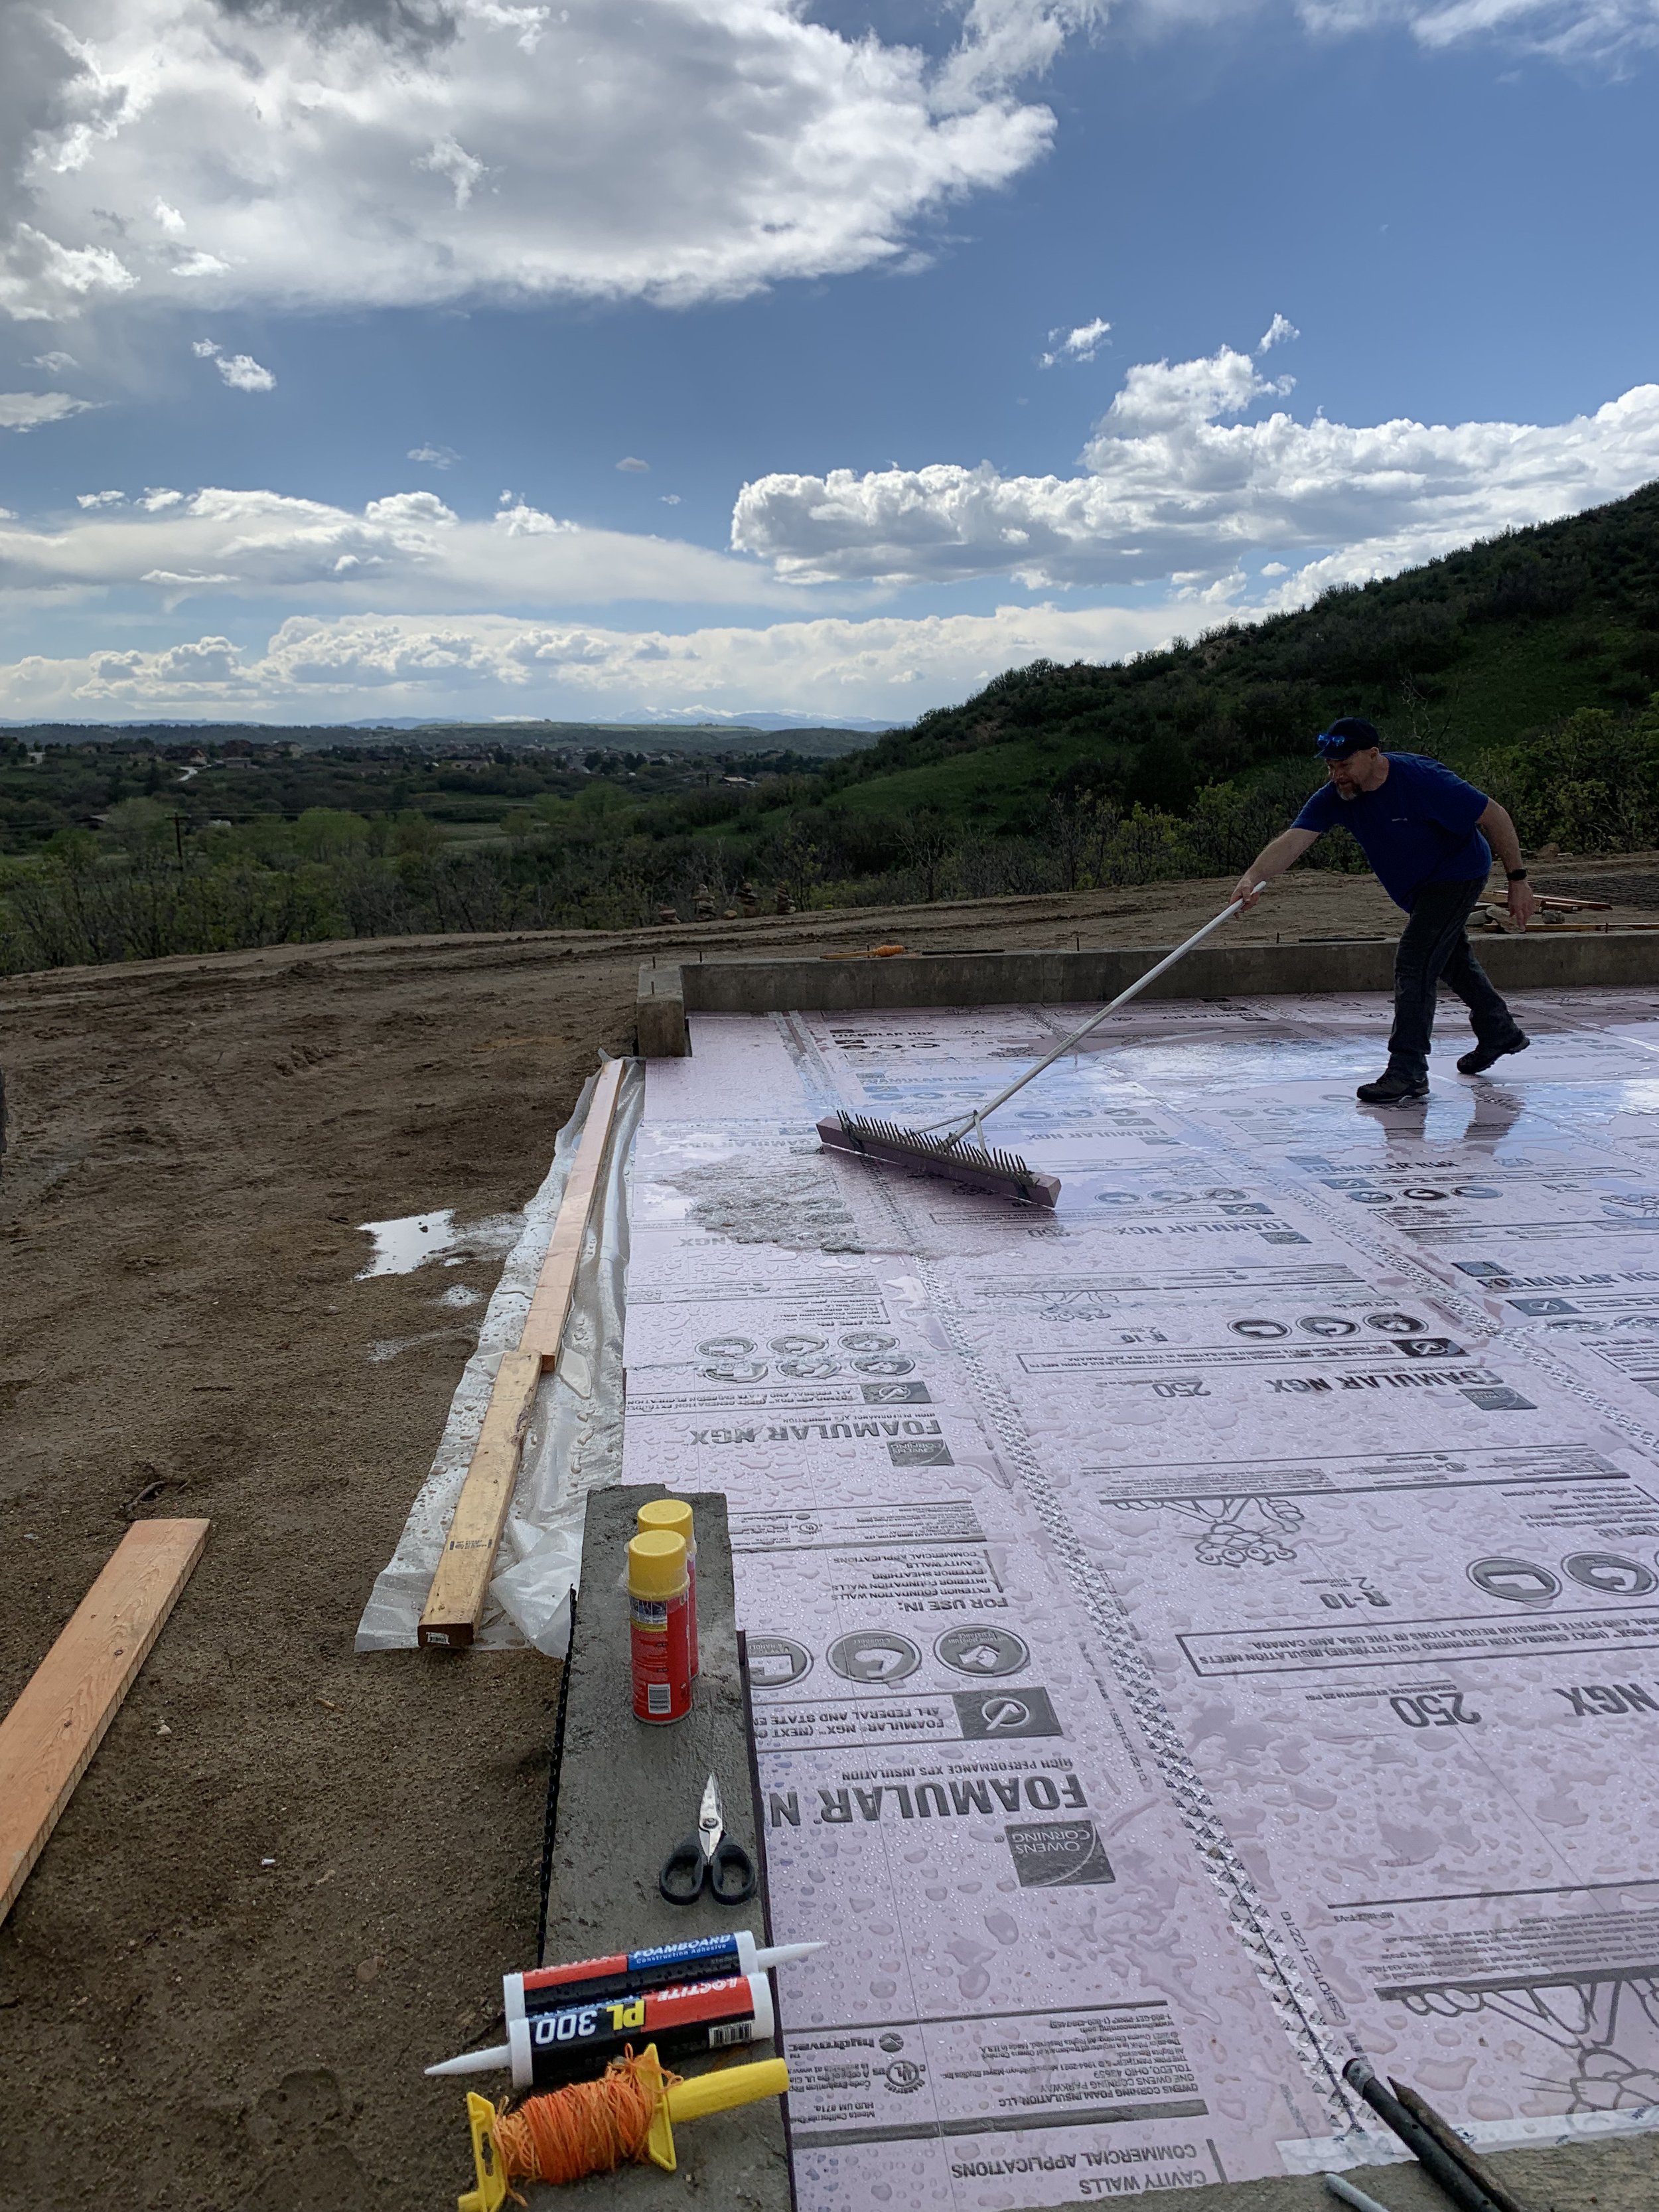
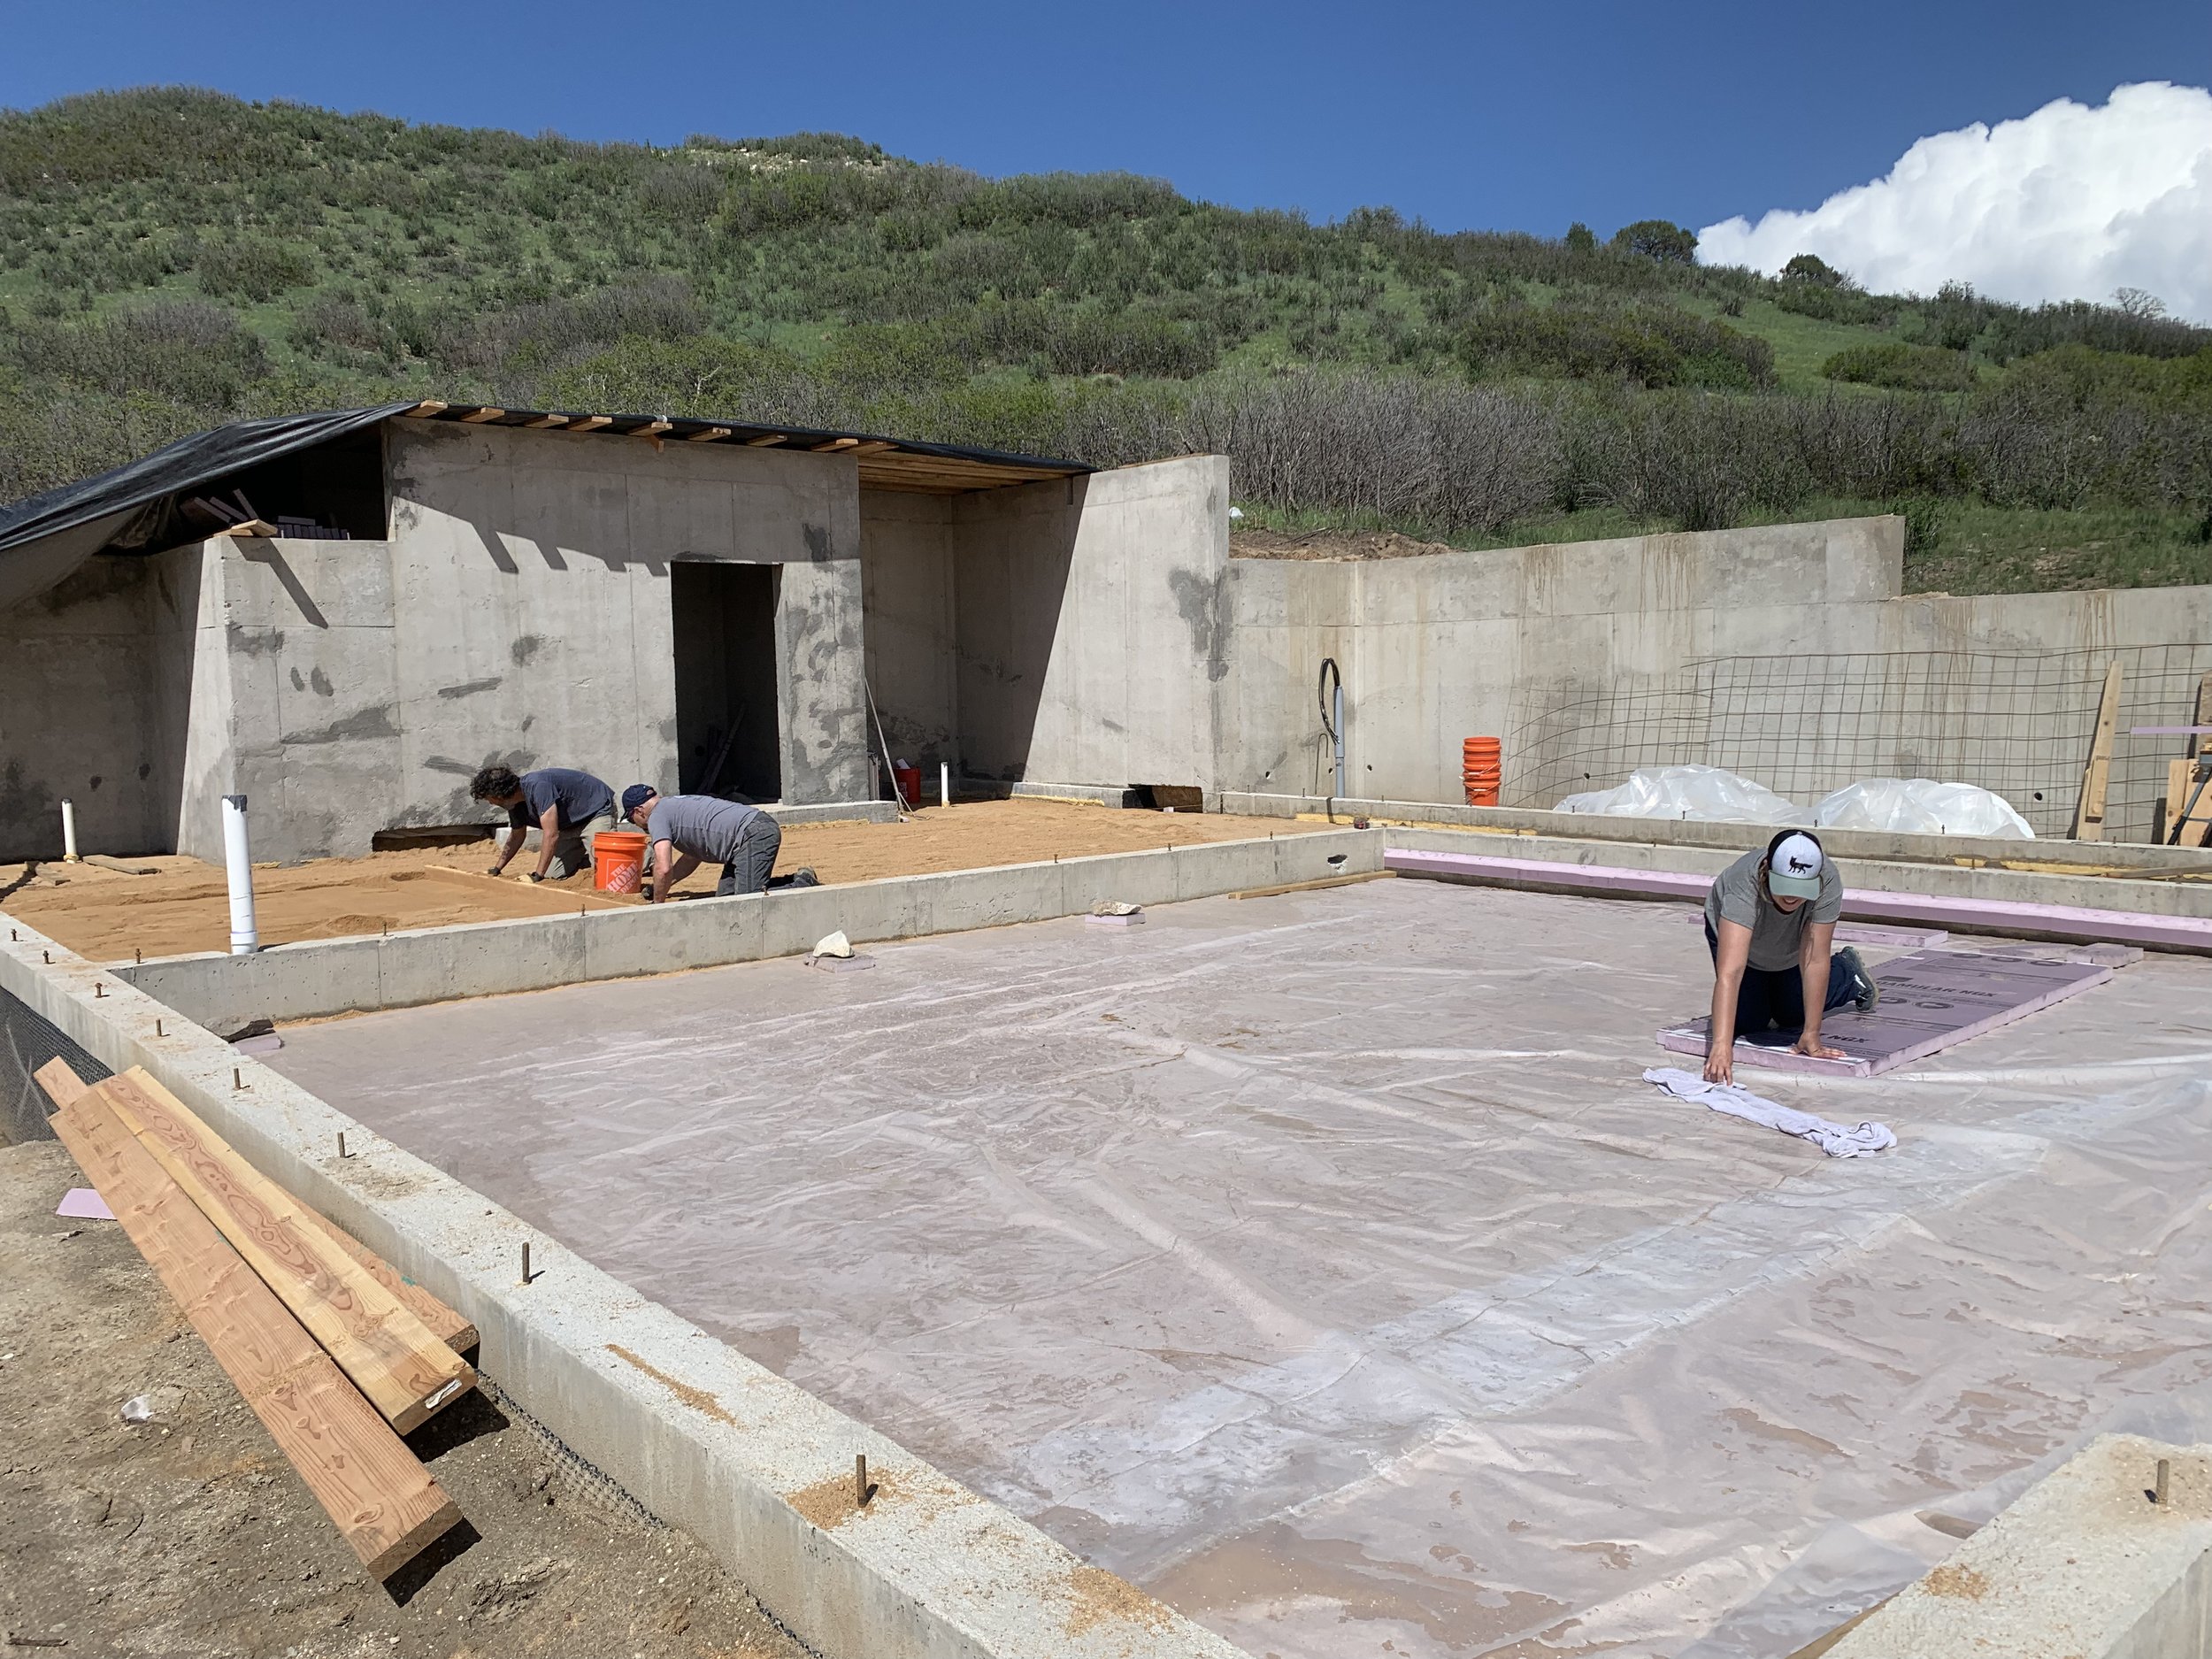
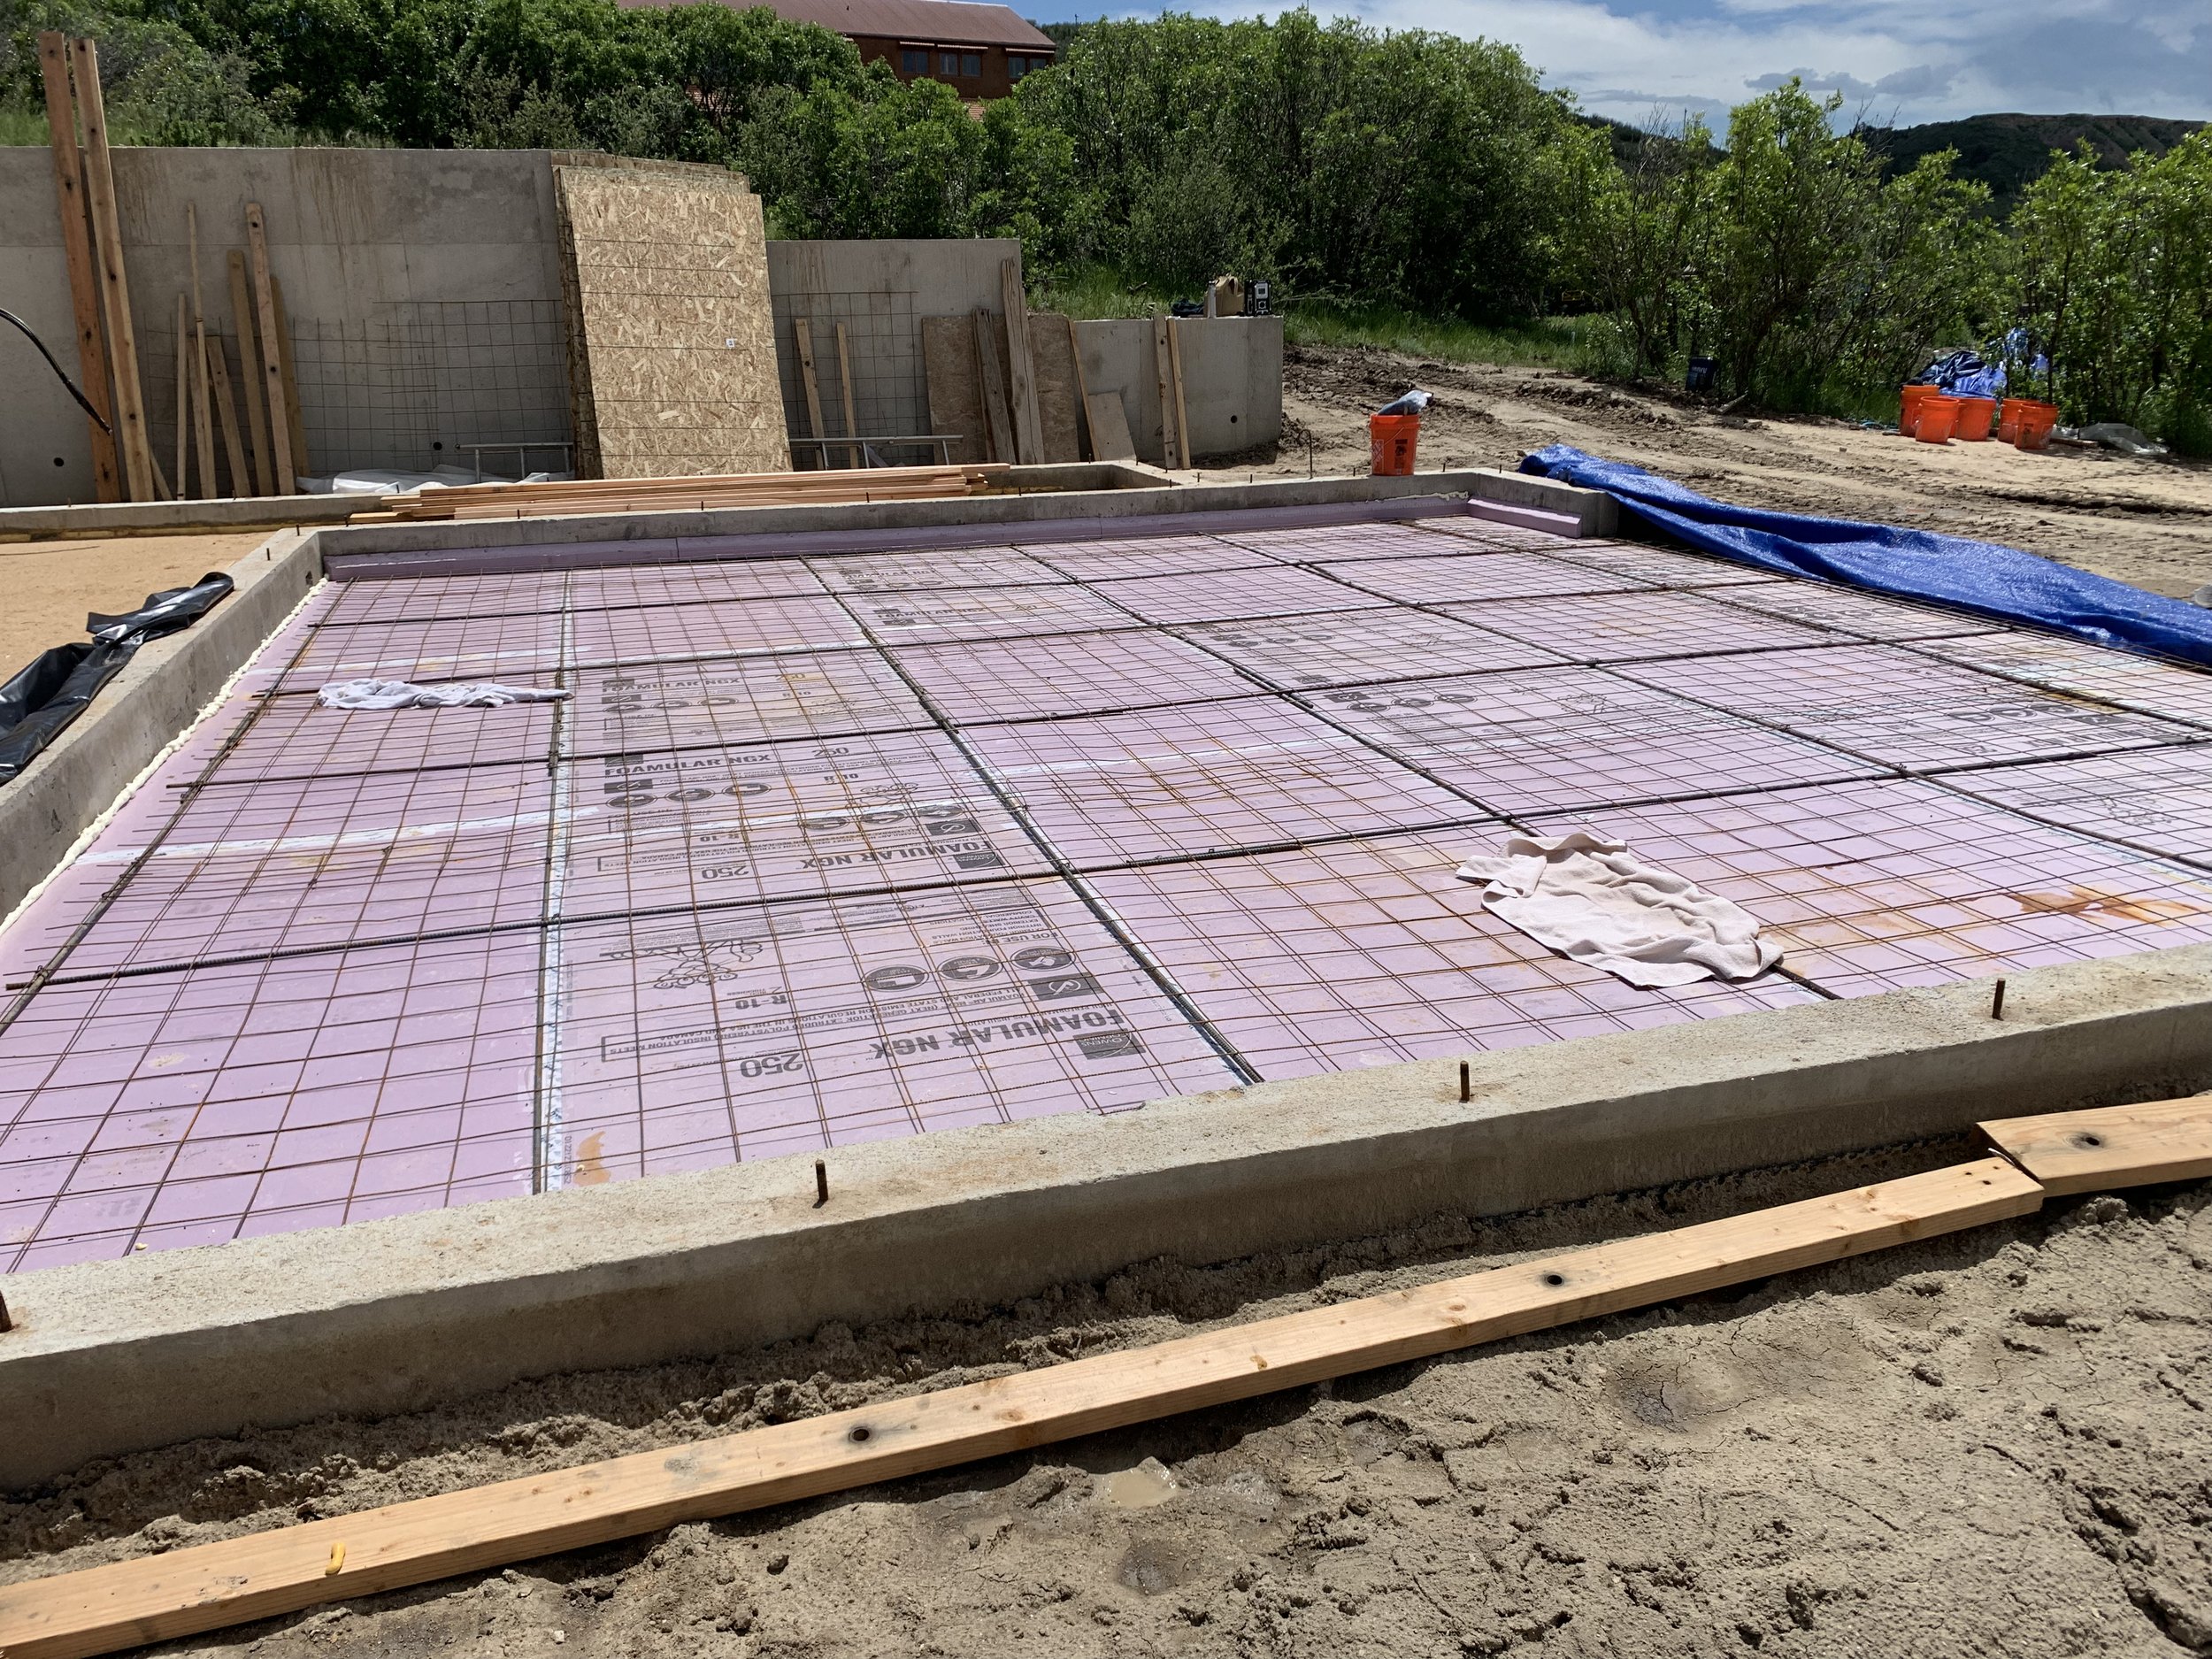
Next step we install the radiant heat before we pour the slab. Kris makes a Home Depot run for the insulation board. Our little trailer has gotten a workout!

We begin to put the insulation down.

This is like a giant jigsaw puzzle!

All but the garage is completed!

Done for the night. A very productive day!

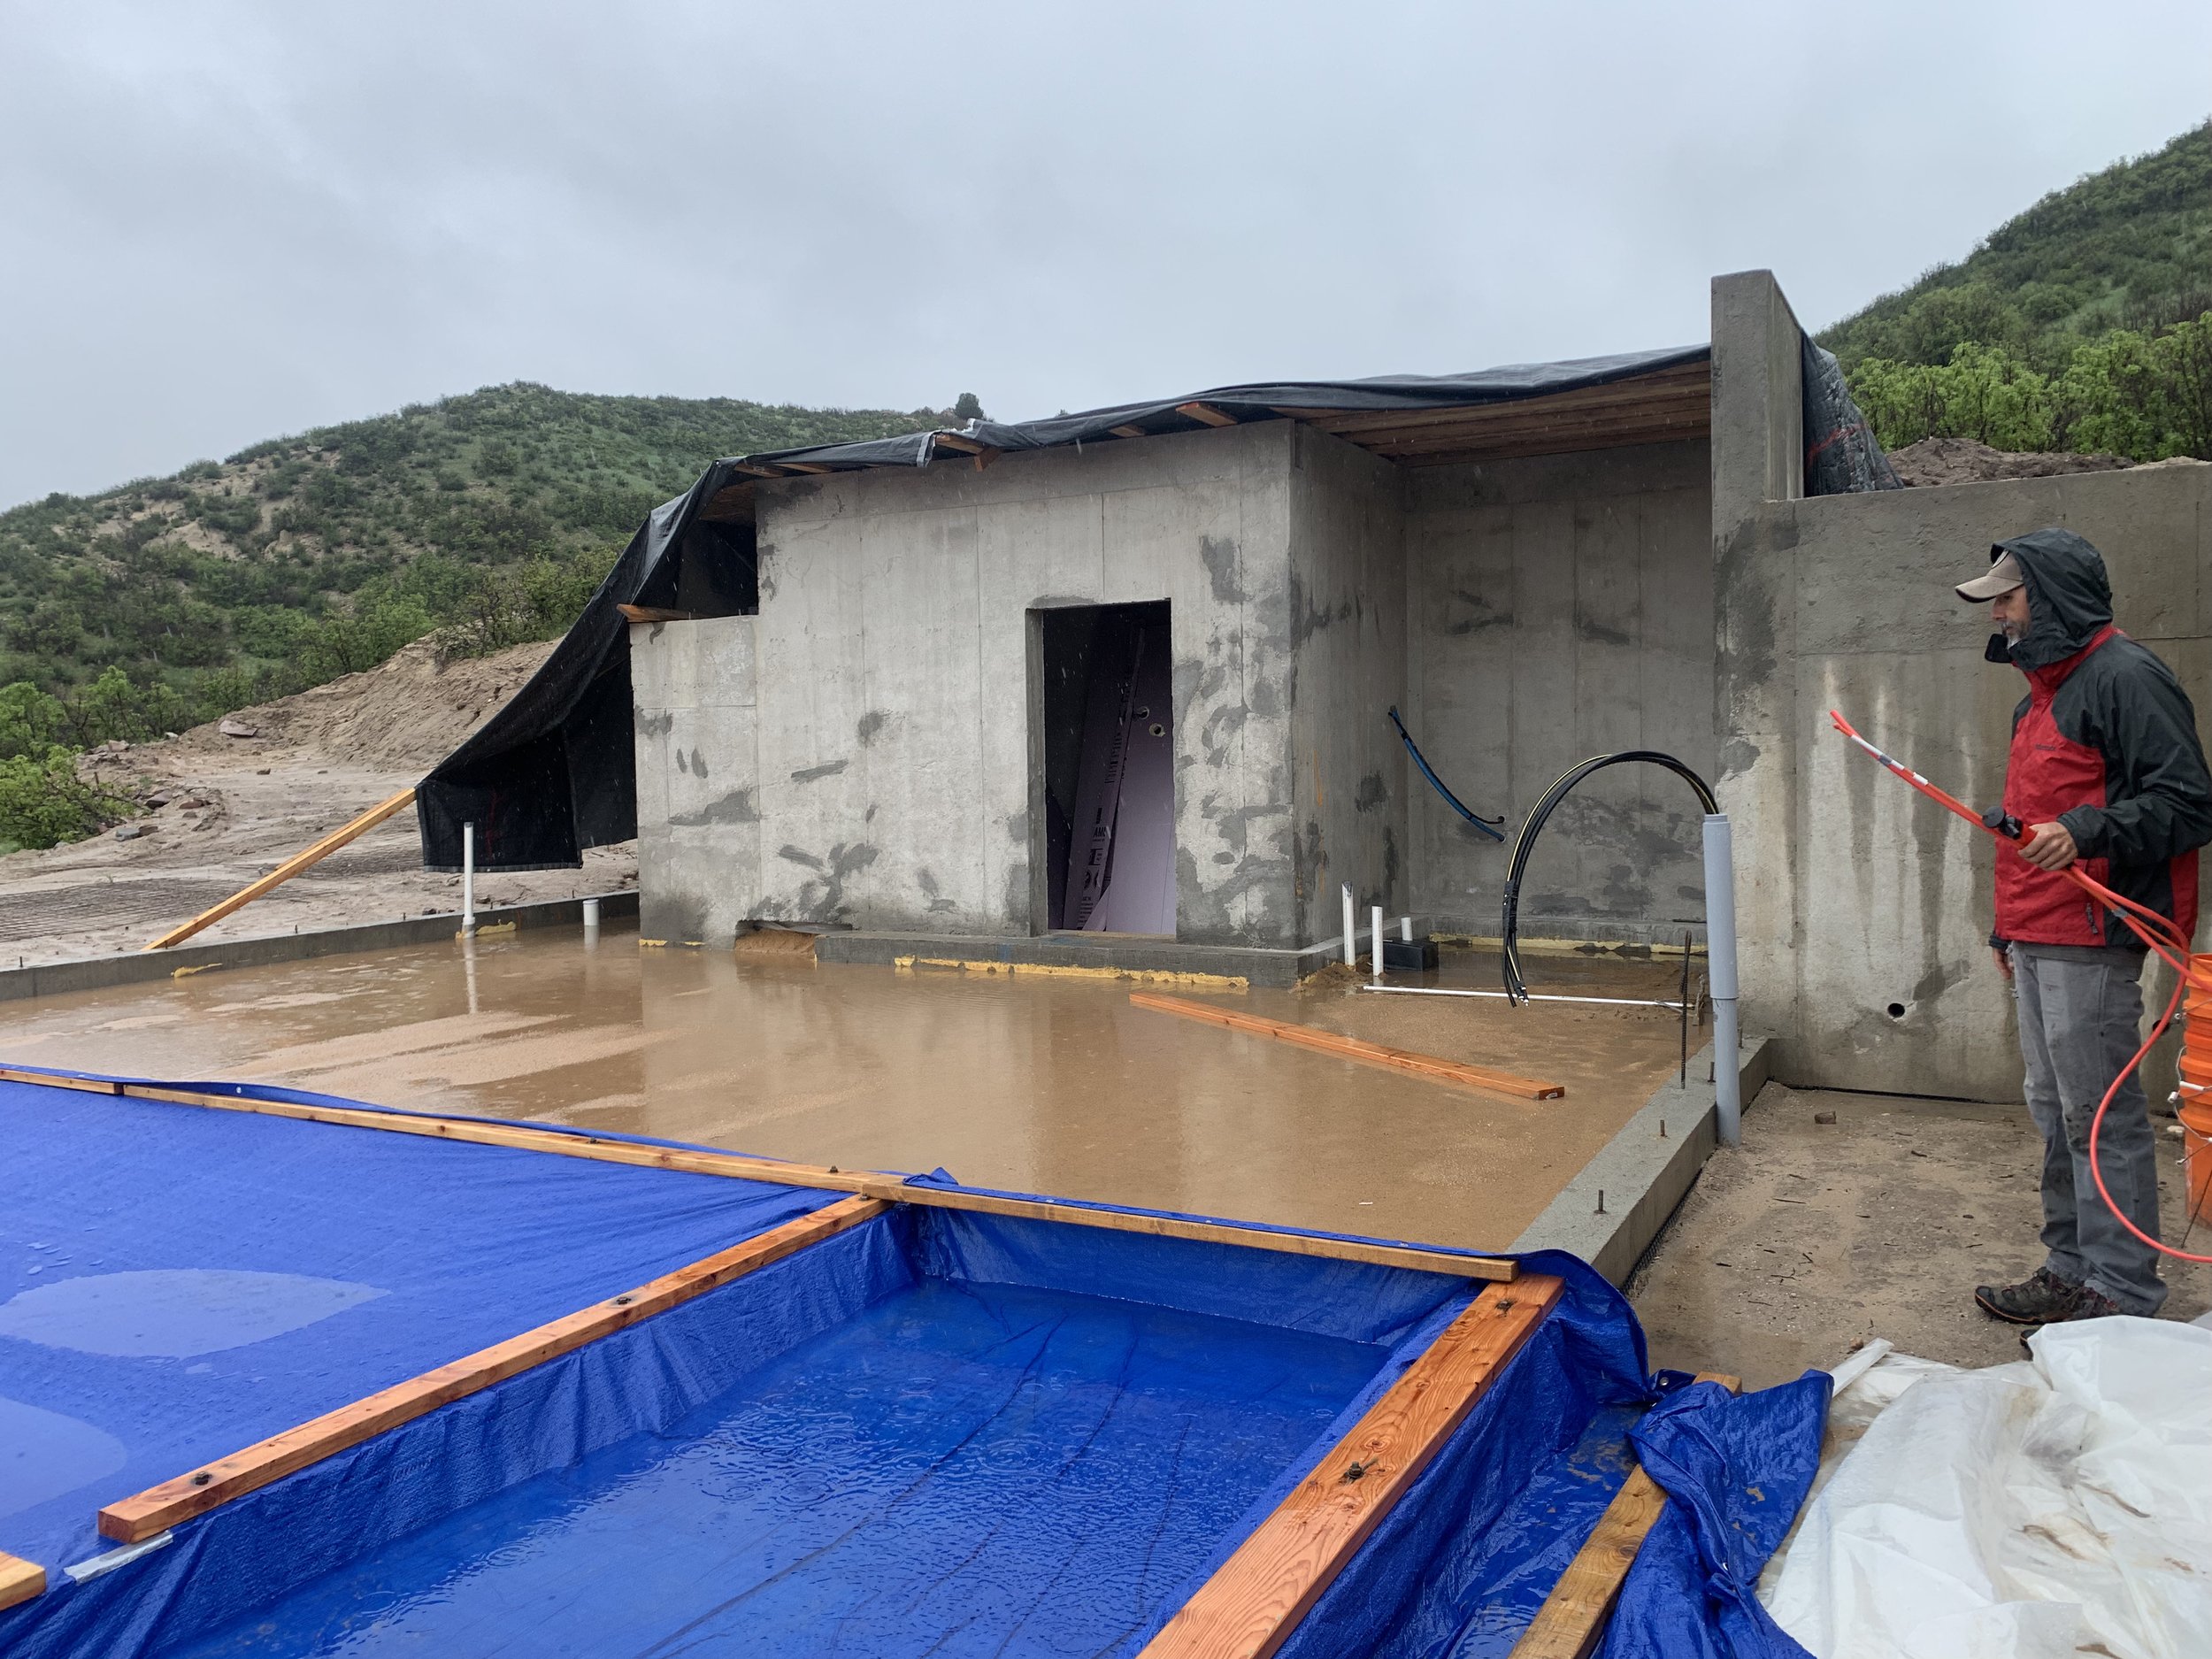
Well, our productive day turned into disaster as a massive rainfall flooded the entire site.

Another view of the damage. Looks more like a swimming pool.

Kris tries to pump as much water out as possible.

A little onlooker arrives to survey the damage.

This is alongside our driveway where the ground eroded from so much water!
We had to remove all the insulation that was installed because it was floating.

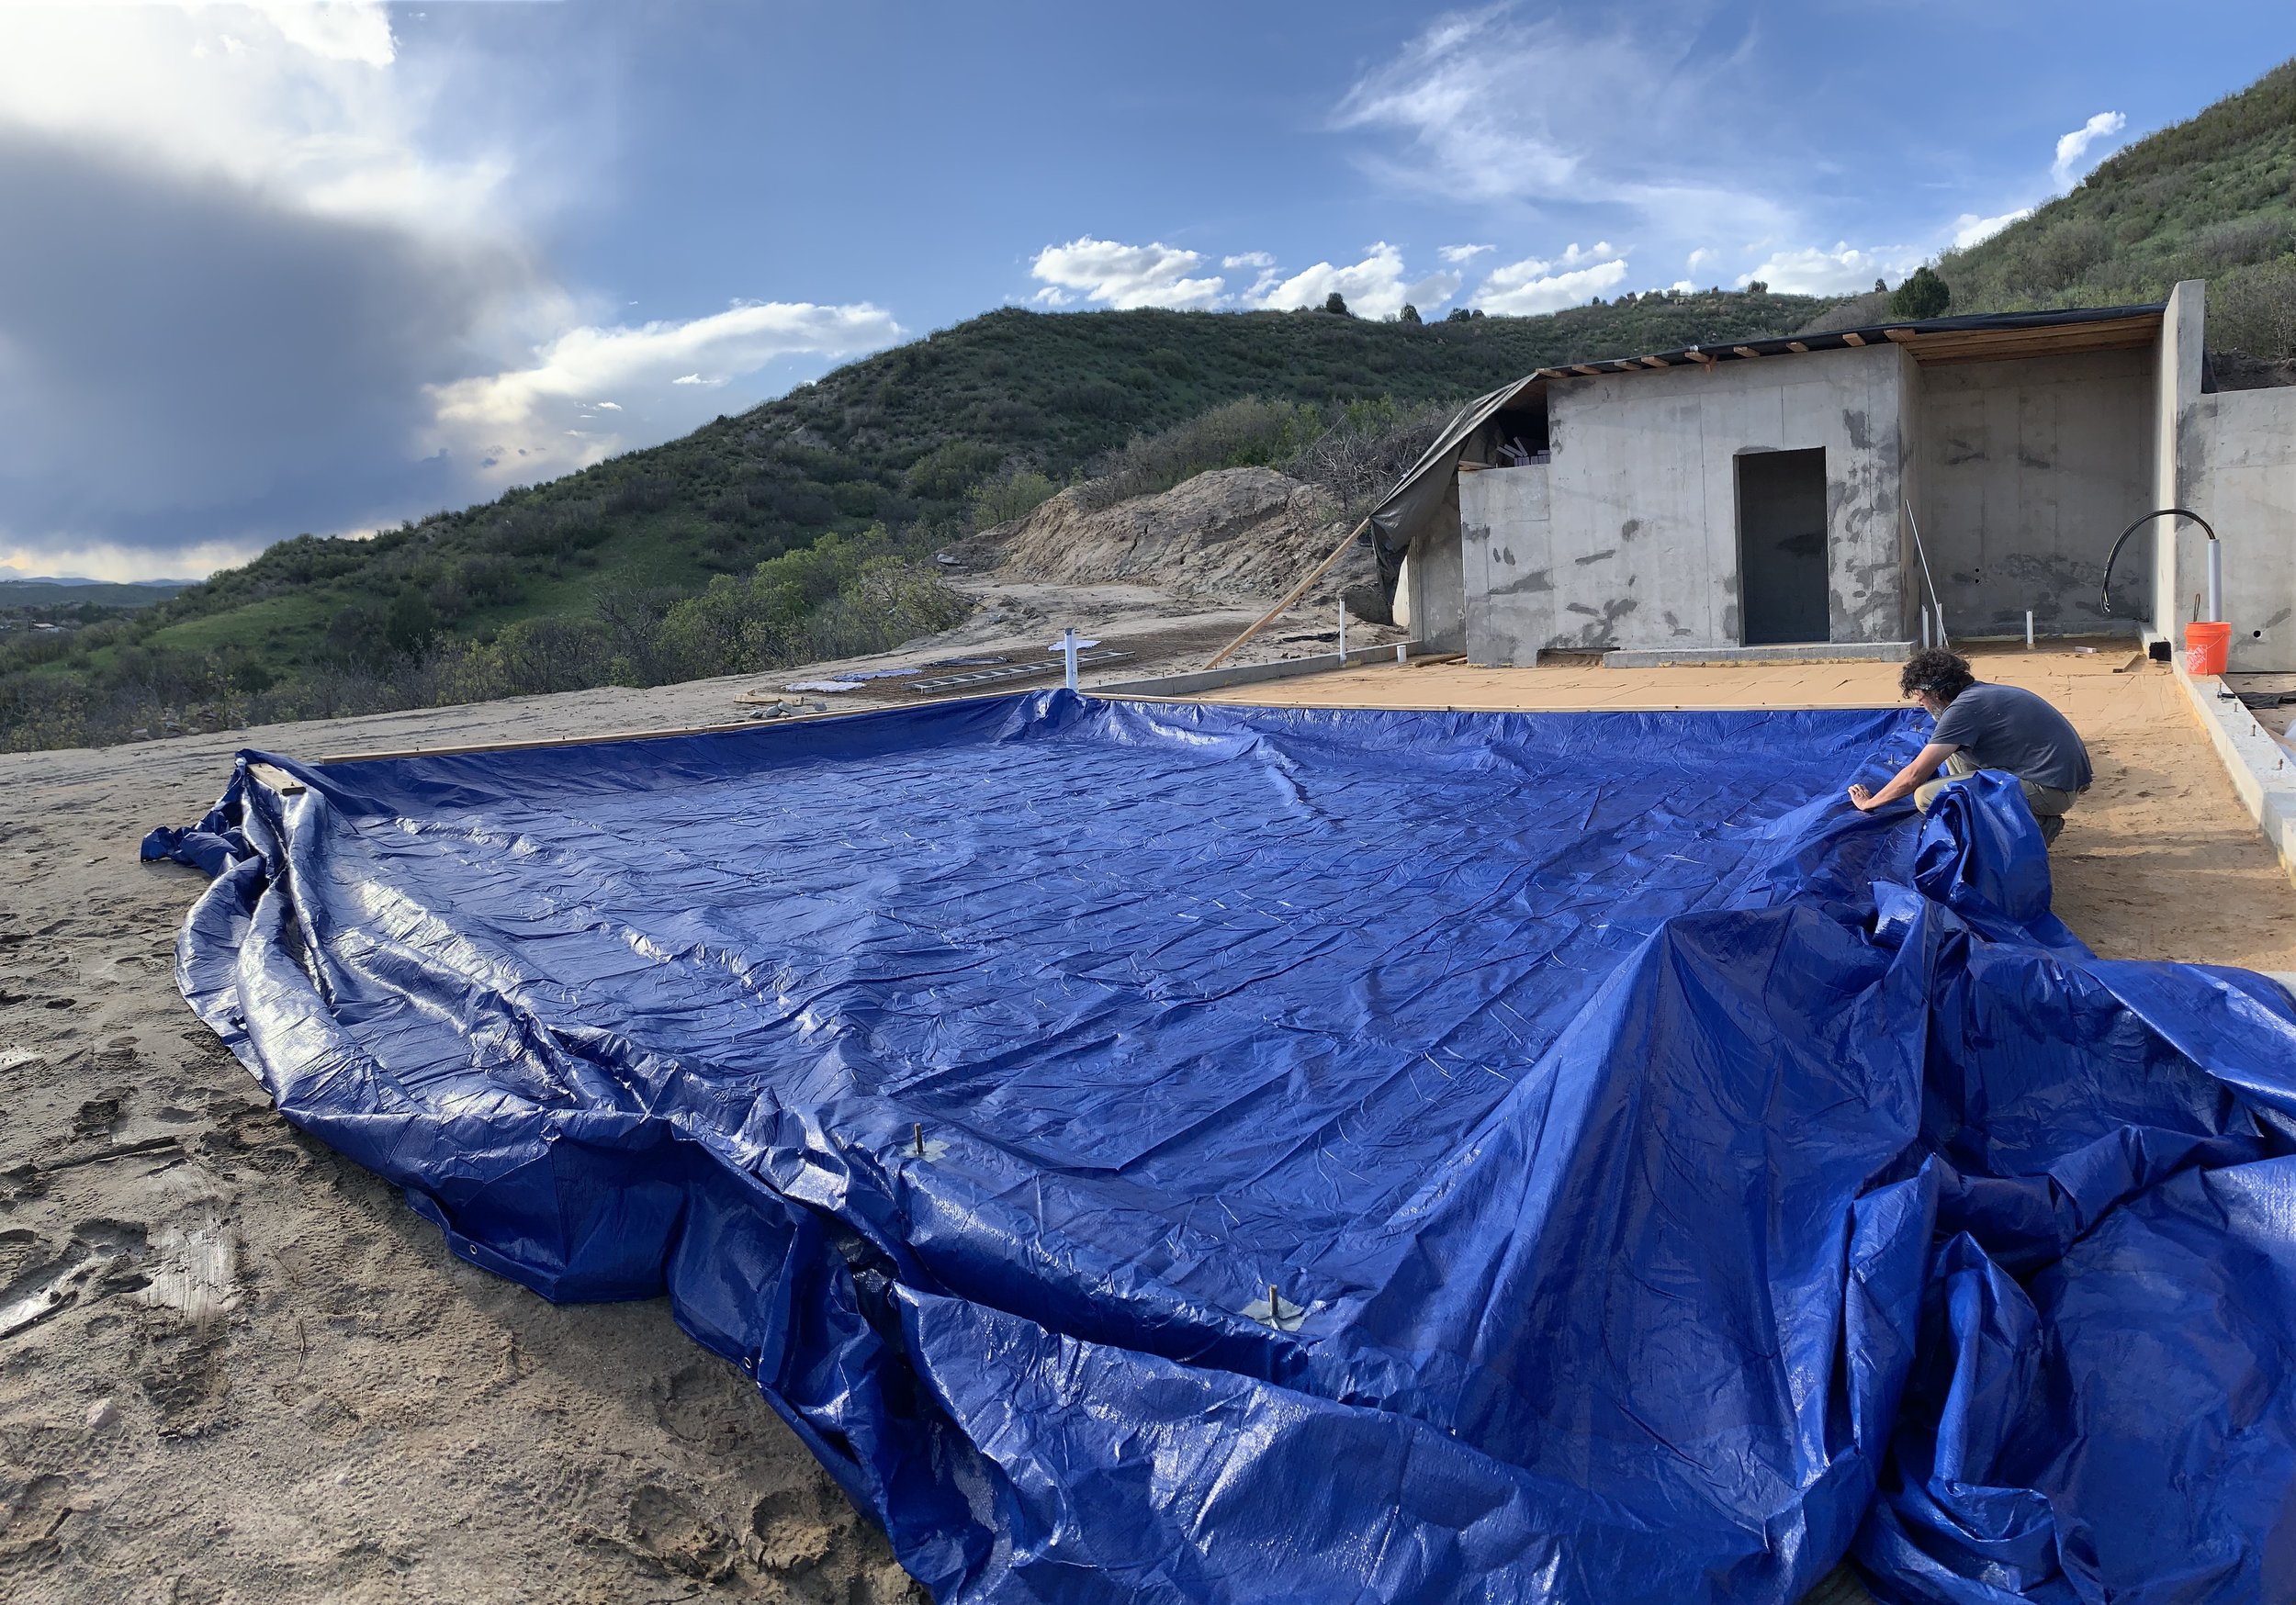
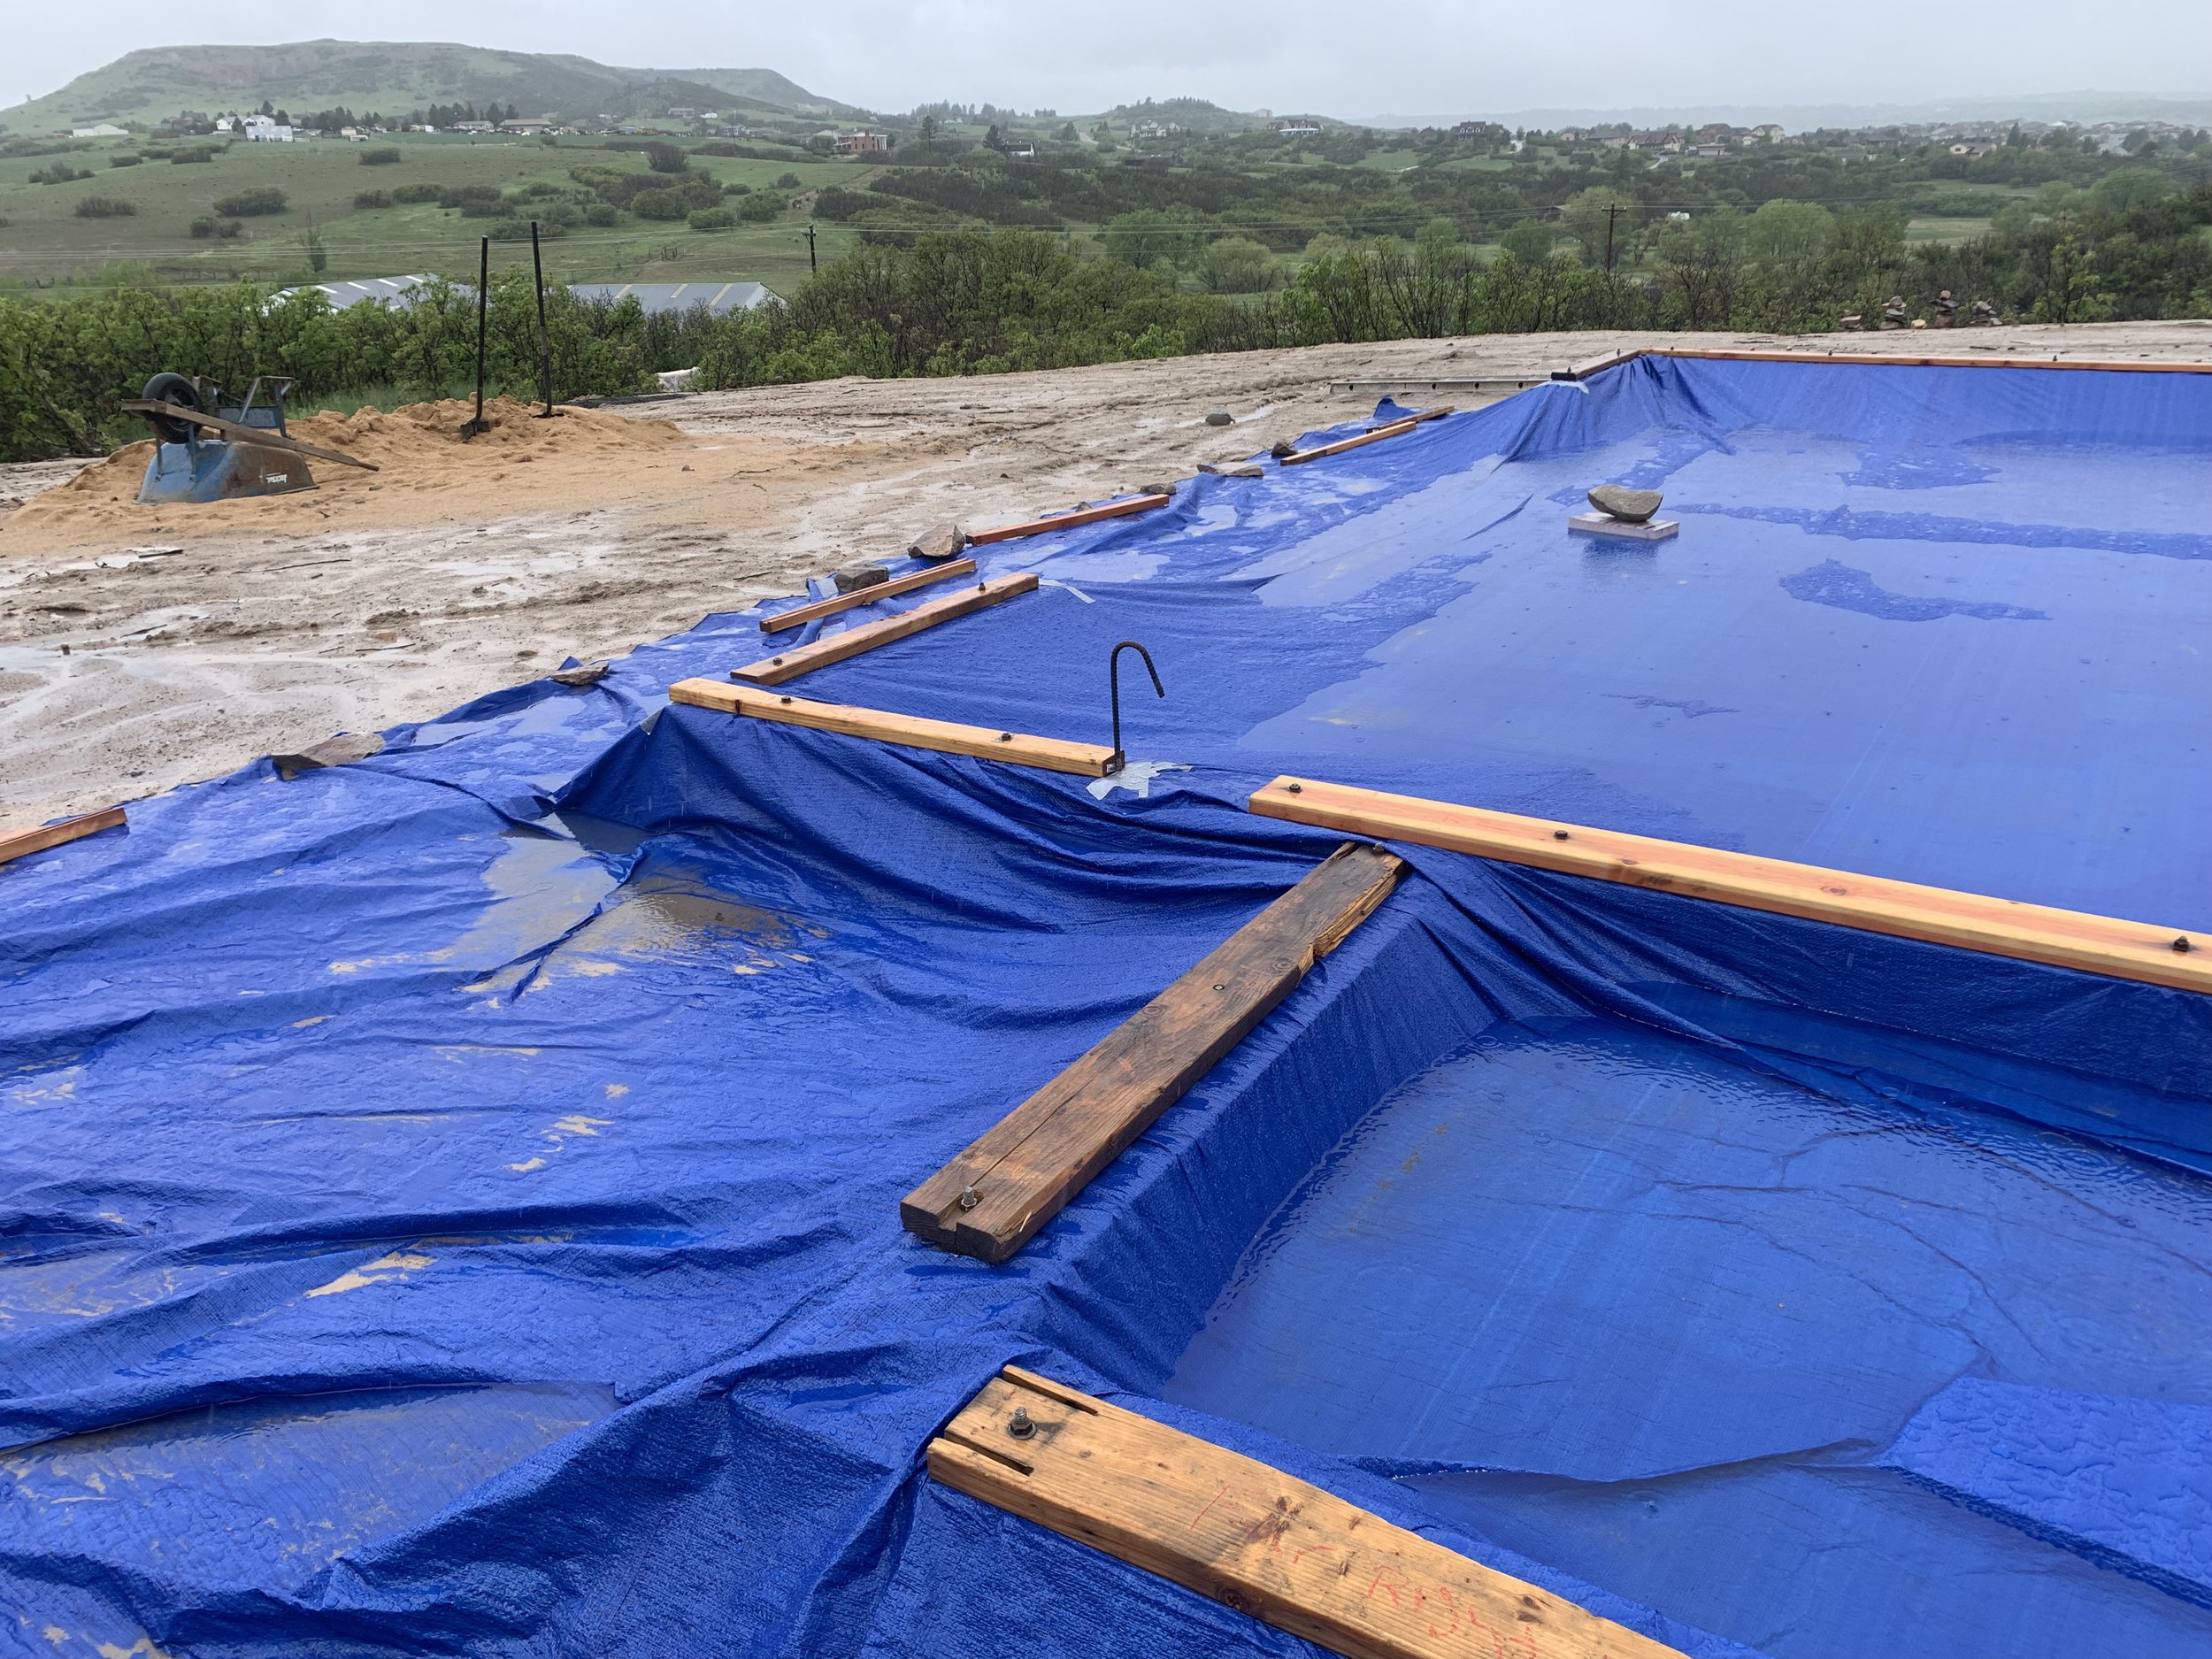
With multiple days of rain in the forecast, we go into action trying to build a tarp to cover the build site.

After several hours of work, we put the finishing touches on and cross our fingers it keeps the water out!

More rain moves in as we clean up the site for the day.

Several days later, our tarps are in pretty sad shape. We had massive flooding.

We once again clean up the site and pray for dry weather.

Pretty sure this is an actual scene from the movie The Money Pit! The build site is in sad shape, but at least it seems to be drying out.

Now we've discovered mice are eating our insulation board! UGH!

Starting fresh yet again. With no chance for rain, our friends came out to help us for the long weekend and day 1 started off with tremendous progress! Now we break for lunch.

Shortly after we return from lunch, the sky opens up and dumps massive rain.

Then we had hail.

In an effort to save the work we'd done, the guys built a make-shift squeegee.
It worked pretty darn well! Maybe we'll actually be able to salvage the project...if no more rain falls today!

Not so lucky.

Another round of rain falls and this time the entire site floods.

So much for our productive DRY day. It's a muddy mess!
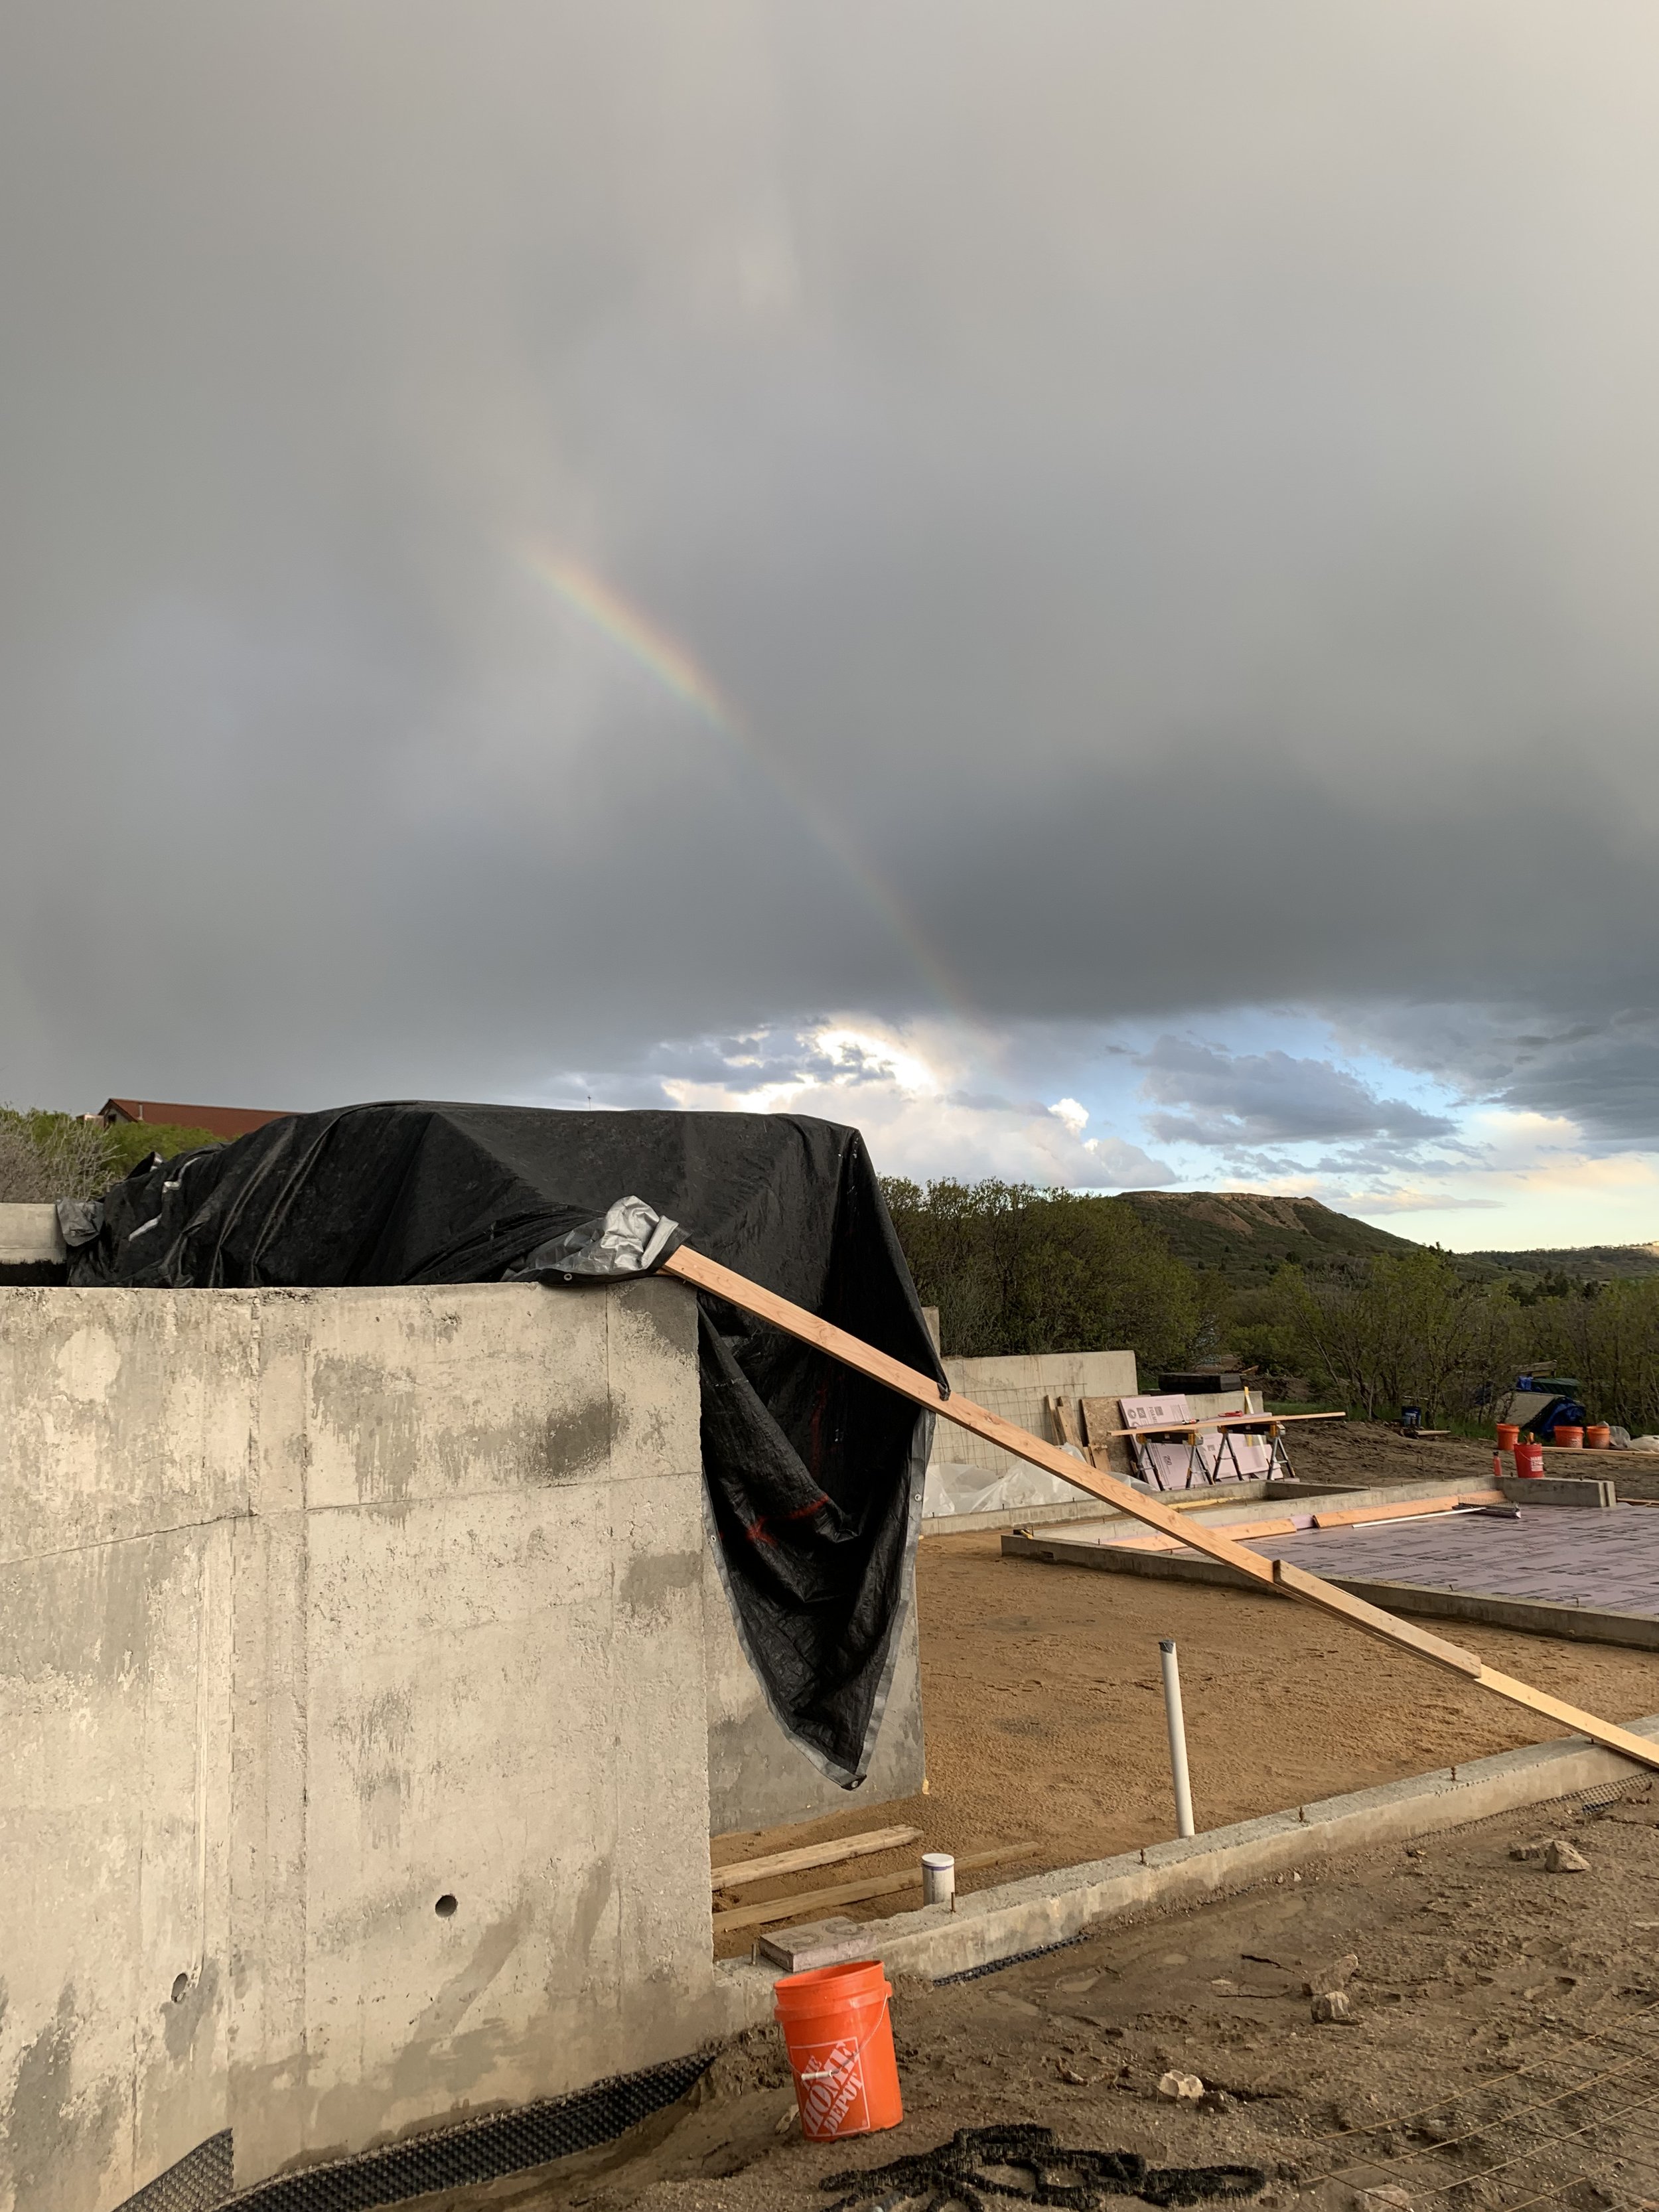
Only a pot of mud at the bottom of THIS rainbow!
Quite the frustrating day, but we still pause to watch the stellar sunset! But little did we know our day wasn't over.

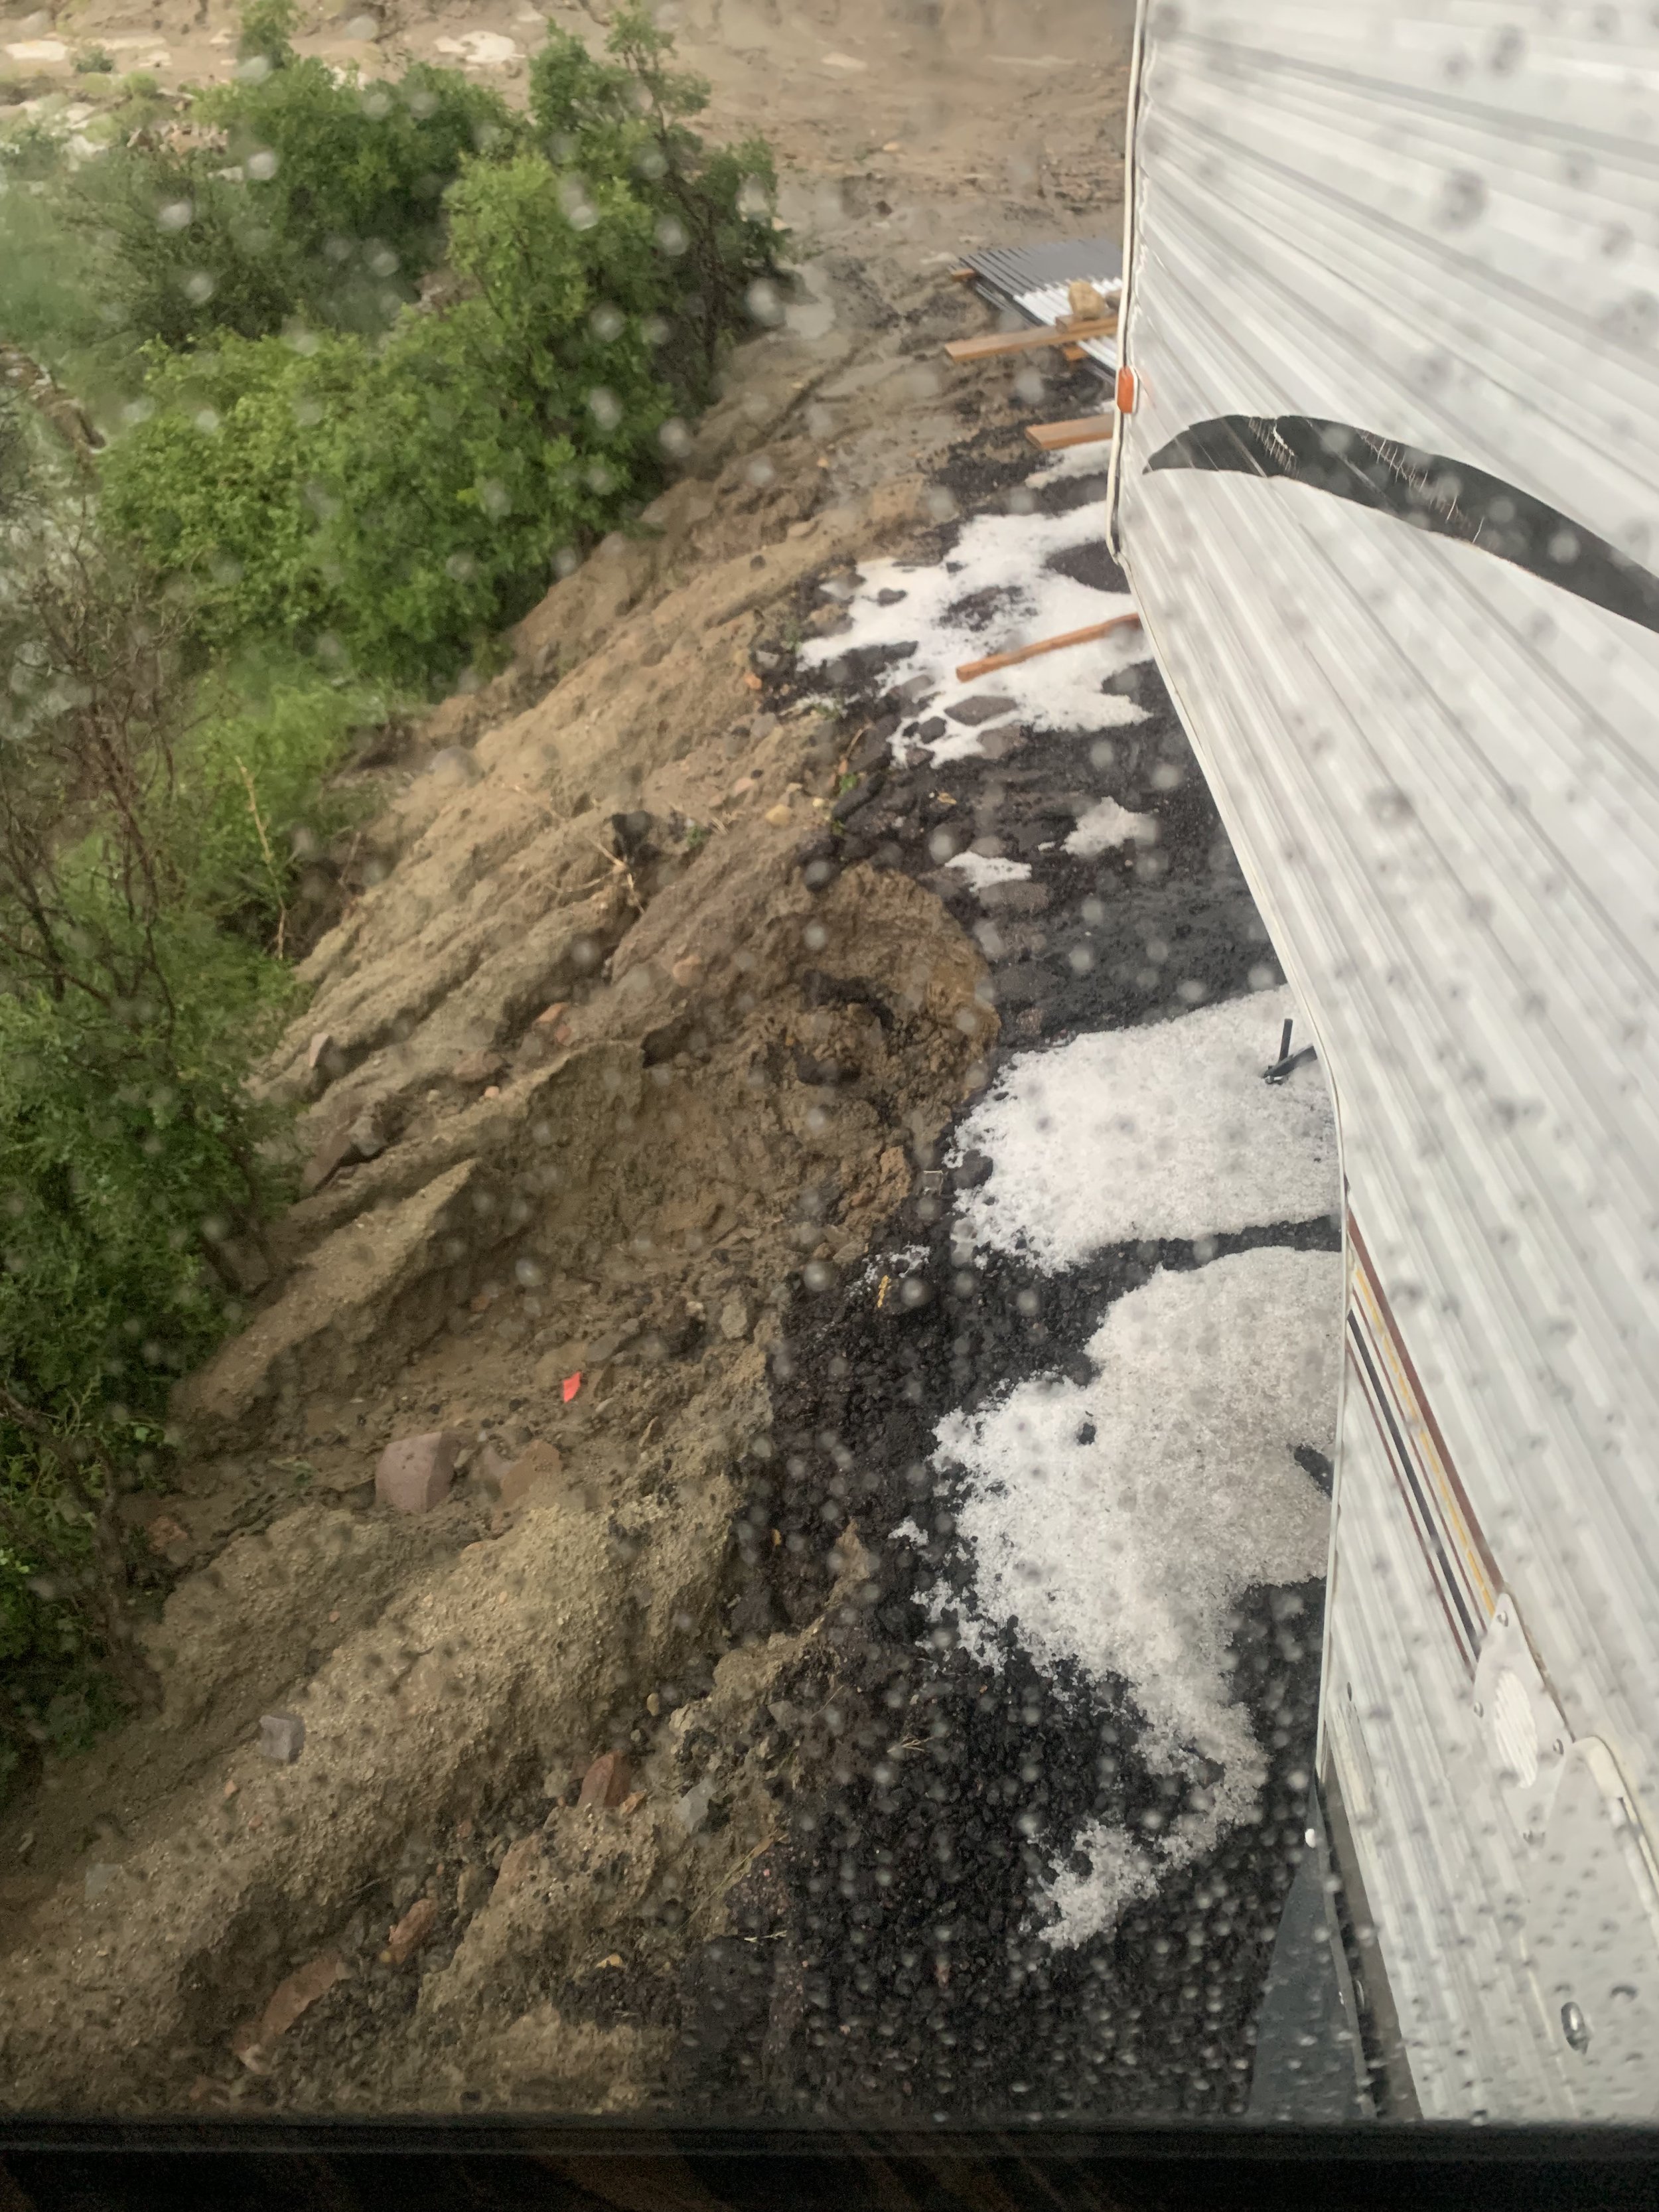
After dark, another round of severe weather hits. The site is flooded this time with massive amounts of hail!

Seriously???

We had roughly 2" deep of hail. Now it looks like we've gone back to our winter nightmare!

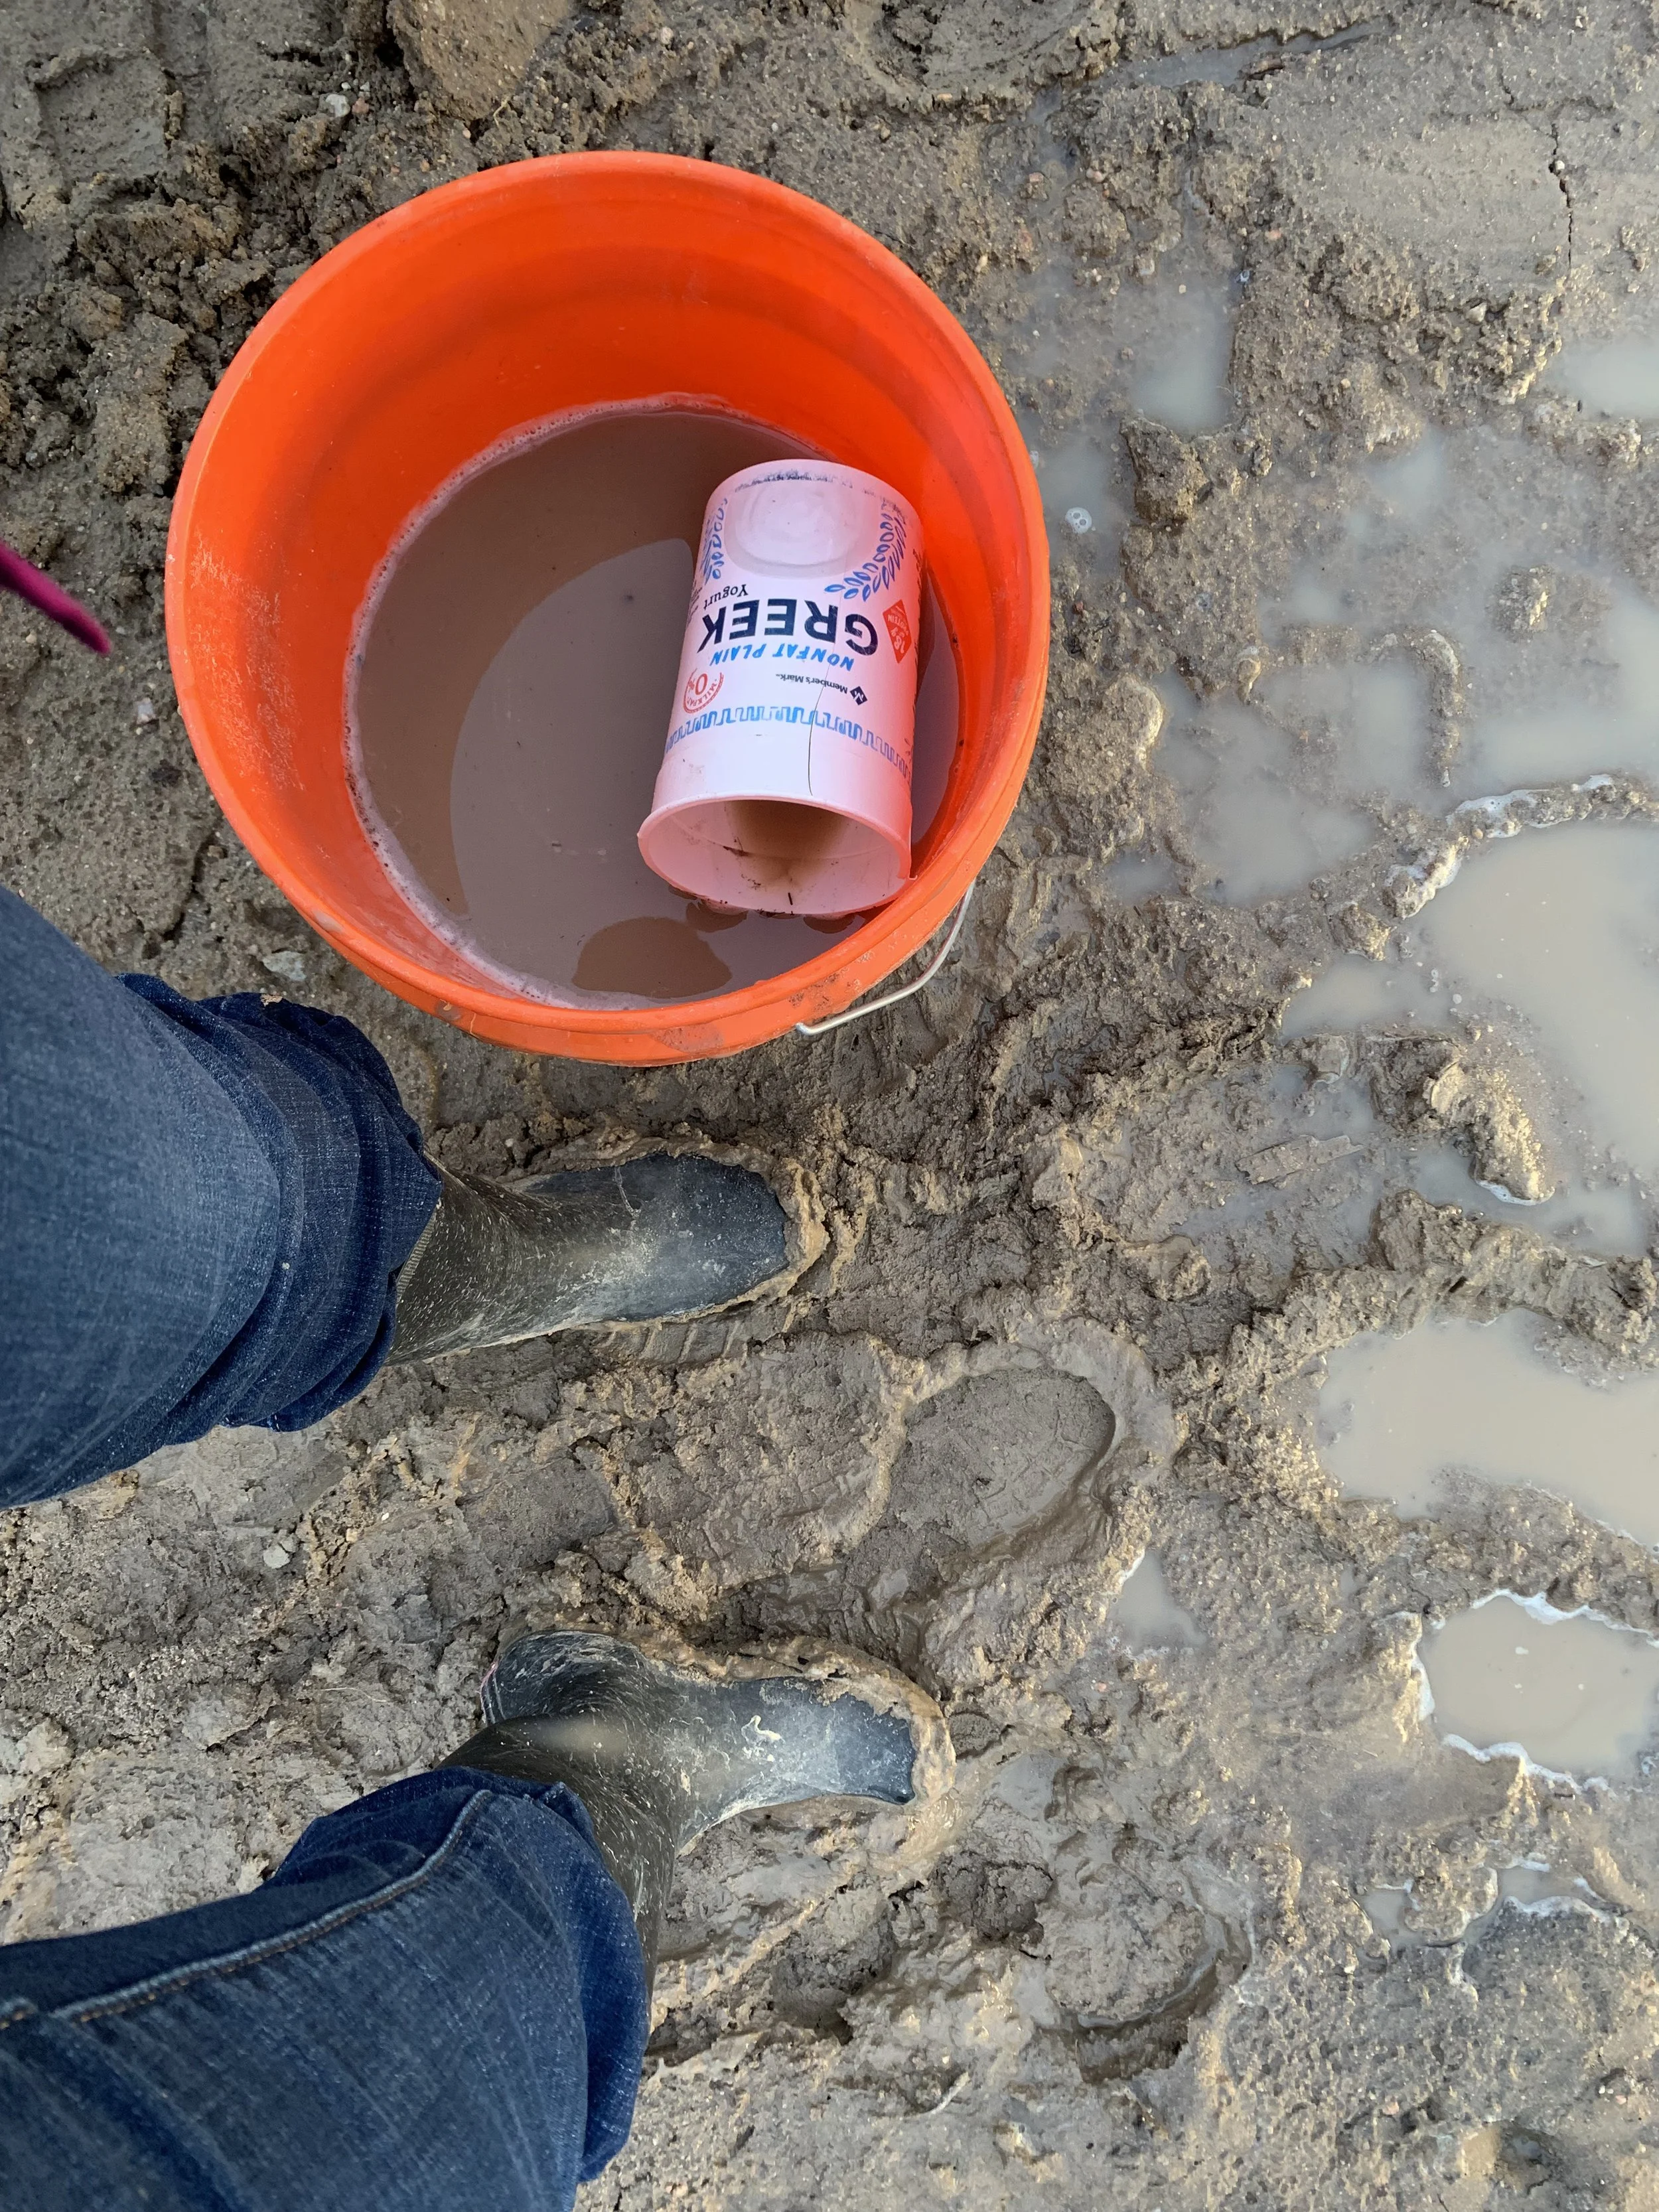
A little blurry, but this is our sad water bailing cup floating around in the foundation.
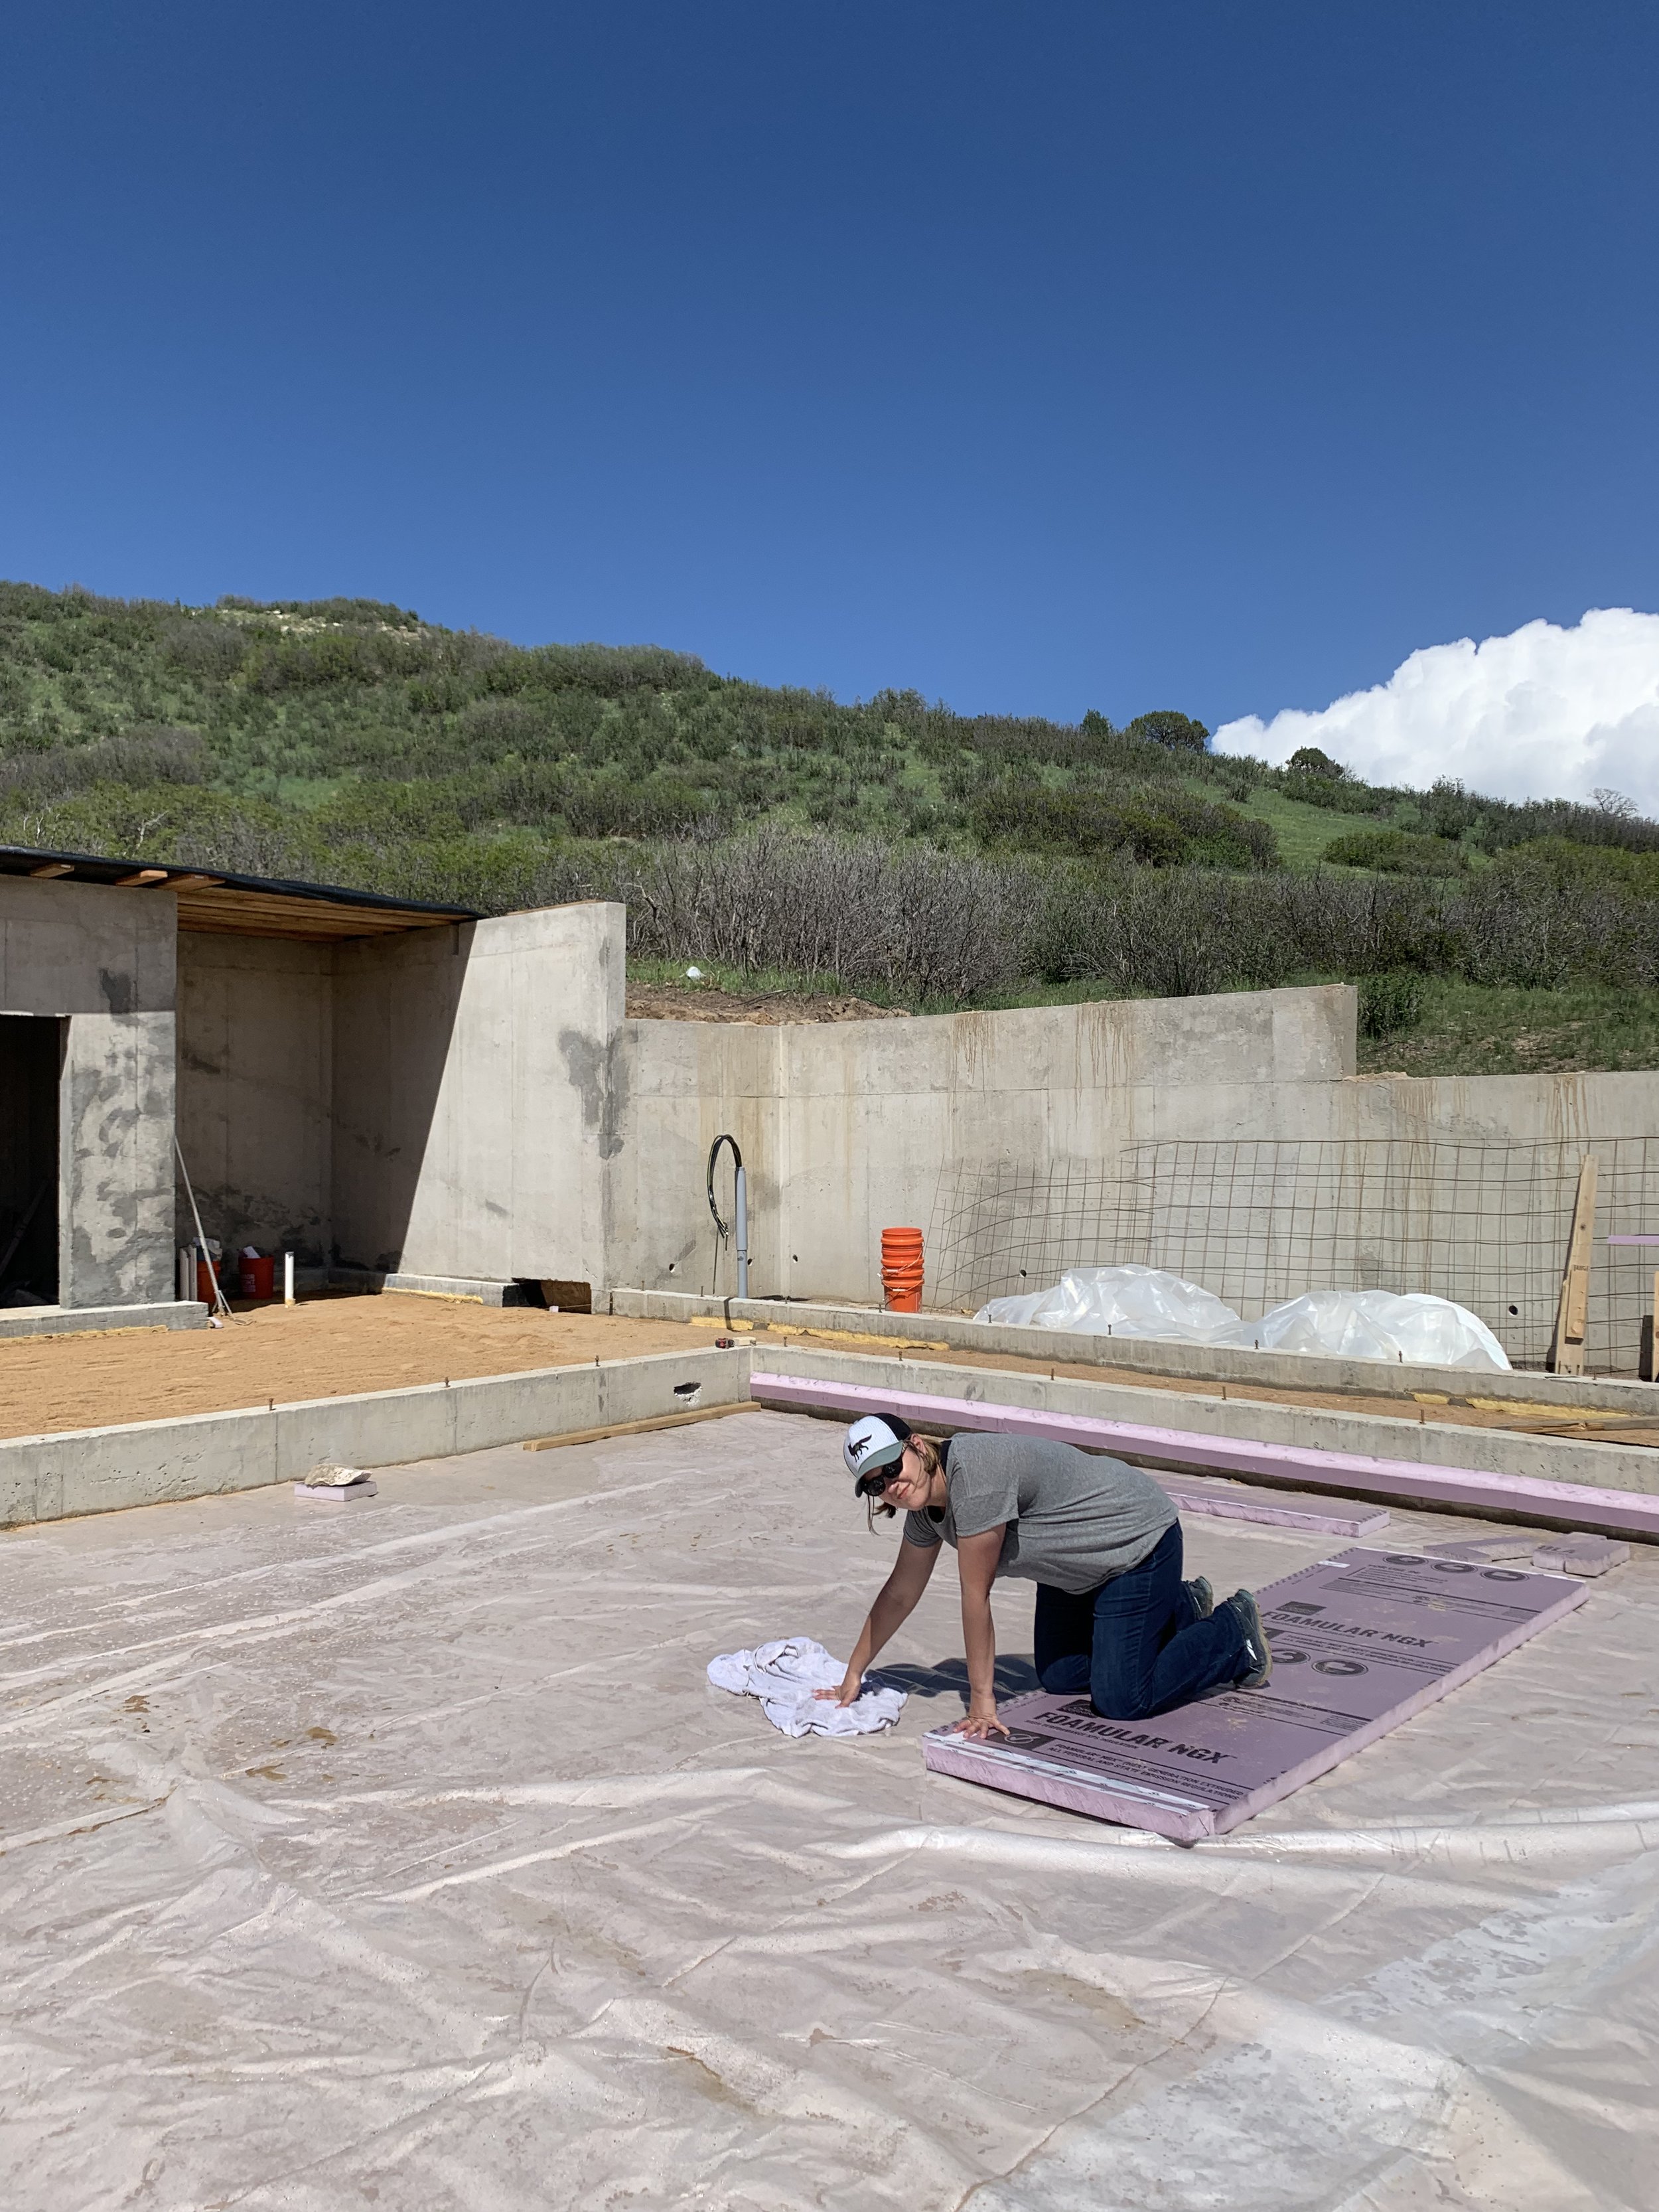
The next day we bailed out, the guys re-leveled the dirt and the moment we put fresh plastic down...you guessed it, more rain!
Rachel works to dry off the plastic, once again trying to save the site as the guys work to re-level the dirt in the house area.

We have some new visitors watching the work! Baby bunnies! So cute!

This little fluffy baby wasn't even scared and let us get up close for a picture!
With the garage complete...again...we opt to cover the site as we go, to ensure it stays dry.

You know, maybe we should be building a pool instead! A hot tub on the side perhaps?

Our stone sculptures are the only thing surviving the rain! The wise man built his house upon a rock, right?

Time to start adding the metal grid to mount the radiant heat tubing to.
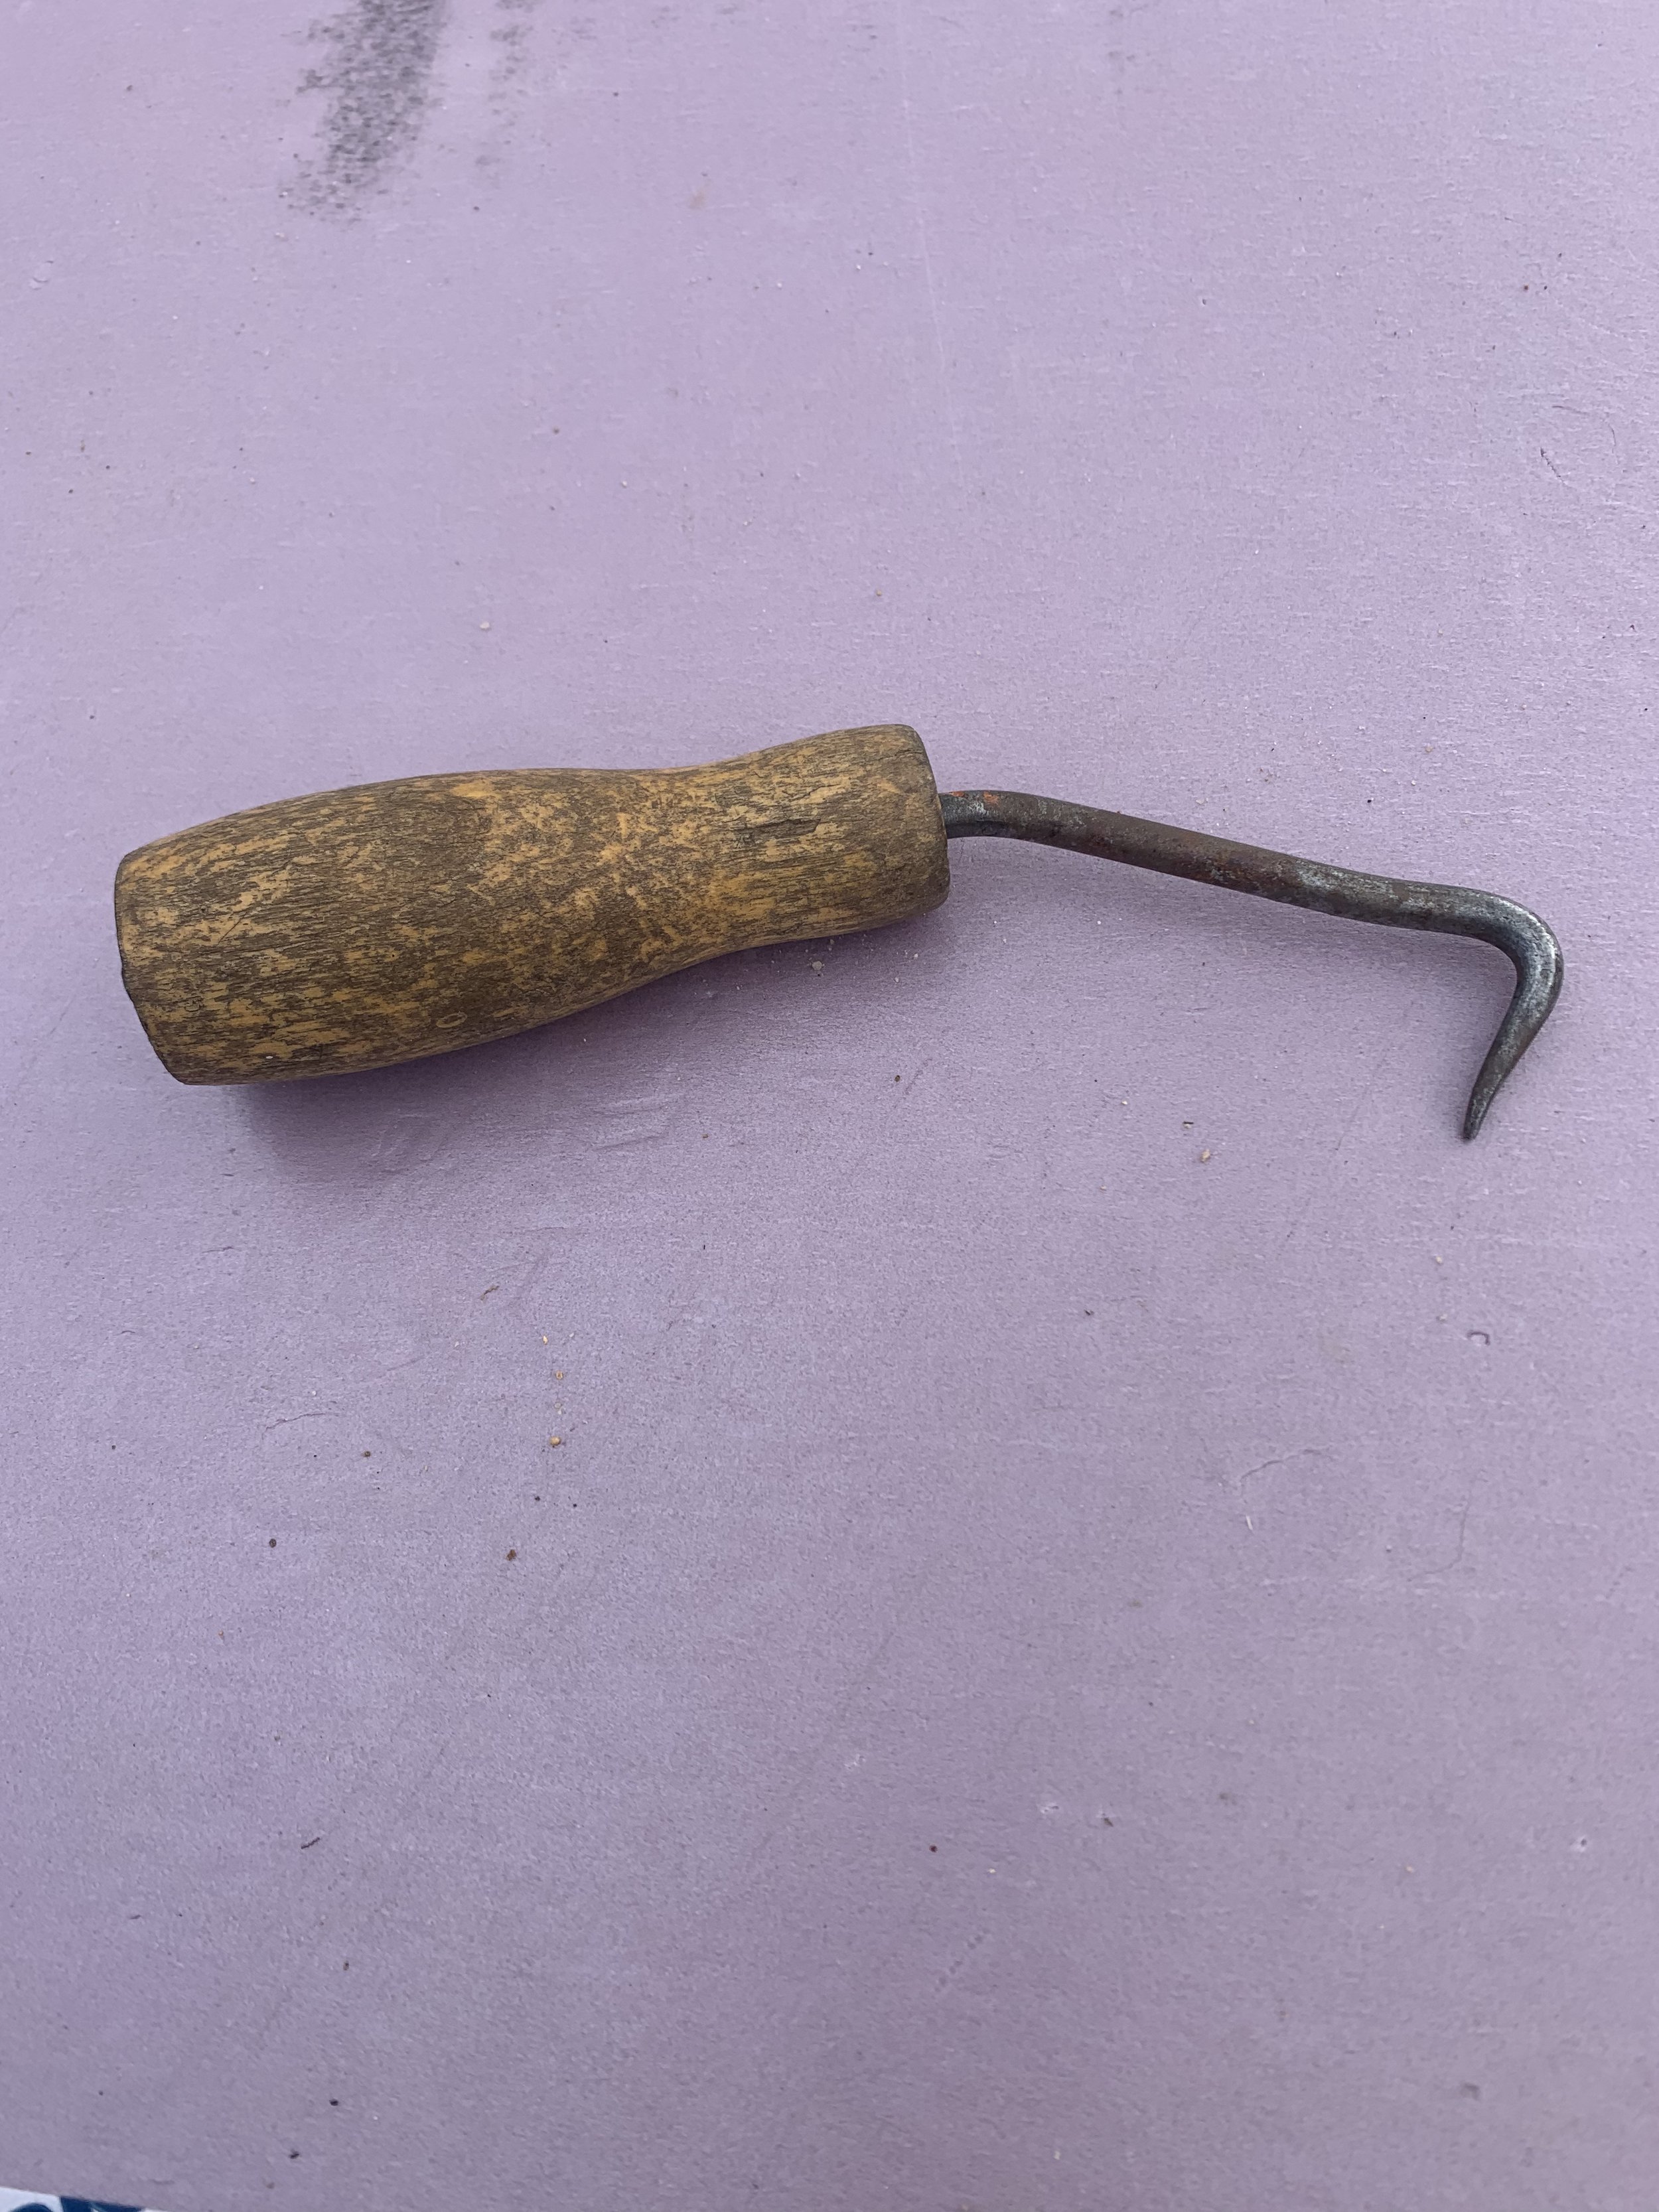
Today Rachel learned what this is! Any guesses? Hint: It has nothing to do with dental hygiene!

The rebar and metal grid are tied down and ready. Now we button up the tarps for the night to keep it dry...just in case!
Well guess what arrived...again. Flooding rain all night and all day. This was a sad sight.
Our tarps seemed to hold pretty well, but we've still got a massive mess to clean up and it's still pouring!
After bailing 300 gallons of water, we reset the tarps anticipating more rain tomorrow.

...the next day we bailed 200 gallons of water. This is getting very old!

Water mitigation system #352 should be JUST right! This is getting absolutely ridiculous!
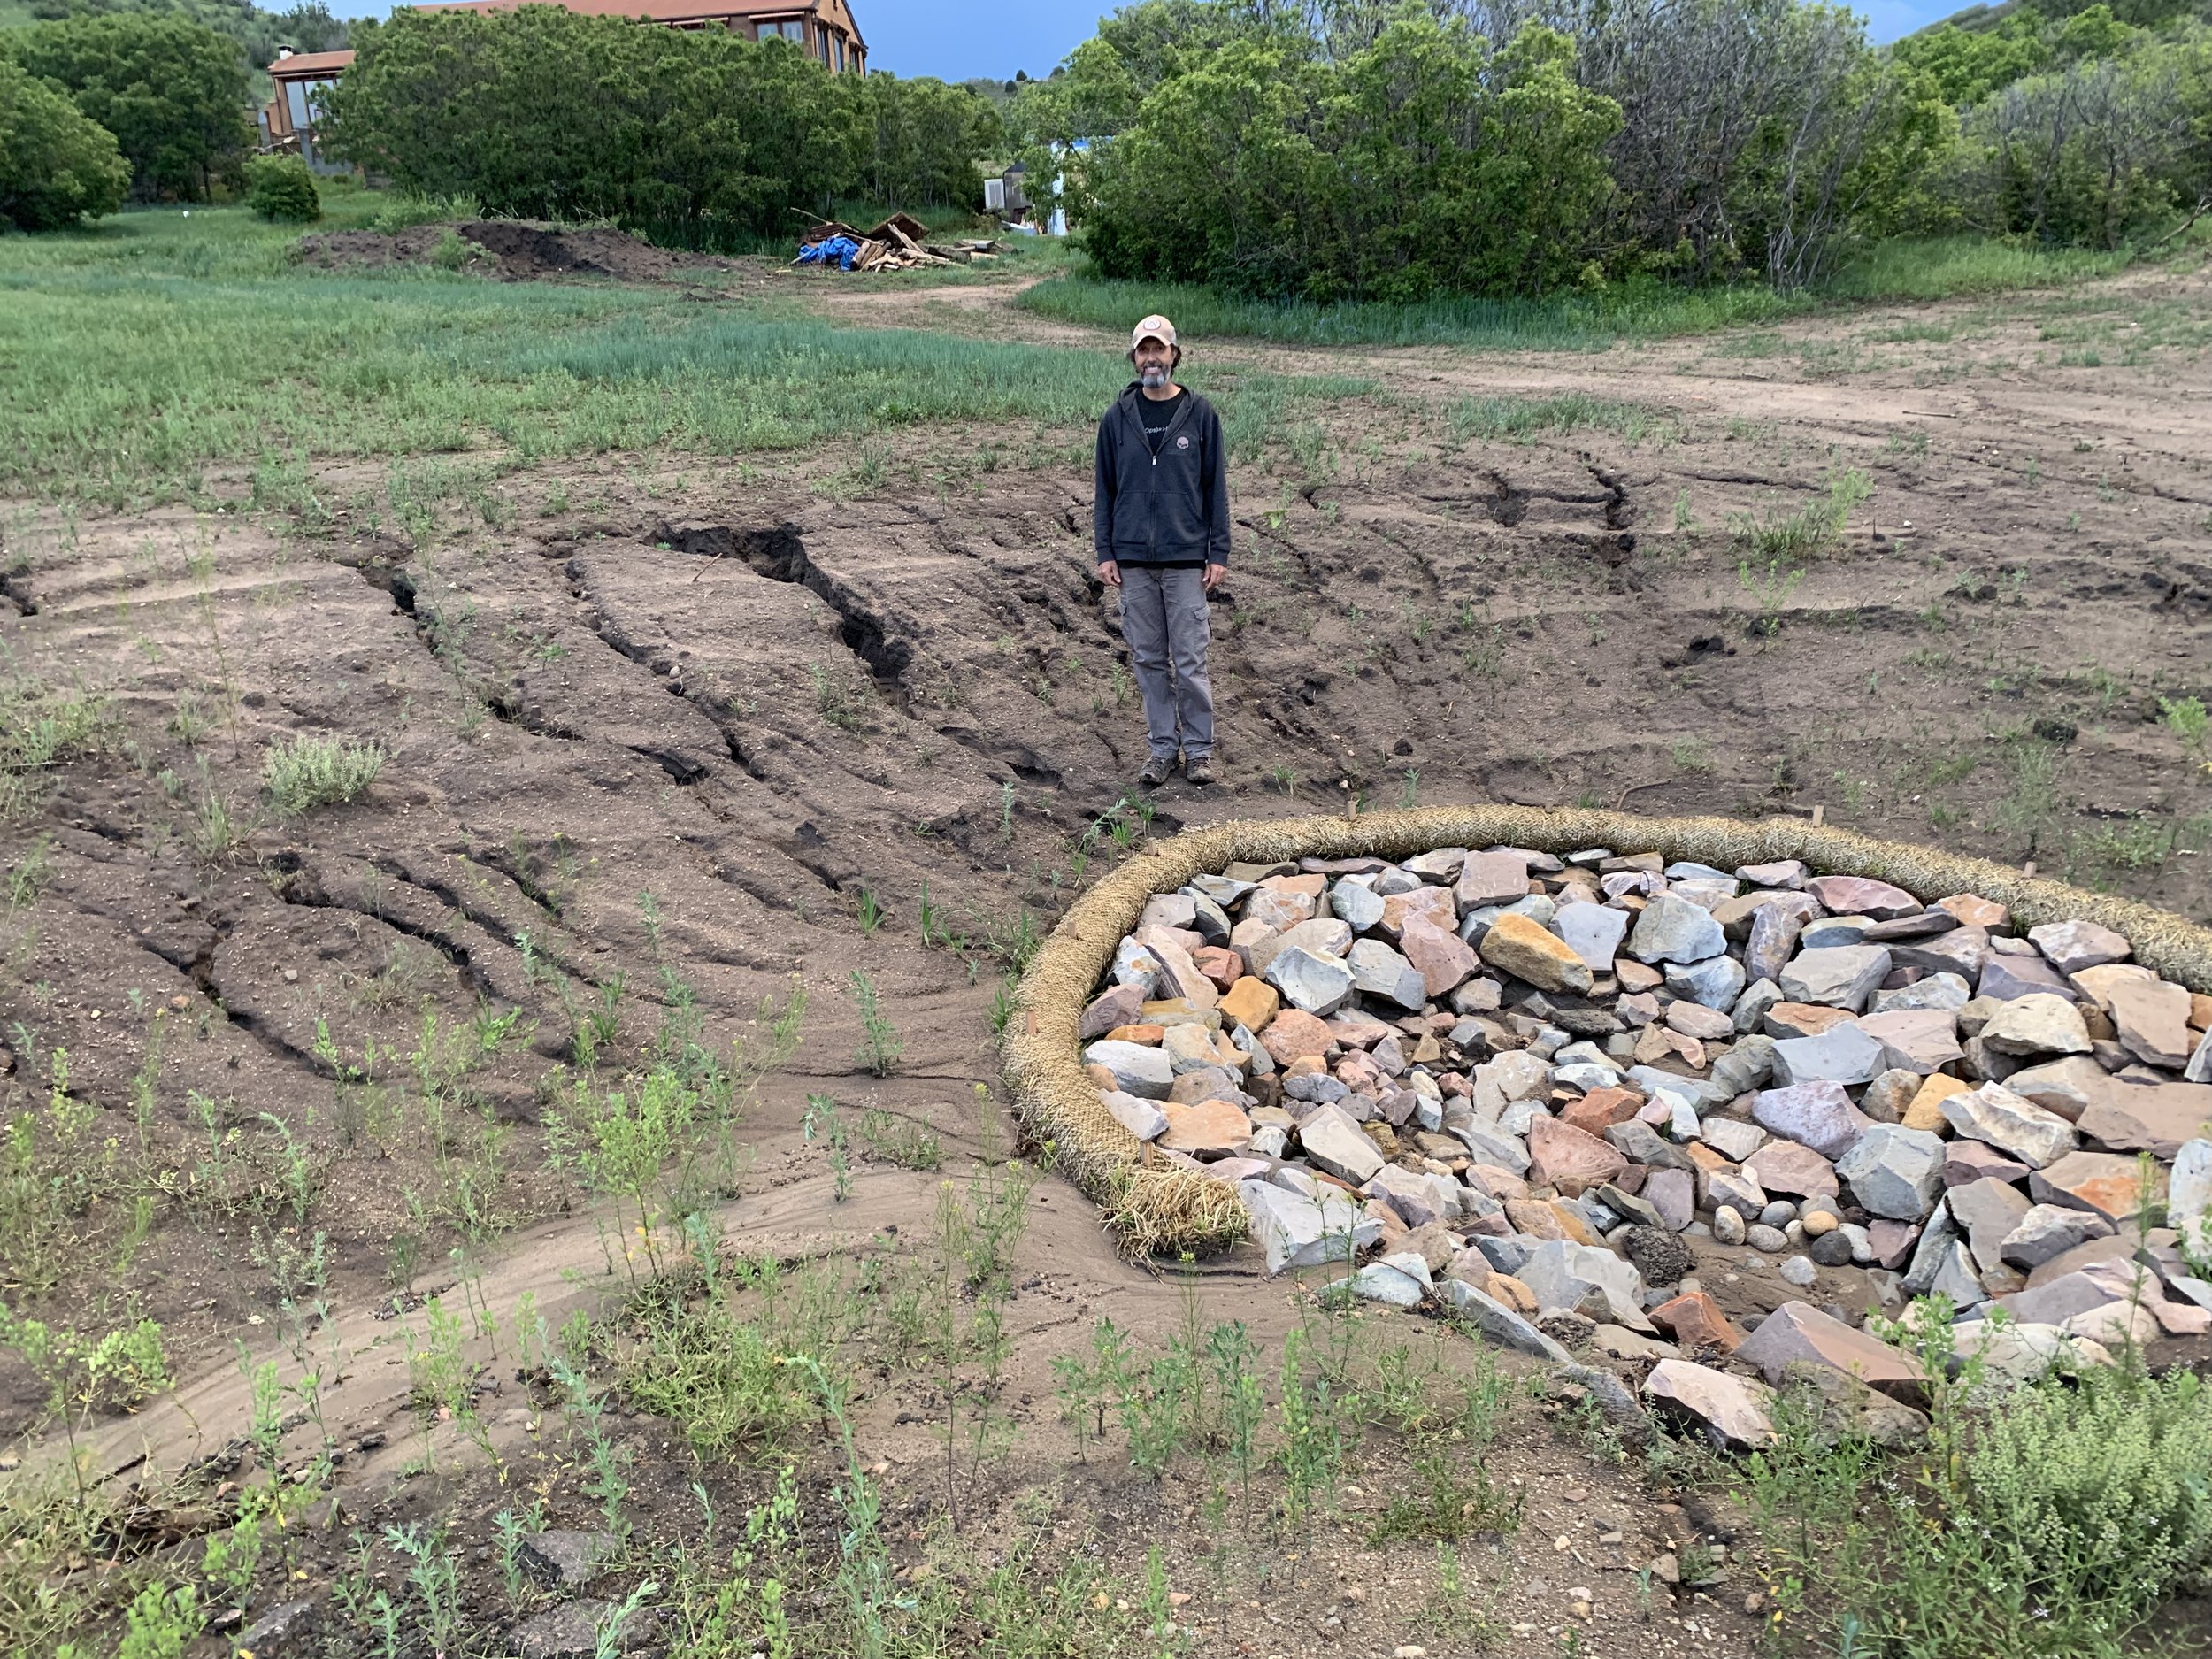
Remember the "Vortex of Doom?" Well we're pretty sure it's now sucking in the ground around it!
This has been the view every night for the last week. We've officially gotten over a foot of rain in the last month. The mud is actually now sucking your feet down like quick sand.

As we walk the property assessing the damage, we come upon a massive mushroom! If the money pit continues, we may have start living off the land! Anyone have any good Hawk's Tail mushroom recipes?

The sun is starting to dry things out so it's time to pull the tarp and continue working.
A little bit of water got through the tarp so now the fun of drying it off.

Kris is once again having fun playing with the big boy toys!
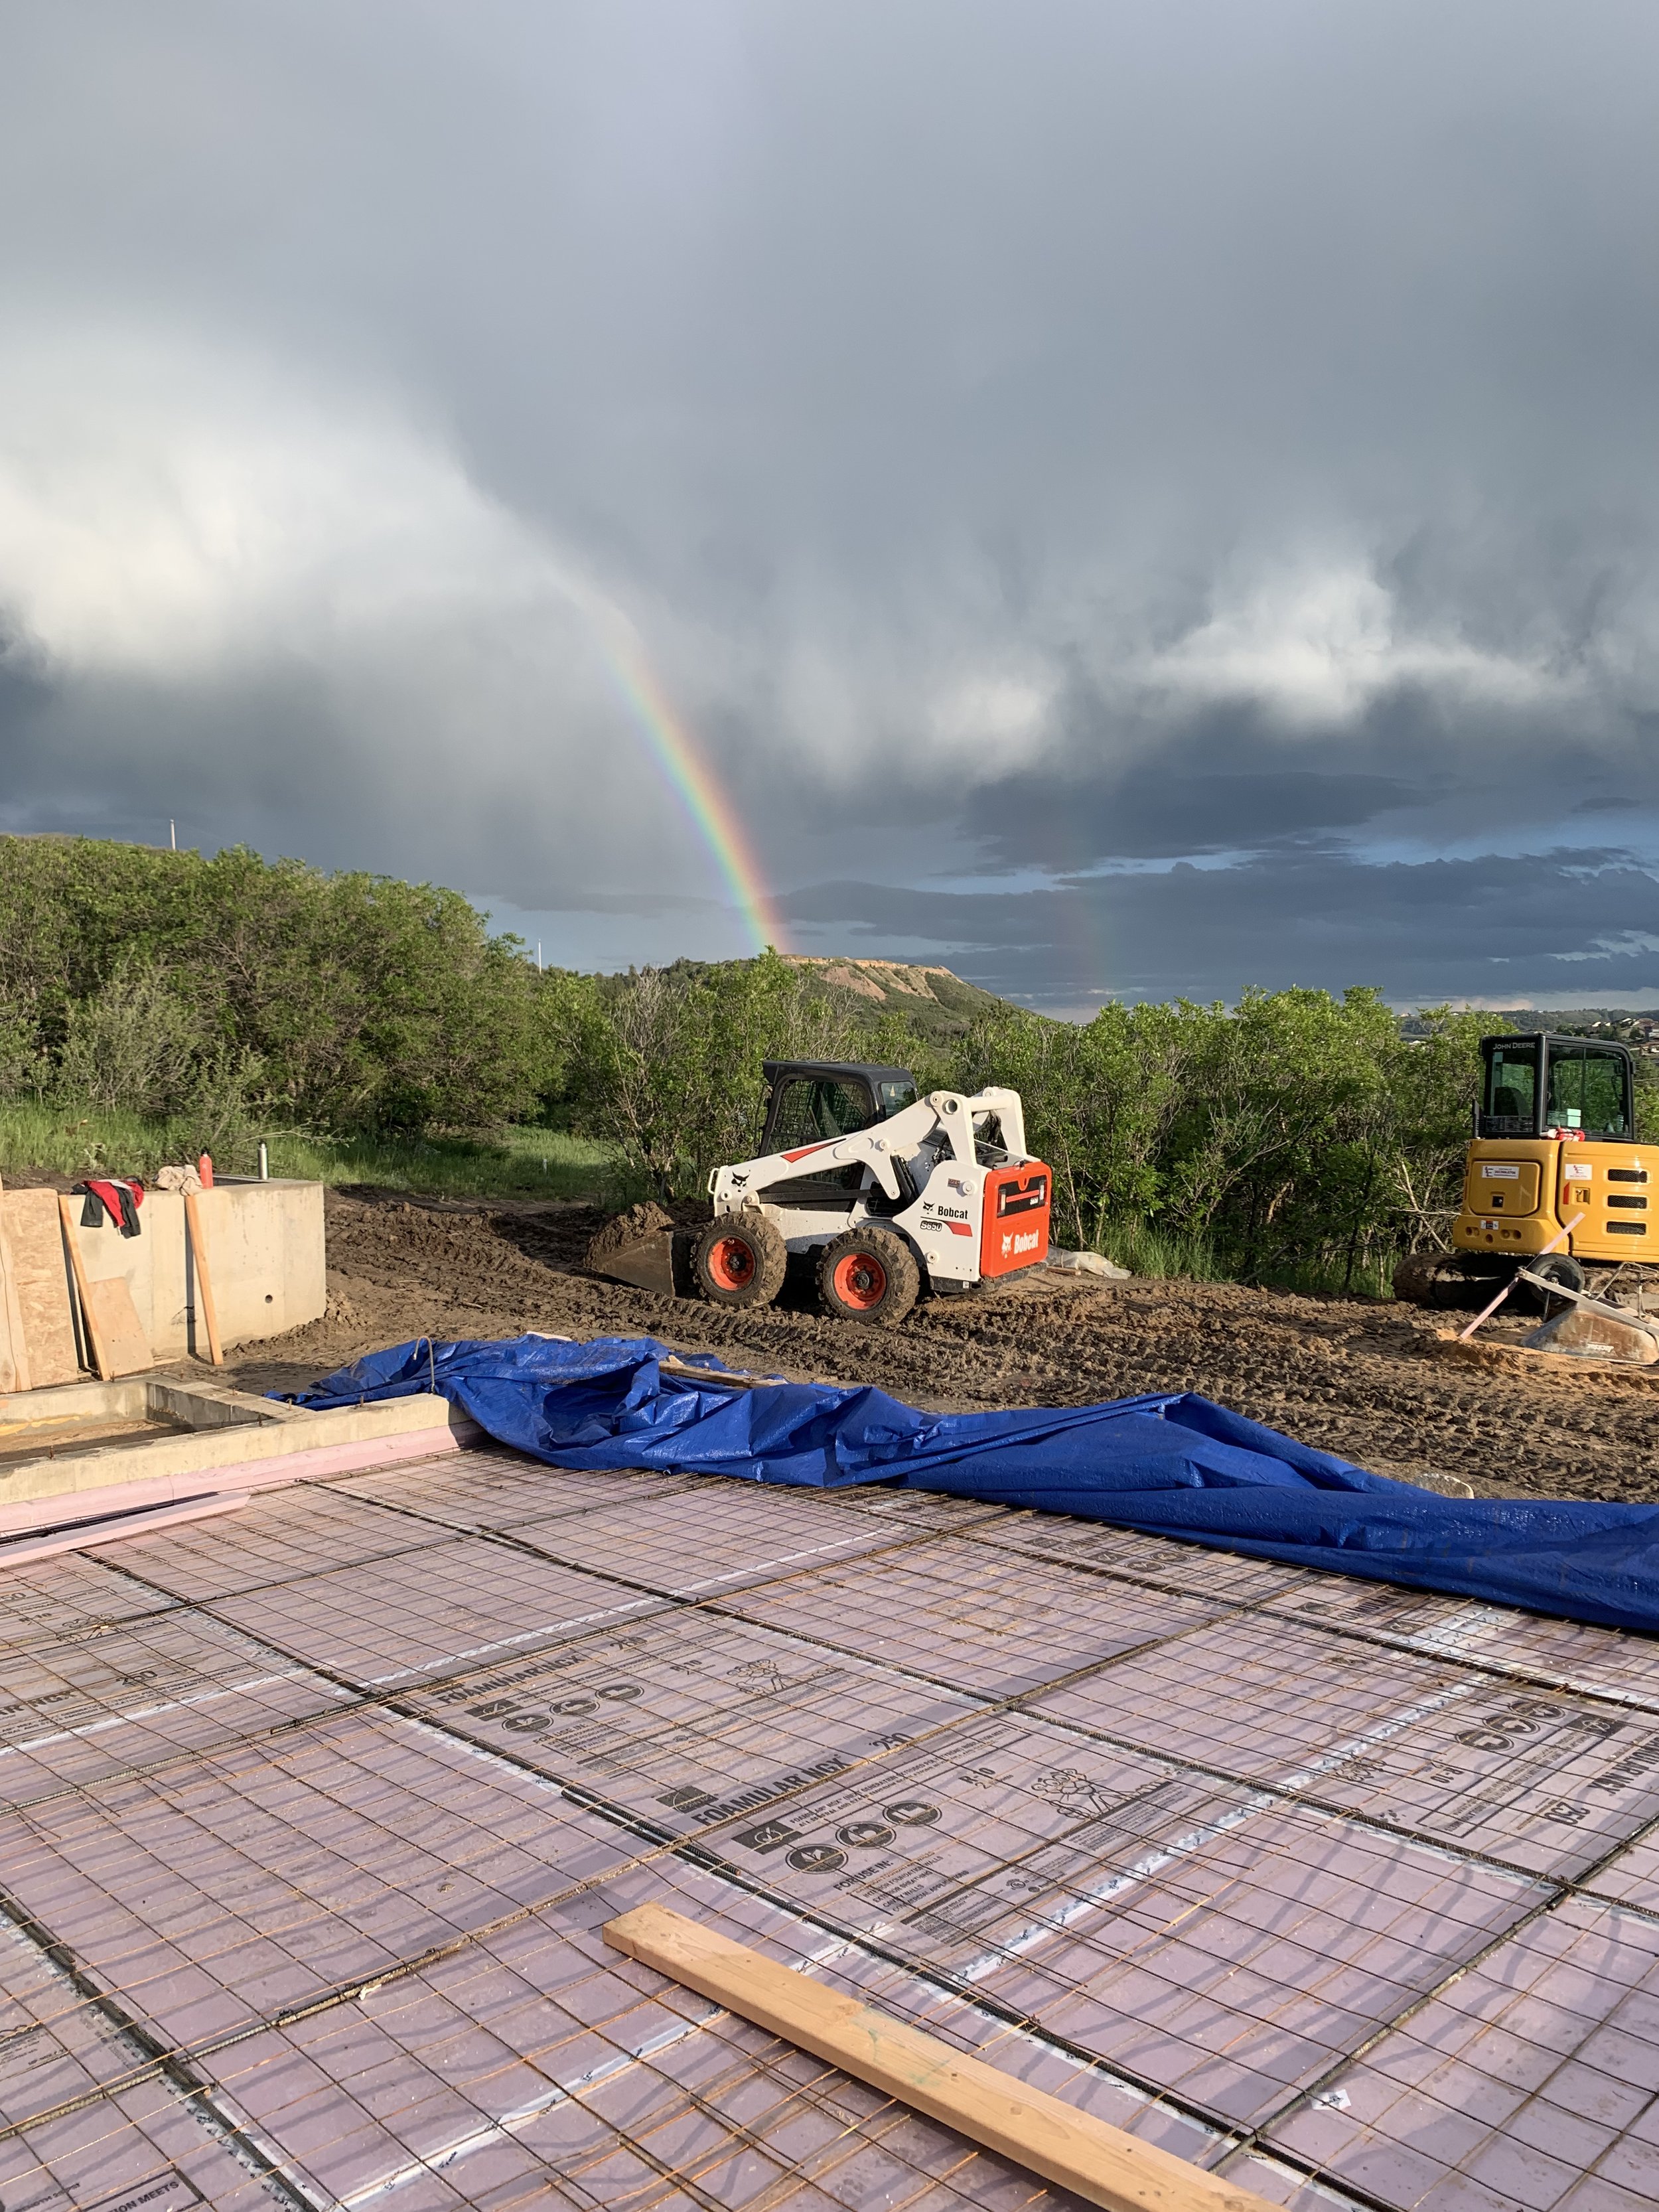
So now we know, there's actually a Bobcat at the end of the rainbow!

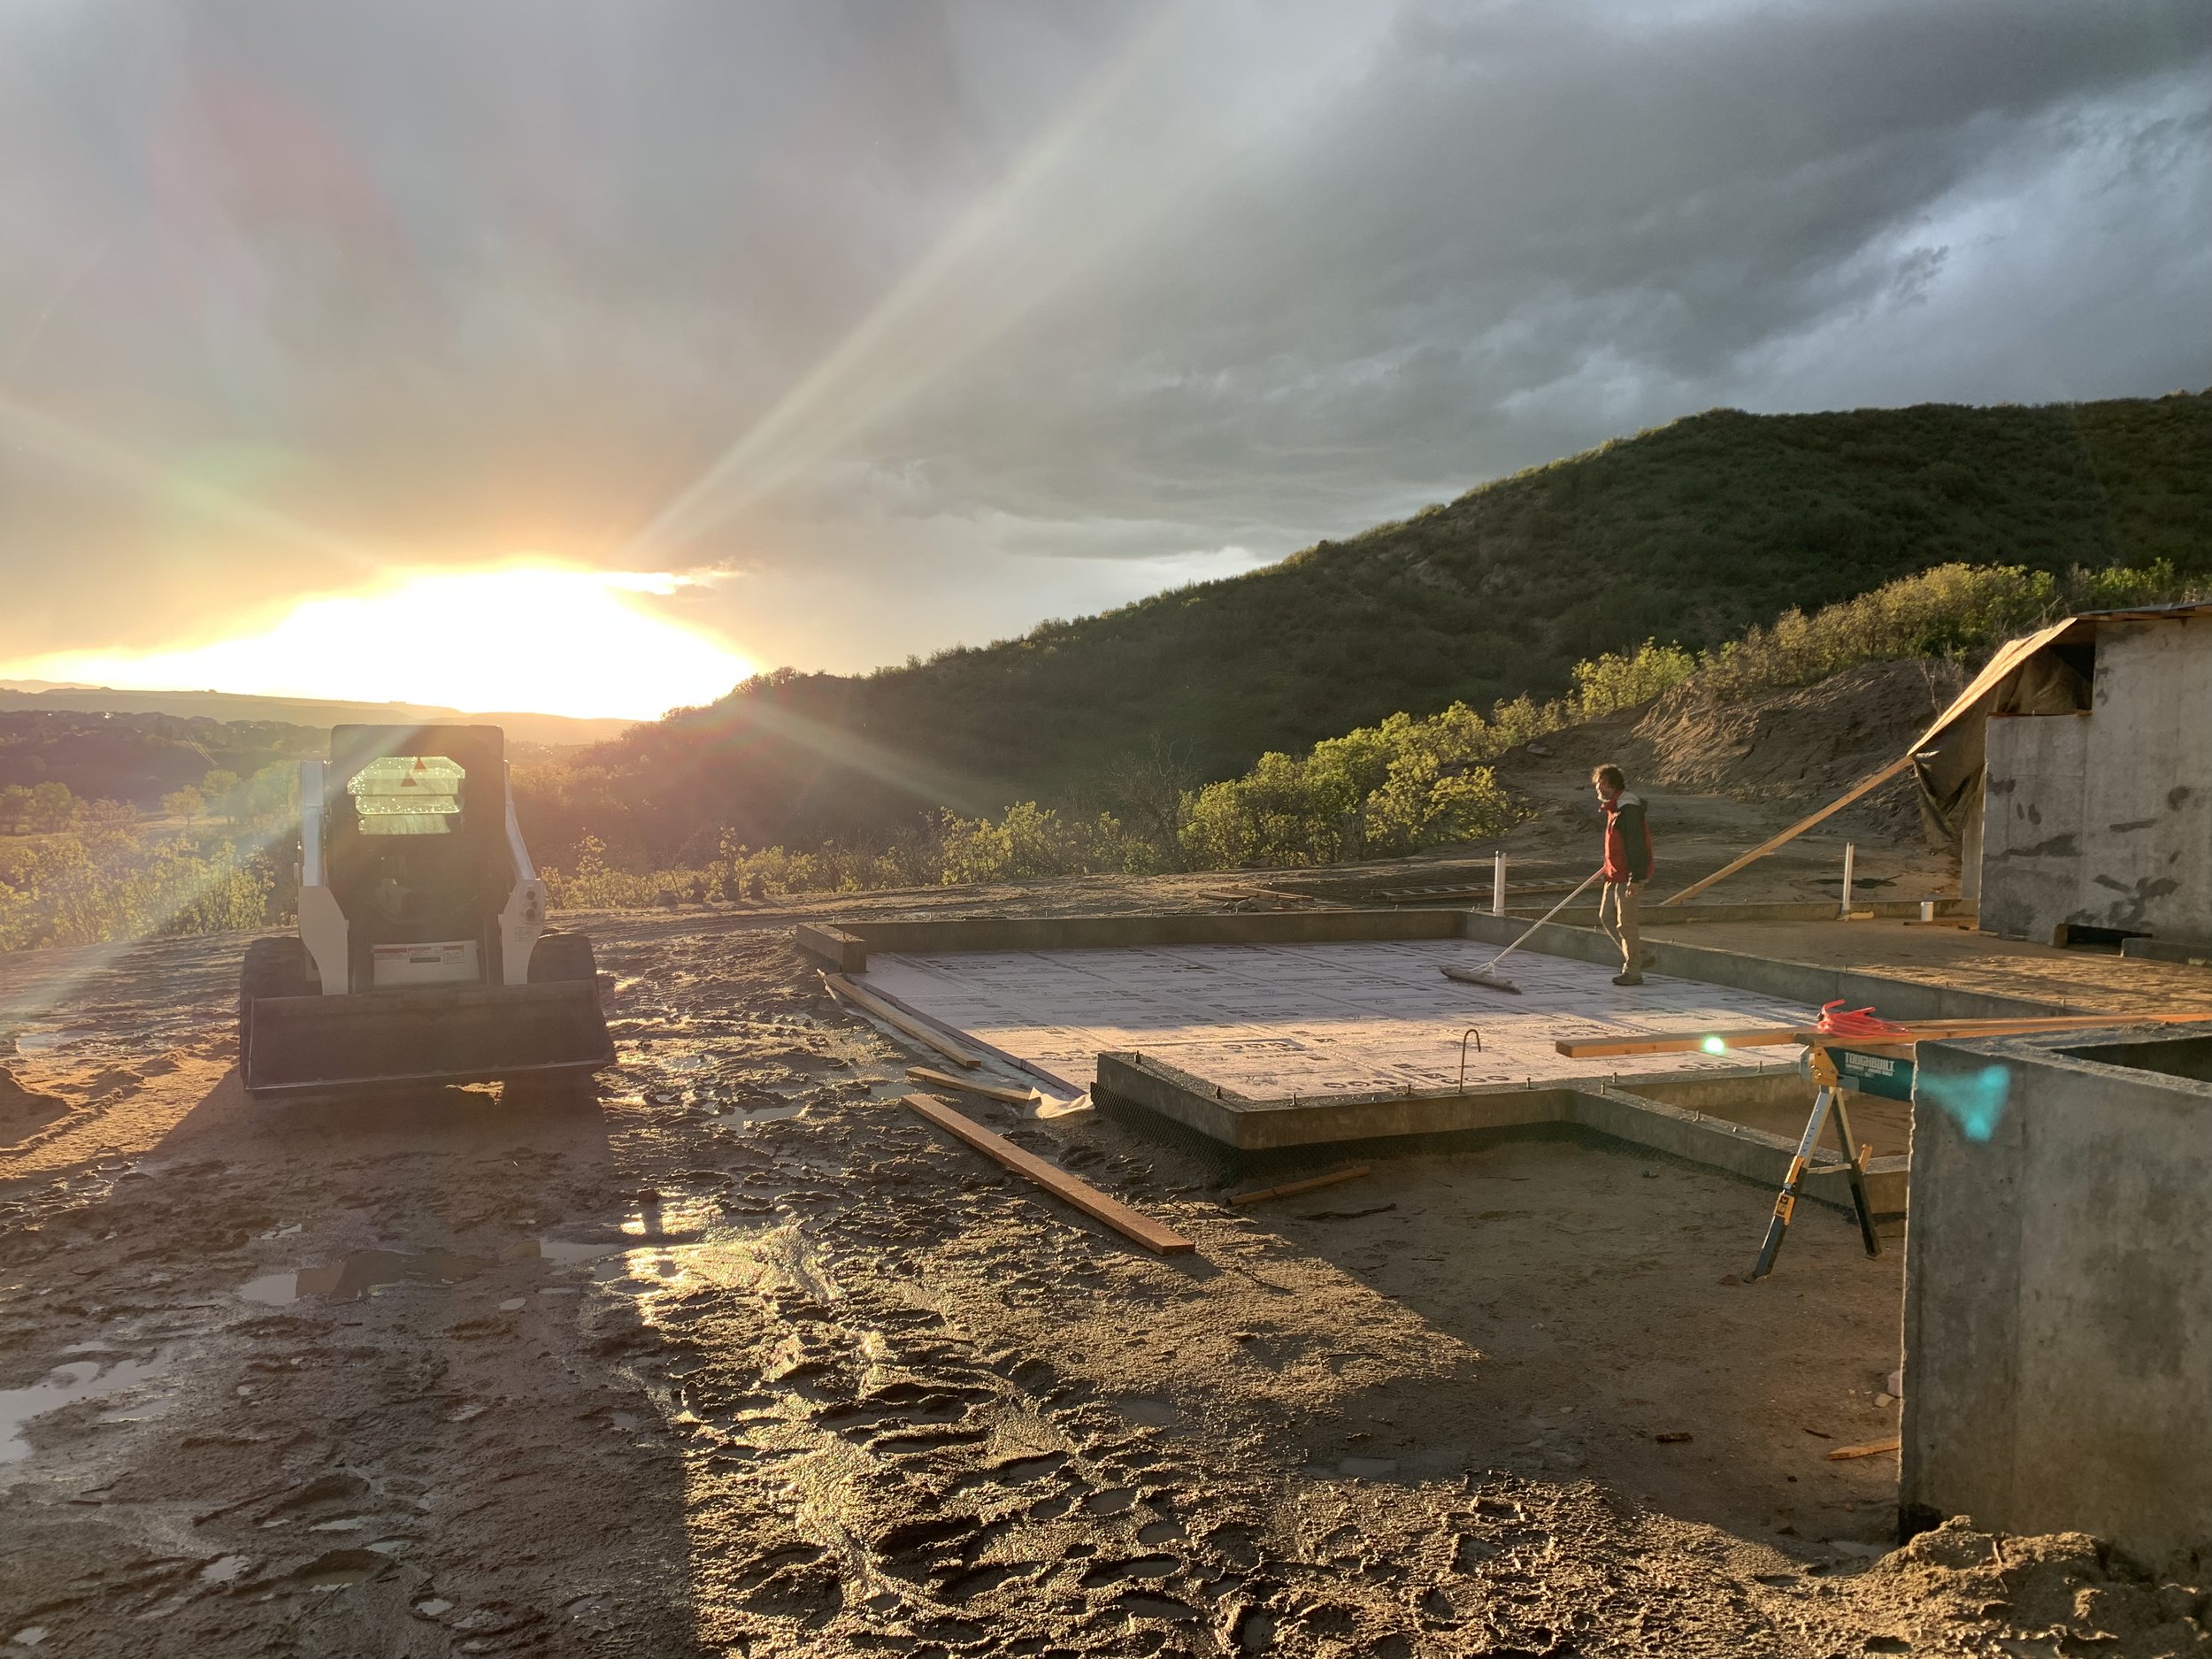
At least we have amazing sunsets to look at while we're bailing water.

In between storms we press on! Time for more backfill, which means the earth compactor has once again emerged! So fun! Not!

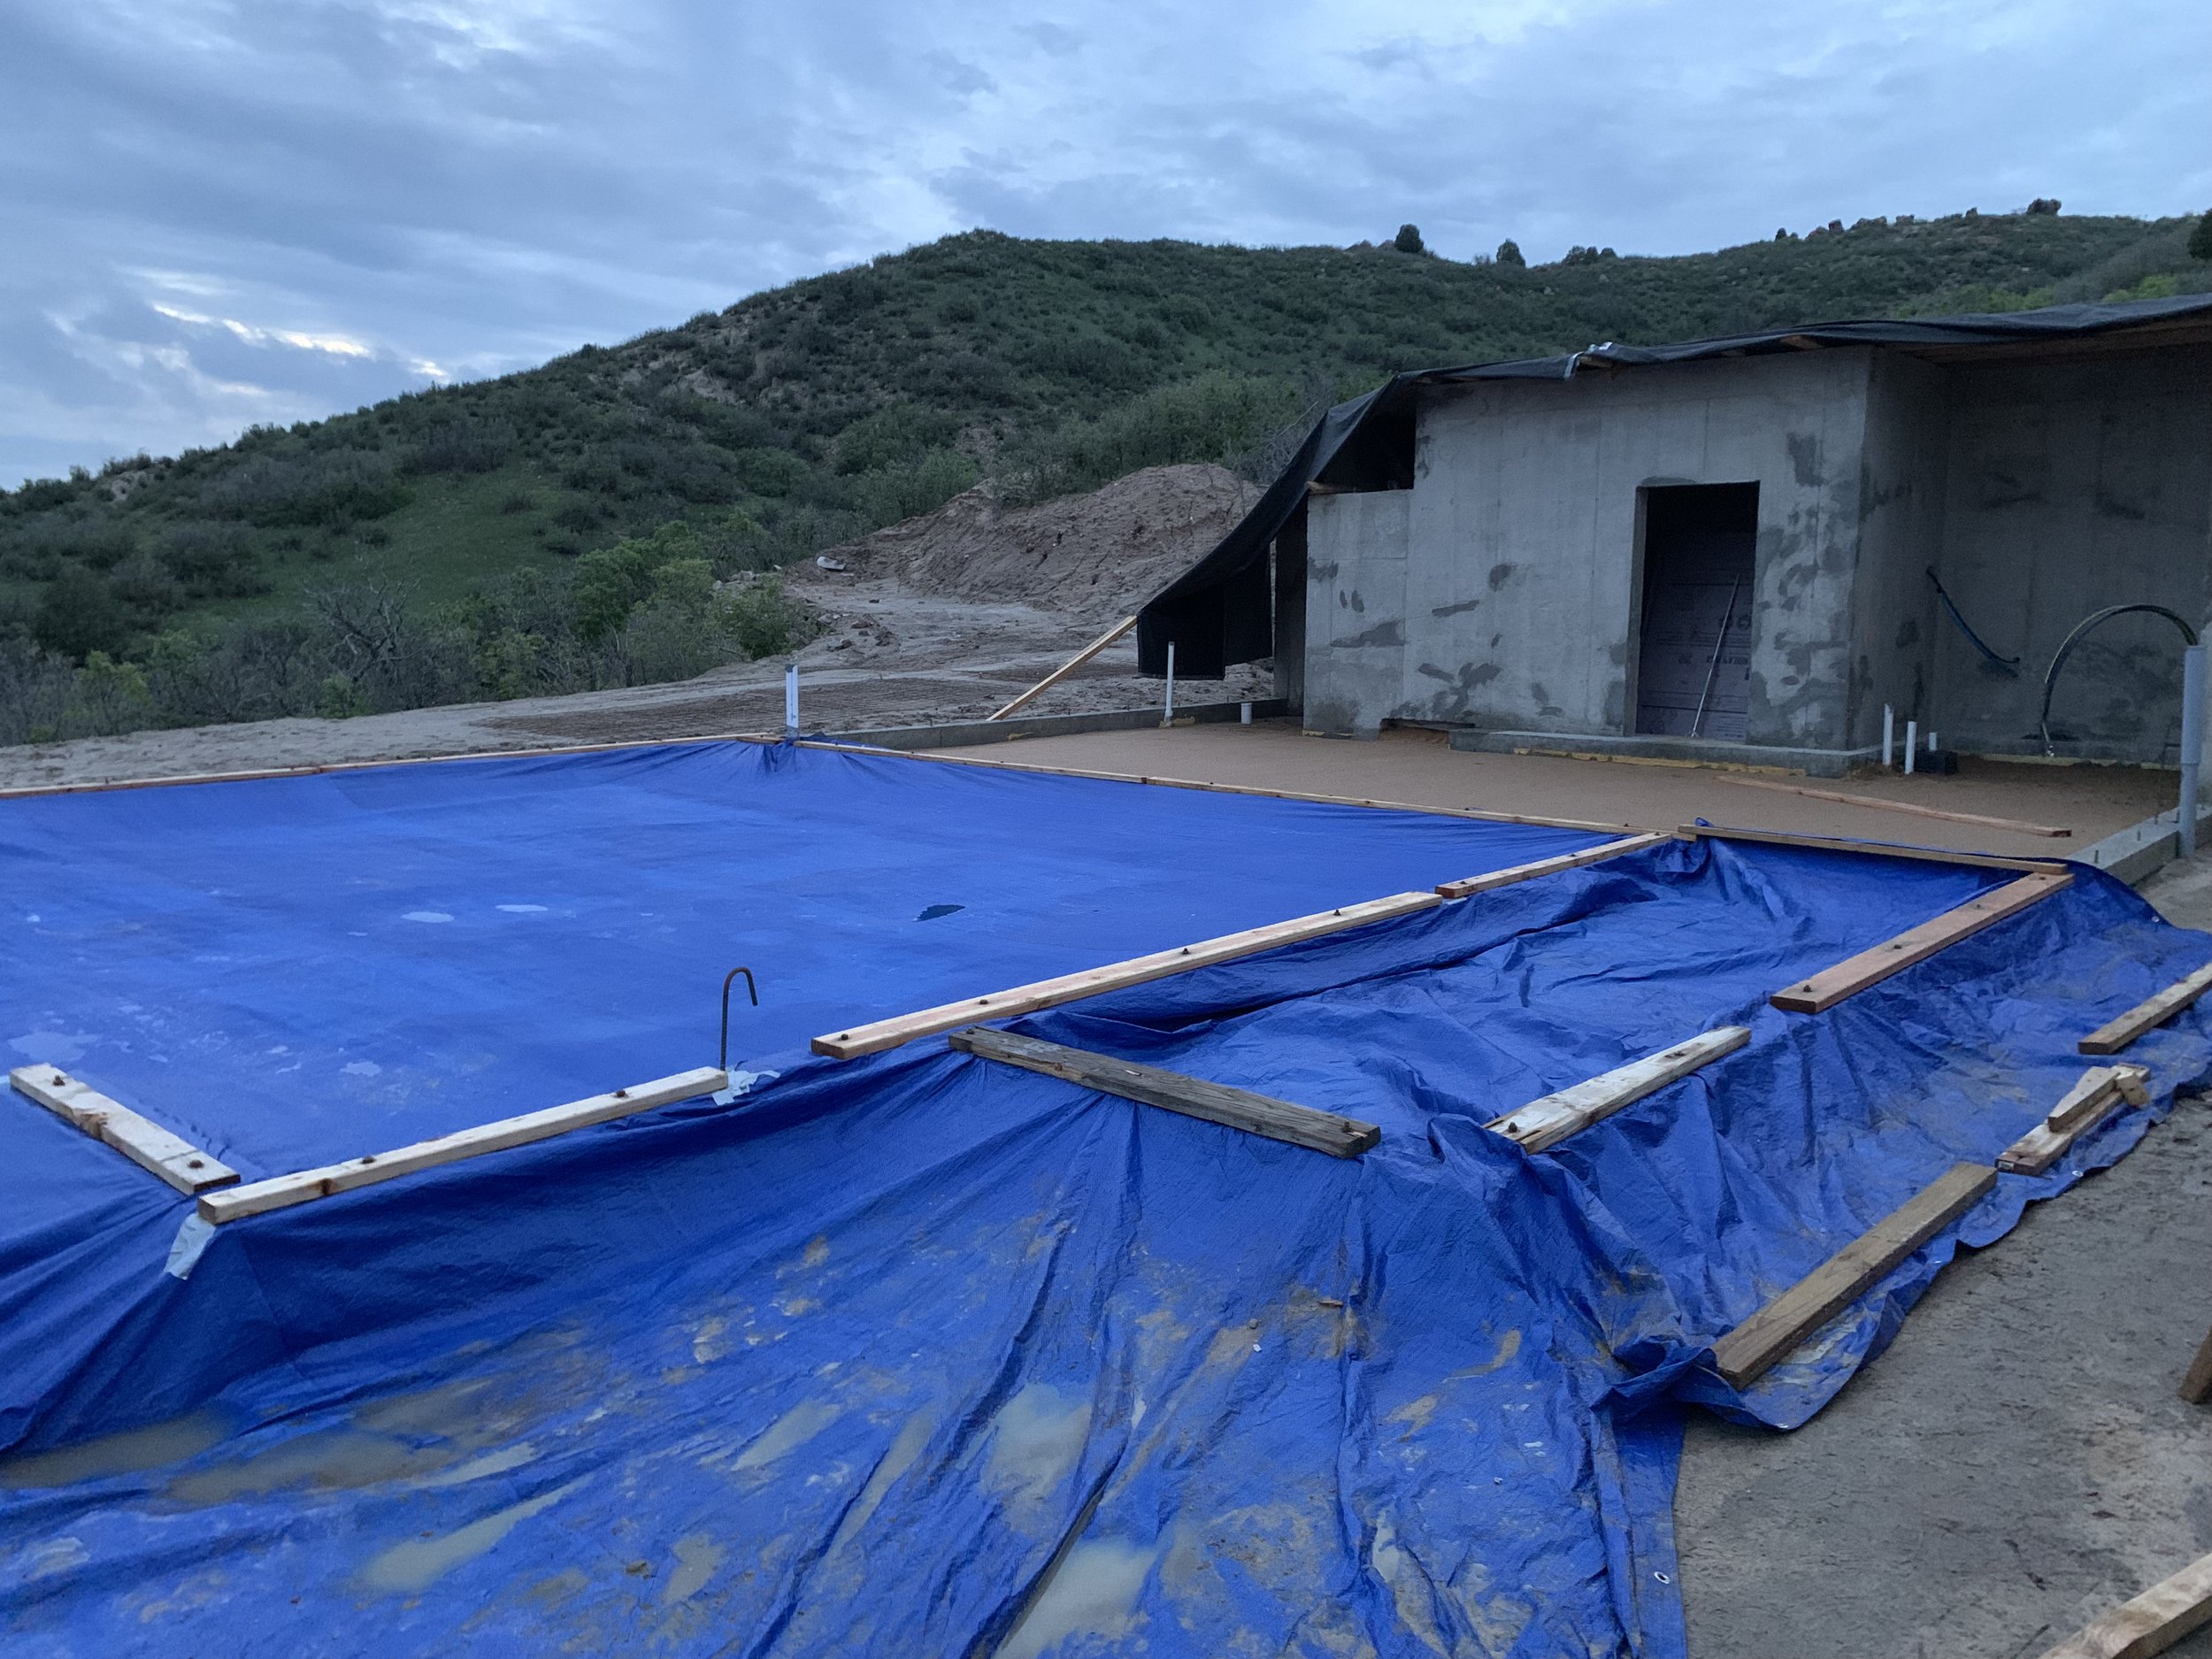
We hoped to make more progress on the radiant heat install, but now we got news that a massive multi-day storm was fast approaching. Time to cover things up...again!

This time we're not messing around. We created a ramp with plywood so the water will hopefully run down and off the site.

All ready for the storm to come, and as you can see in the background, it's arriving momentarily.

The aftermath...

So much mud and water behind the retaining wall!

Nothing worse than bailing water...except when you have to crawl out from behind the retaining wall every time your bucket is full!!

Our second drainage culvert will go here. For now it's obviously a free flowing river!

Anyone tired of flood photos yet? Yep, you guessed it, another round of rain came through. Ugh!

This was quite the super soaker. Our future guest bath will apparently always be filled with water.
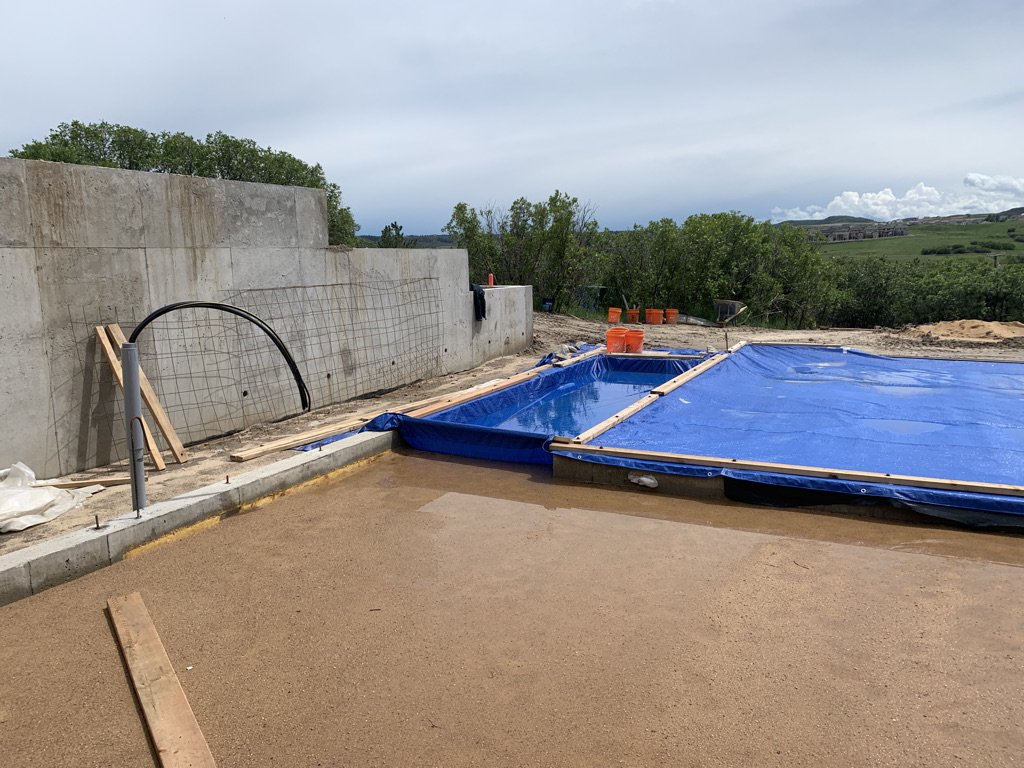
Our little side section of tarp (which we call the wading pool now) had 7" of water in it!
At long last, the rain moves out and the blue sky moves in!

Still tackling the damage from the last storm, Kris breaks a water dam that was occurring at the top of our future drainage route and it produces an actual river flowing down.

Good thing the views are pretty, because one look down at the ground and it's not so enjoyable.
Step 5: Radiant Heat and Concrete

A new workday starts and it doesn't involve bailing water!

Time to start installing the radiant heat. Kris preps the concrete for the manifold where we hook the water tubes in.
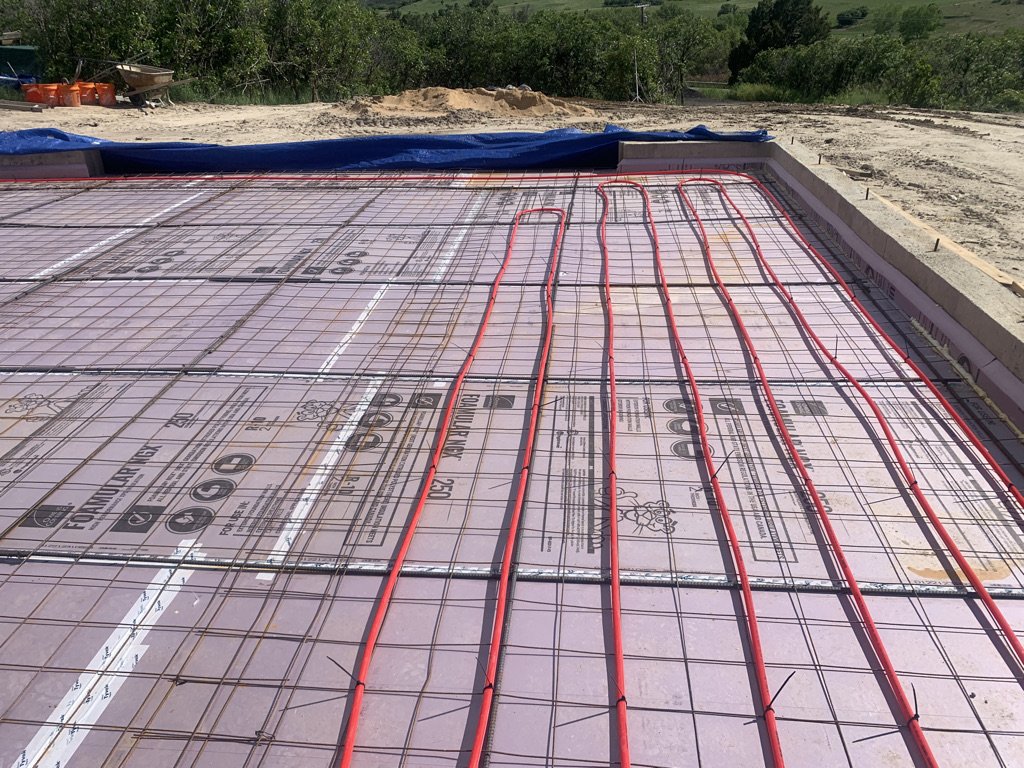
...and we start installing the tubing!

Long day, but it's sure great to make forward progress.

Everything's hooked up to the manifold and ready for pressure testing and inspection!

Passed inspection bright and early! Now we at long last get to move on to concrete! Yay!

The concrete truck arrives!

The crew jumps right in.

What a messy job! I hope our radiant heat tubing is secured down because they're walking all over it!

Time to start smoothing out the concrete.

Oh yes, now it's starting to look nice!

Almost done pouring.

Now that the concrete is poured and level, they start to smooth it out.

Now cutting in the seams.

Last bit of polishing.

...and just like that we have a garage floor! Isn't it a thing of beauty?

Later that day it dumped rain, but mother nature was too late! Haha!

Now we start on section 2! It's a hot one today so Rachel pulls out the sun hat.
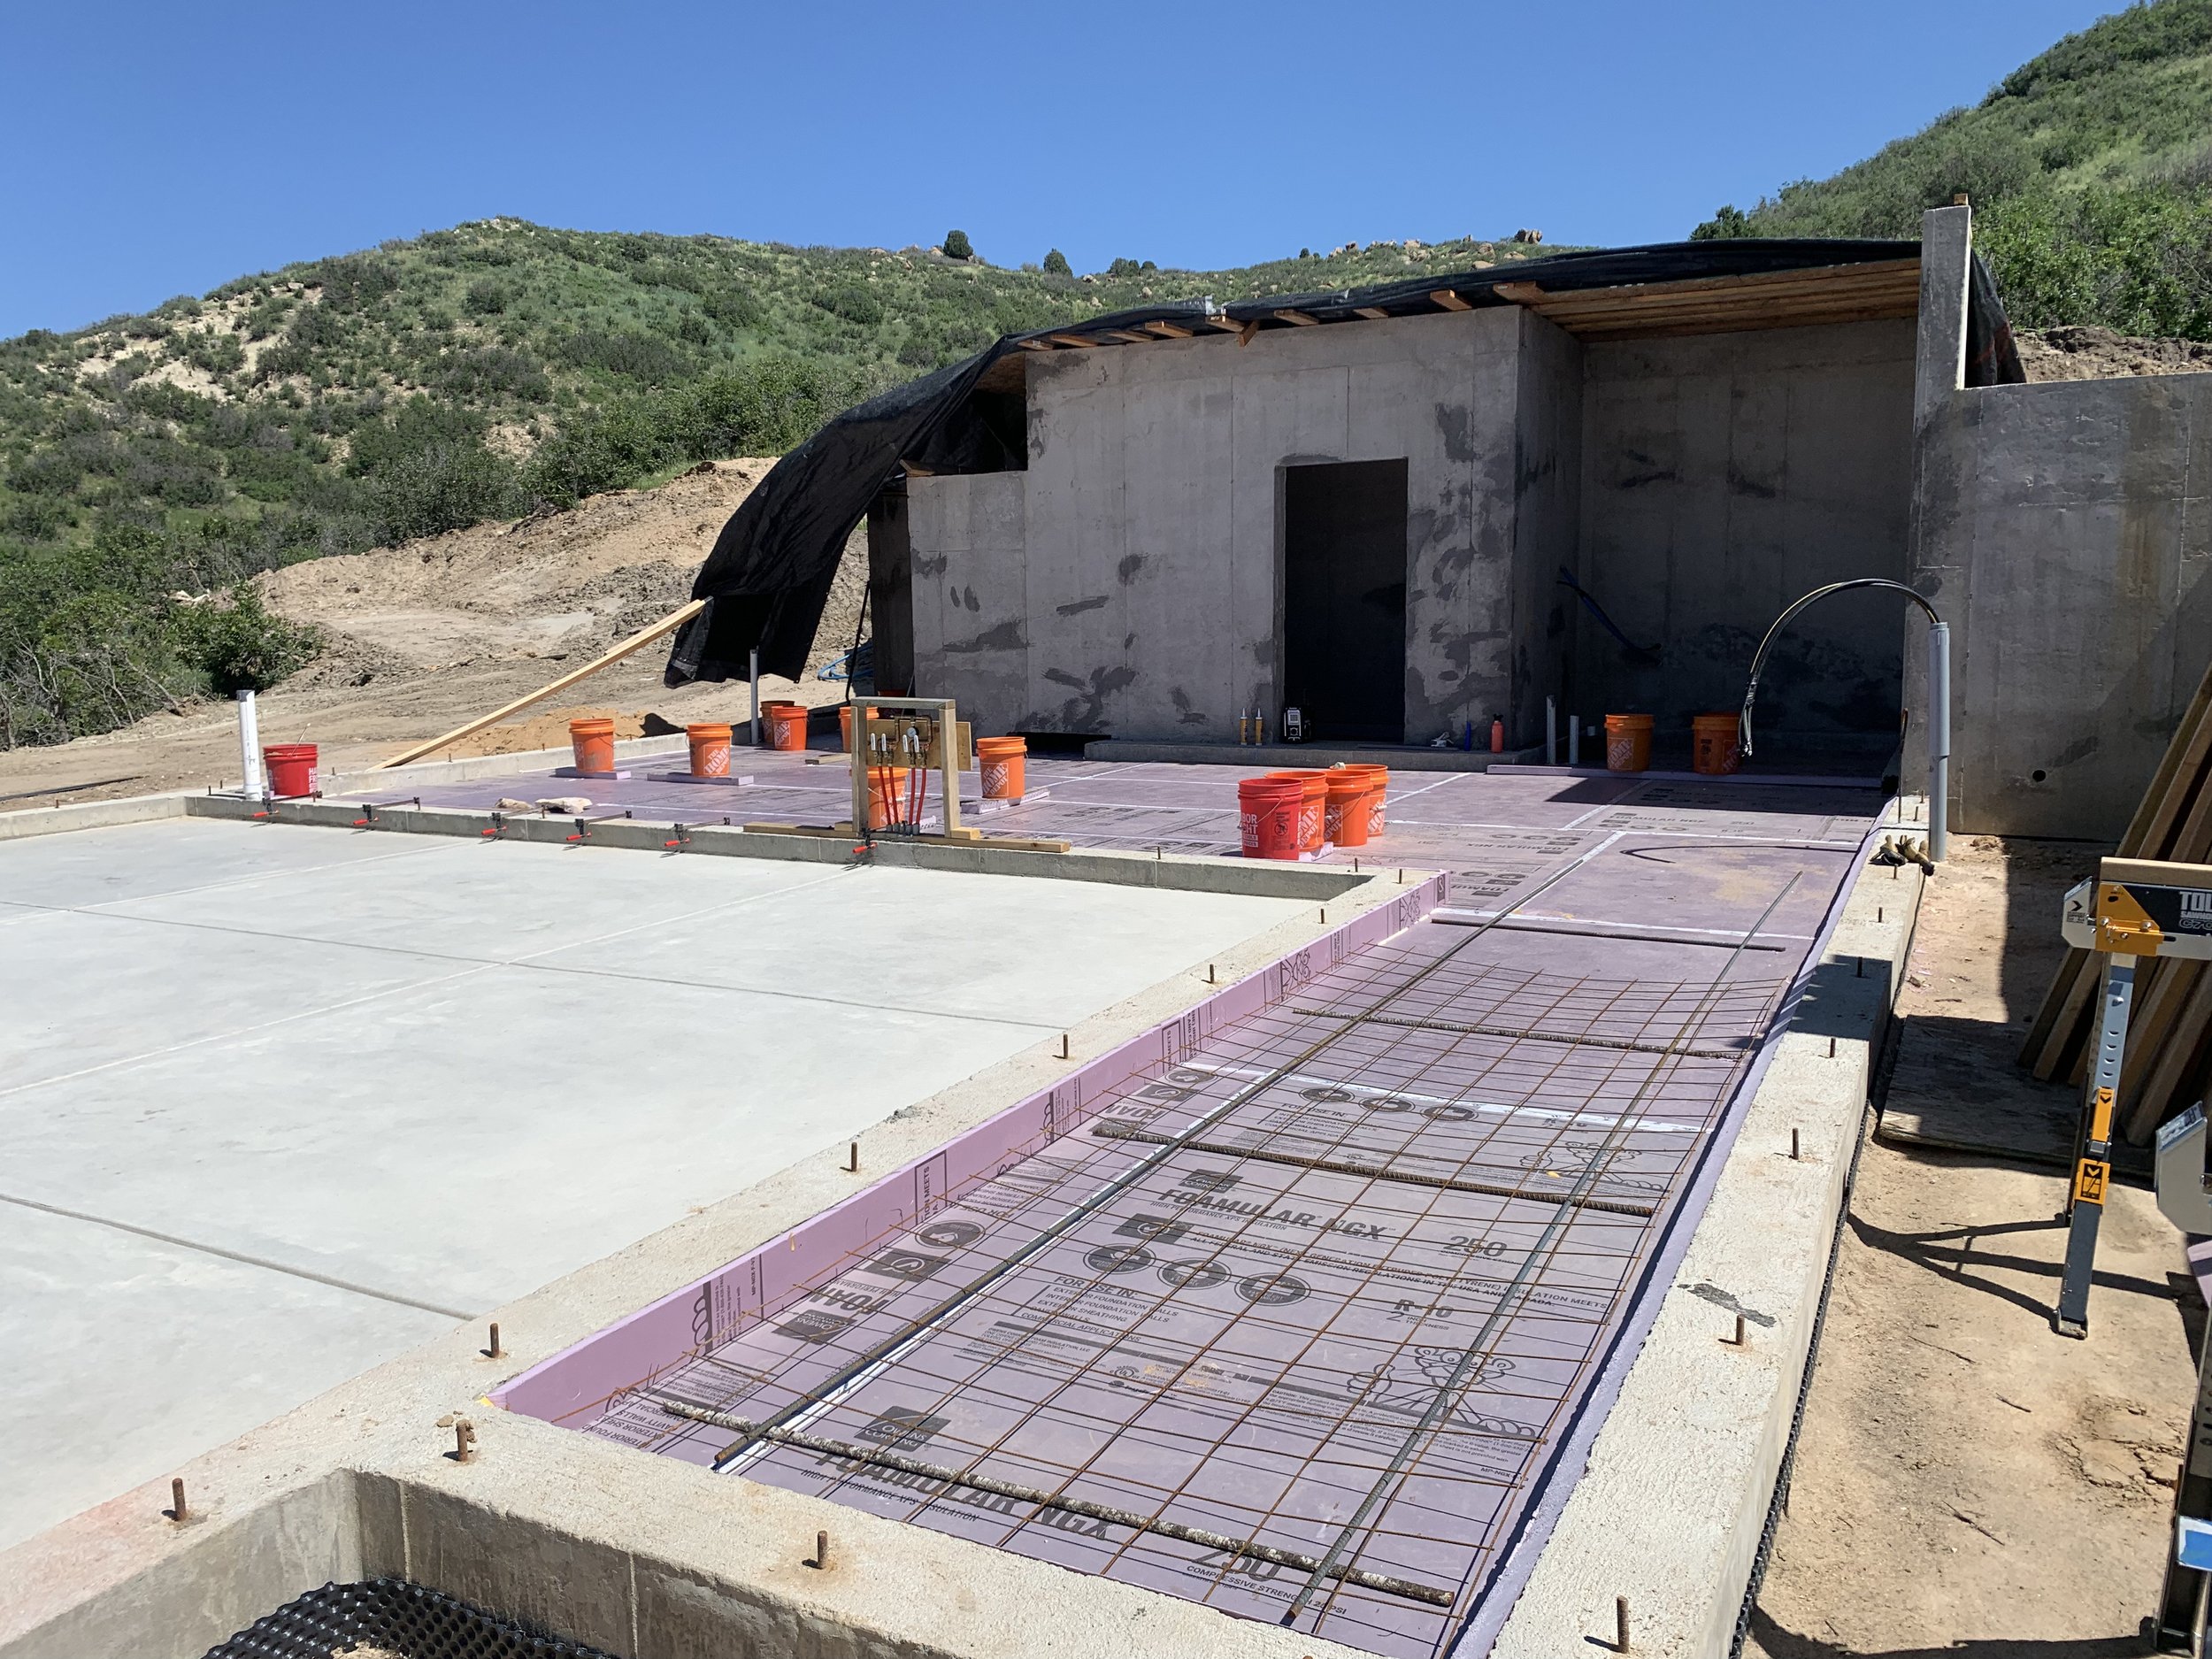
The insulation board didn't quite go back together the way it went in the first time. Too many rain storms pummeled it. We used rebar and buckets of sand to hold it down hoping that it would help the warping issue.
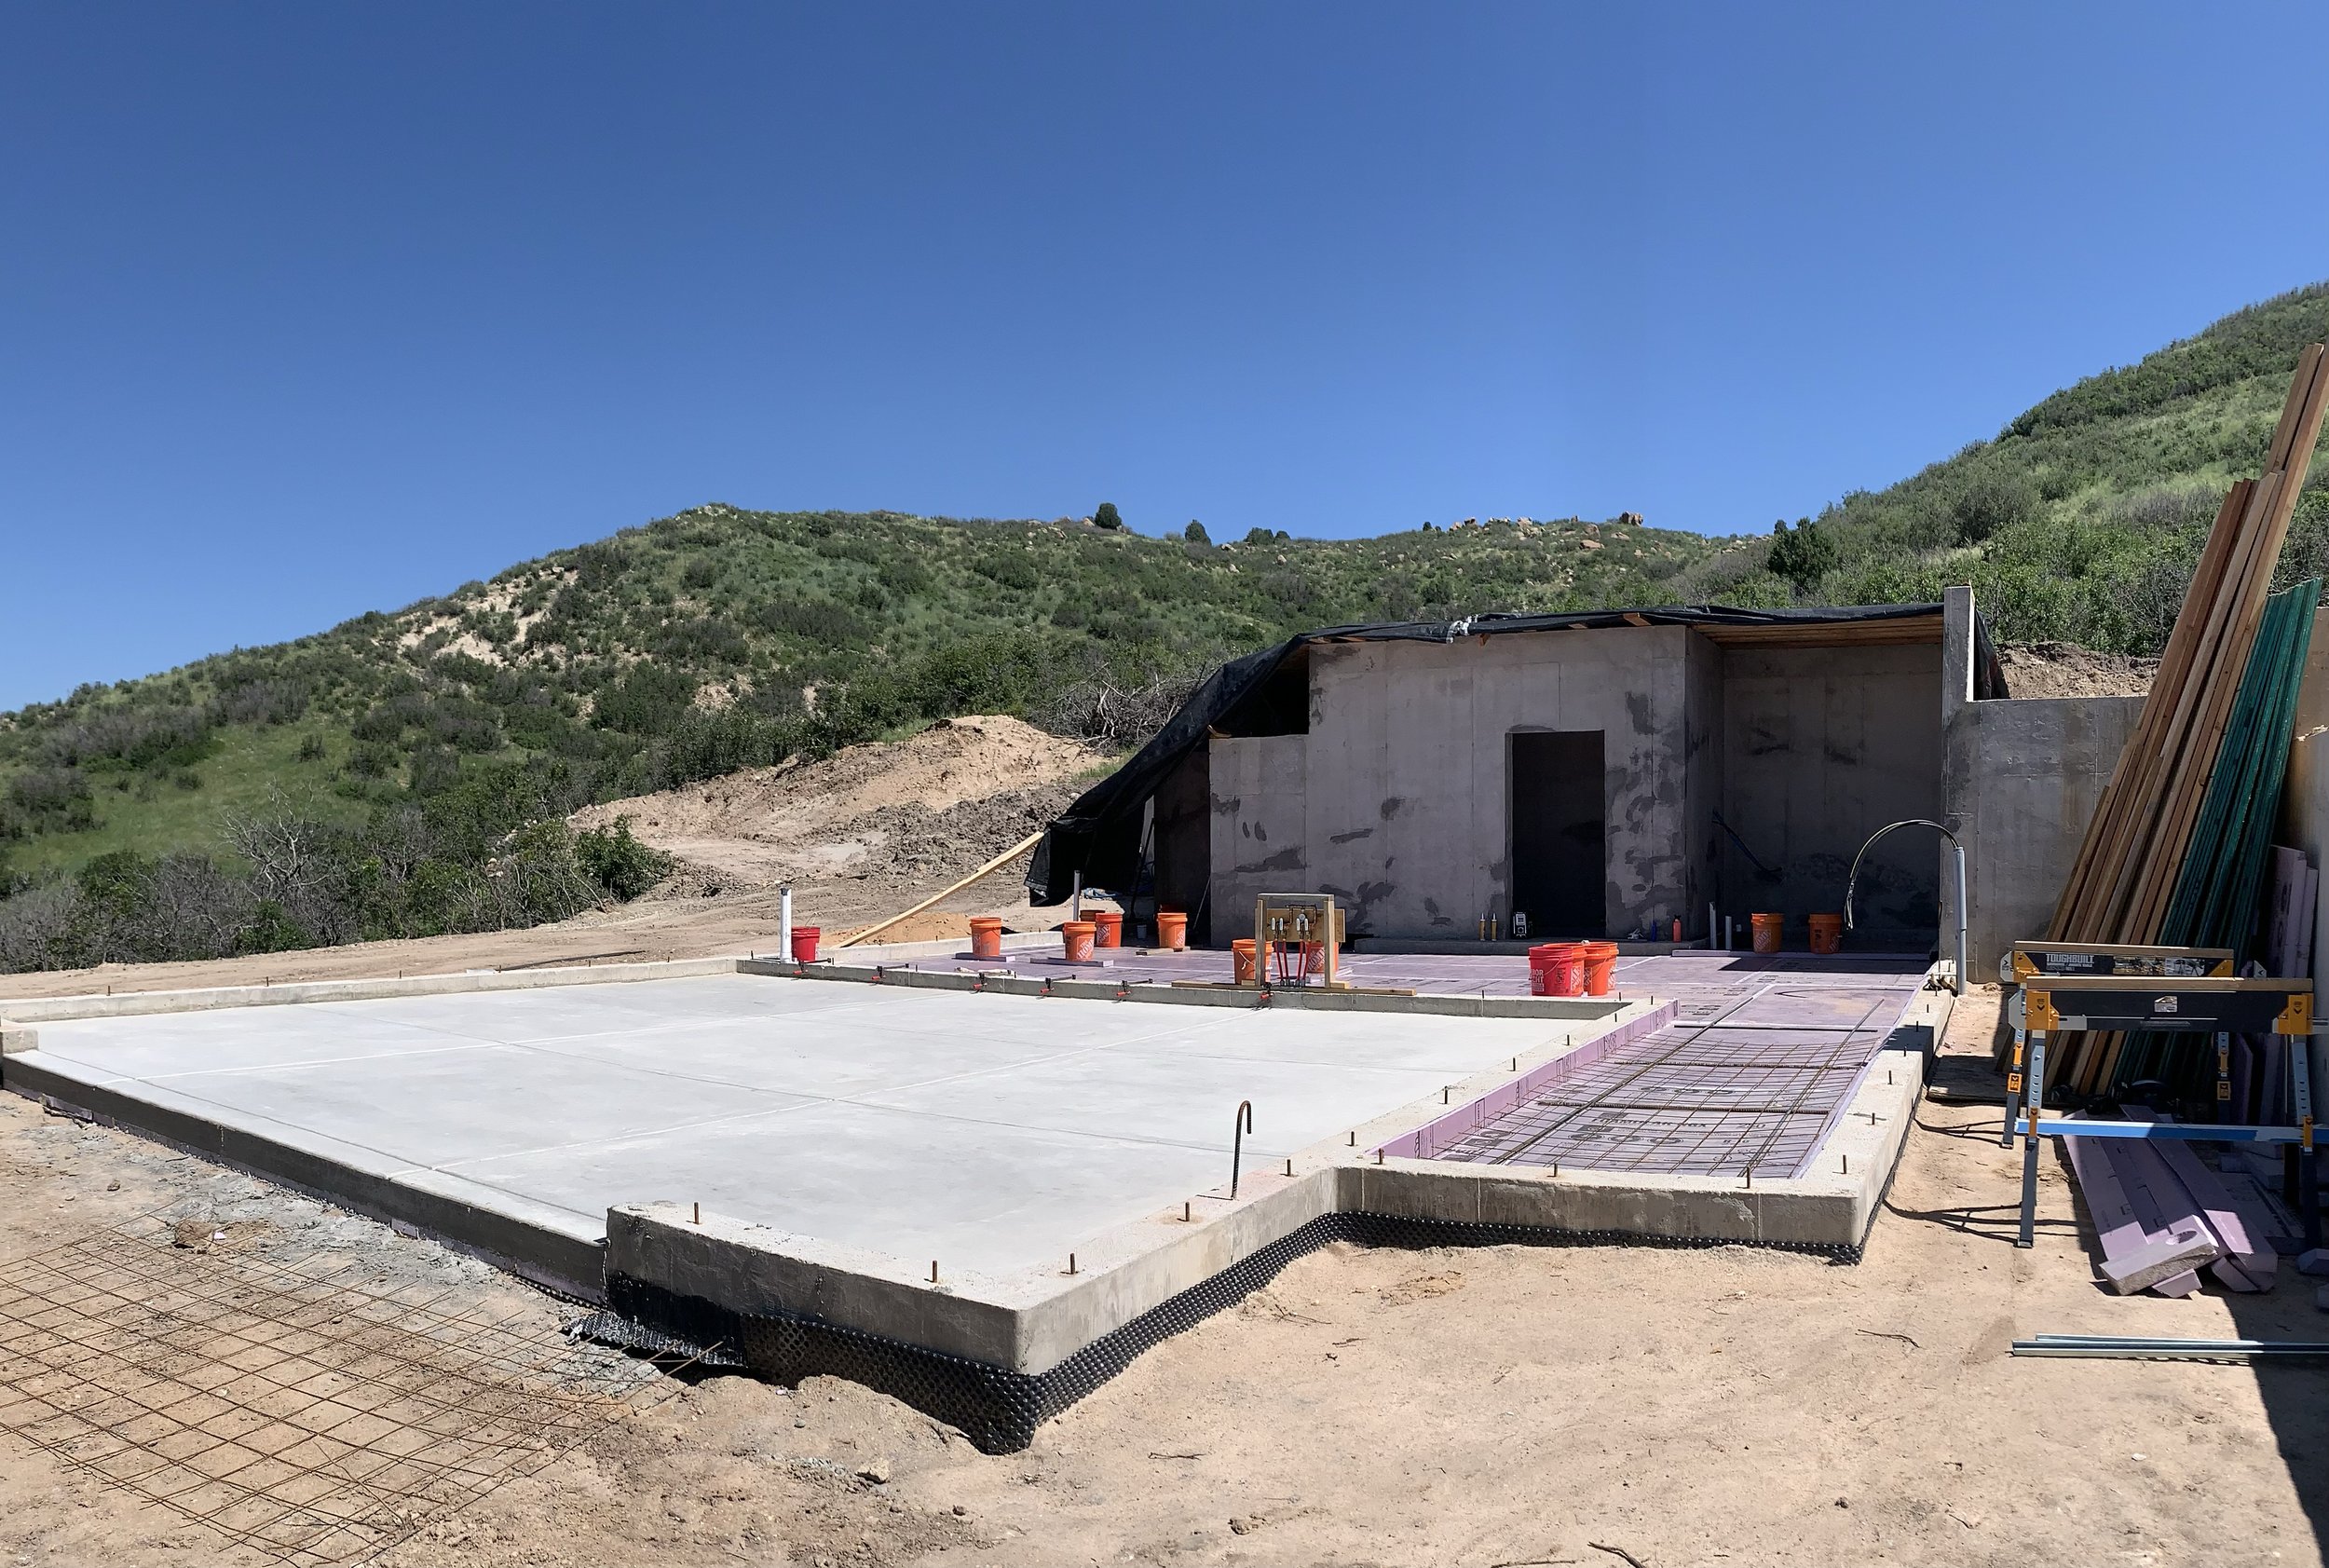
Pretty soon this will all look like the garage floor.
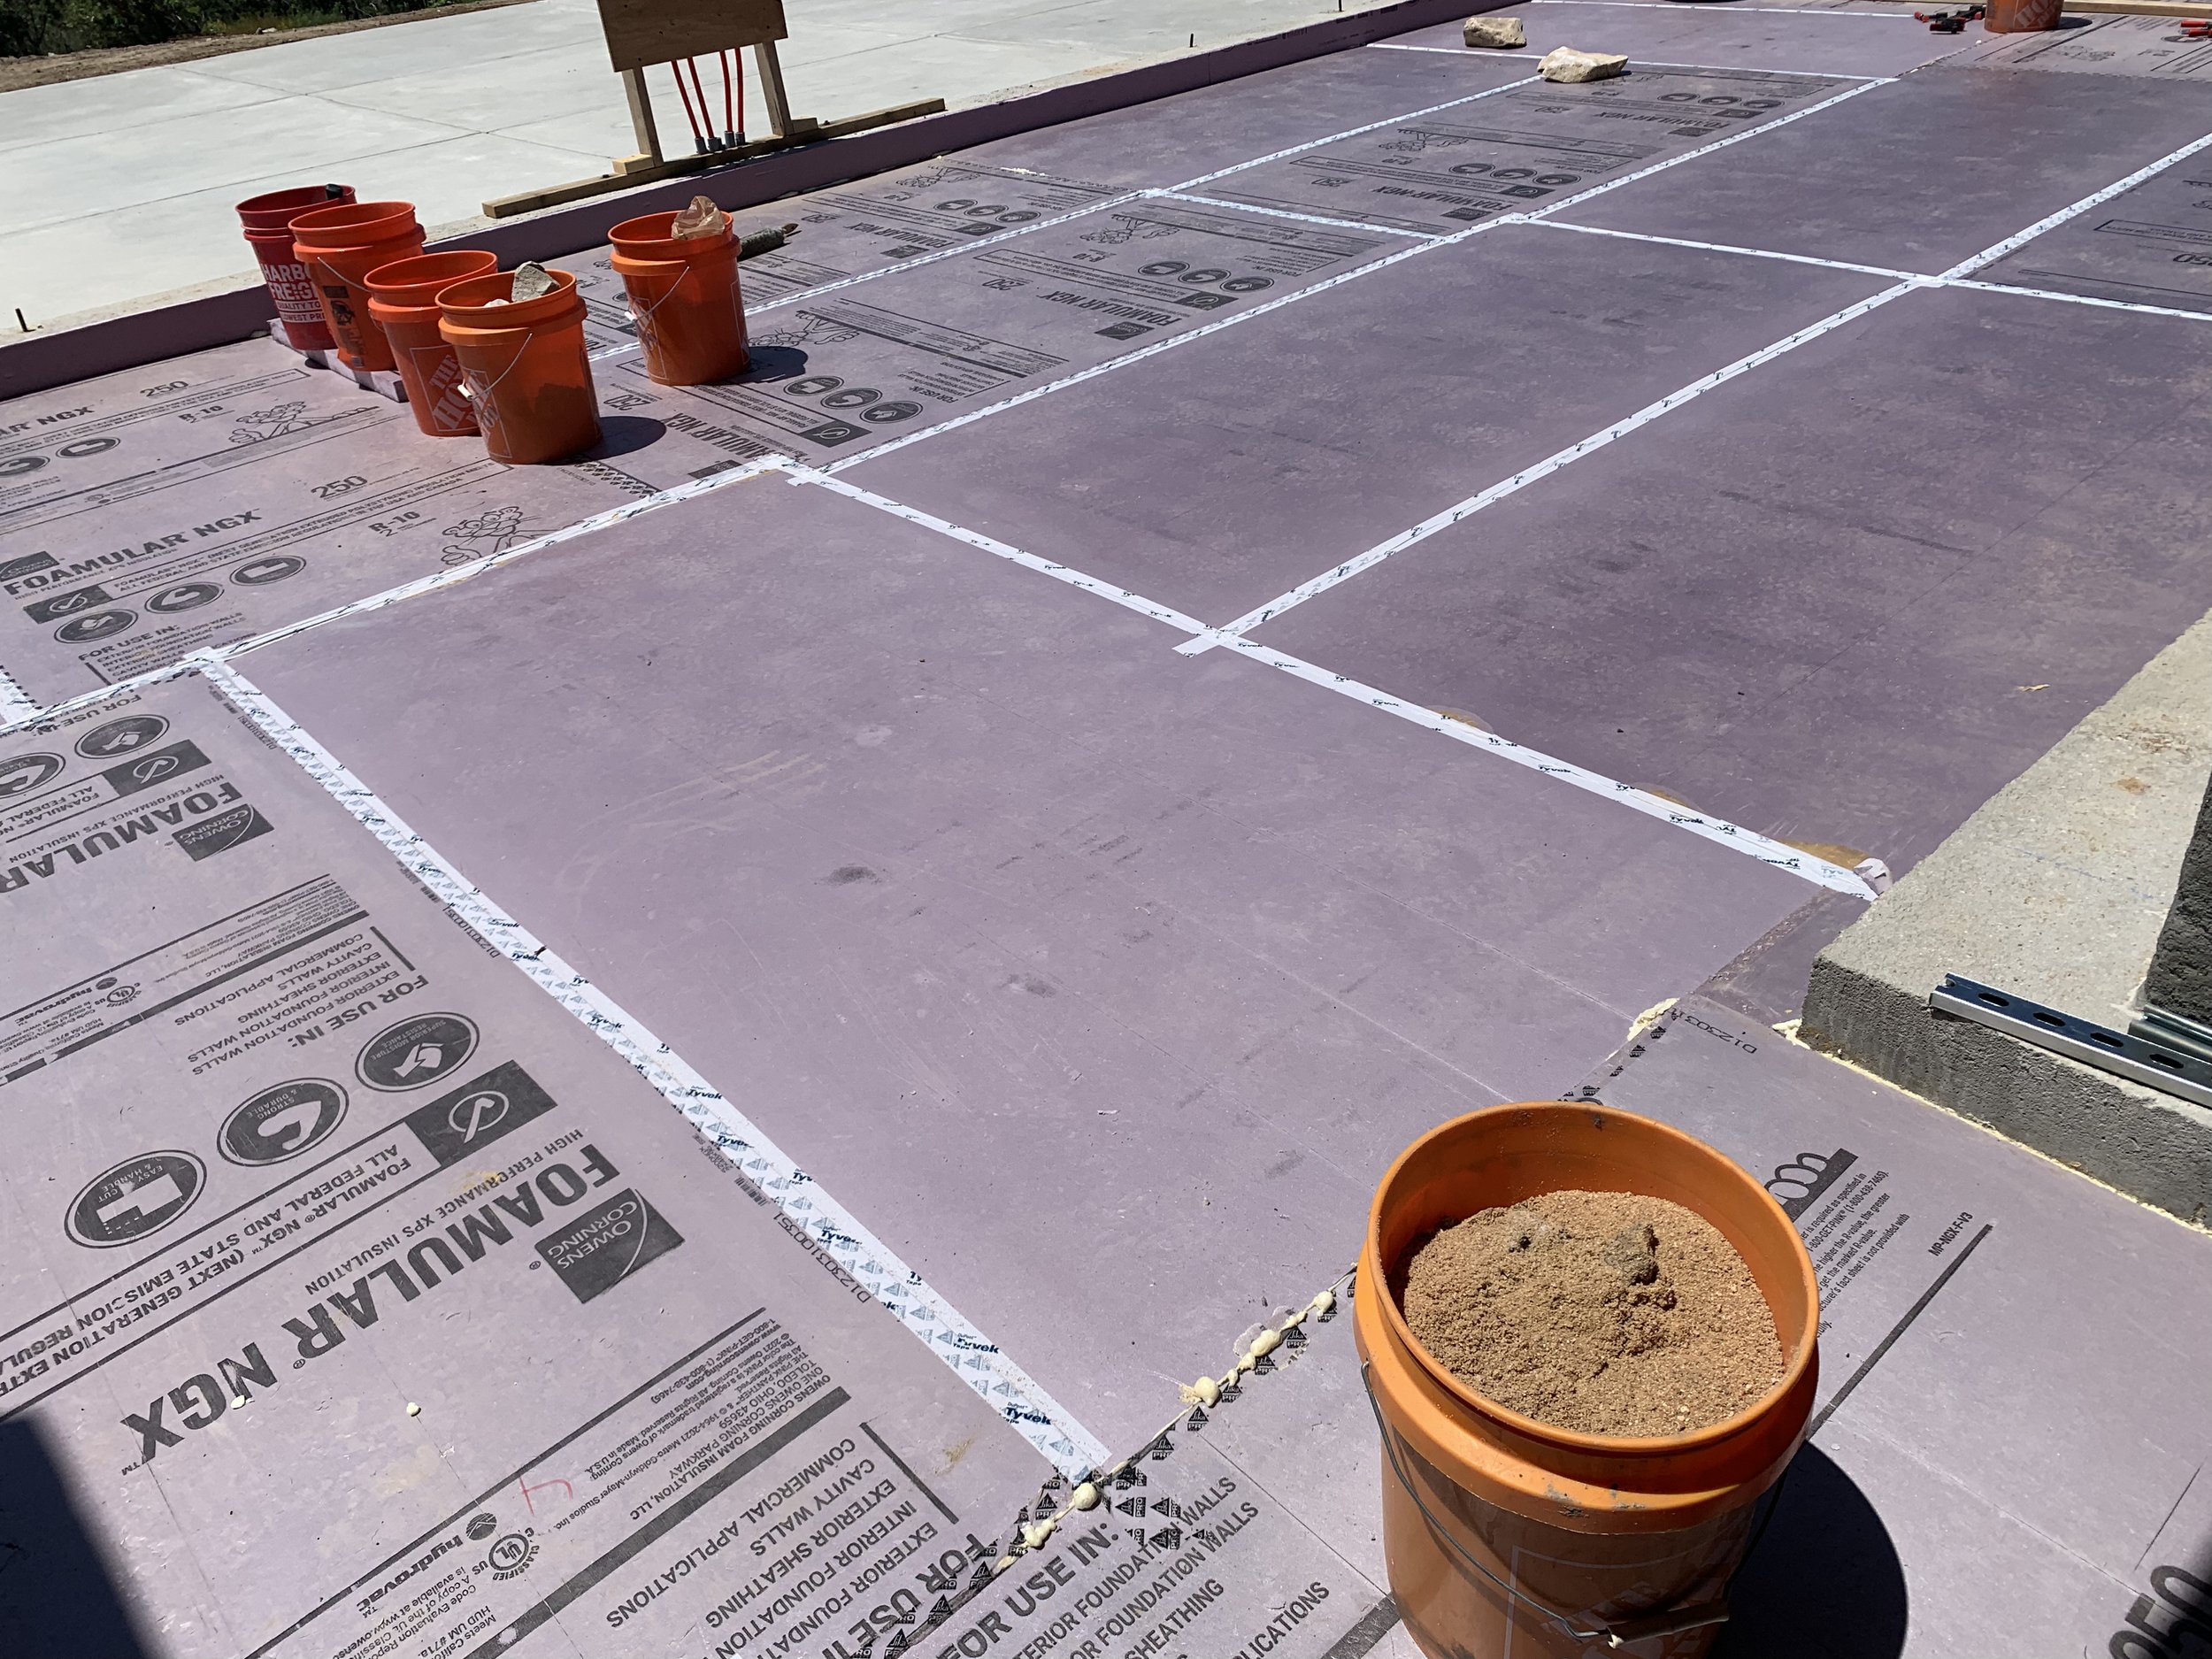
Now we tape down the seams. It was so hot on that insulation that Rachel had to use gloves to press it down because it was burning her hands!
Now we add the rebar.
The metal grid goes on next.

We use our handy dandy metal tie tool to fasten it all together so we can start putting down the radiant heat tubing.

Night came too quickly, so we returned at 6am to put the tubing in prior to inspection!

After we passed inspection, we called the concrete crew and they said they wanted to come right away instead of the next day as planned! We scrambled for sure, but made it in the nick of time!

We only had time to snap this one picture of the completed radiant heat setup before the concrete hoses came out!

The crew wastes no time.

Looking good!

Already onto the final section.

You should know this process from our previous pour. Time to smooth everything out and make it look pretty!

Cutting the seams.

Another stellar job!

Even though it was in the 90's we stayed til the end to celebrate our final pour!

No tarps coming out tonight!
The next day we start to clean up and organize the site.

Kris has been trying to salvage all the wood and lumber we can, but I think this piece has seen better days! Let's go ahead and throw that one out!

So neat and tidy! What a great feeling!

We watched the gorgeous sunset that night with great anticipation for the next step! Finally!
Step 6: Install the “Necessary” Stuff

Time to install the septic system! We had no idea what a huge excavation job this was going to be.

The father-son team made quick work of the excavation!

This gigantic hole is for the septic tank.

The supplies are unloaded and ready for install!

This is our leach field where all the liquid from the system ends up.

We have 4 long runs for our system to drain into.

Perfectly even rows.

Now the piping goes in and works it's way up towards the house.

Continuing the long trek up to the house!

The giant septic tank arrives!

A perfect fit! I think they've done this before.

The pipes are all installed so now you can see the route on the way down from the house. Starting by going under the driveway.

...then alongside the driveway

...this is a clean our access should things get plugged up! :)

...making our way down to the septic tank...

...from the septic tank we go down to the leach field...

...be sure to take note as you pass the tank, that you do NOT want to go inside! Ha! It's sad that this has to be printed on the lid.

...ok we once again make our way down to the leach field...

...this "hub" is where the water flow is regulated for each of the 4 runs.

...a closer look at what the each run looks like.

Backfill begins after we pass inspection!

The leach field is all backfilled!

Taking a step back so you can see how large it actually is!

Bet you've never seen such a great view from a septic tank! Haha!

A view from the driveway so you can see how far the tank is from the house...and how large the entire system actually is! They did a fantastic job and we learned a lot along the way...which is good because now we have to do regular maintenance! Eek!
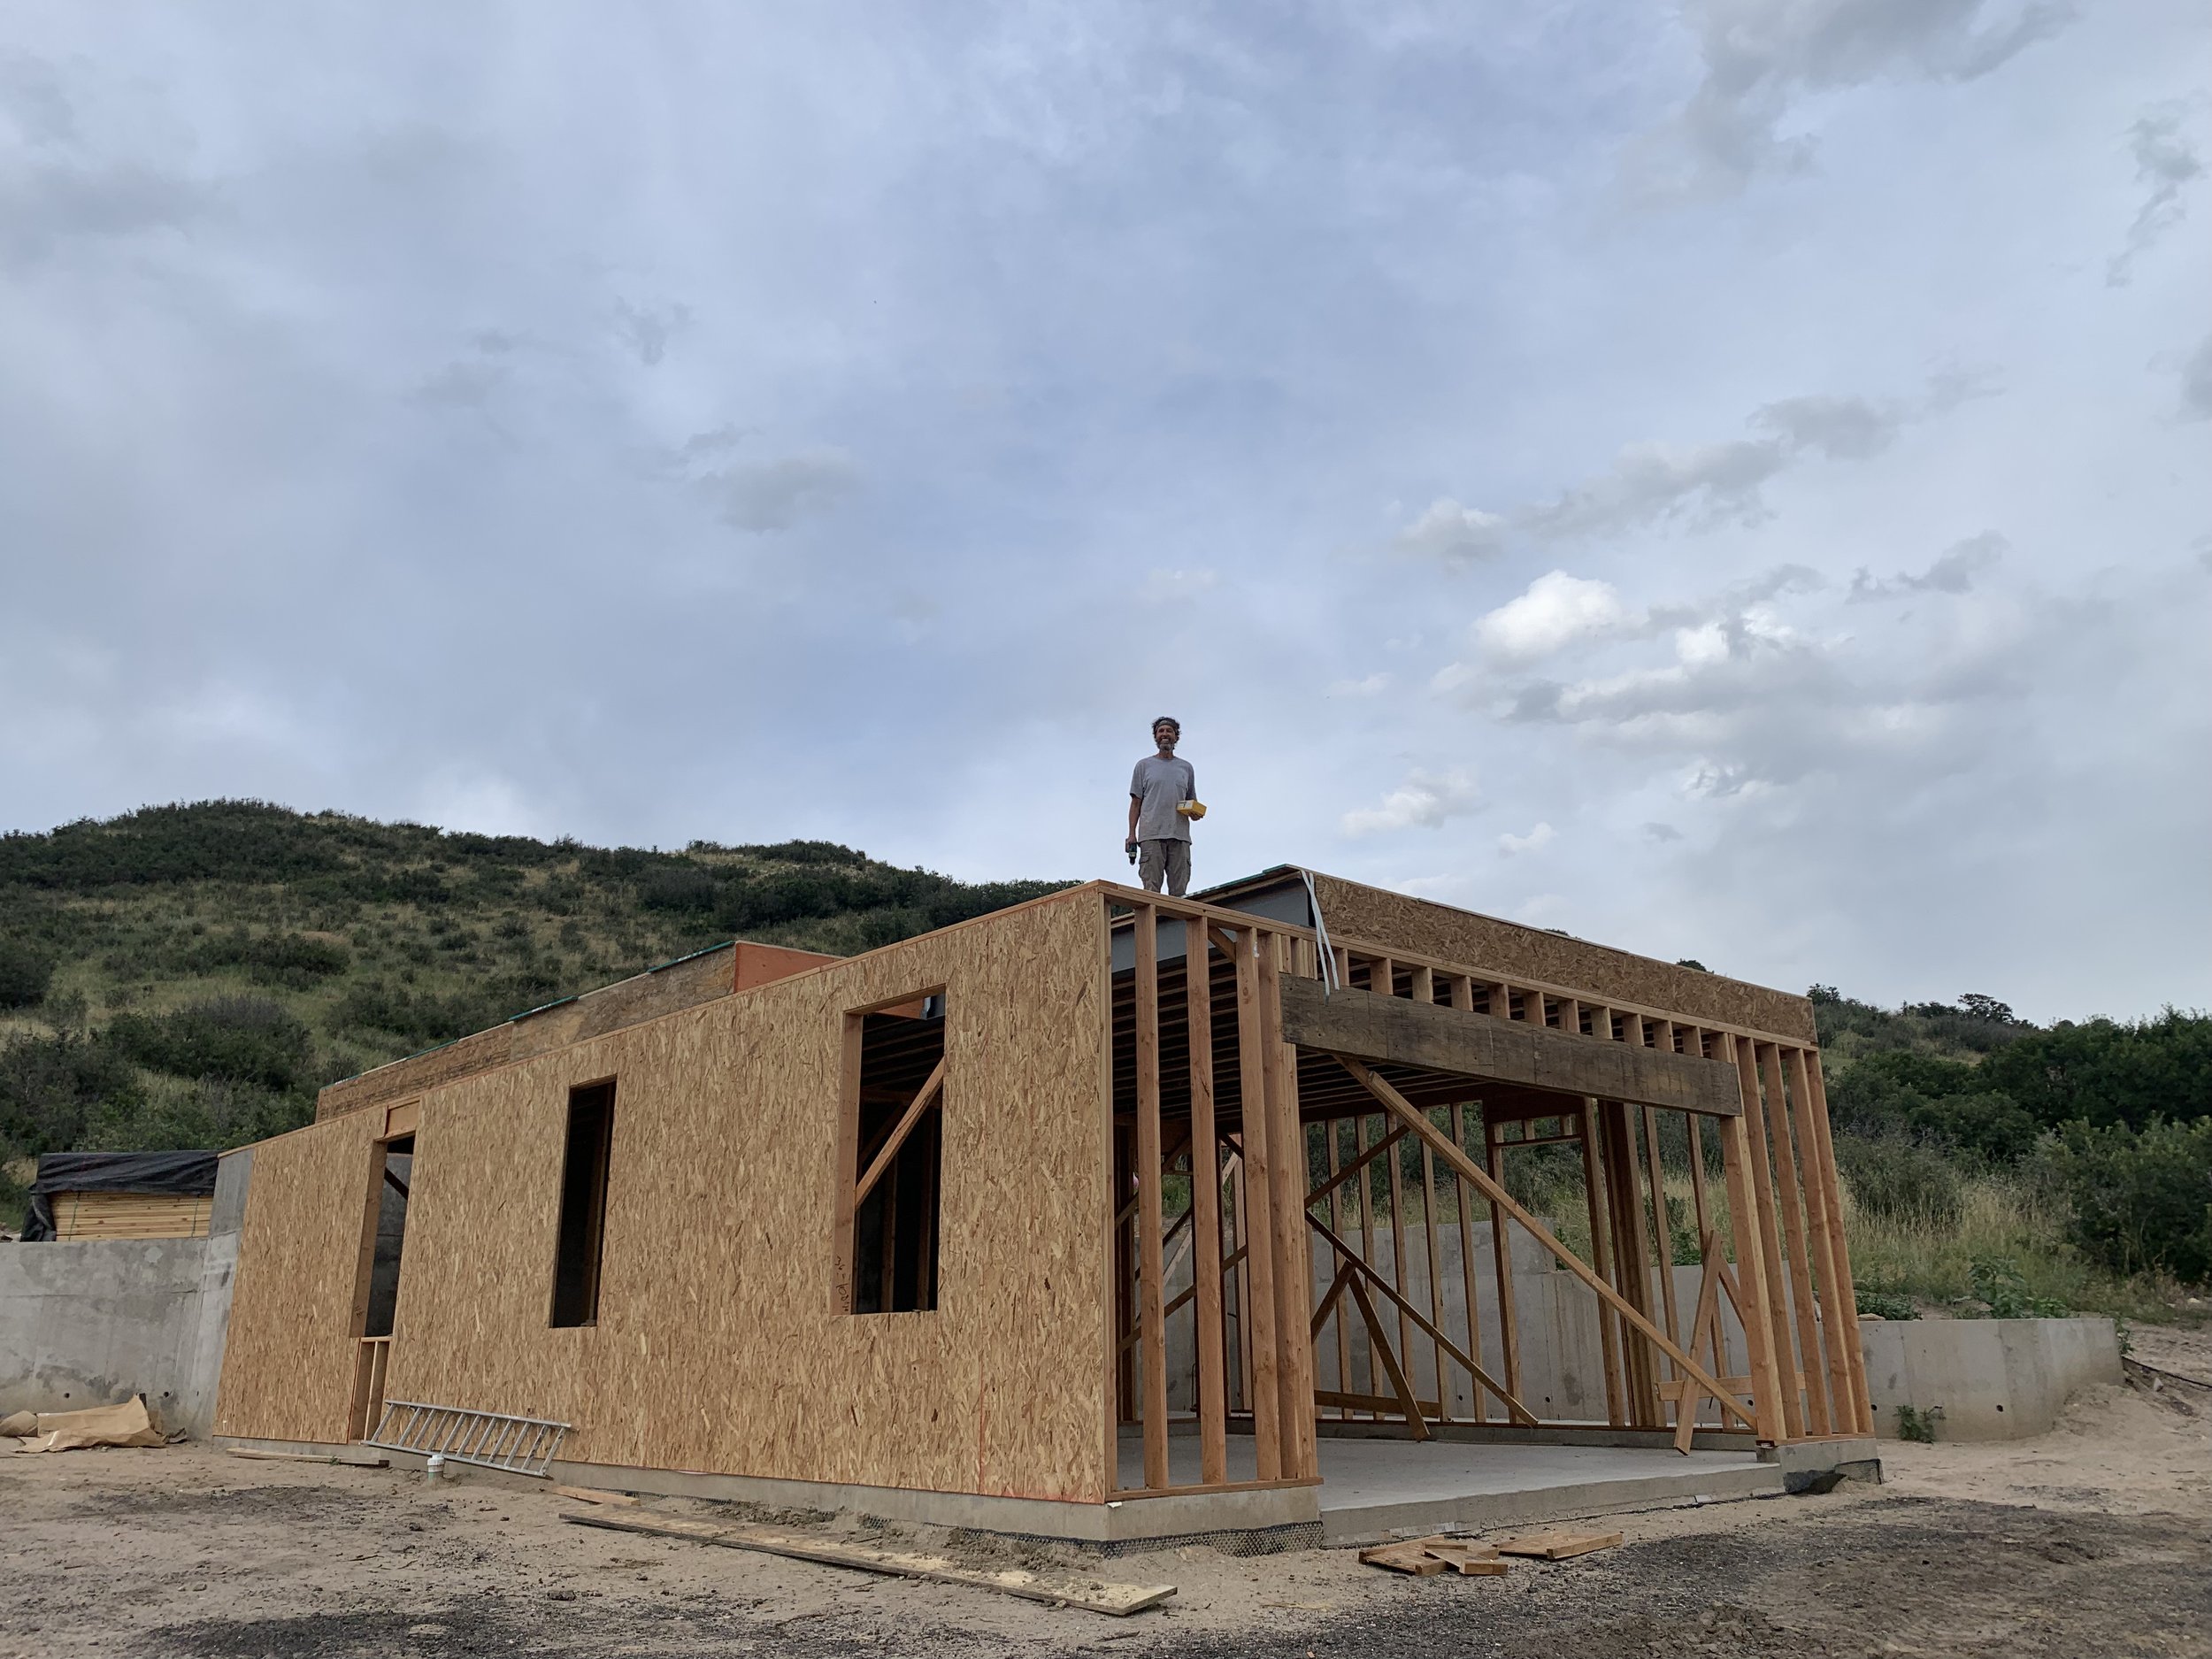
Step 7: The Framing and Unexpected Well
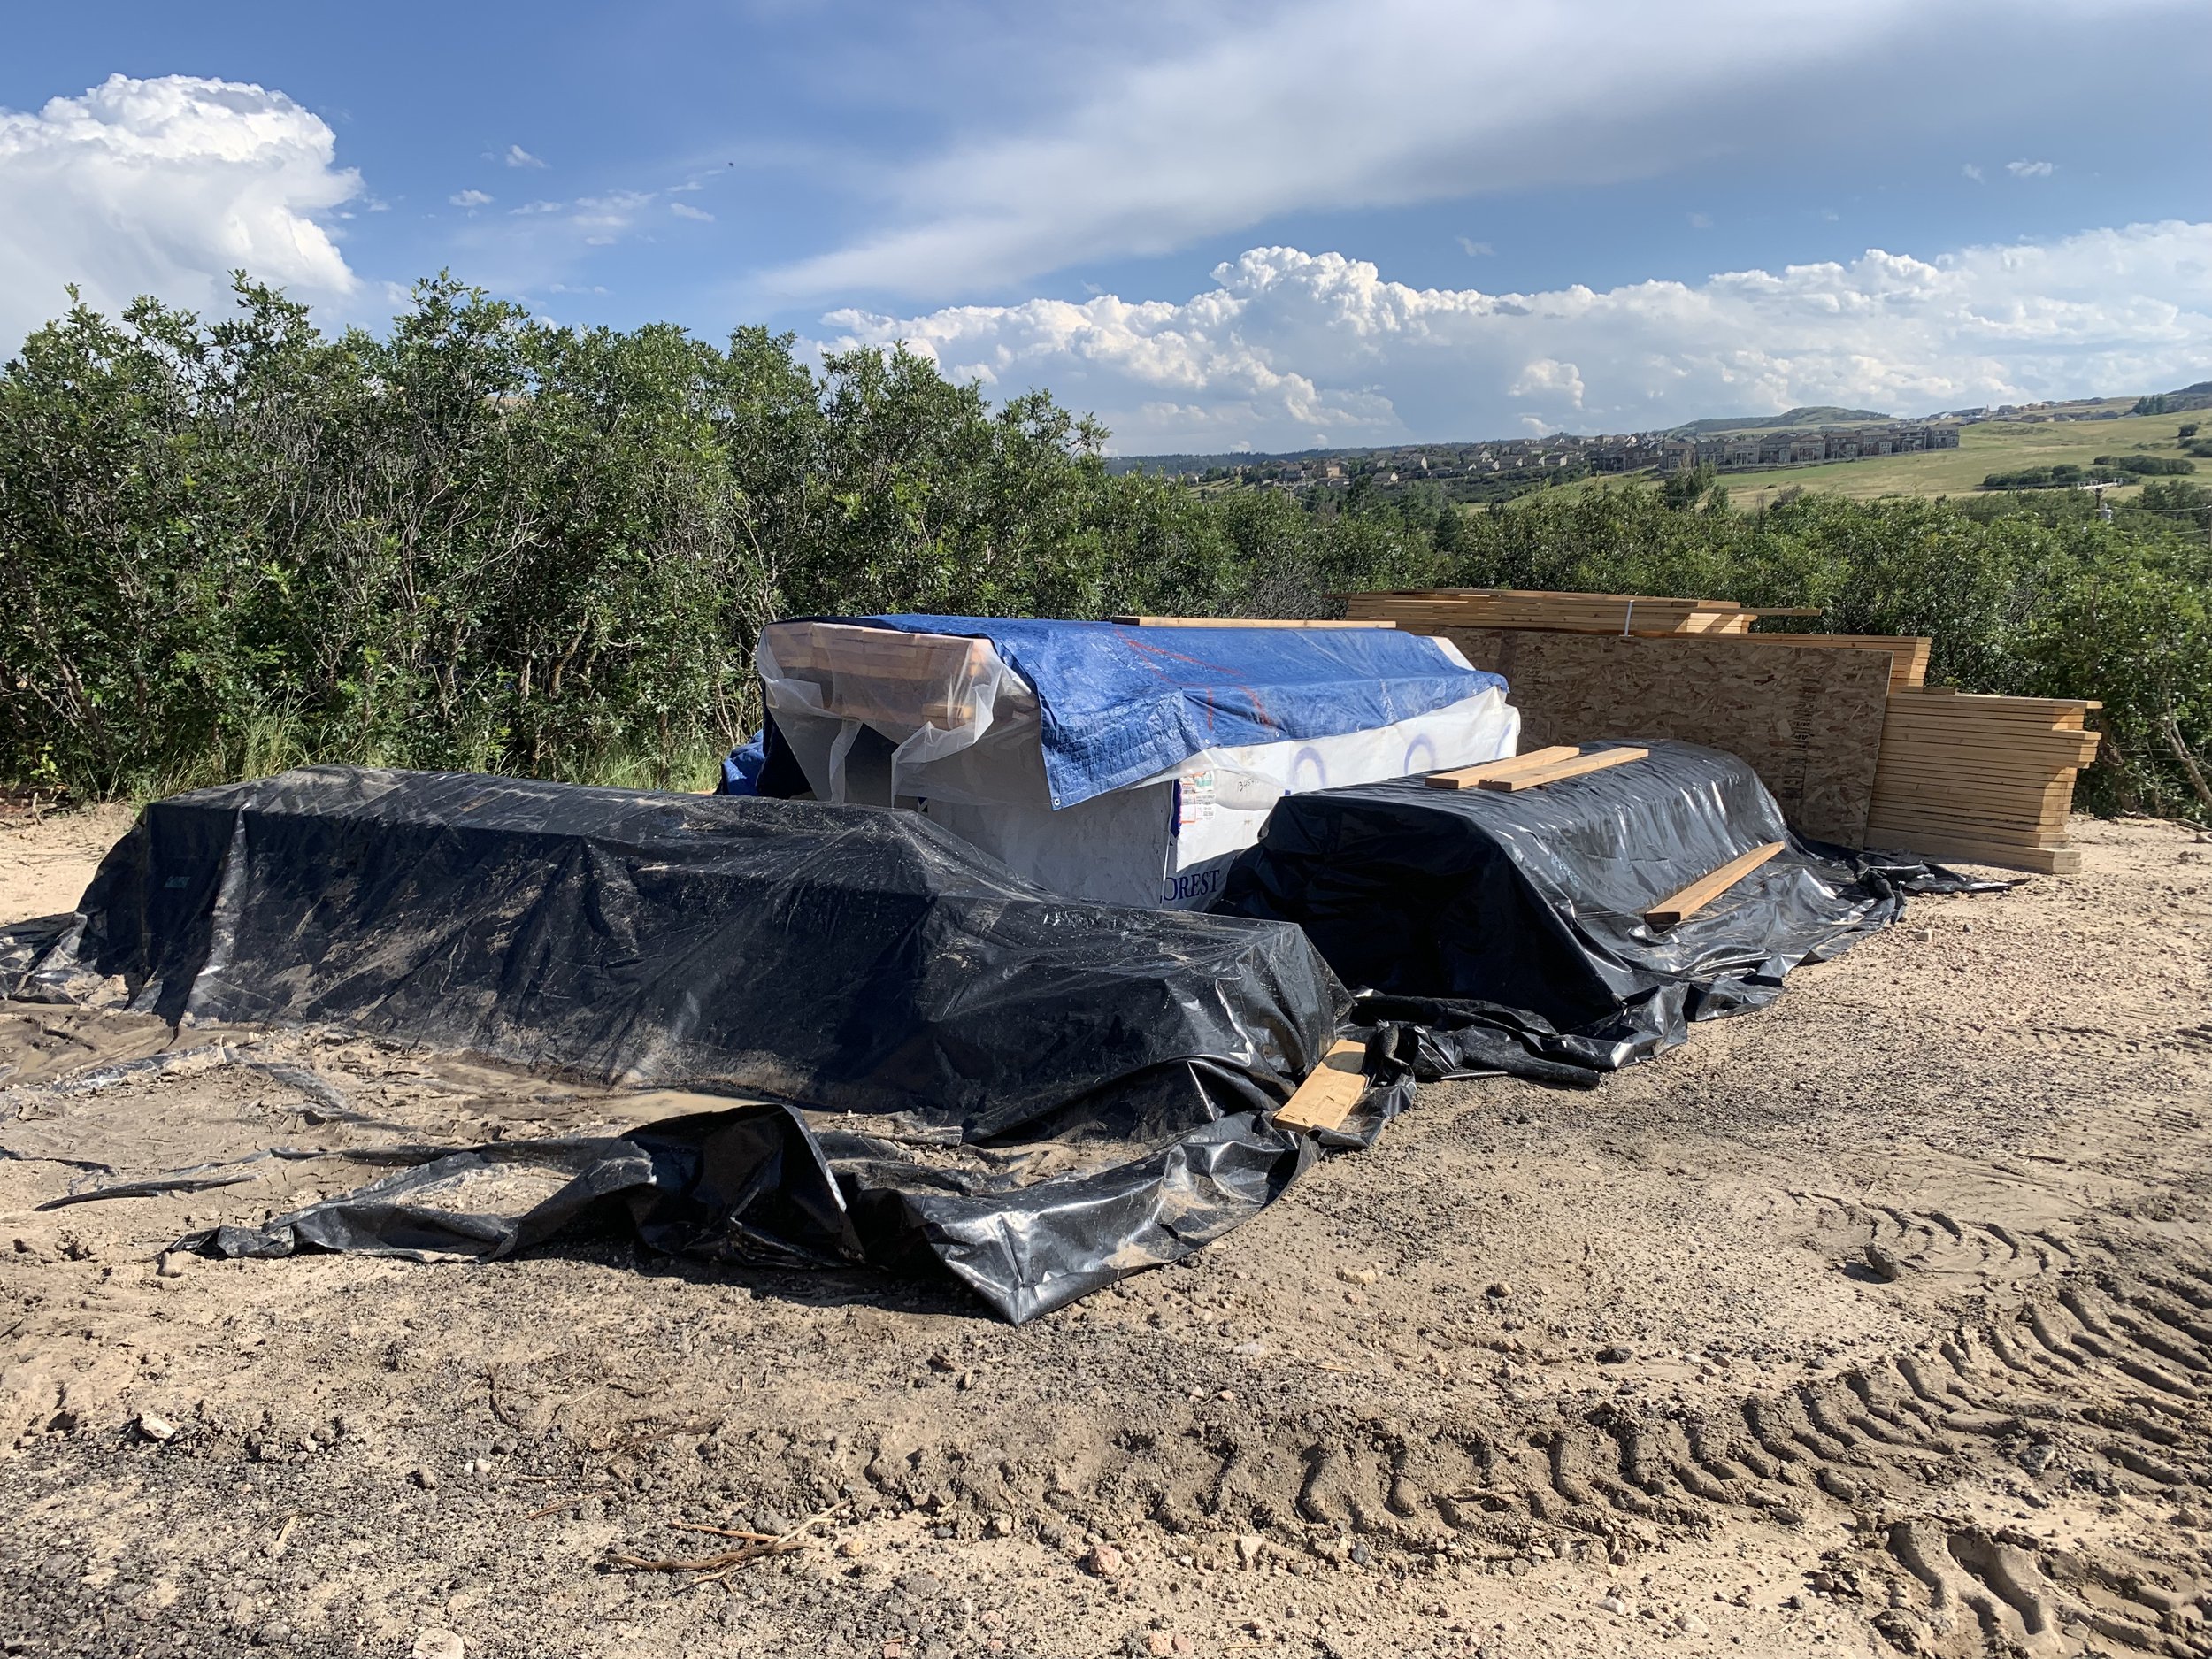
The lumber starts to arrive. We are of course ever paranoid about rain after this spring so we quickly wrapped everything up in plastic. Just in case!

More lumber to wrap! Looks like we're lining up bodies or something out here! Haha!

The framers arrive!

Day 1 the framers do a layout and prep to raise some walls.

I think we're going to see a speedy transformation!
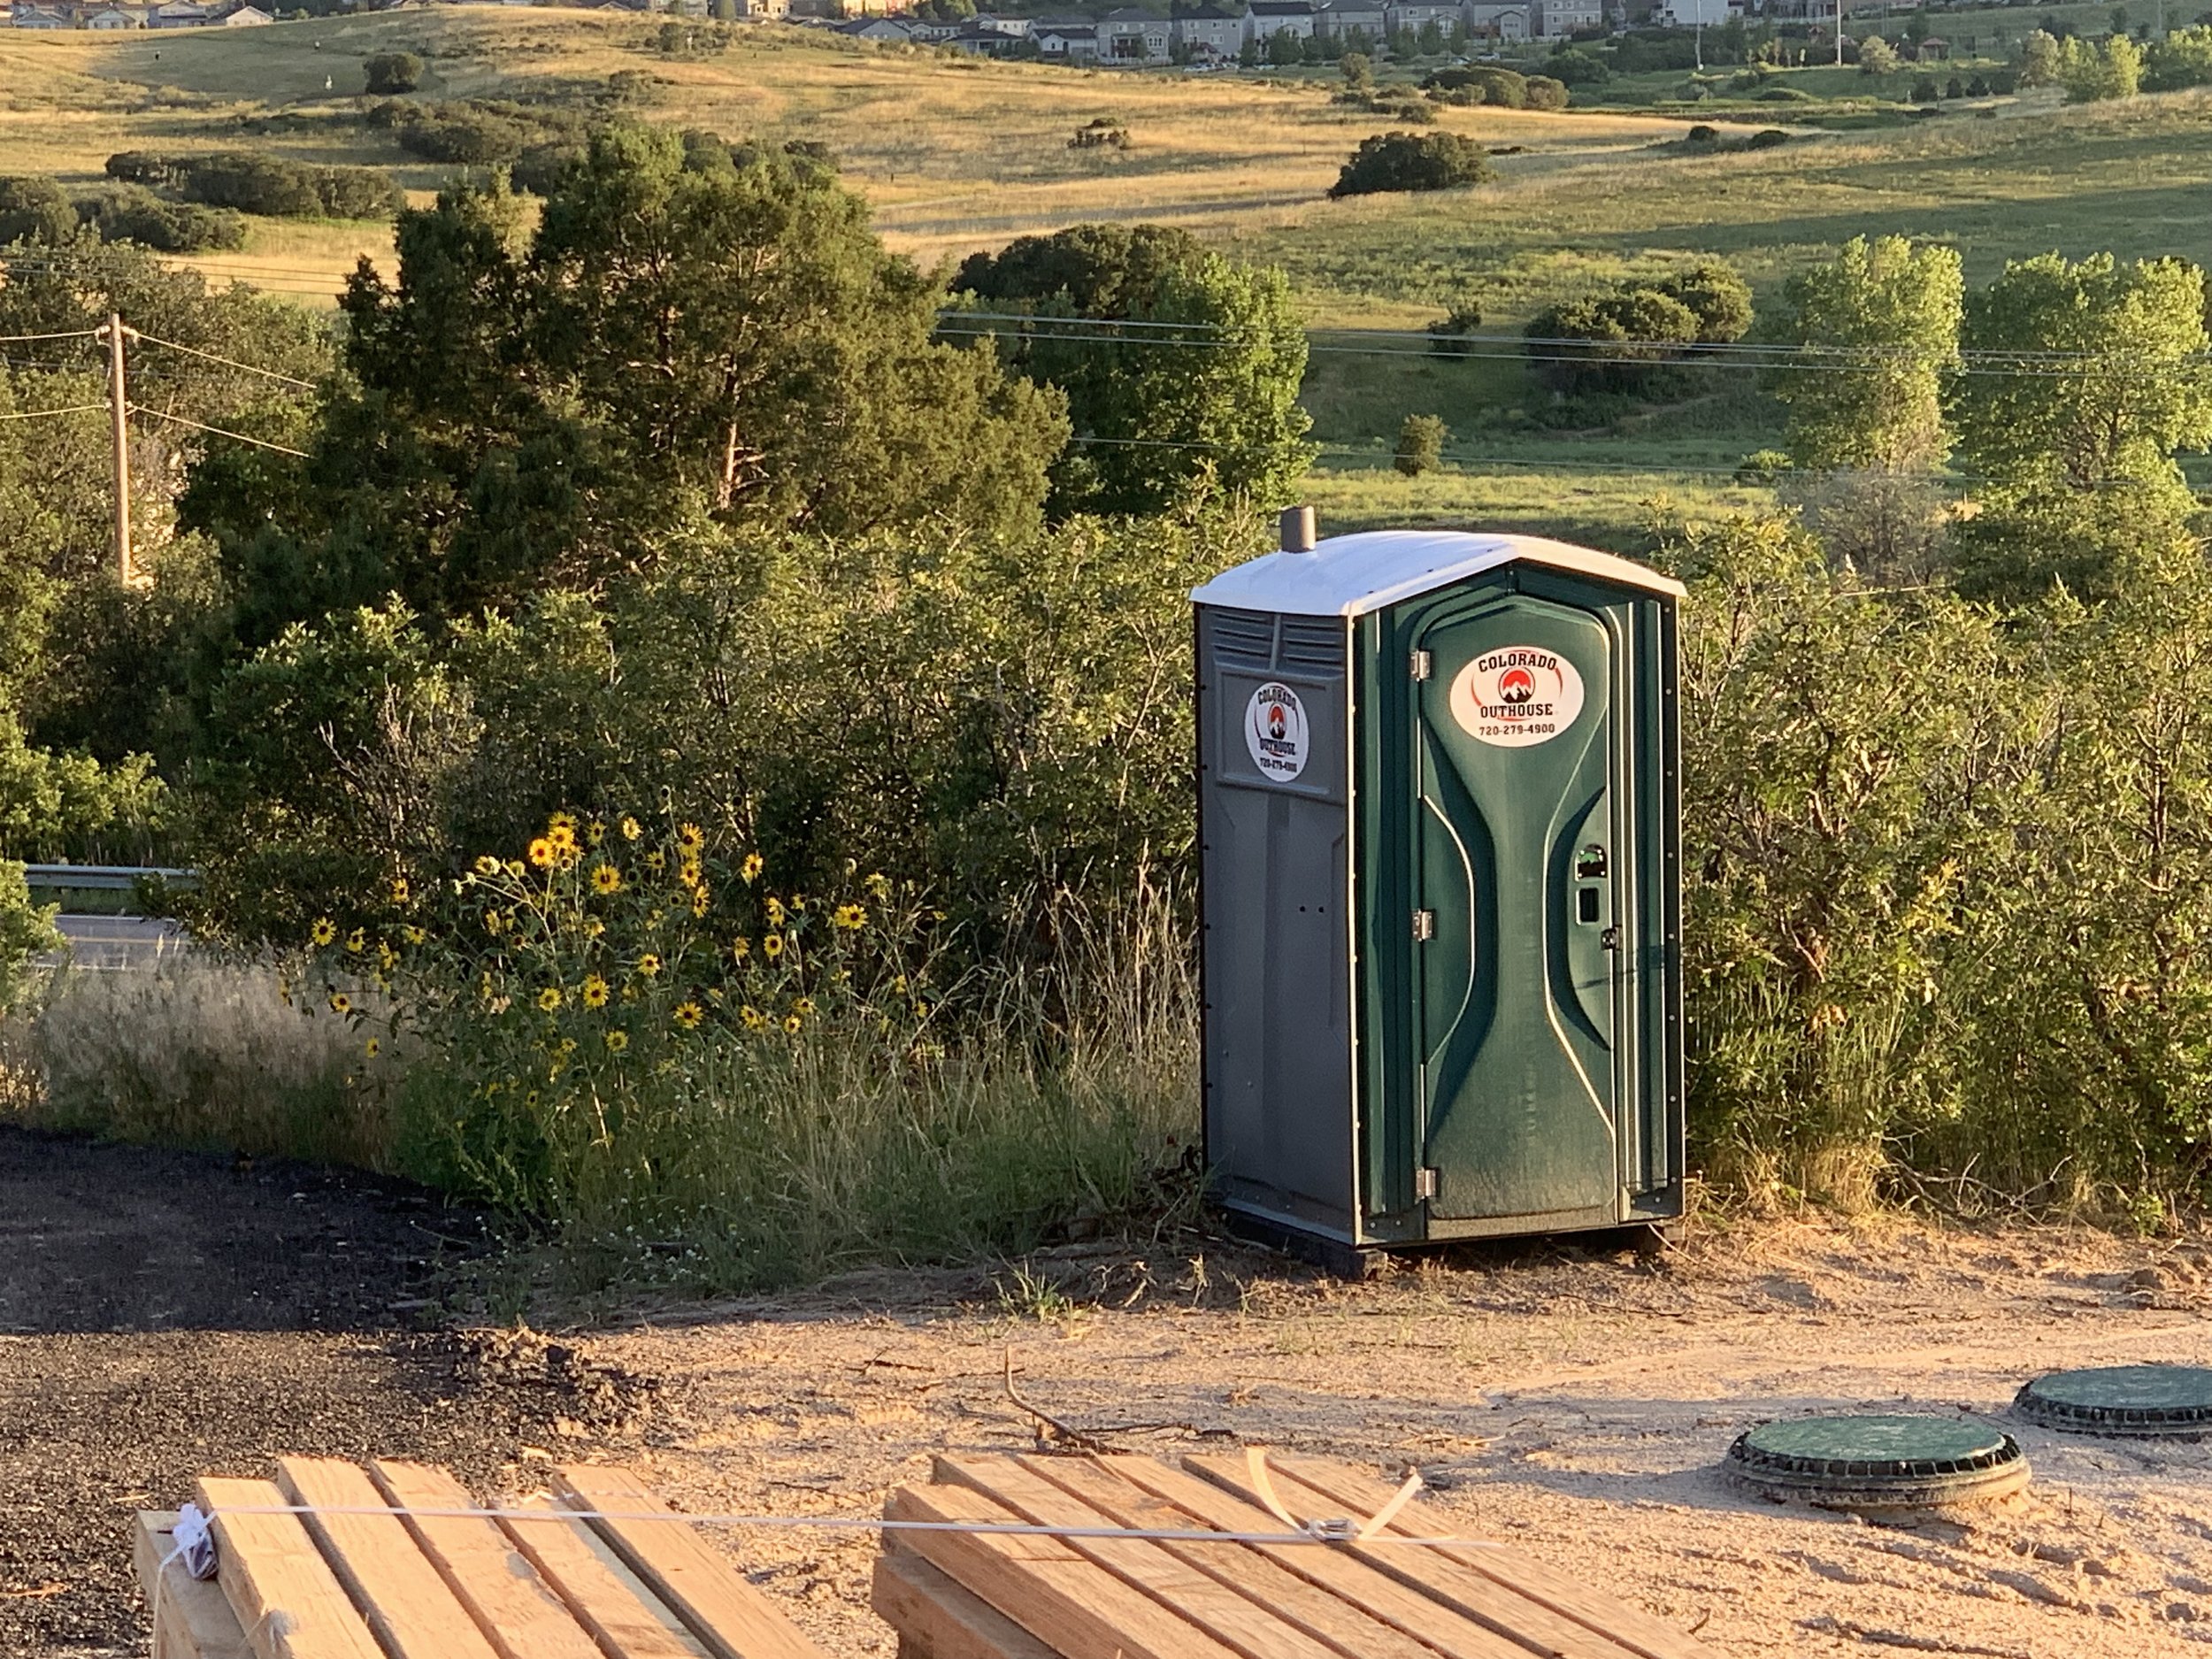
Didn't want to leave out our little outhouse!

The first wall starts to go up.

A completed wall! Amazing how the view changes so quickly!

The future garage.

This doorway will lead to the front entry staircase.

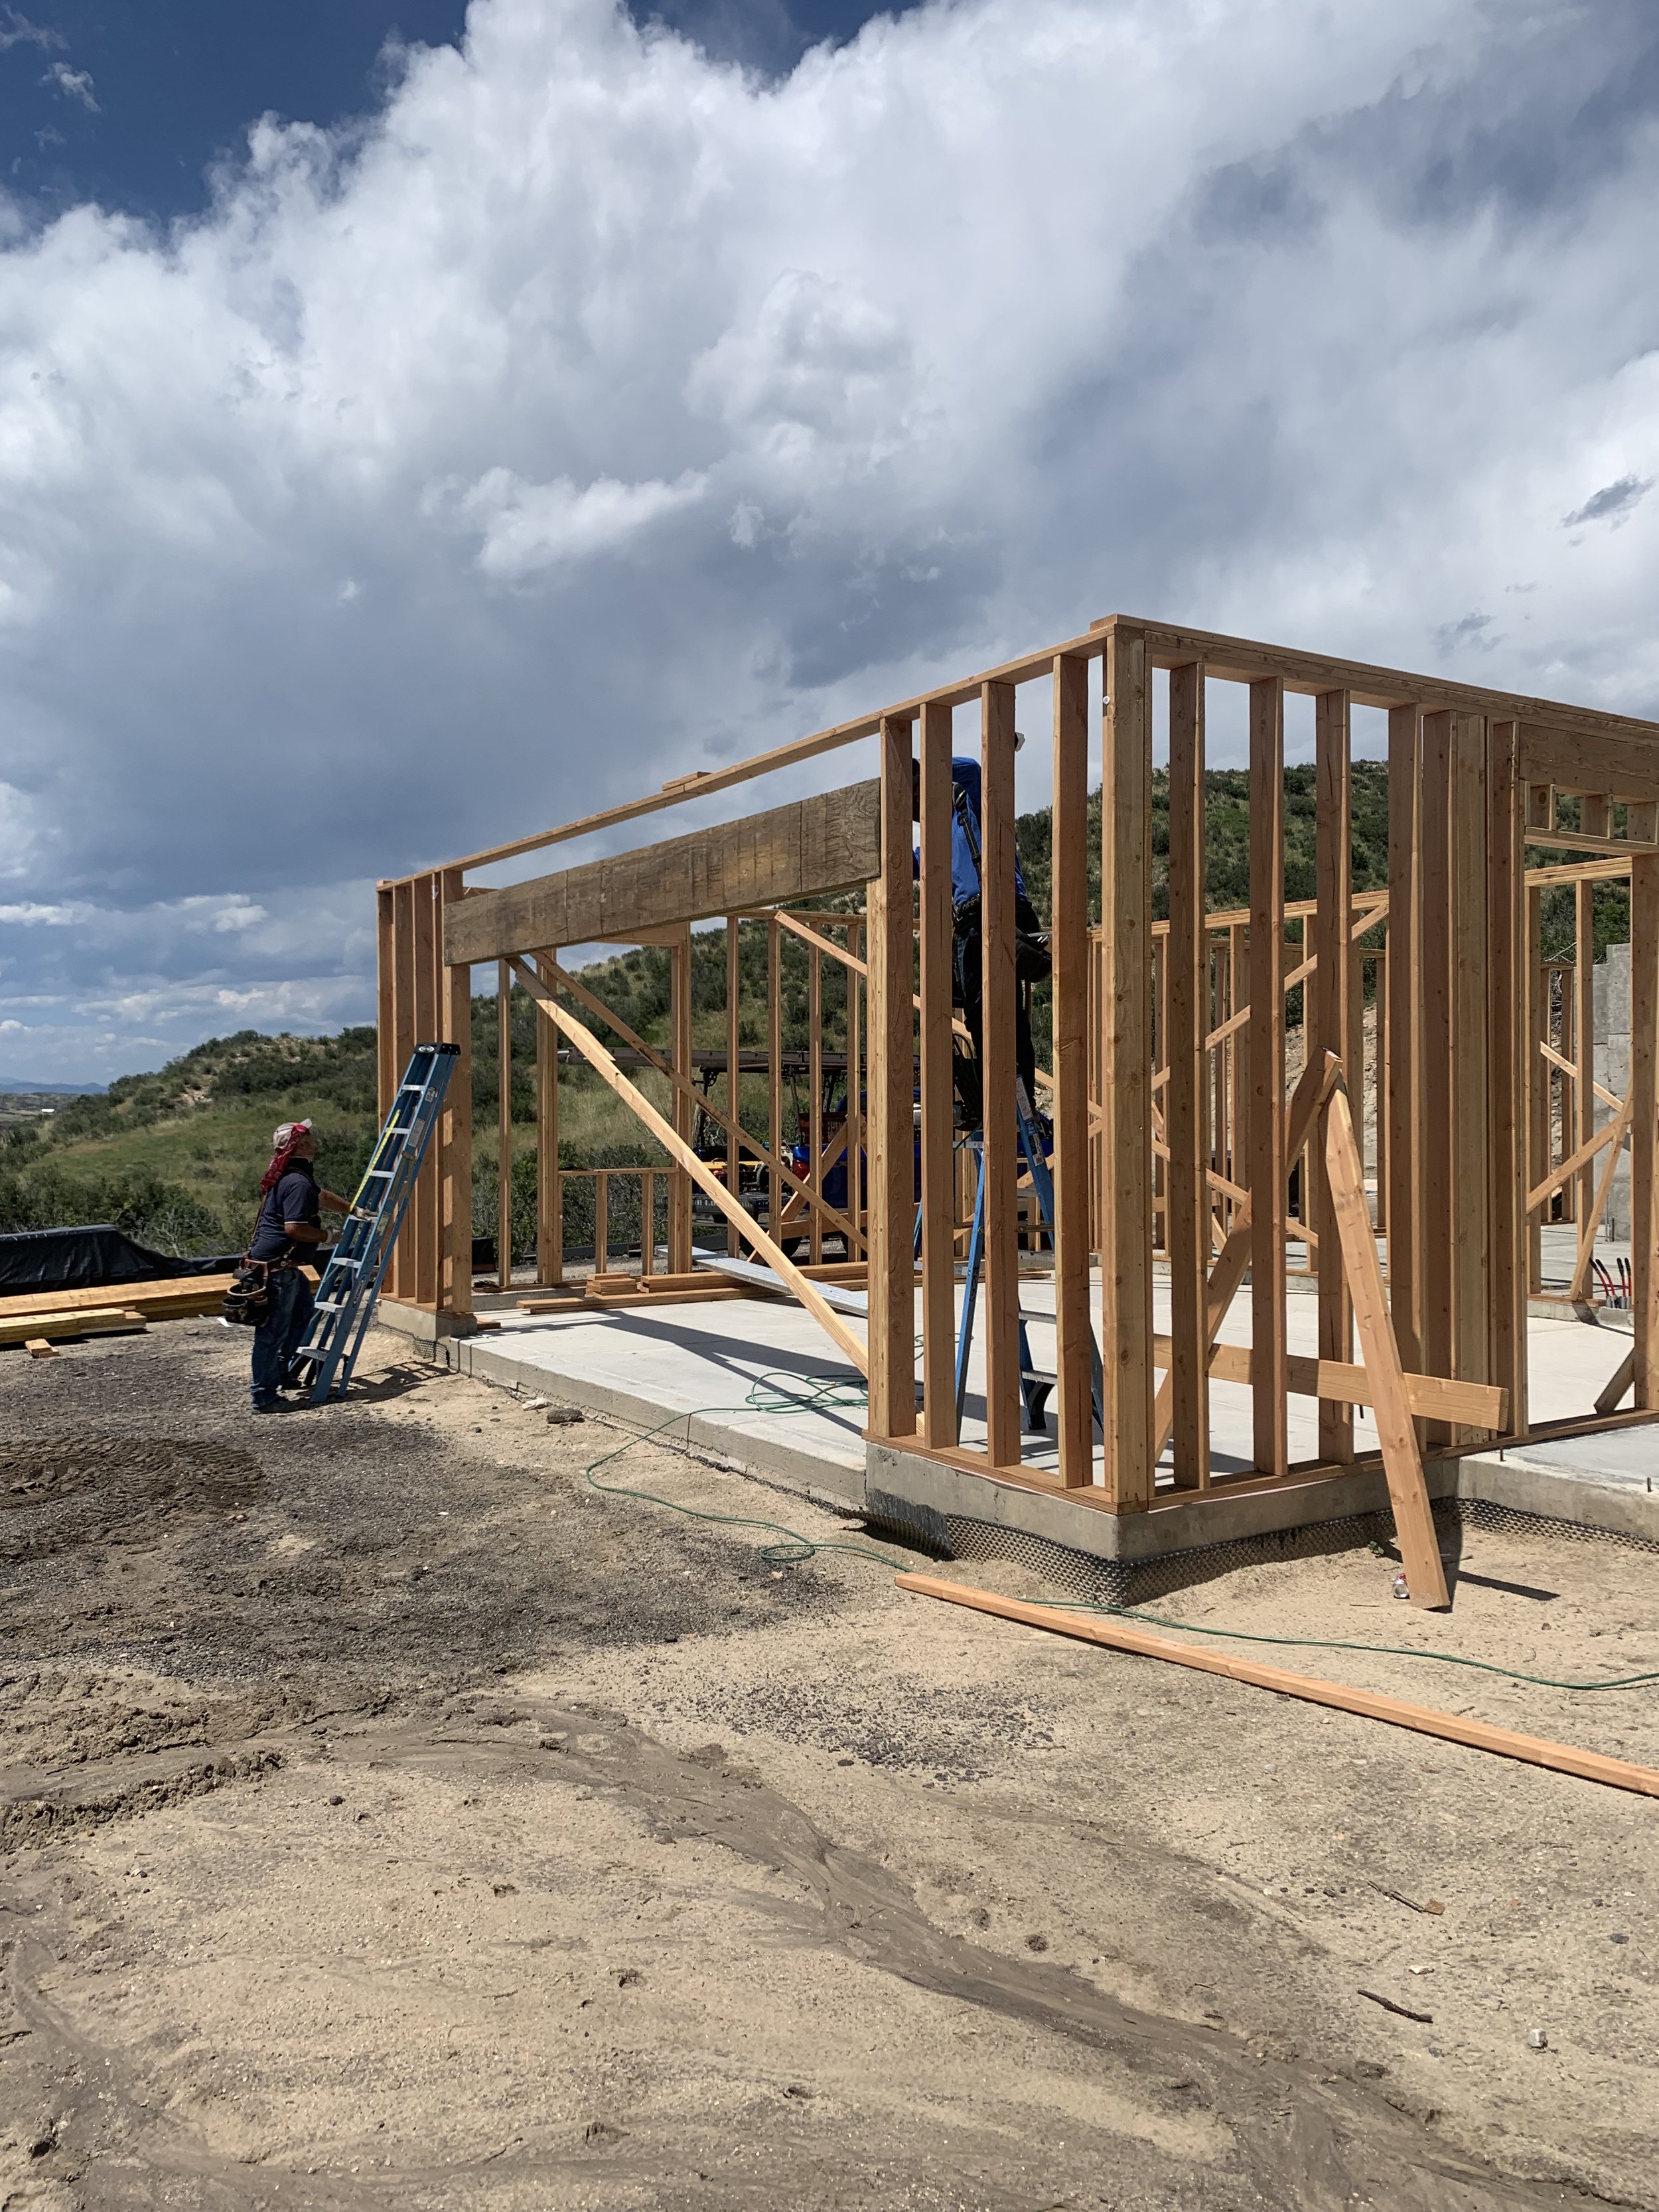
The garage is almost framed in!

This is where our front door will be as well as a sidewalk to our day job offices.

An overhead view.
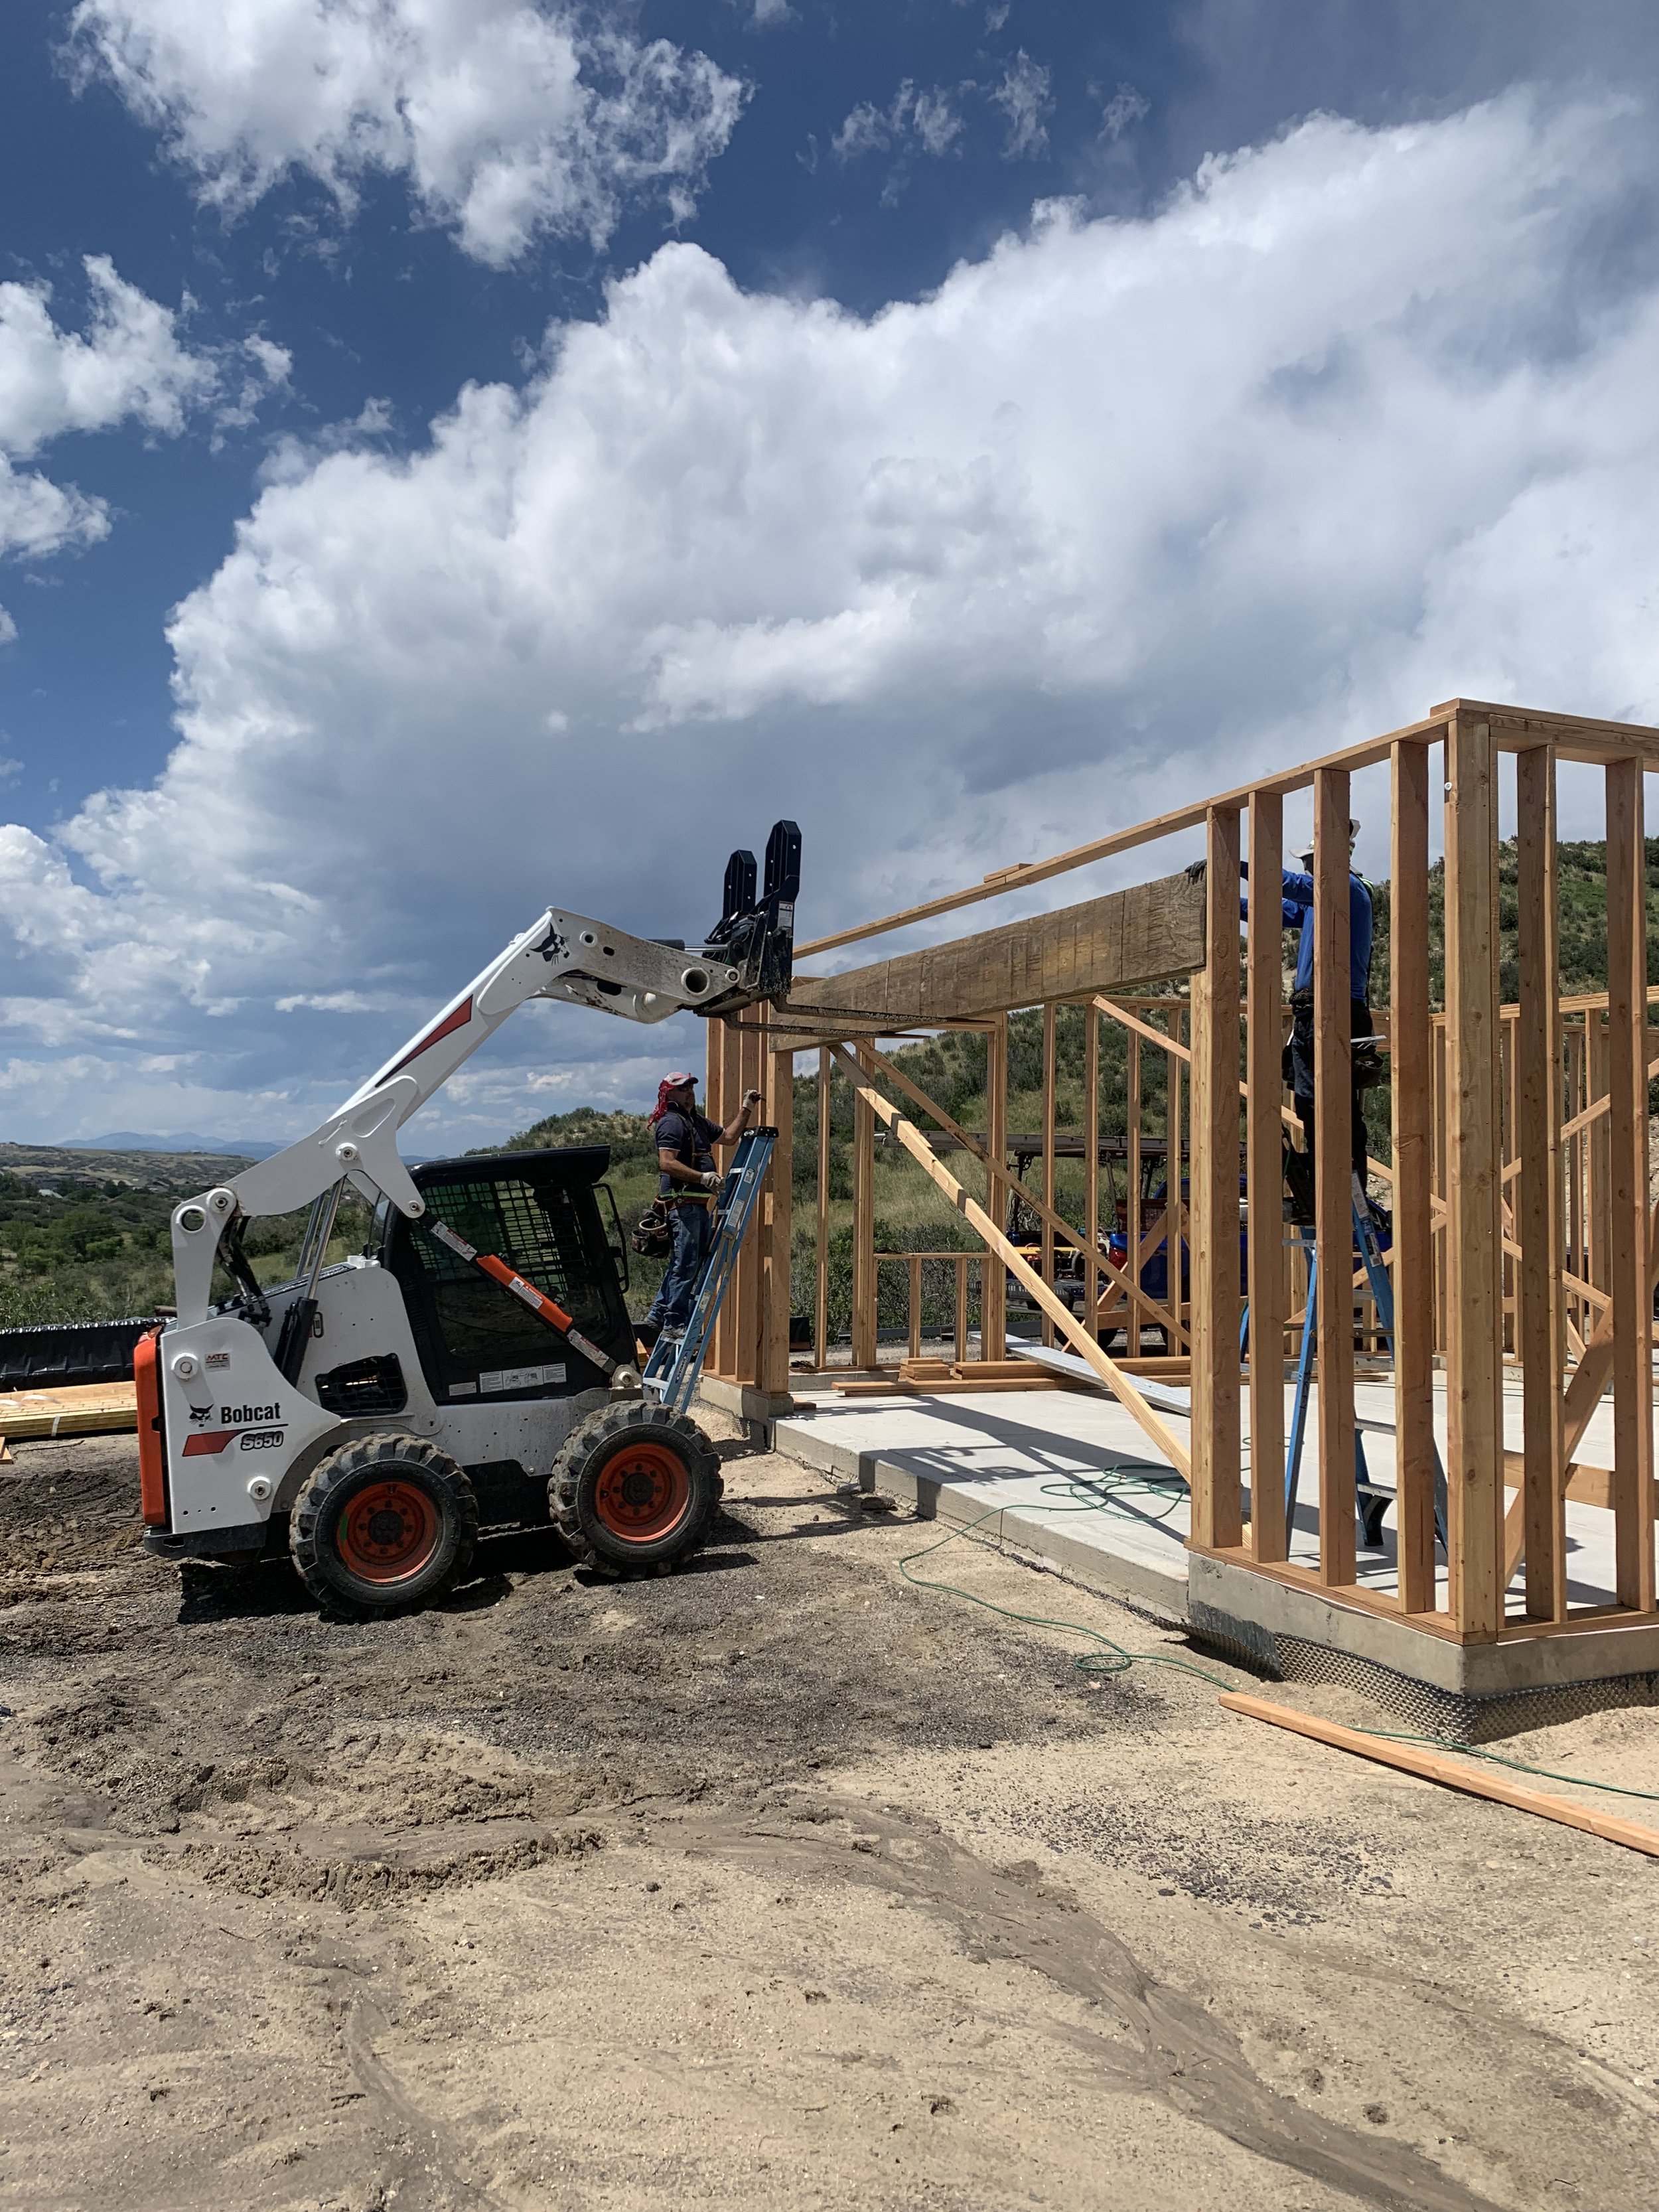
Kris jumps in to help place the garage door header!
...and the garage header is installed!

The crane moves in.

The crane begins to bring over the steel support beams.

Beam 1 is in place!

Beam 2 is much bigger!

No doubt this one was a beast to install!

Success!

The last beam is in place.

Now the crane starts bringing over the floor joists.
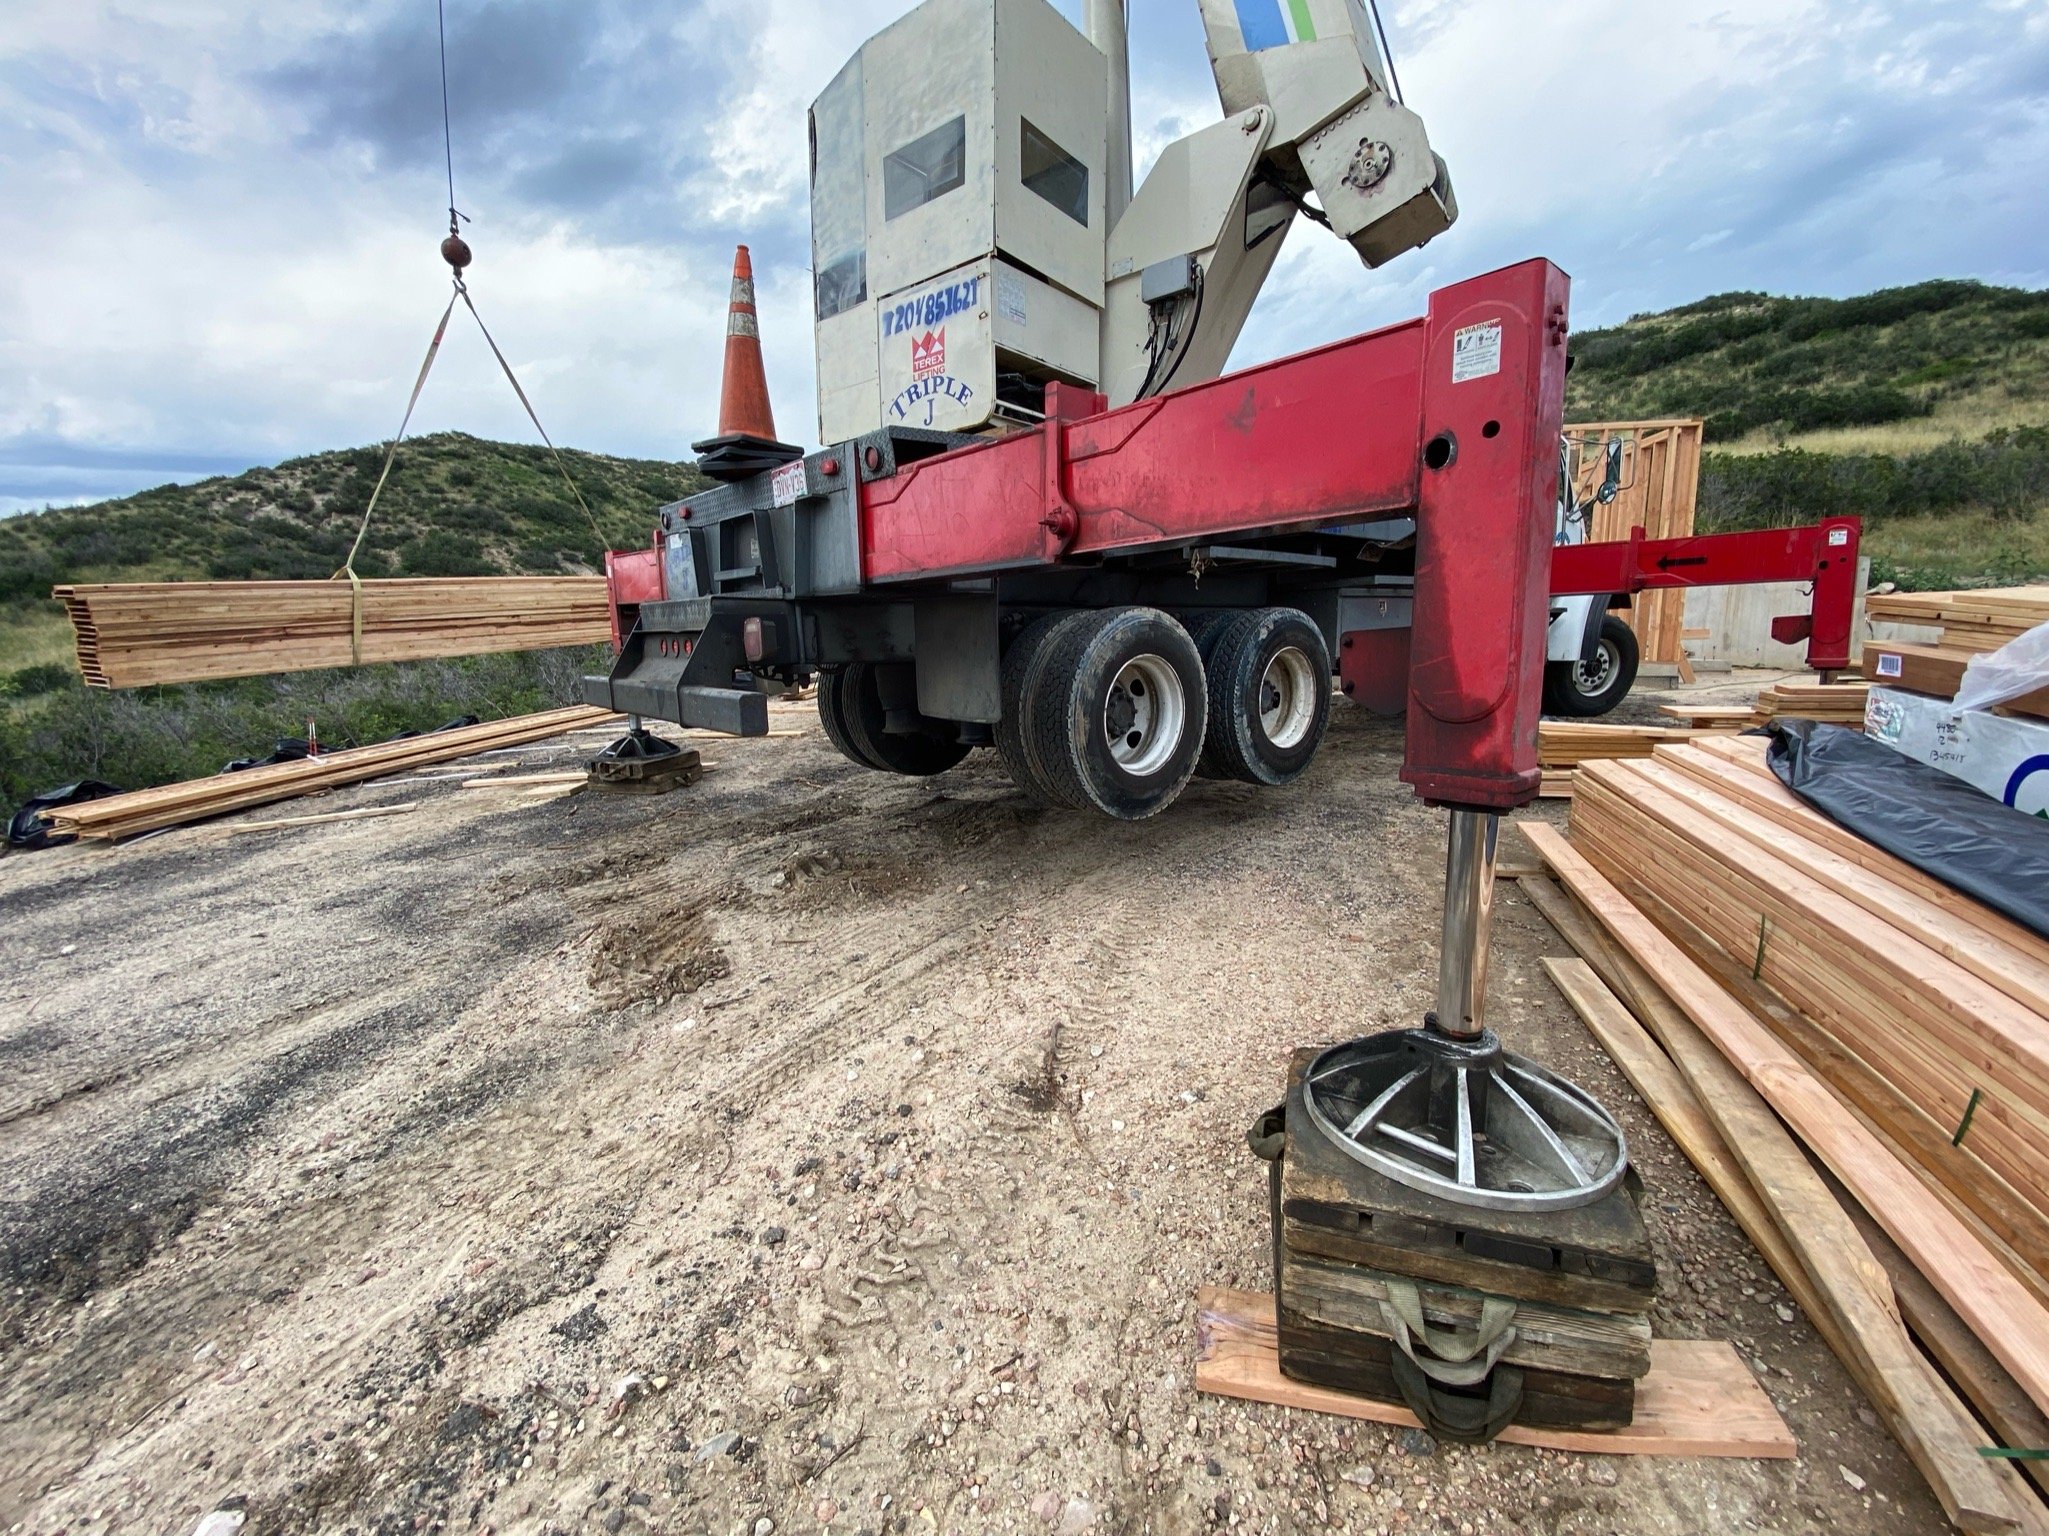
Look! No wheels on the ground! Those are some heavy joists!

Another view of the crane seemingly hovering off the ground!

The floor joists are ready for level 2.

All set for the next day!

Floor joists get installed

Down below, the plywood begins to go up!

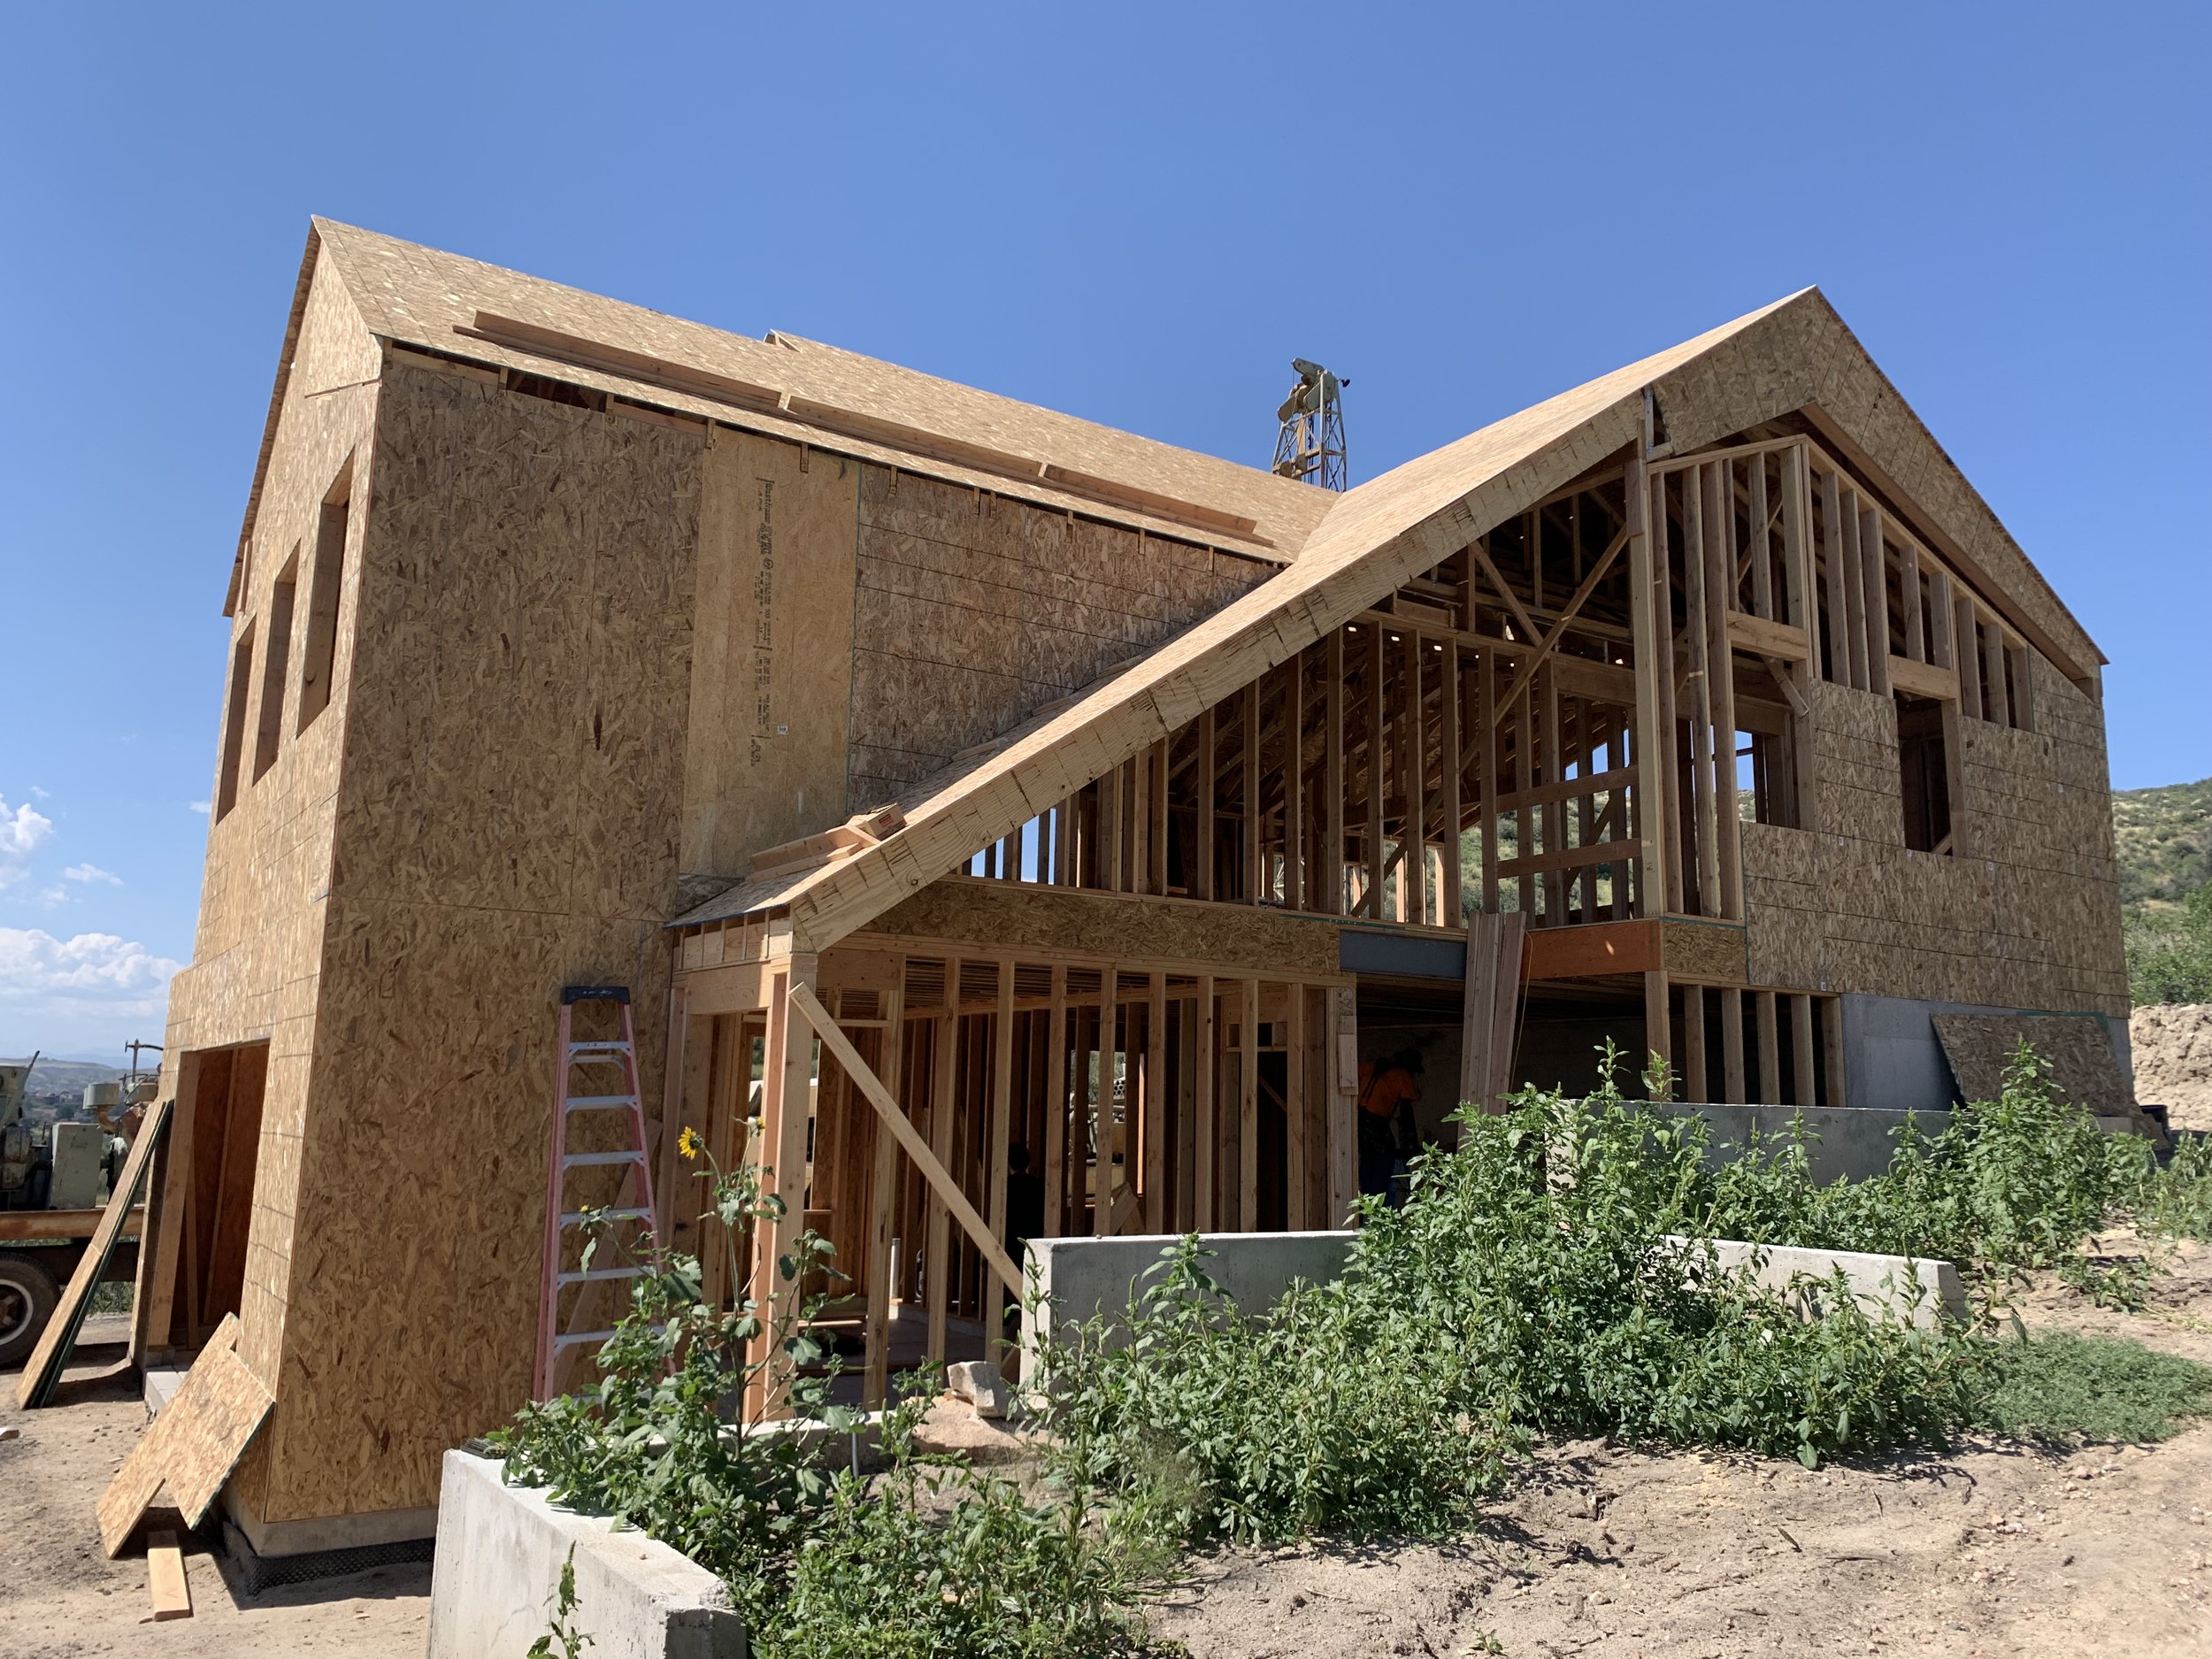
This is starting to look like a house!

Voila! We have a 2nd story floor!
Kris heads up to check out the views!

Story 2 has it's first wall!

The crew is cruising right along.

This picture always makes me think of an old western storefront!

The master bedroom is what's coming together above the garage.

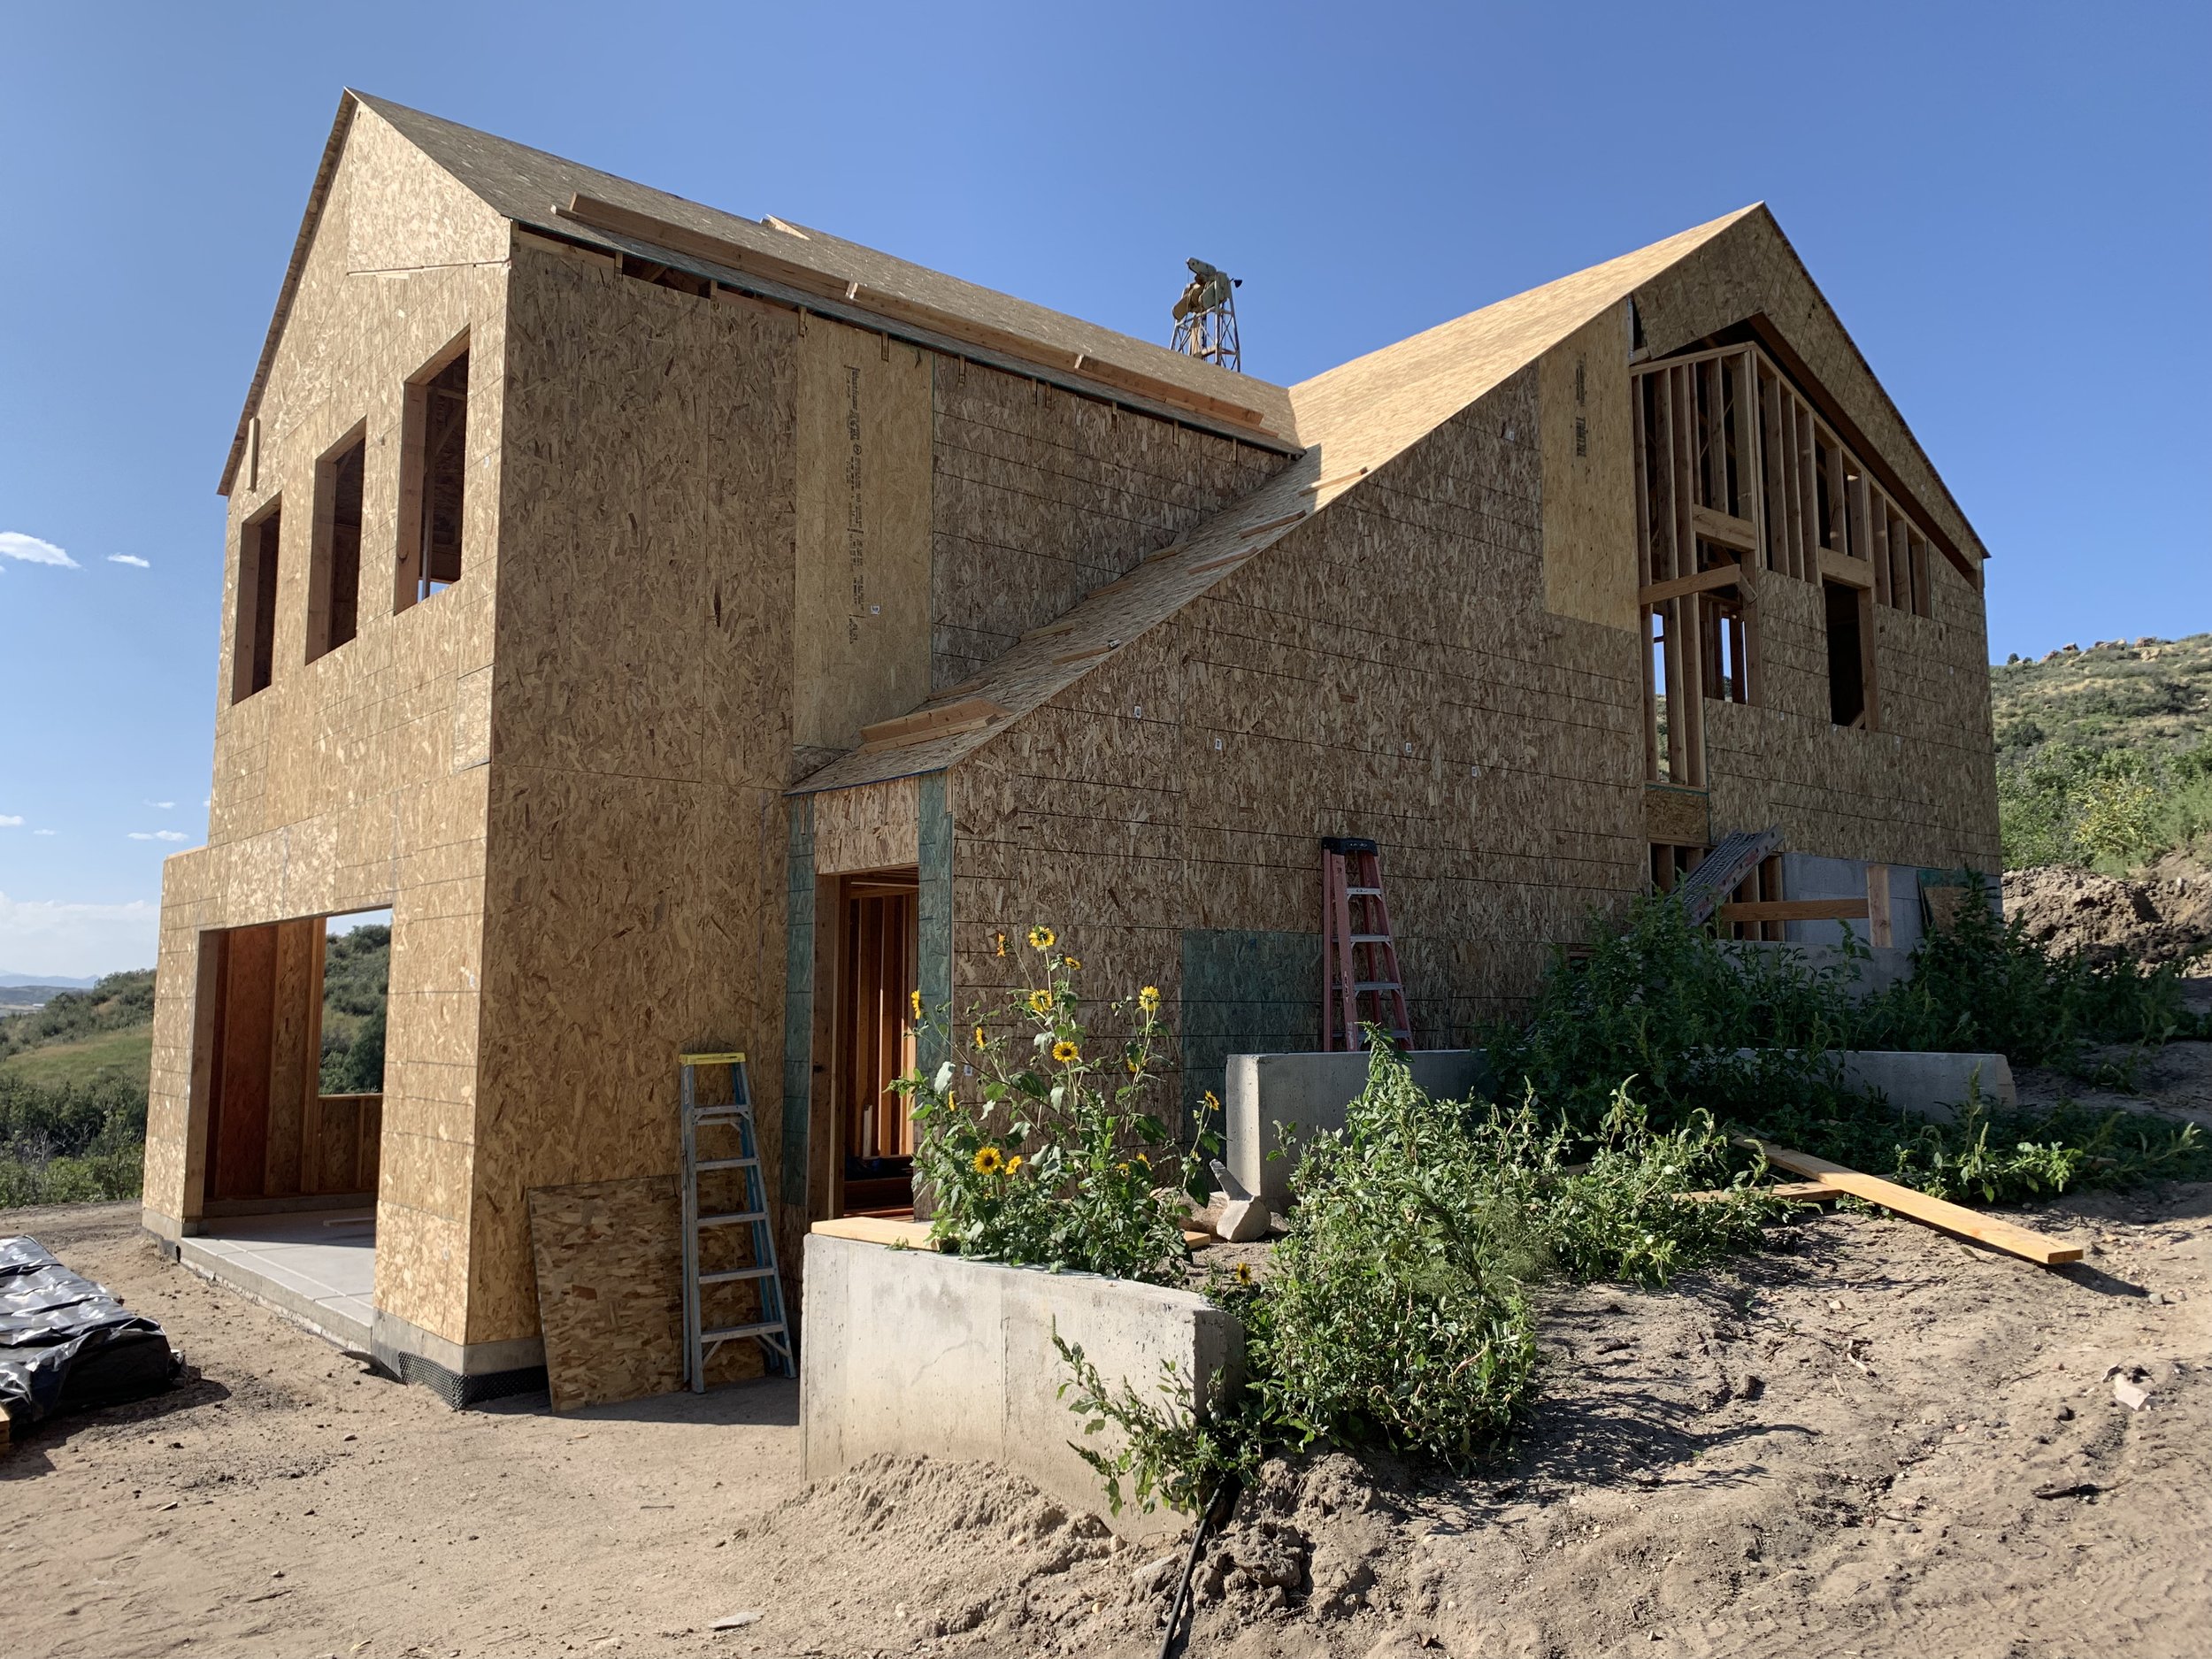
A side view of the crazy fast transformation!

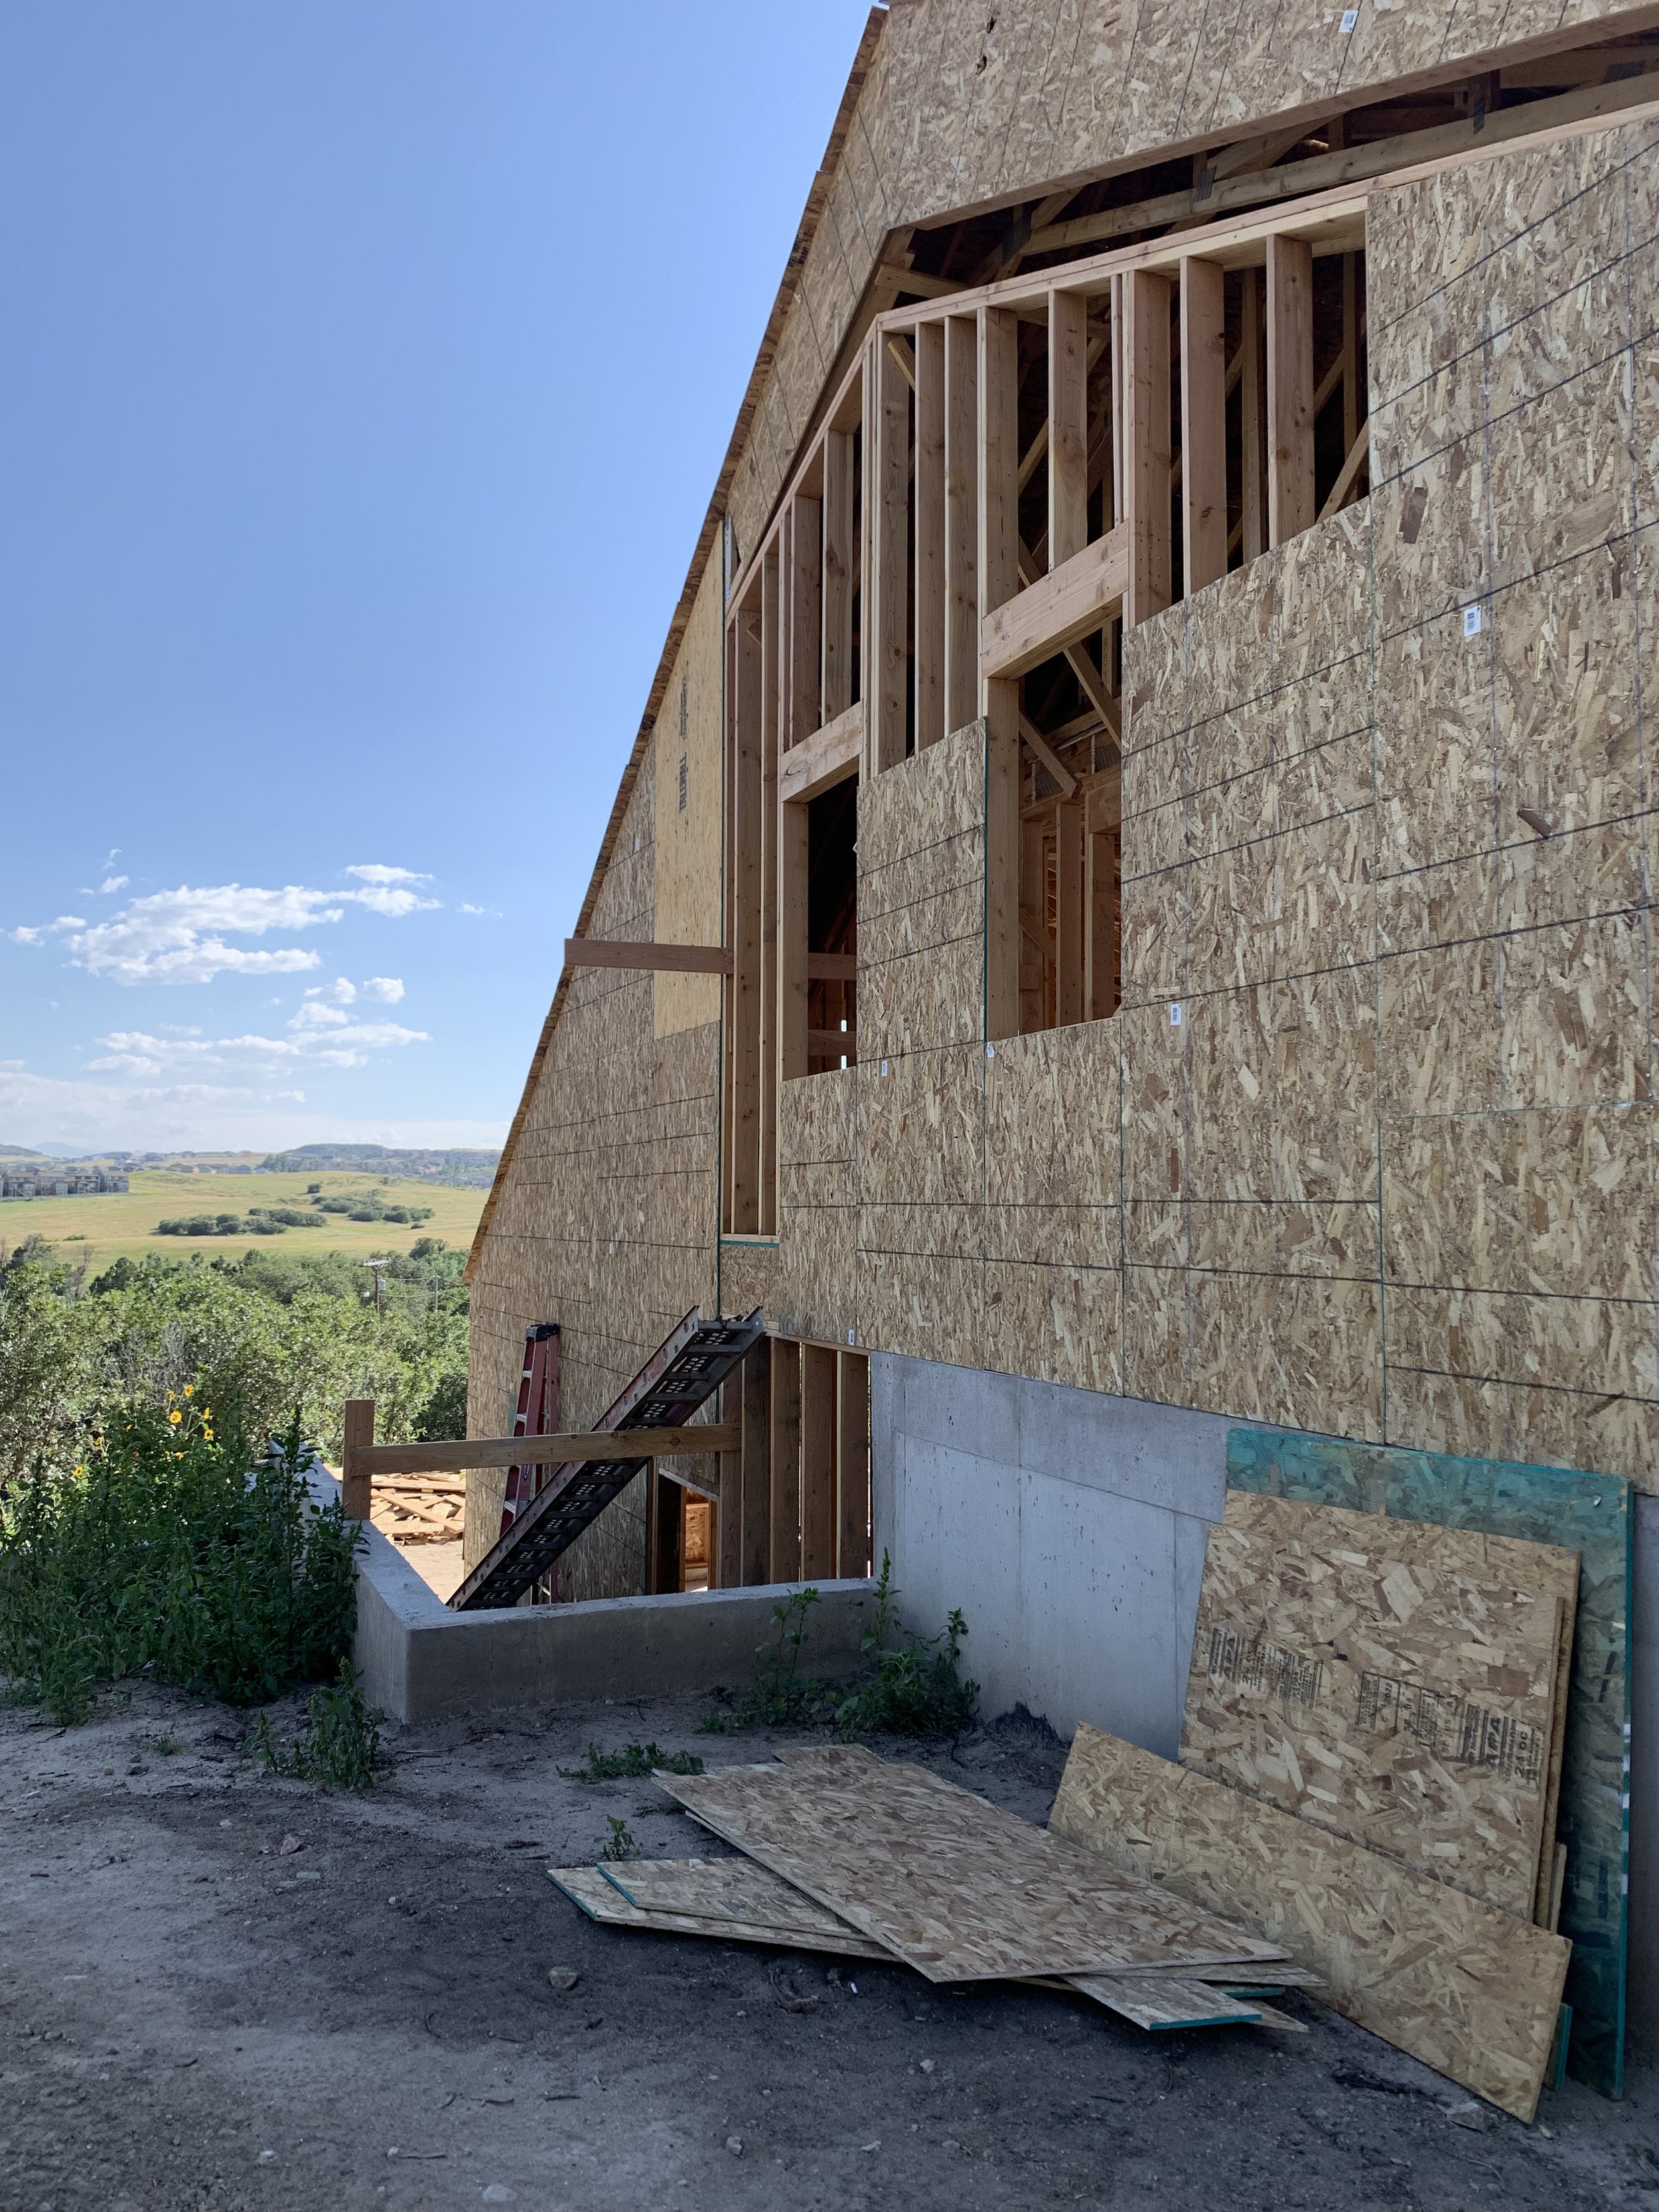
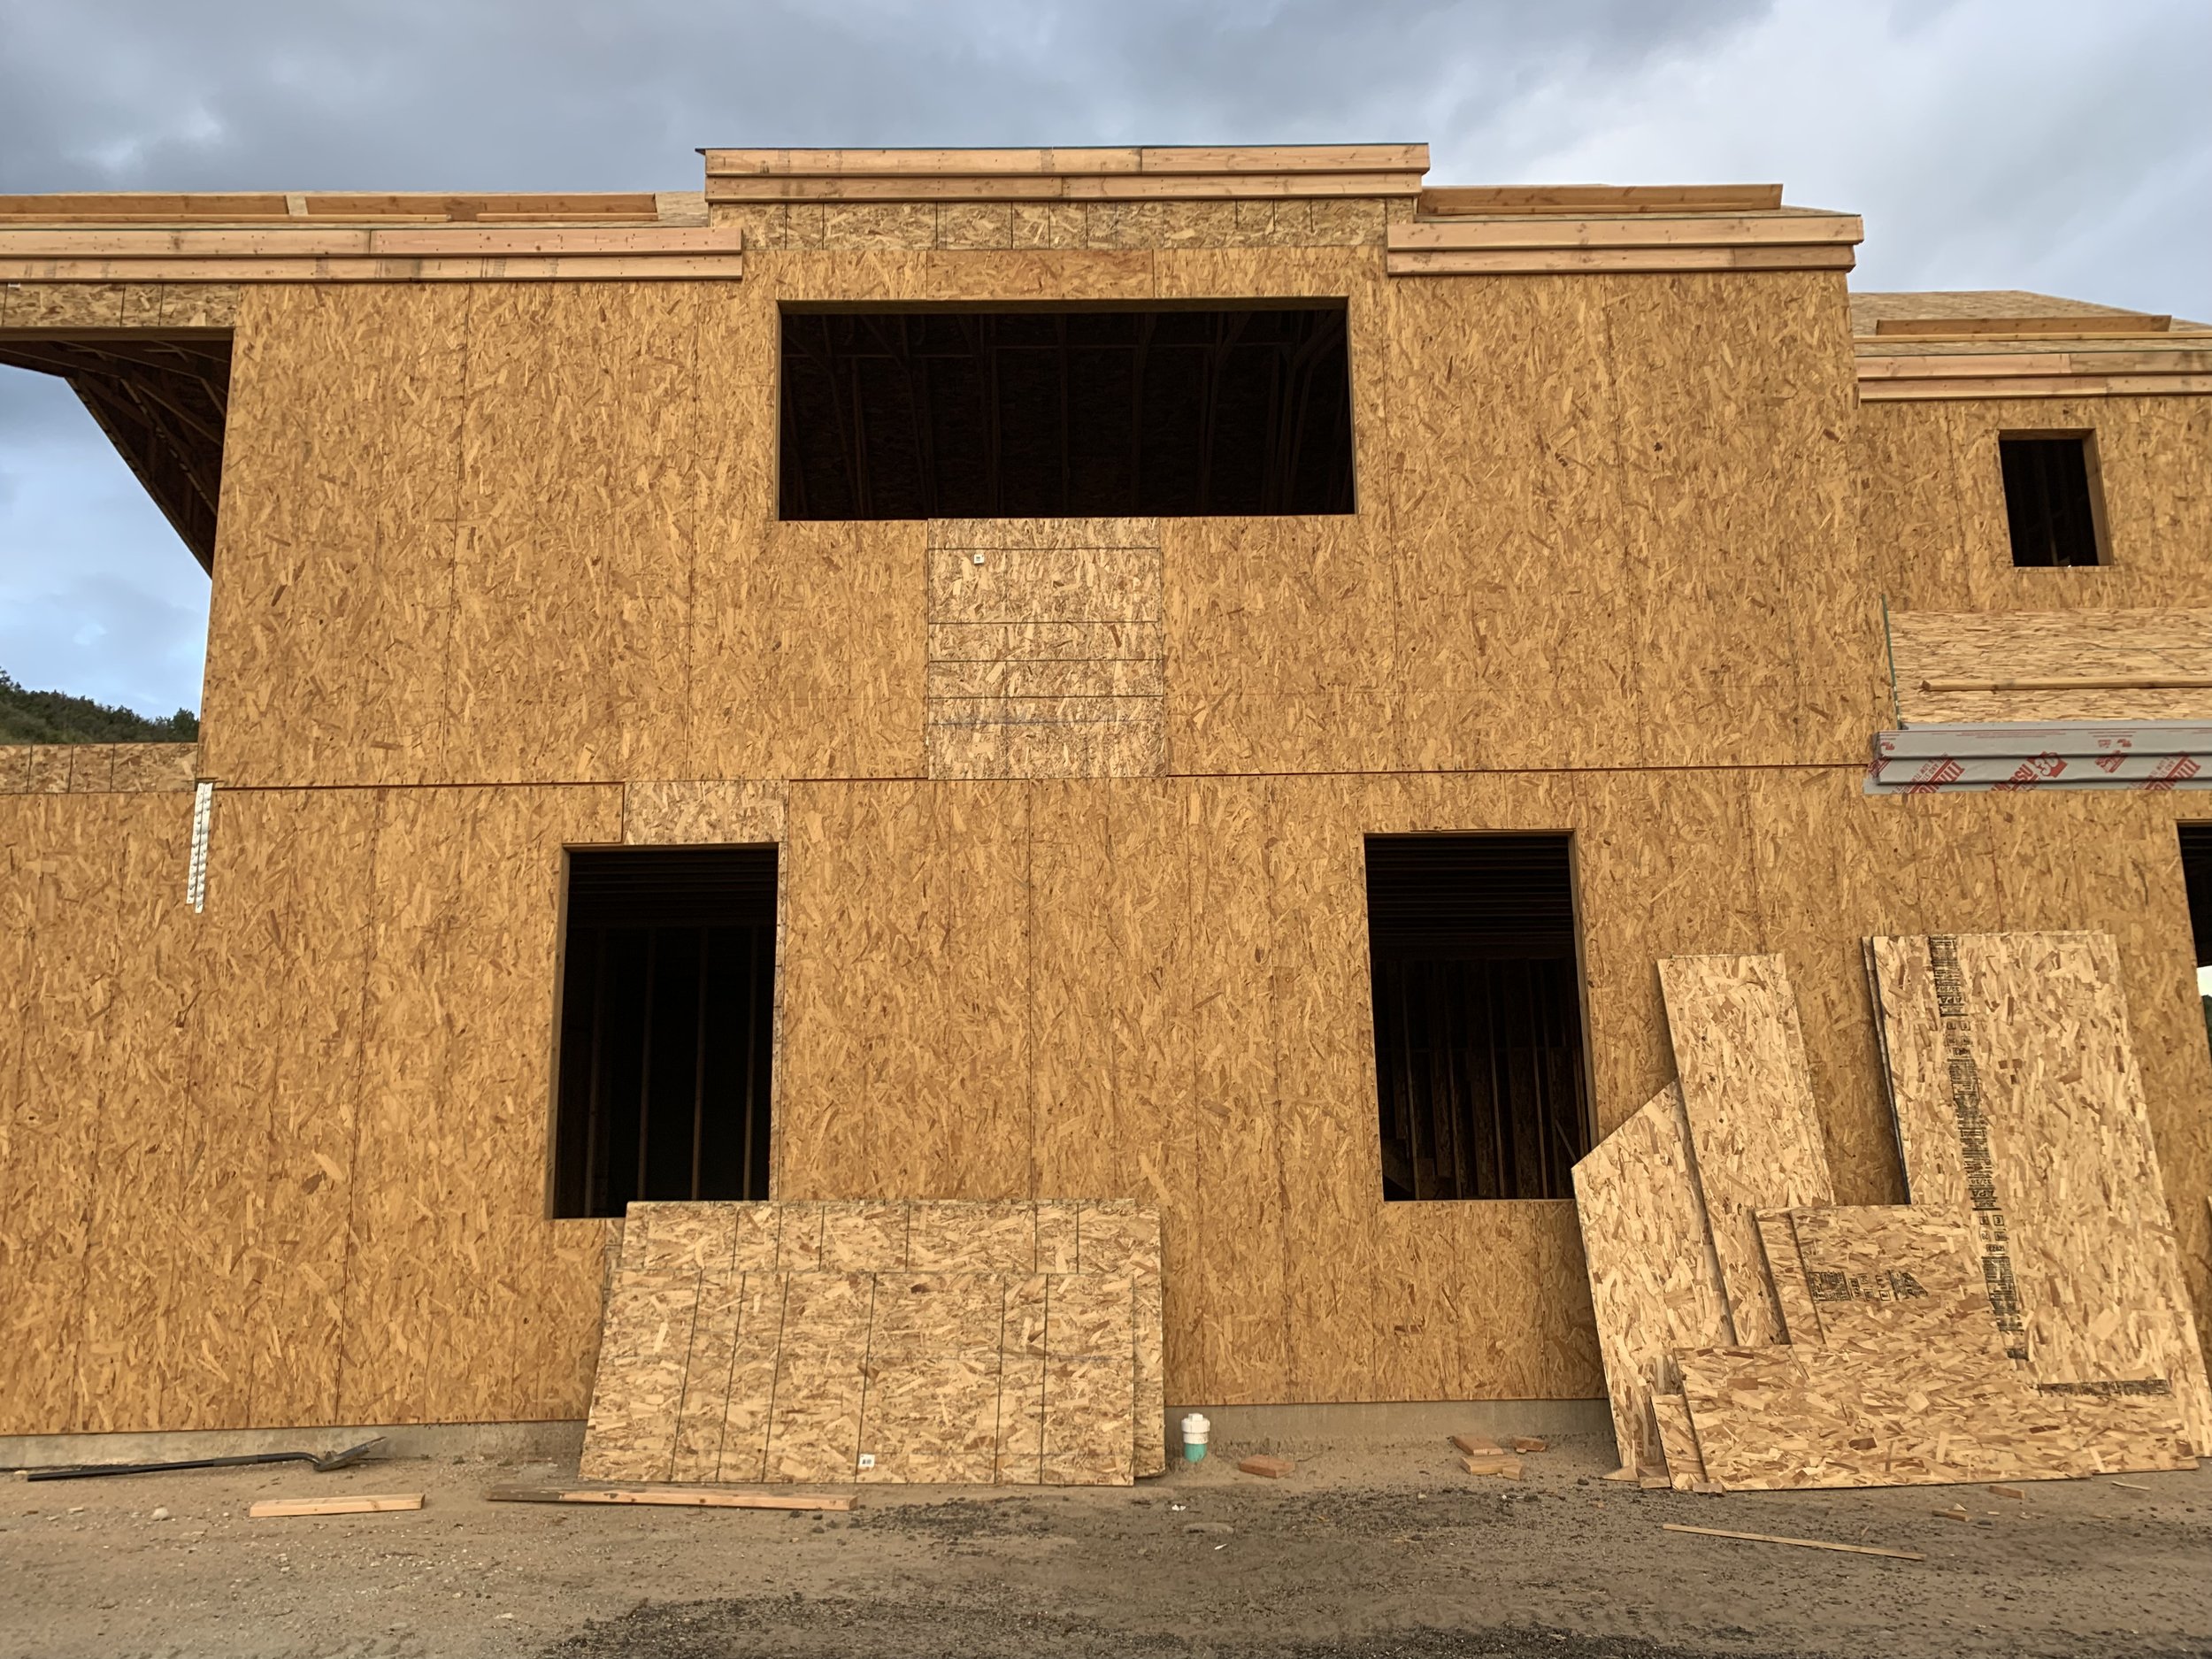
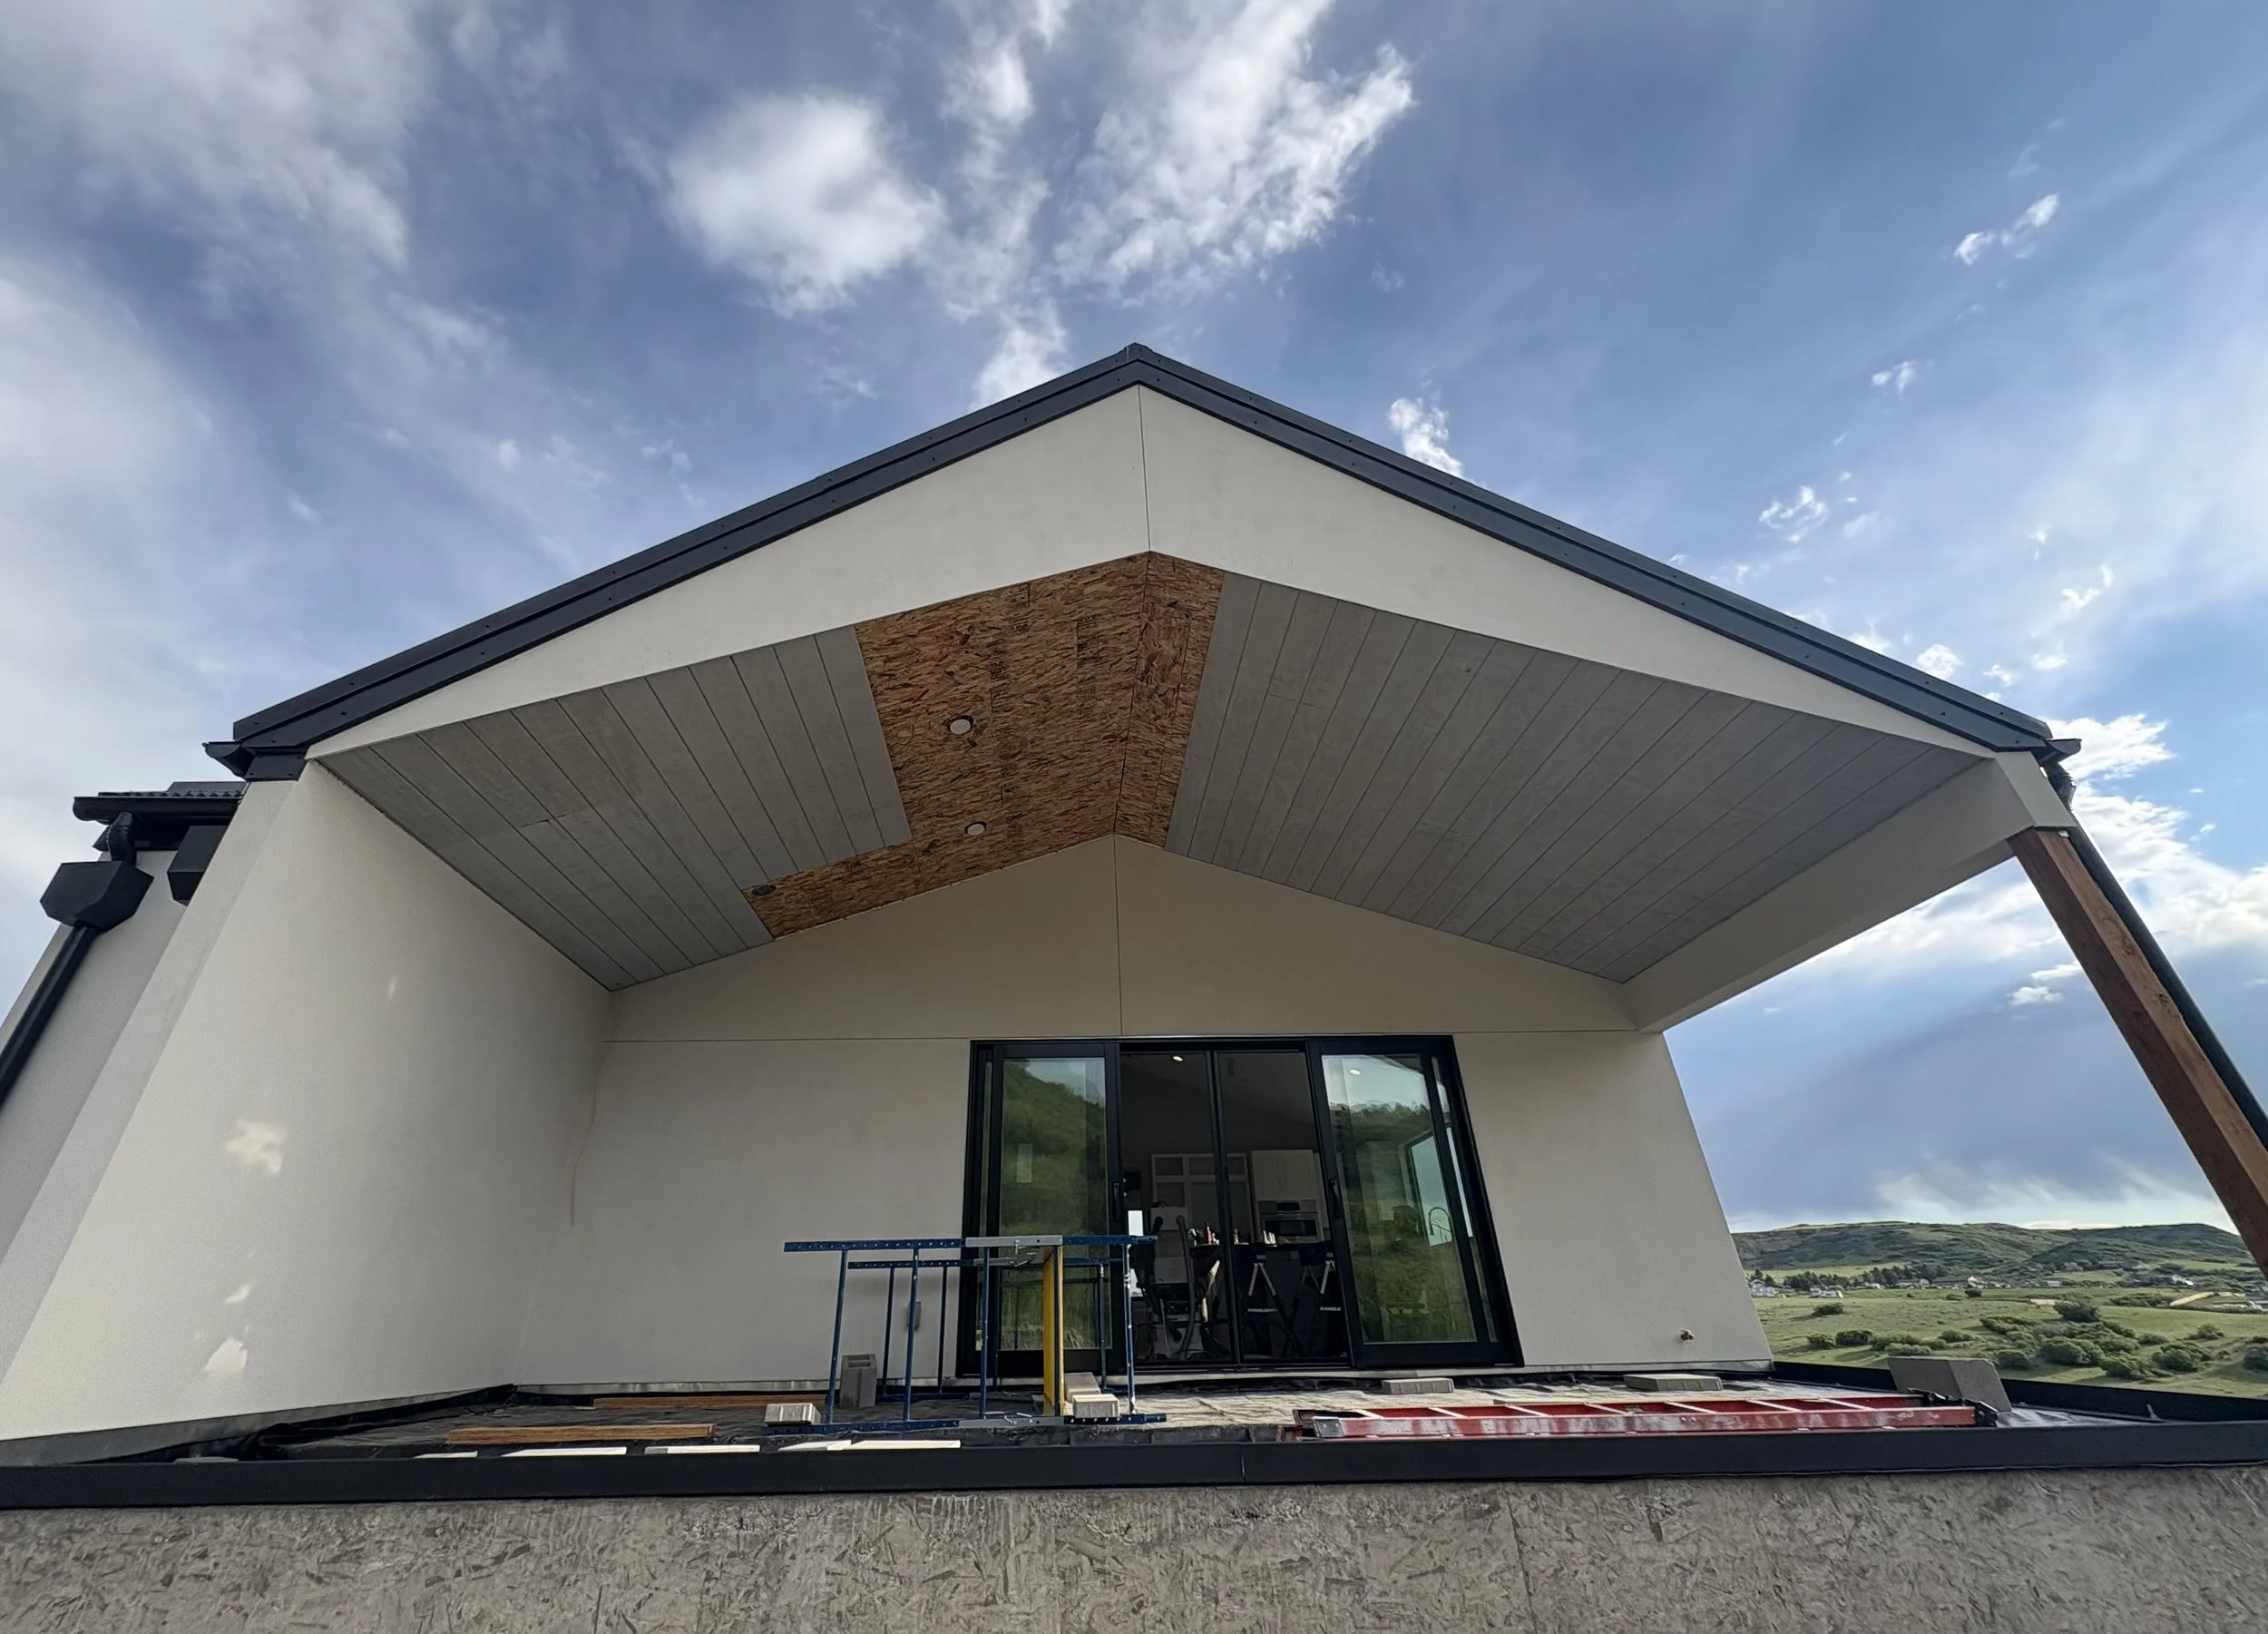
This is the back of the house. The large opening is for our double glass sliders that go out onto the porch.

Looking good as sunset approaches!

It's amazing how a little plywood makes it seem so much bigger.

Today the crane arrives to begin setting the roof trusses.

Very impressive!
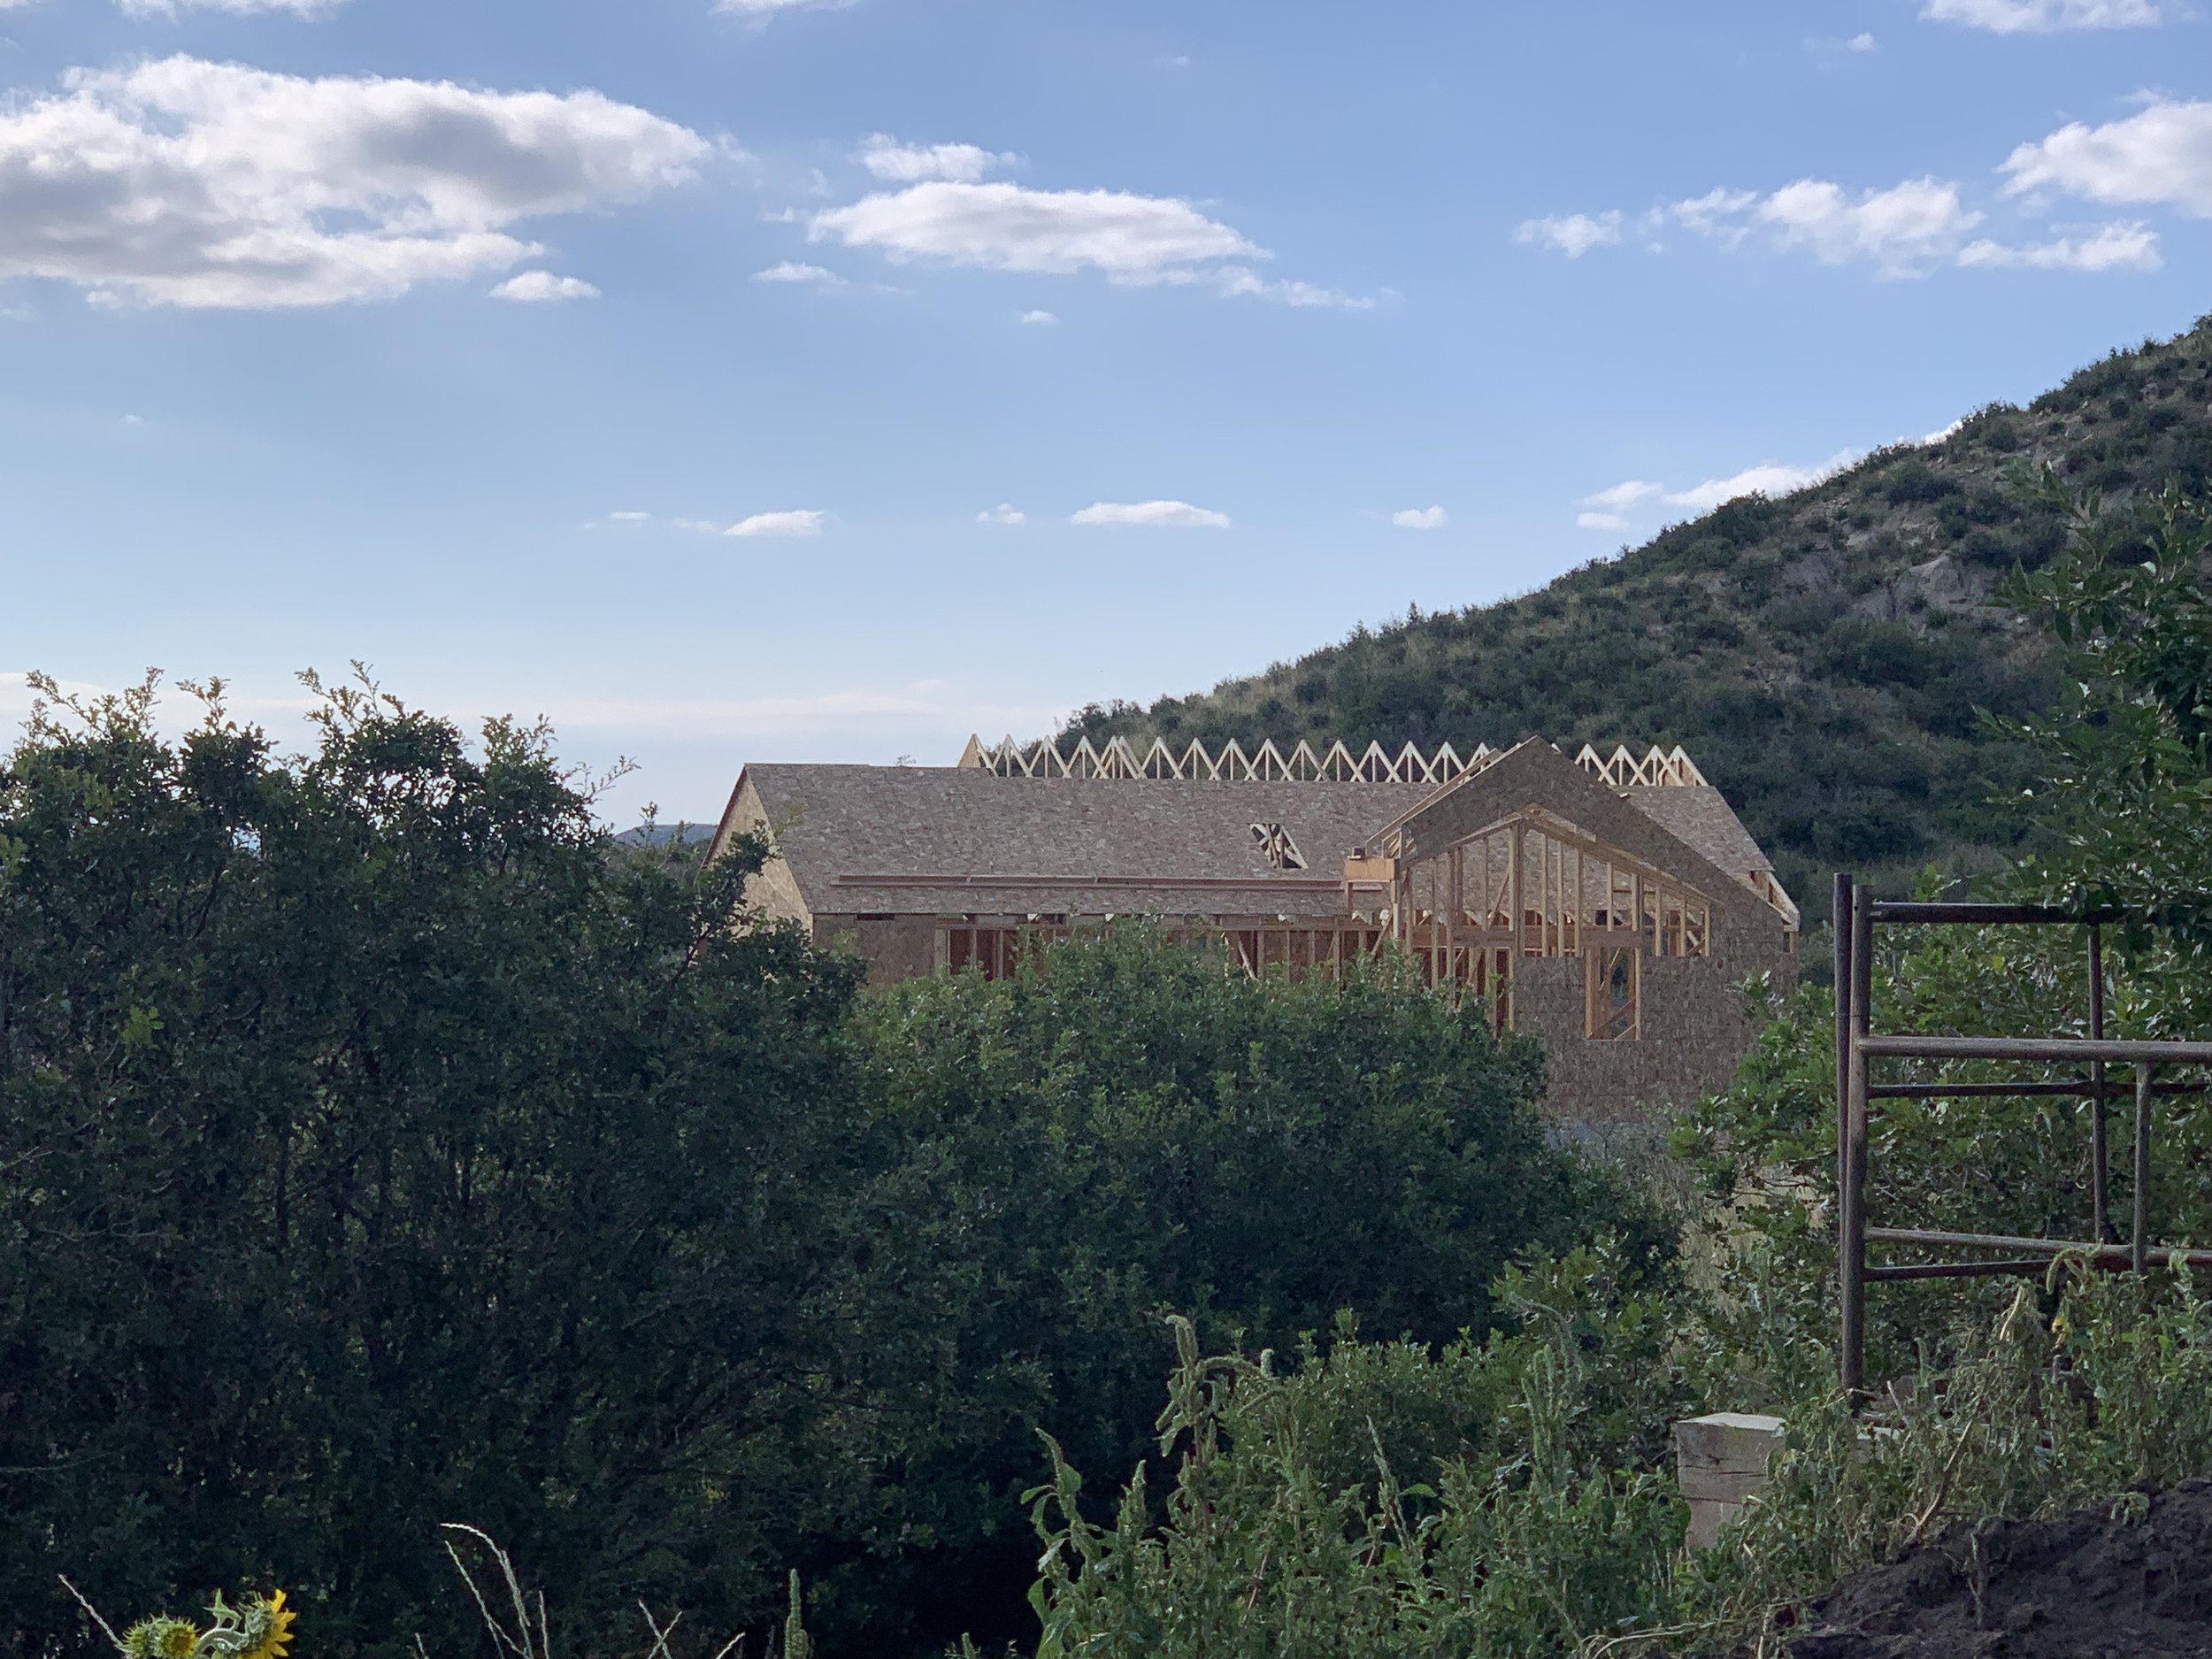
Here's a look at the house from a distance. Pretty nice!
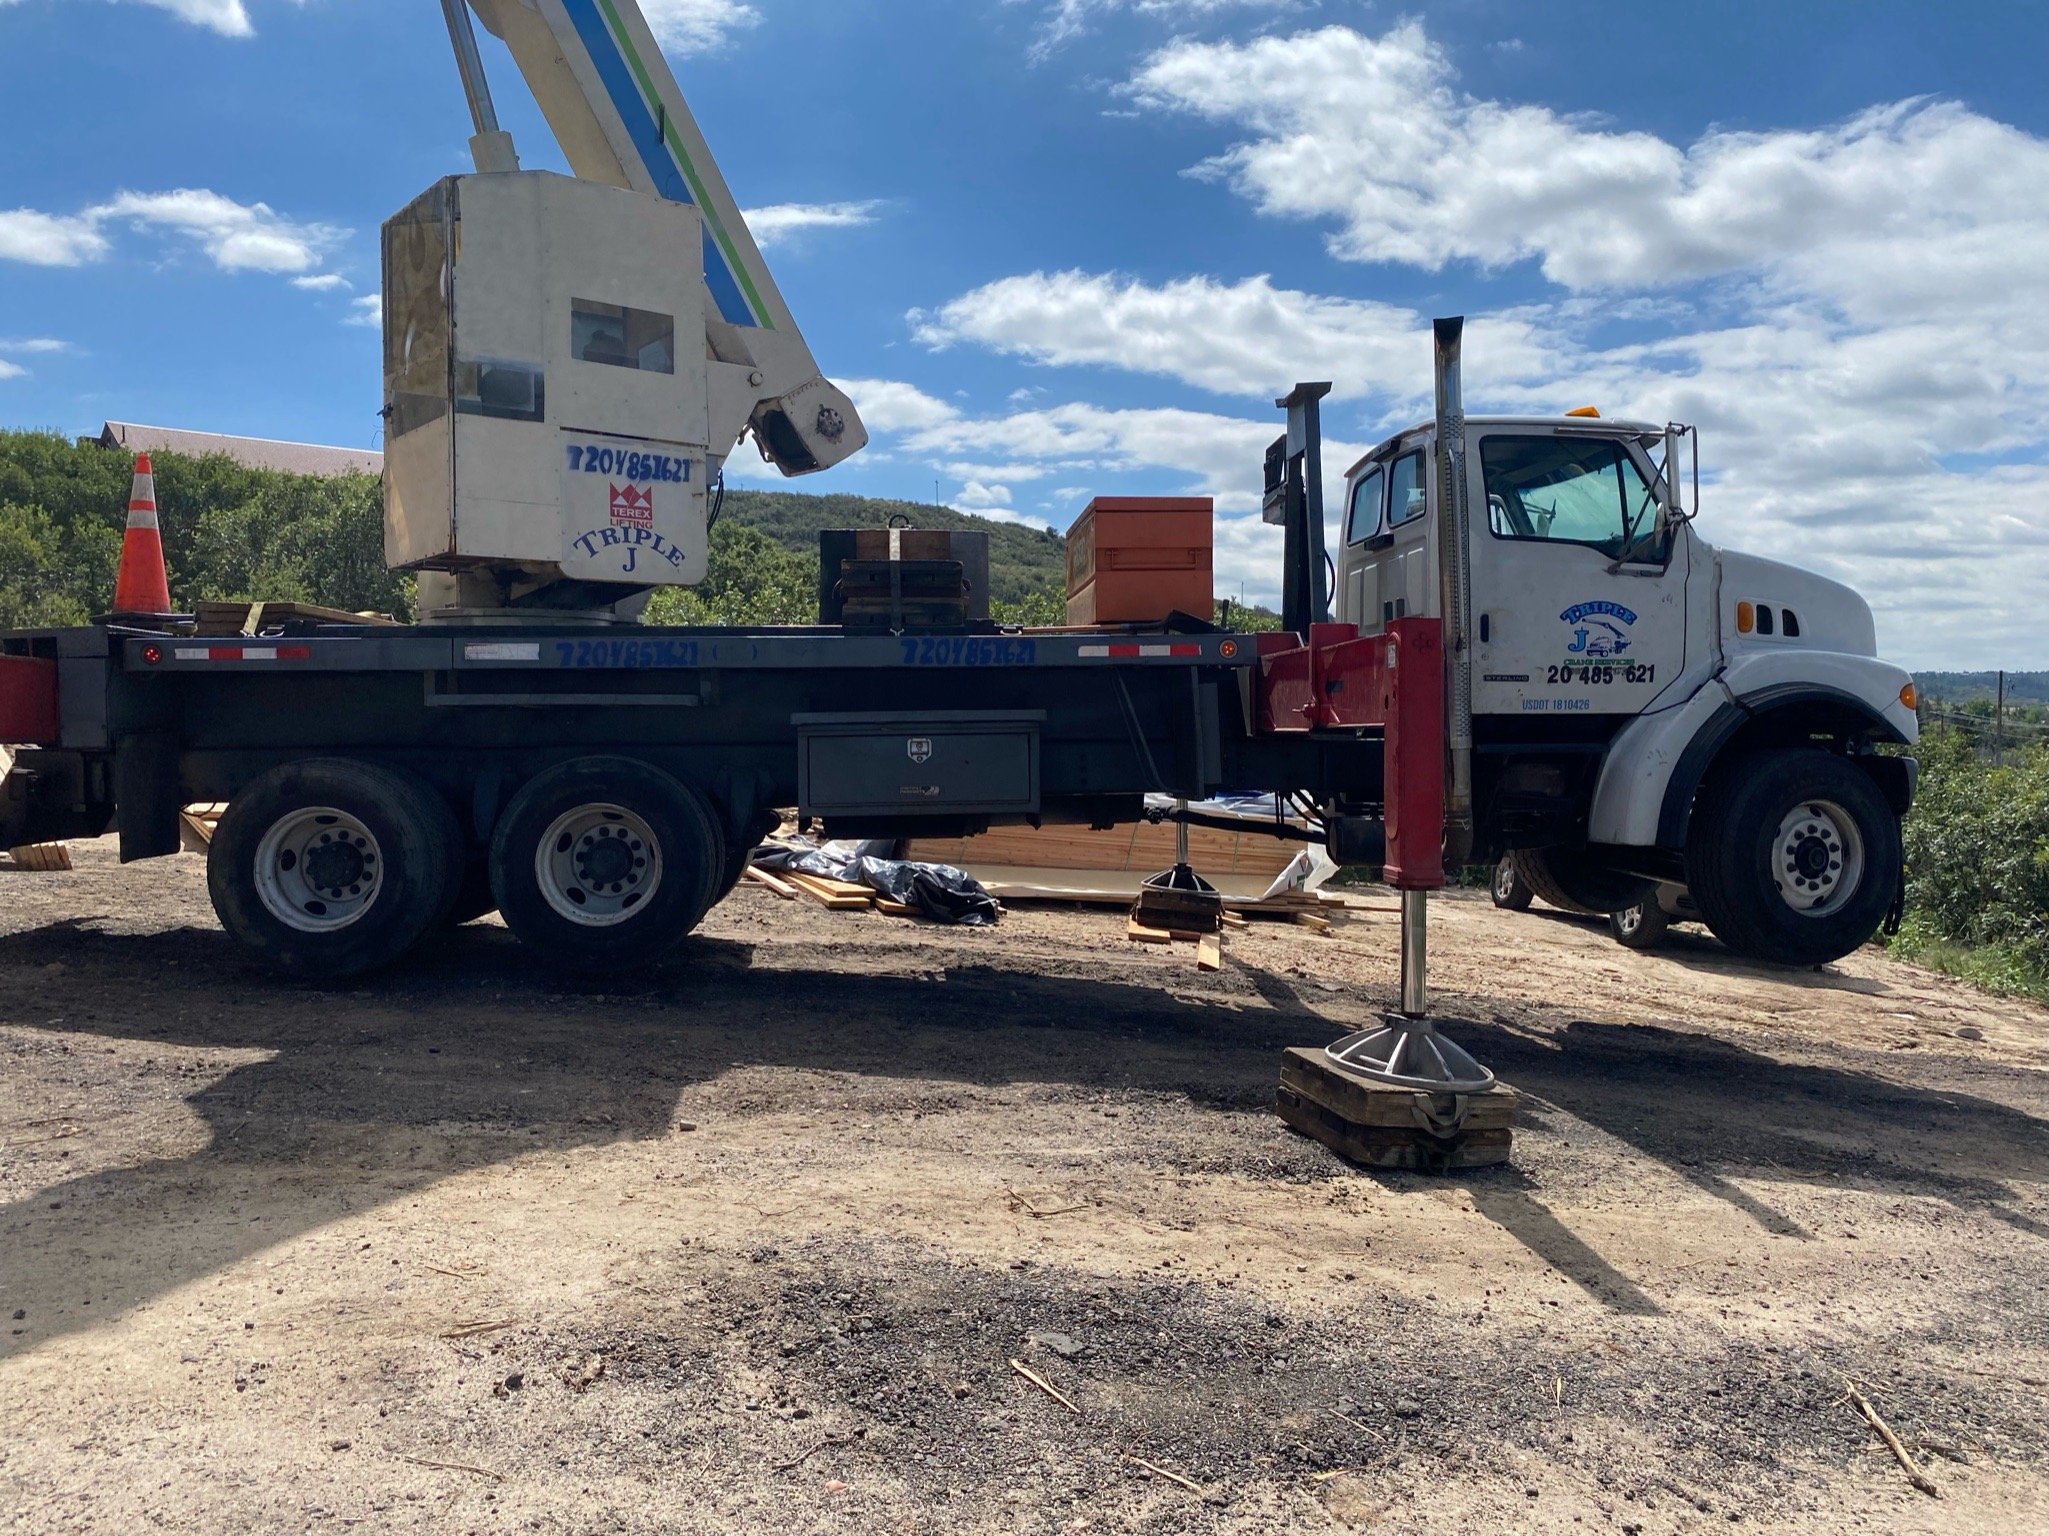
The crane truck is doing wheelies again!

This is the view from down the driveway a bit.

A little deer came to check out the build!

A surprise appearance from the well digging company! We were not notified beforehand, so this came as quite a surprise!

The drilling truck gets into position.

The build site looked like rush hour on the freeway!

Quite the ordeal getting this well dug. Not to mention, juggling the framers at the same time.

In spite of the drillers, the framing crew pushed on and are making quick work of the roof!
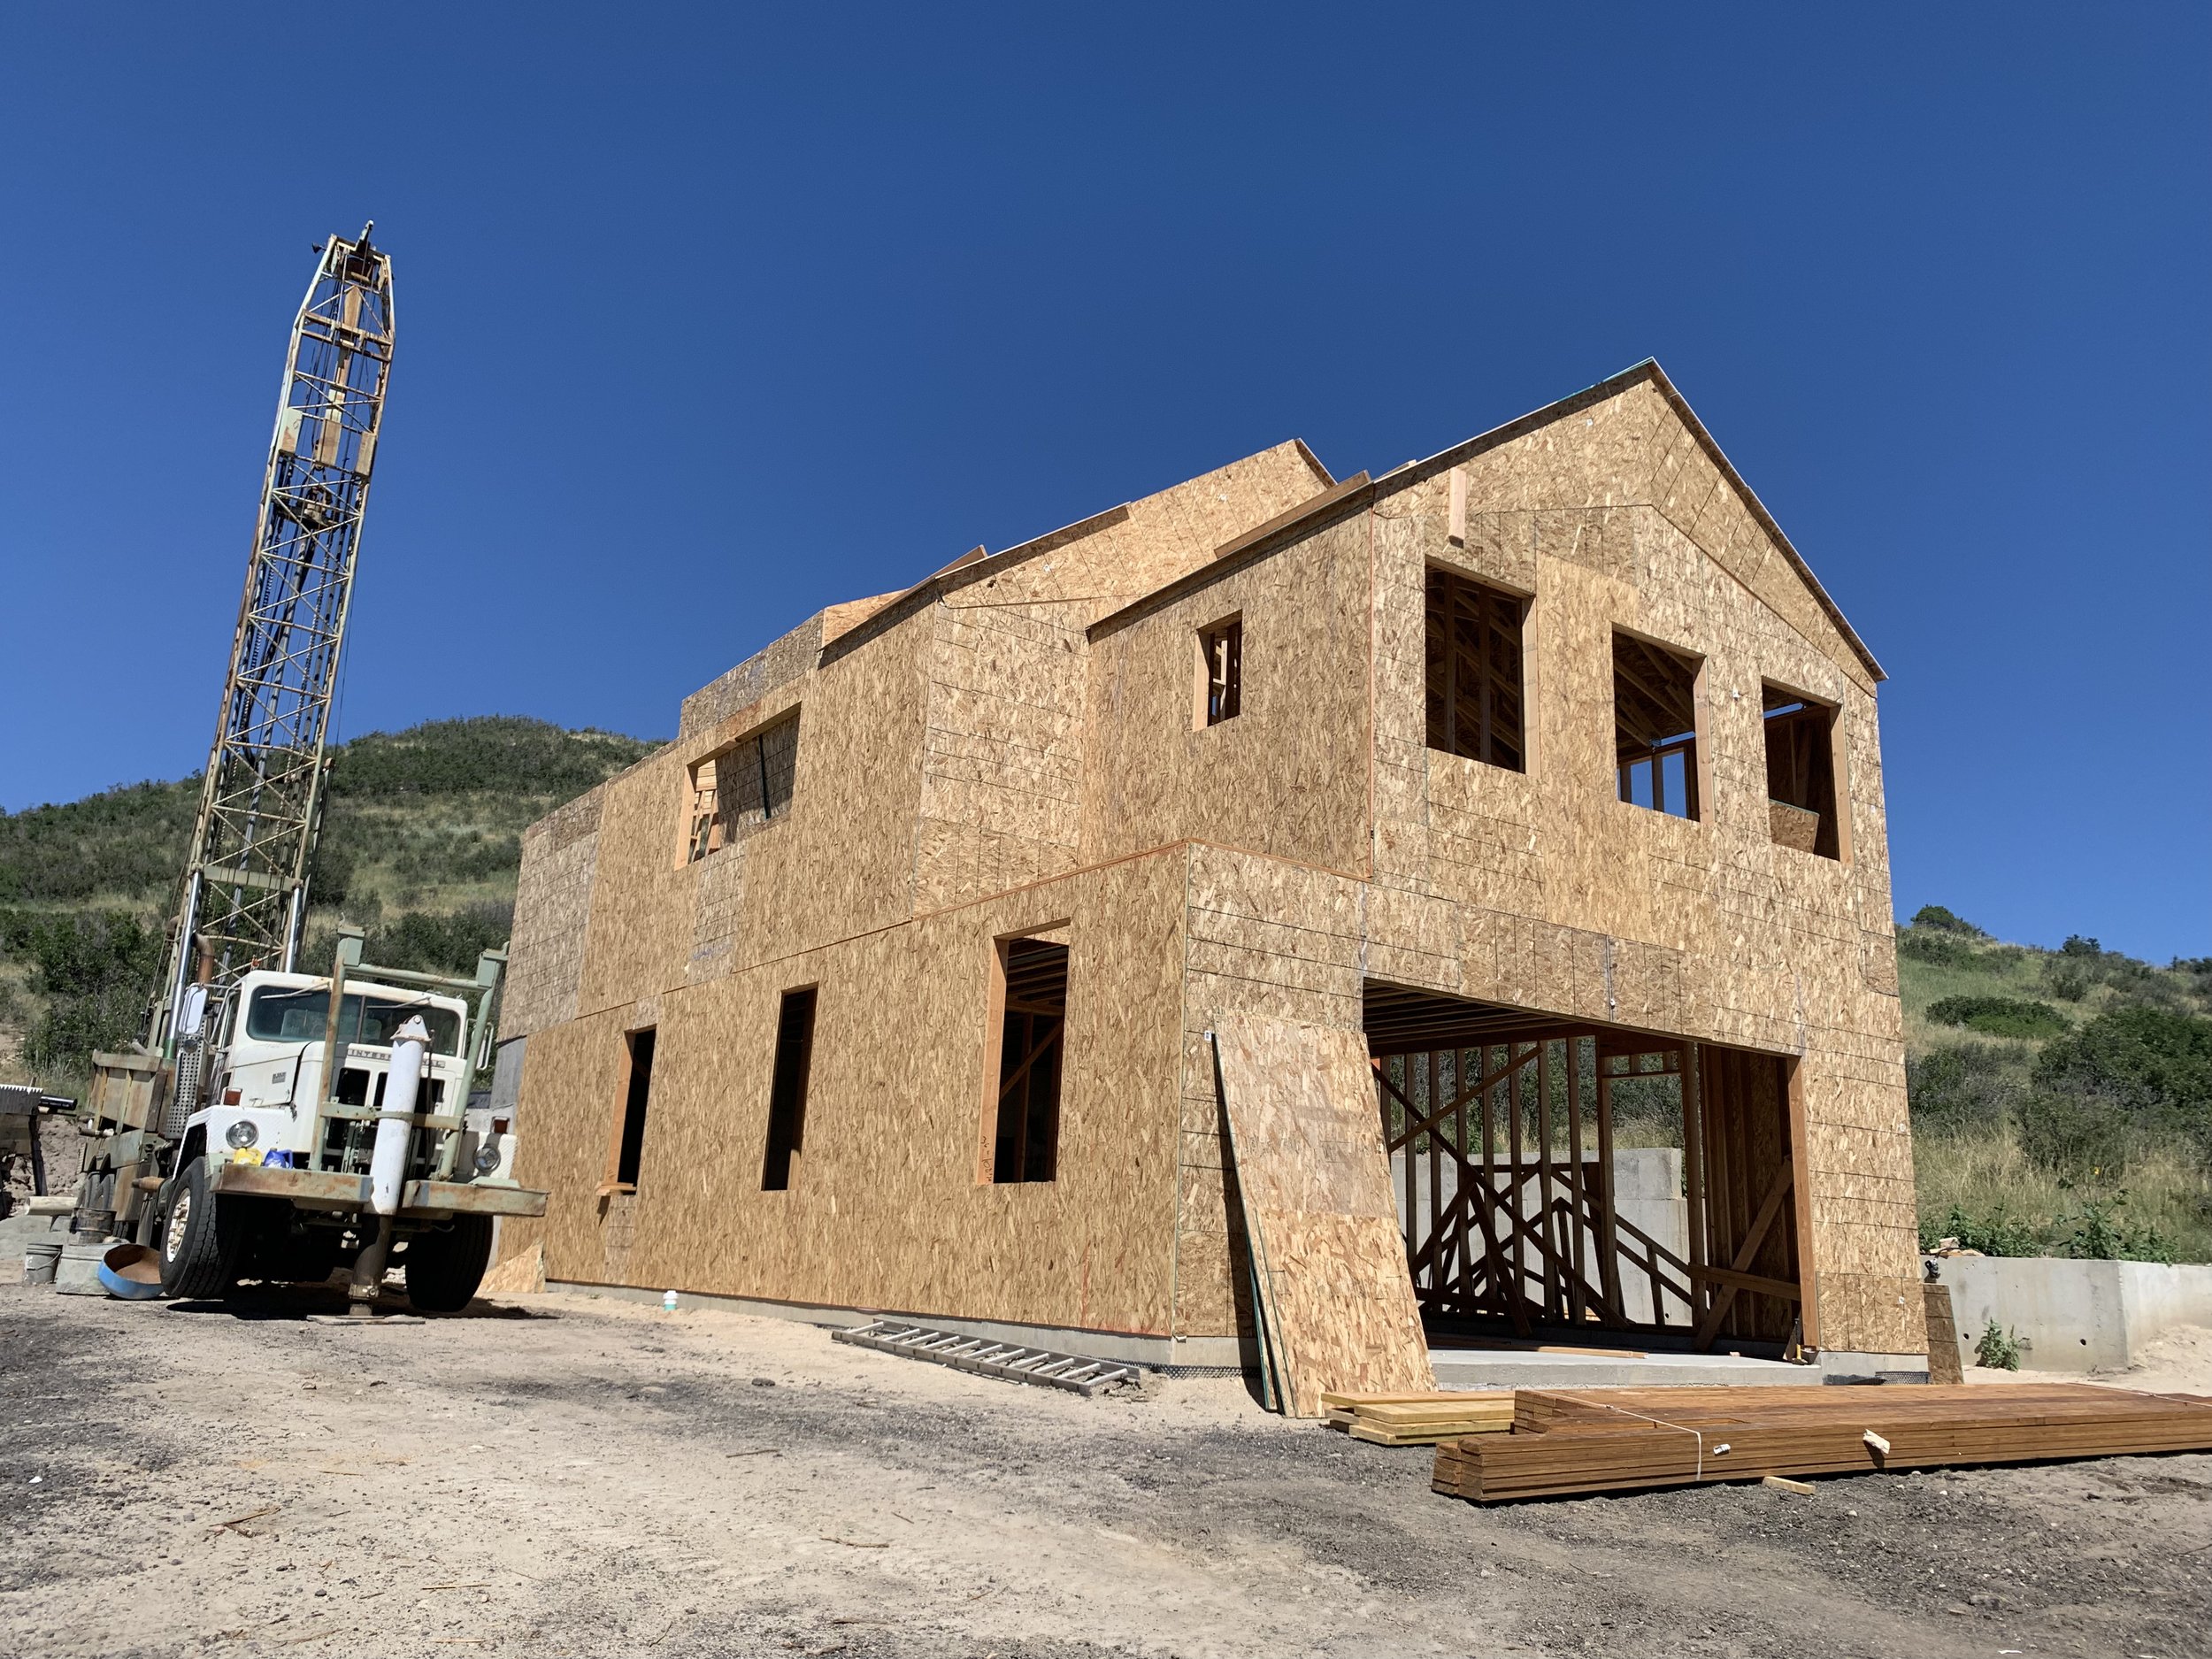
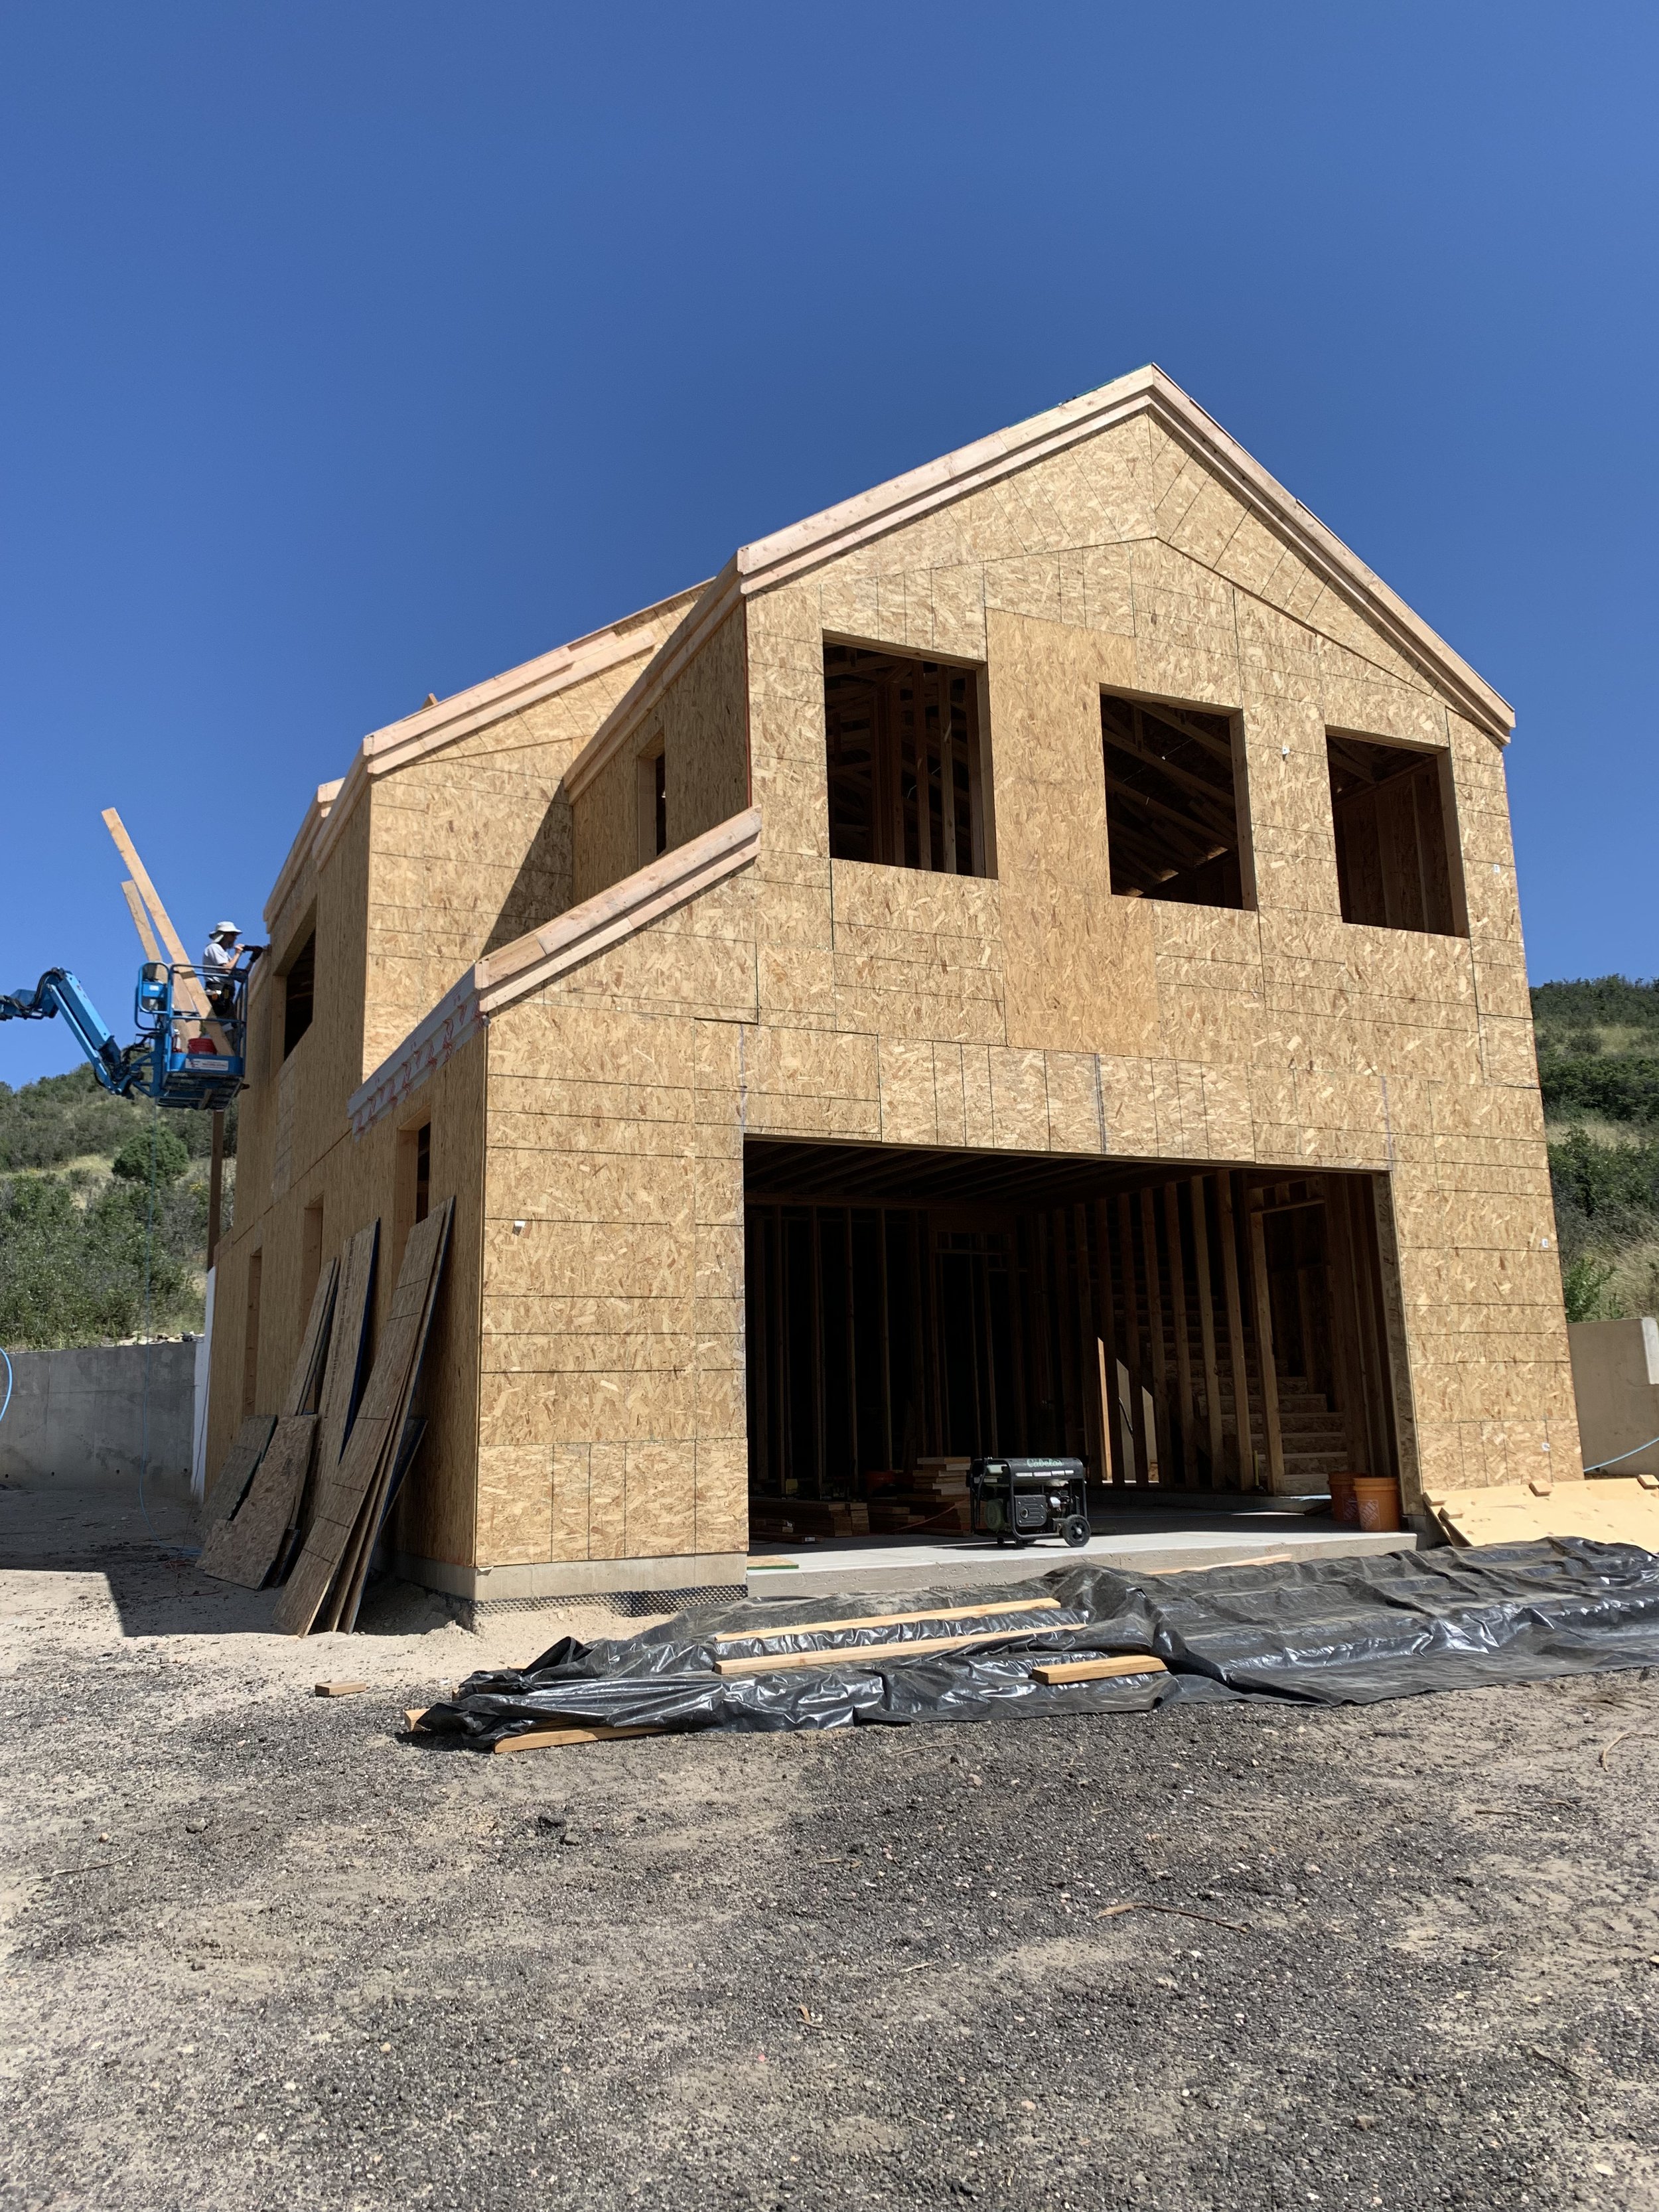
Wow! It's actually a house!
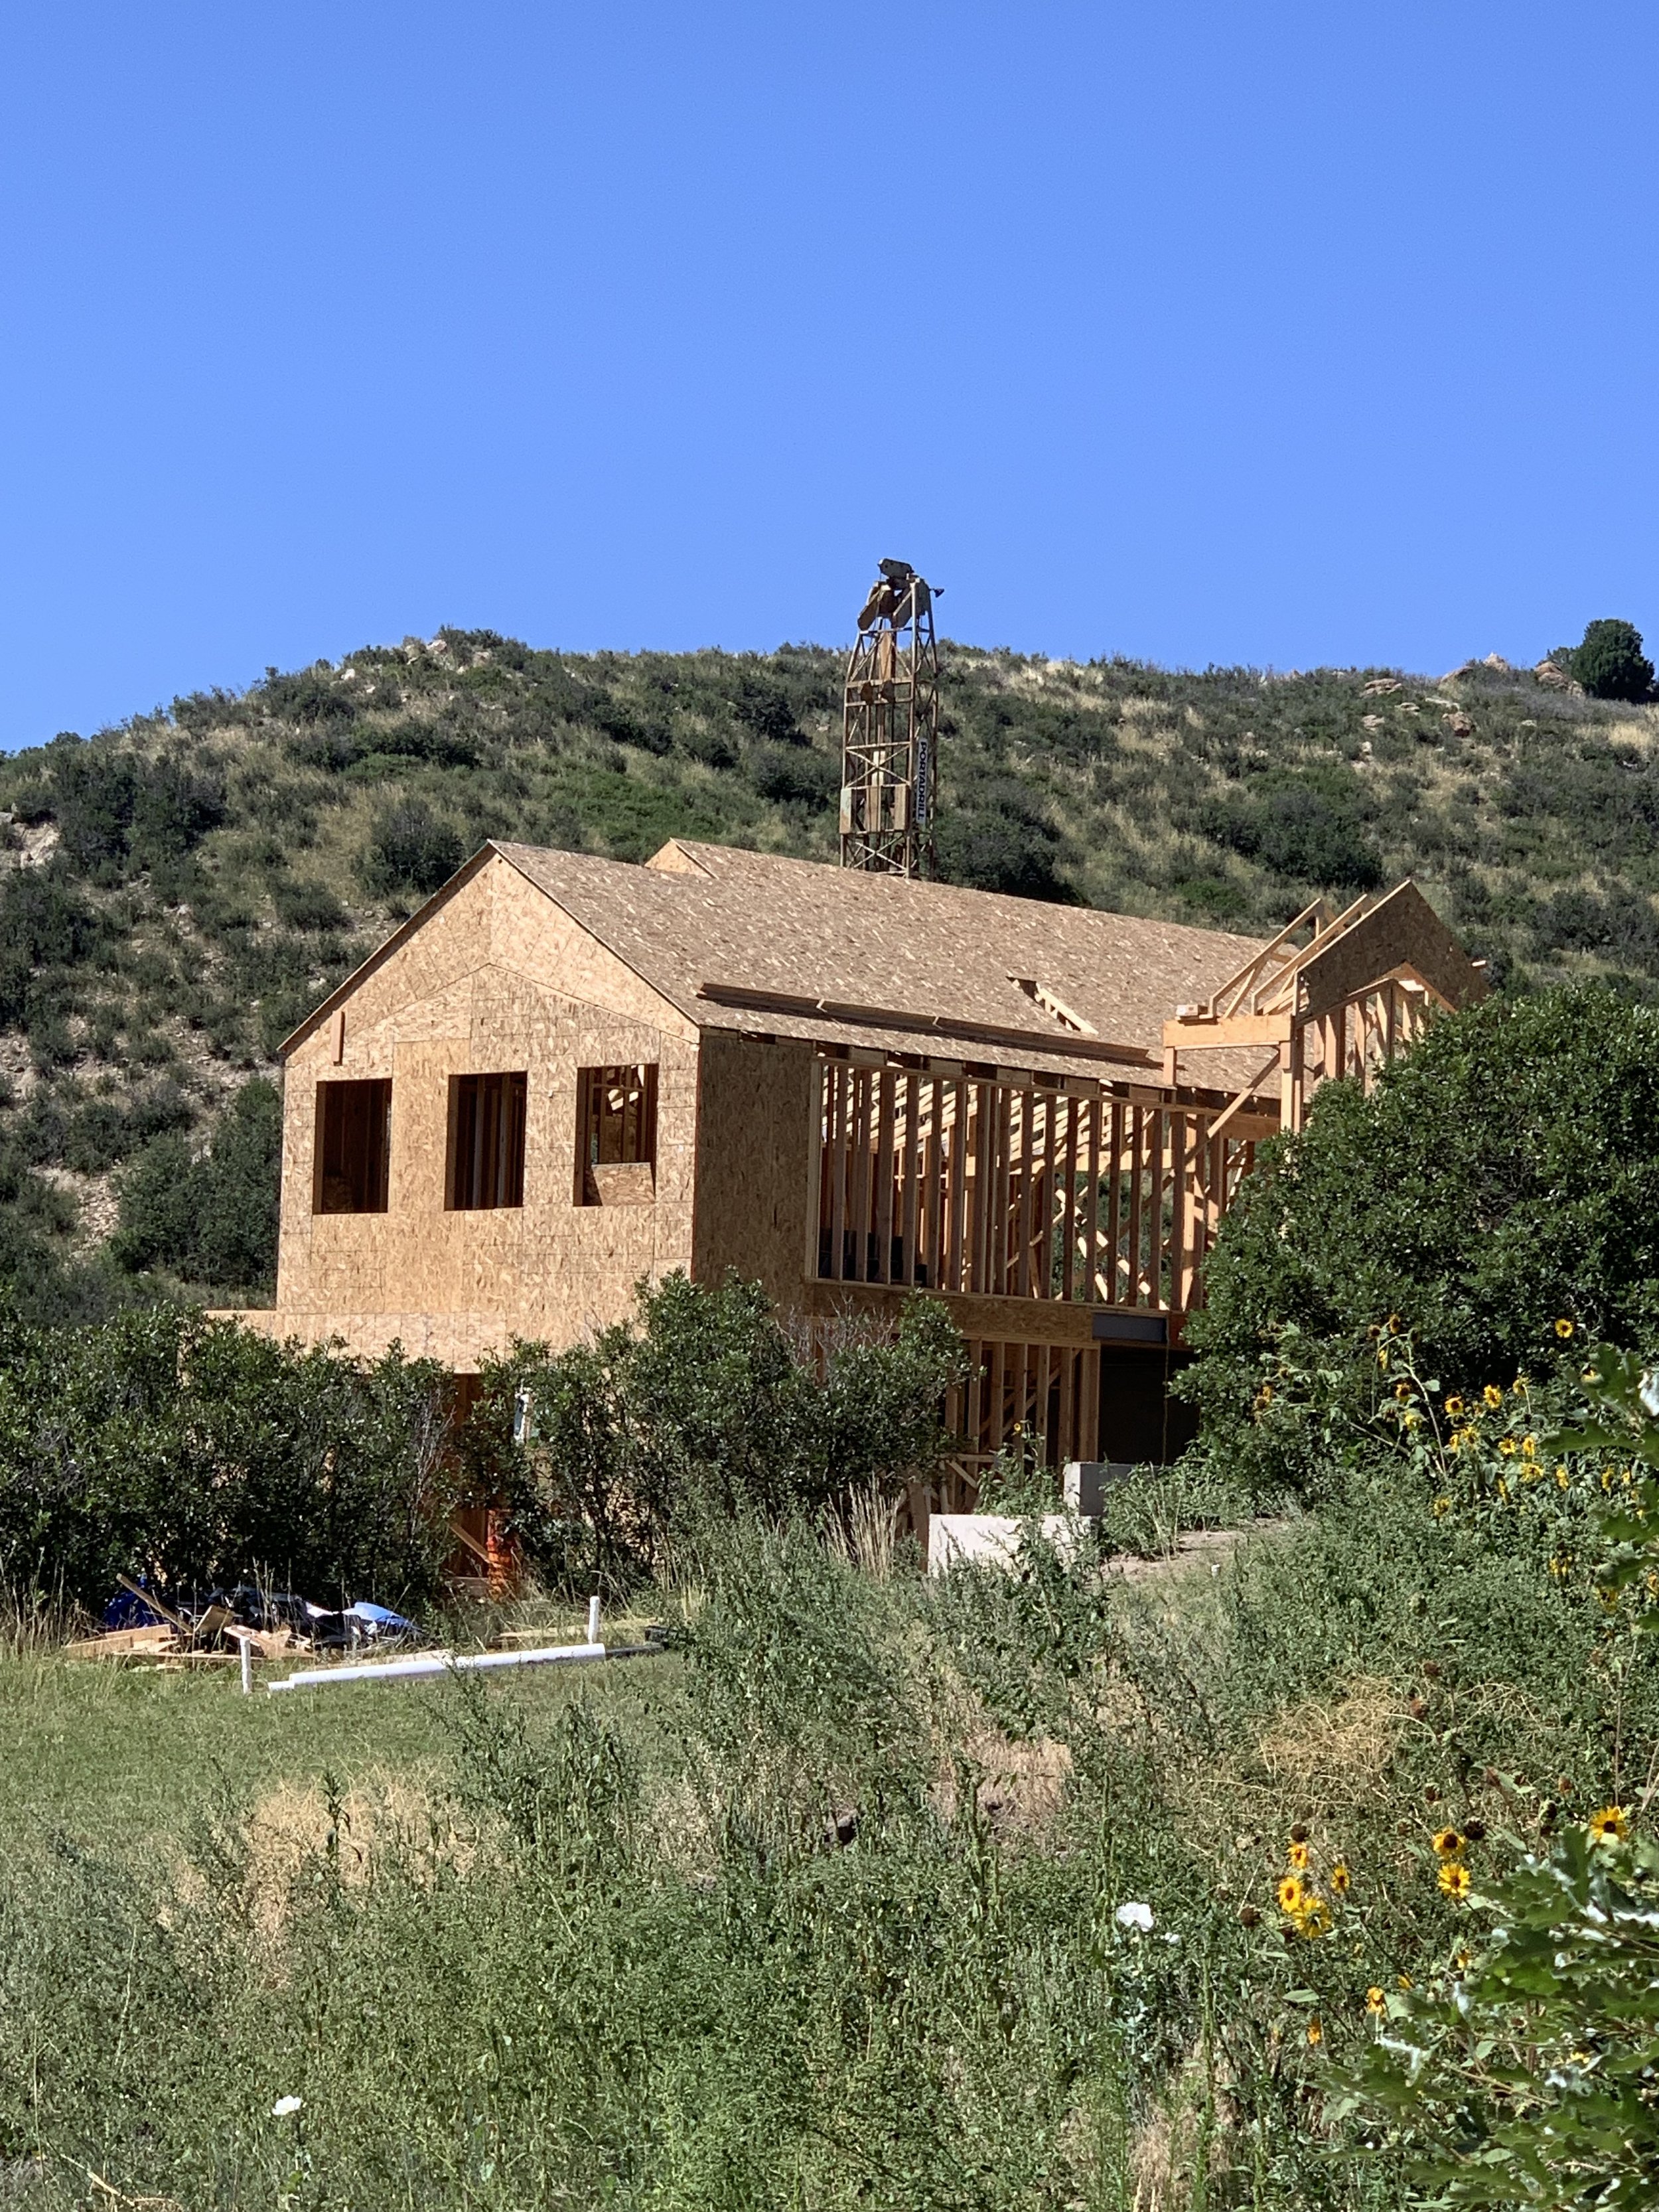
A view from the other side. Looks great...minus the well drill sticking up over our roof. The drill broke down halfway through, so it just sat there for days.

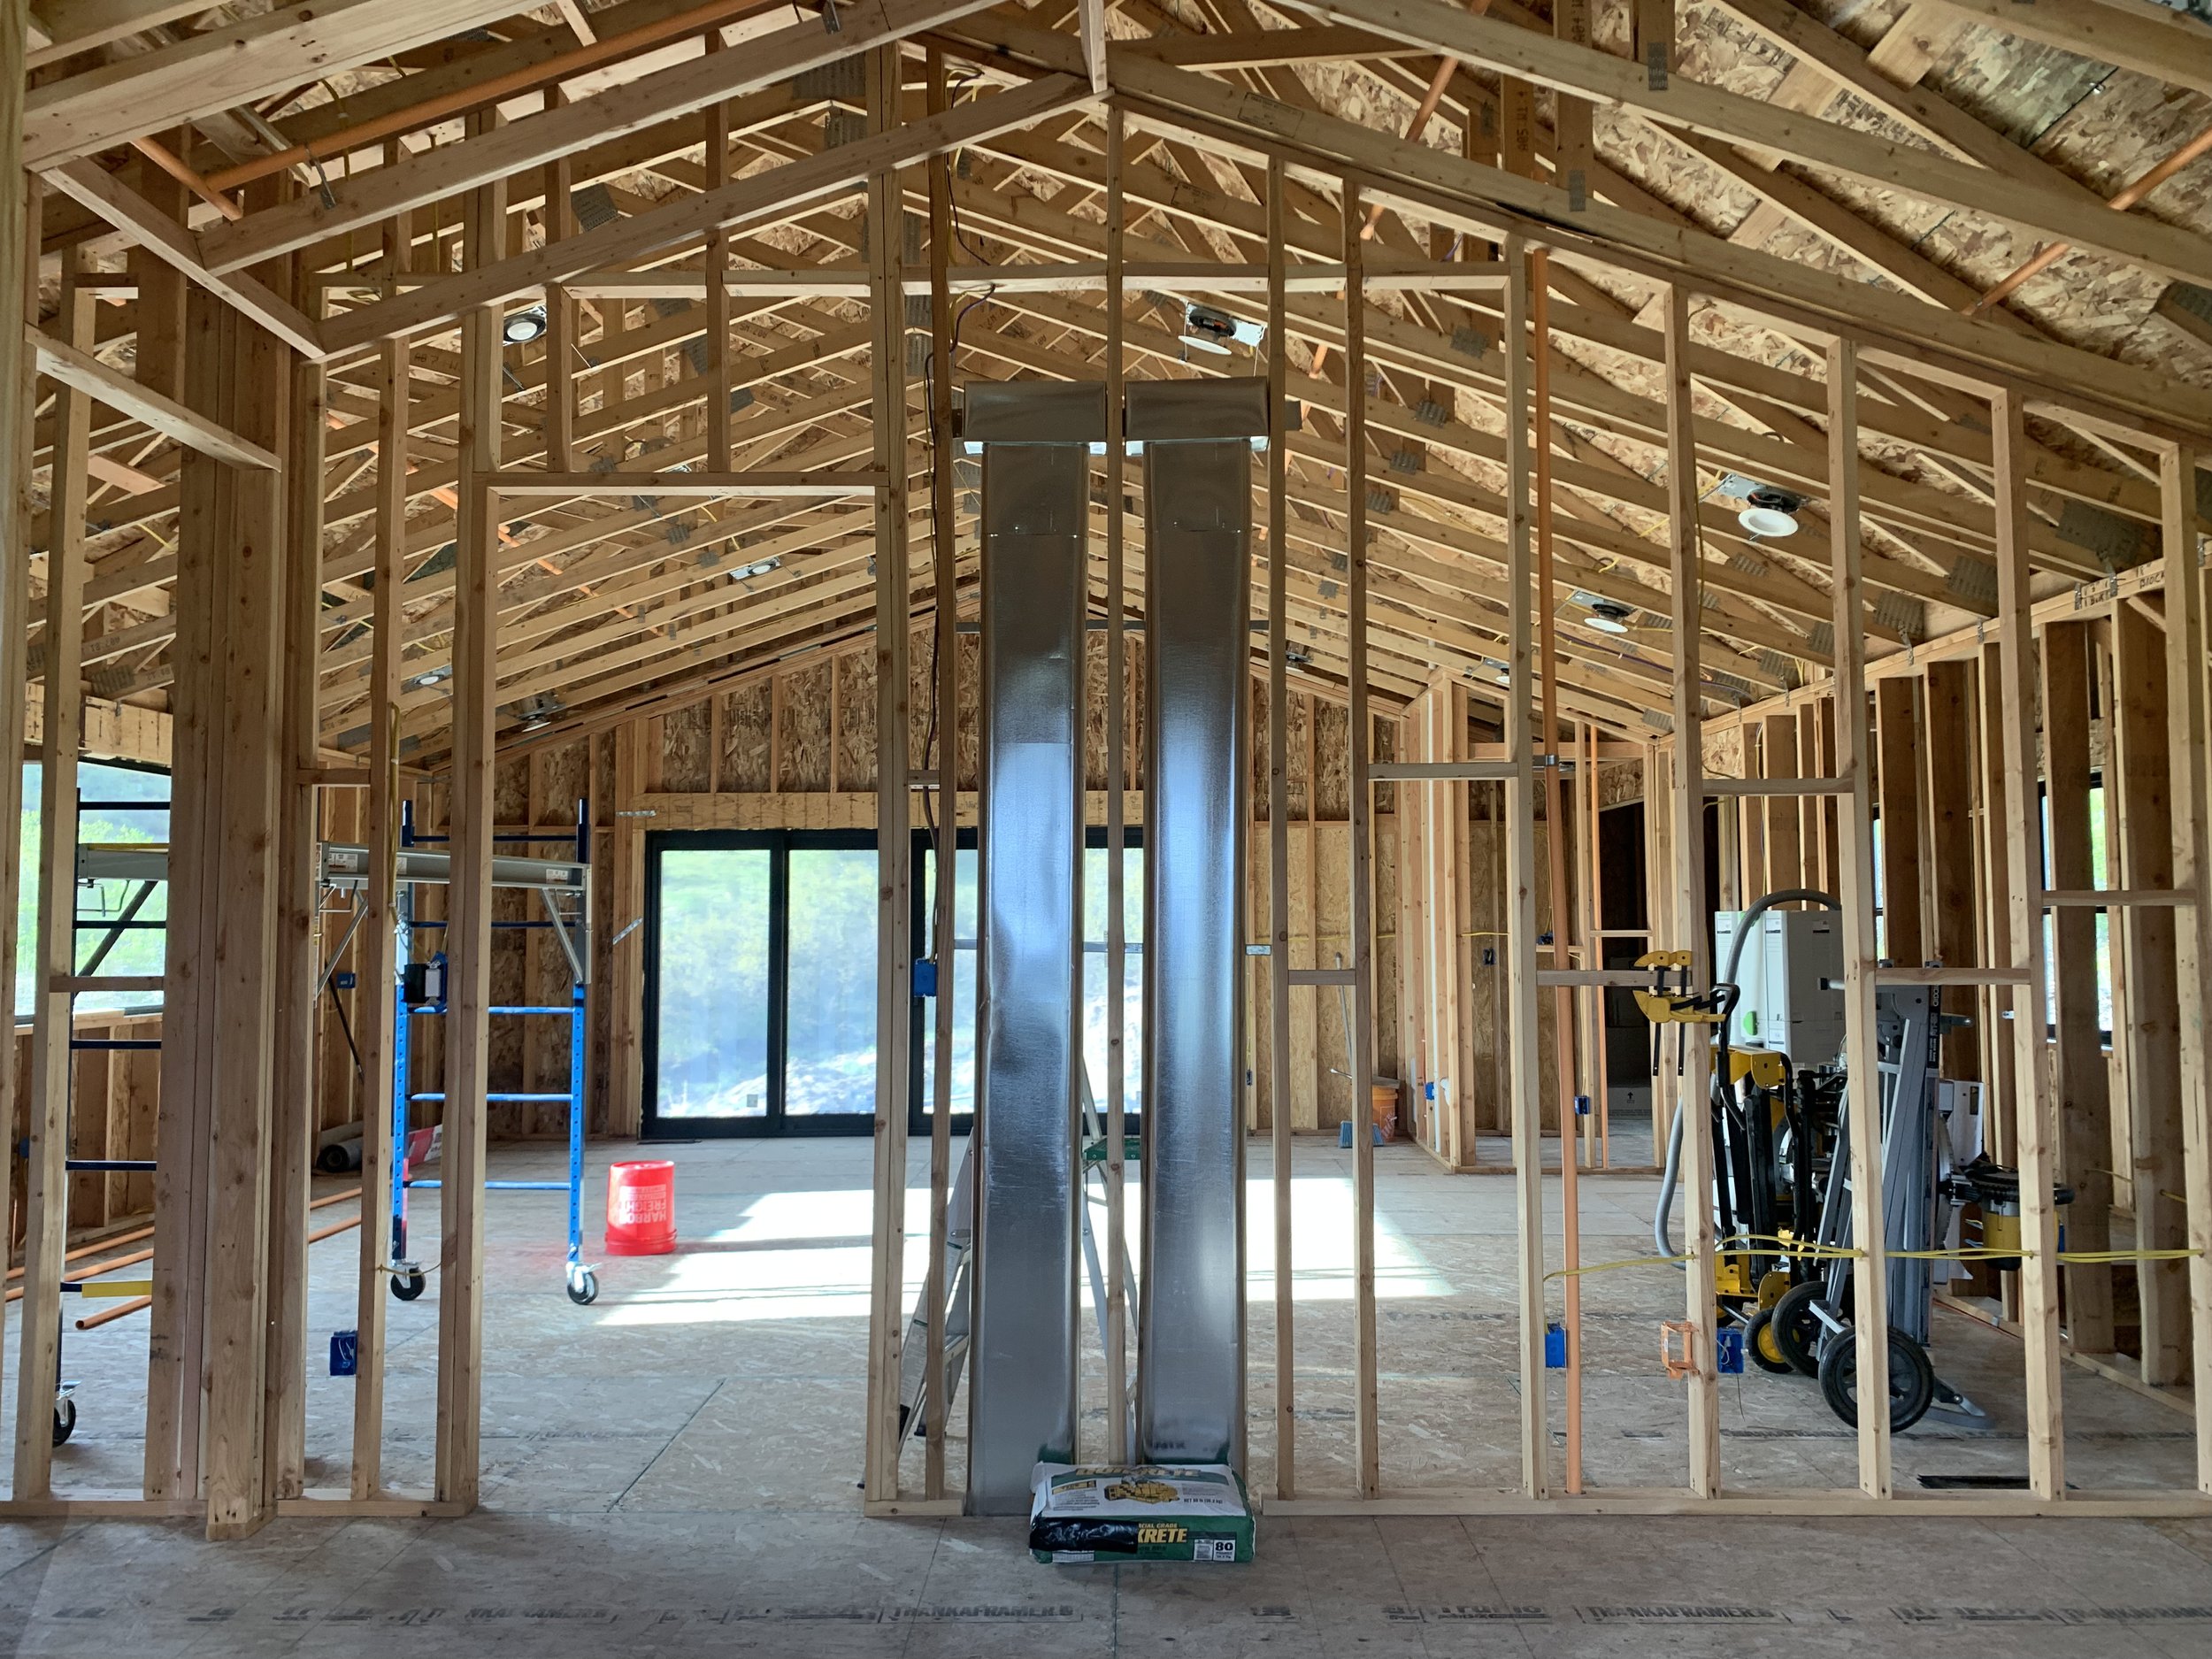
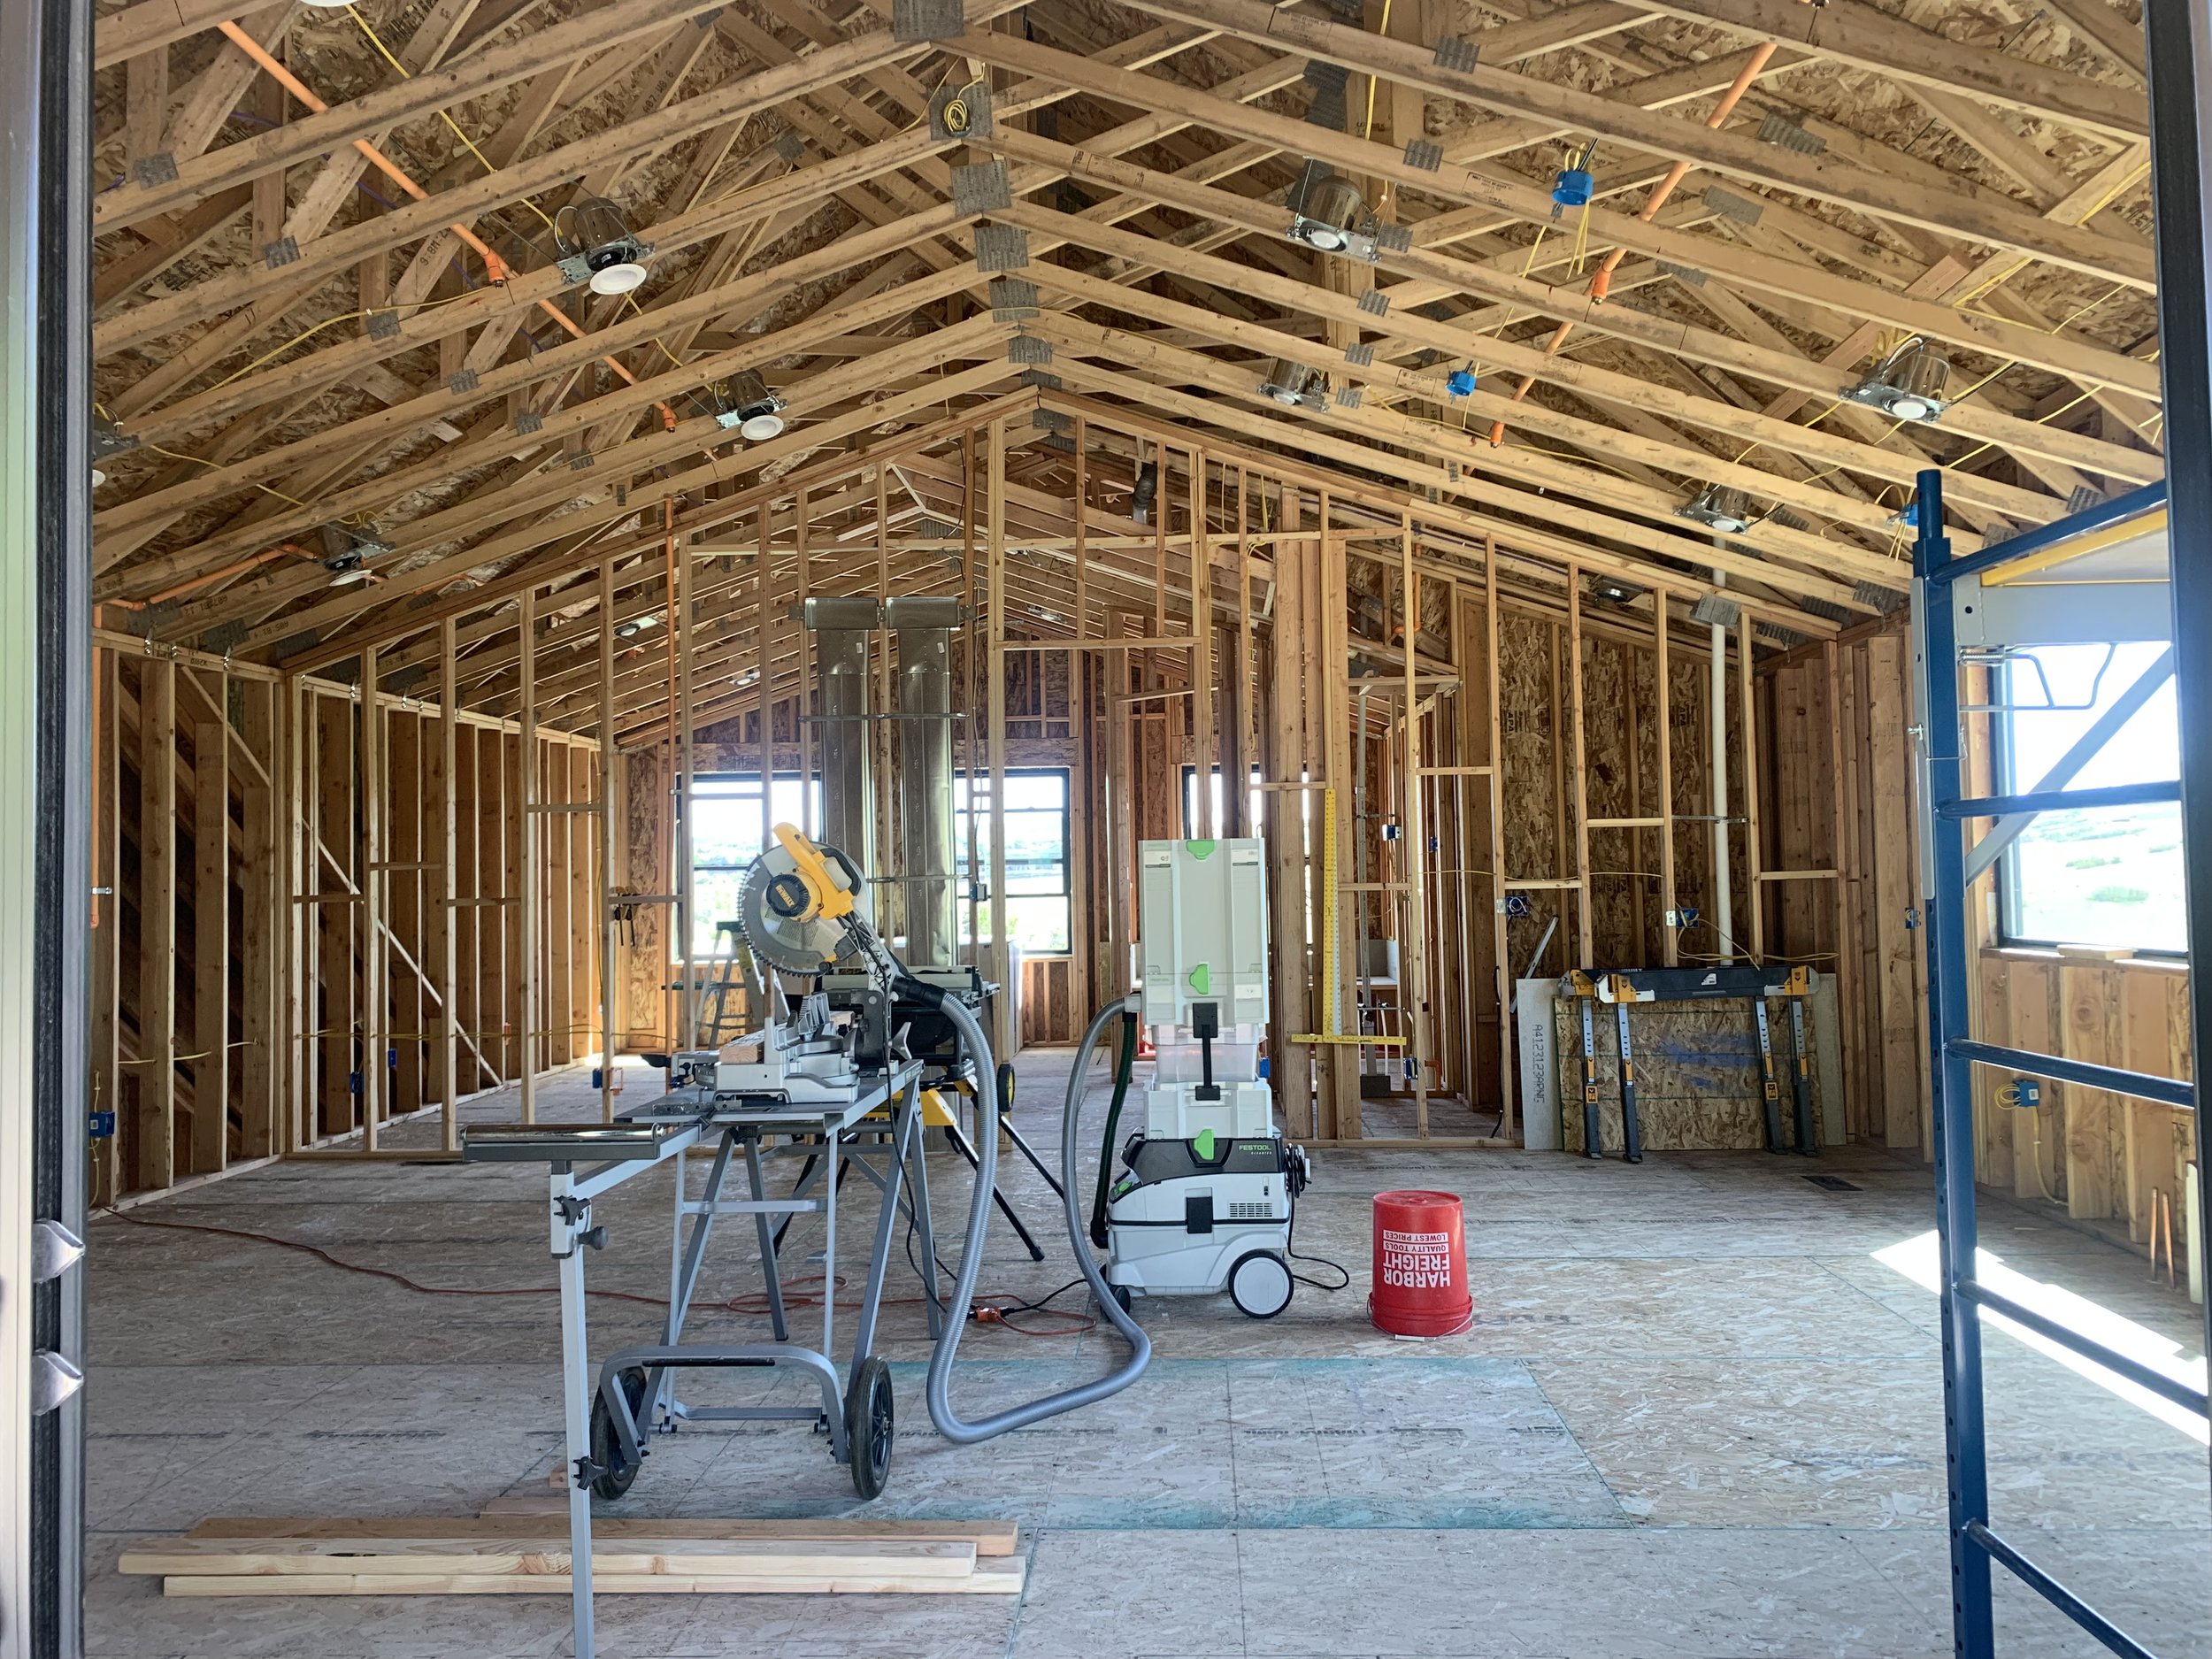
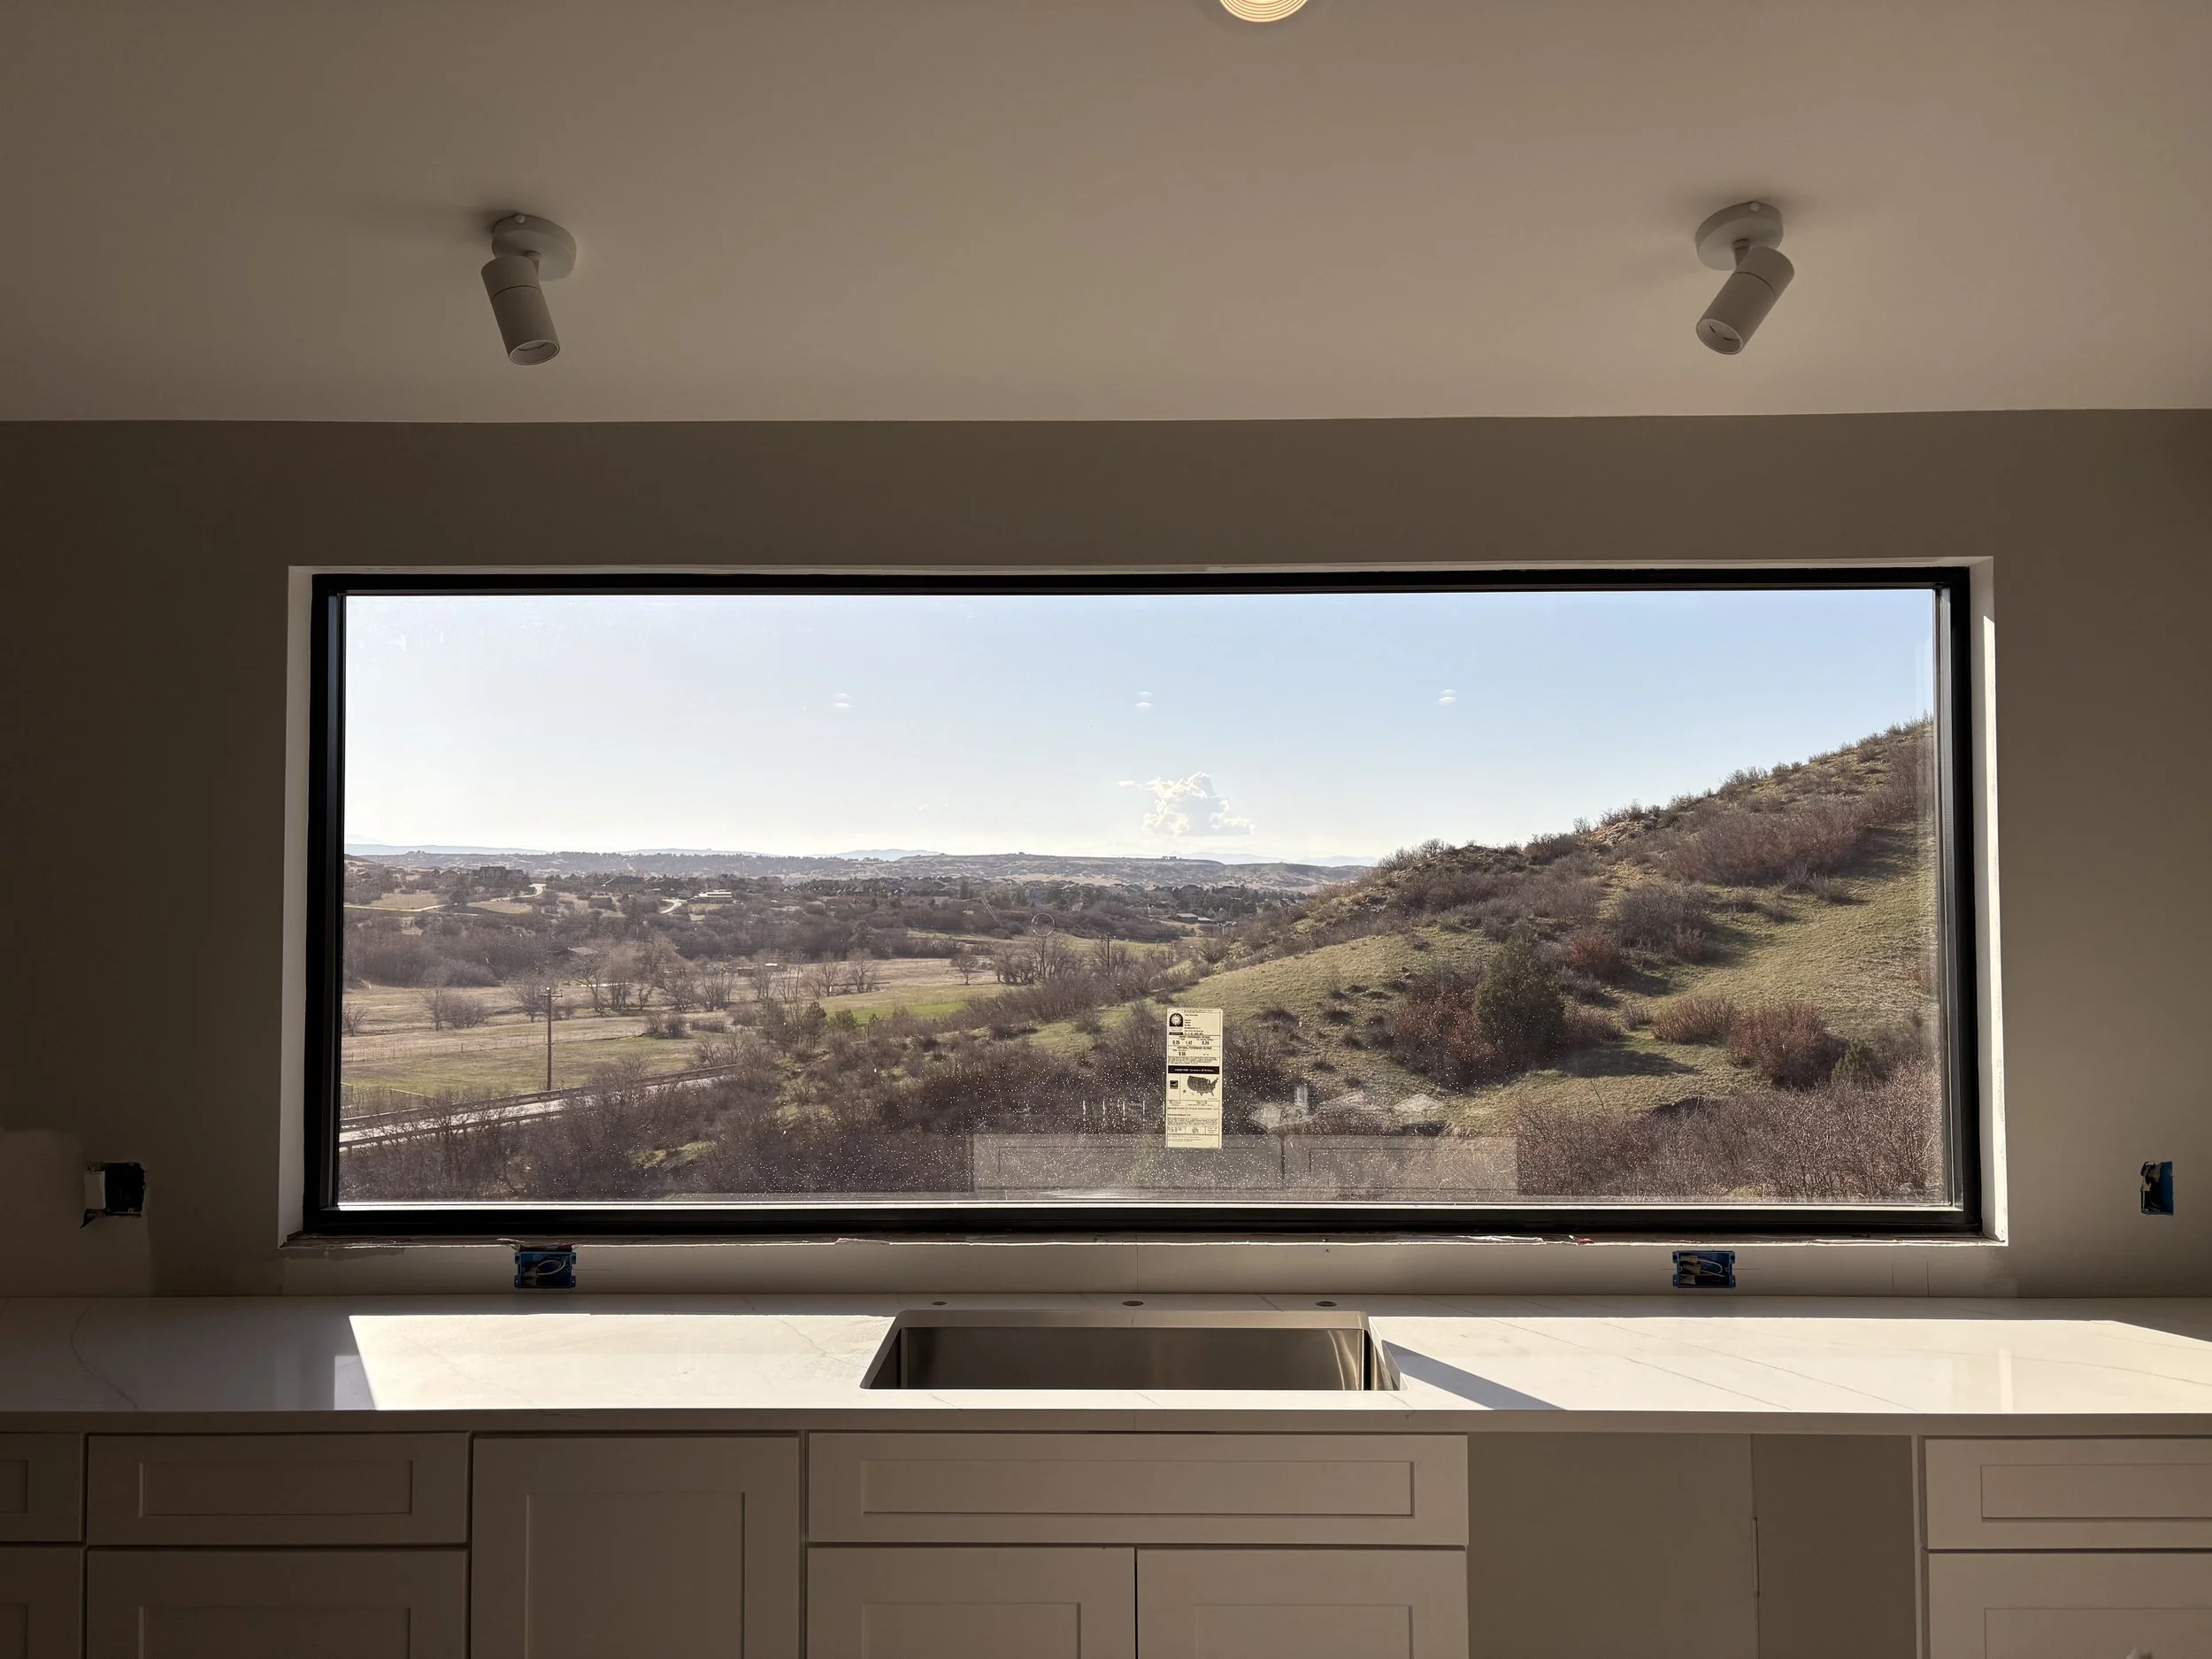
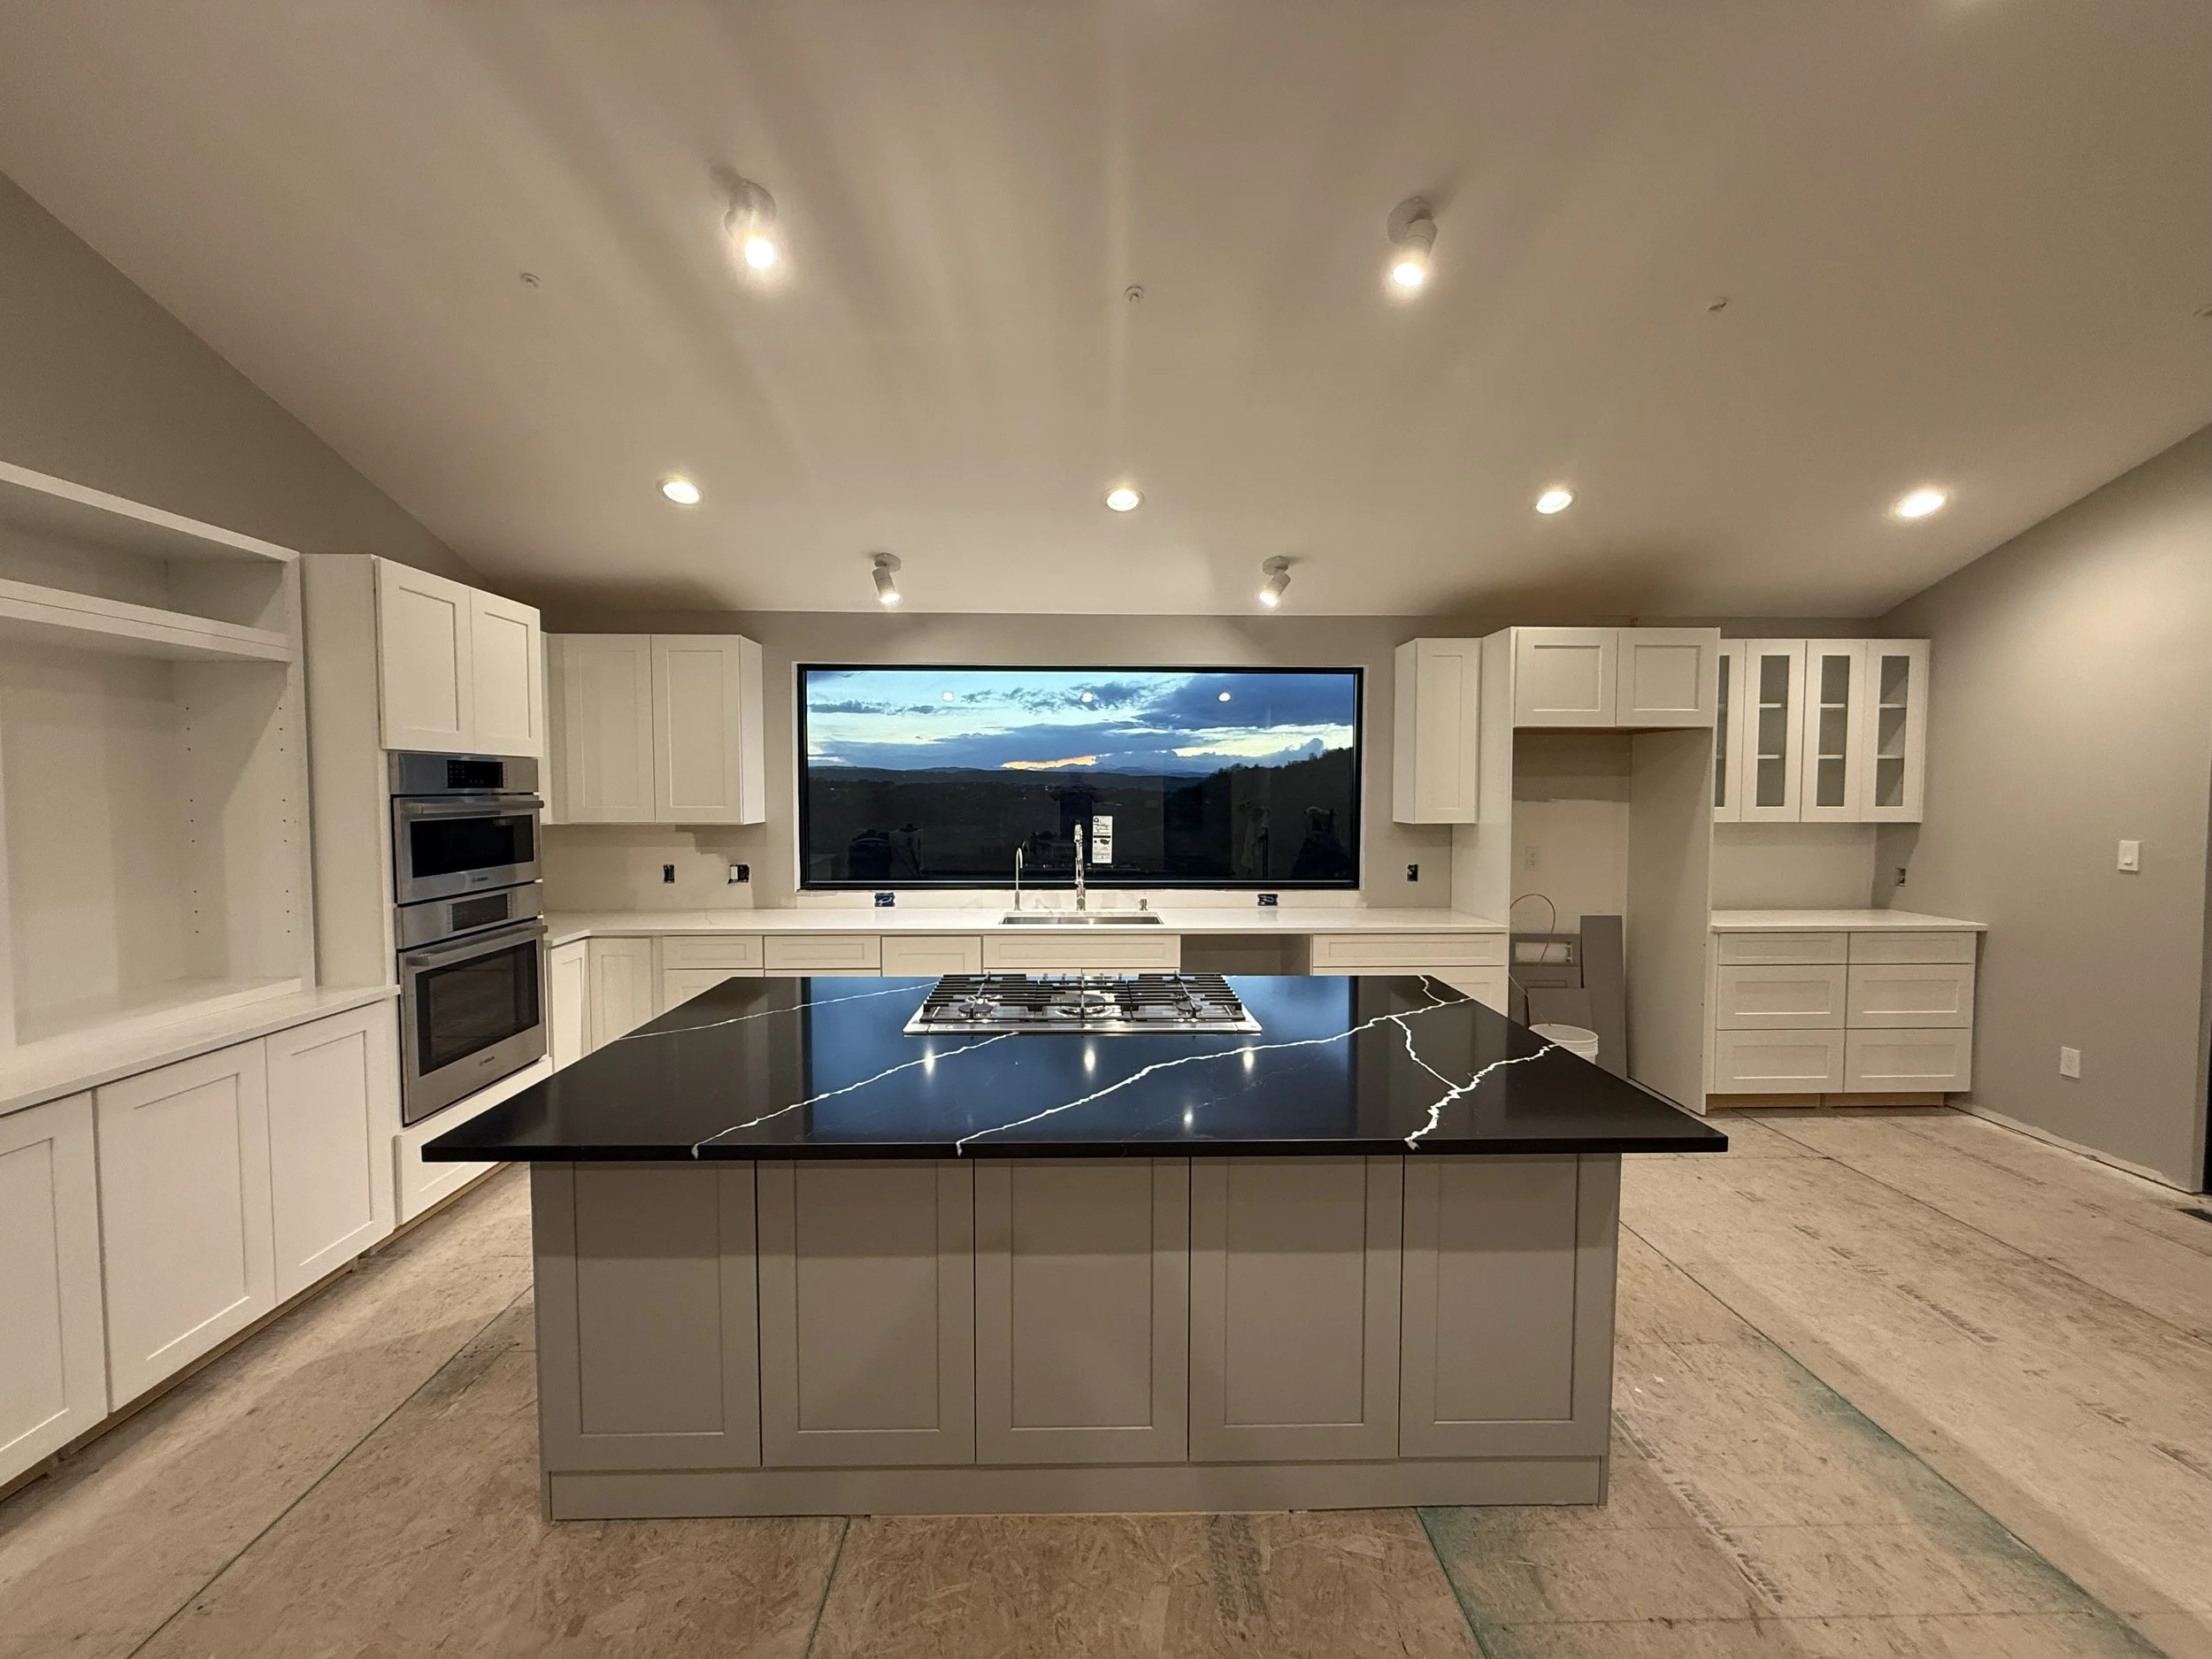
A first look inside! That huge opening is the kitchen window!

The view from the the future patio into the house.

This is where the master bedroom will be.

Going down to the ground level, this is looking in from the mechanical room and Kris' office. The Pilates studio will be on the far right.

Here's that kitchen window up close! I think washing dishes will become a bit more enjoyable....minus the well rig of course.
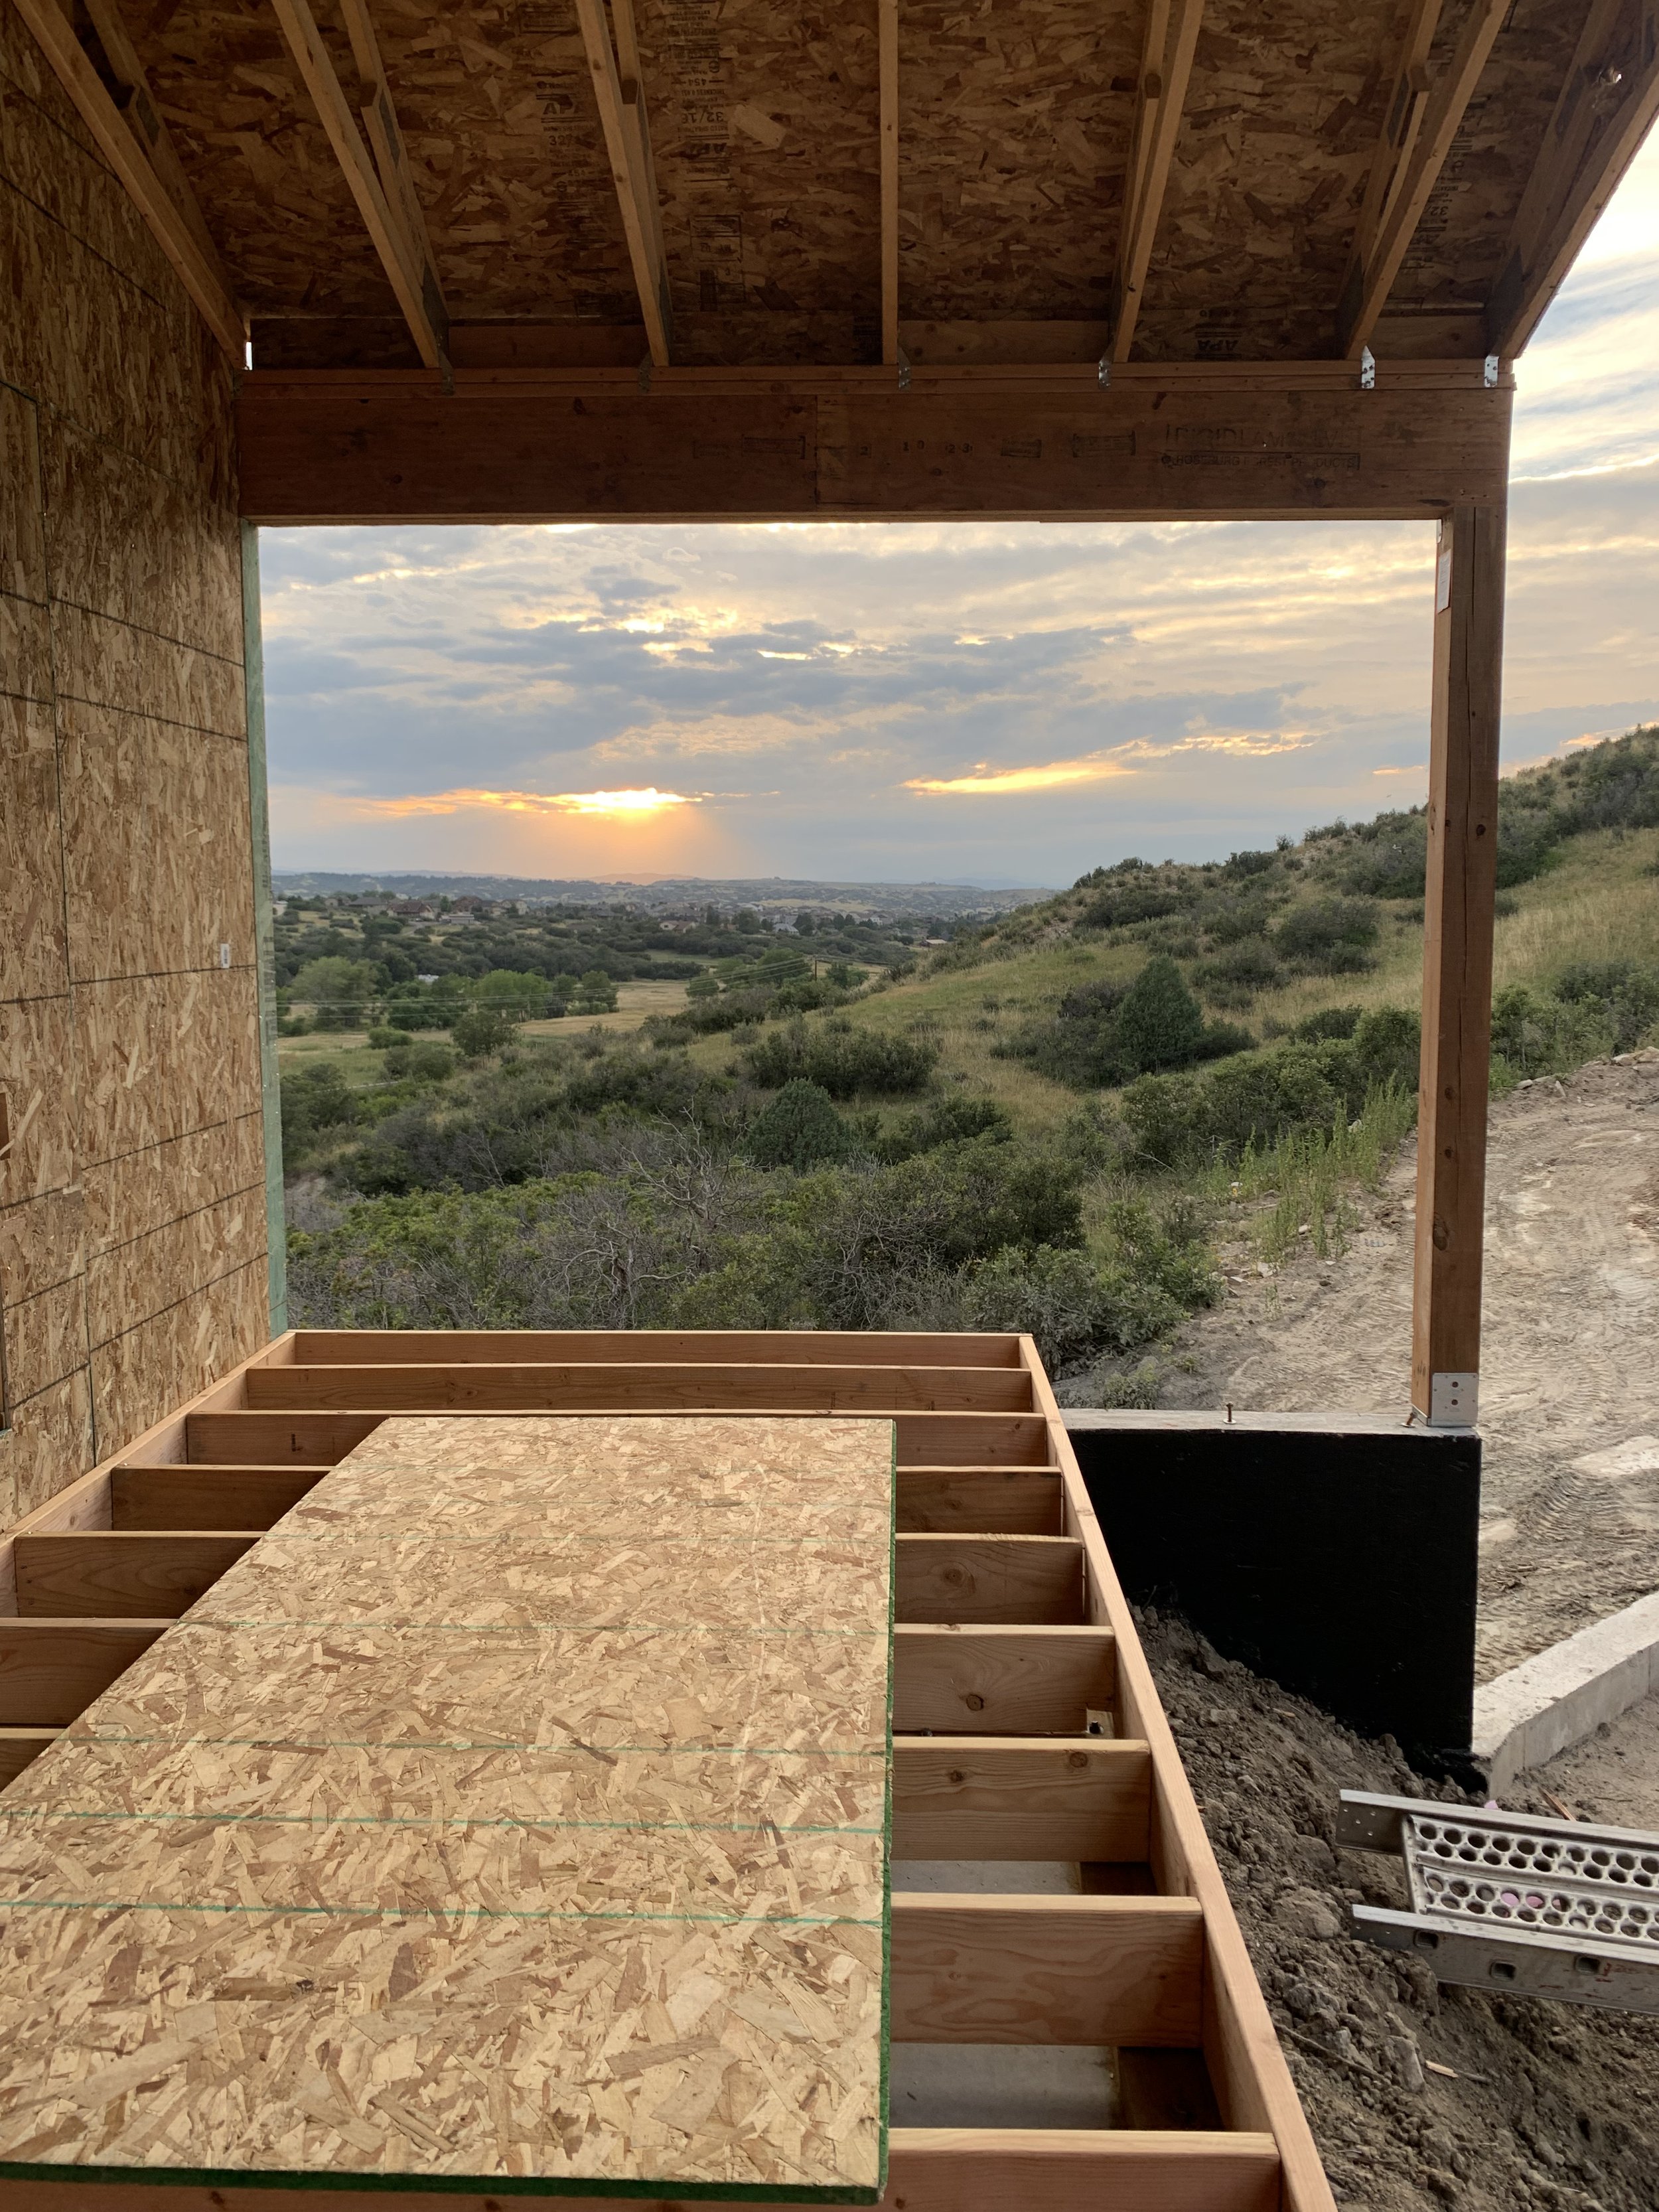
The view from the patio!
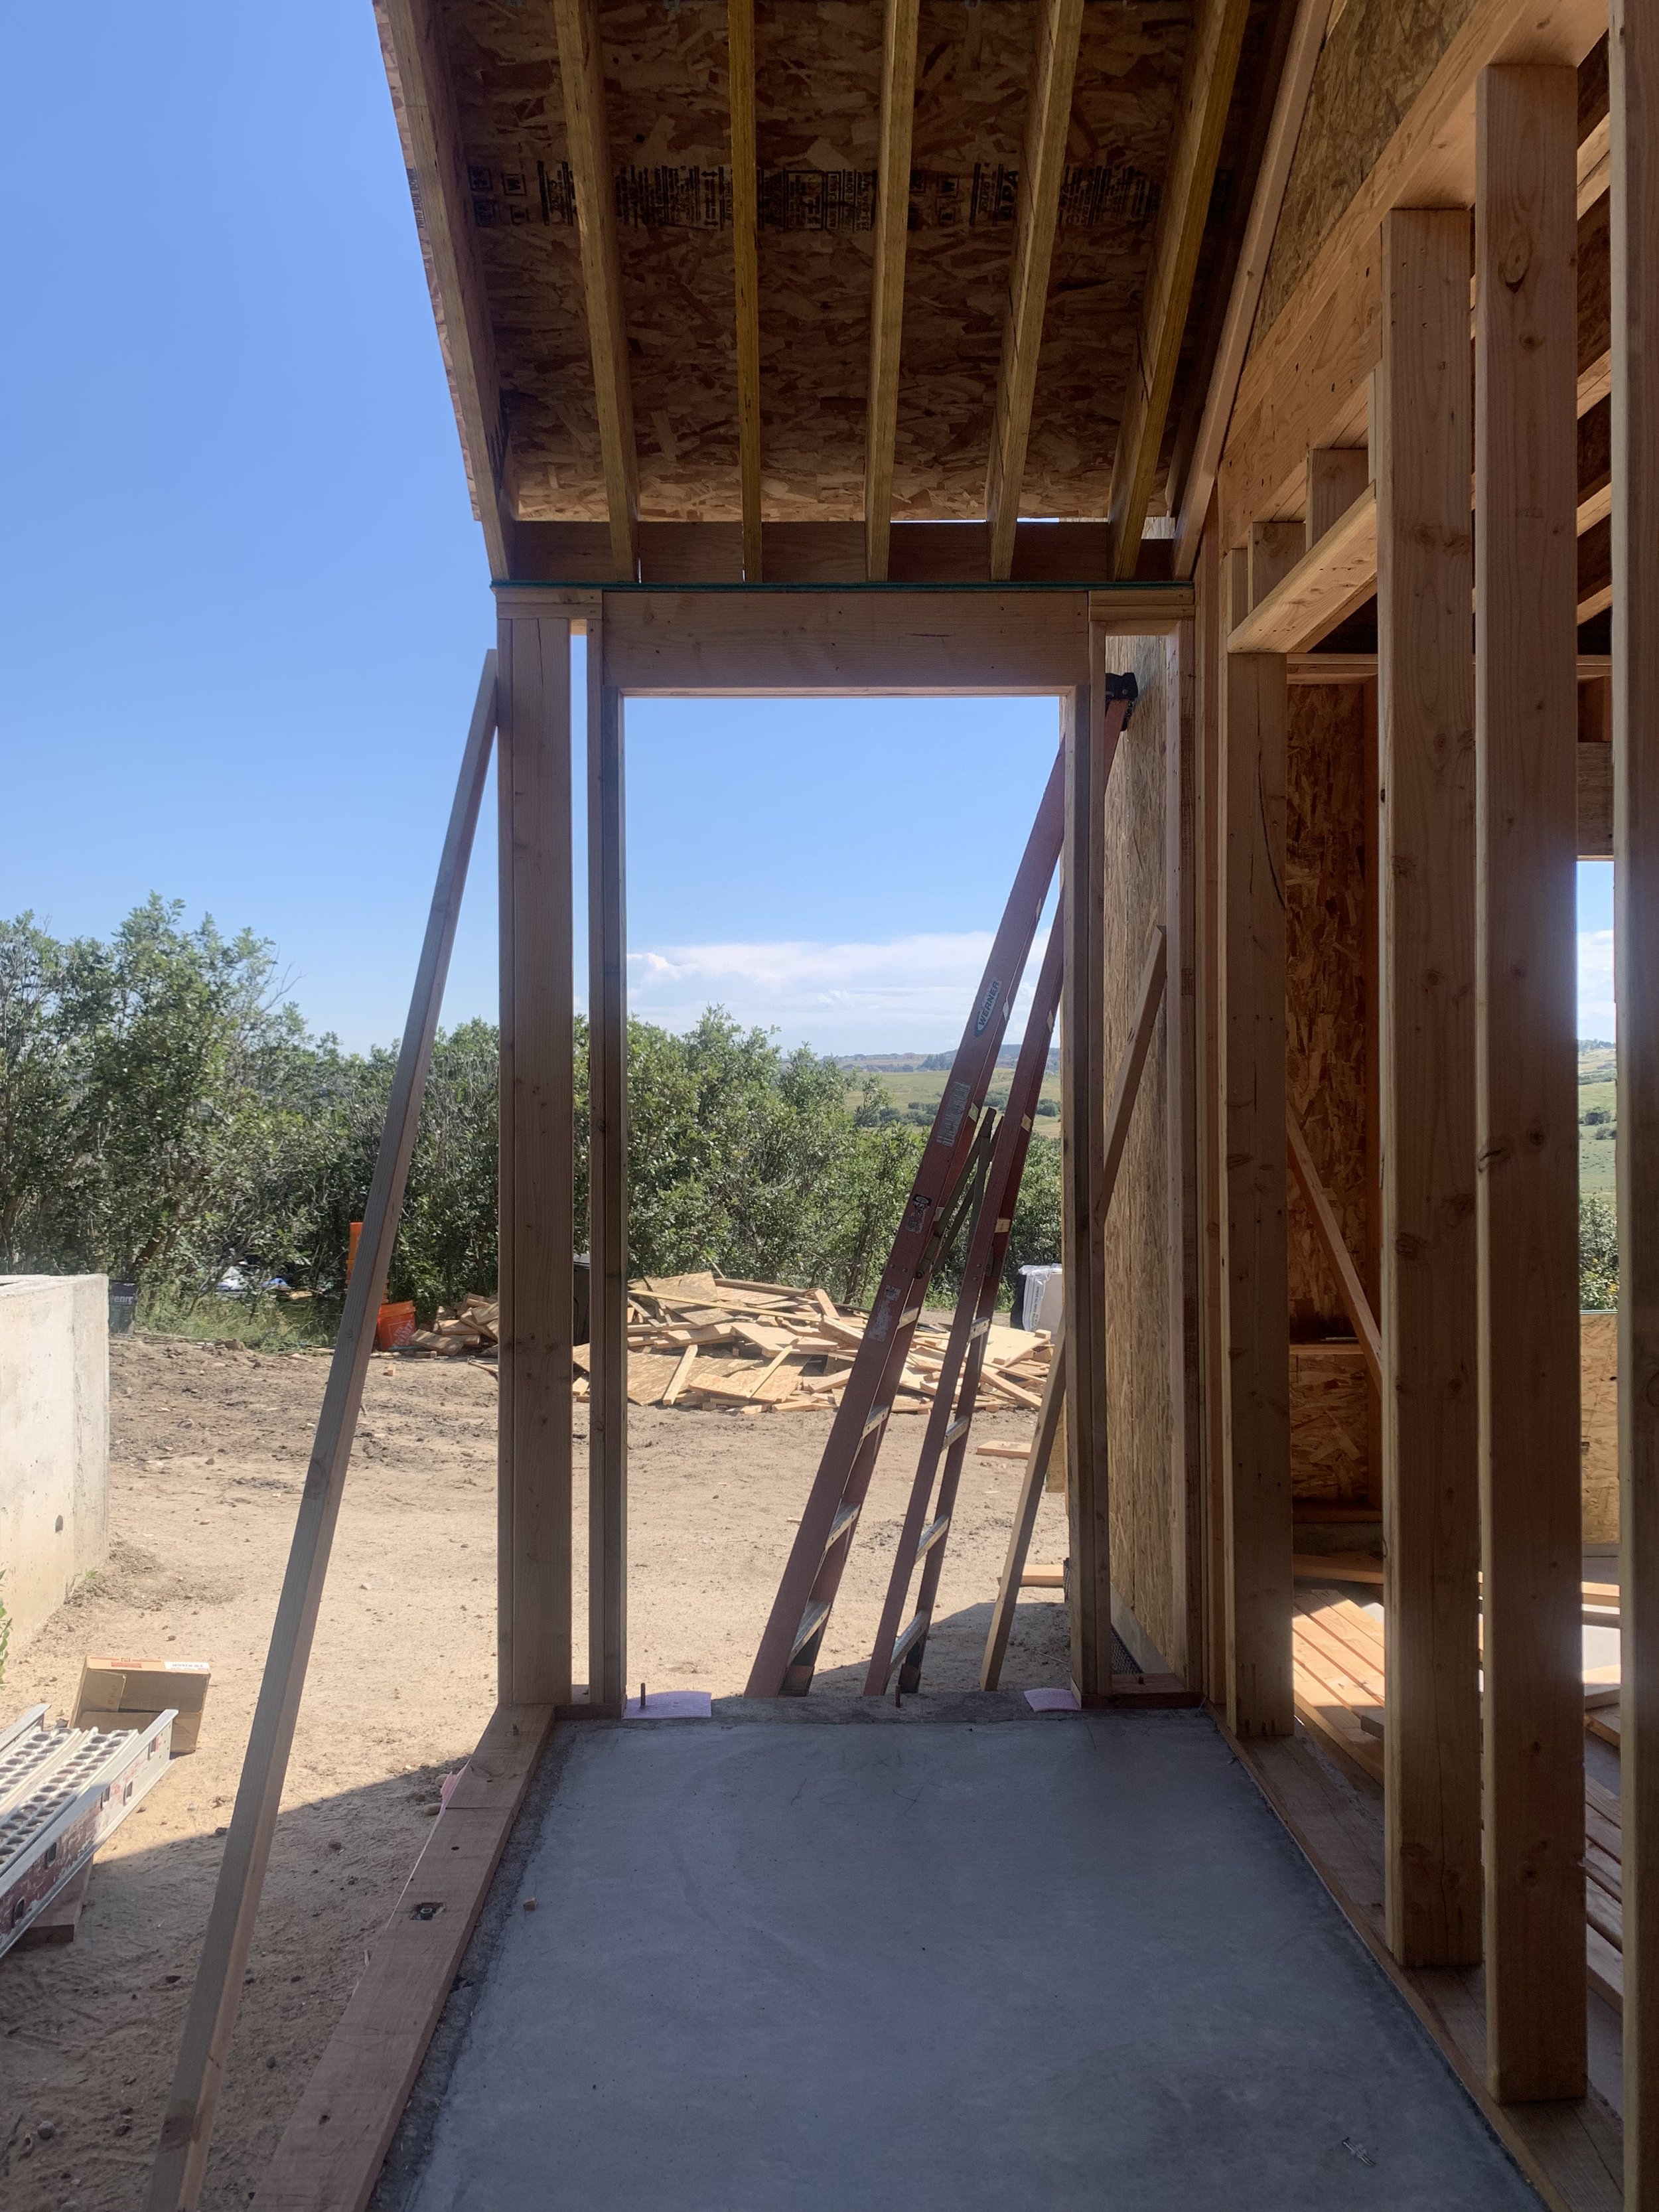
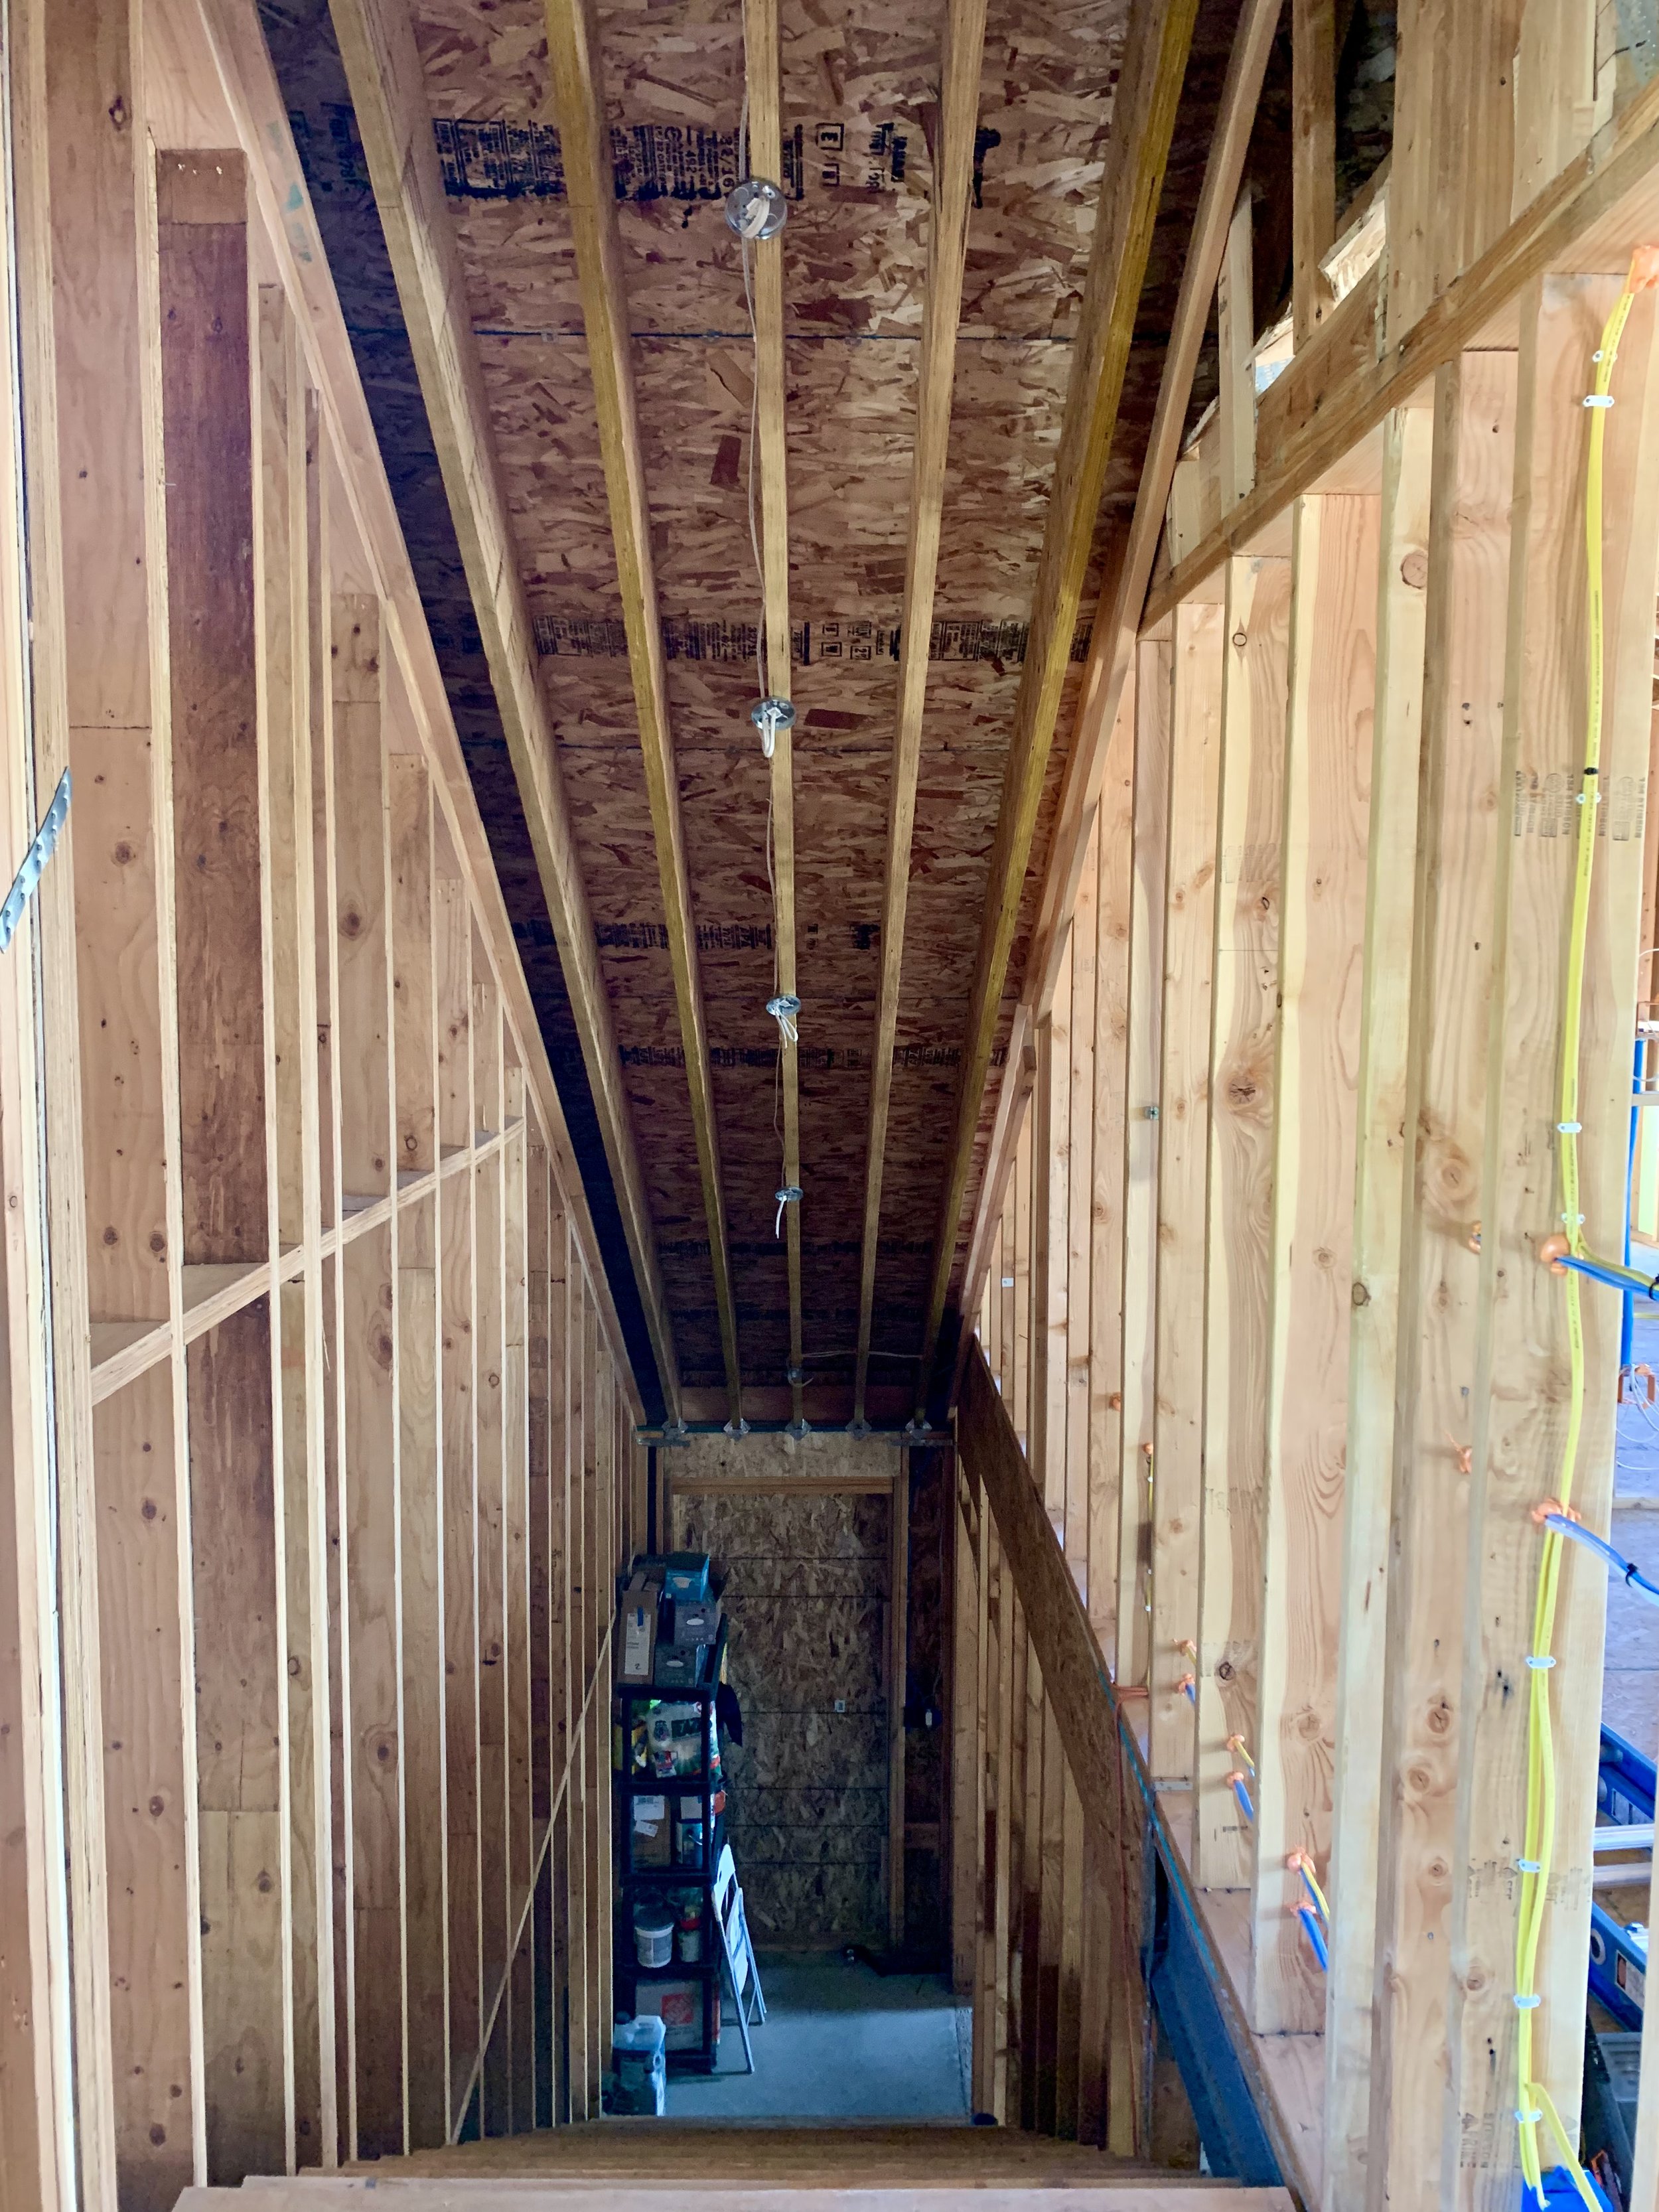
This will be the future front entrance and staircase.
The wall starts to go up to close in the front entrance and staircase.
More plywood goes up to start closing everything in.

The front door is carved out! The stairs will come later.
Nearly finished!

Don't forget about those well trucks in the way. They are wrapping up, but not before completely destroying the driveway!

The muddy mess they left was horrible!!

That little blue spot in the picture is the final well. All that mess for that little blue thing???

Framing is officially complete! This is the east side of the house where the staircase will be.
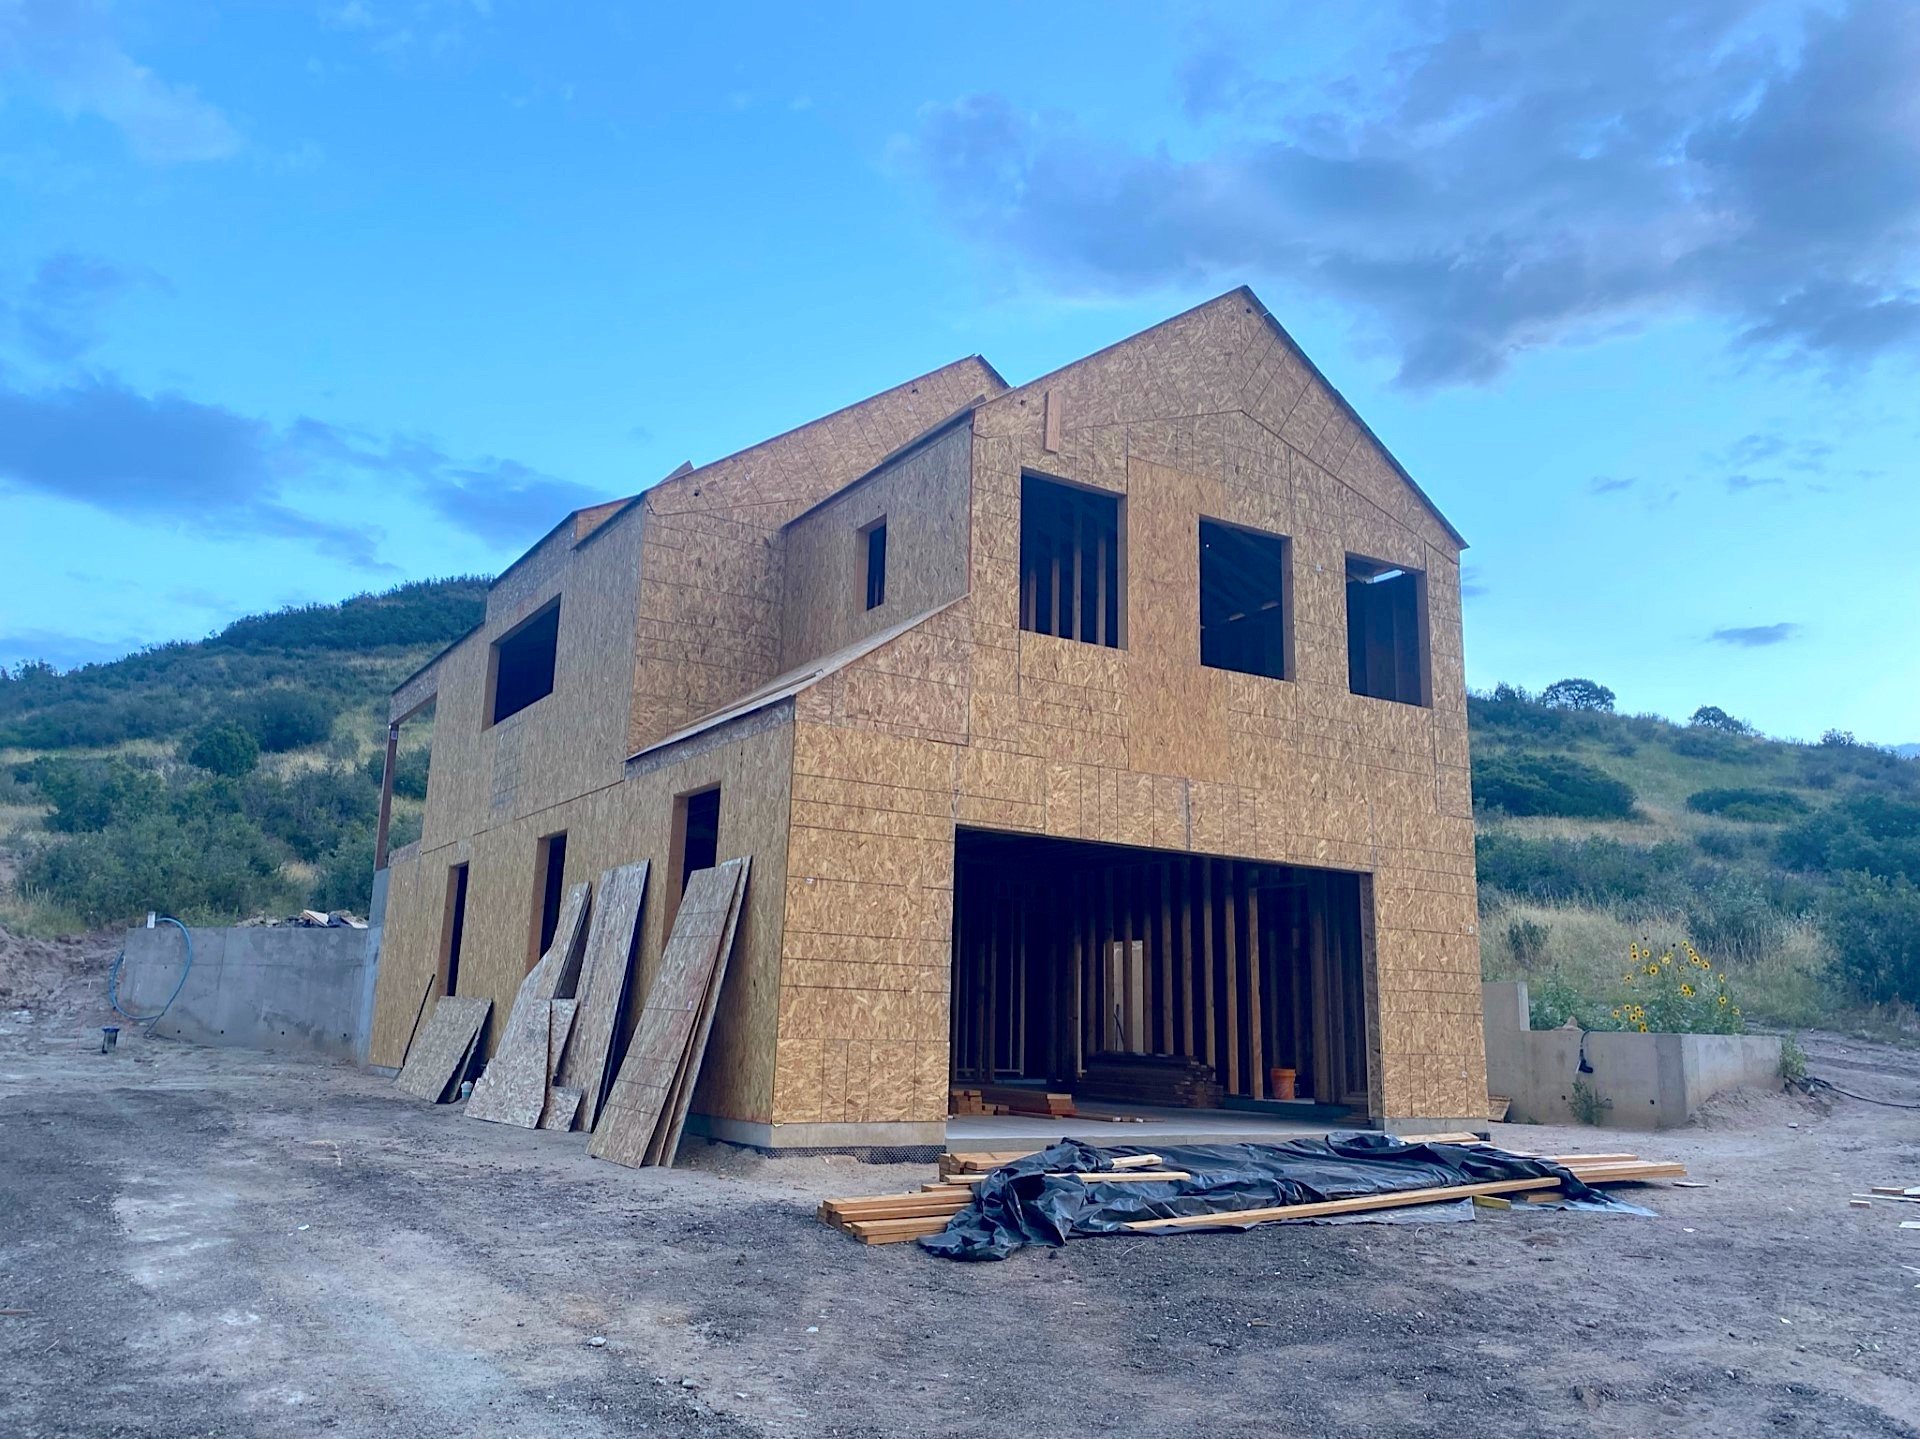
The south side of the house looking at the garage and master bedroom above it.

Here you can see a better view of the front entrance.

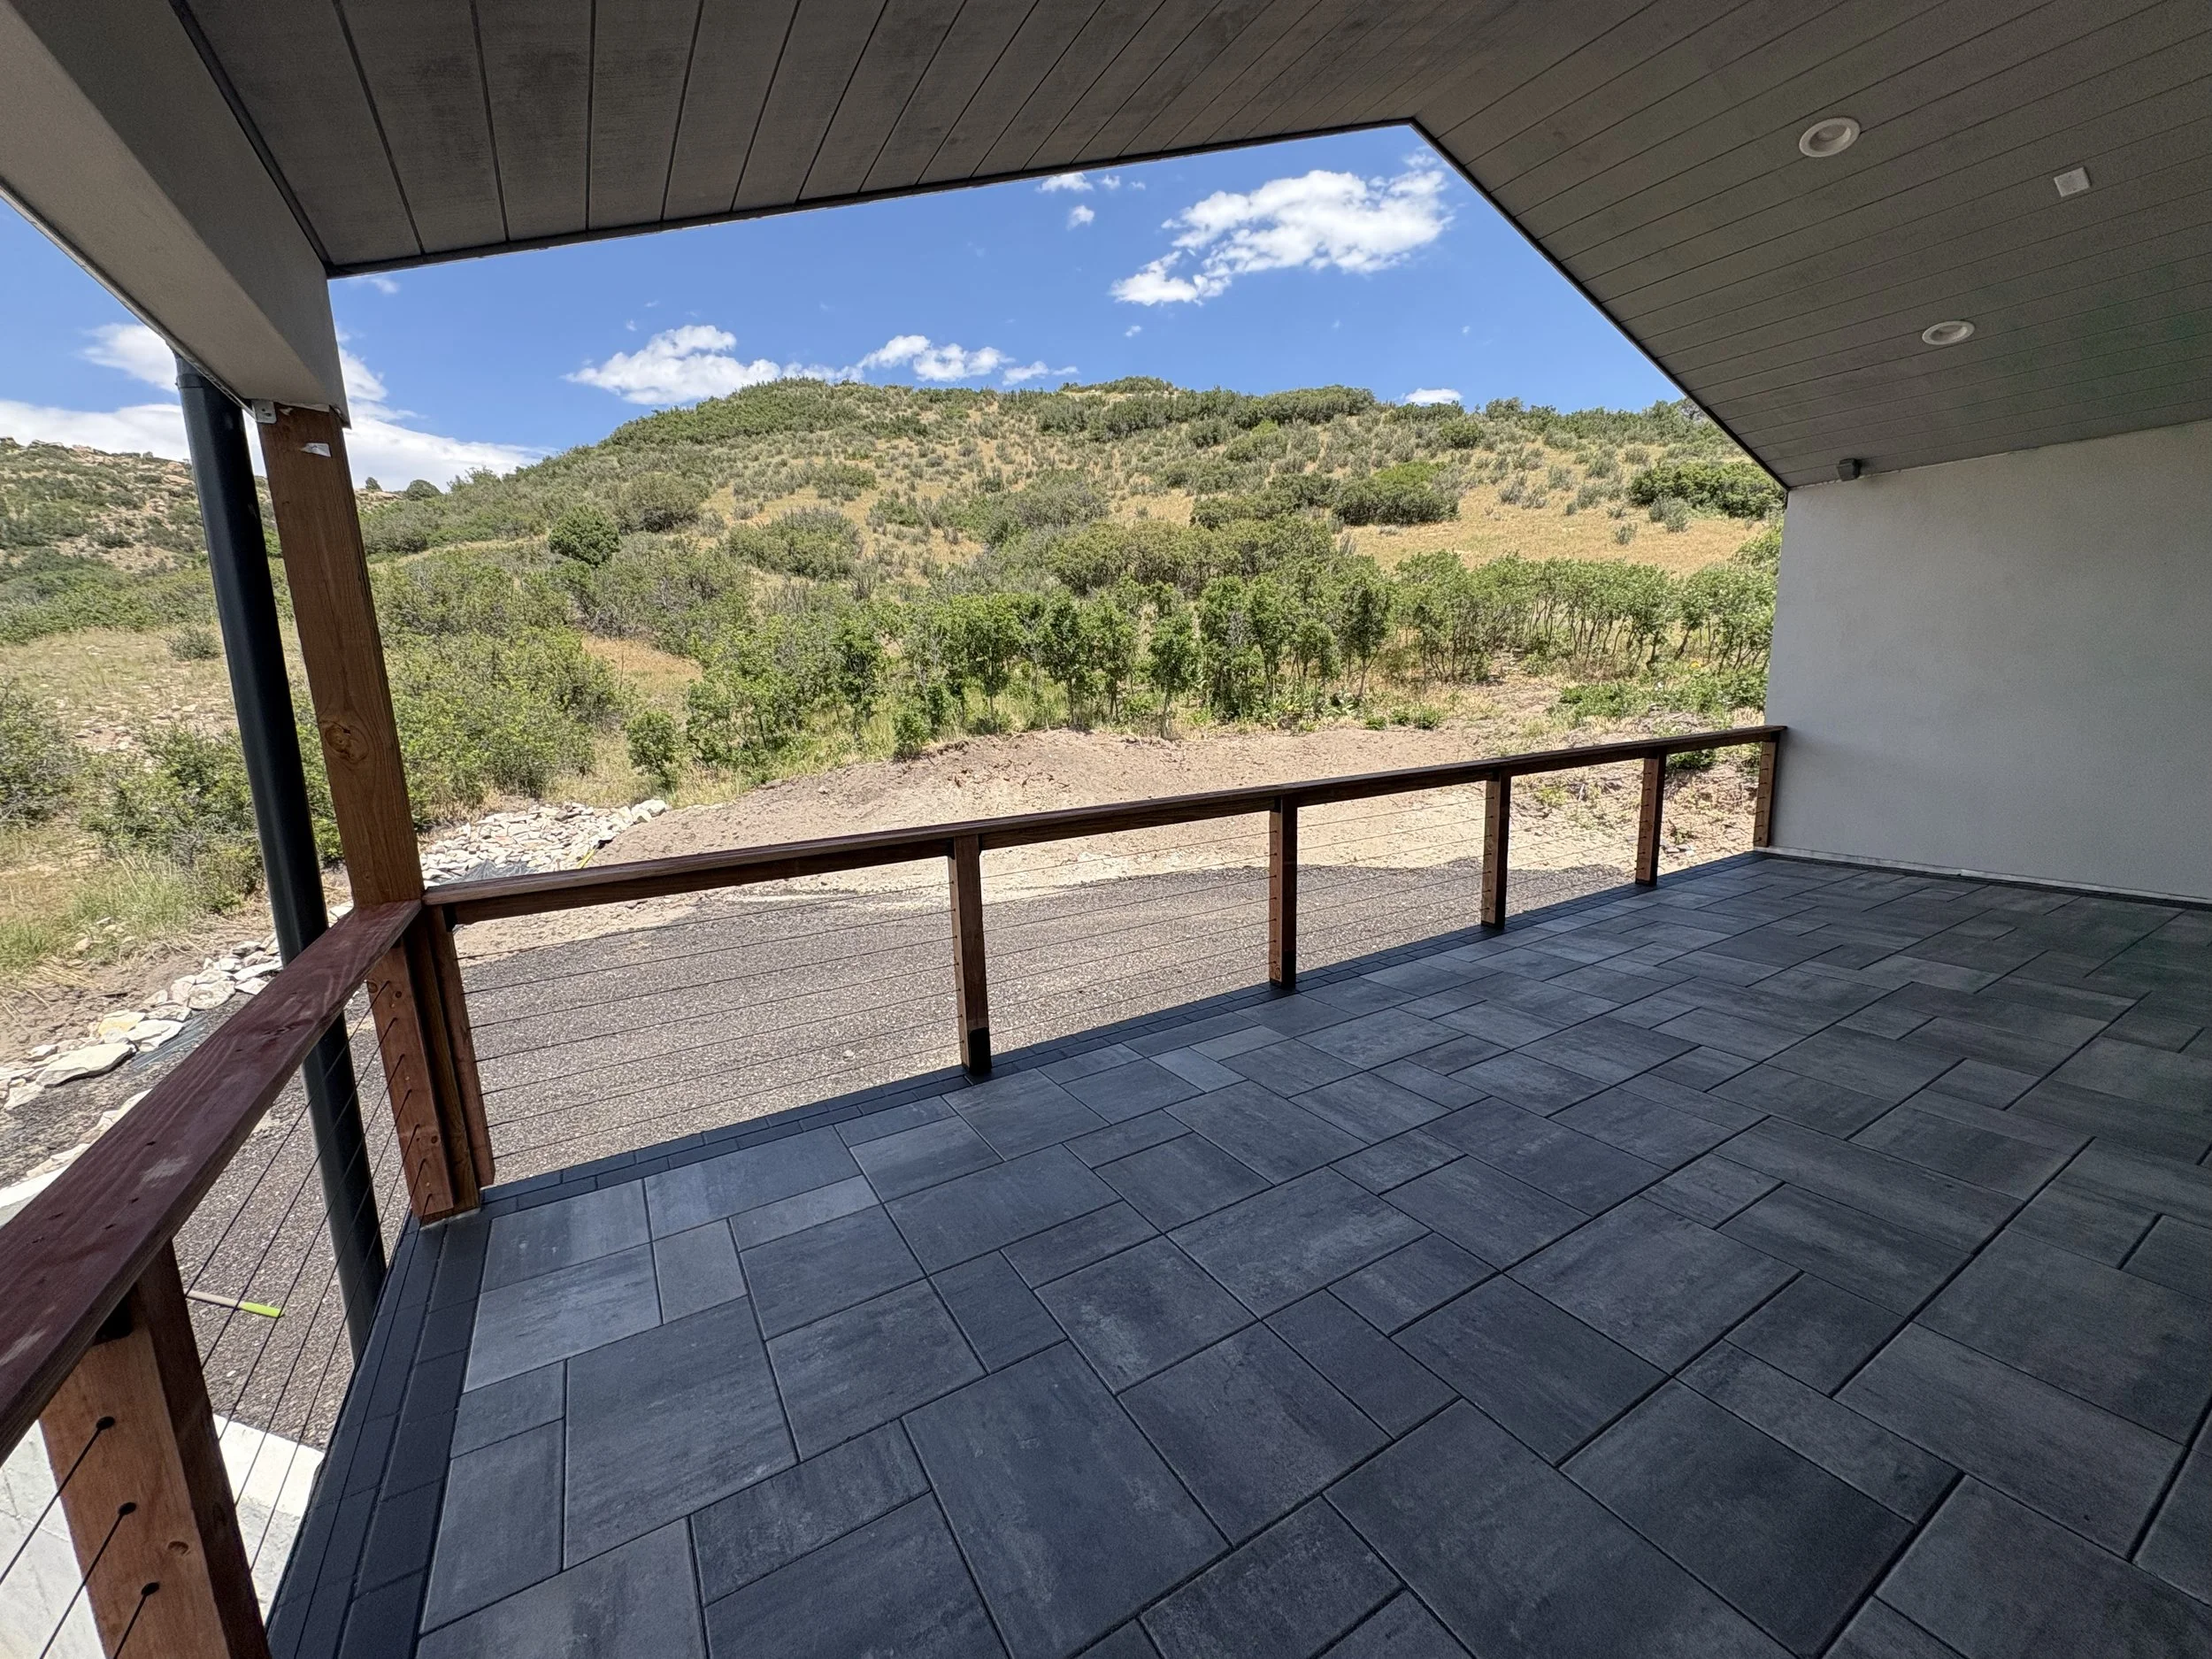
...and our soon to be favorite spot of the house...the patio which has those amazing mountain views!
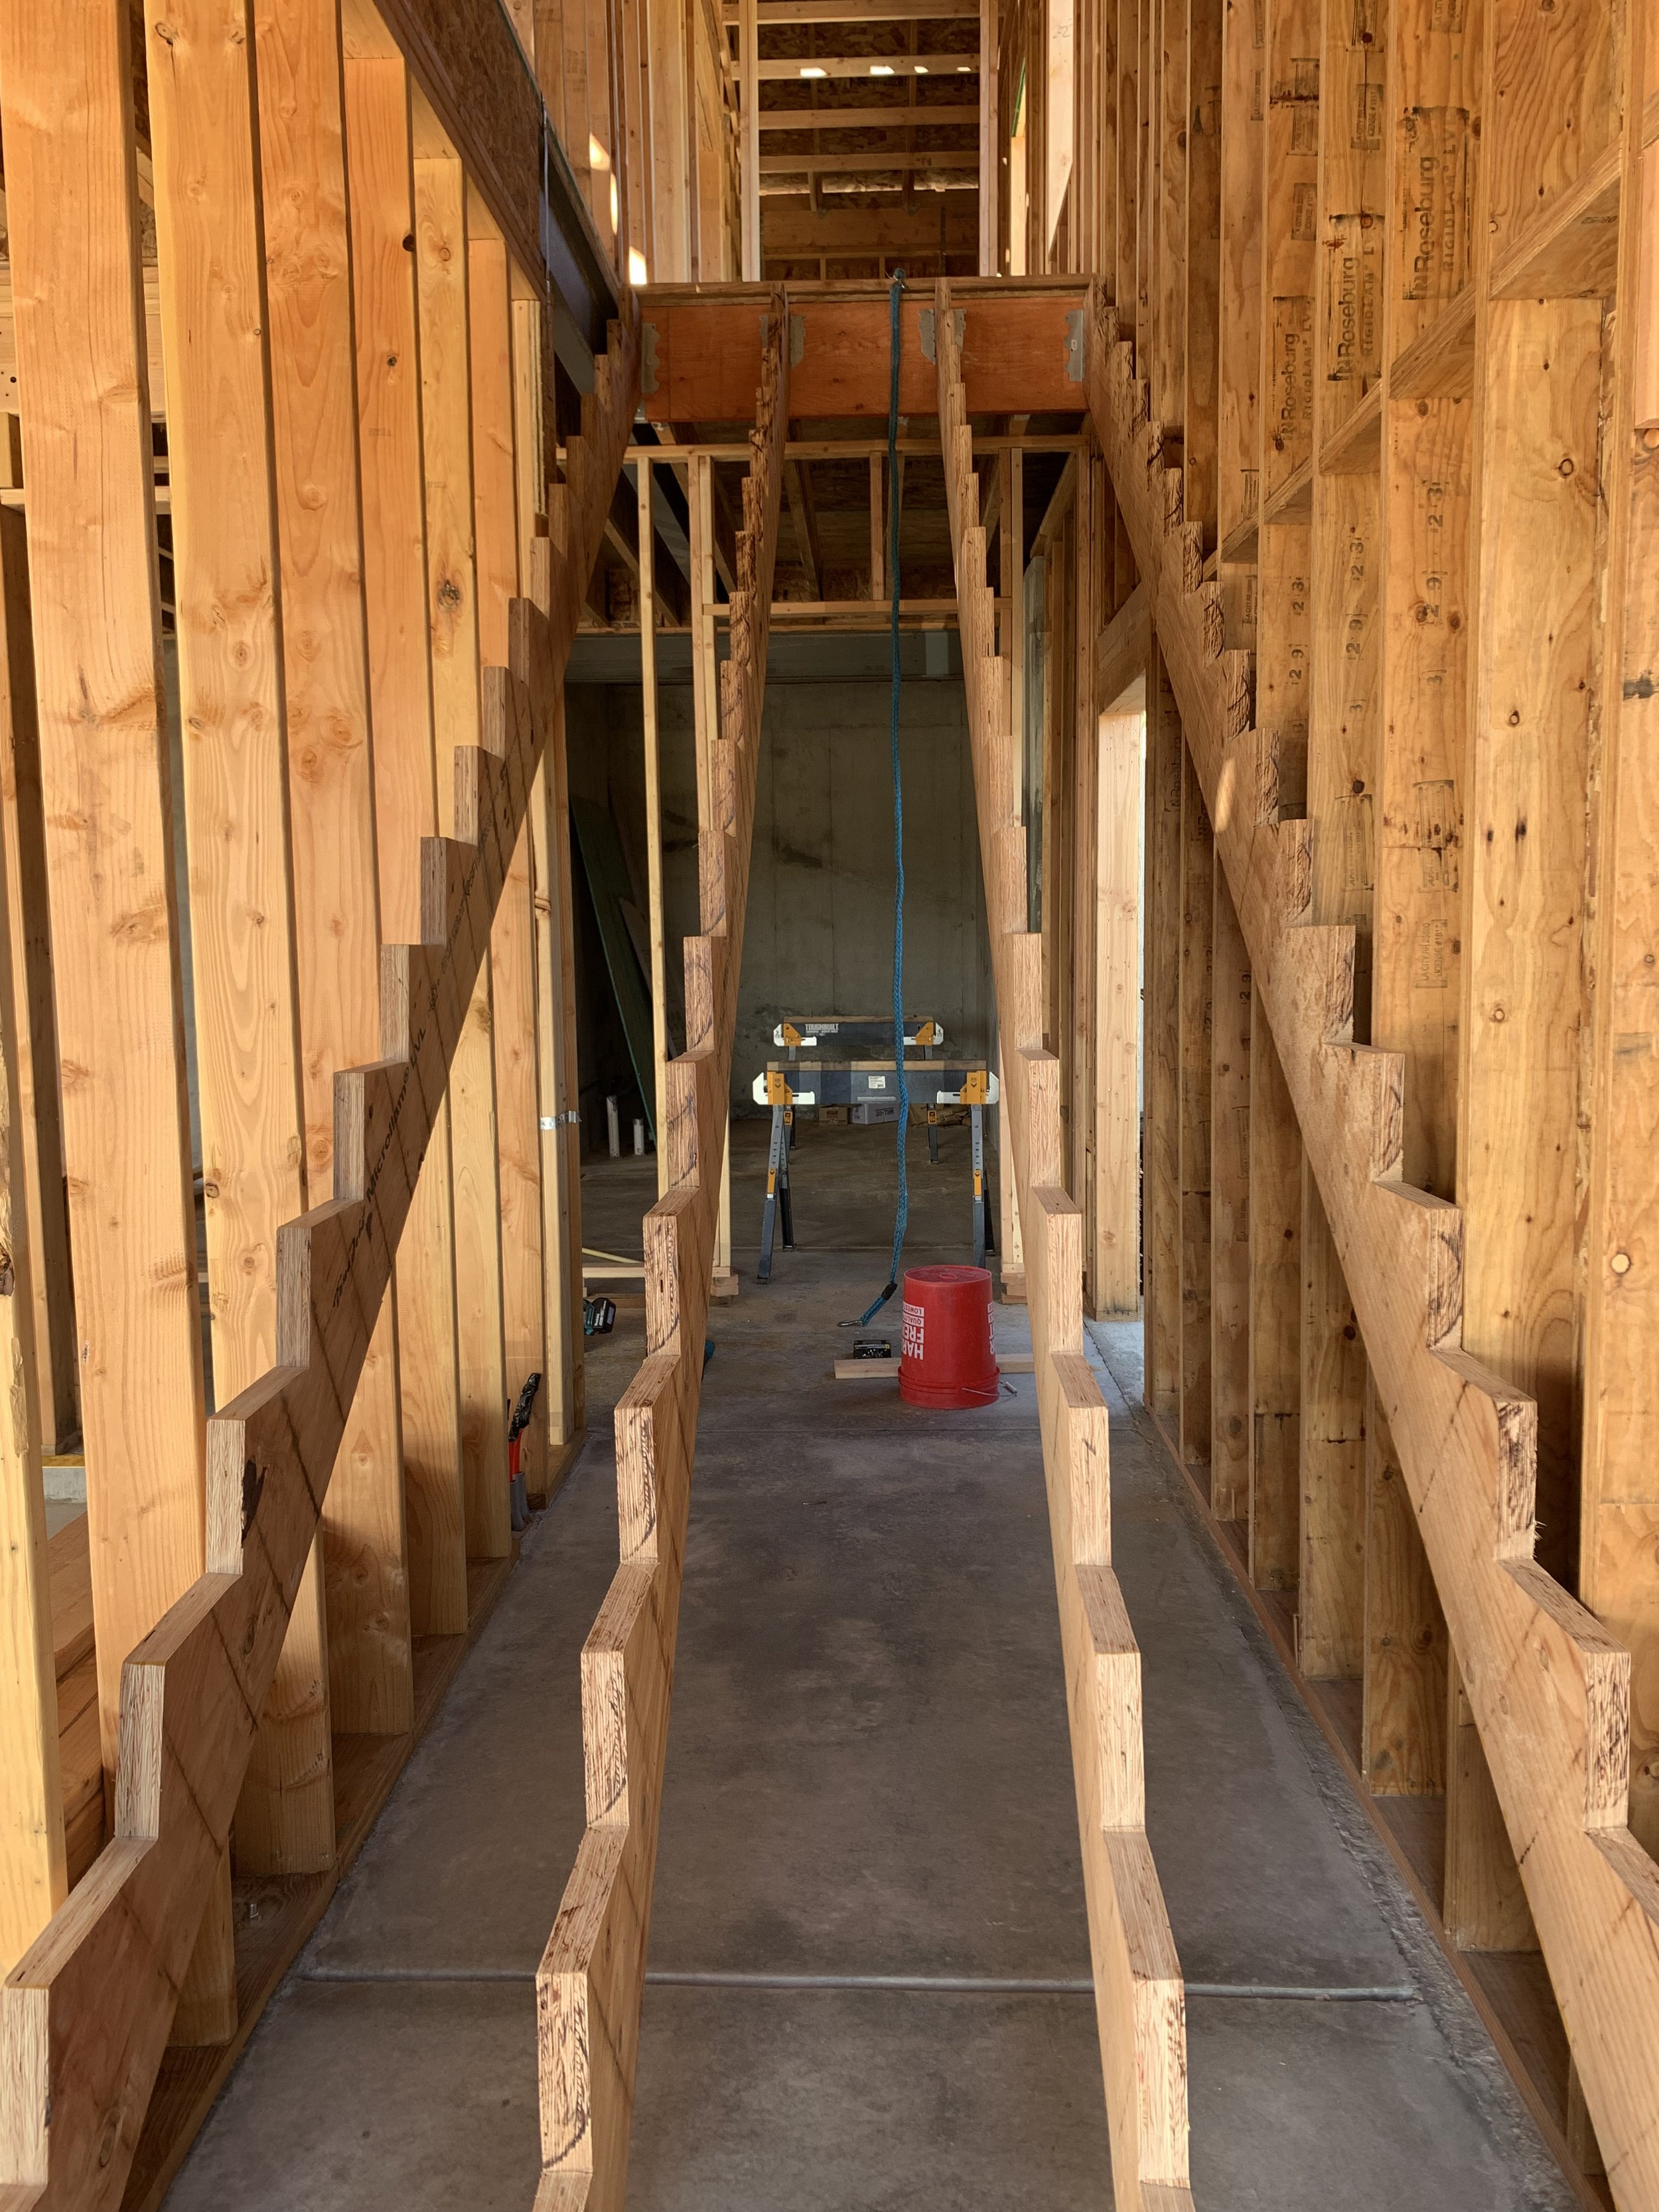
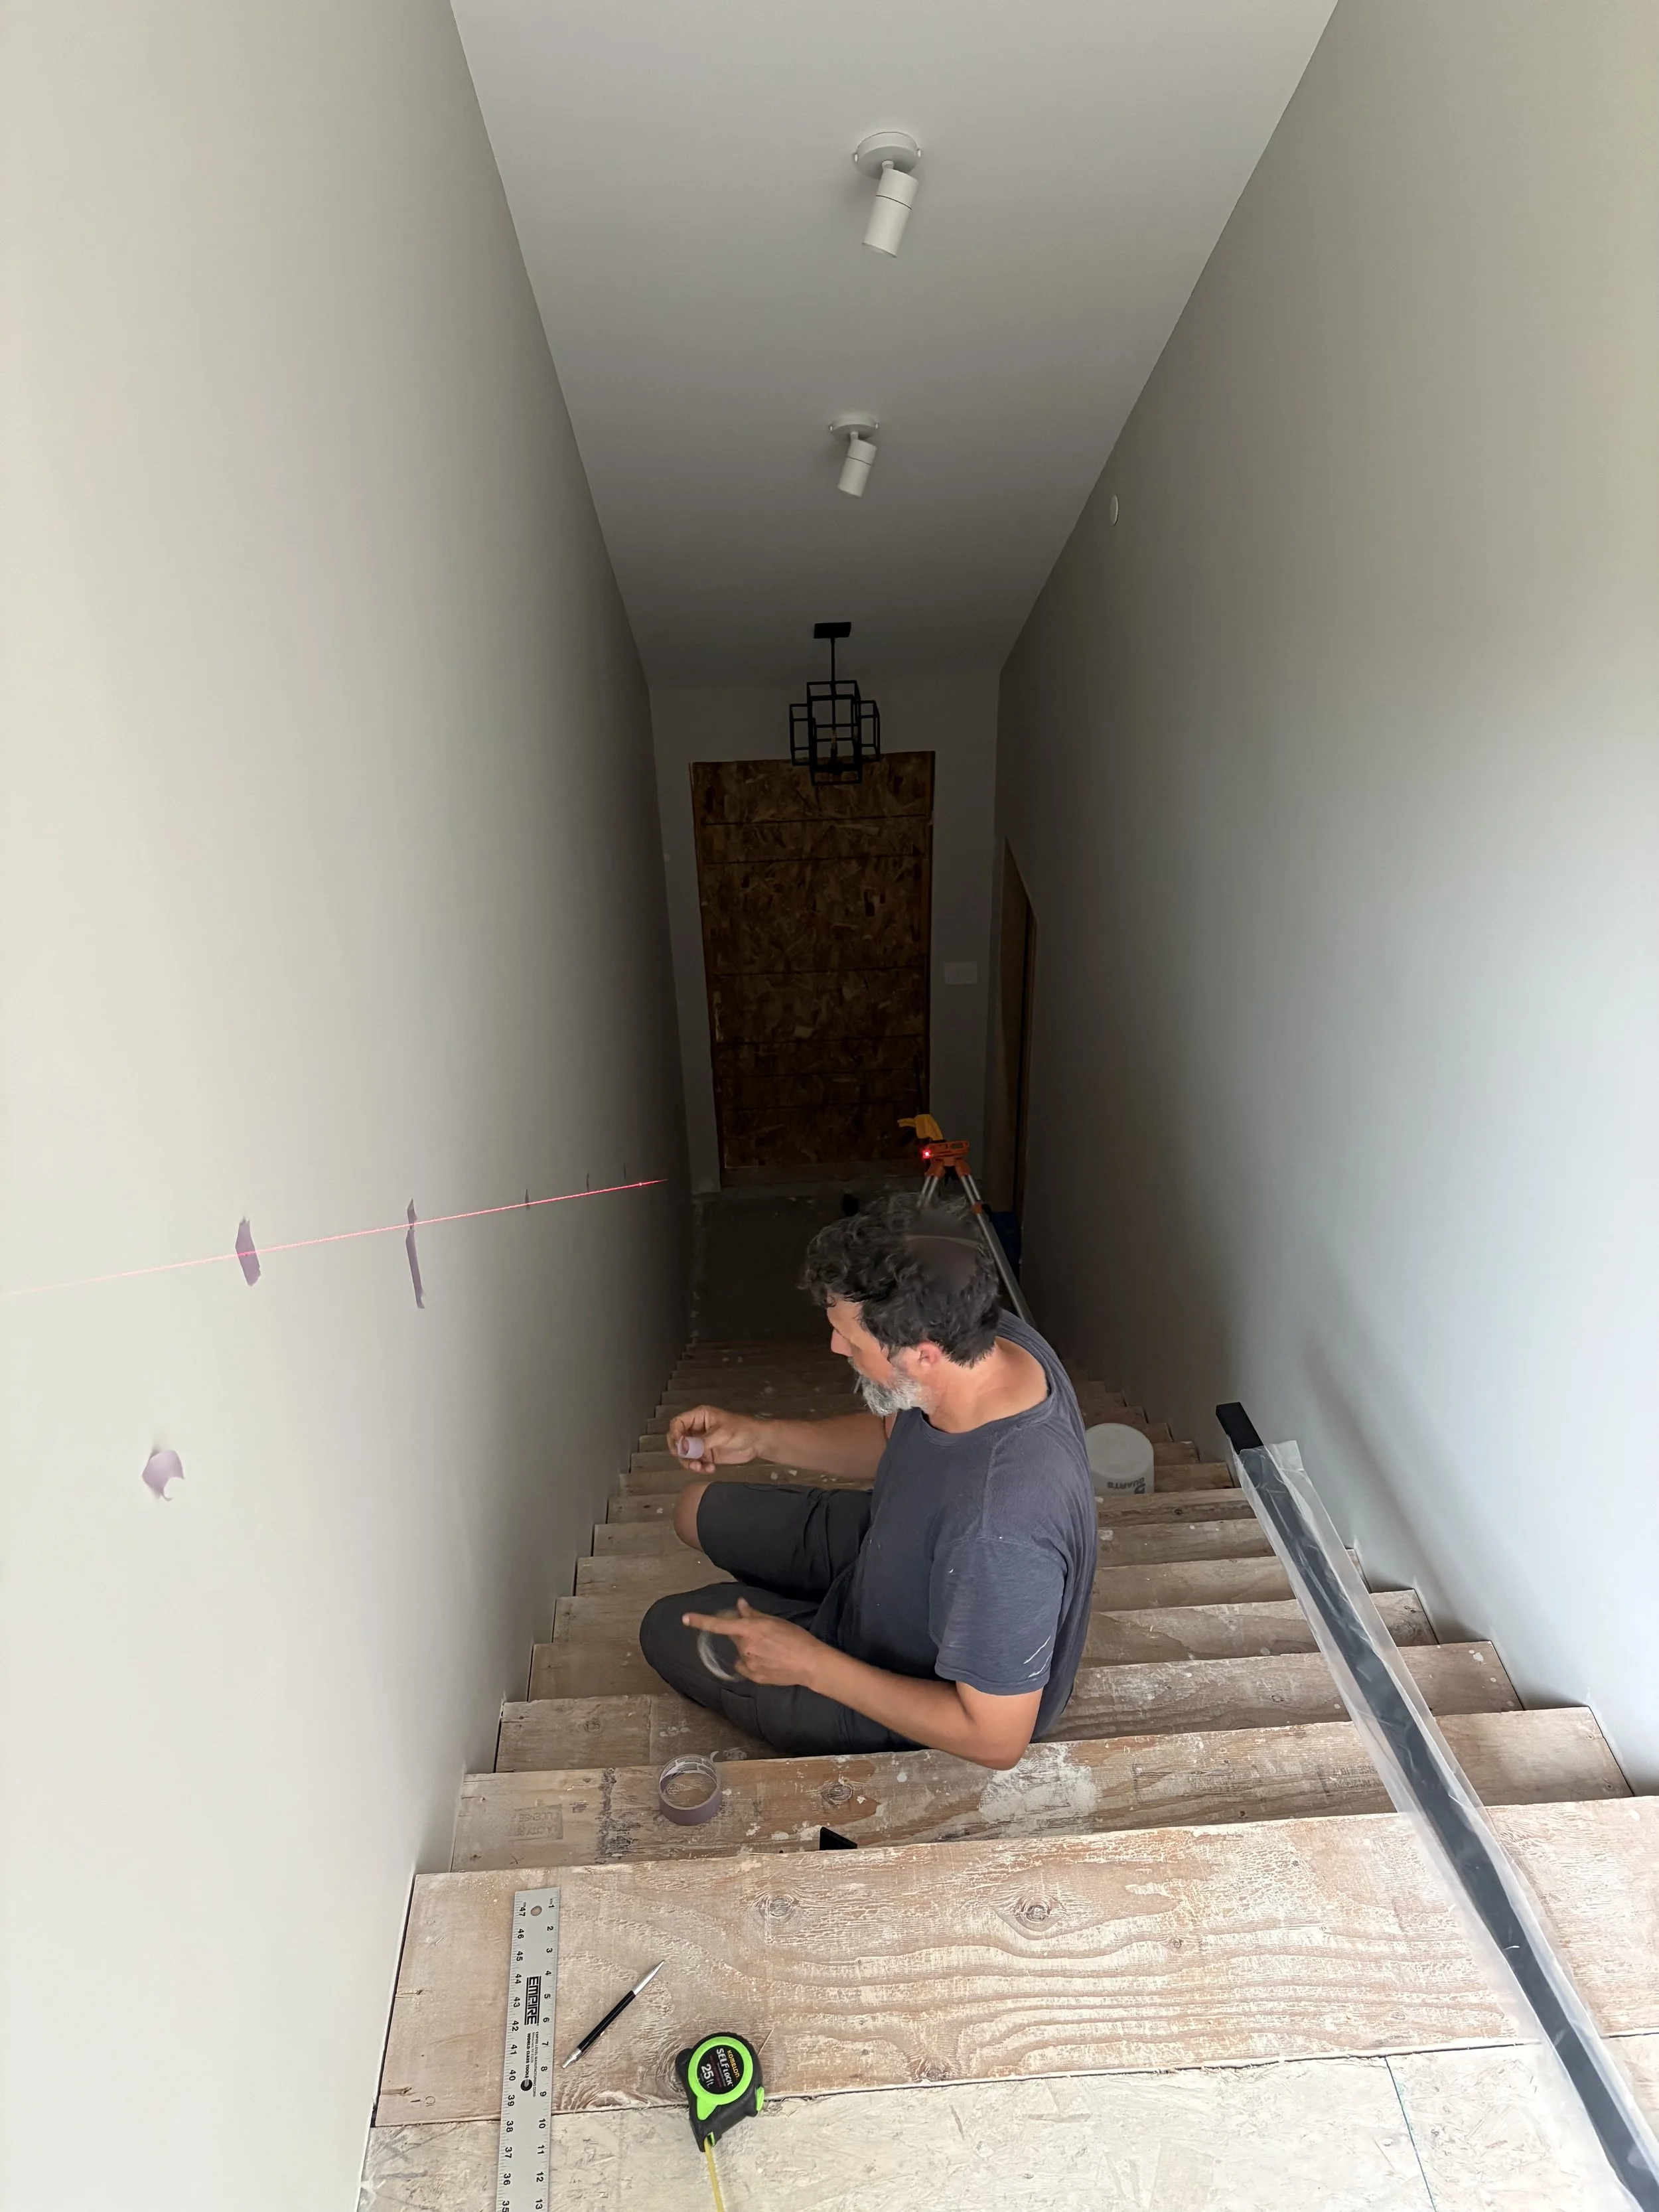
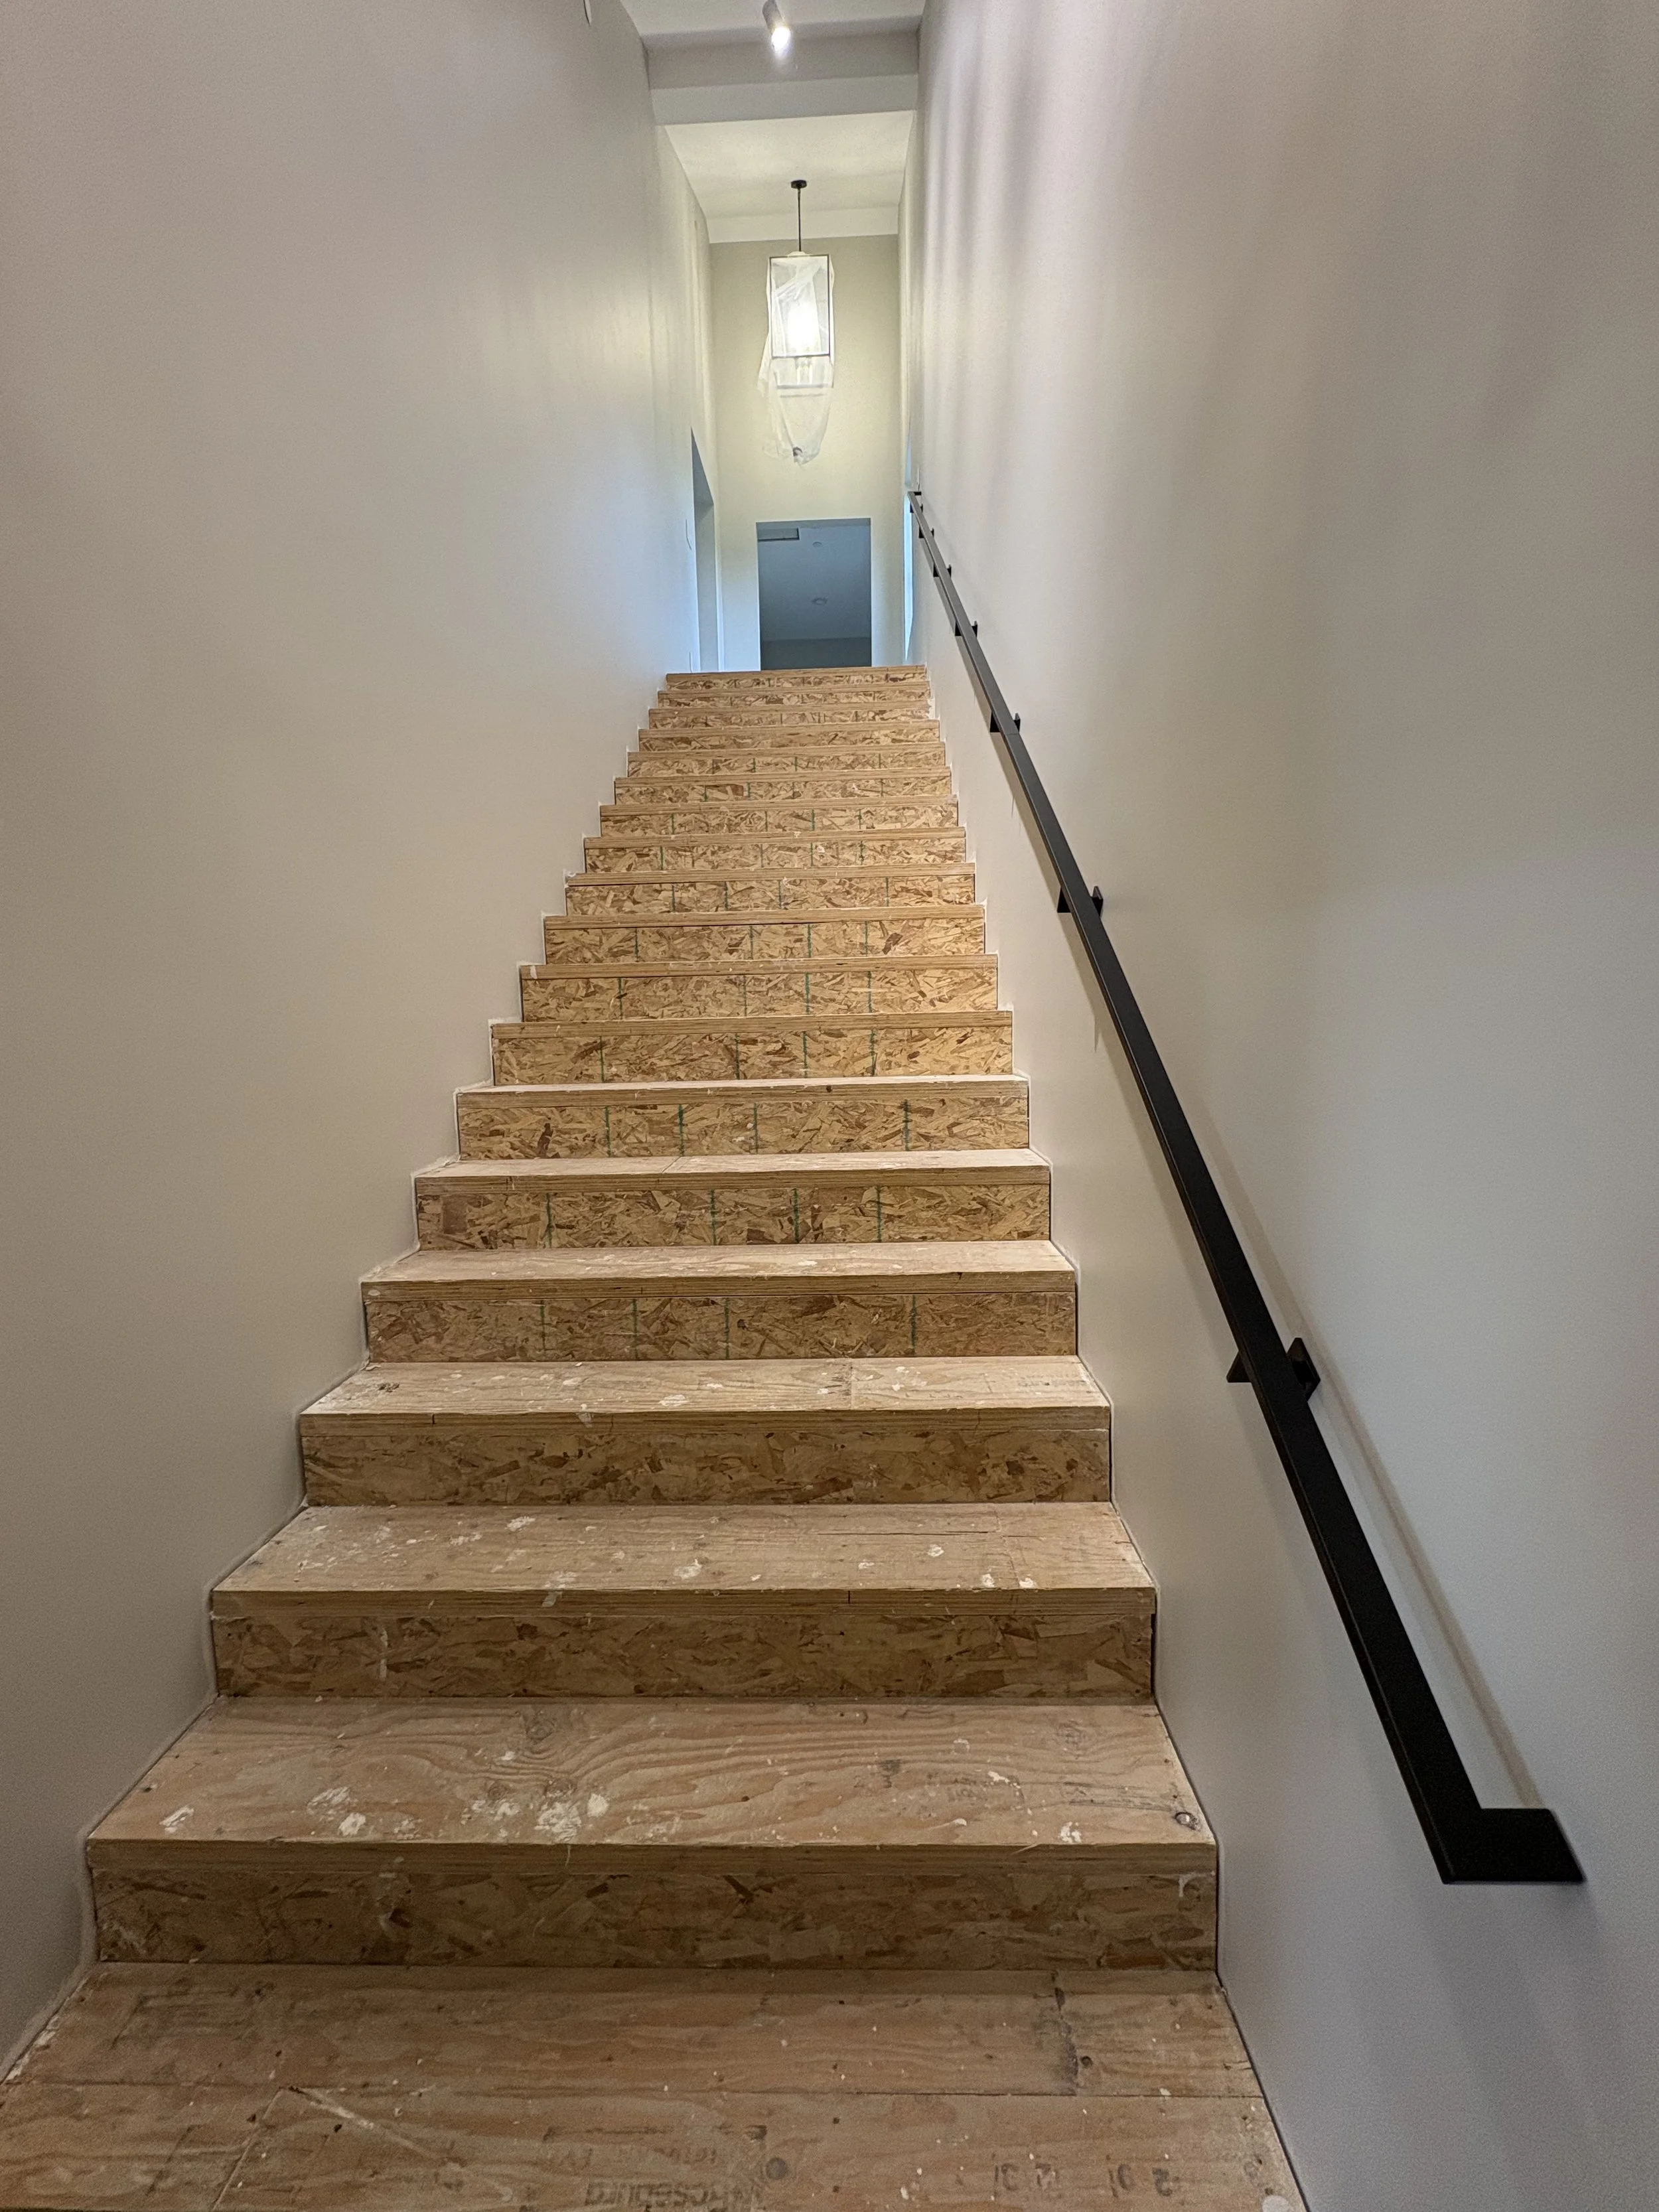
Step 8: The Stairs

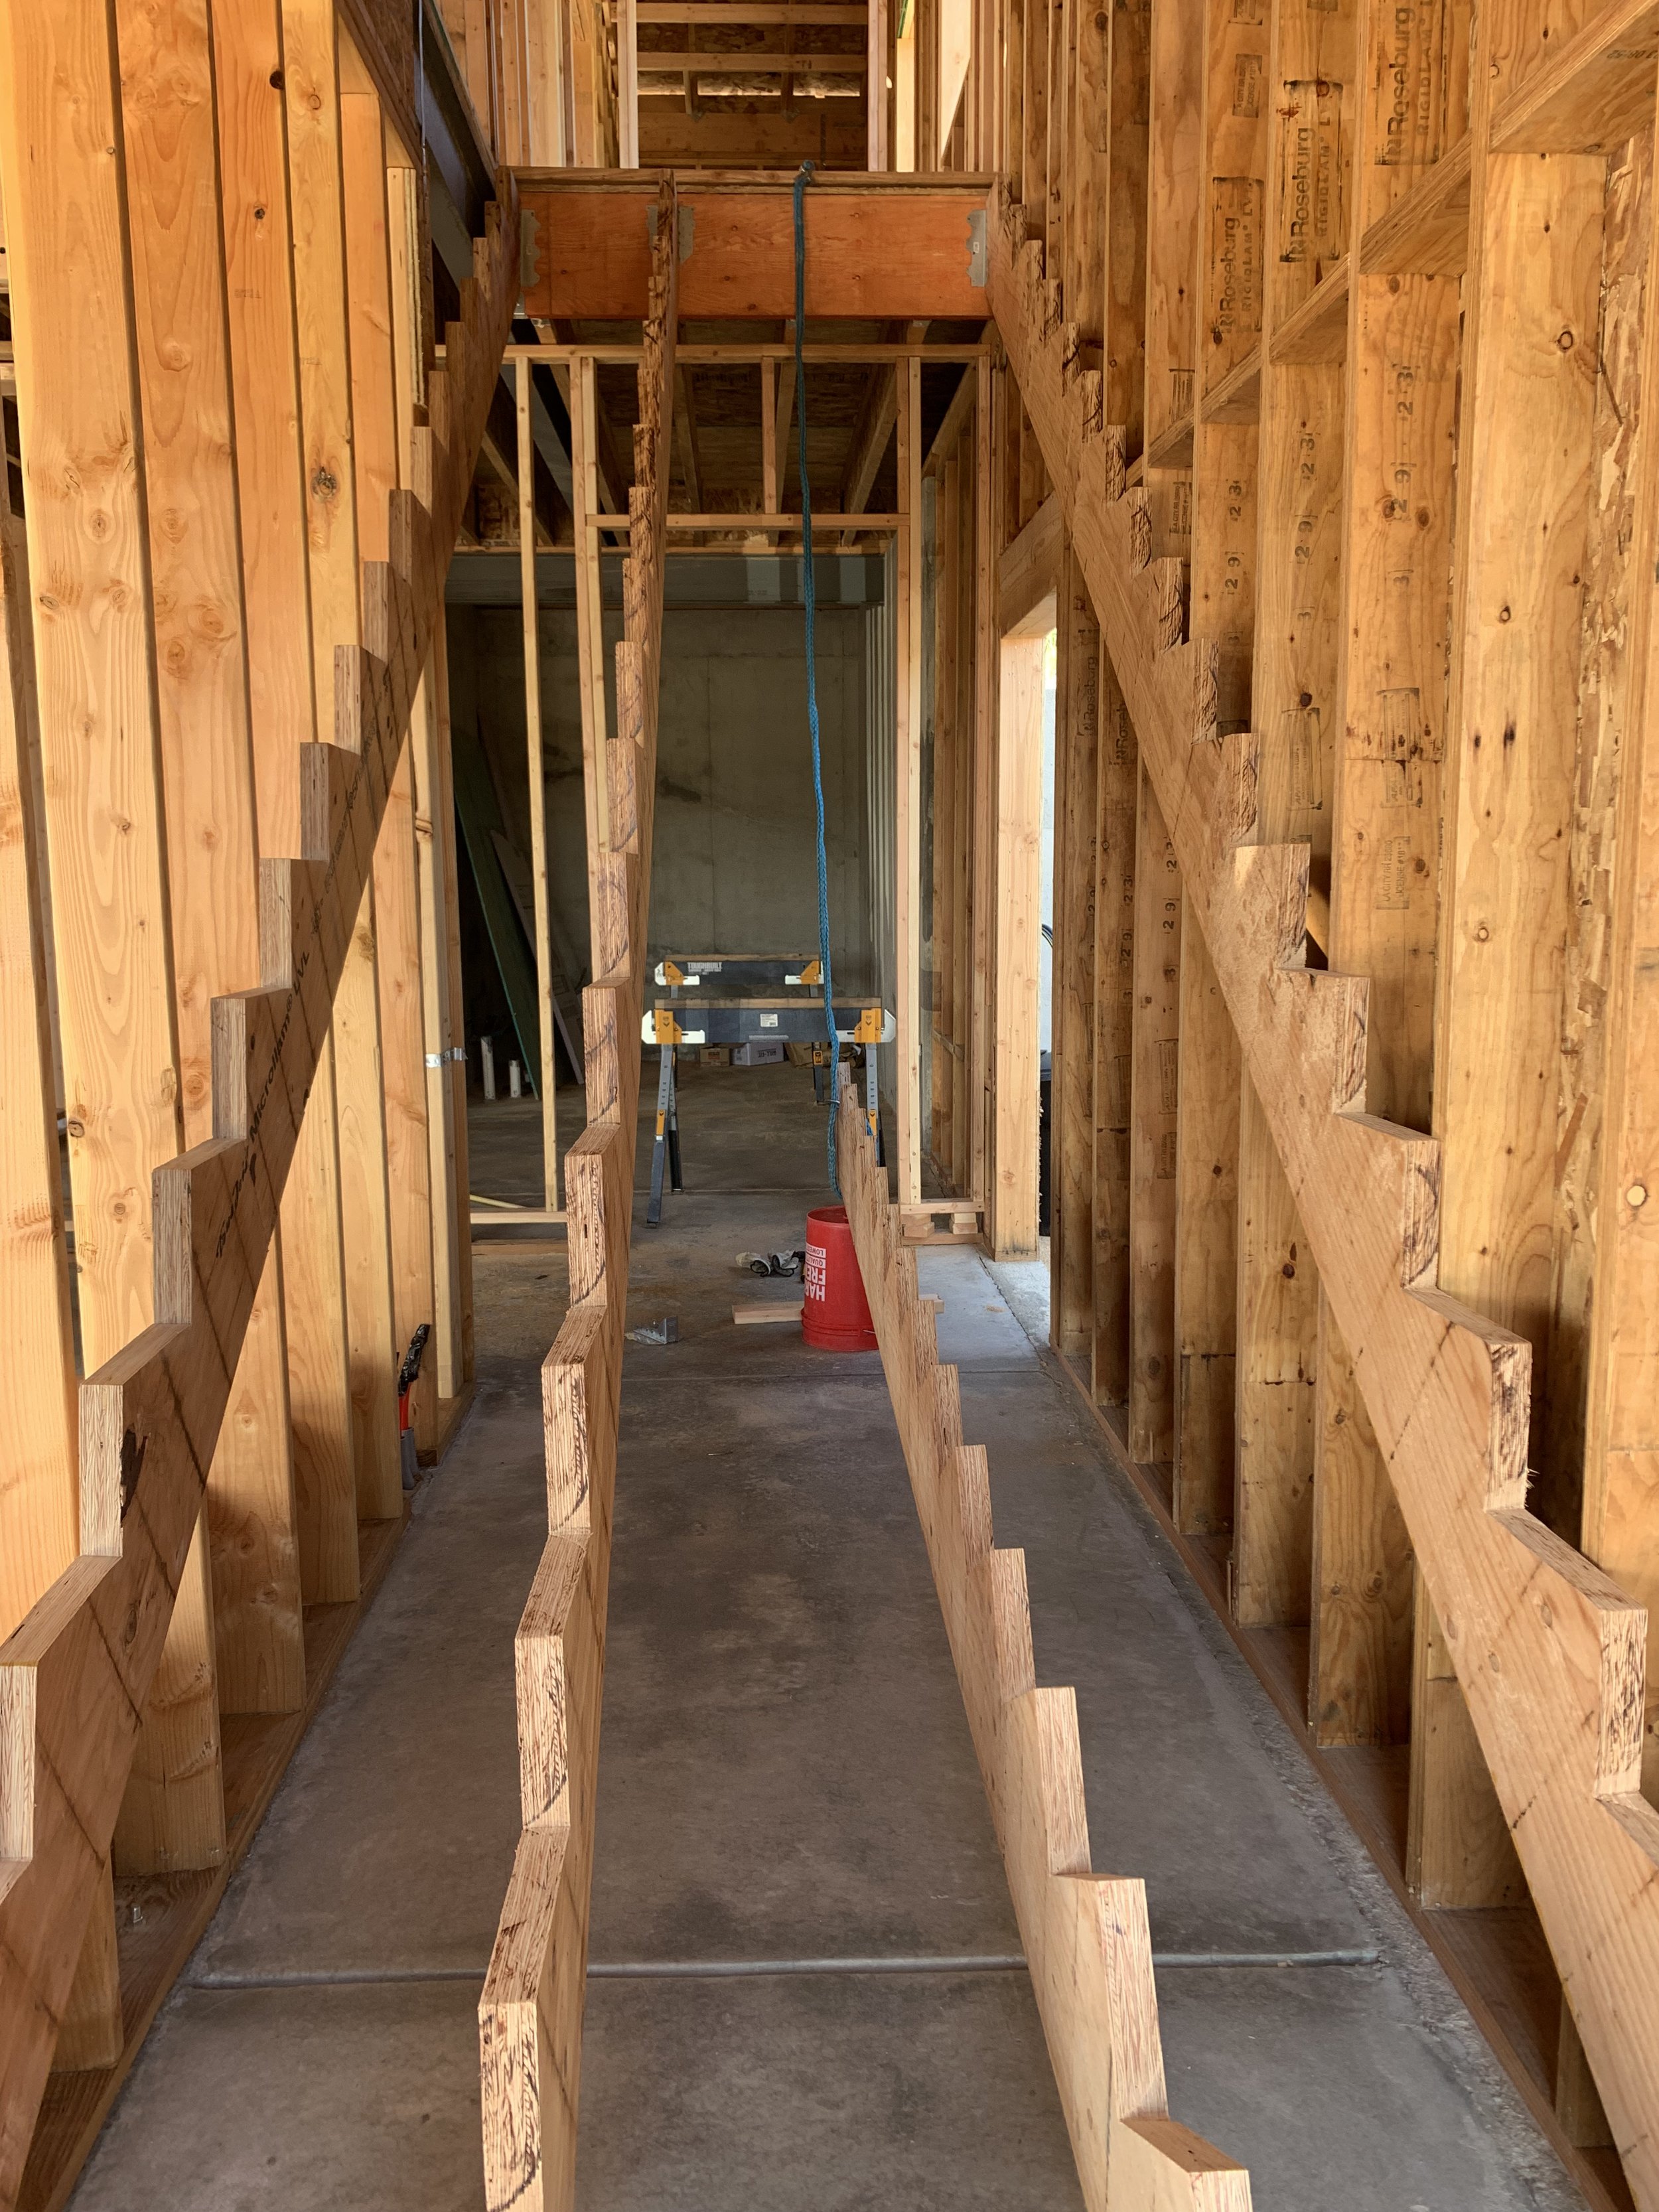
Time for the stairs to be built! With only 2 of us trying to hoist these heavy stringers up, we had to get creative. Kris pulls with a rope from up top and Rachel pushes from the bottom!

No easy task, but stringer #1 is up and ready to be measured to make a stencil for the other 3 to follow.

Kris starts to cut out the first stair stringer.

When you have crazy high ceilings, your stringers are really, really long!

Now that we have a stencil, stringers 1 and 2 are already up!

Stringer 3 goes in, though we began having issues at this point which we later contributed to the header being slightly crooked at the top.
Stringer 4 gets hoisted up and we cross our fingers they all match up close enough to move forward!
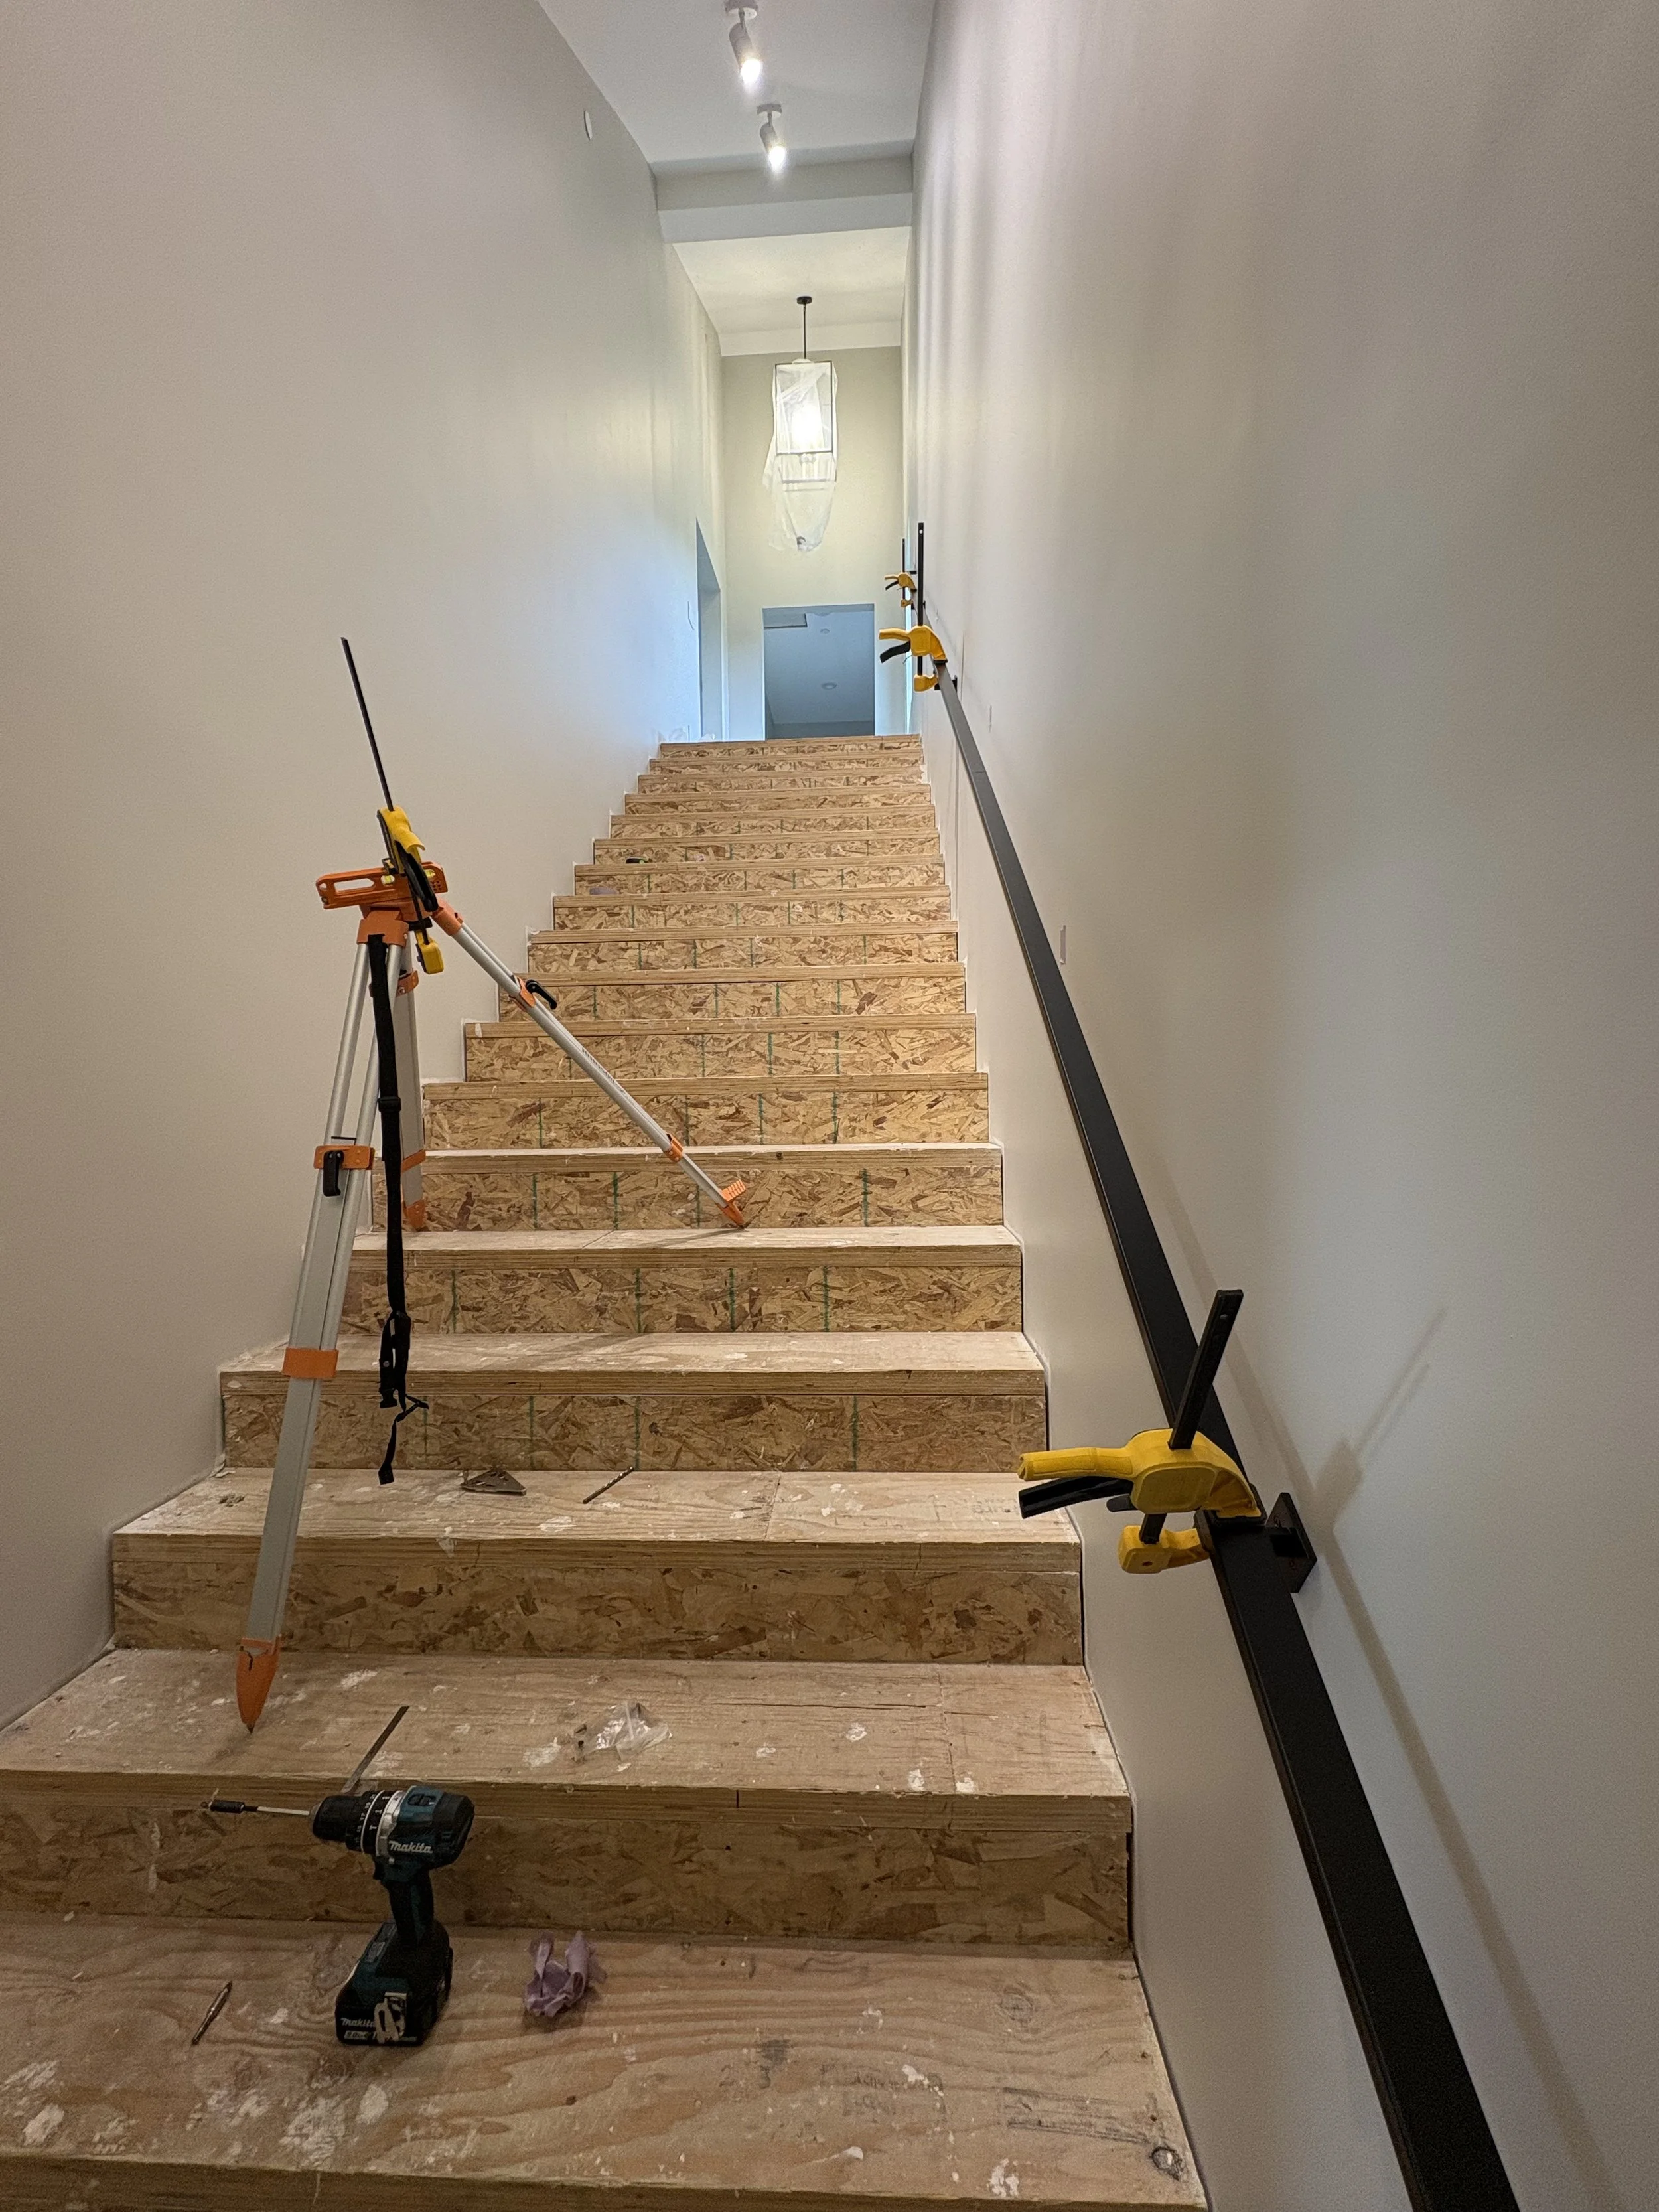
All 4 are in and we can now start on the stair treads.
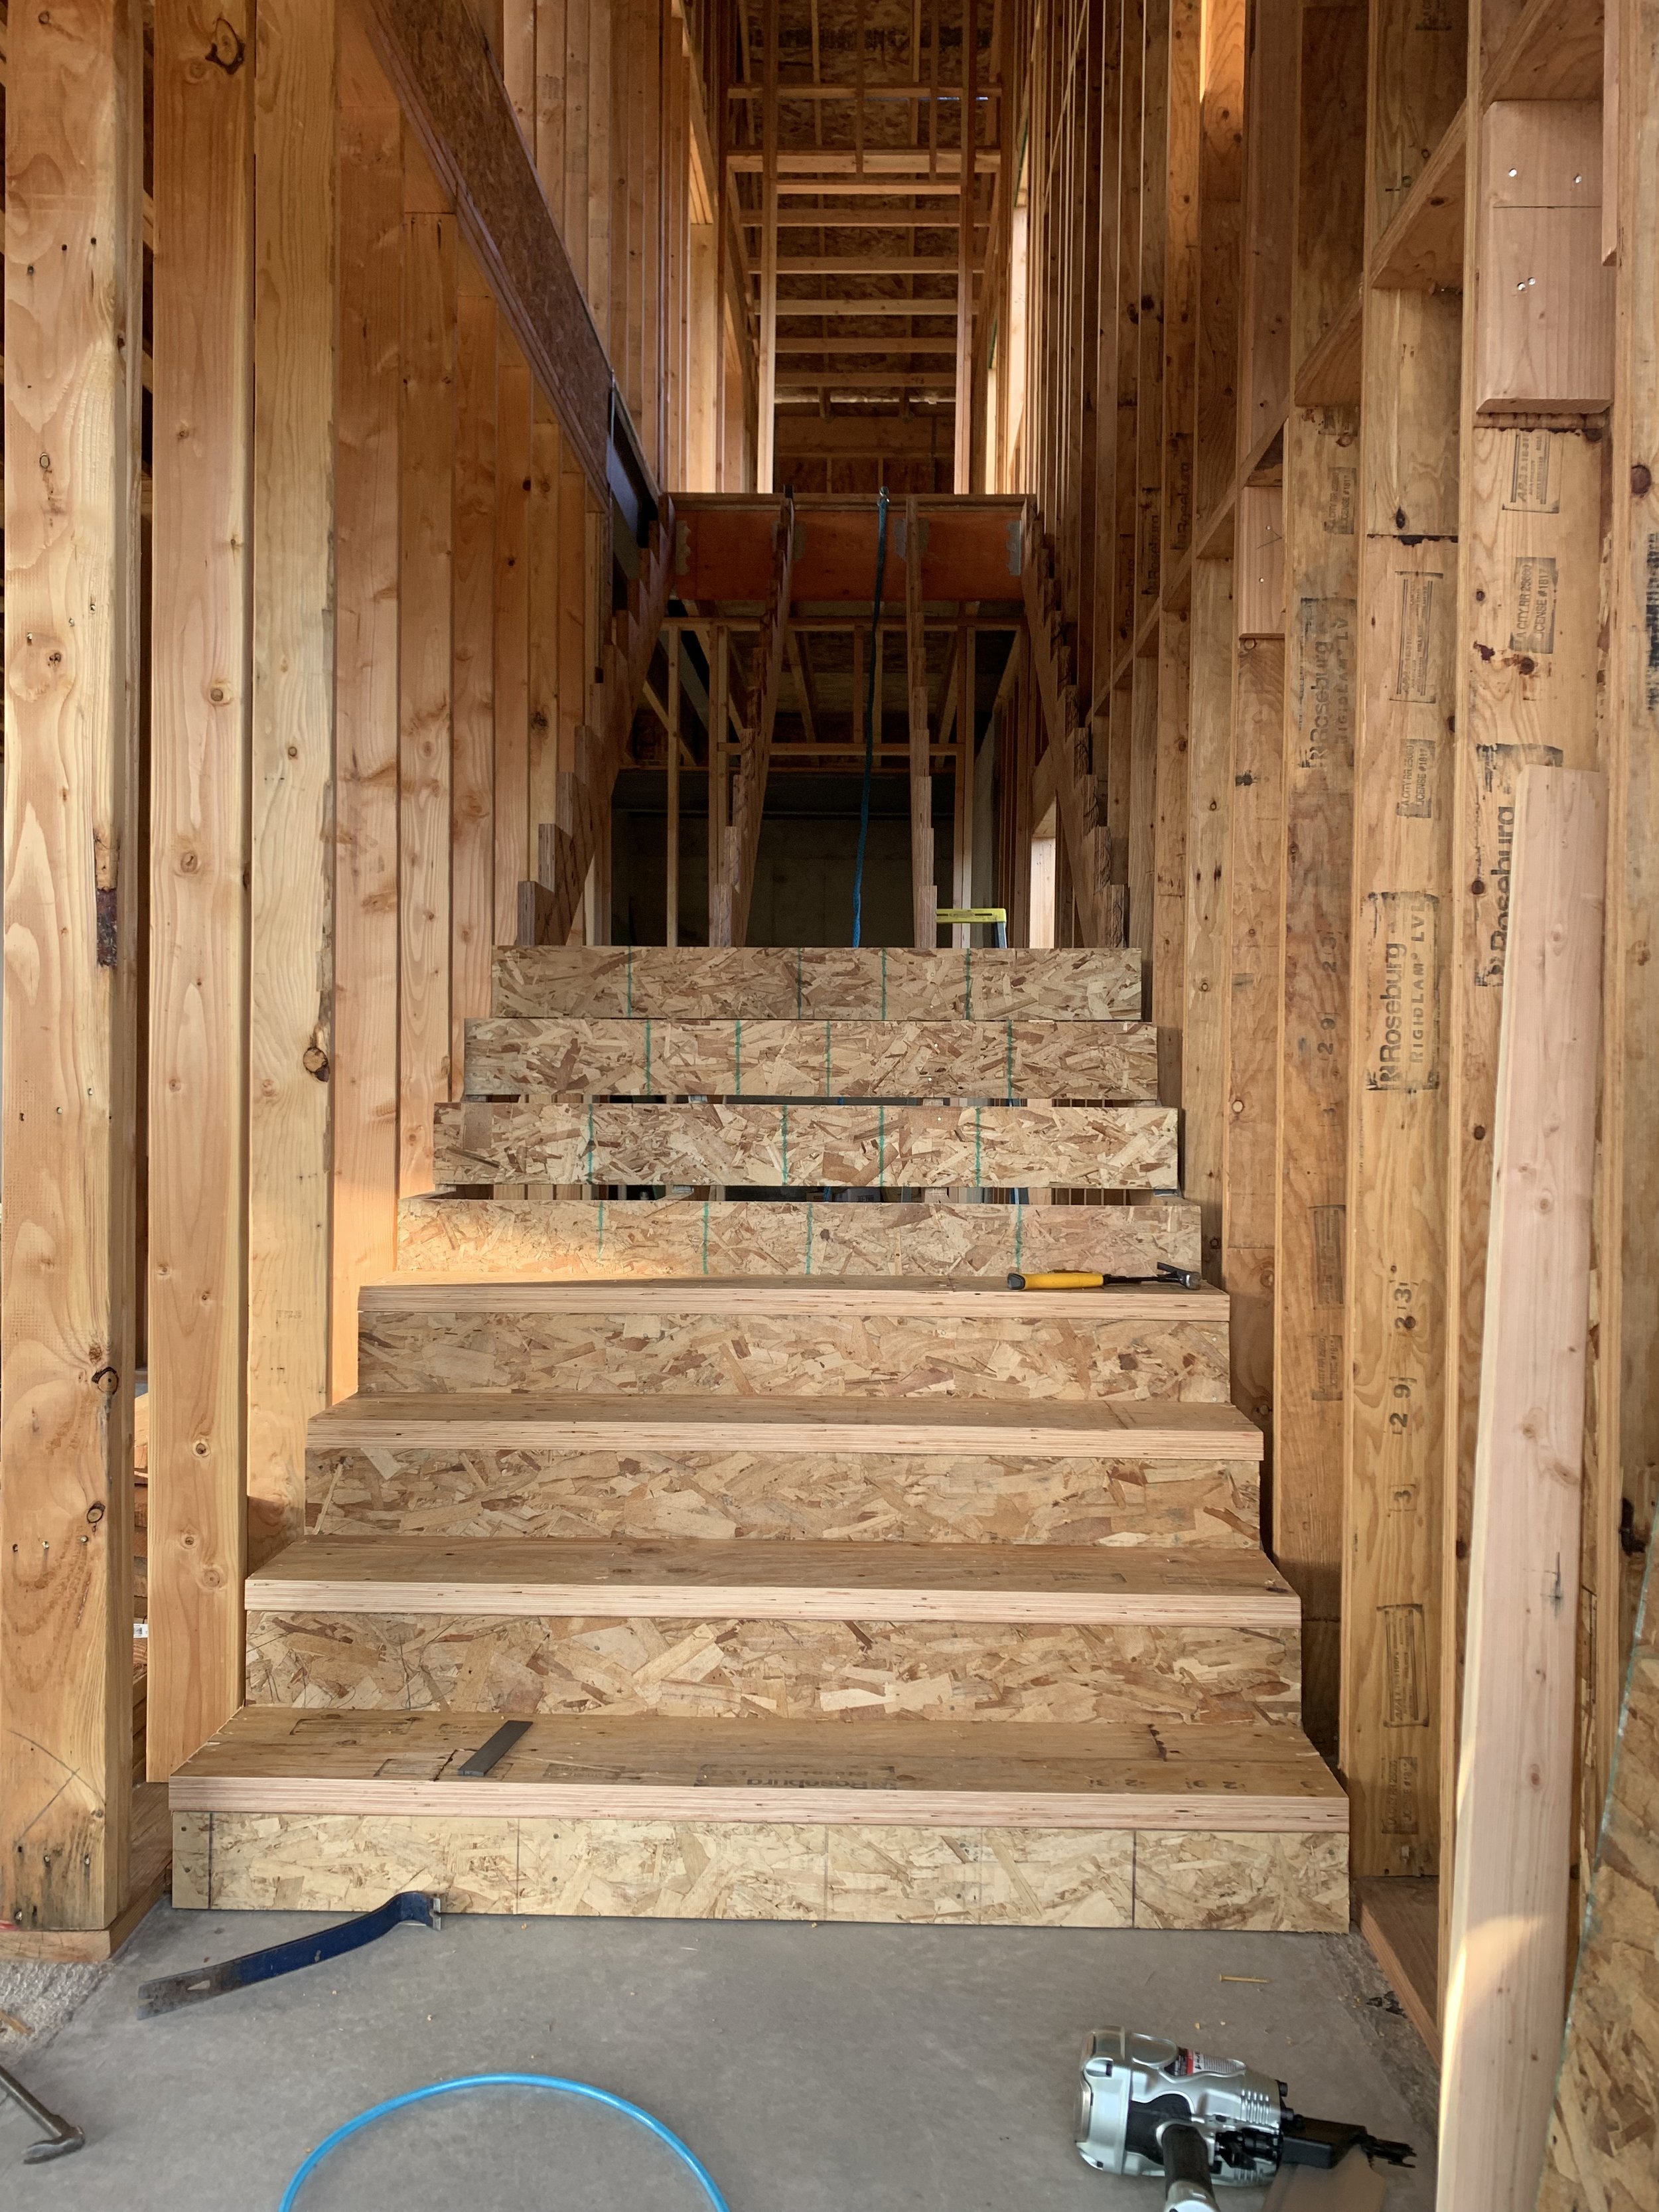
Kris begins meticulously making each stair to ensure they're level and super sturdy.

Someone's getting a bit too excited about these stairs! Ha!
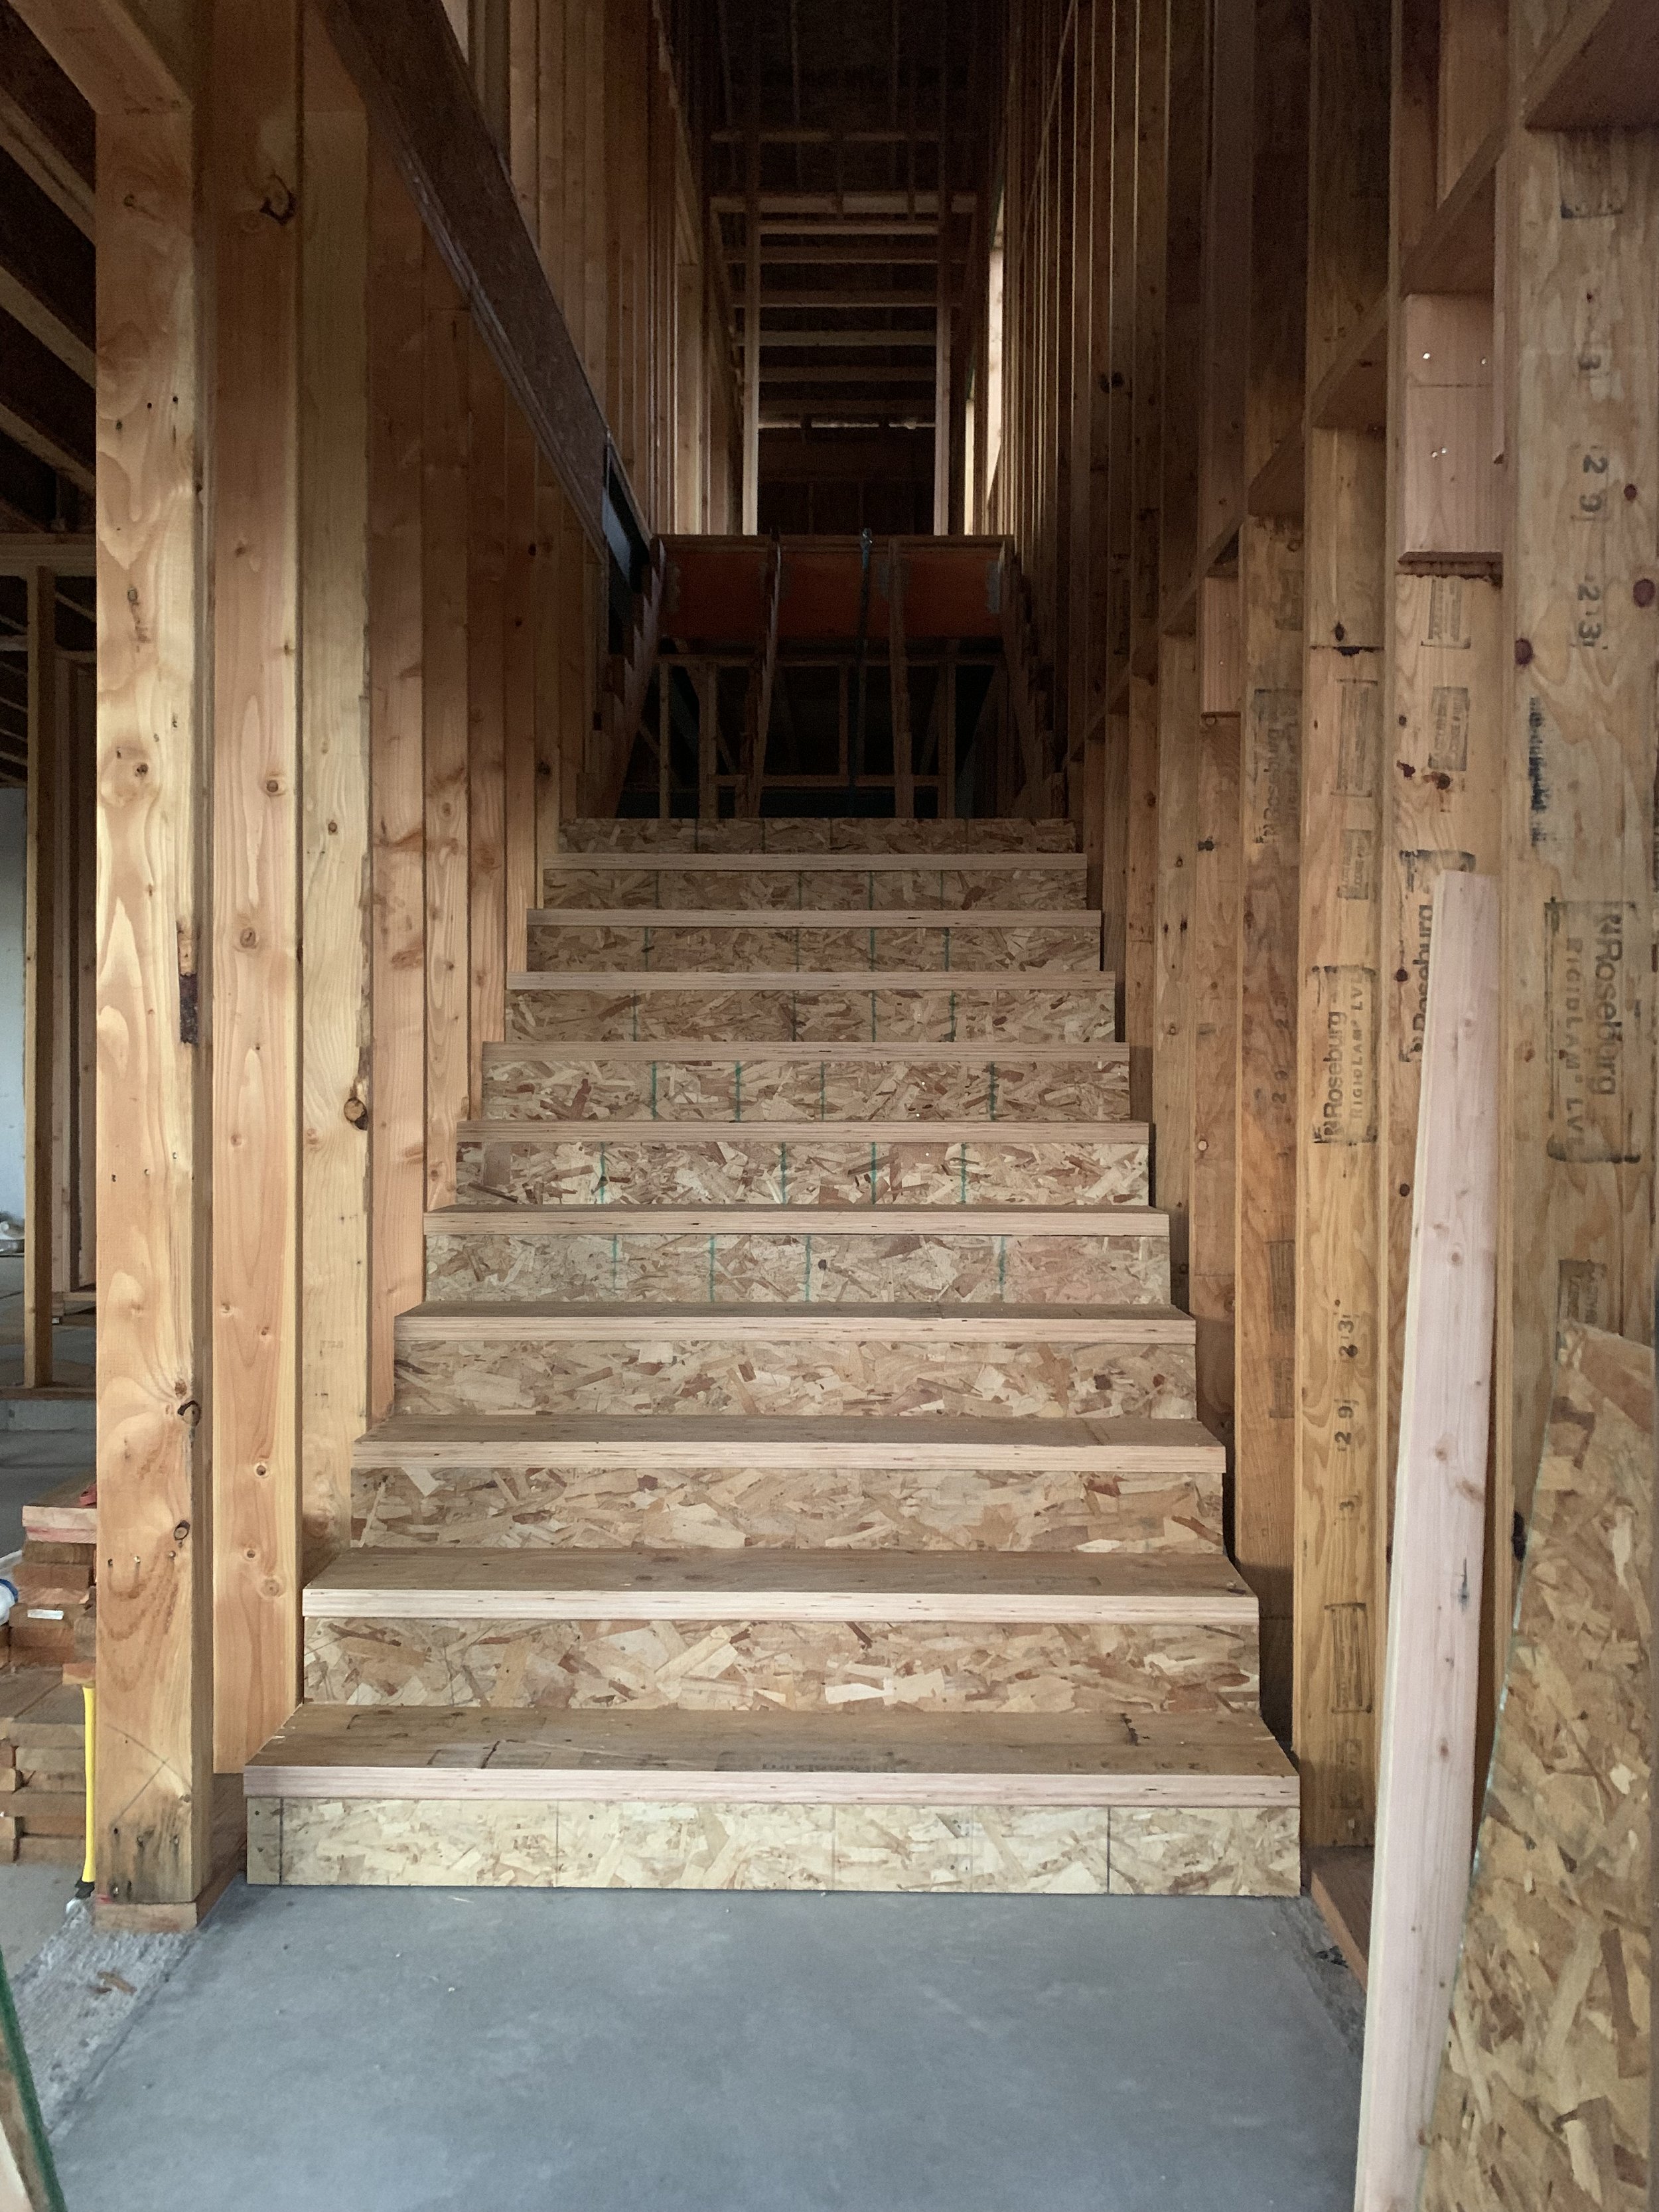
Passing the halfway point!

Don't look down! It's a bit steep!

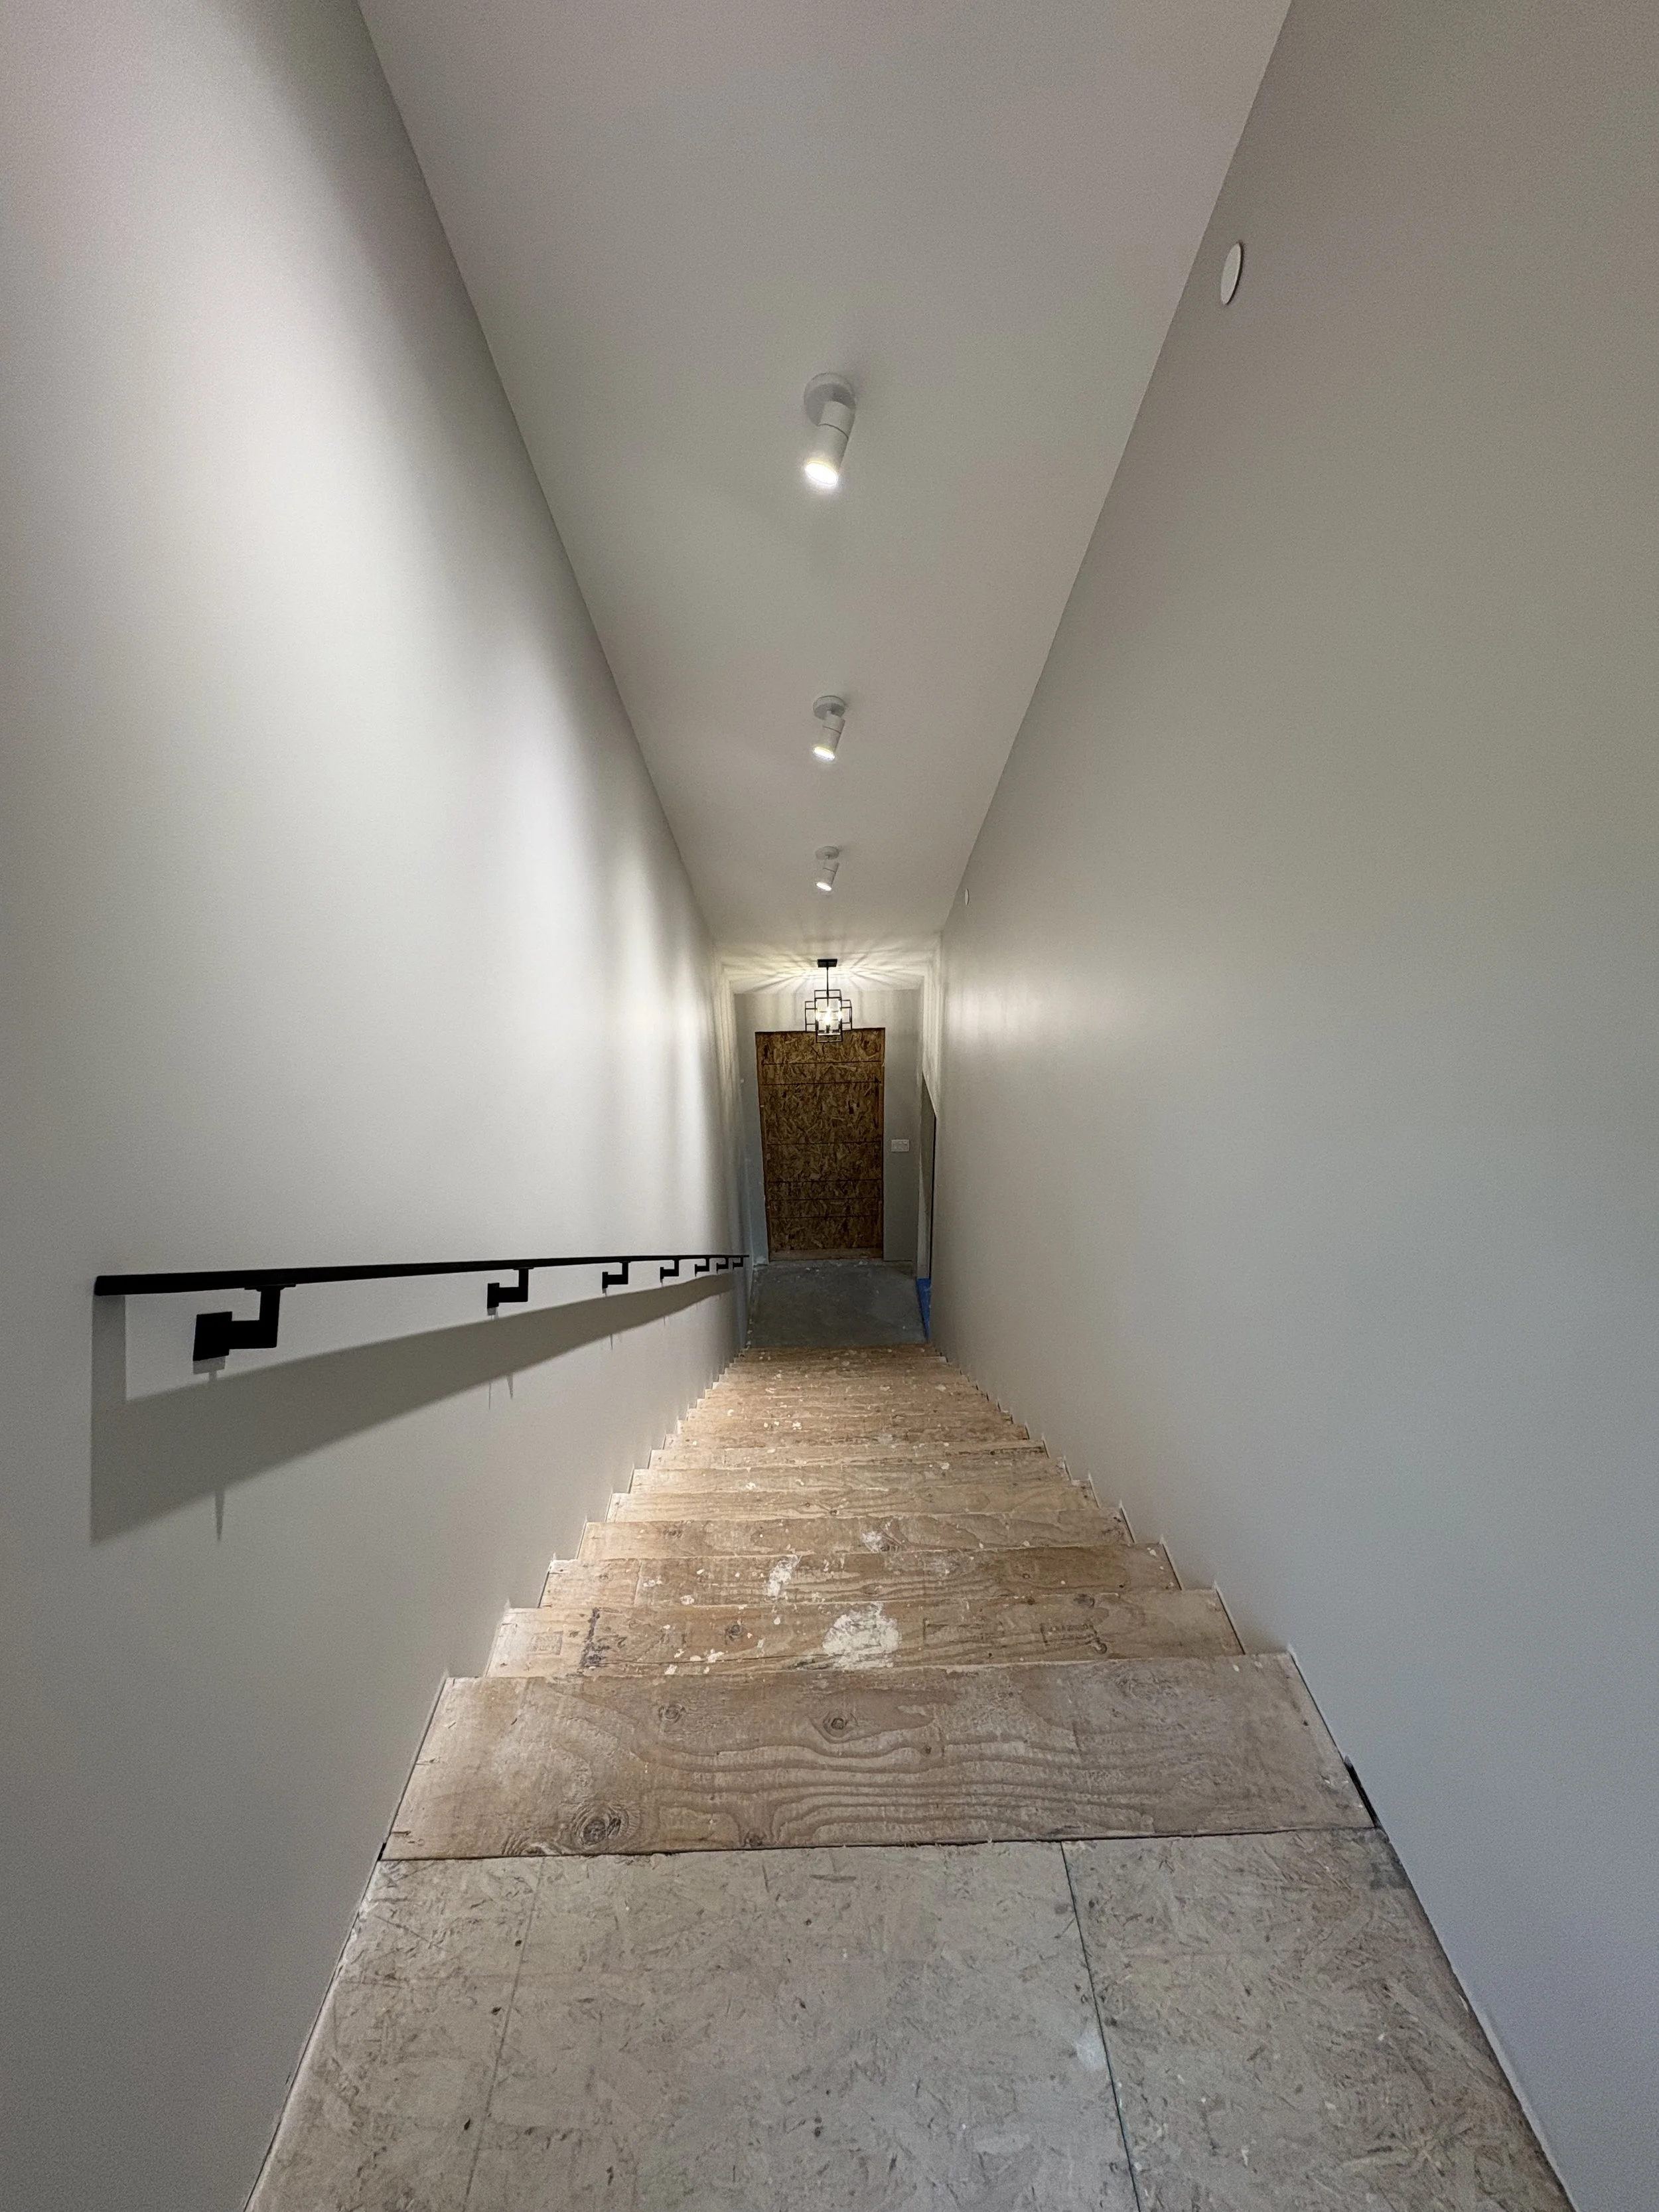
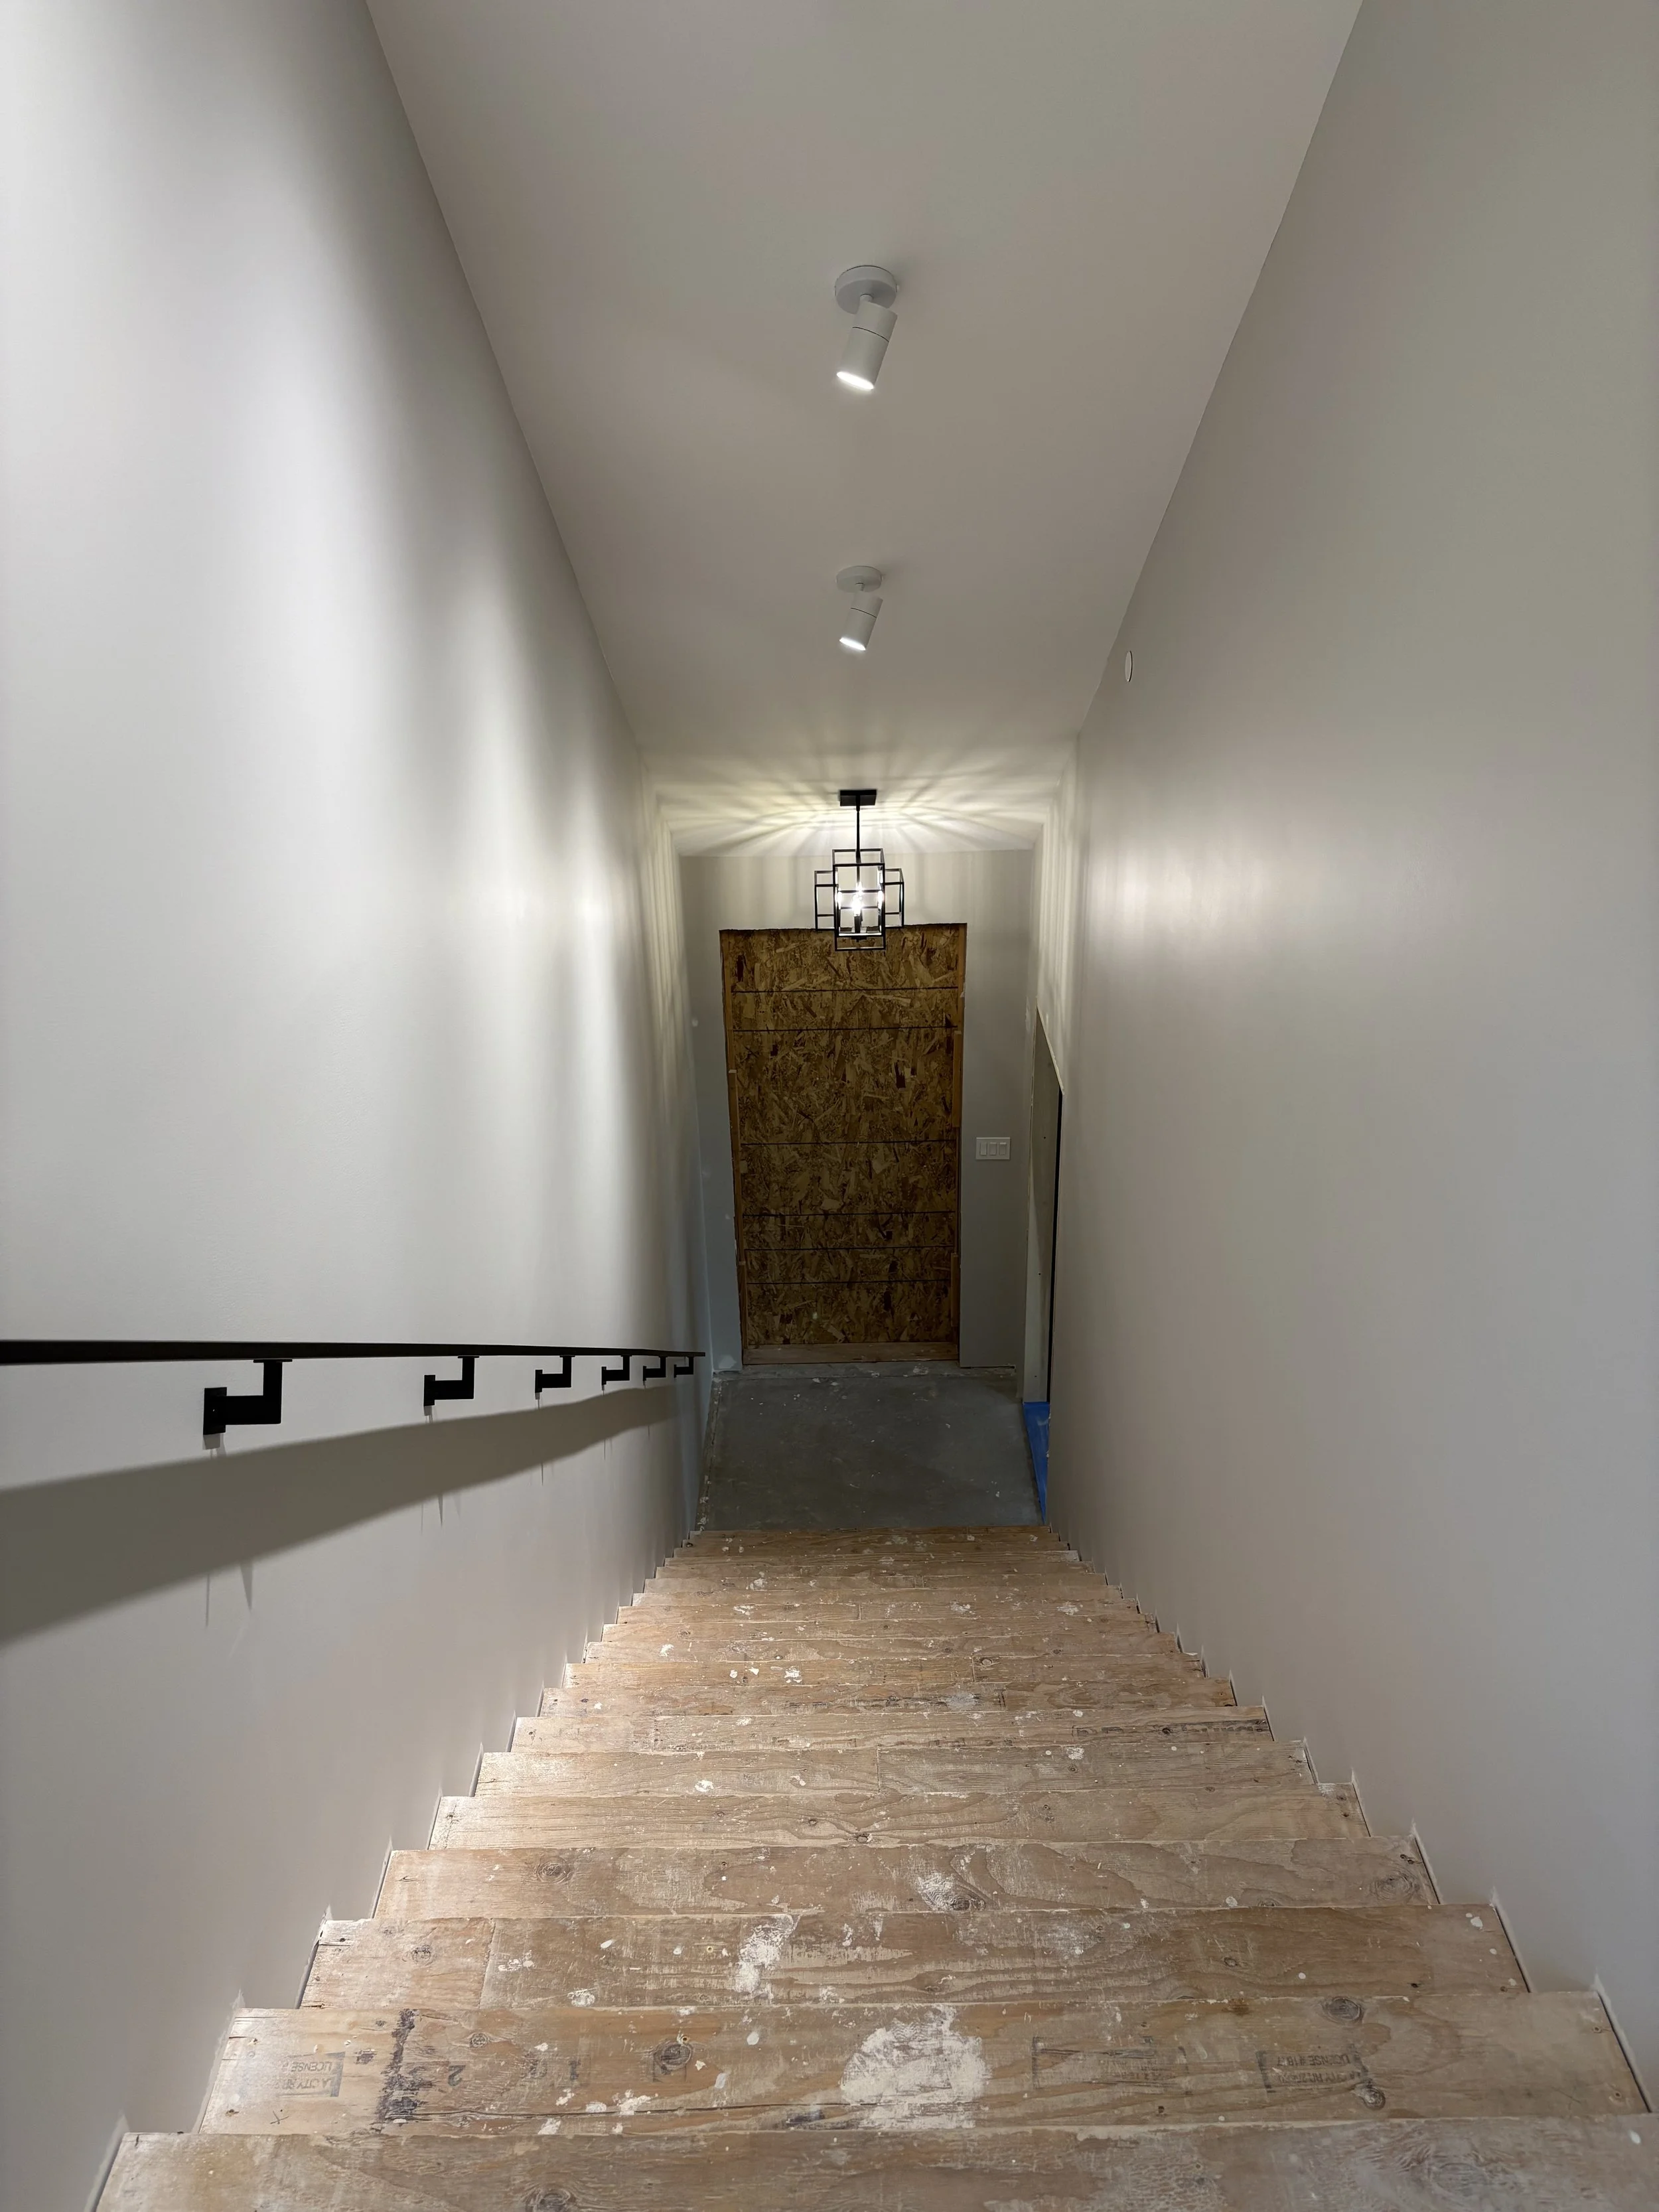
...and finally finished! This staircase will give you quite a workout!

That is quite the drop, but we sure enjoy not having to jump off the back deck, then running around the house to get to the lower level!
Step 9: Trimming and Waterproofing

Time to put up the trim around the roofline!
The trim definitely gives it a nice finished look.

Then we have to wrap the trim in waterproofing material.
A view of the trim from the front!

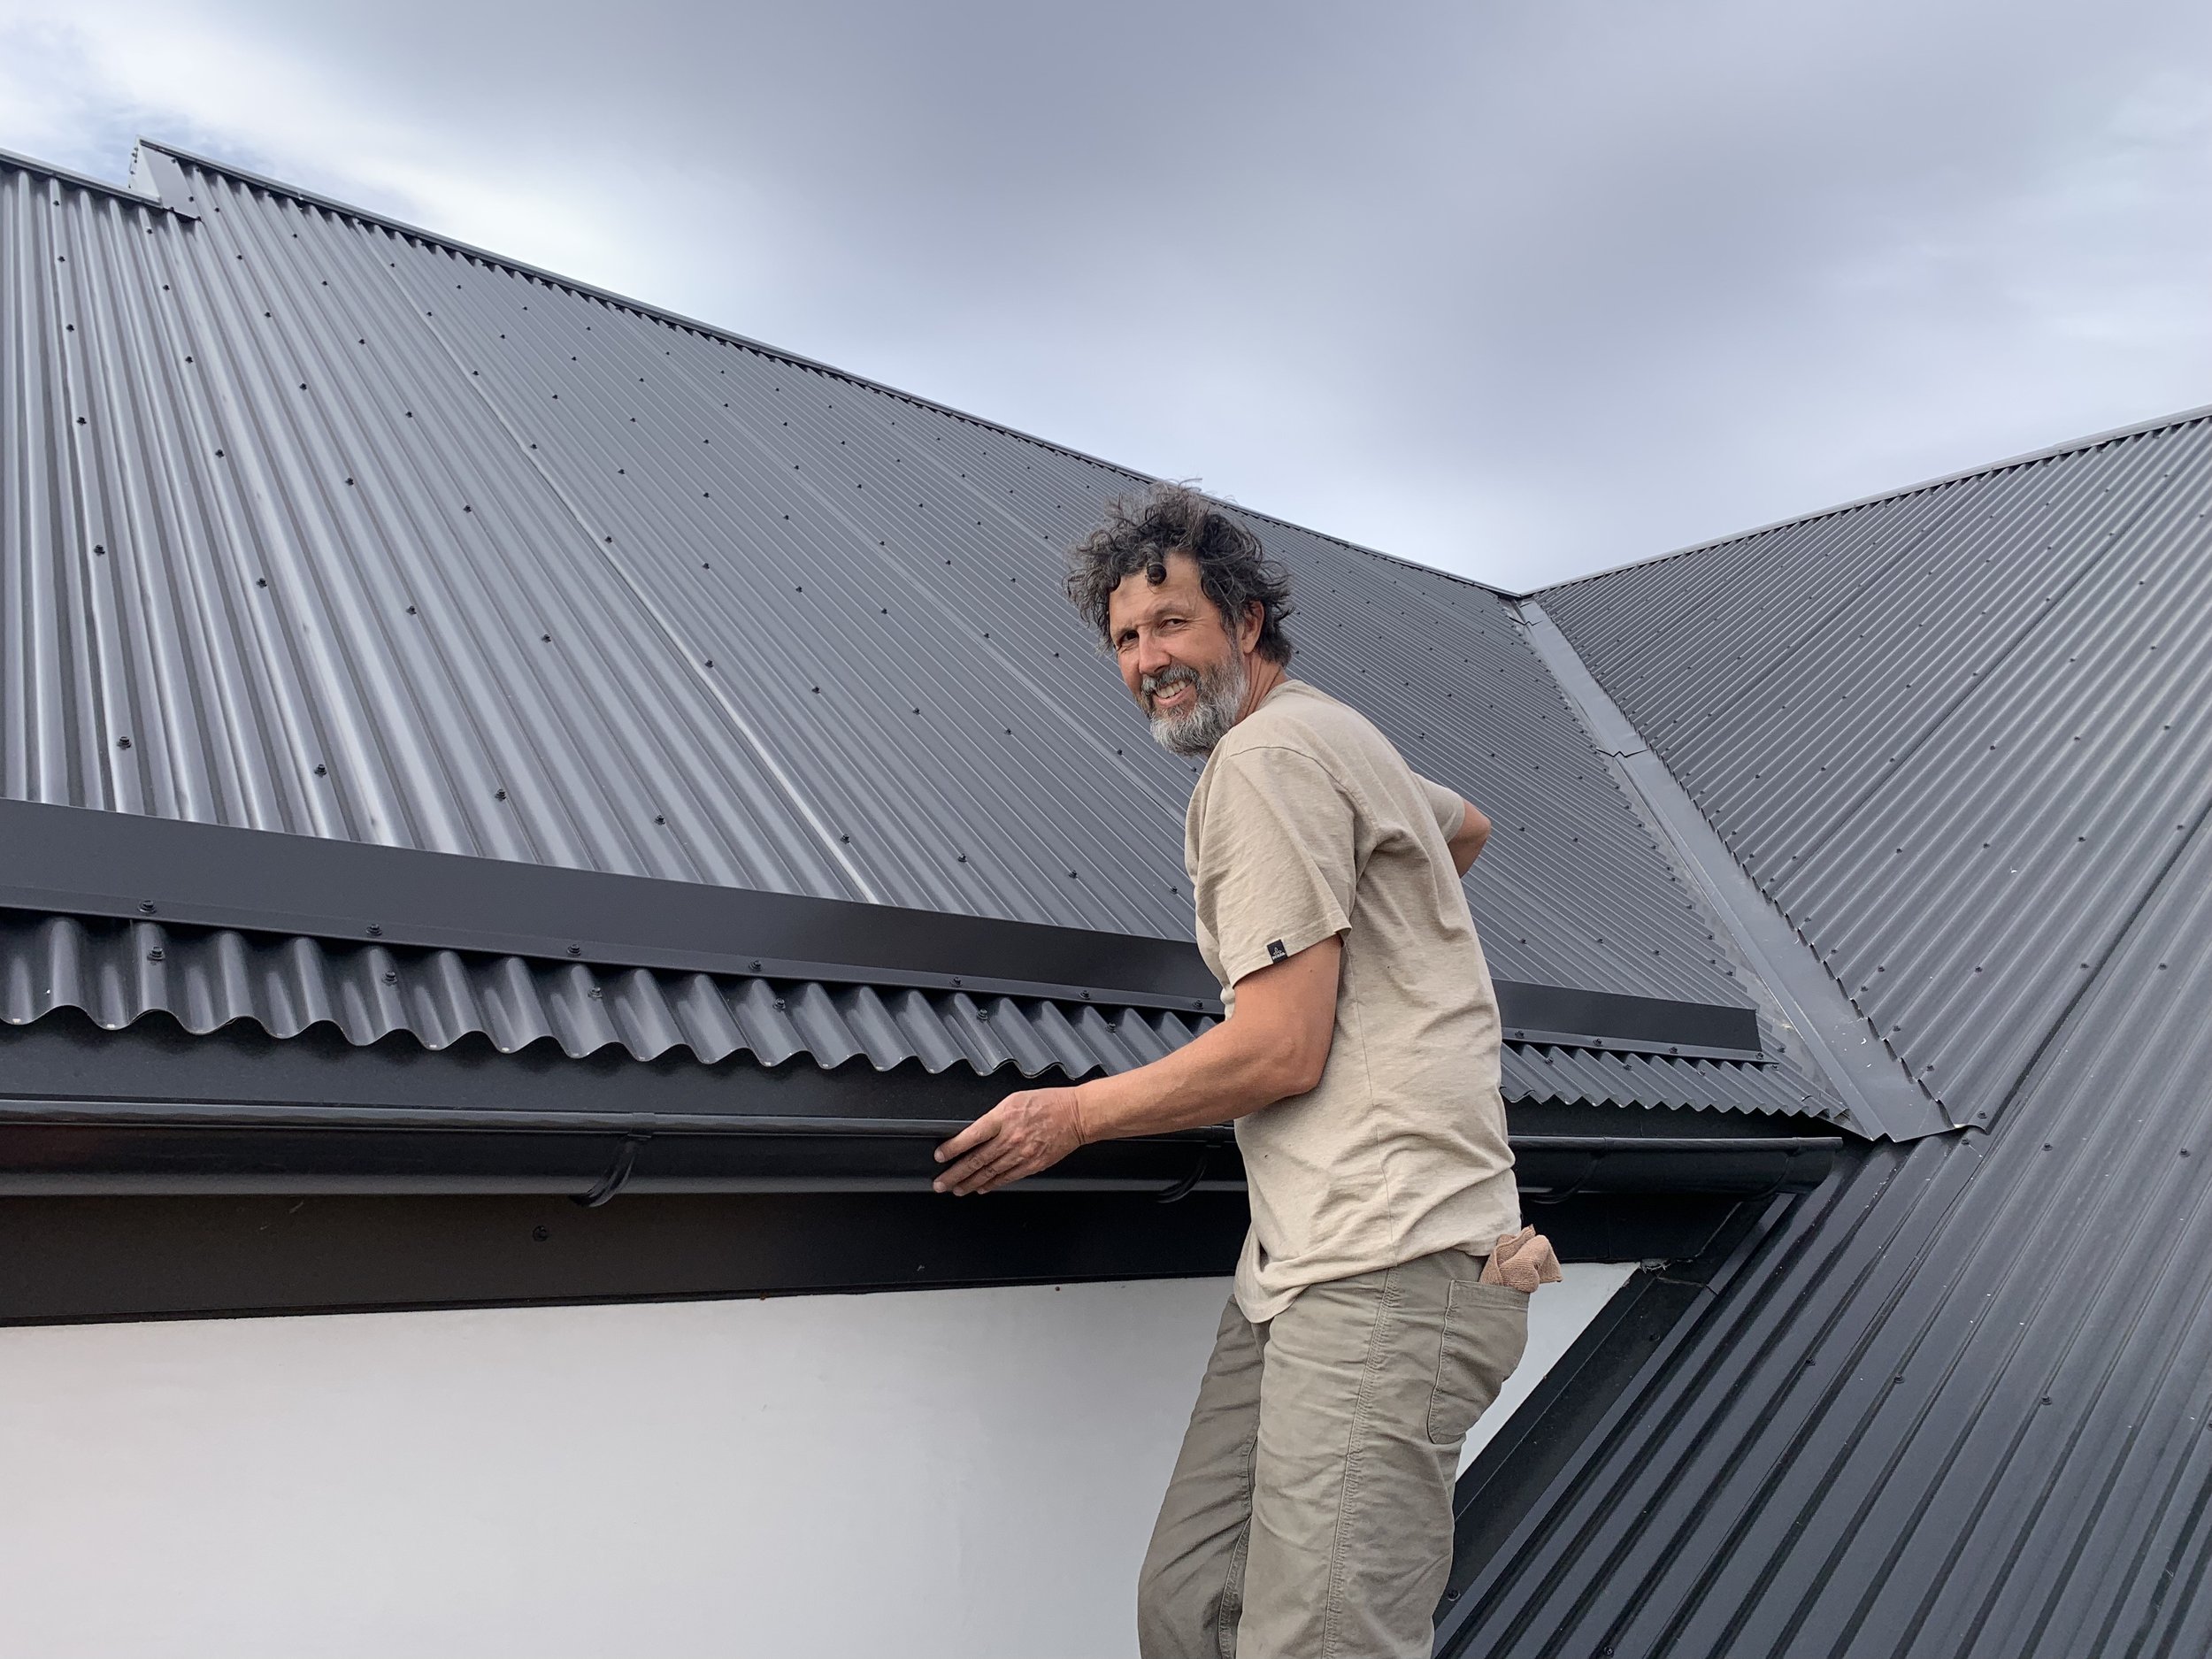
Kris is looking like a pro up there!

Boys and their toys! Kris decided to see how high the lift goes. Watch out for those dark clouds!

Ok, so the super high view is pretty spectacular!

Here we are! The happy builders up on the roof!

Construction site charcuterie anyone?

Looks like a french cottage on the hillside.

Kris finds a trespasser at the house! Eek! No, we're not keeping it!

Time to put the waterproofing layer on the rooftop.
Some sections of the roof seem a little easier...

Taking a few steps back to see the progress!

...and some a bit harder!

A LOT harder! Yikes!

Look Mom, no hands!!

Rachel stays close by to...ummm...catch Kris if he falls???
At last the roof waterproofing phase is done!
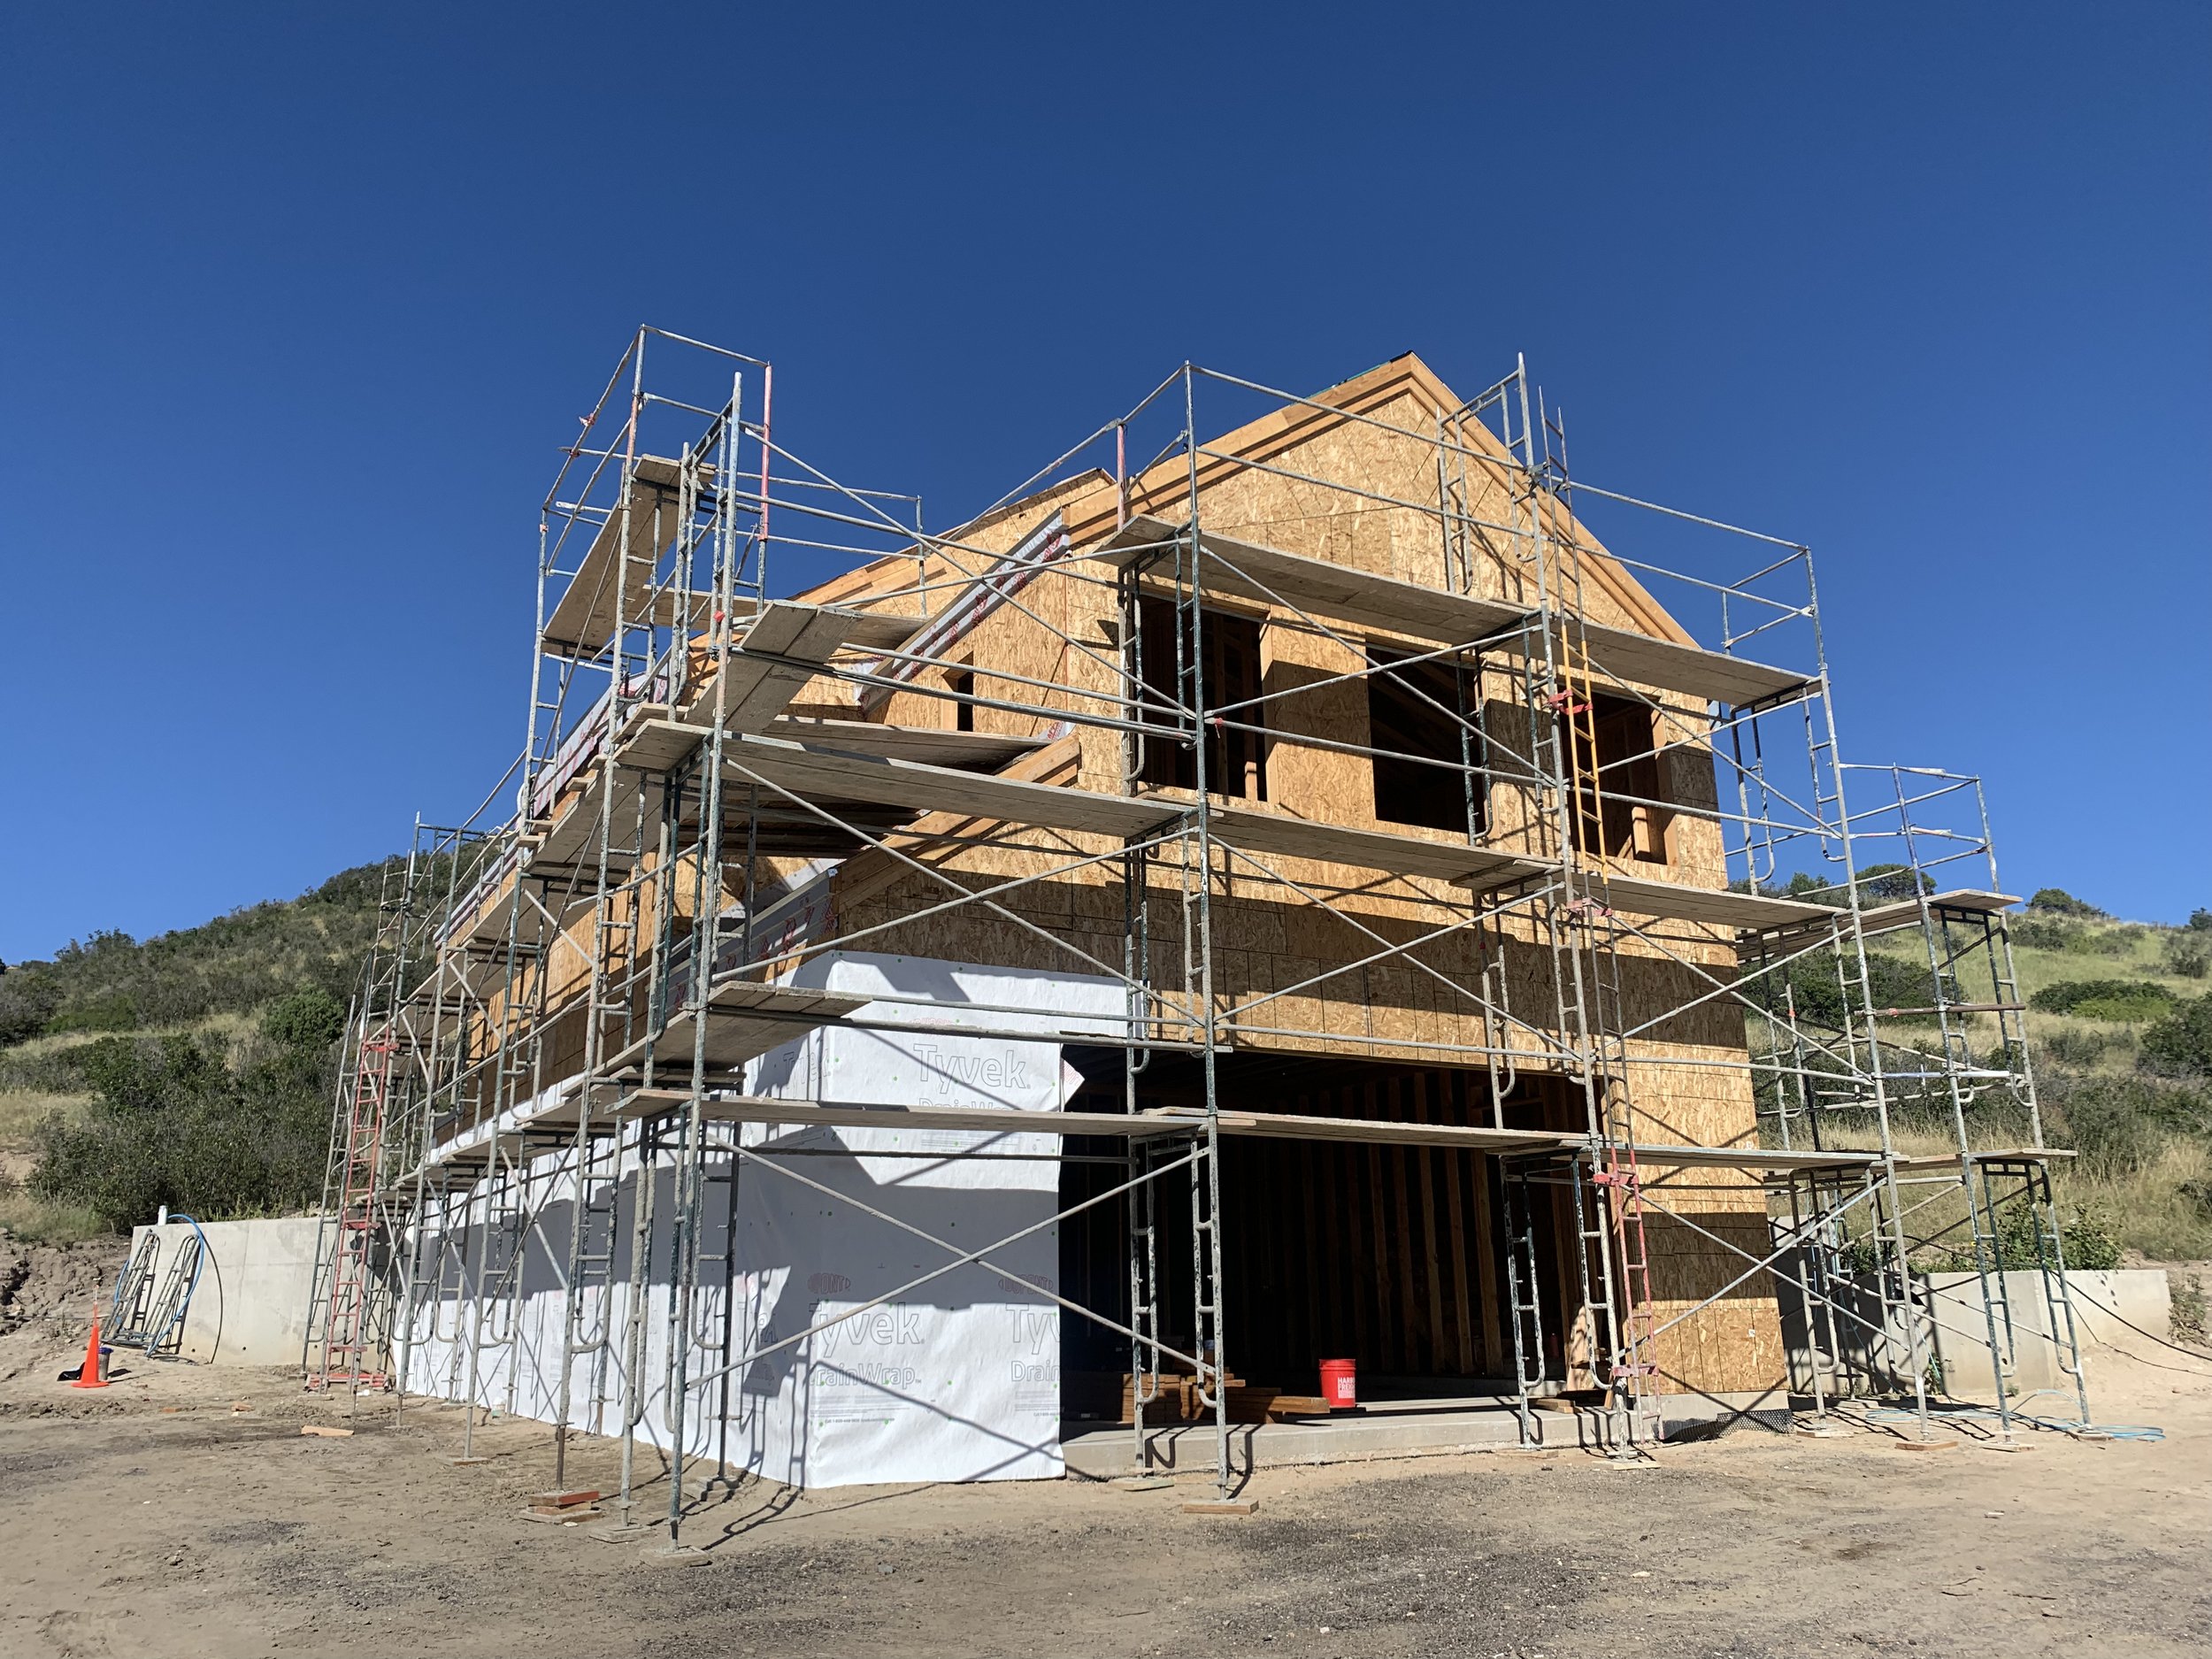
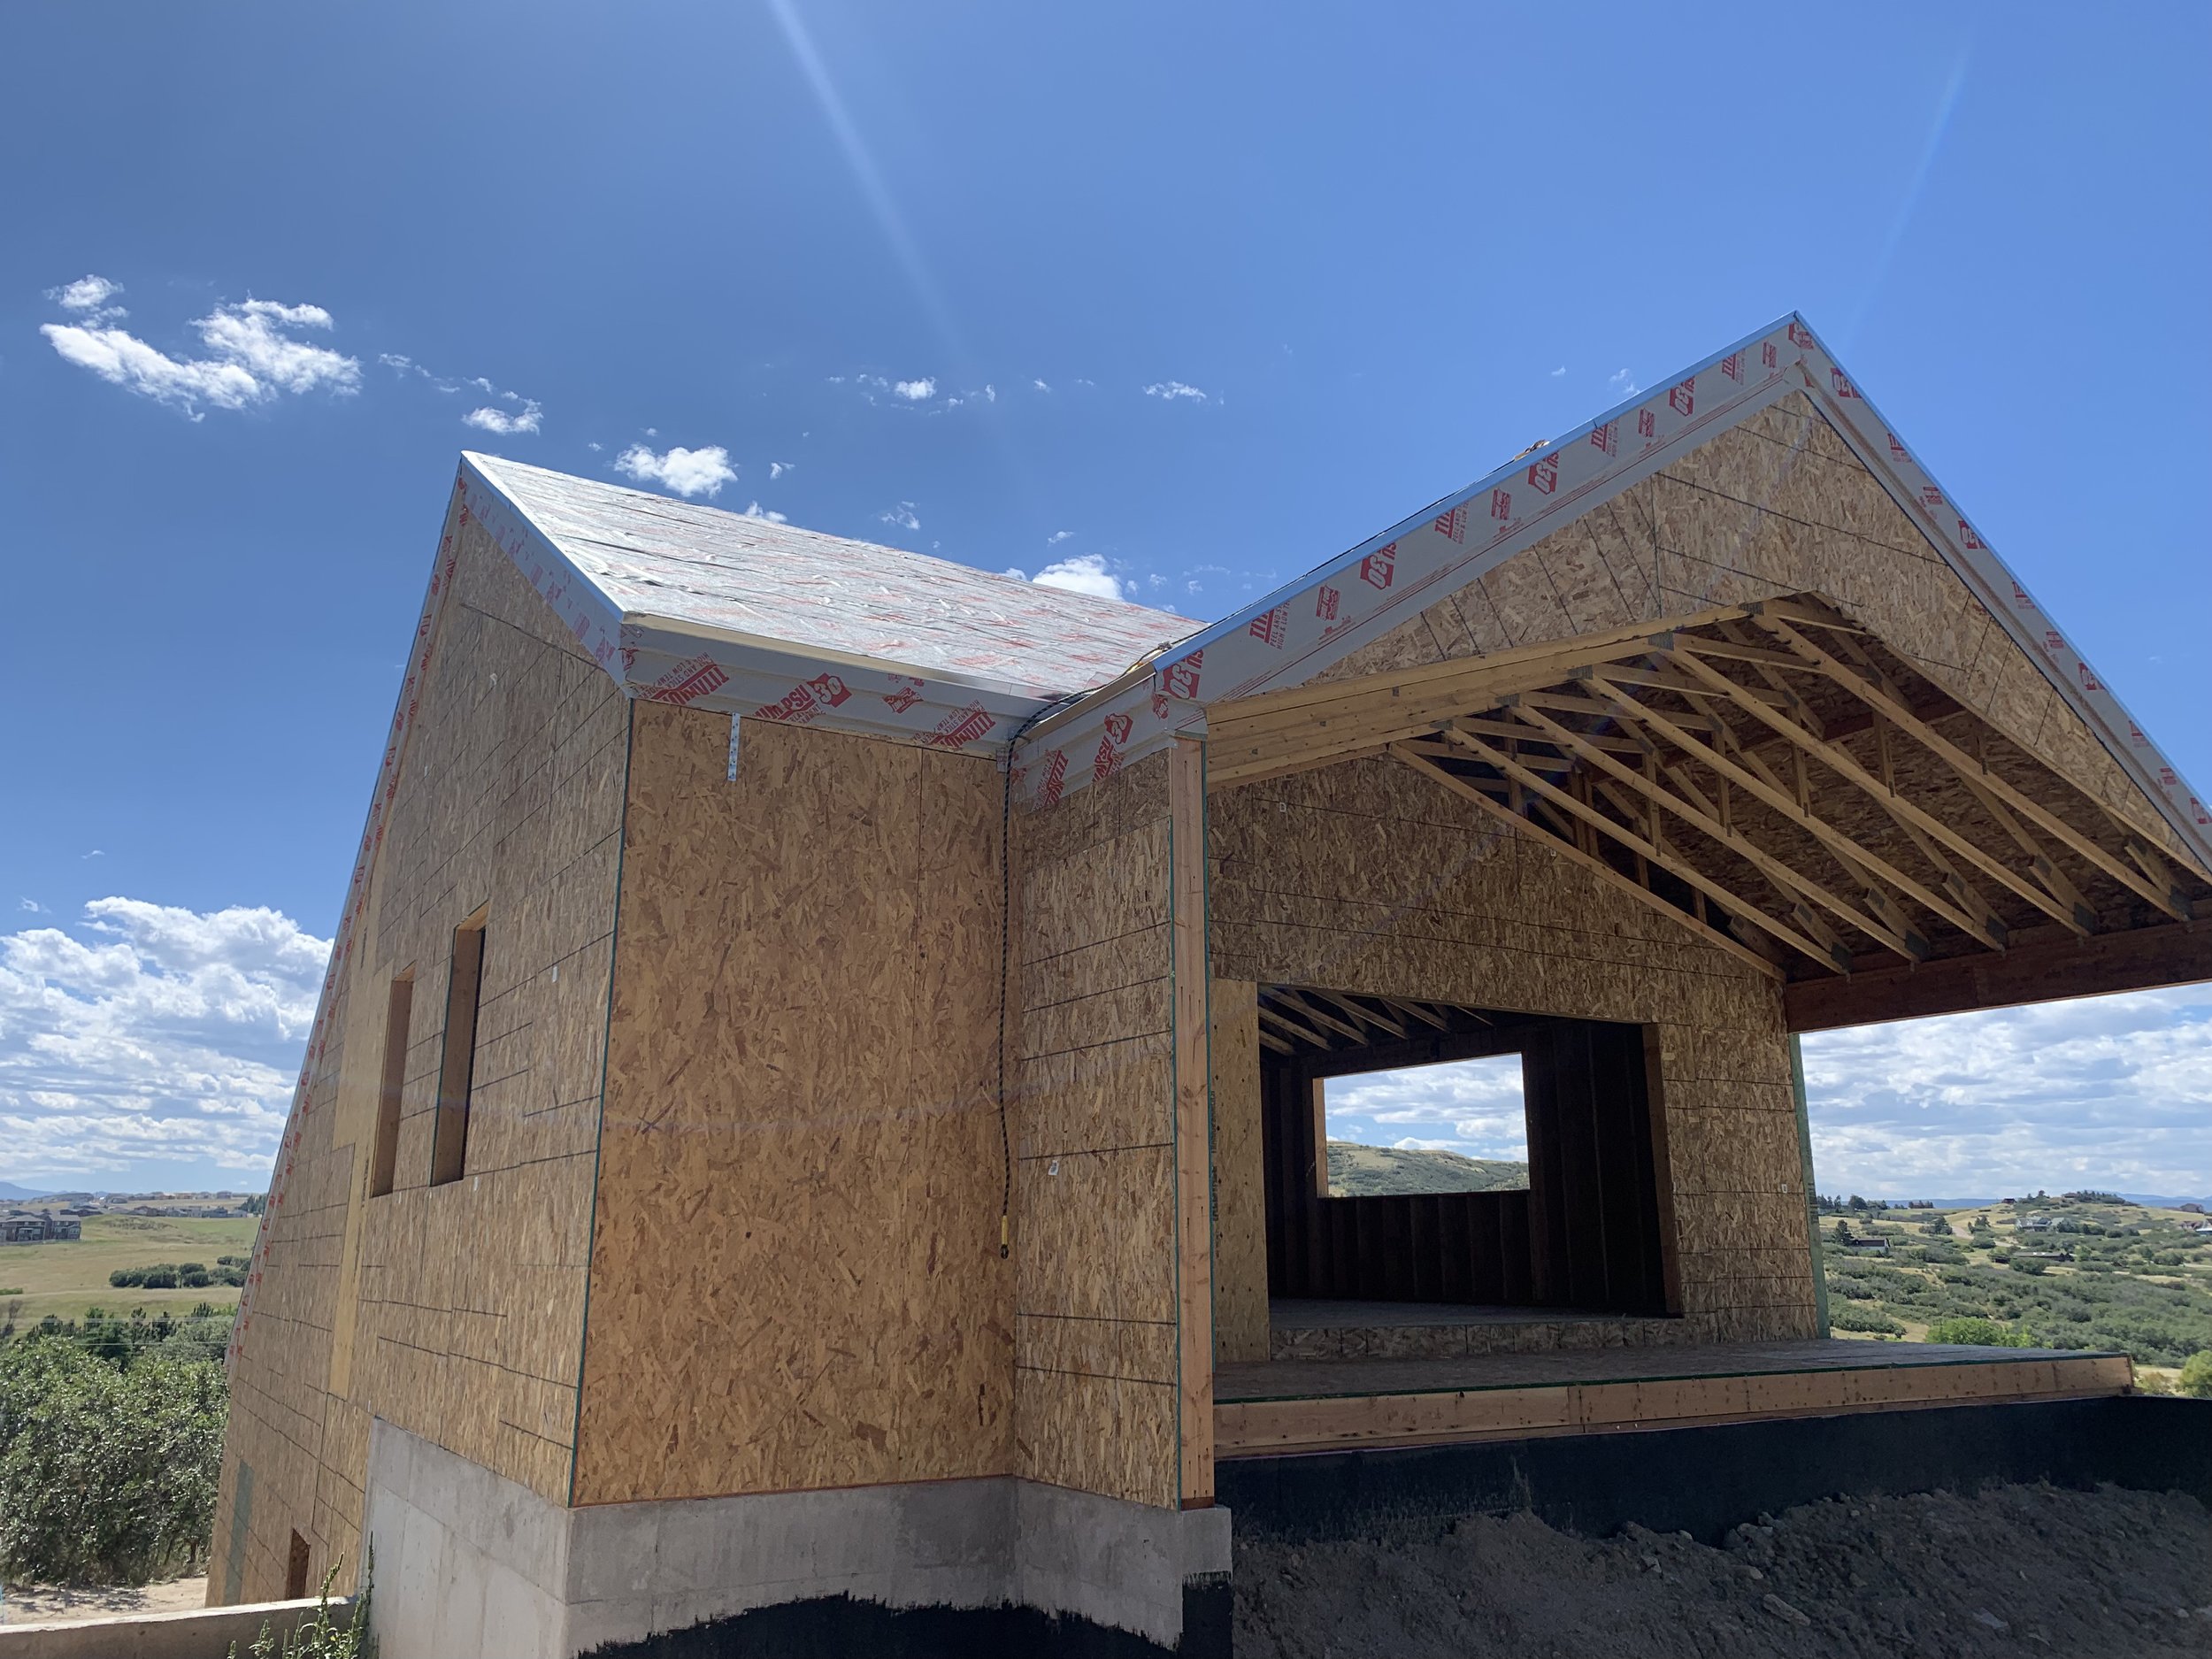
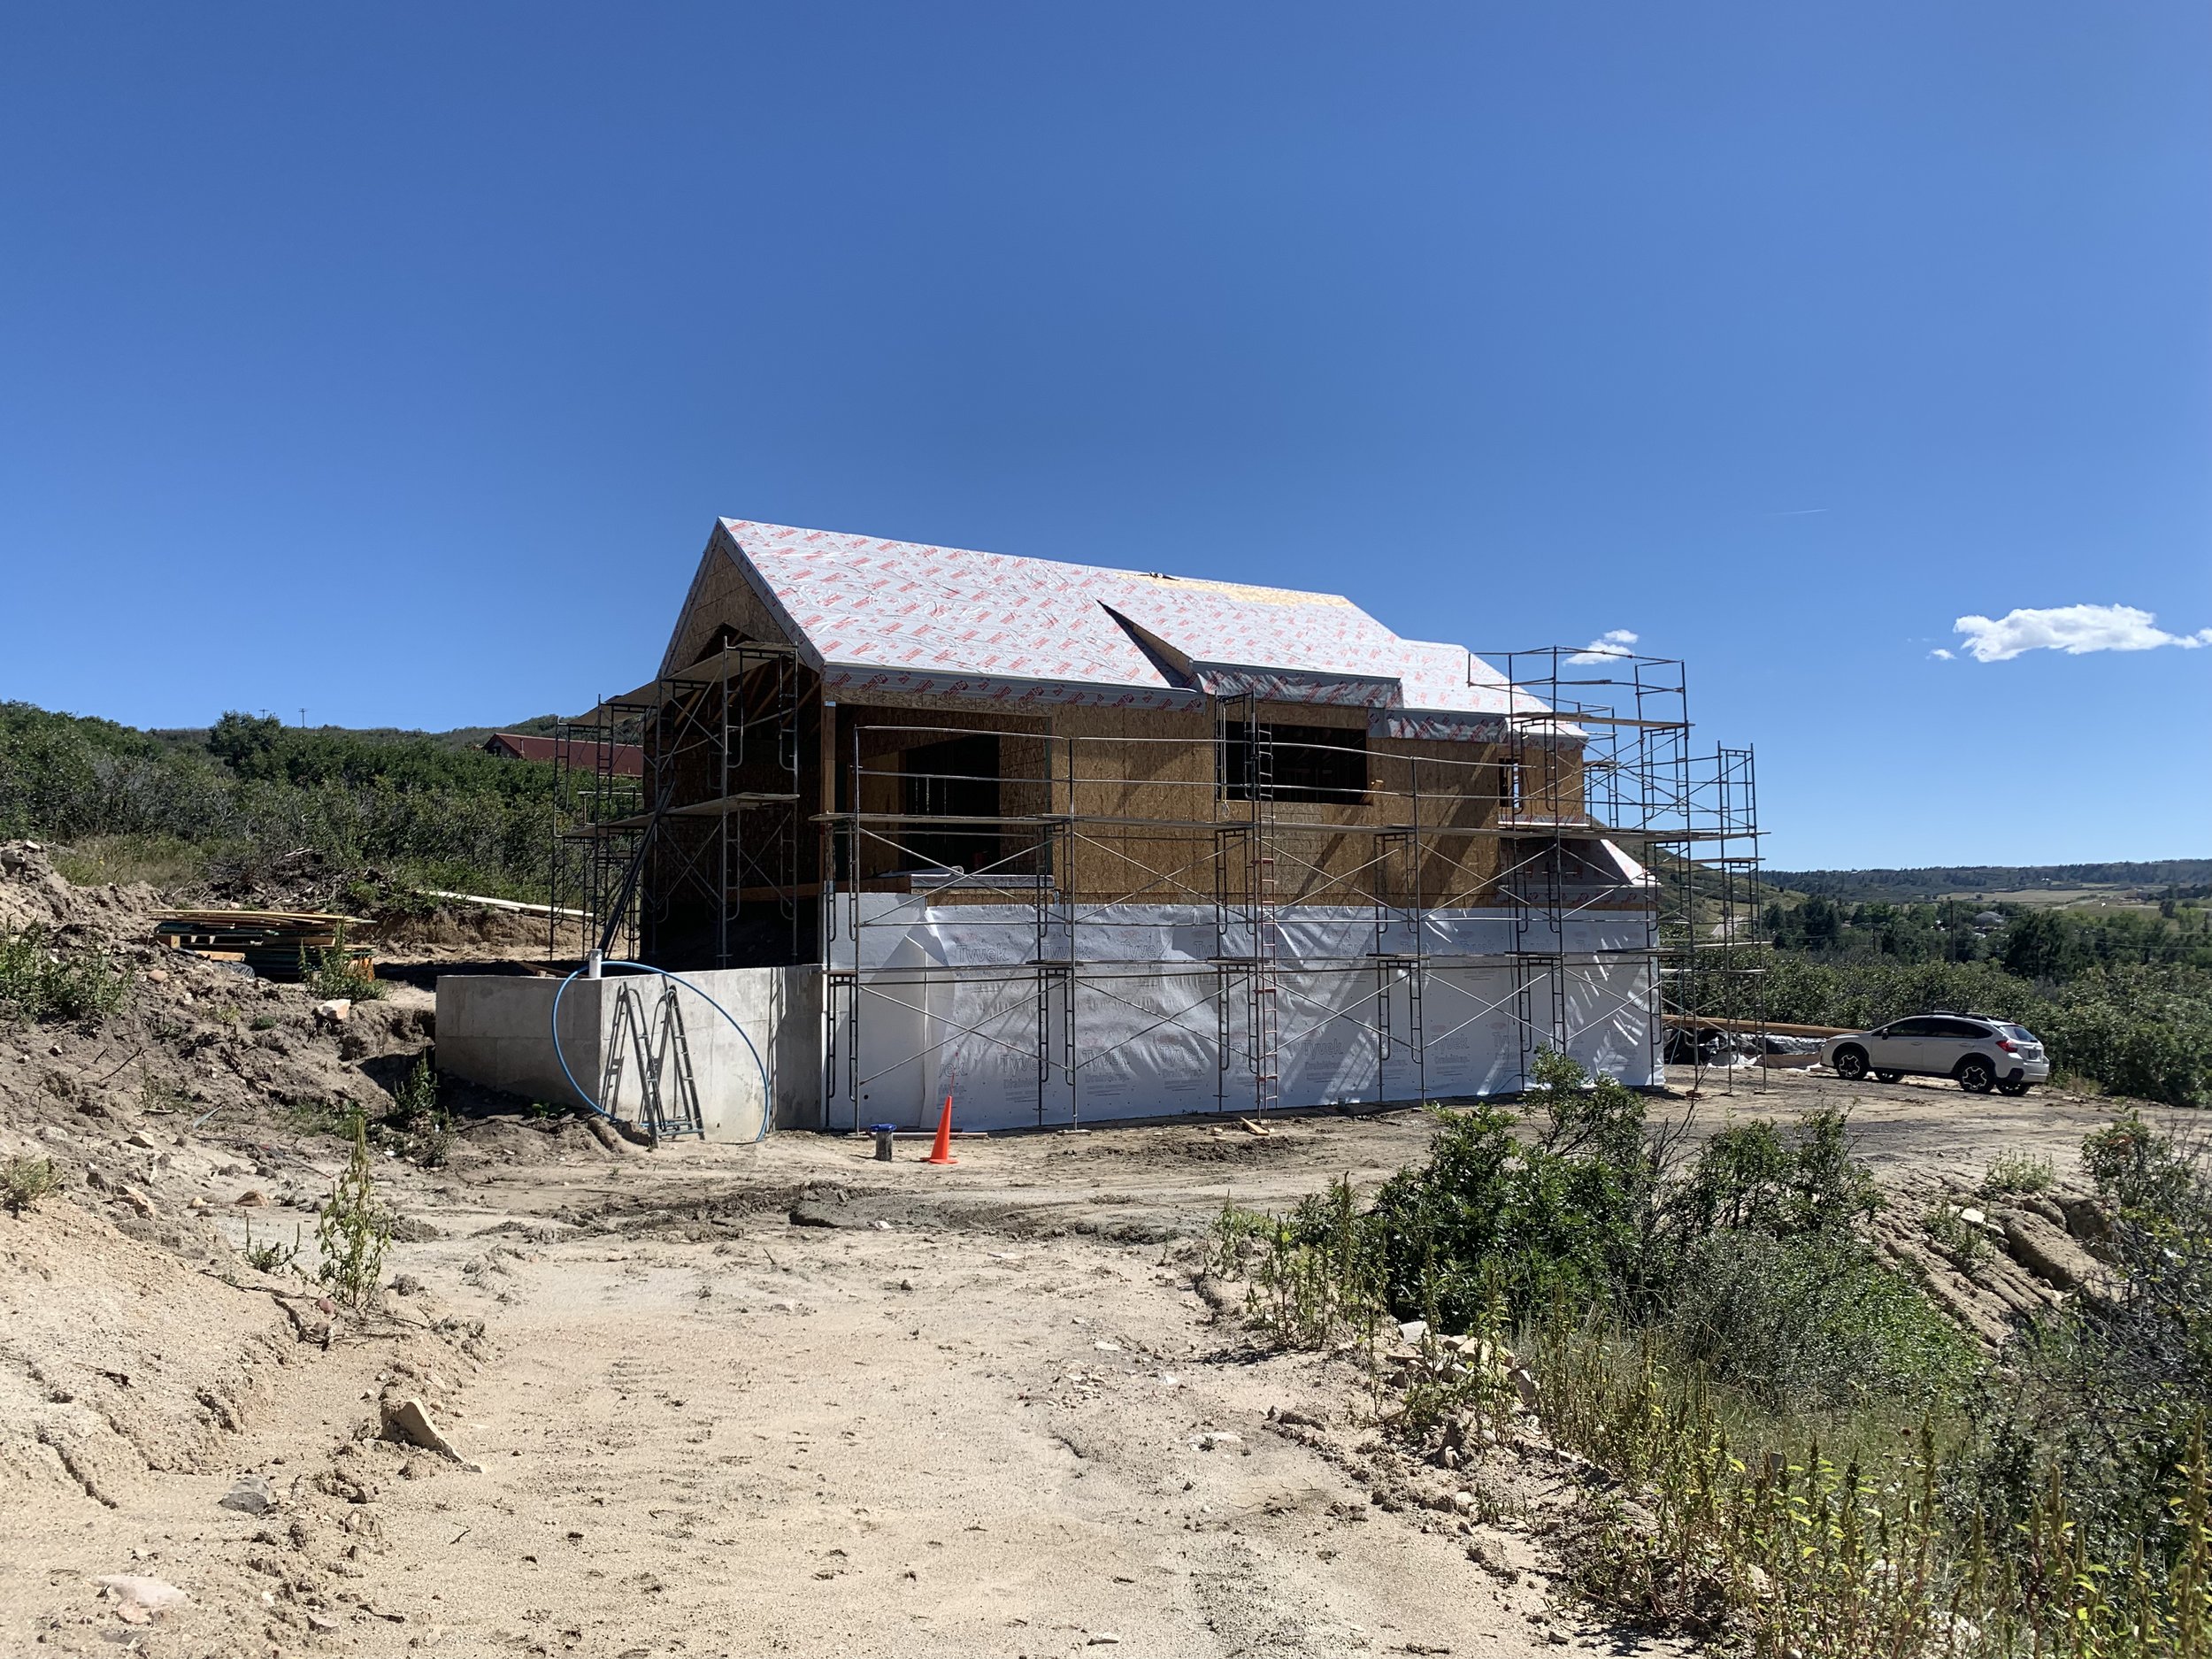
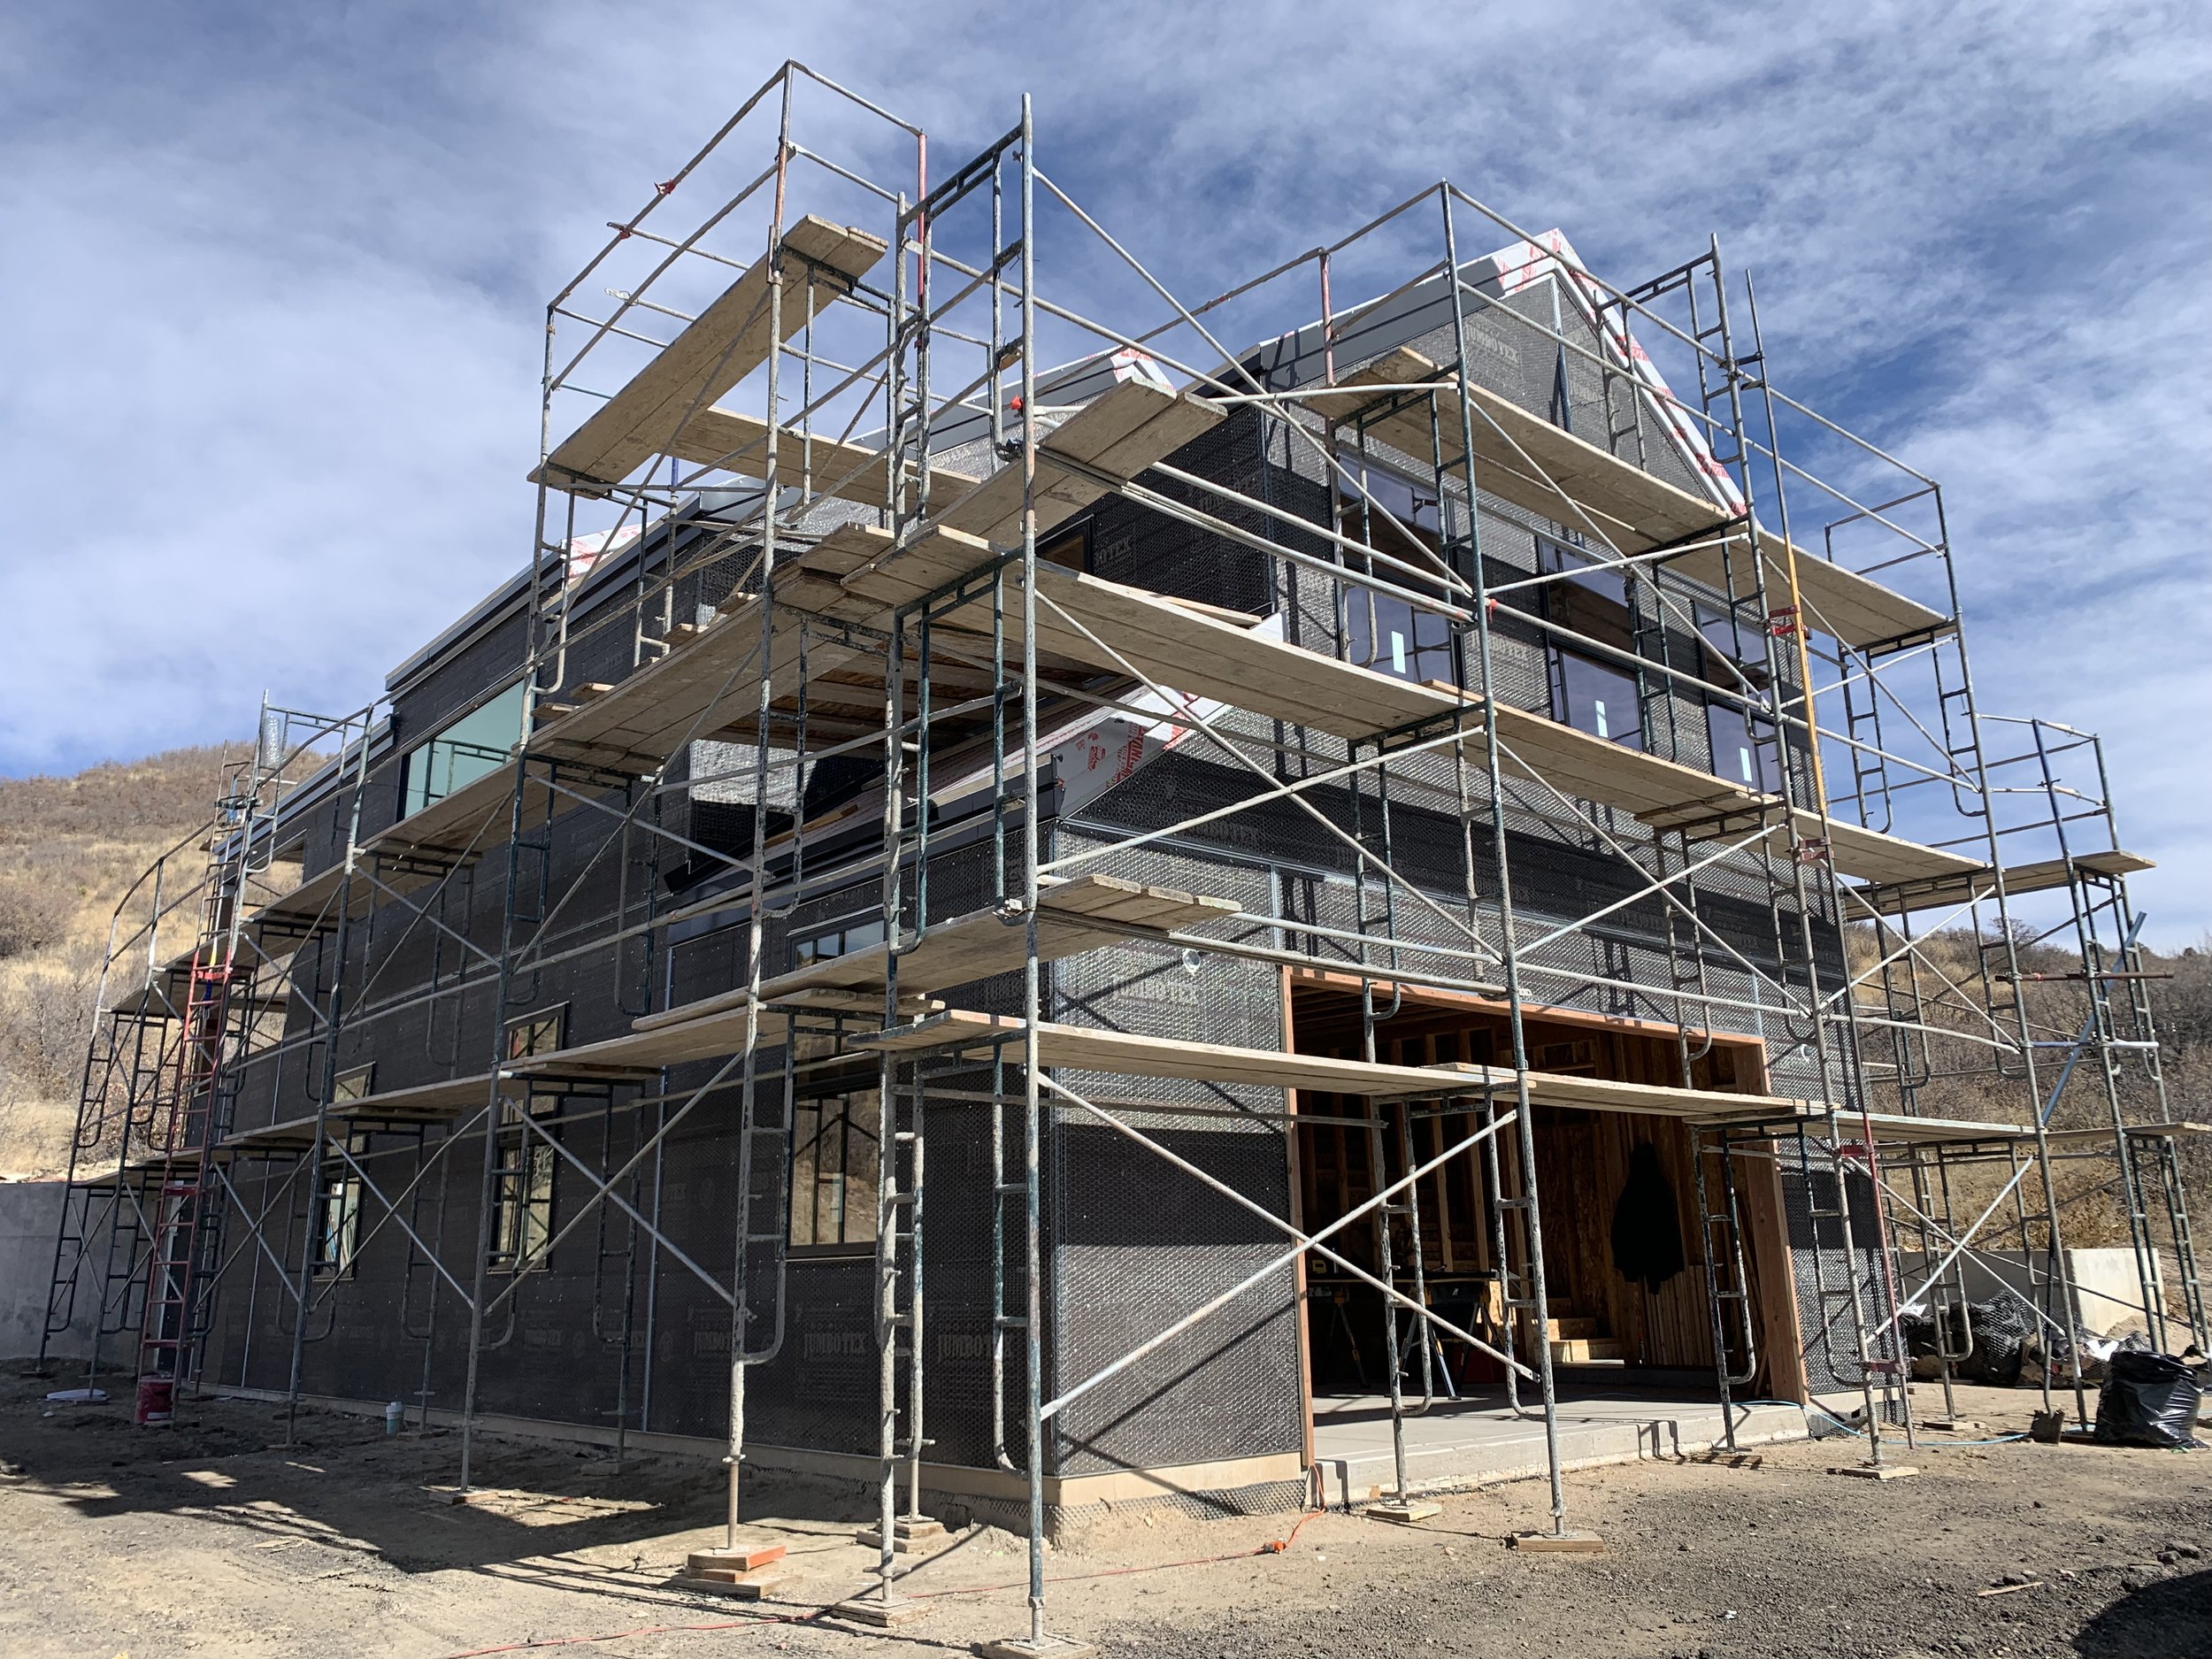
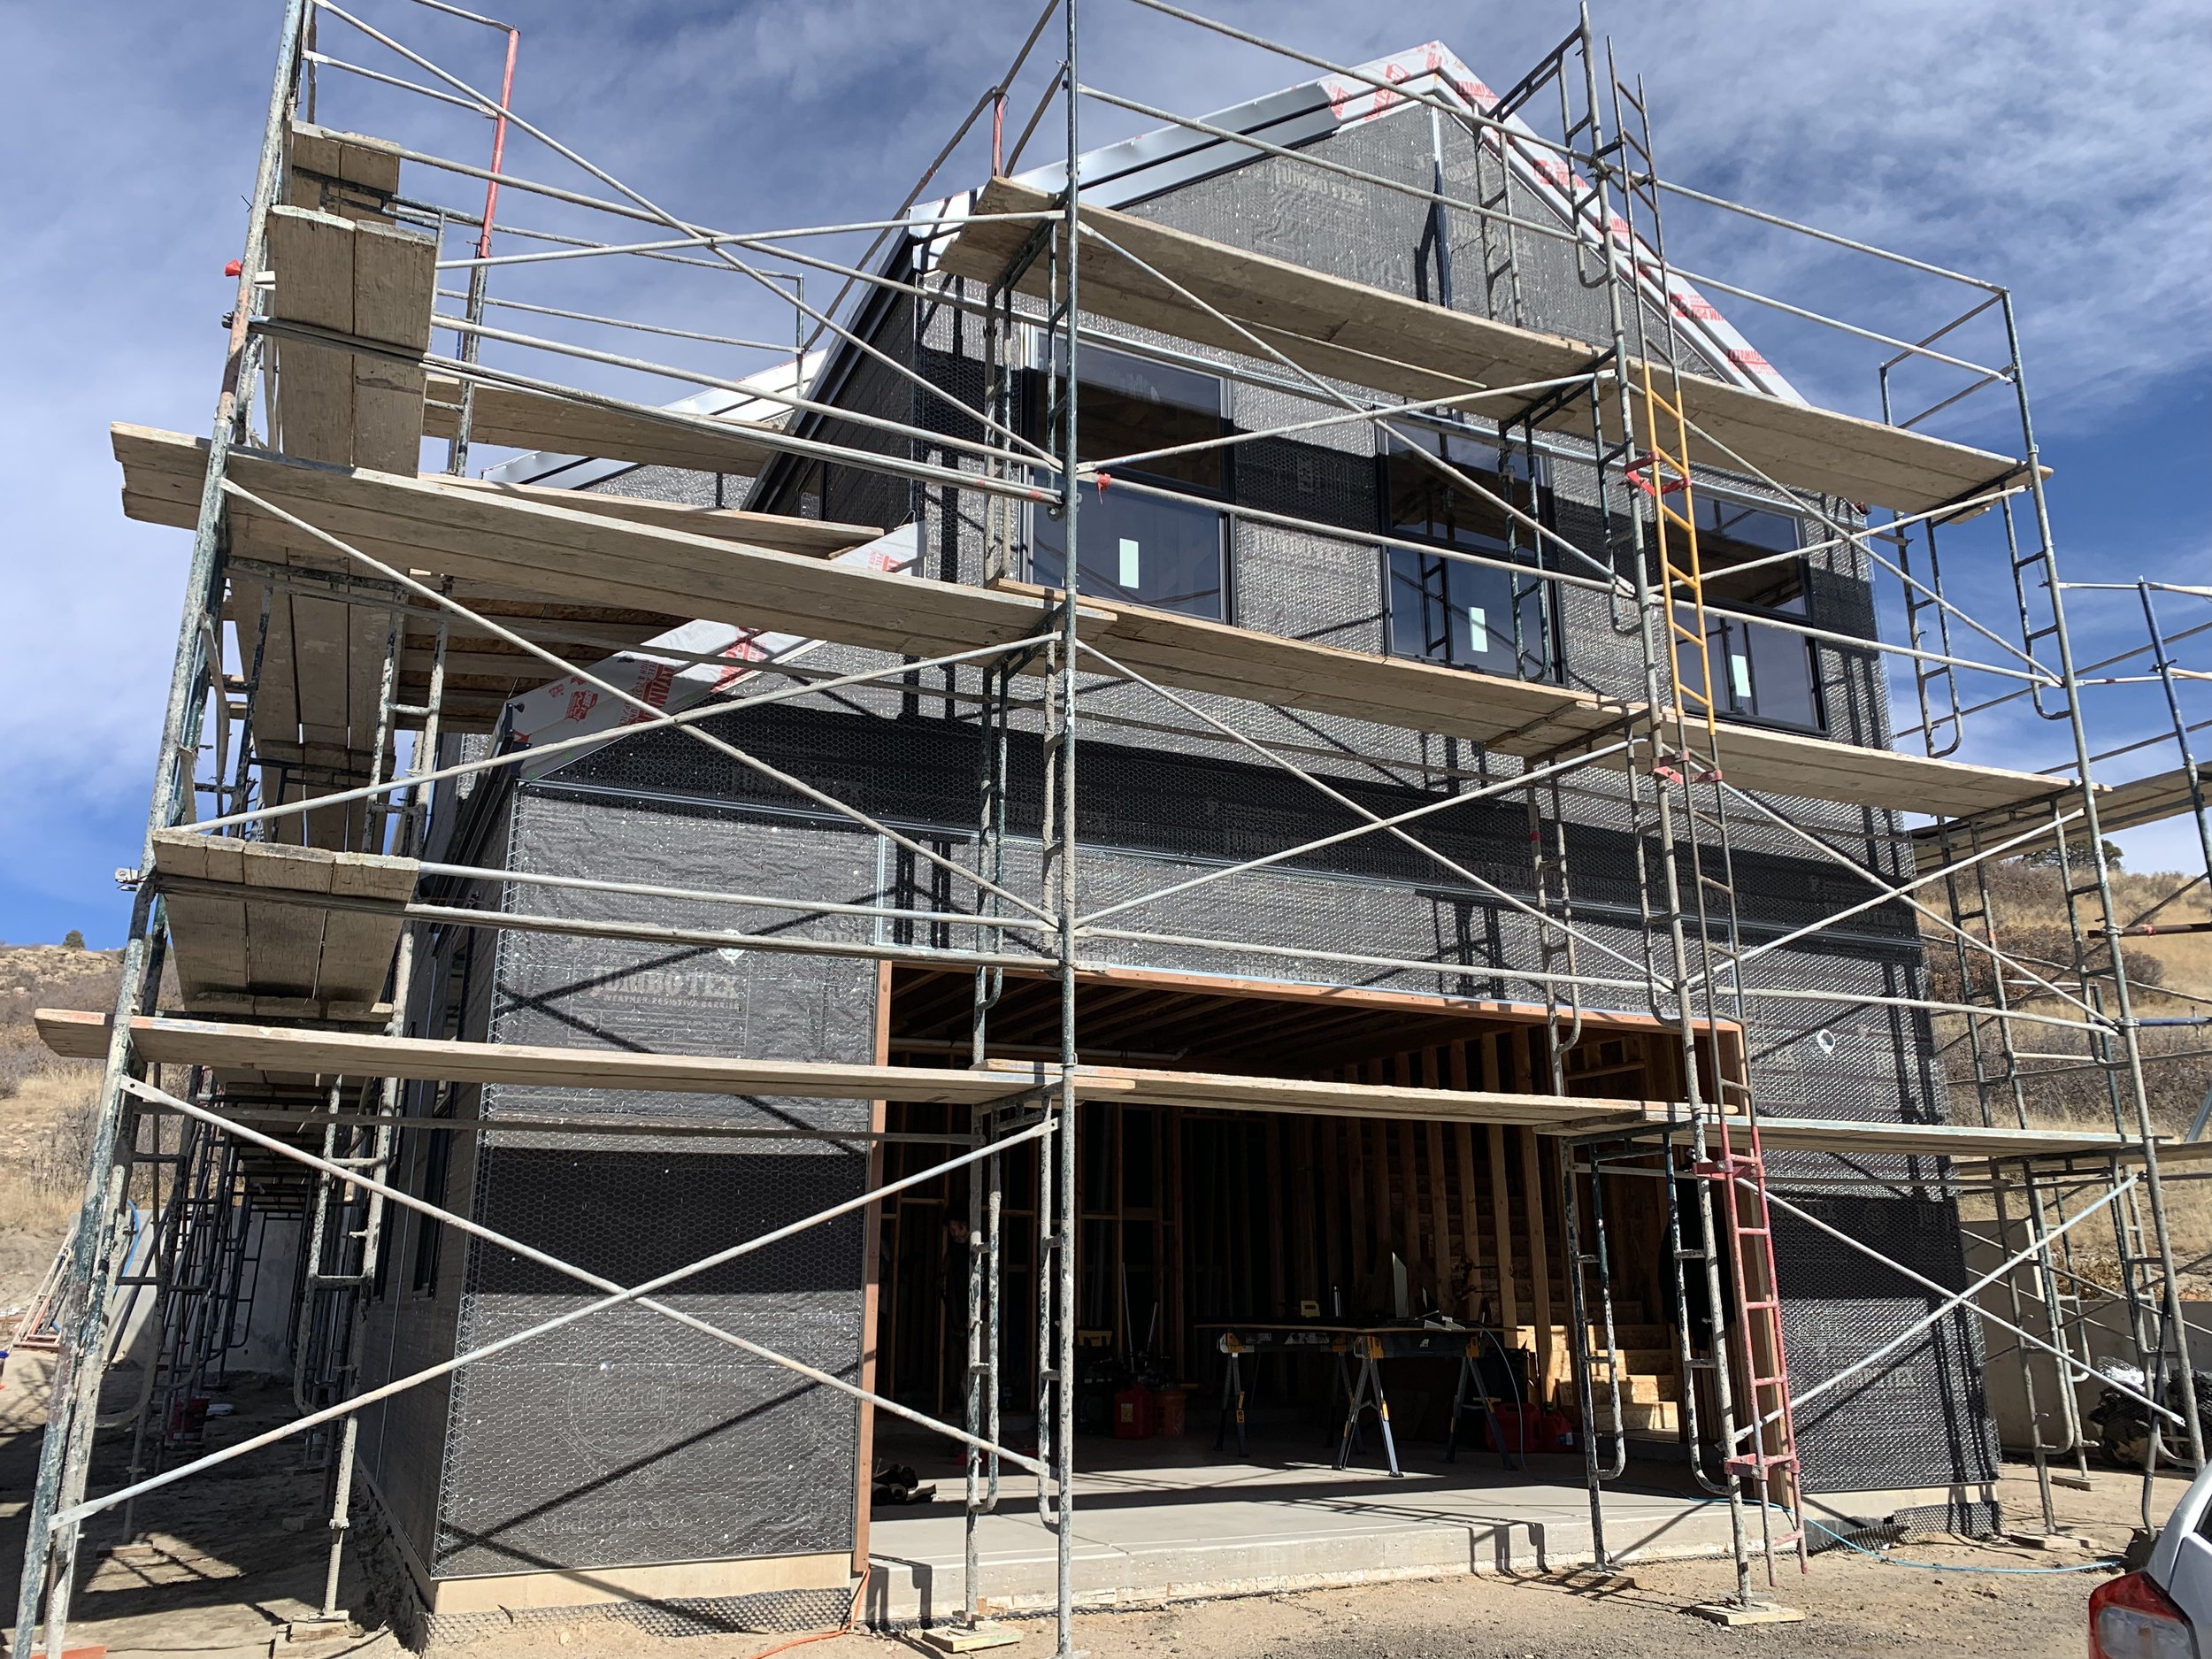
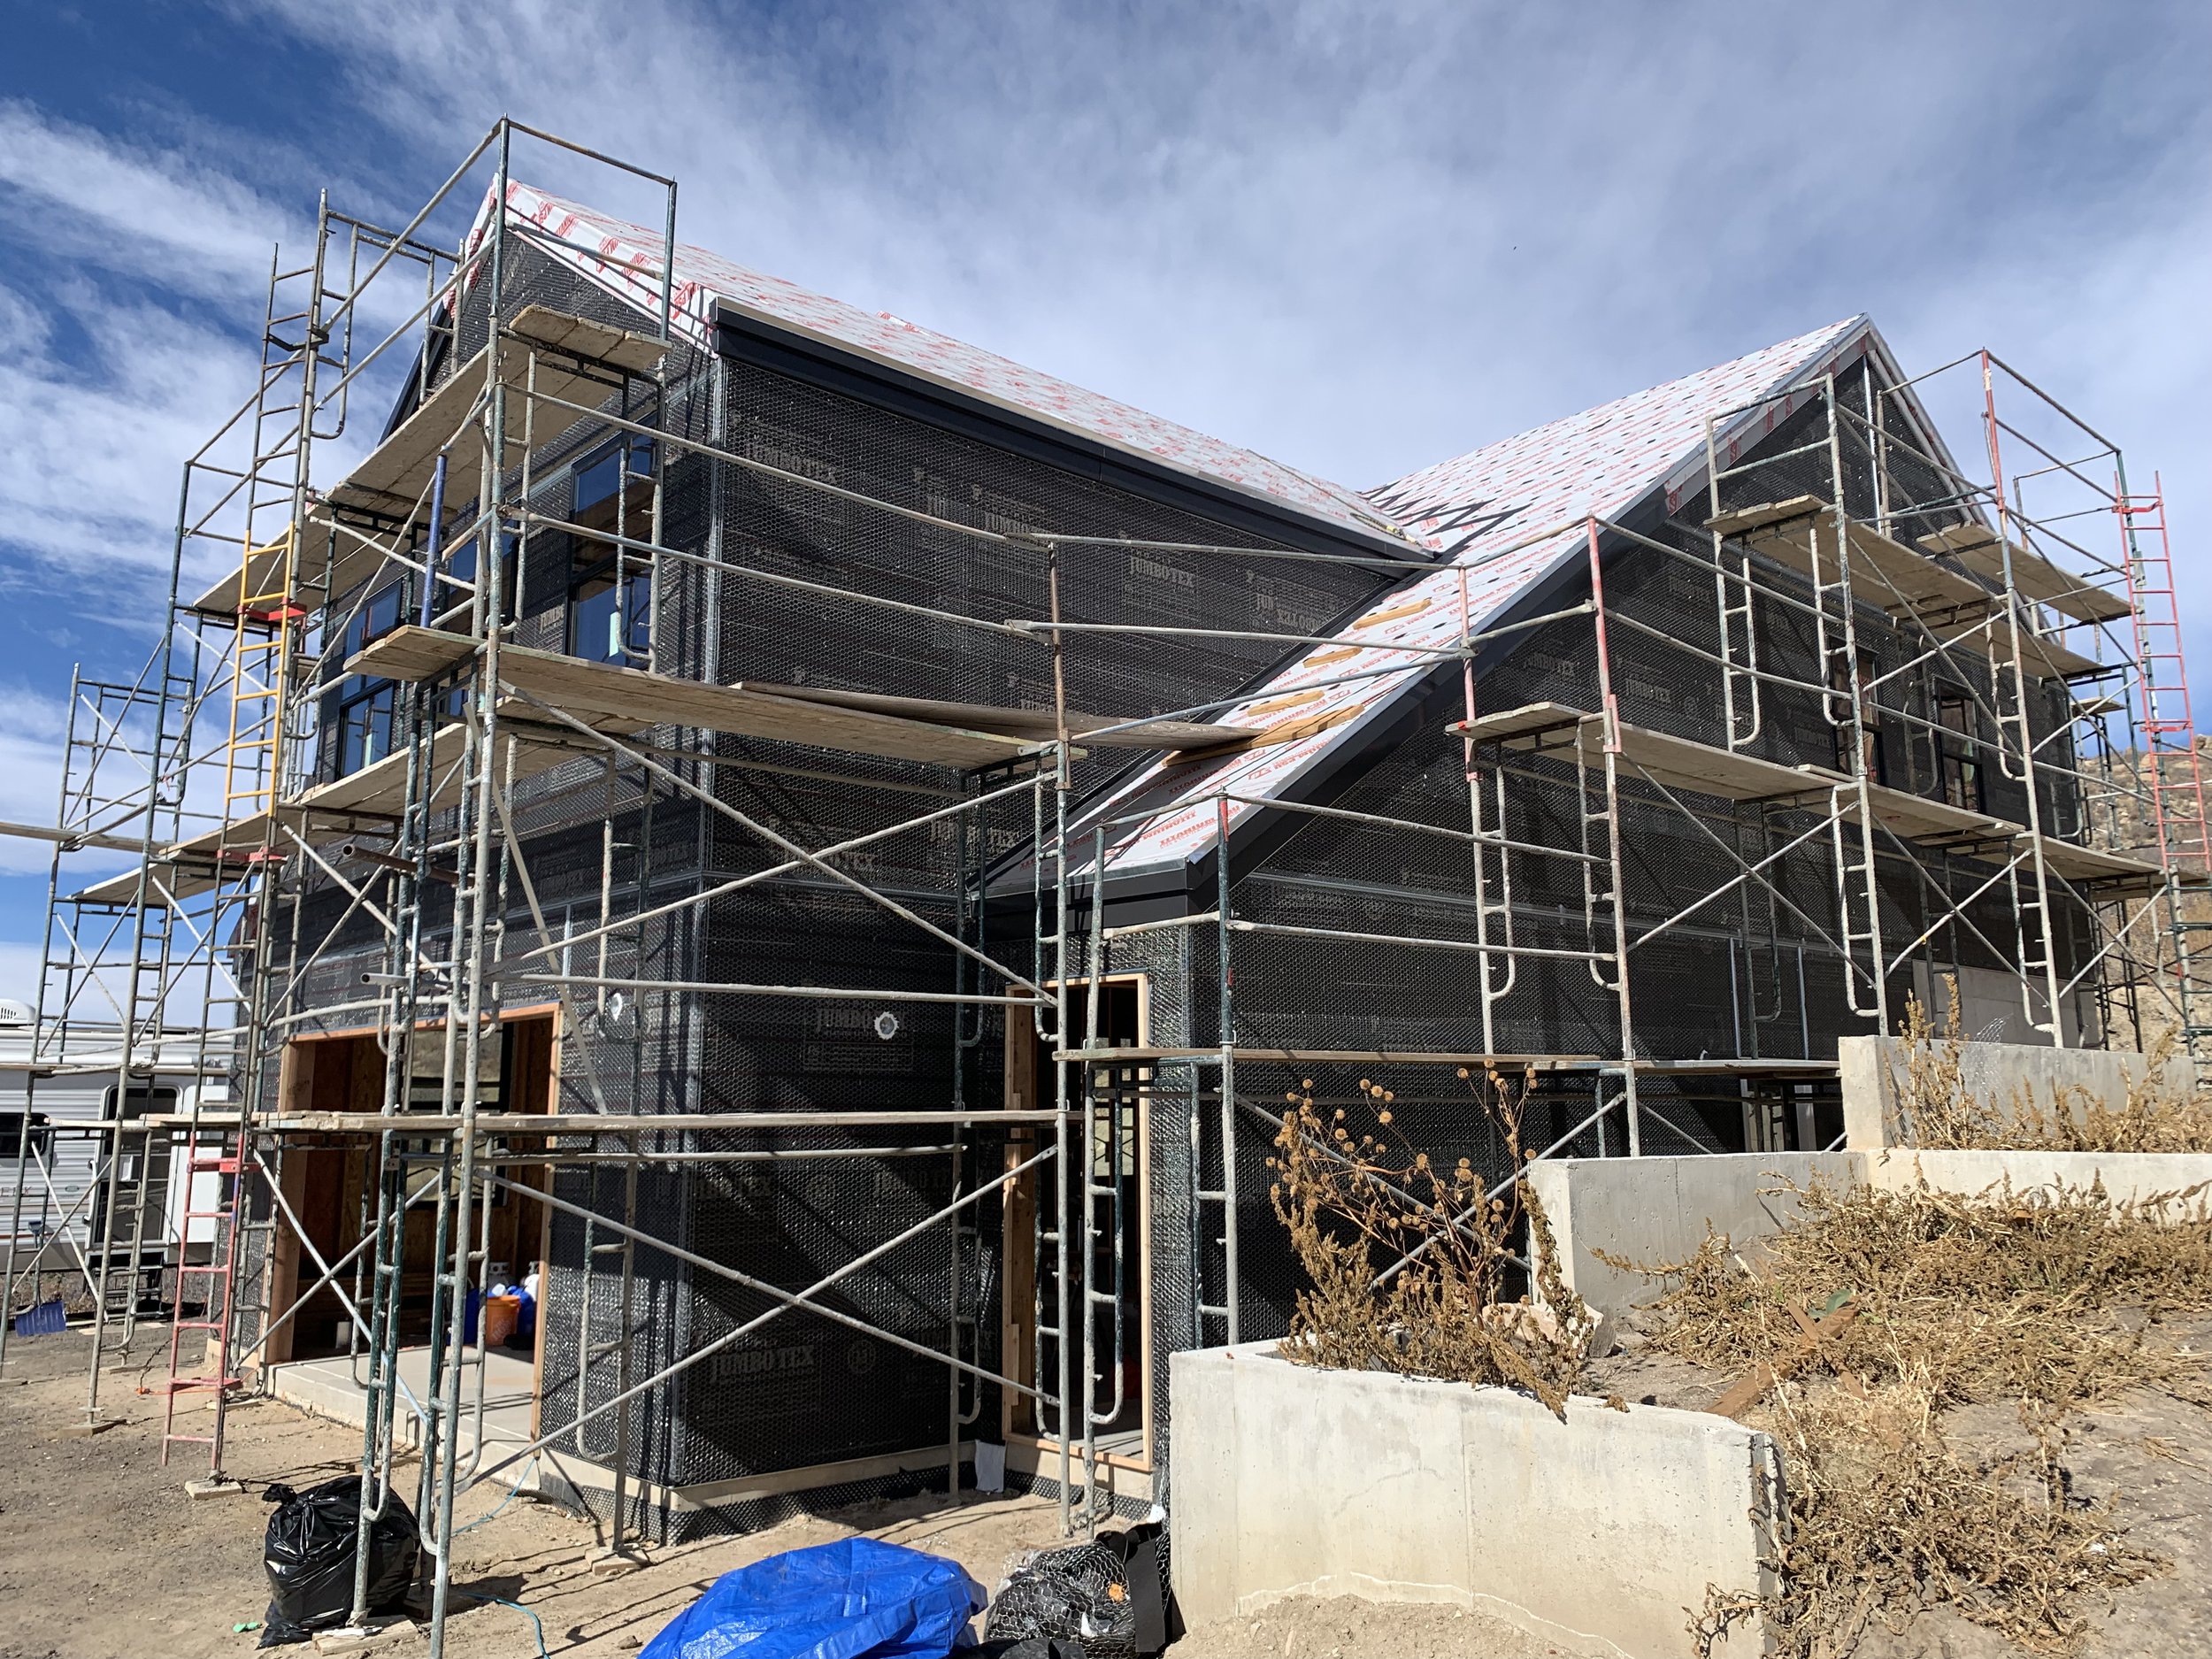
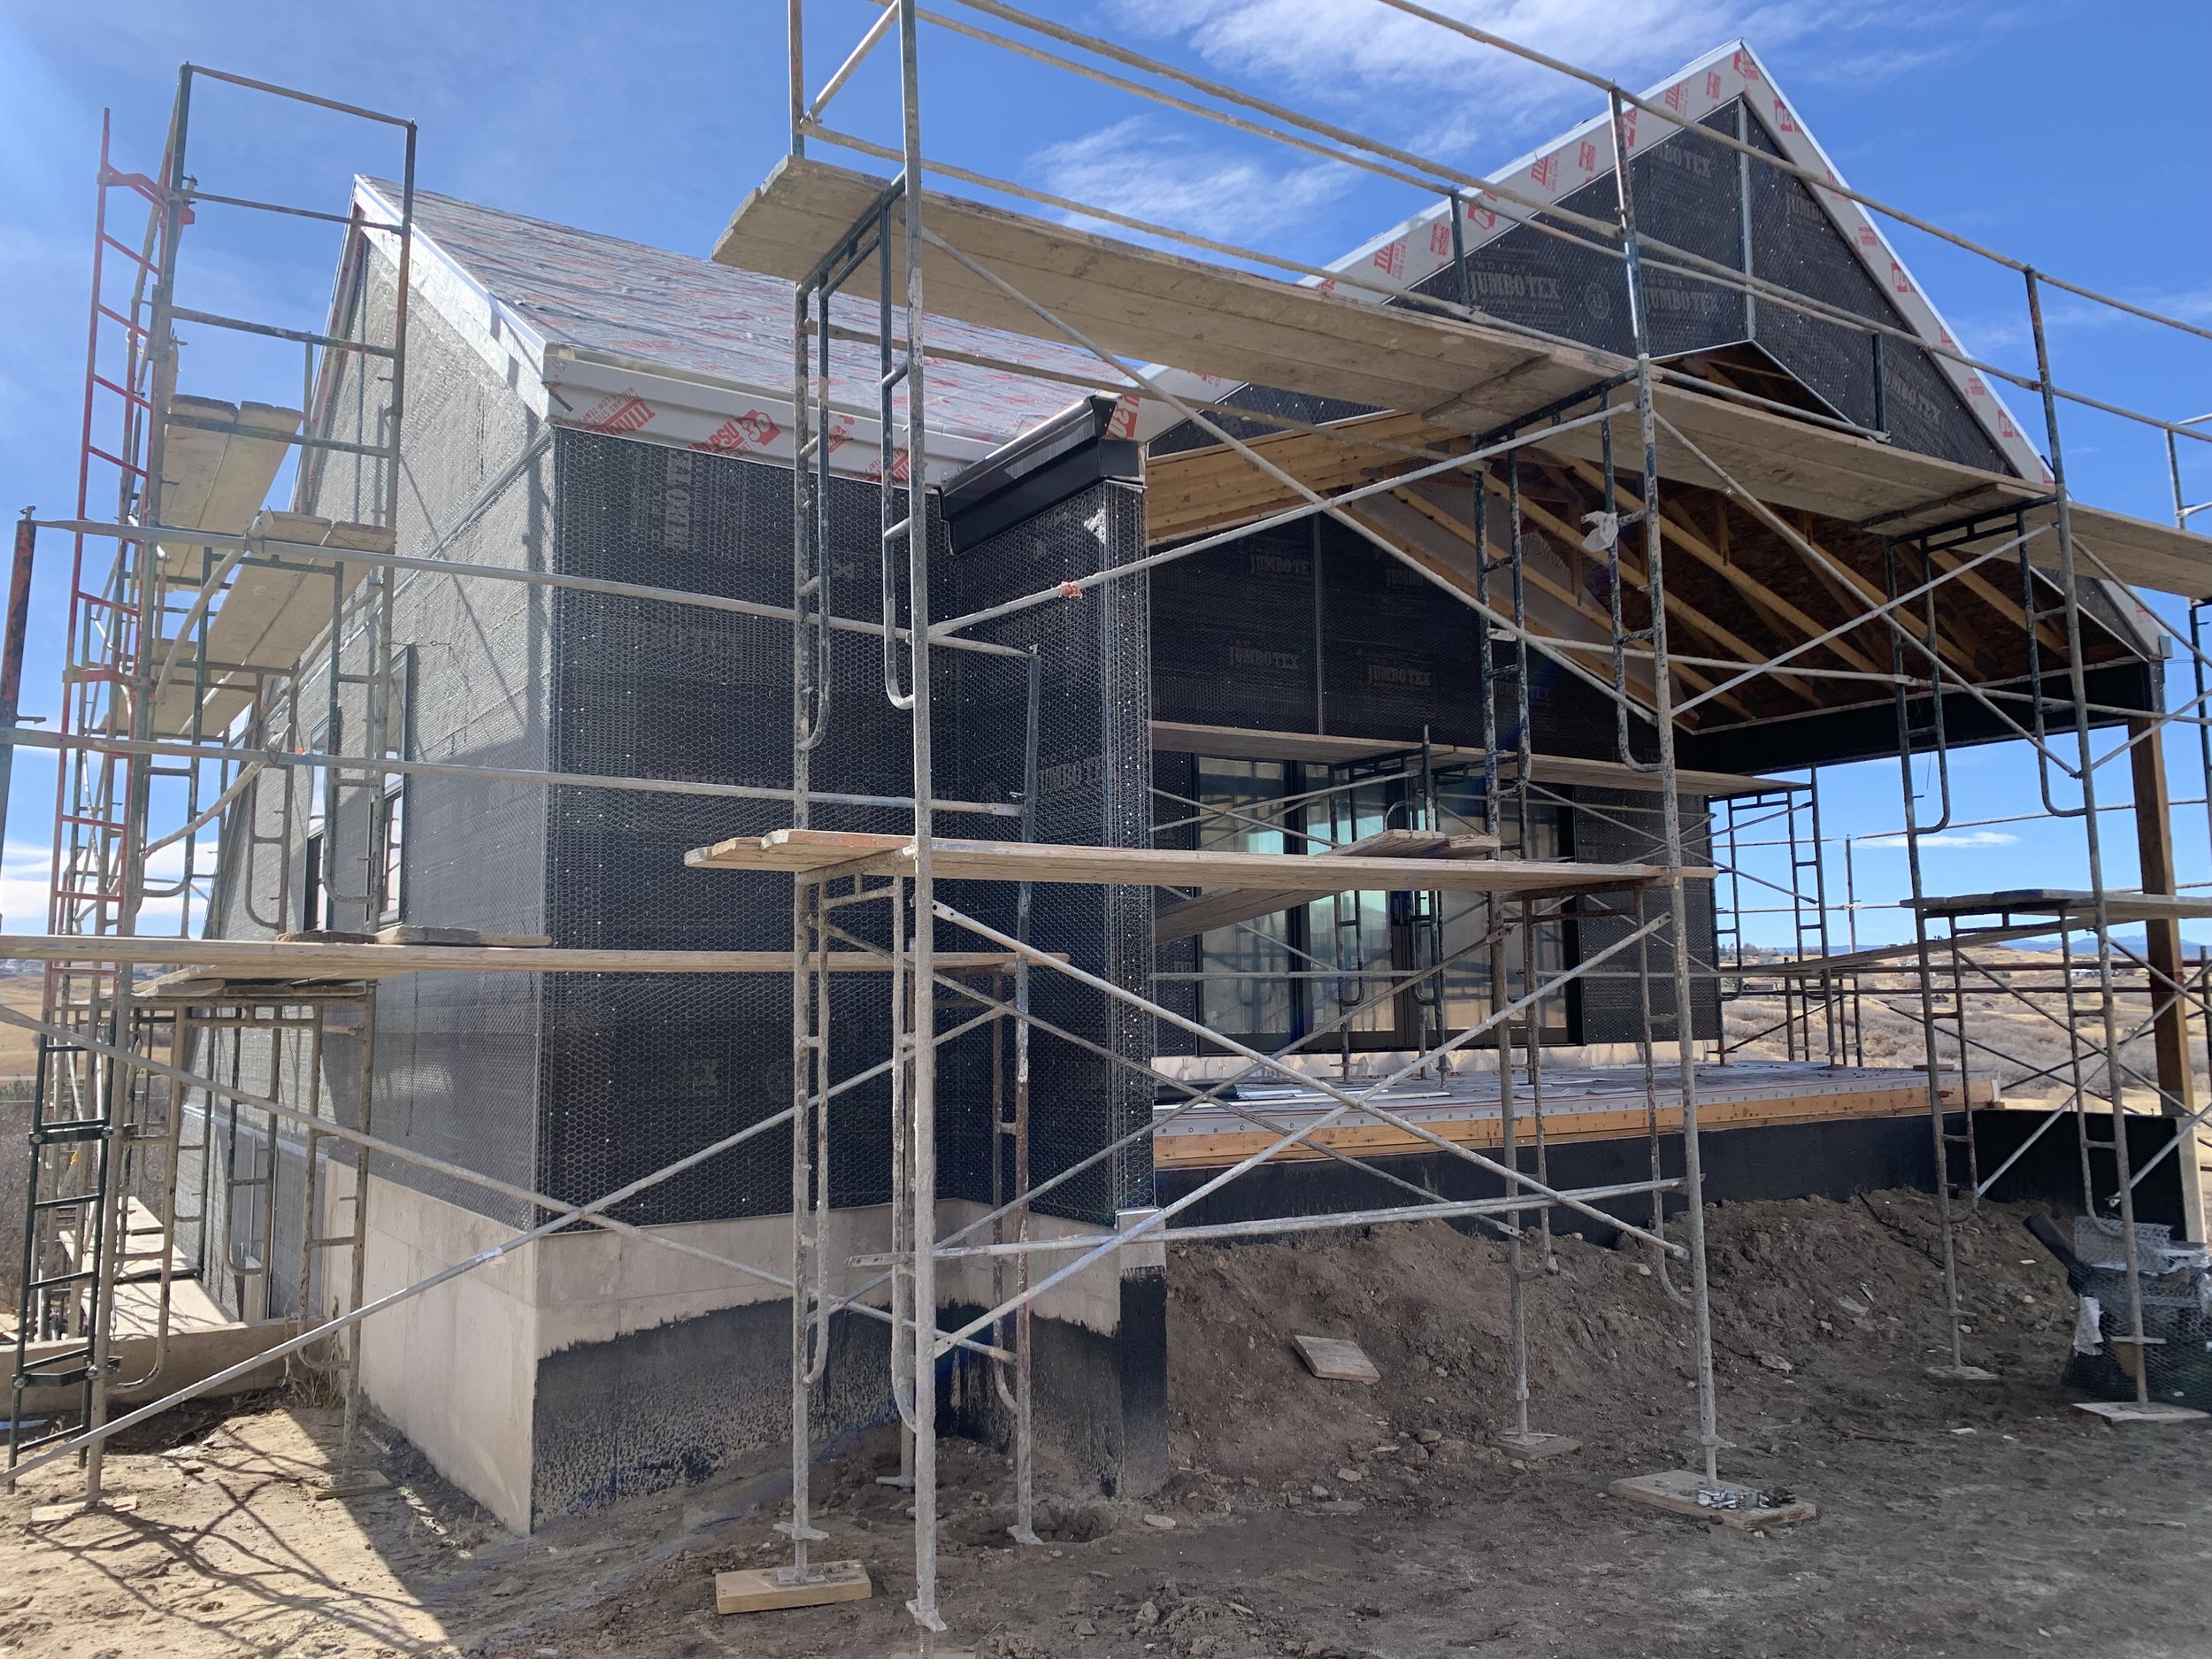
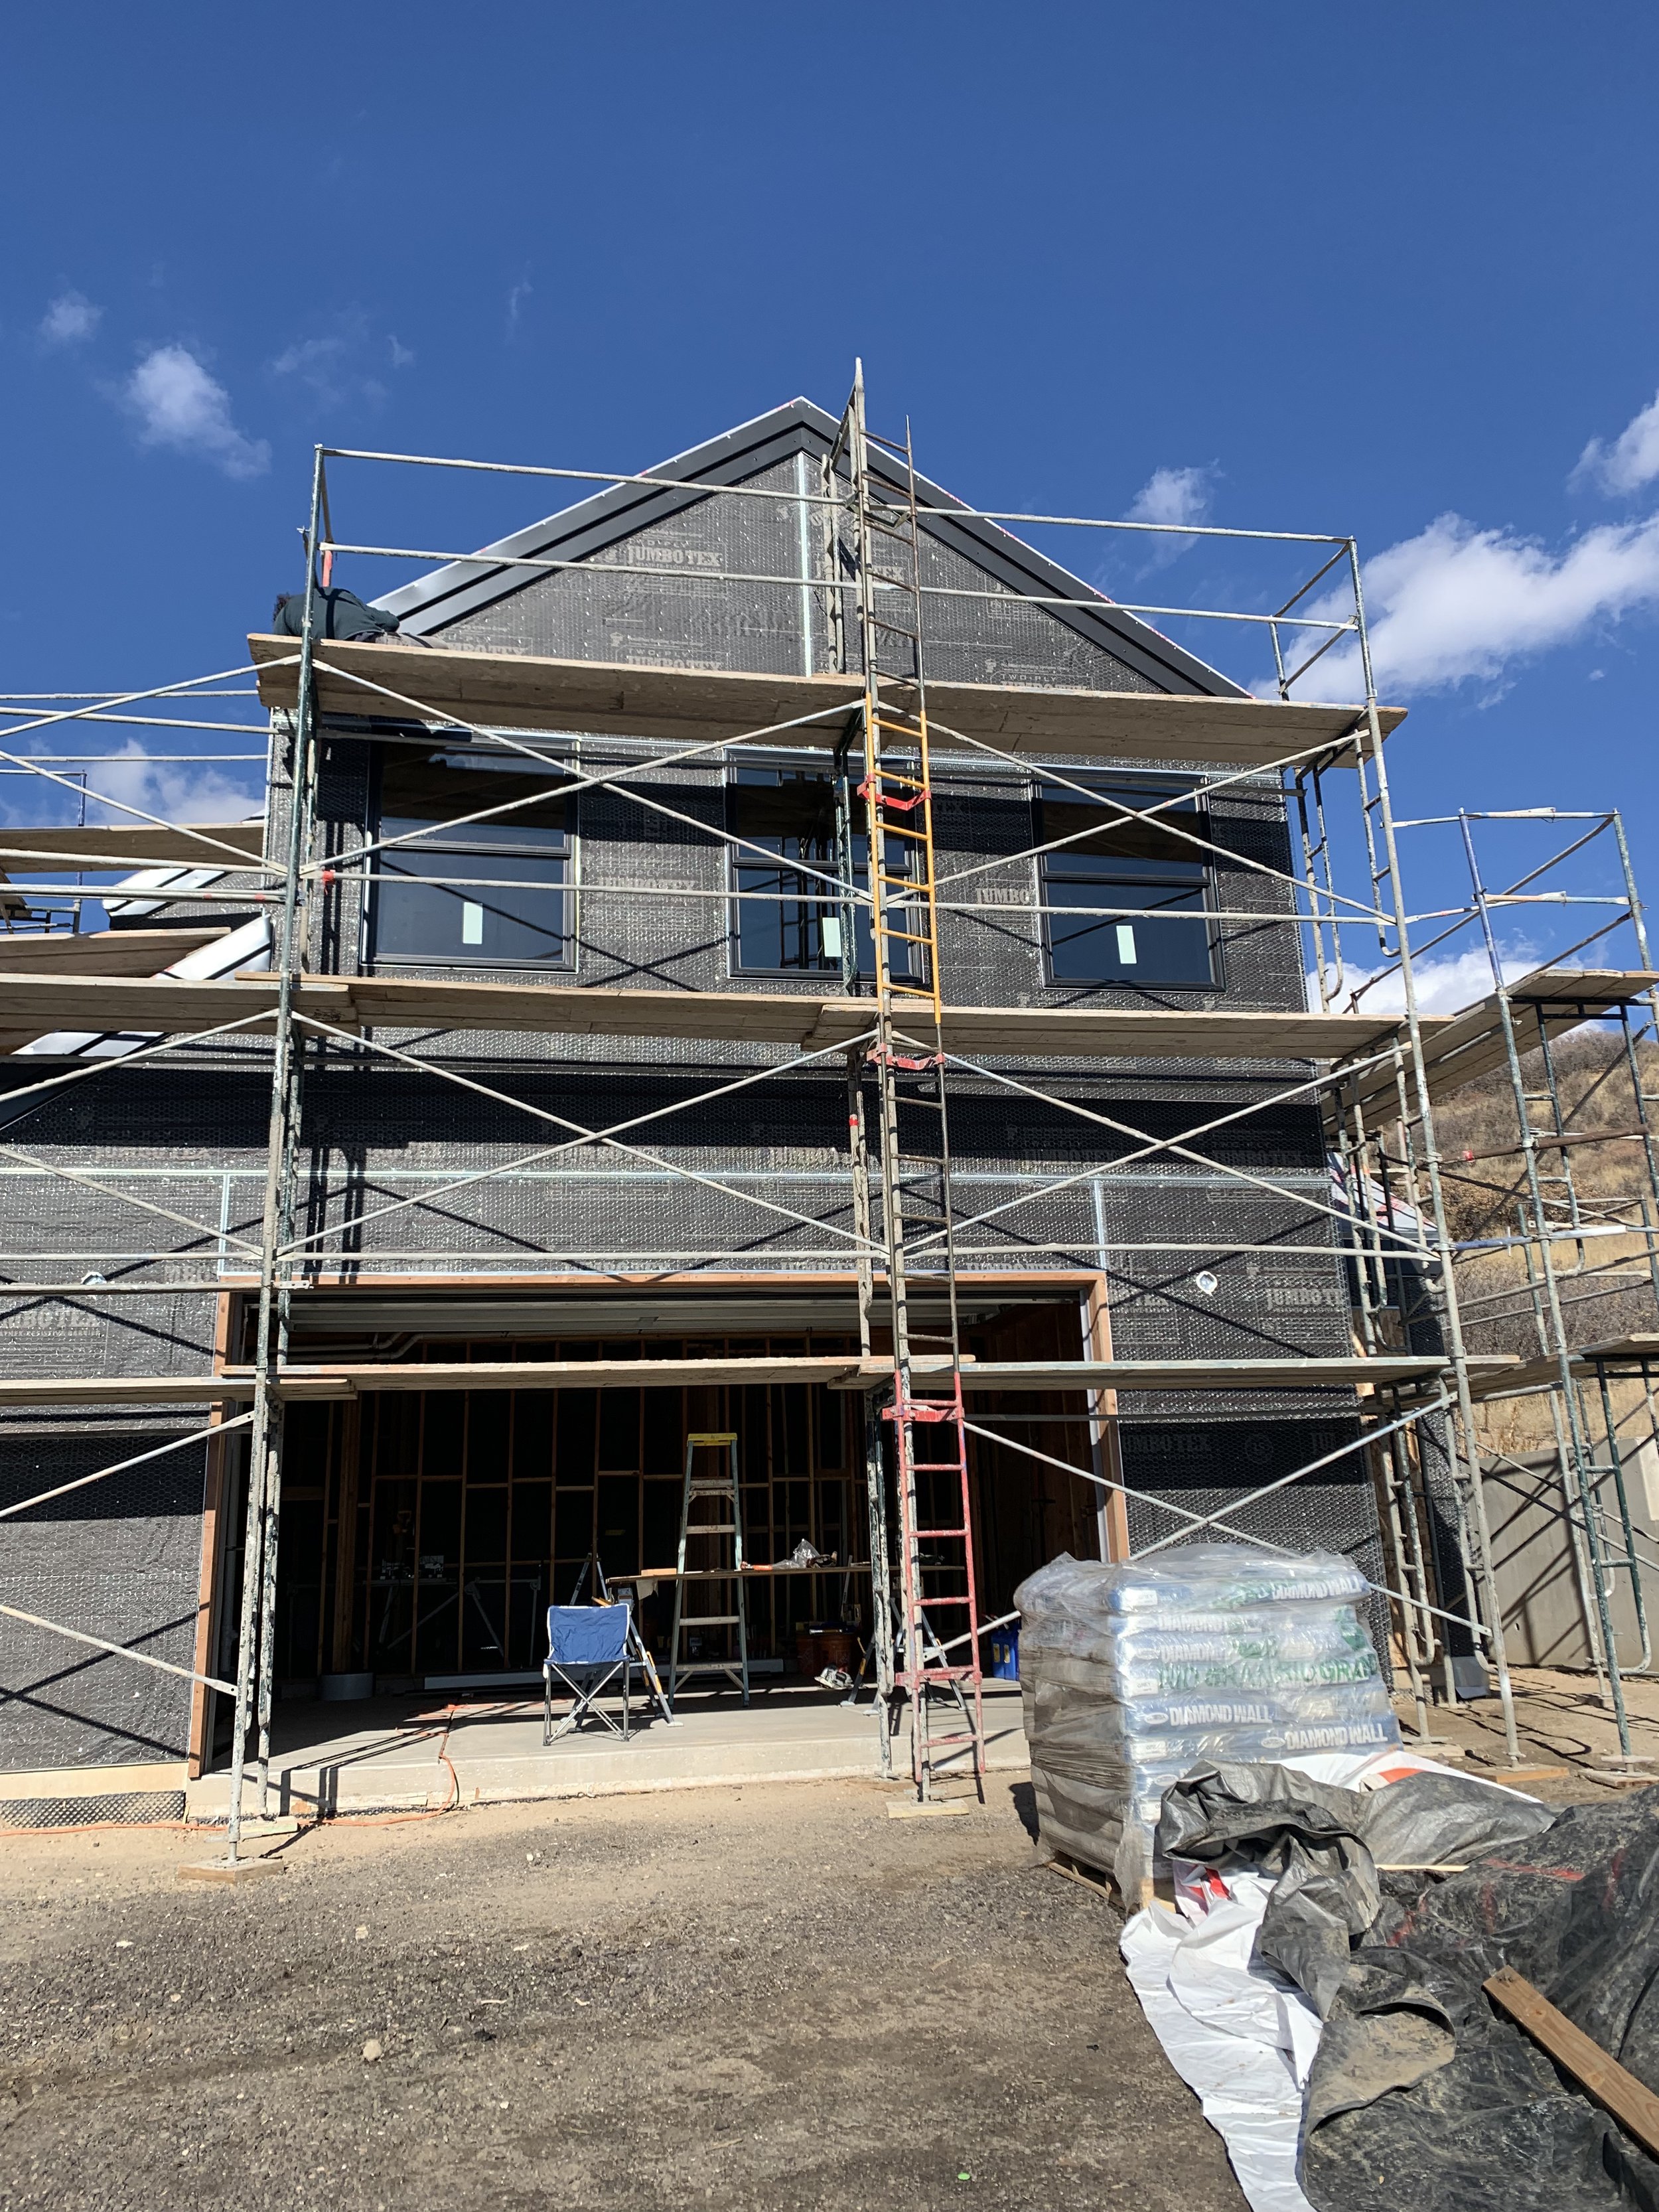
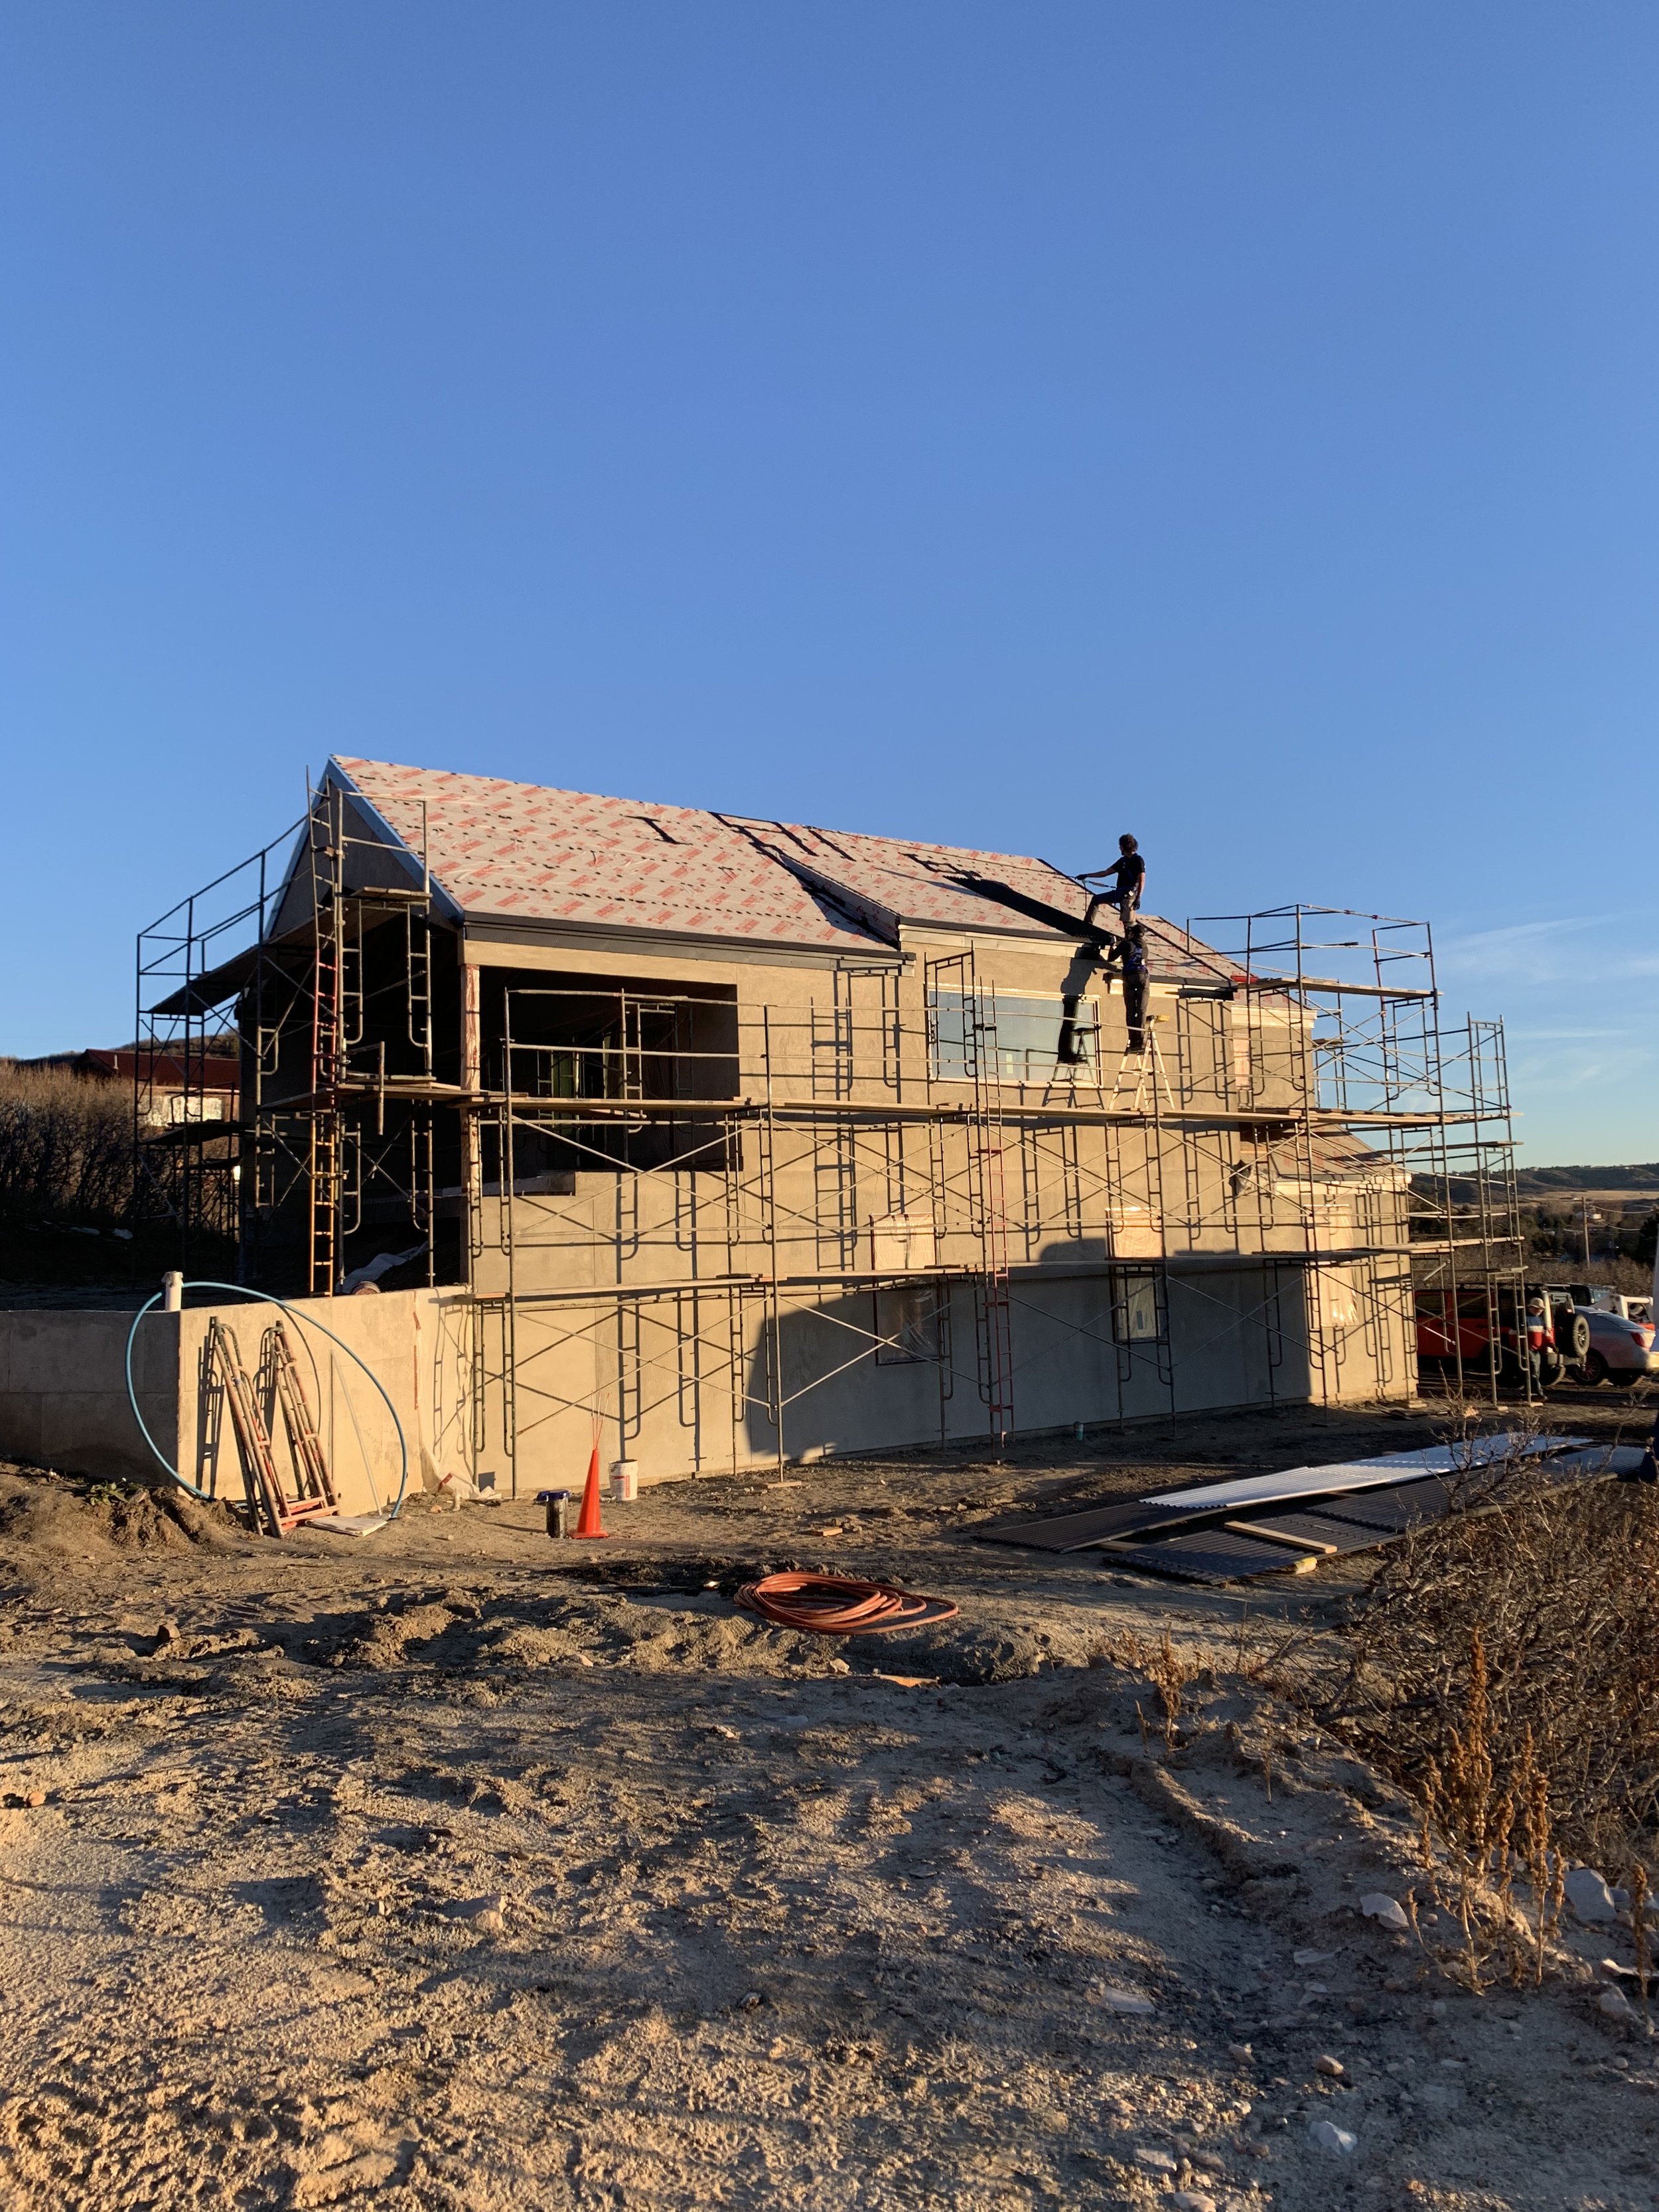
Our stucco crew came and set up a crazy scaffolding system around the house. They were nice enough to let us use it while wrapping the house with Tyvek waterproofing paper.

These giant rolls of Tyvek help speed up the wrapping, but those rolls are crazy heavy! Every time we brought it out, the wind would pick up making it just a little bit harder.

The wrapping is done and we step back to take a look at our home, now quickly transforming!
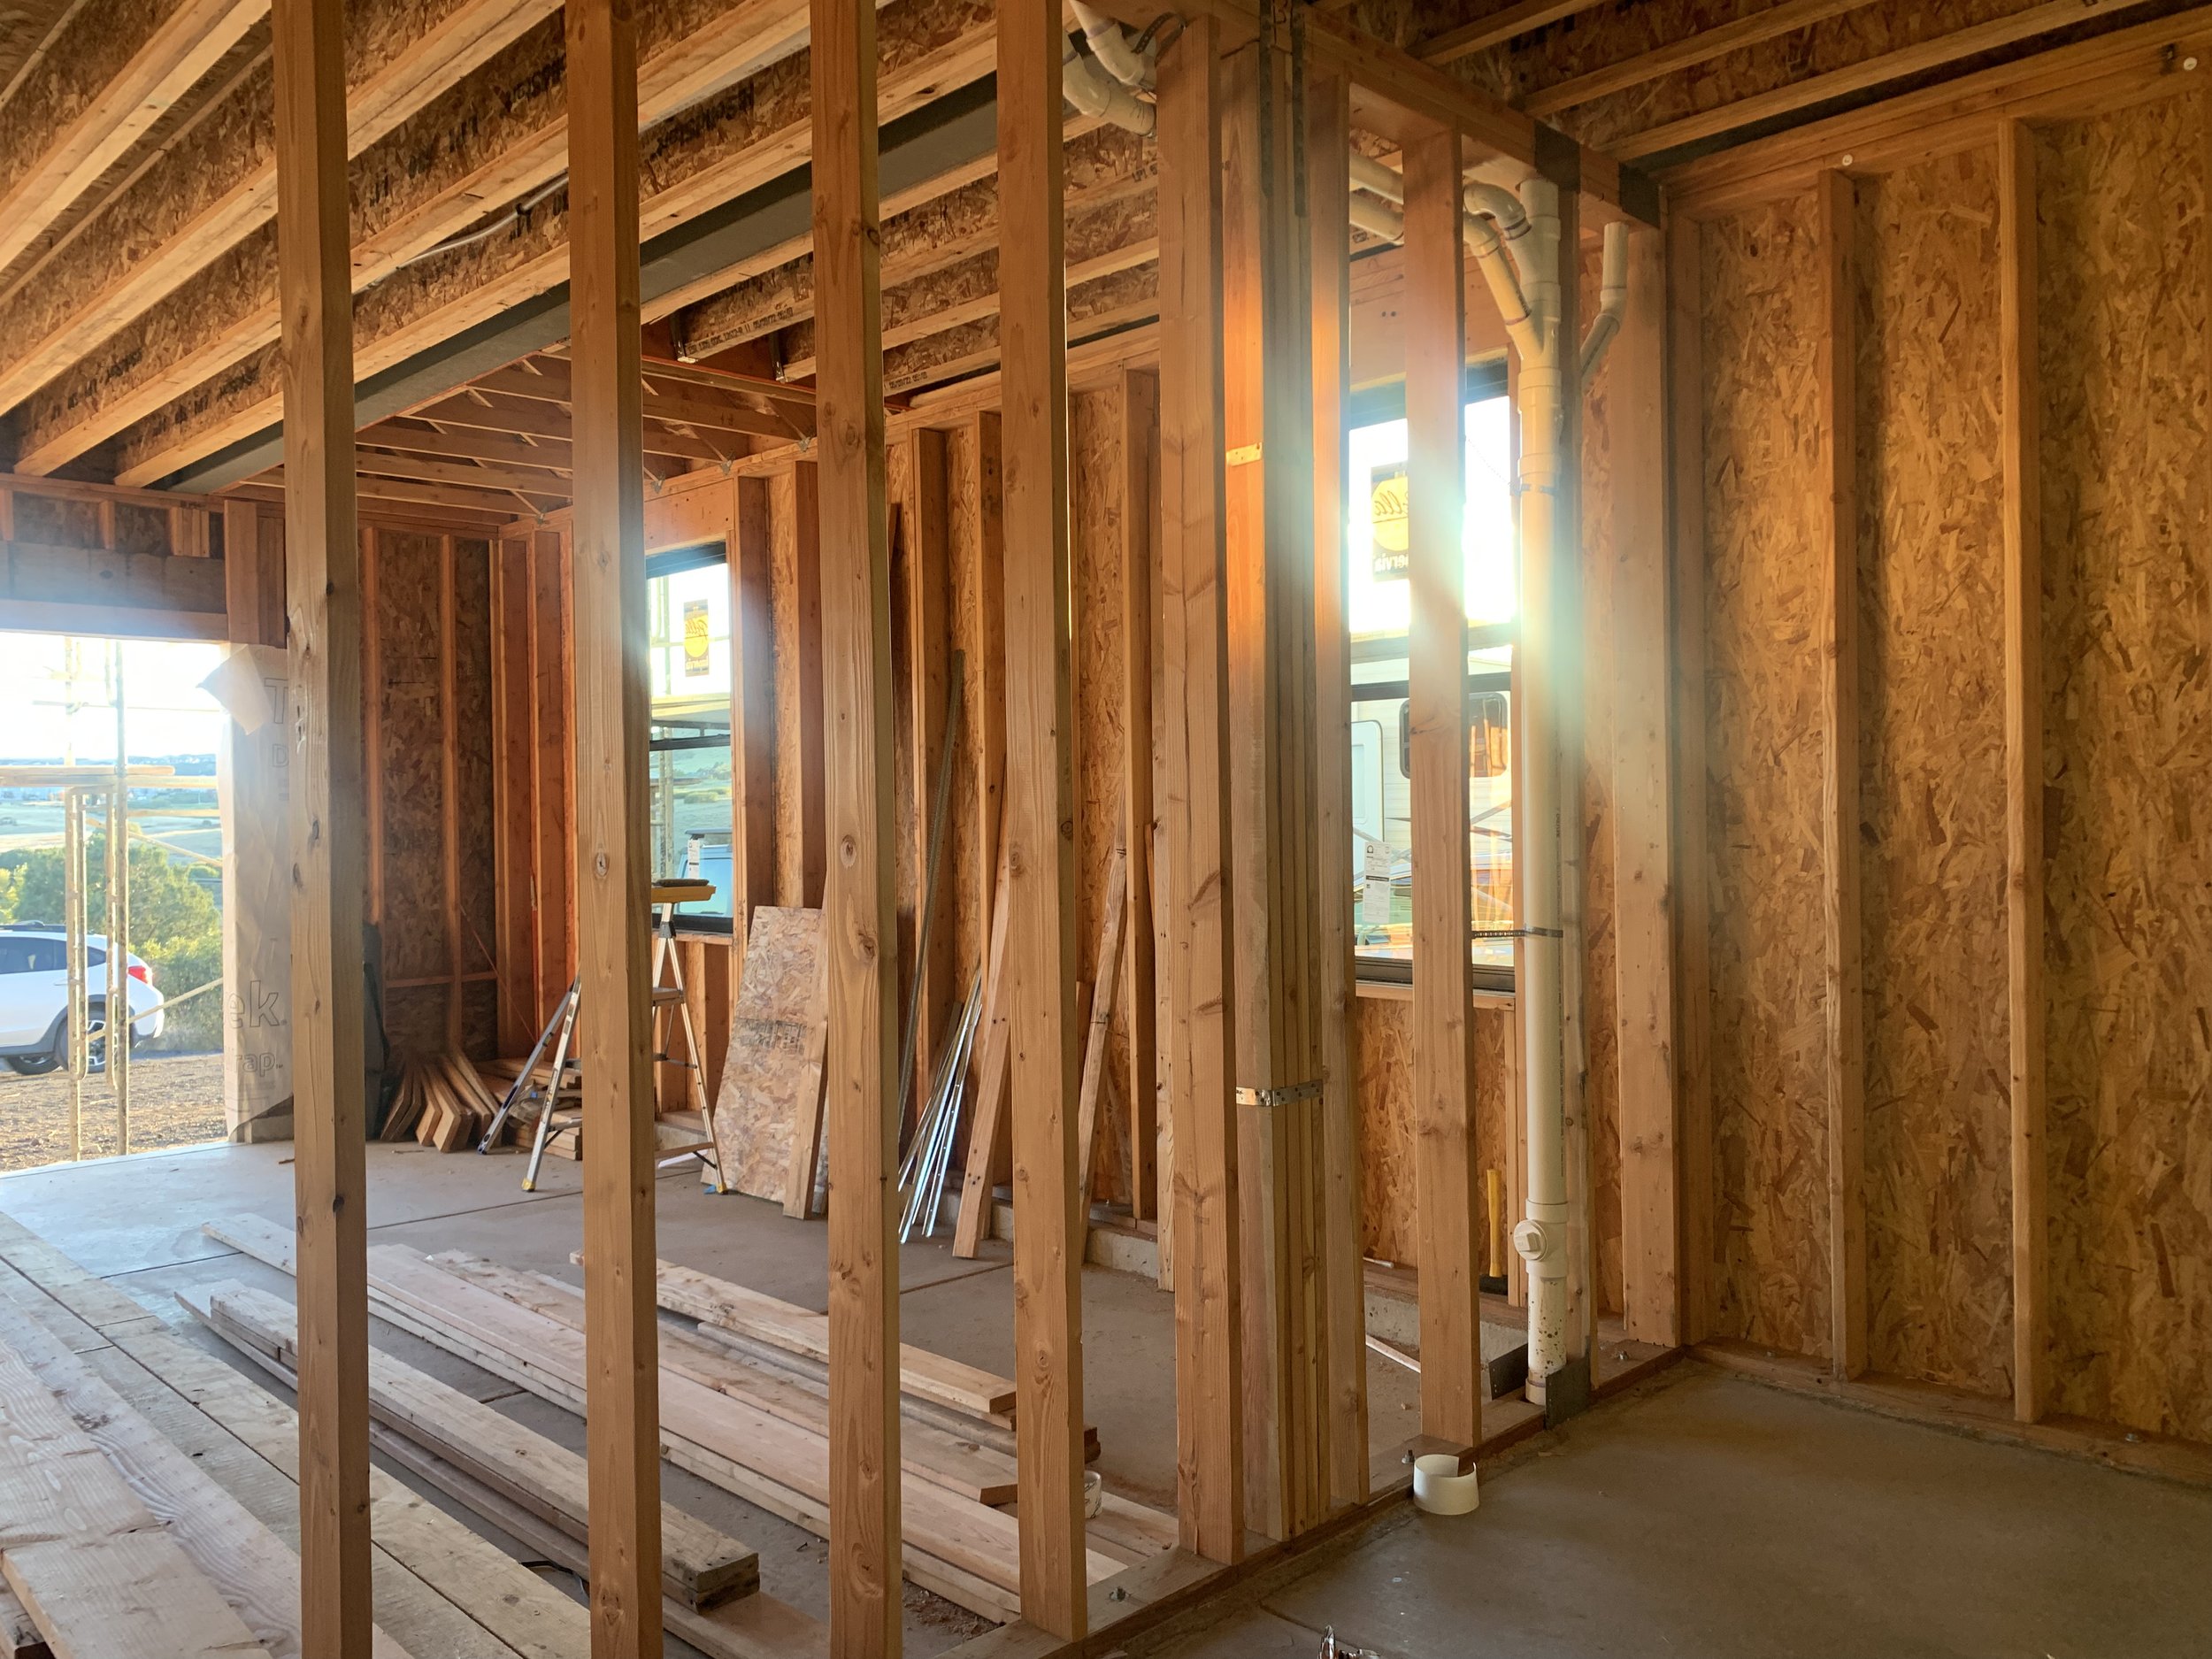
Step 10: Windows, Doors and More

Window time! Kris is all smiles because family just arrived to help move the house build along faster!
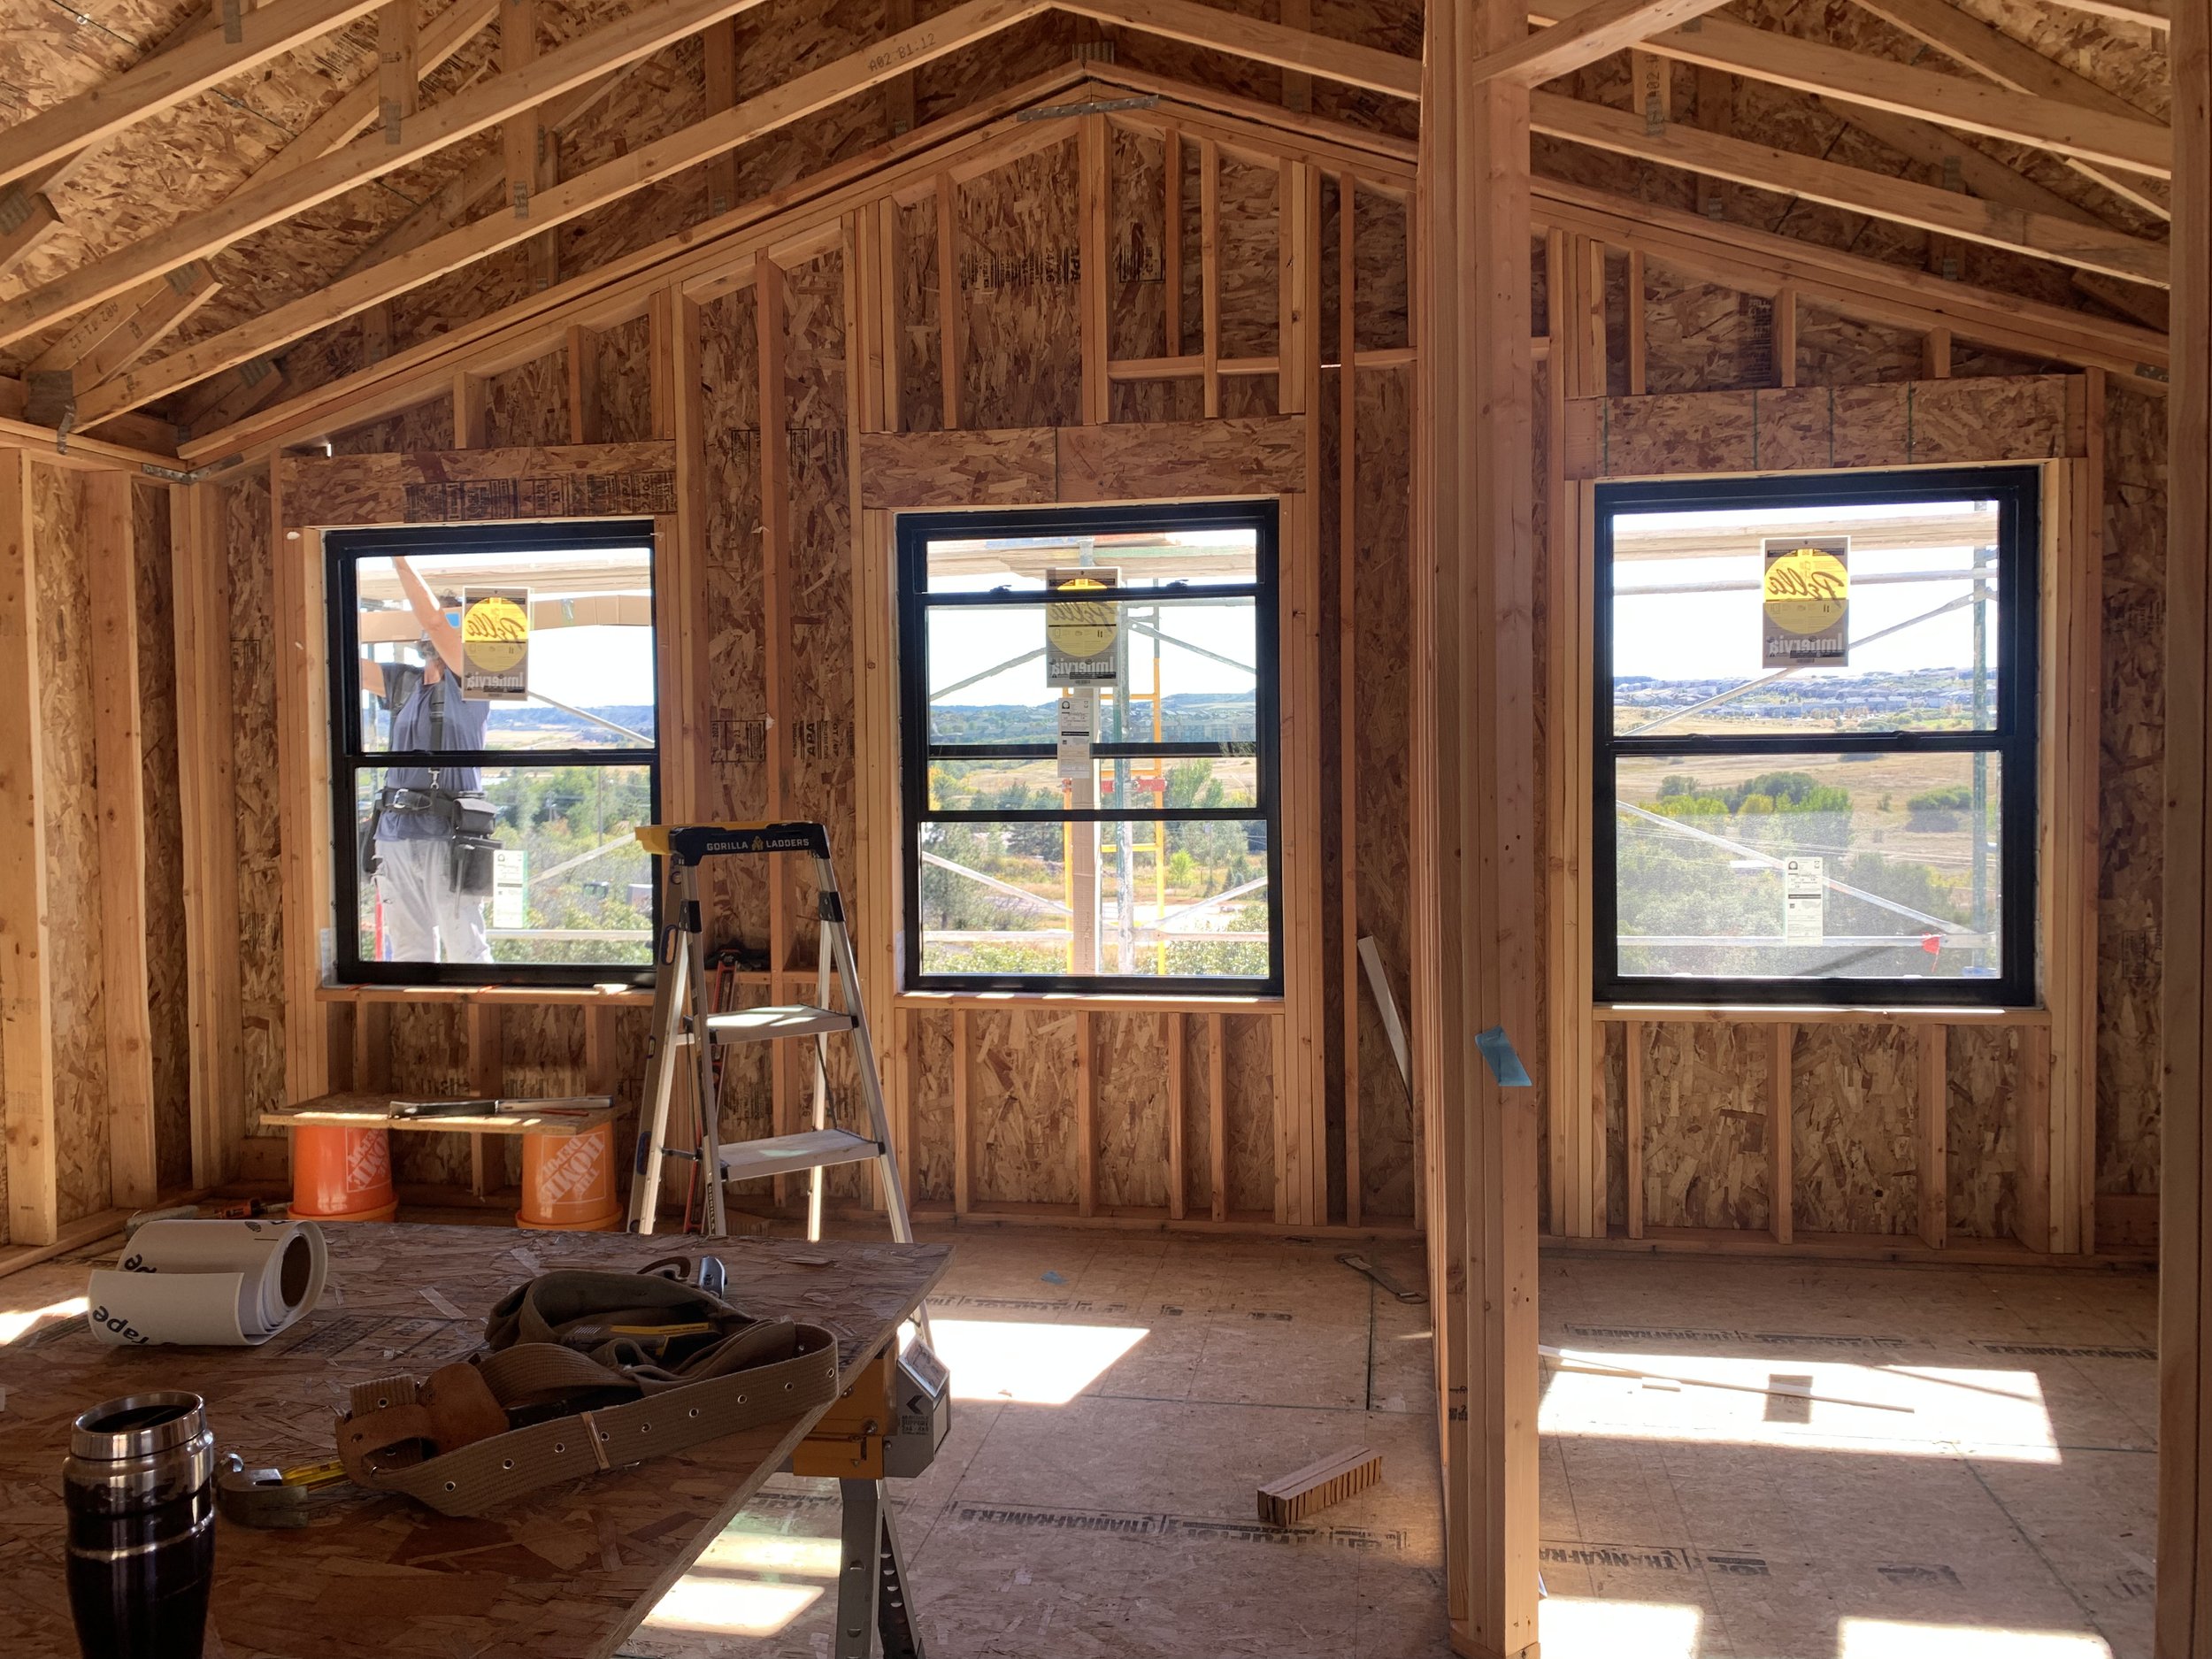
The master bedroom windows are in!

The guys have found their groove with window install and are cruisin' now!

An outside view of the master bedroom windows.
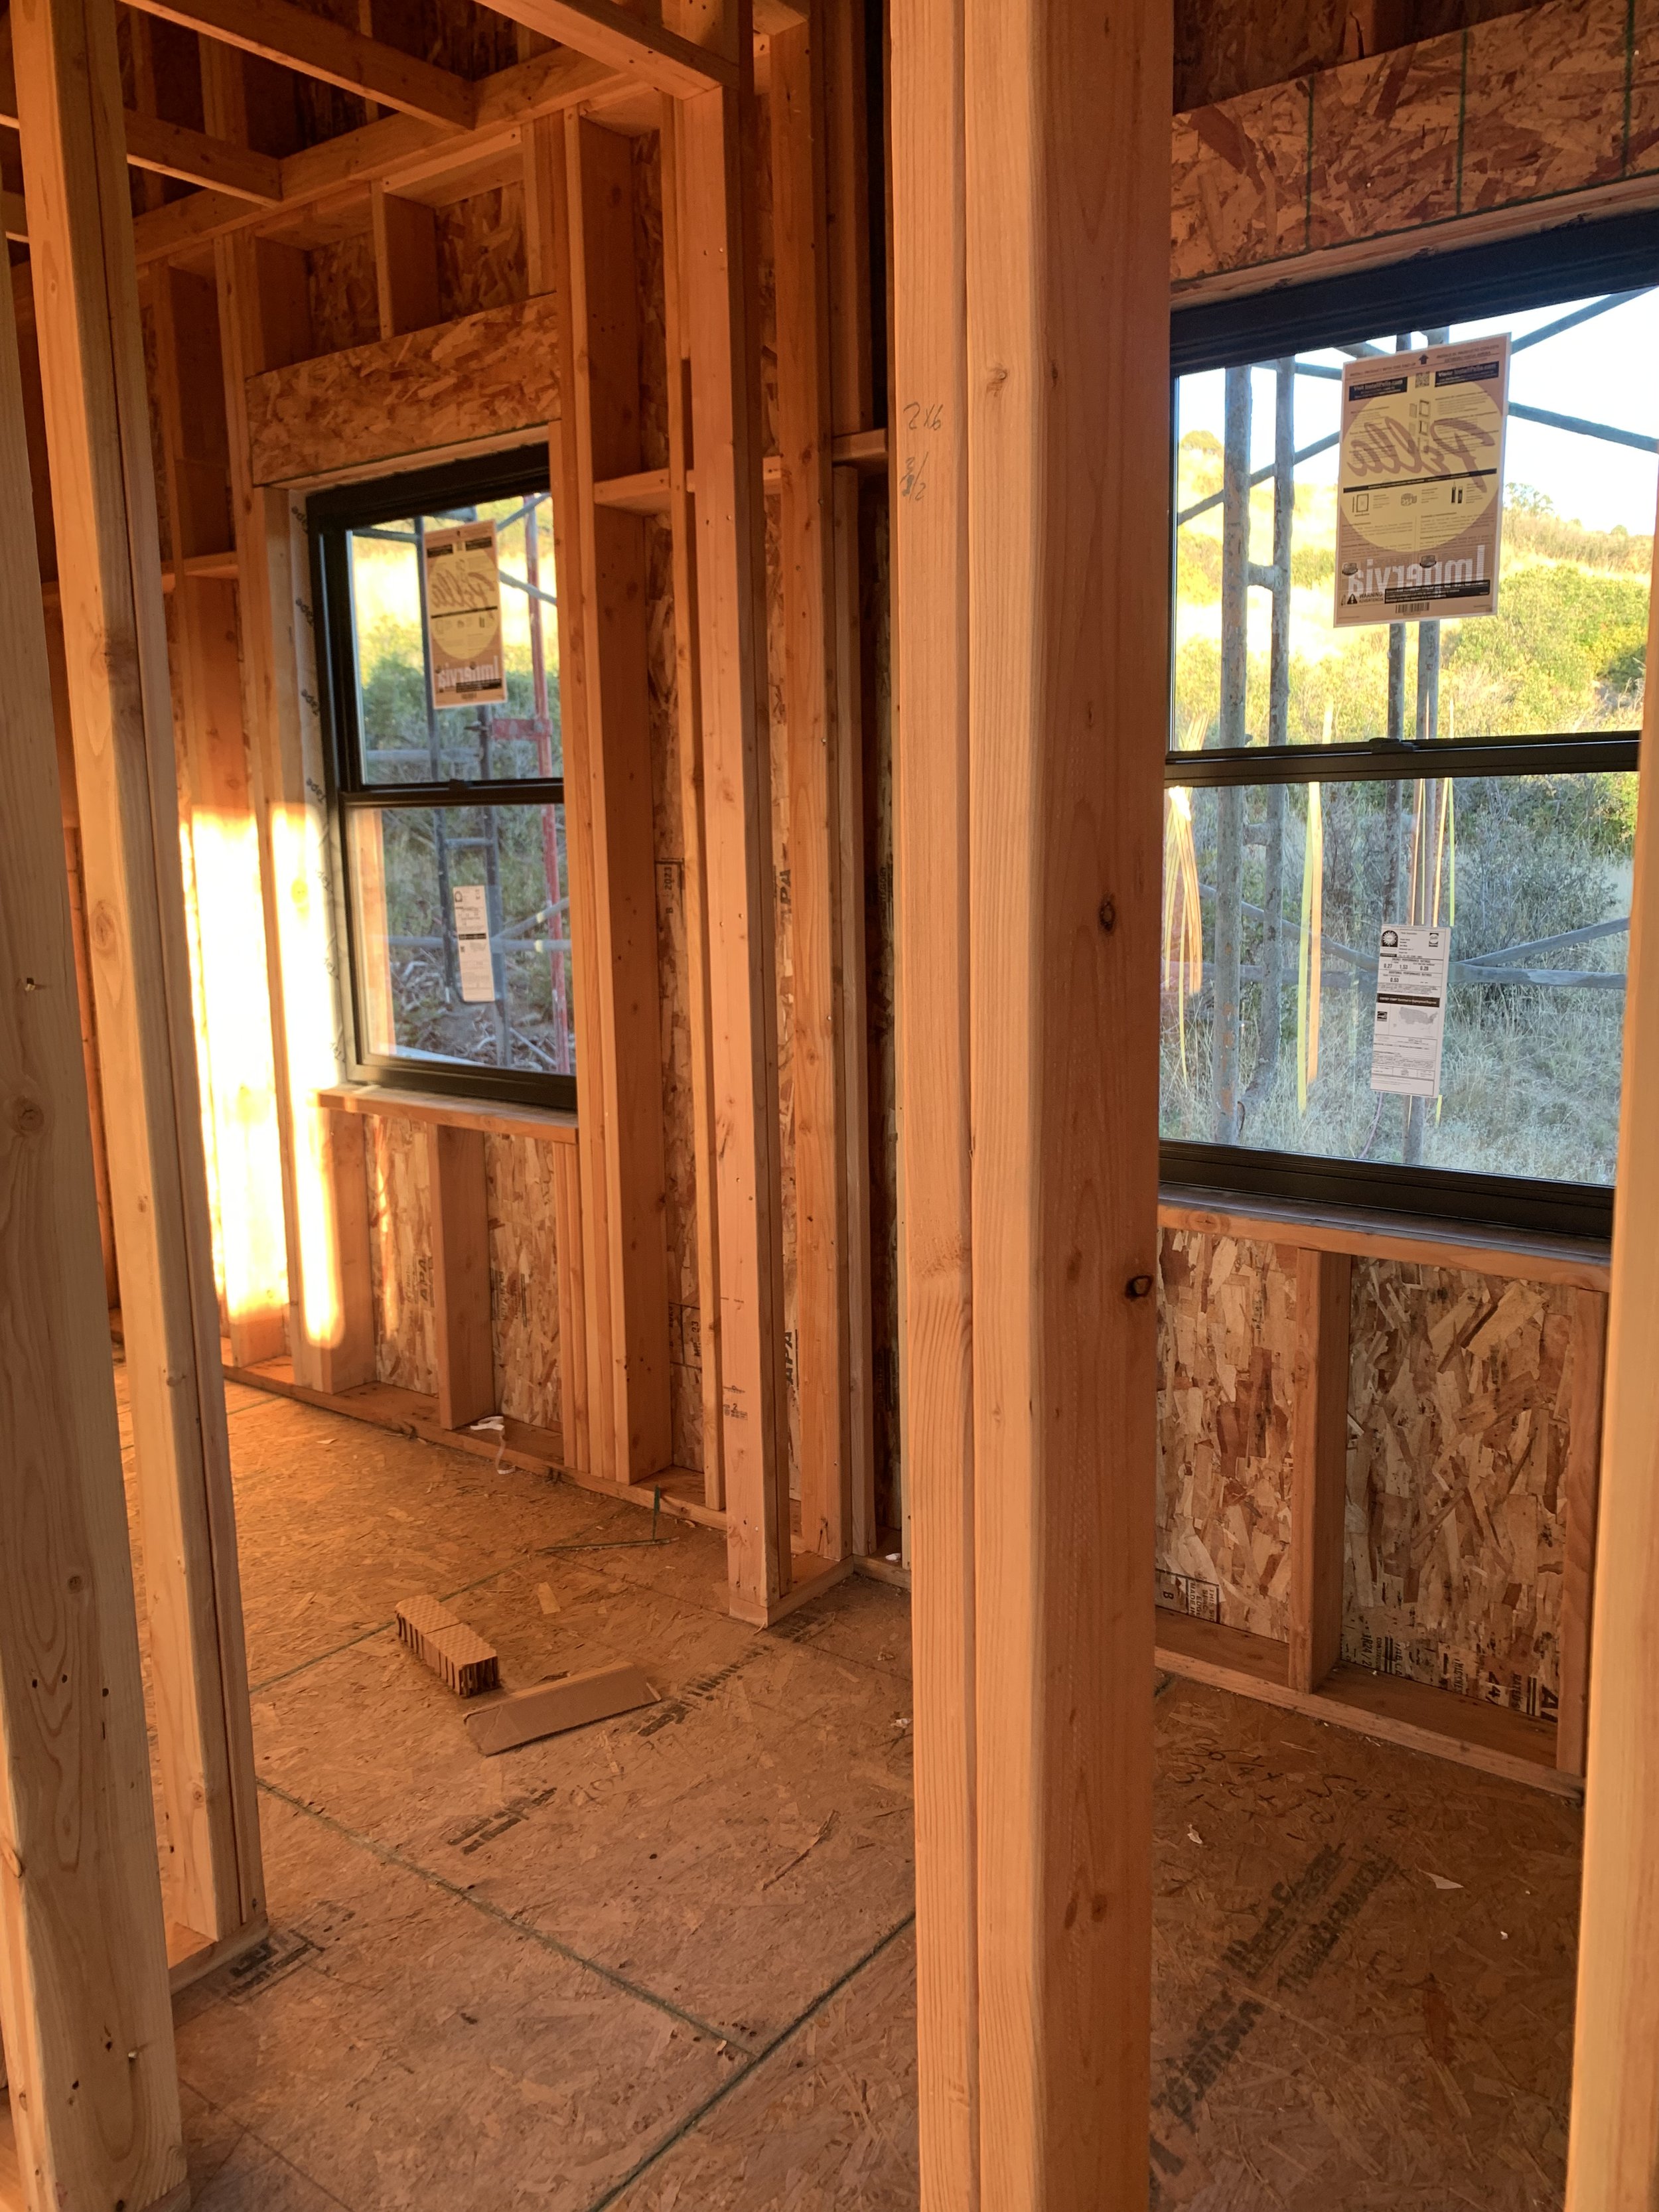
Next up, the staircase landing and laundry room windows.
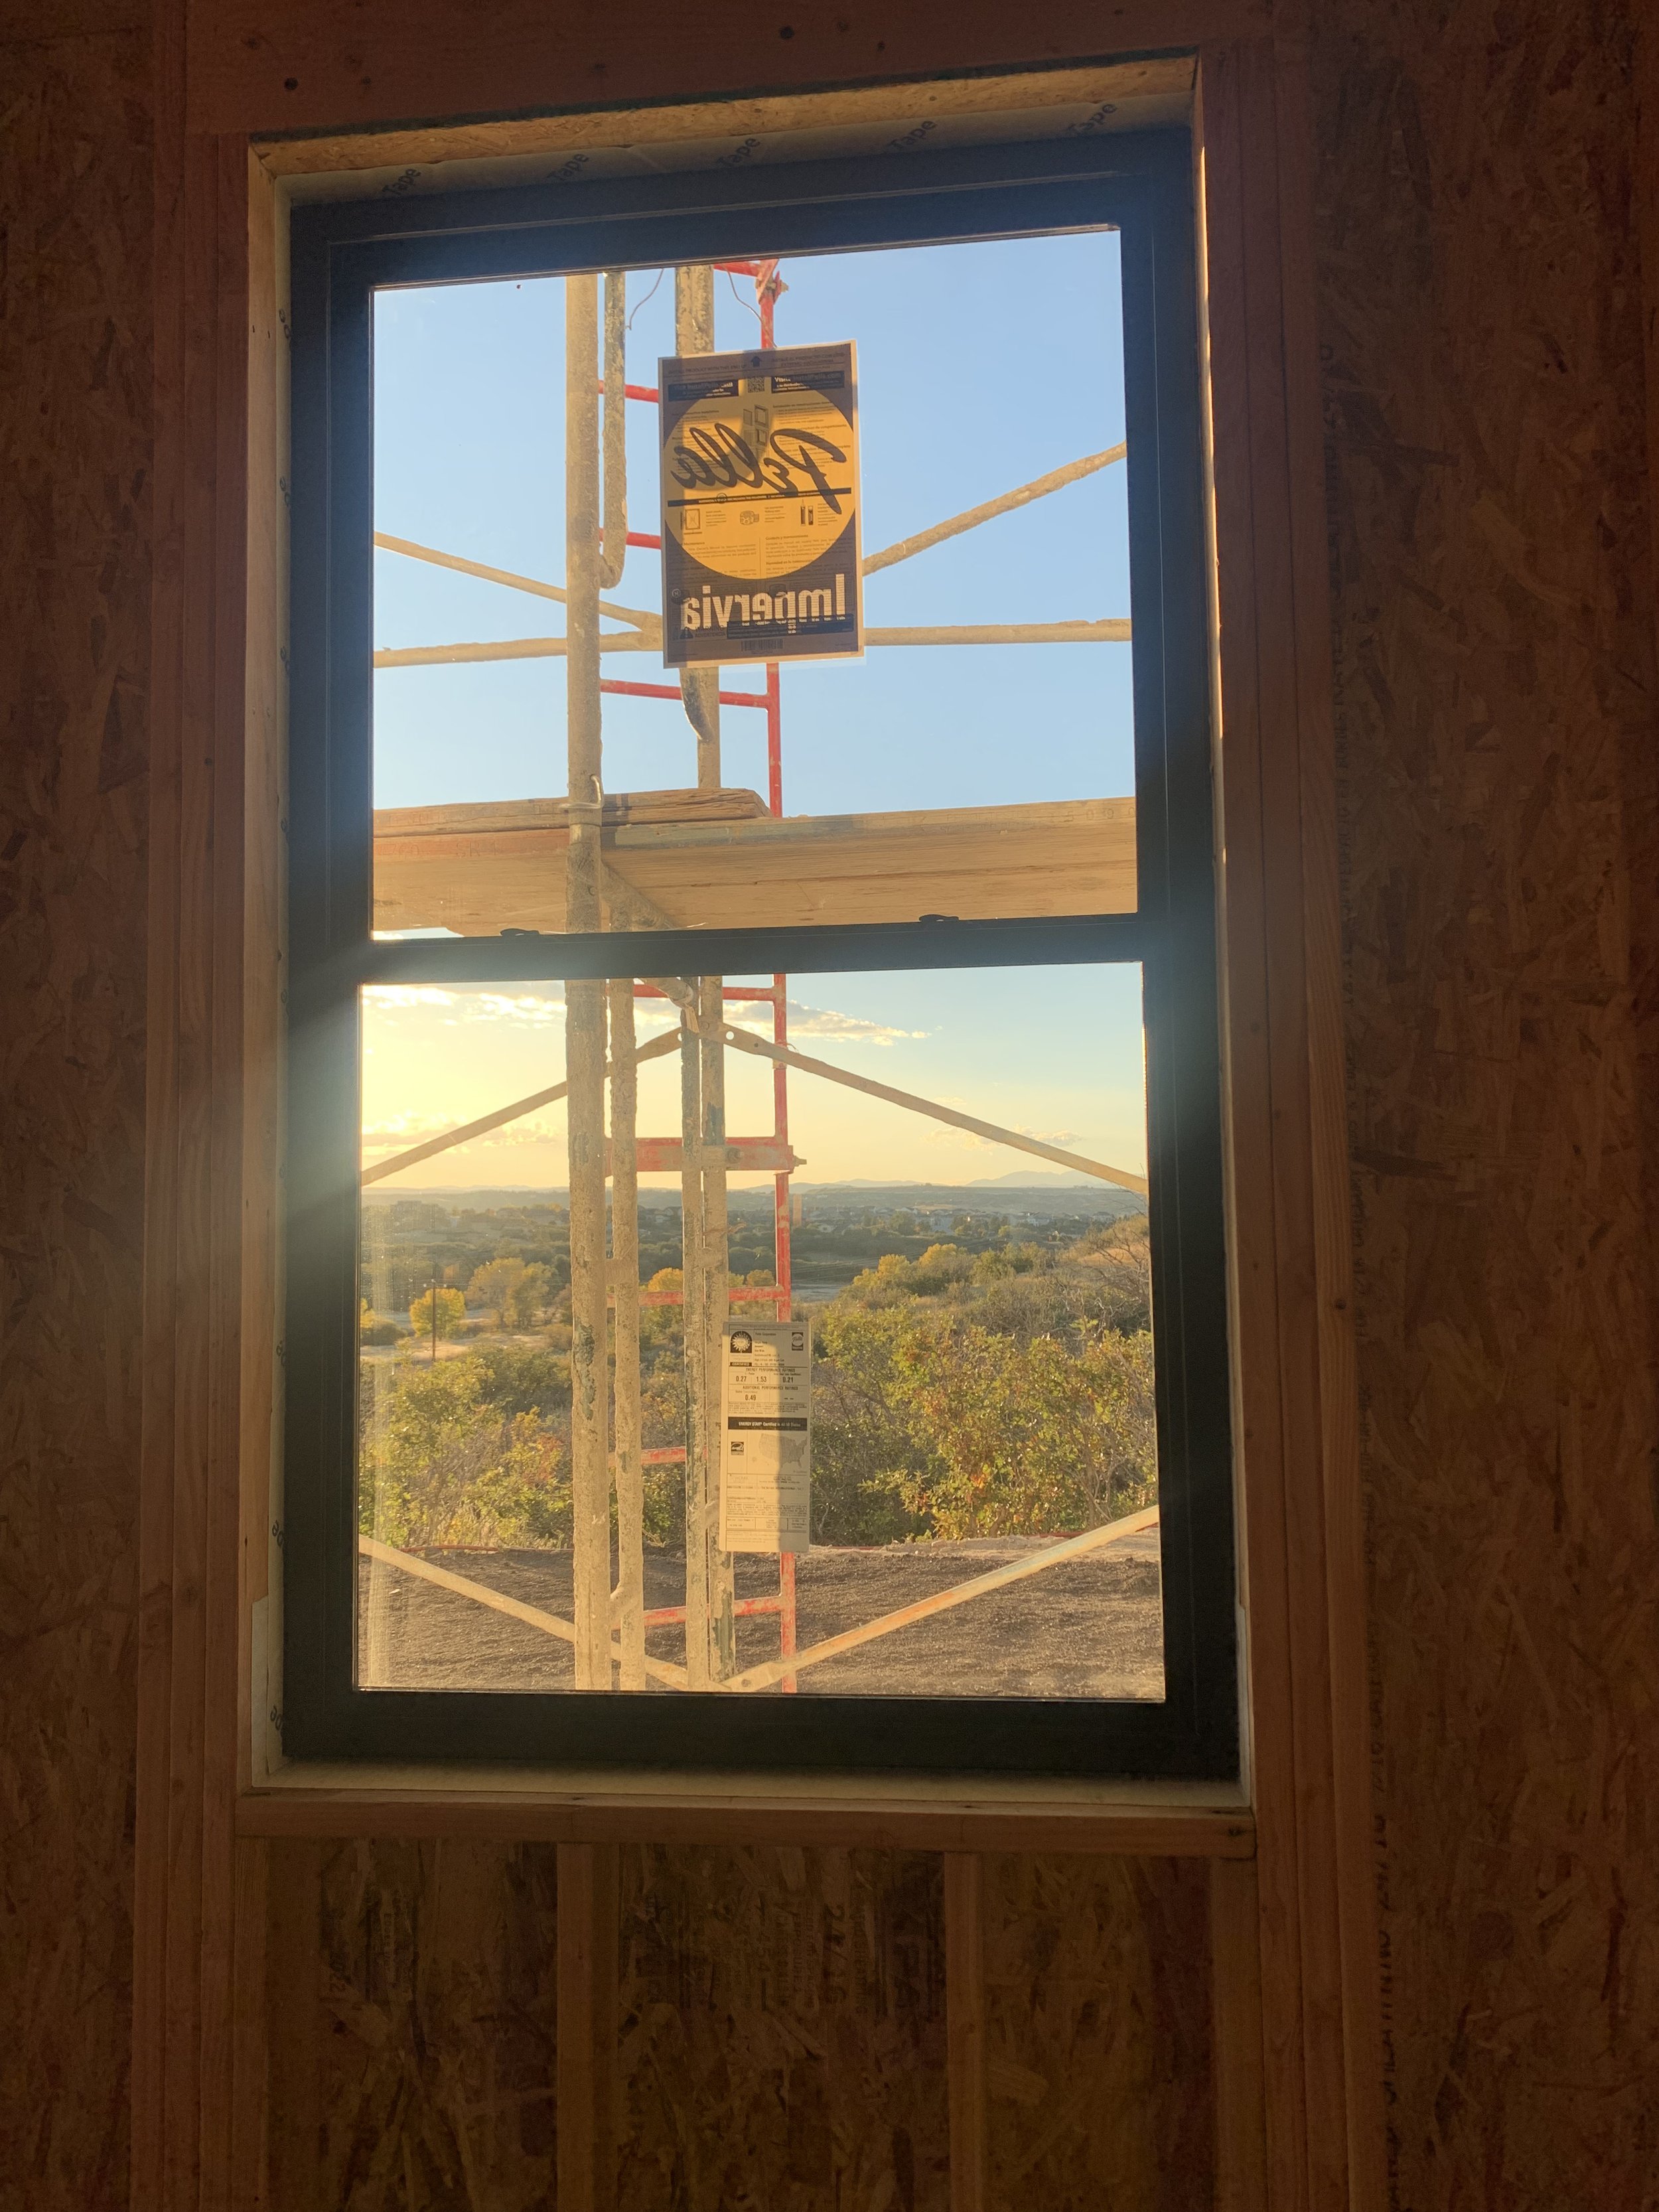
The guest room view is pretty sweet!
The garage windows complete the "easy" part.

Now the hard part. The kitchen window. This beast is gonna take 4 guys to install!

A brutal lift even for 4 guys, but it's in place!

Once the window is secured, Rachel hops in to see the picture perfect view!
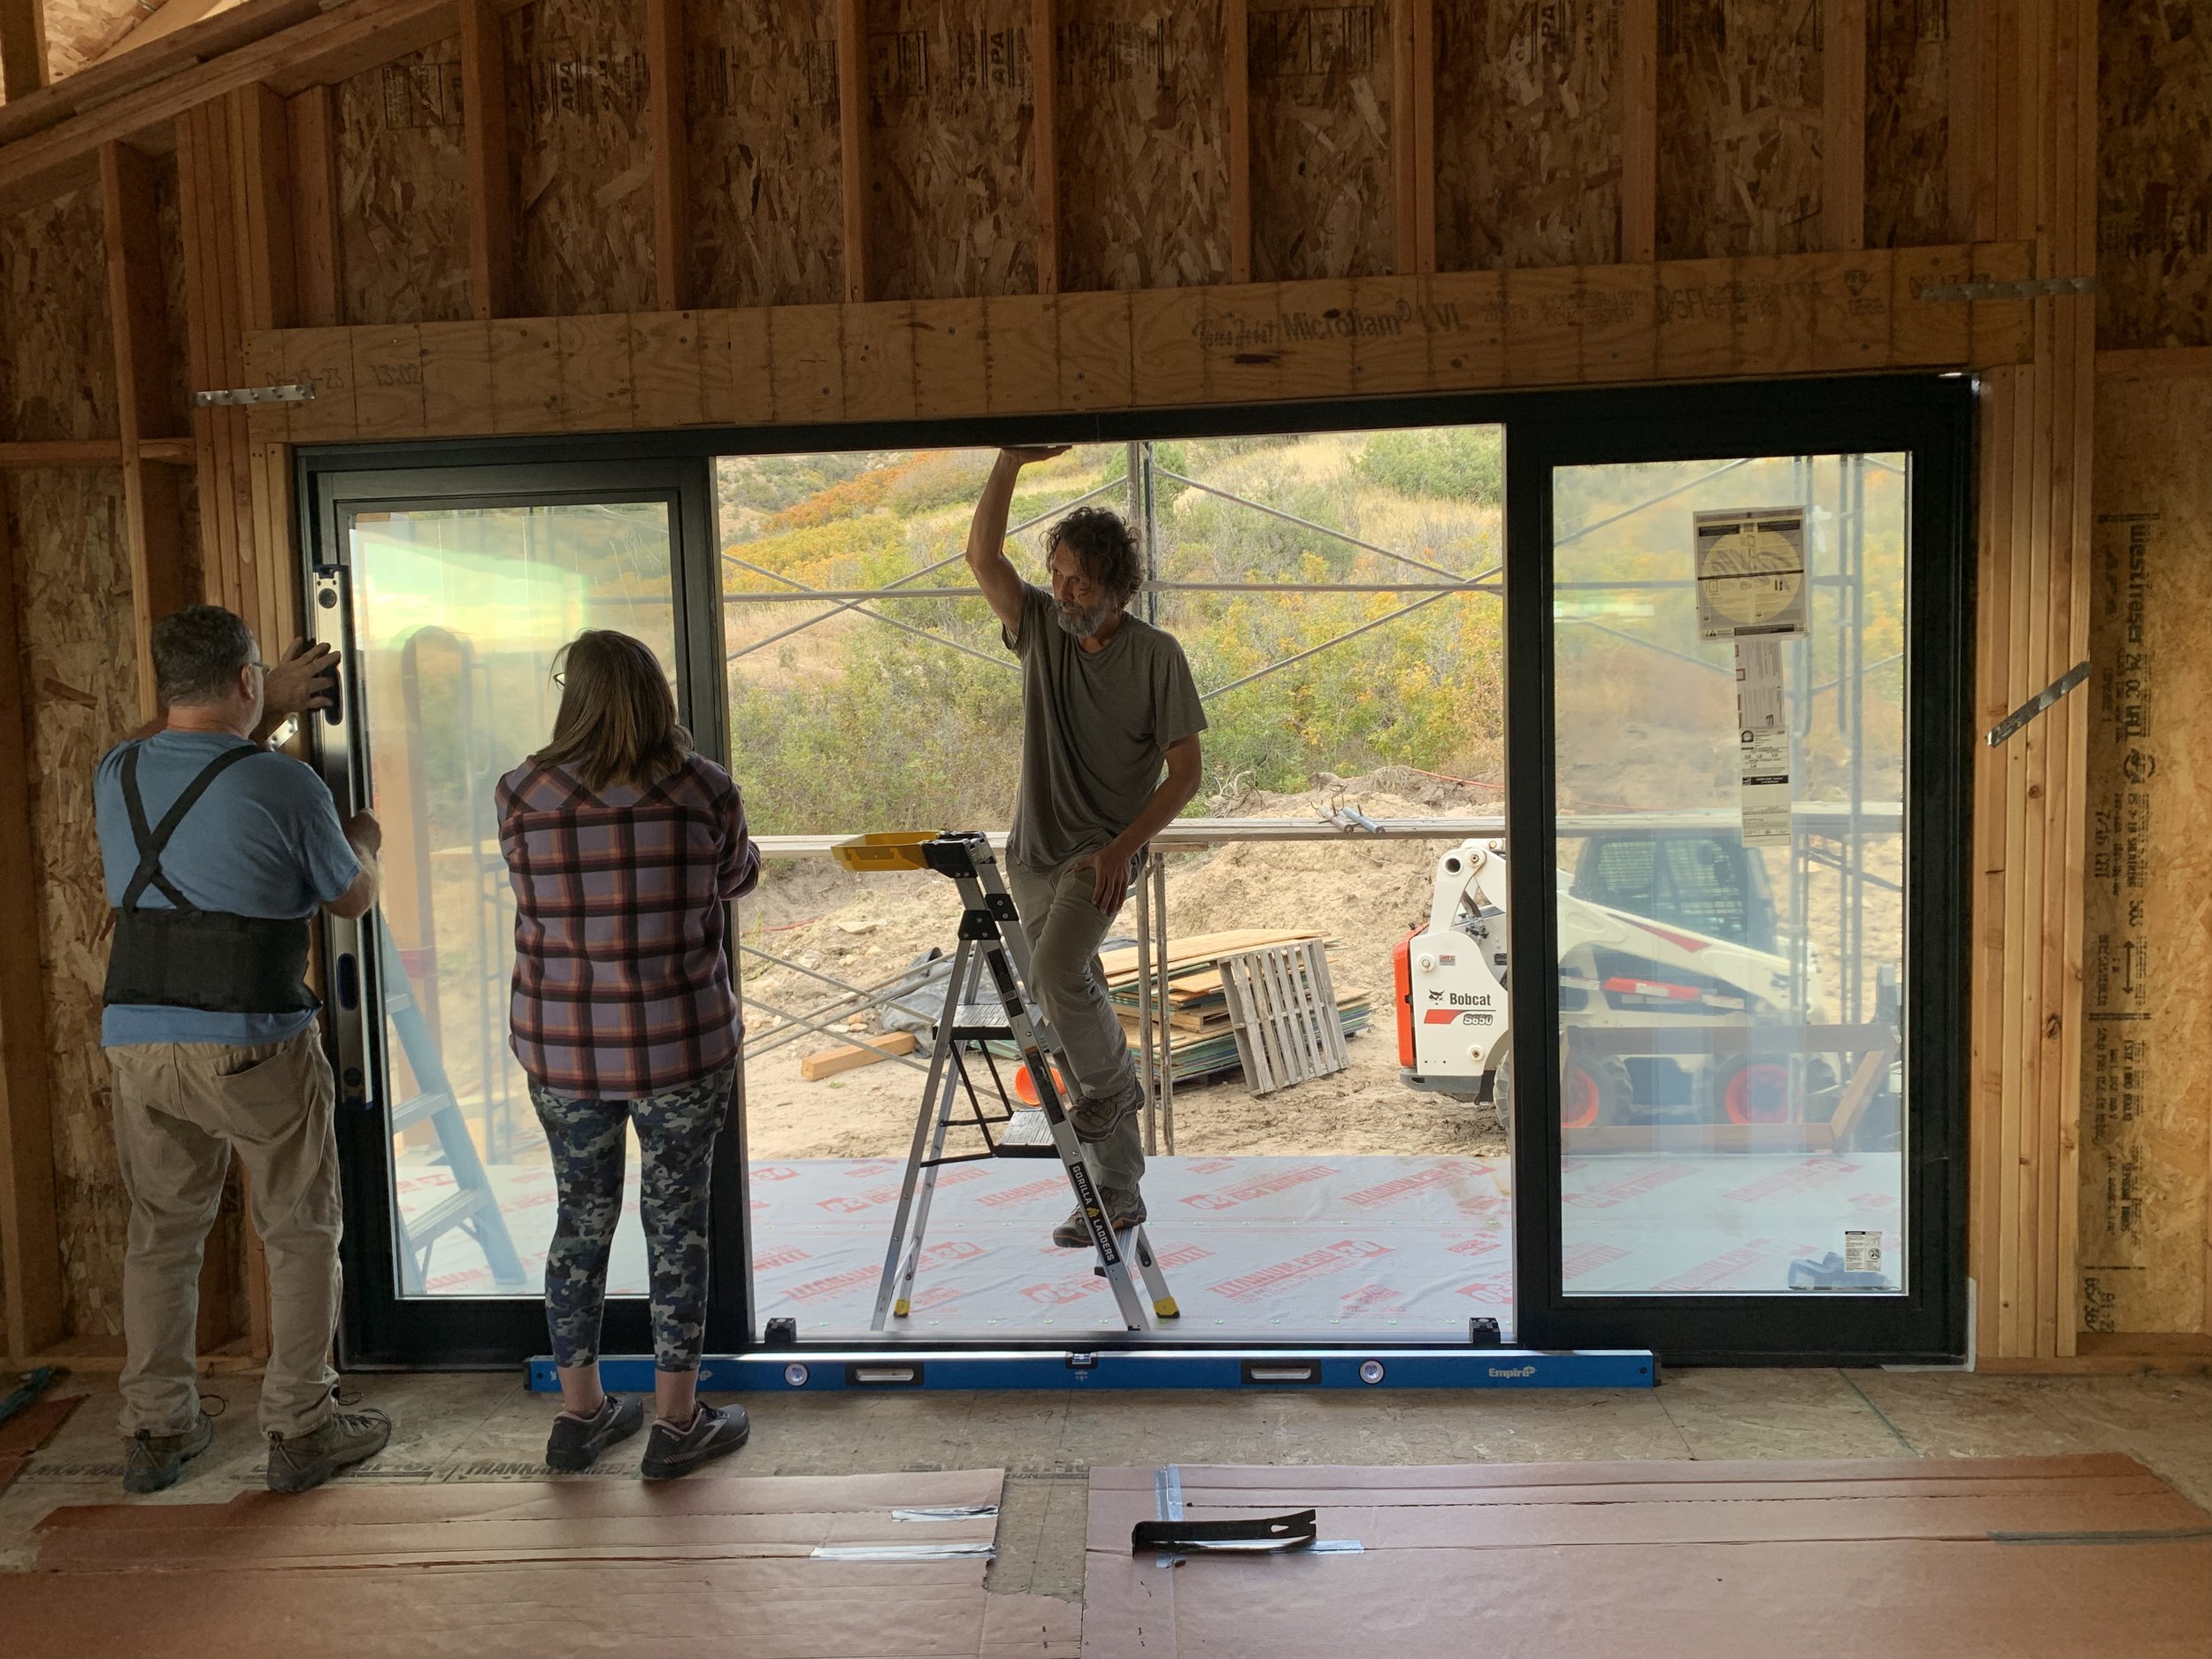
The next challenge was installing the glass sliders. Super complex to assemble and it took all of us to get them in place.

Whew! They're in and they open and close!

The side door to the guest room arrived!

It was another challenge to install, but looks pretty amazing.
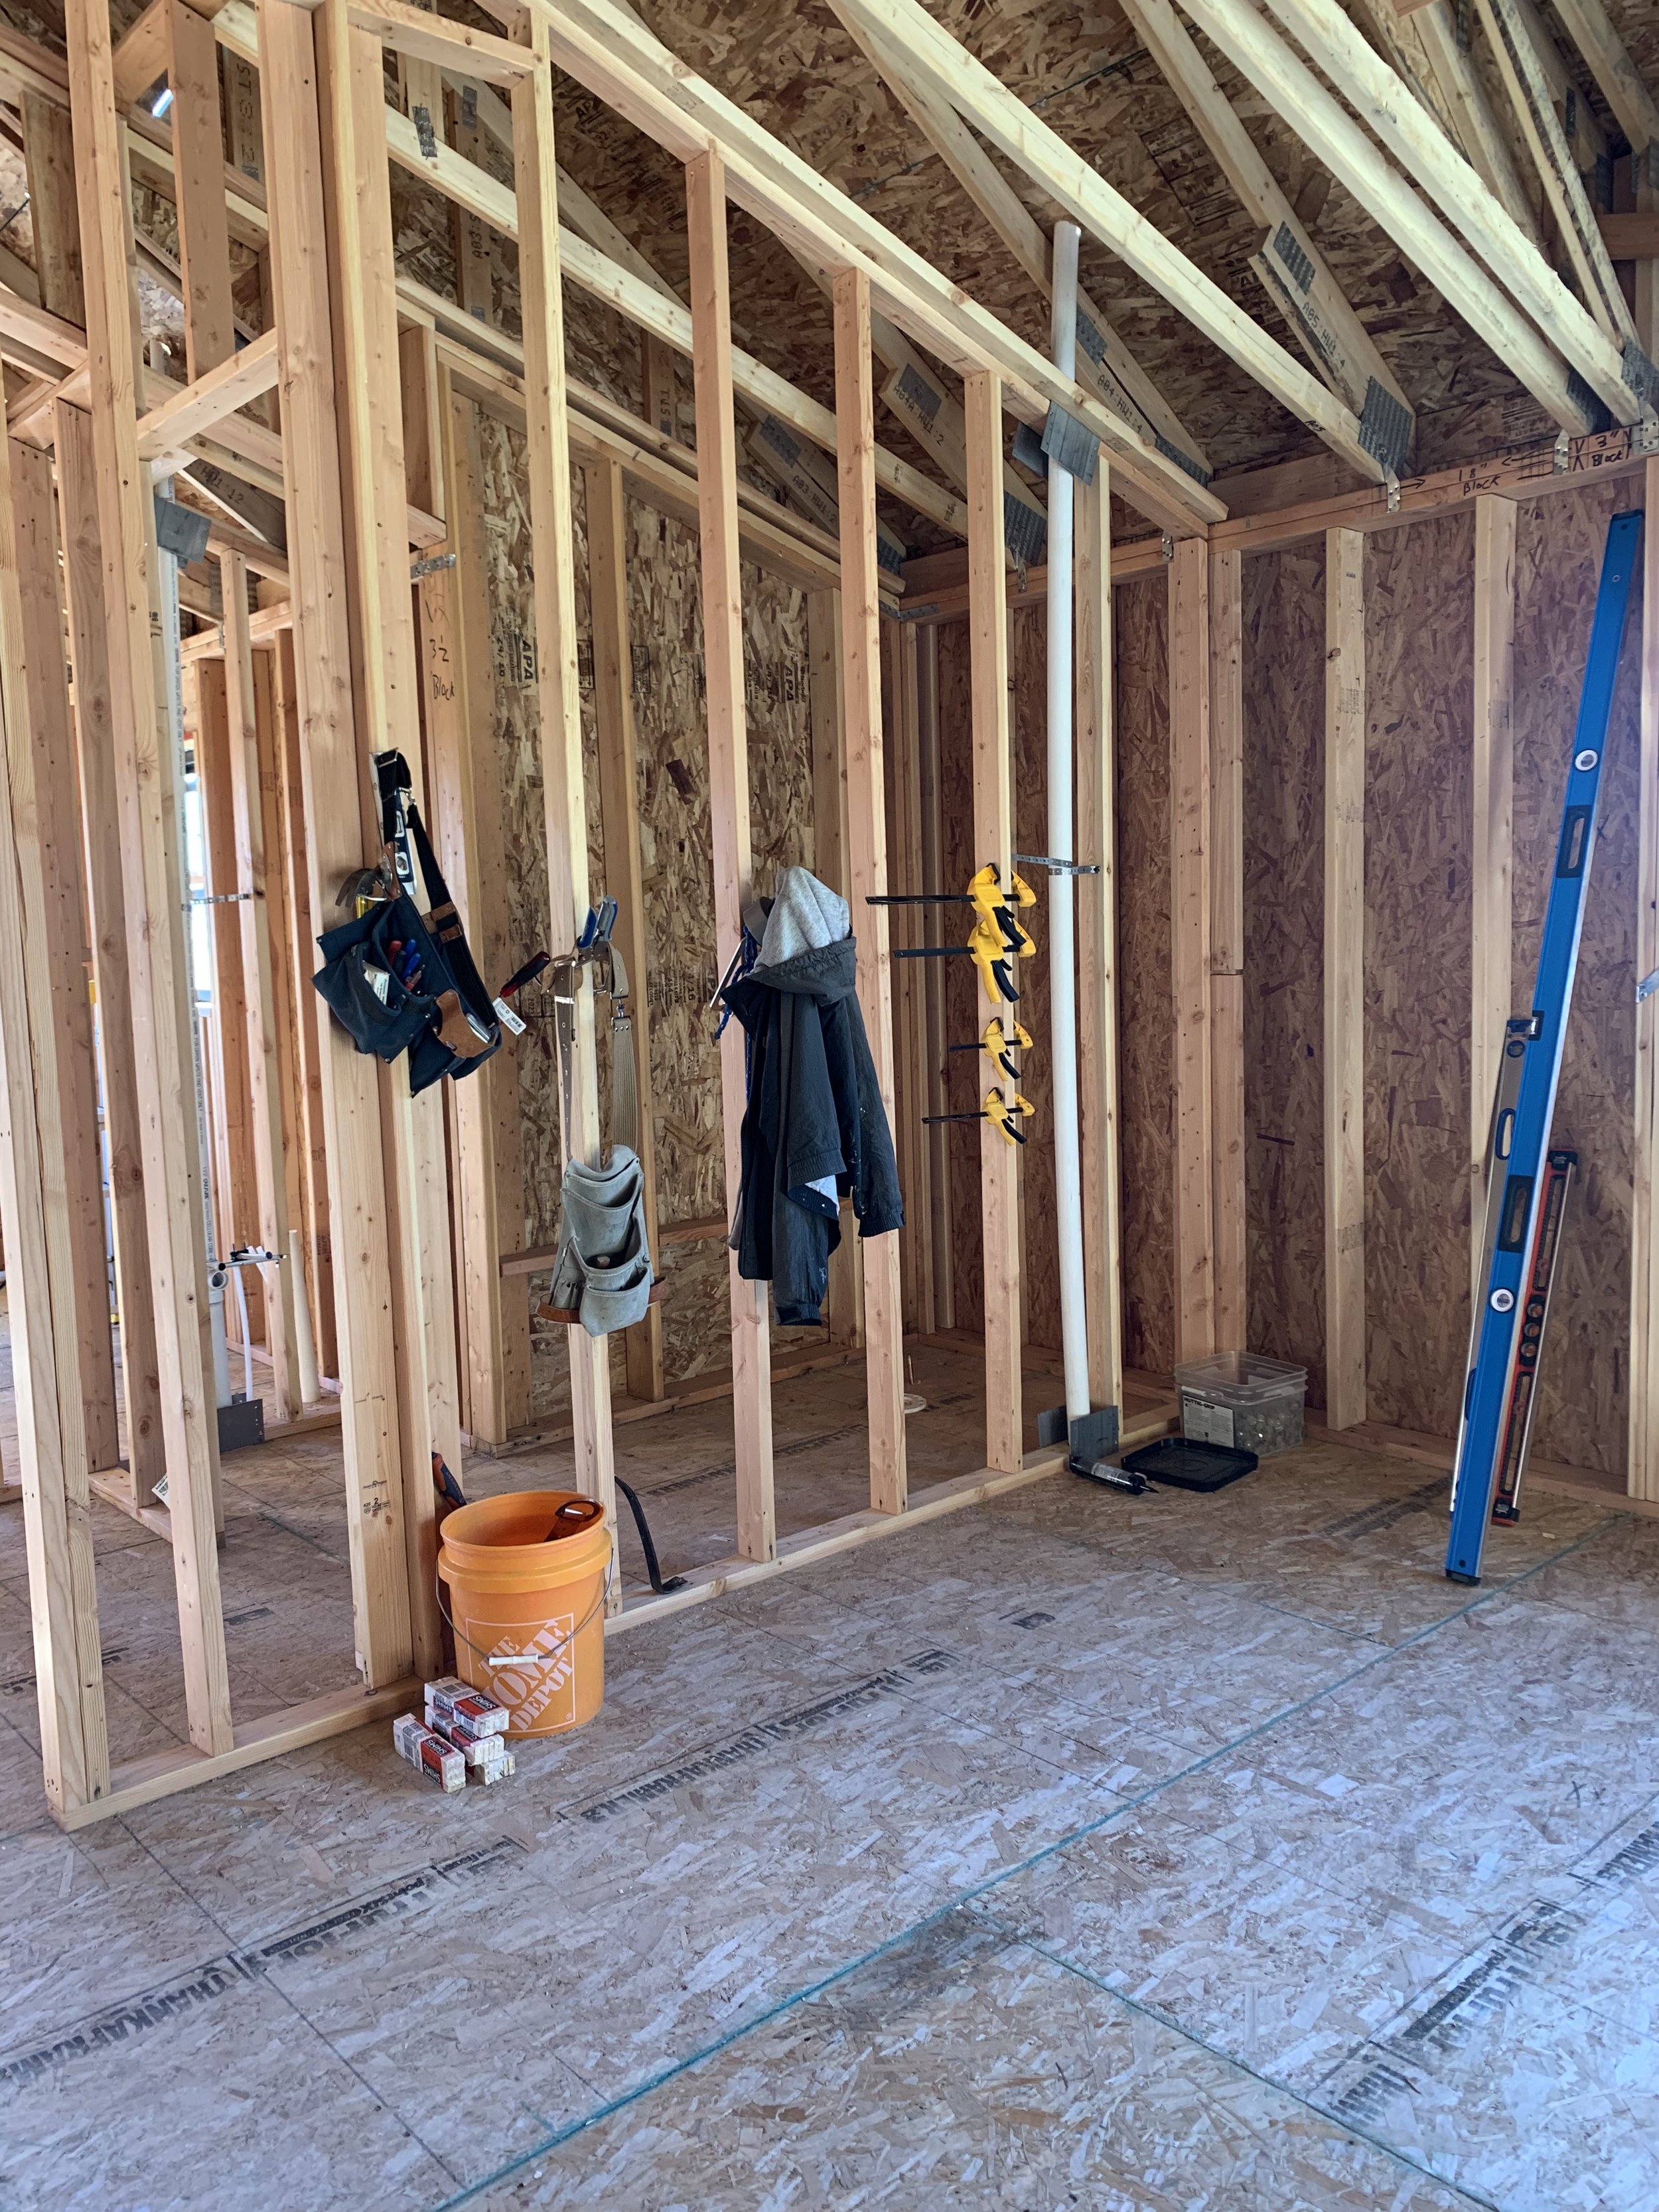
The guys made a makeshift coat rack for their coats and tool belts.

Our driveway is starting to look like a parking lot!

Last but not least, the garage door!

One panel at a time goes in.

It's starting to take shape!

A view from outside.
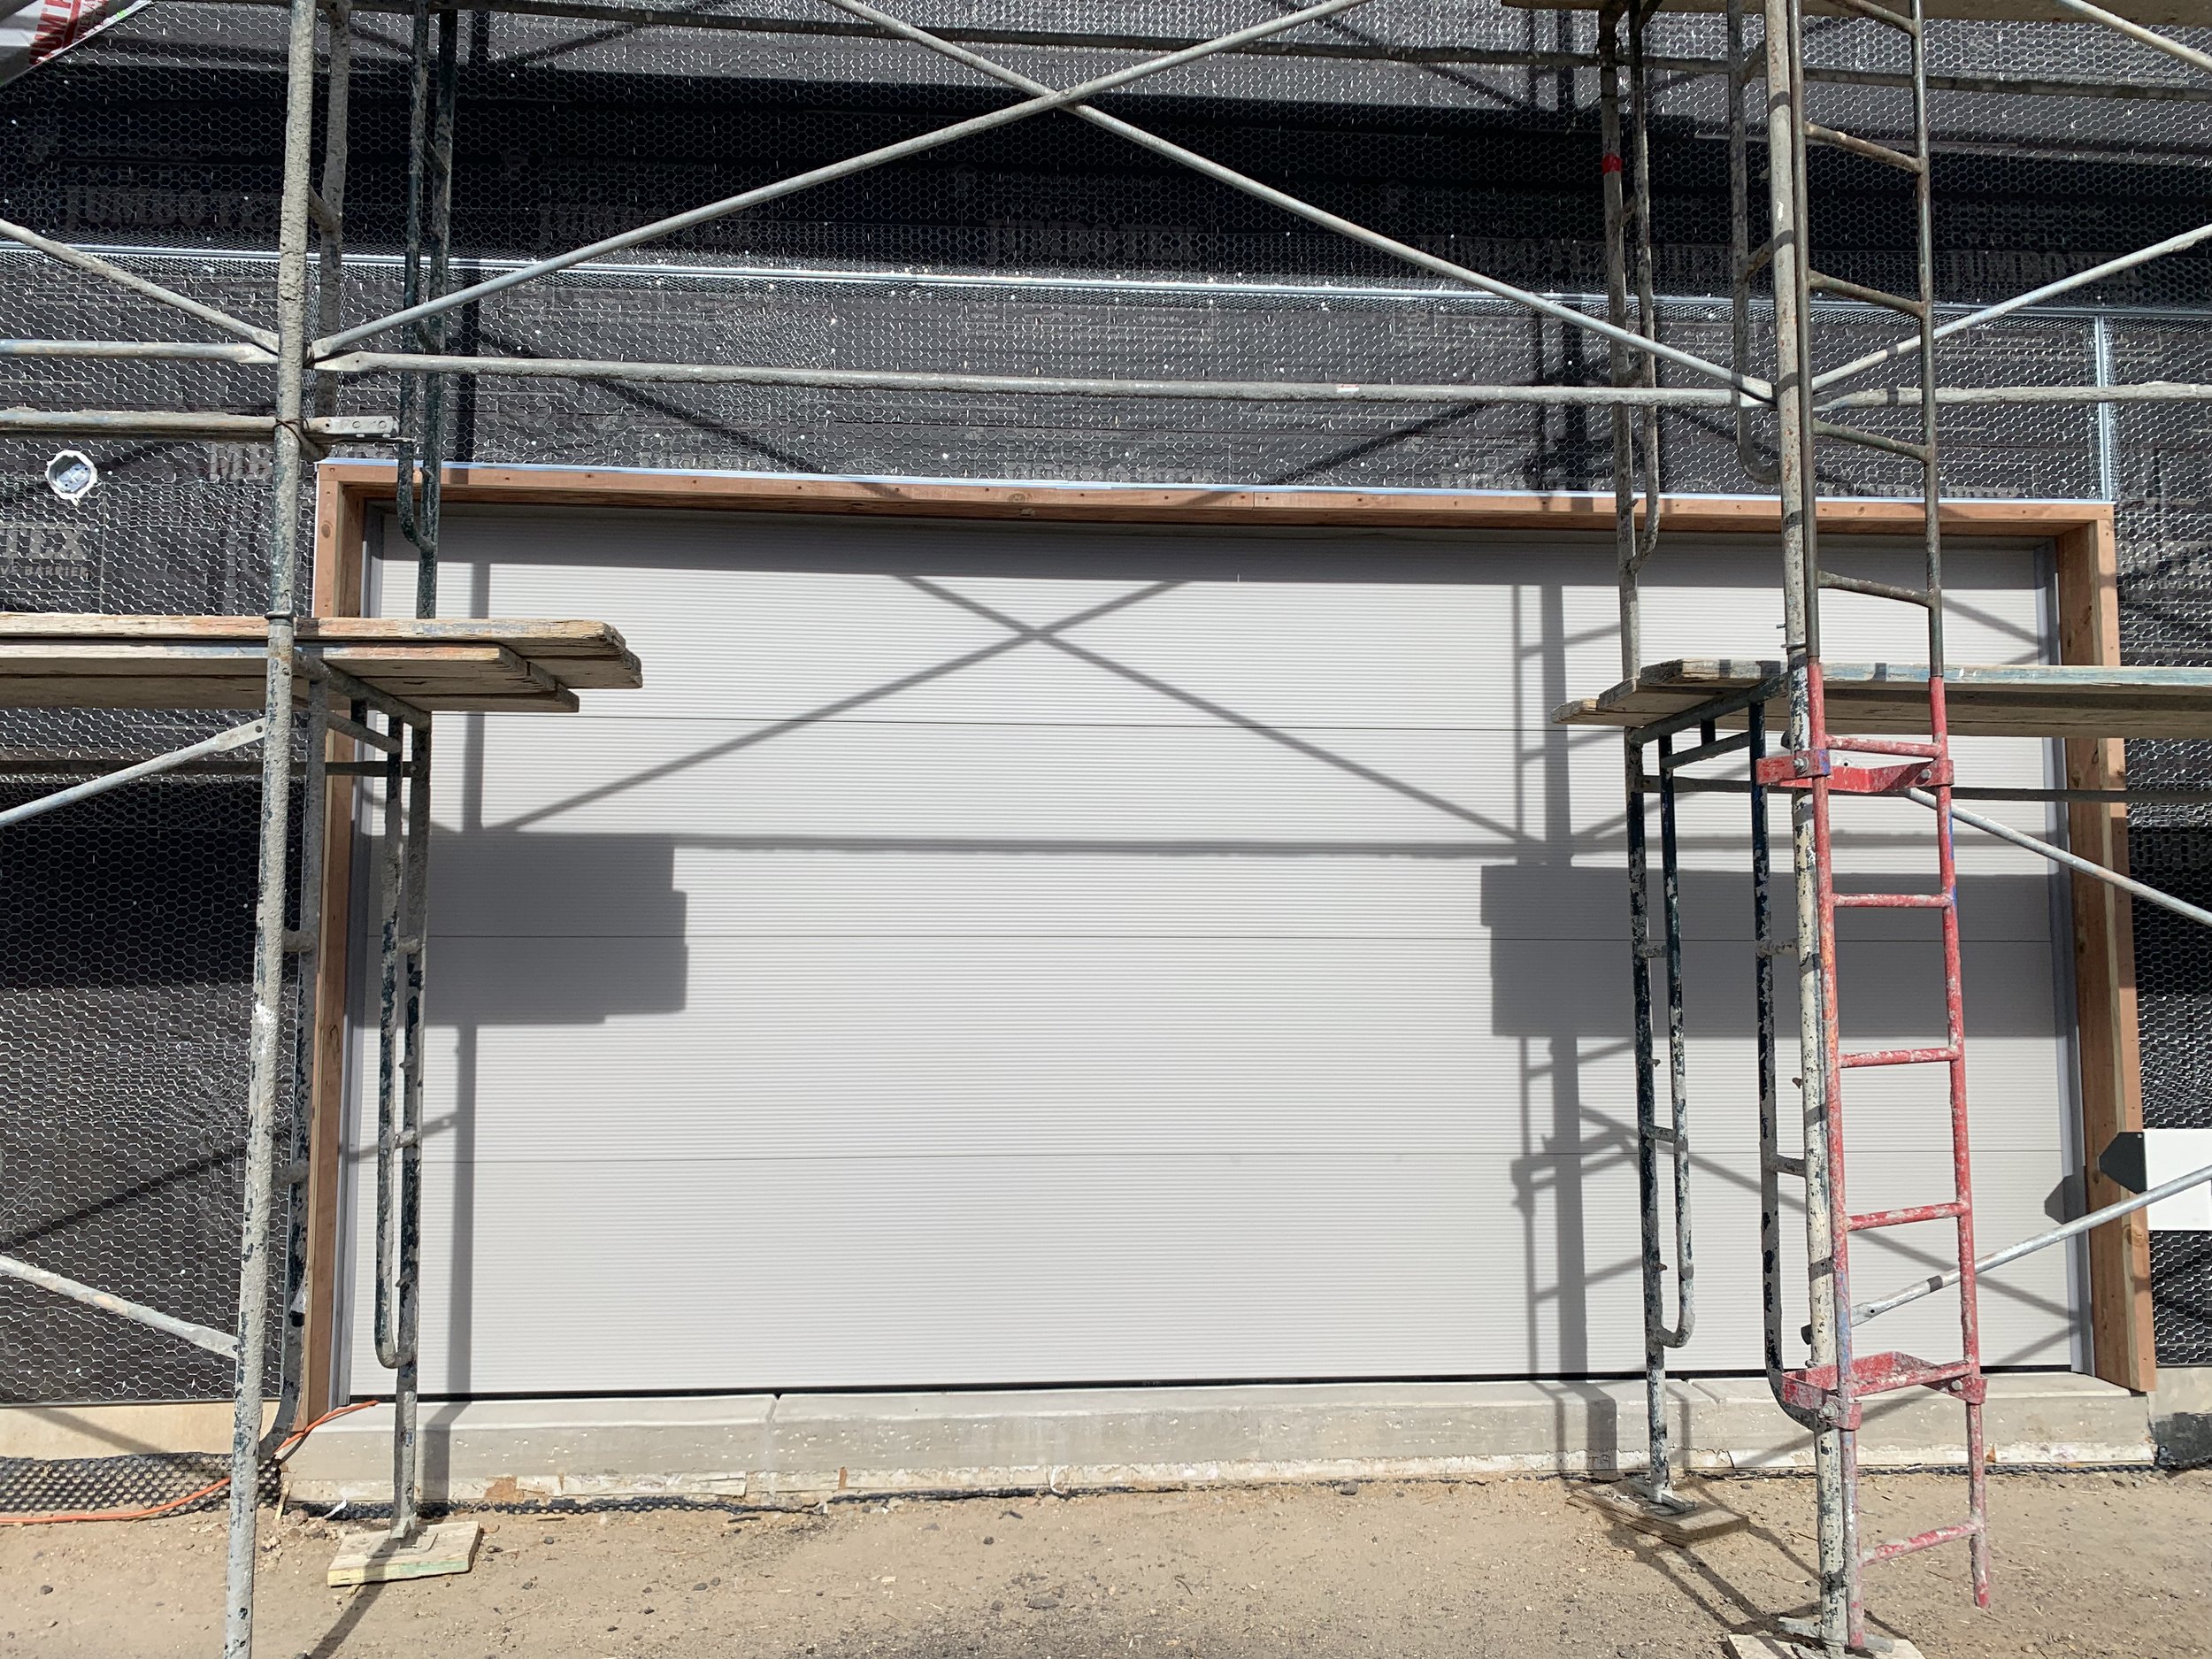
...and it's done! We're officially weather tight!
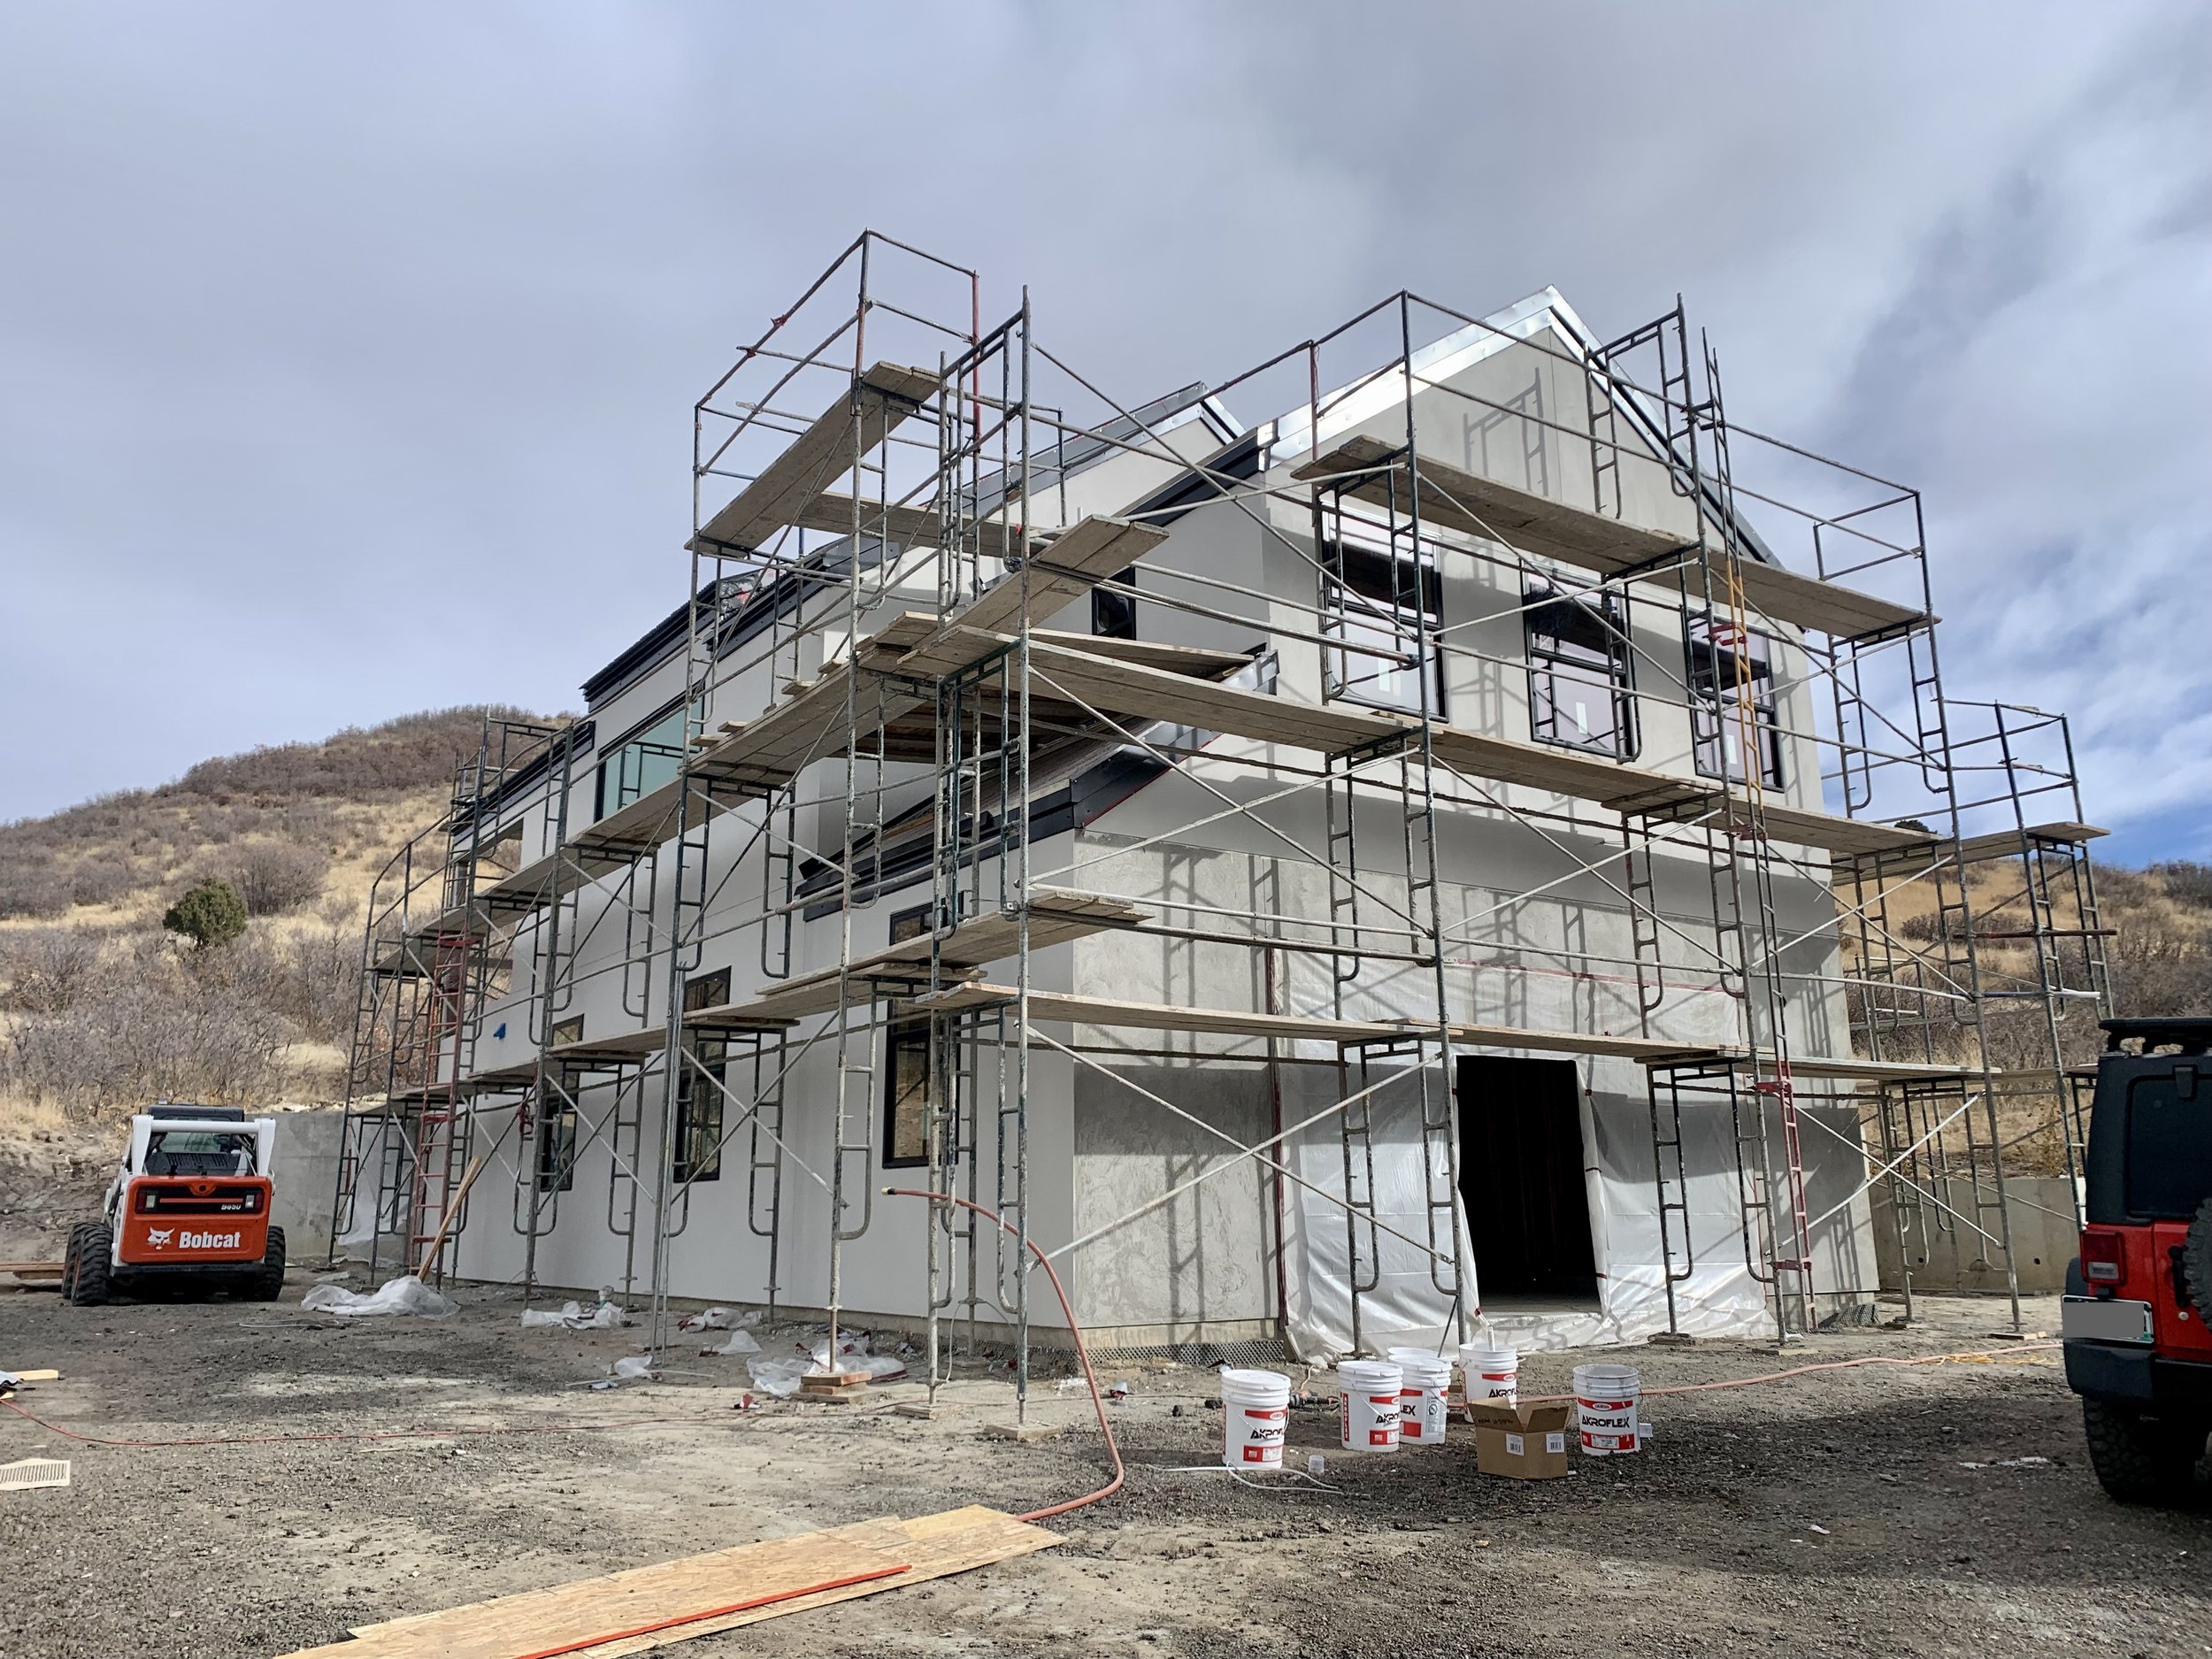
Step 11: The Stucco and Roof
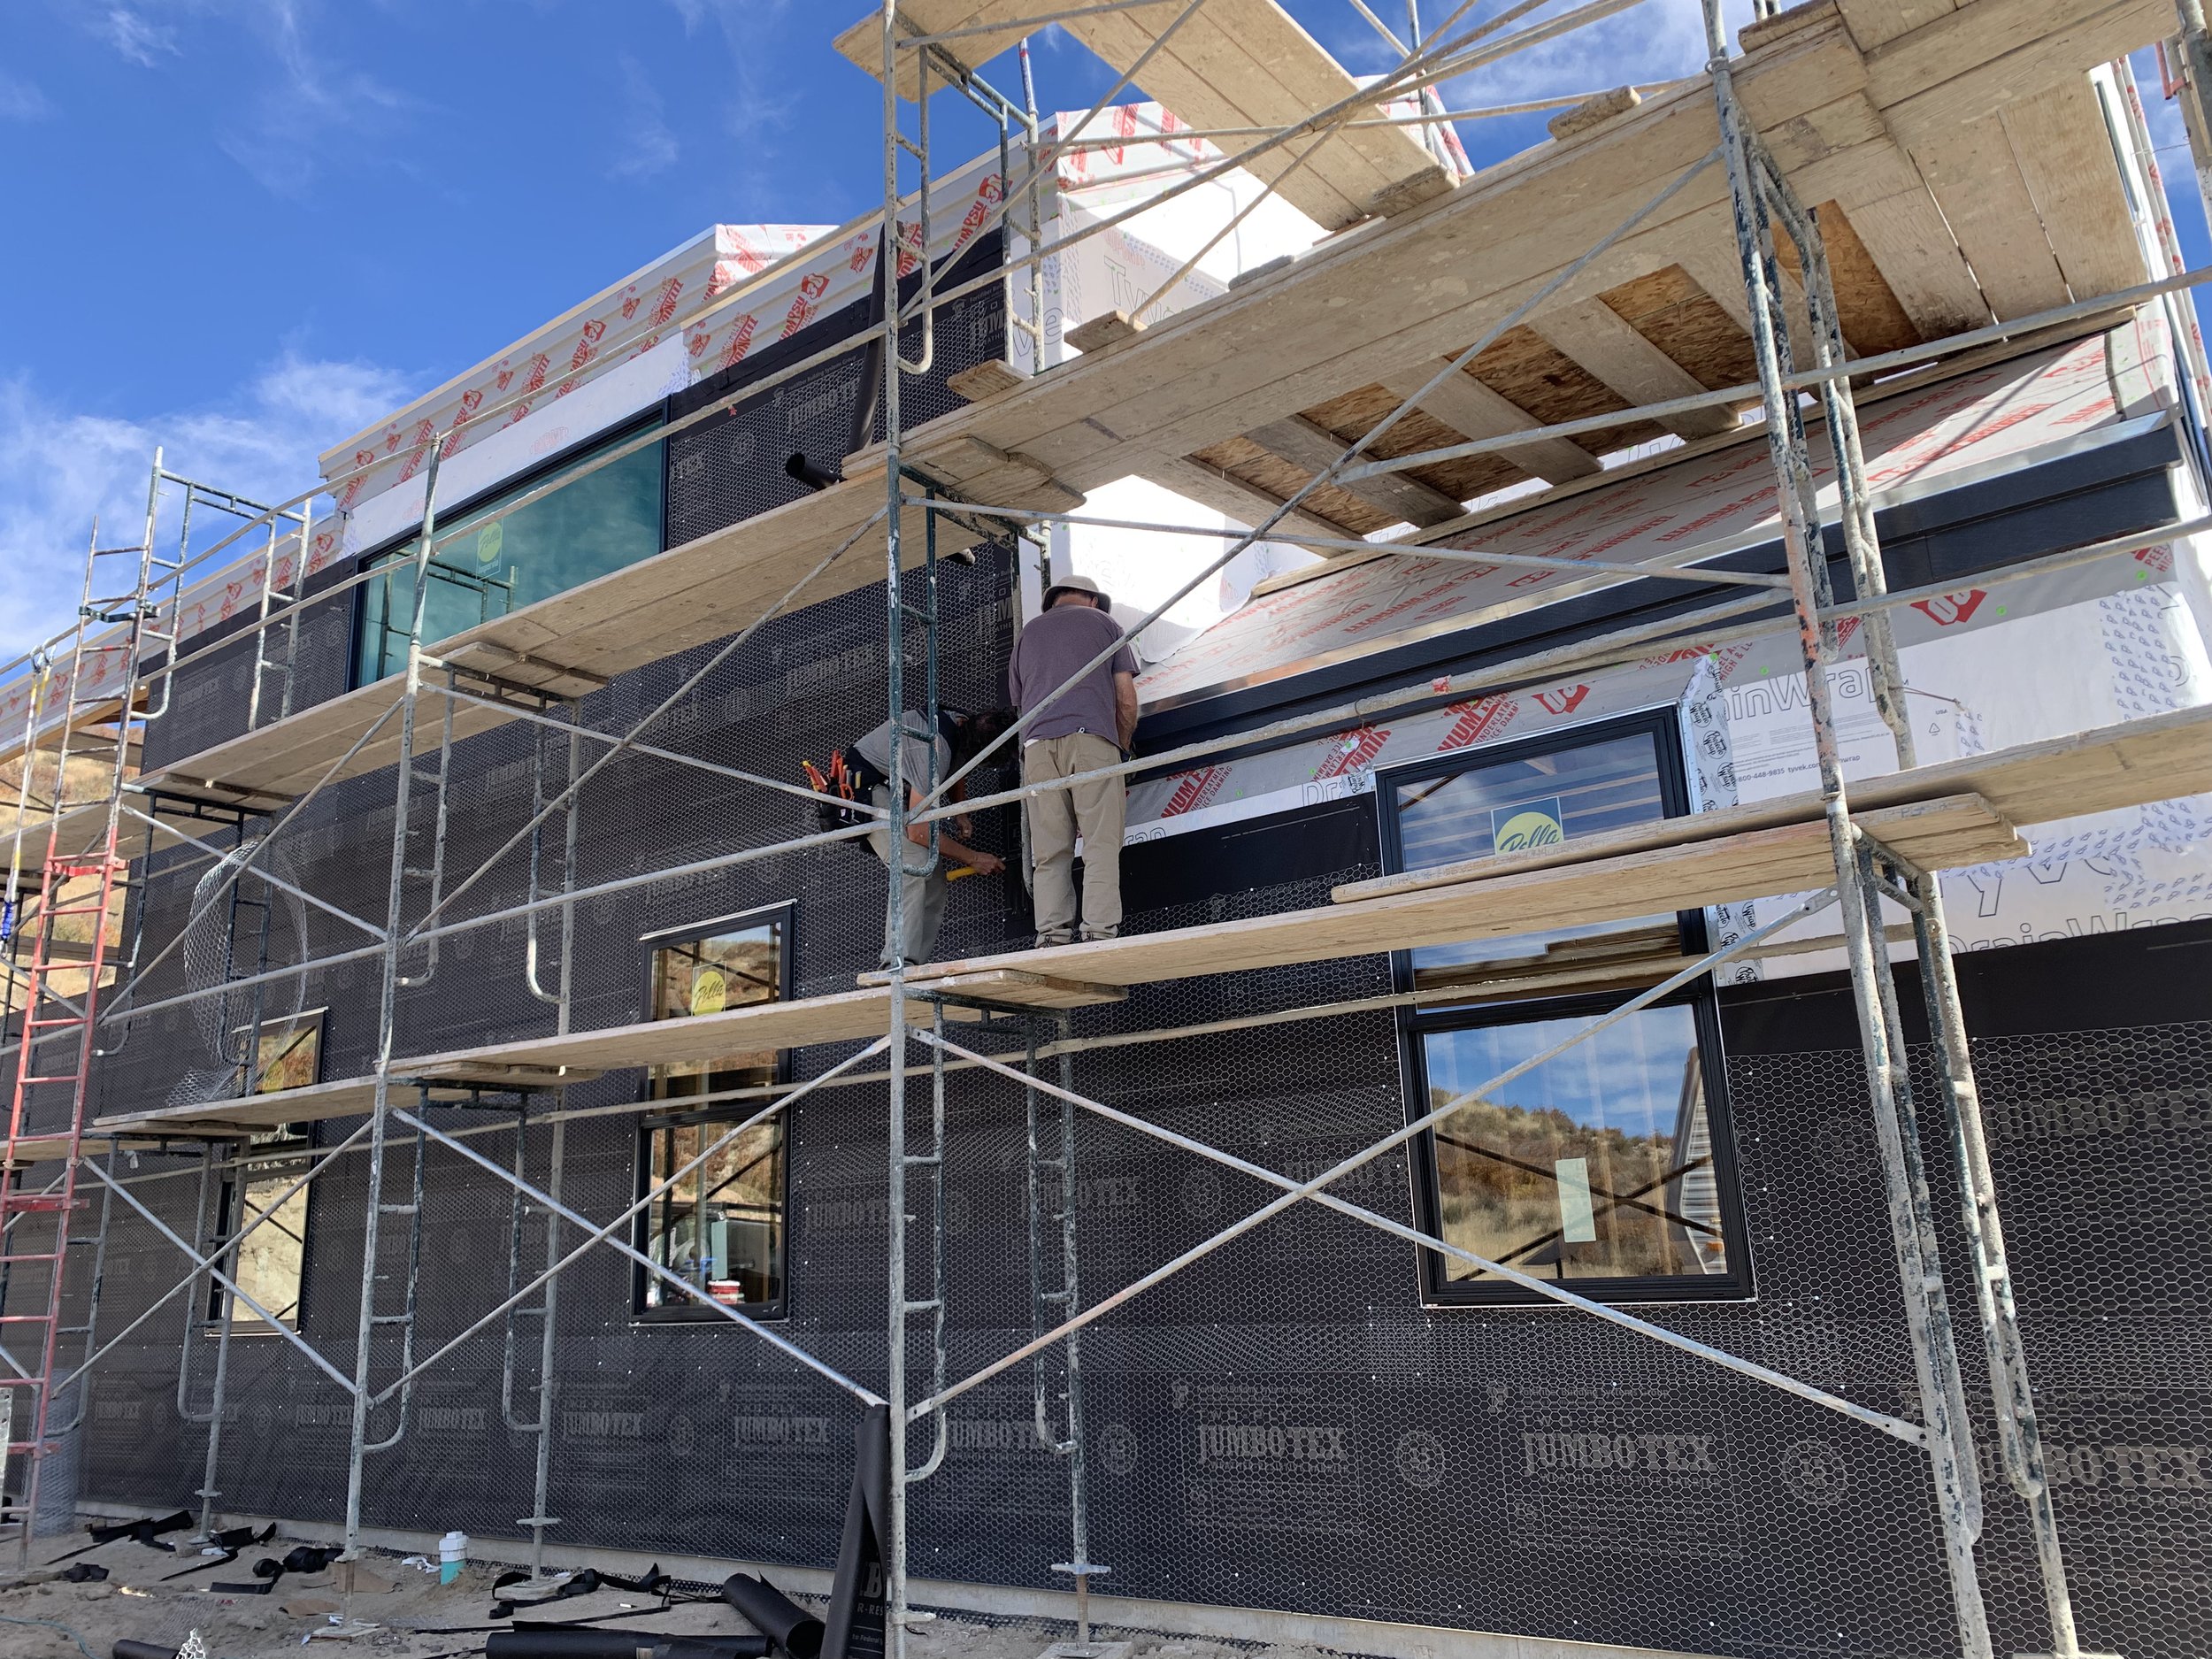
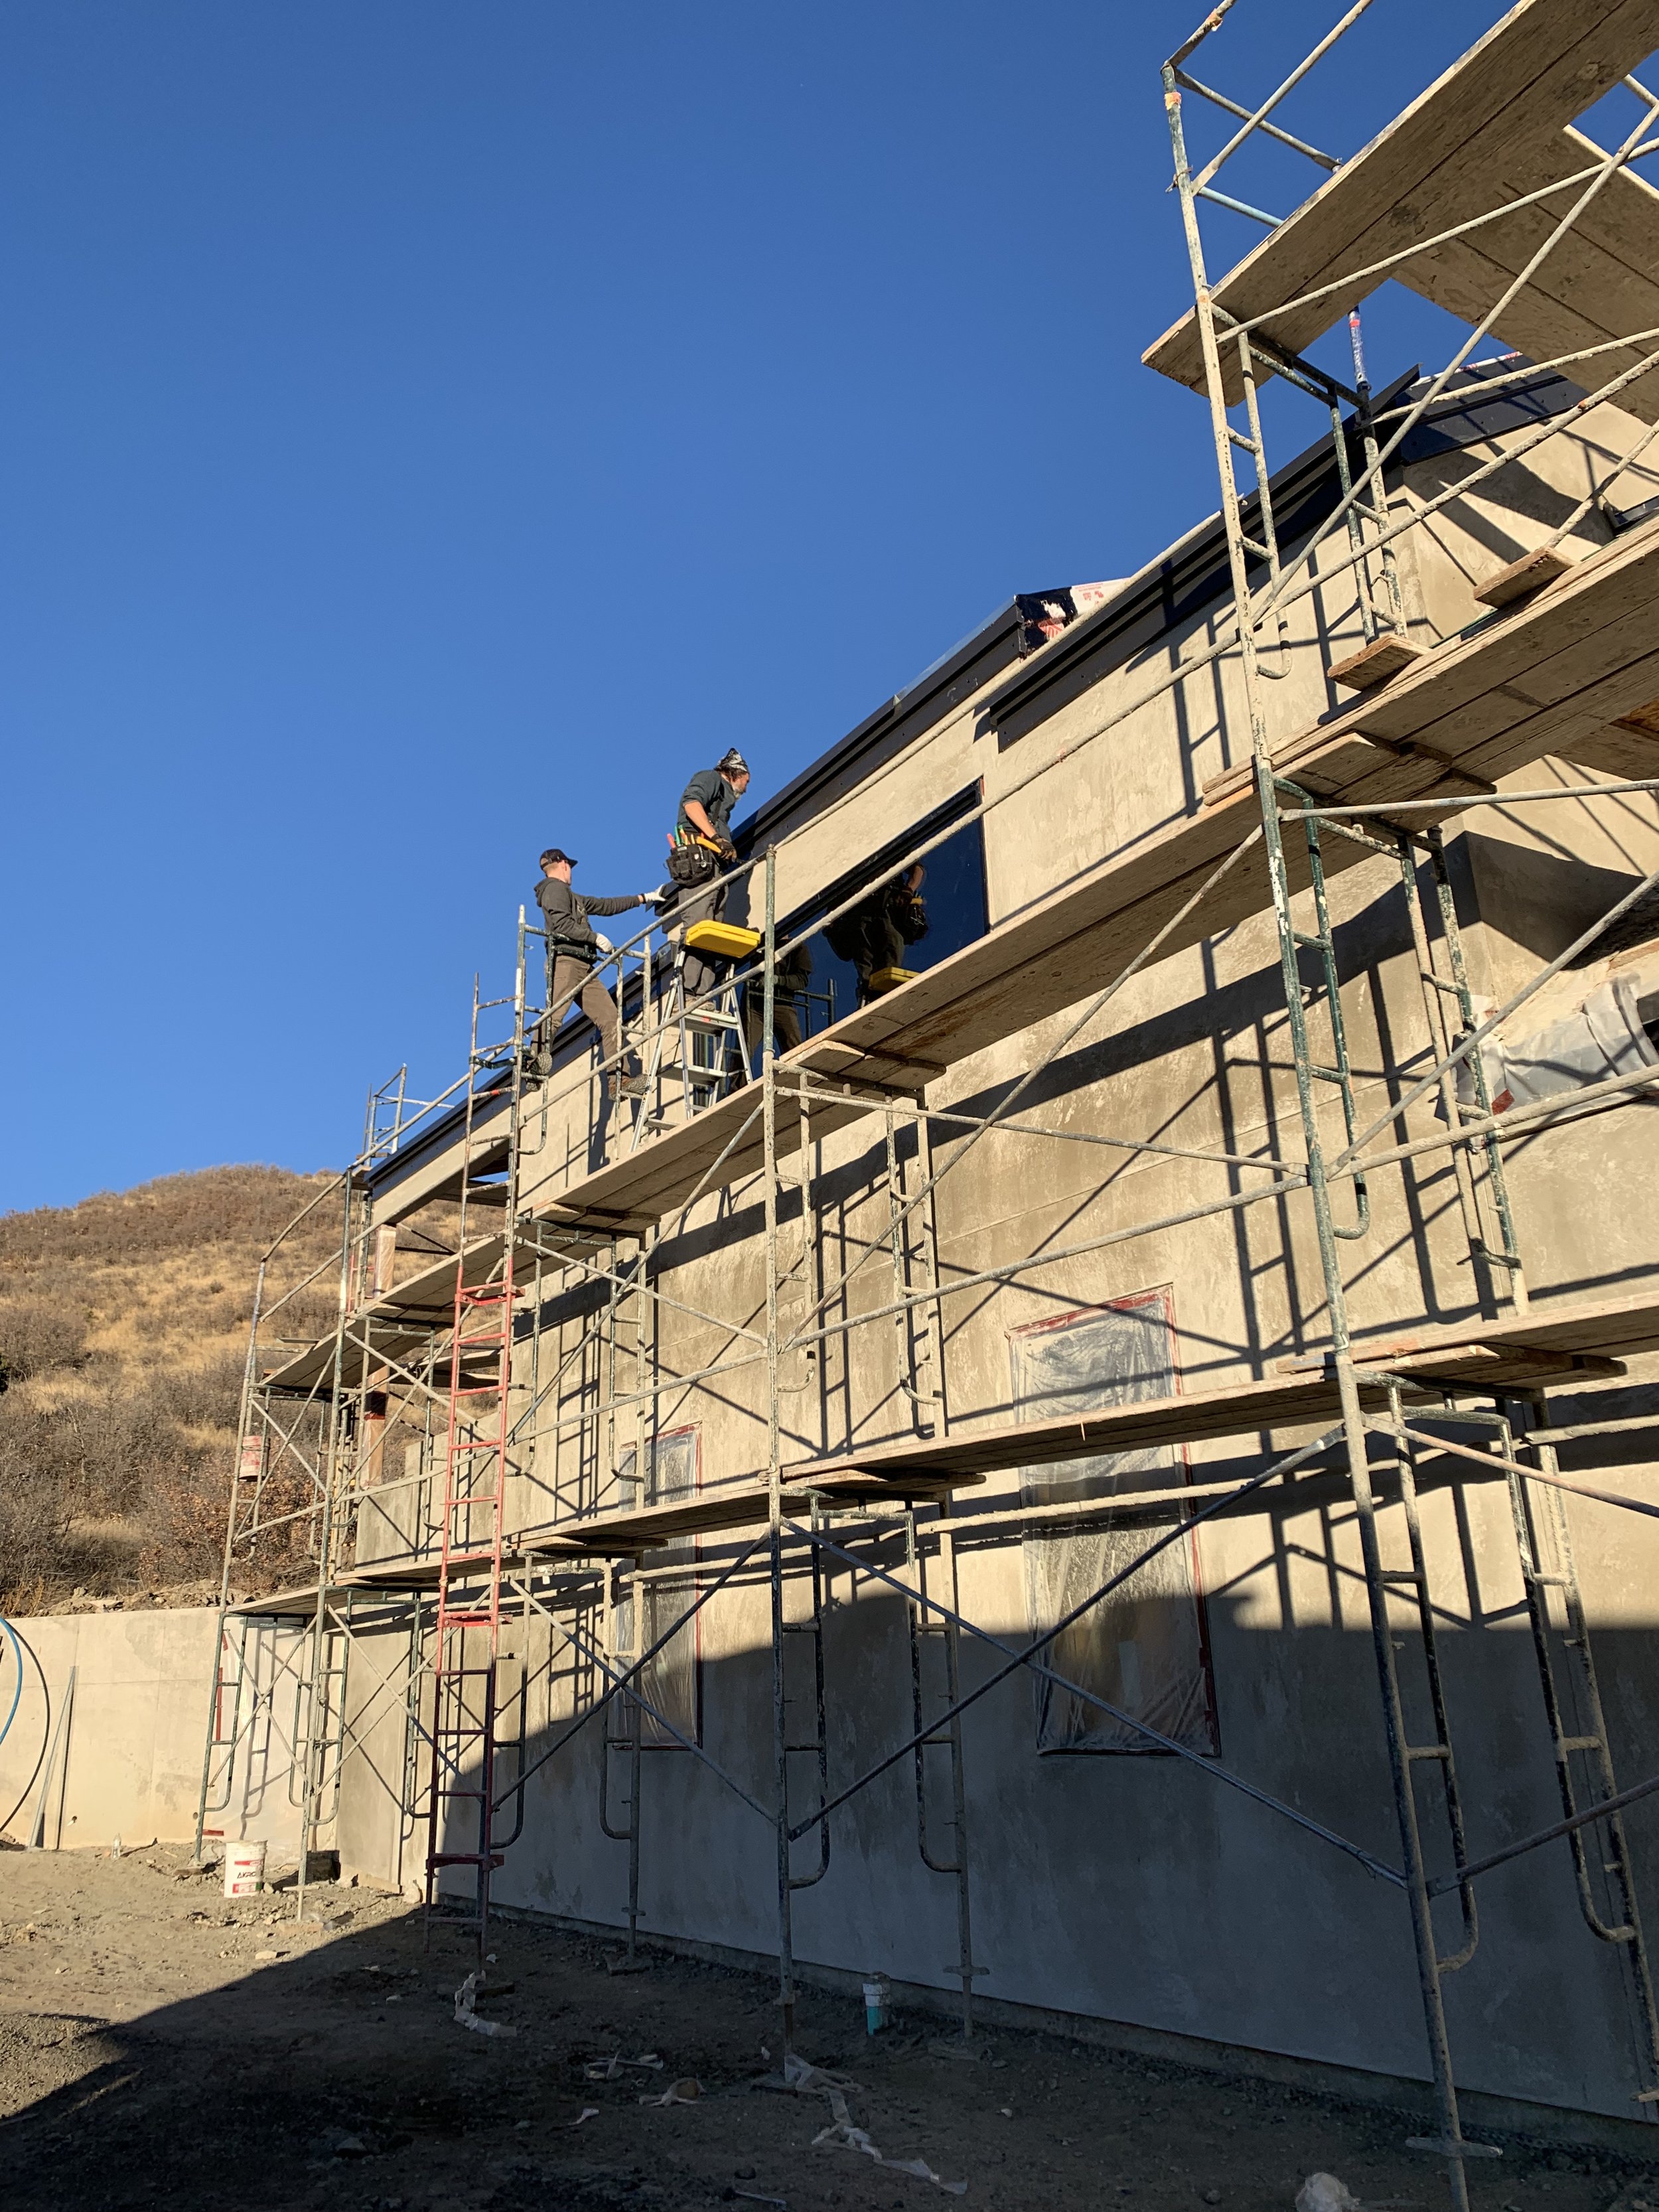
Moving into stucco phase. The guys start working on the fascia while the stucco crew begins putting up their own wrap and chicken wire.

The crew makes quick work of the wrap.

A view from the back. Day 1 of stucco prep is complete!

...and winter arrives the next day! This crazy weather will certainly slow our progress. Kris at least gets to try his plow out for the first time!
Once the snow melts, the crew is back at it! More wrap and chicken wire.
The stucco prep is completed on the garage side!
...and completed on the back side.
...and the deck area is ready!

The guys continue to work on the fascia when the stucco crew takes a break. It gets a bit crowded up there!
...and the fascia is complete! Looks so clean and neat!

The sand delivery arrives for the stucco crew.

The rest of the supplies arrive.

This crew is thorough! They draped the worksite so no concrete would land where it shouldn't land!

...or maybe they think we have termites?? Ha!

The full crew arrives and they're ready to start!
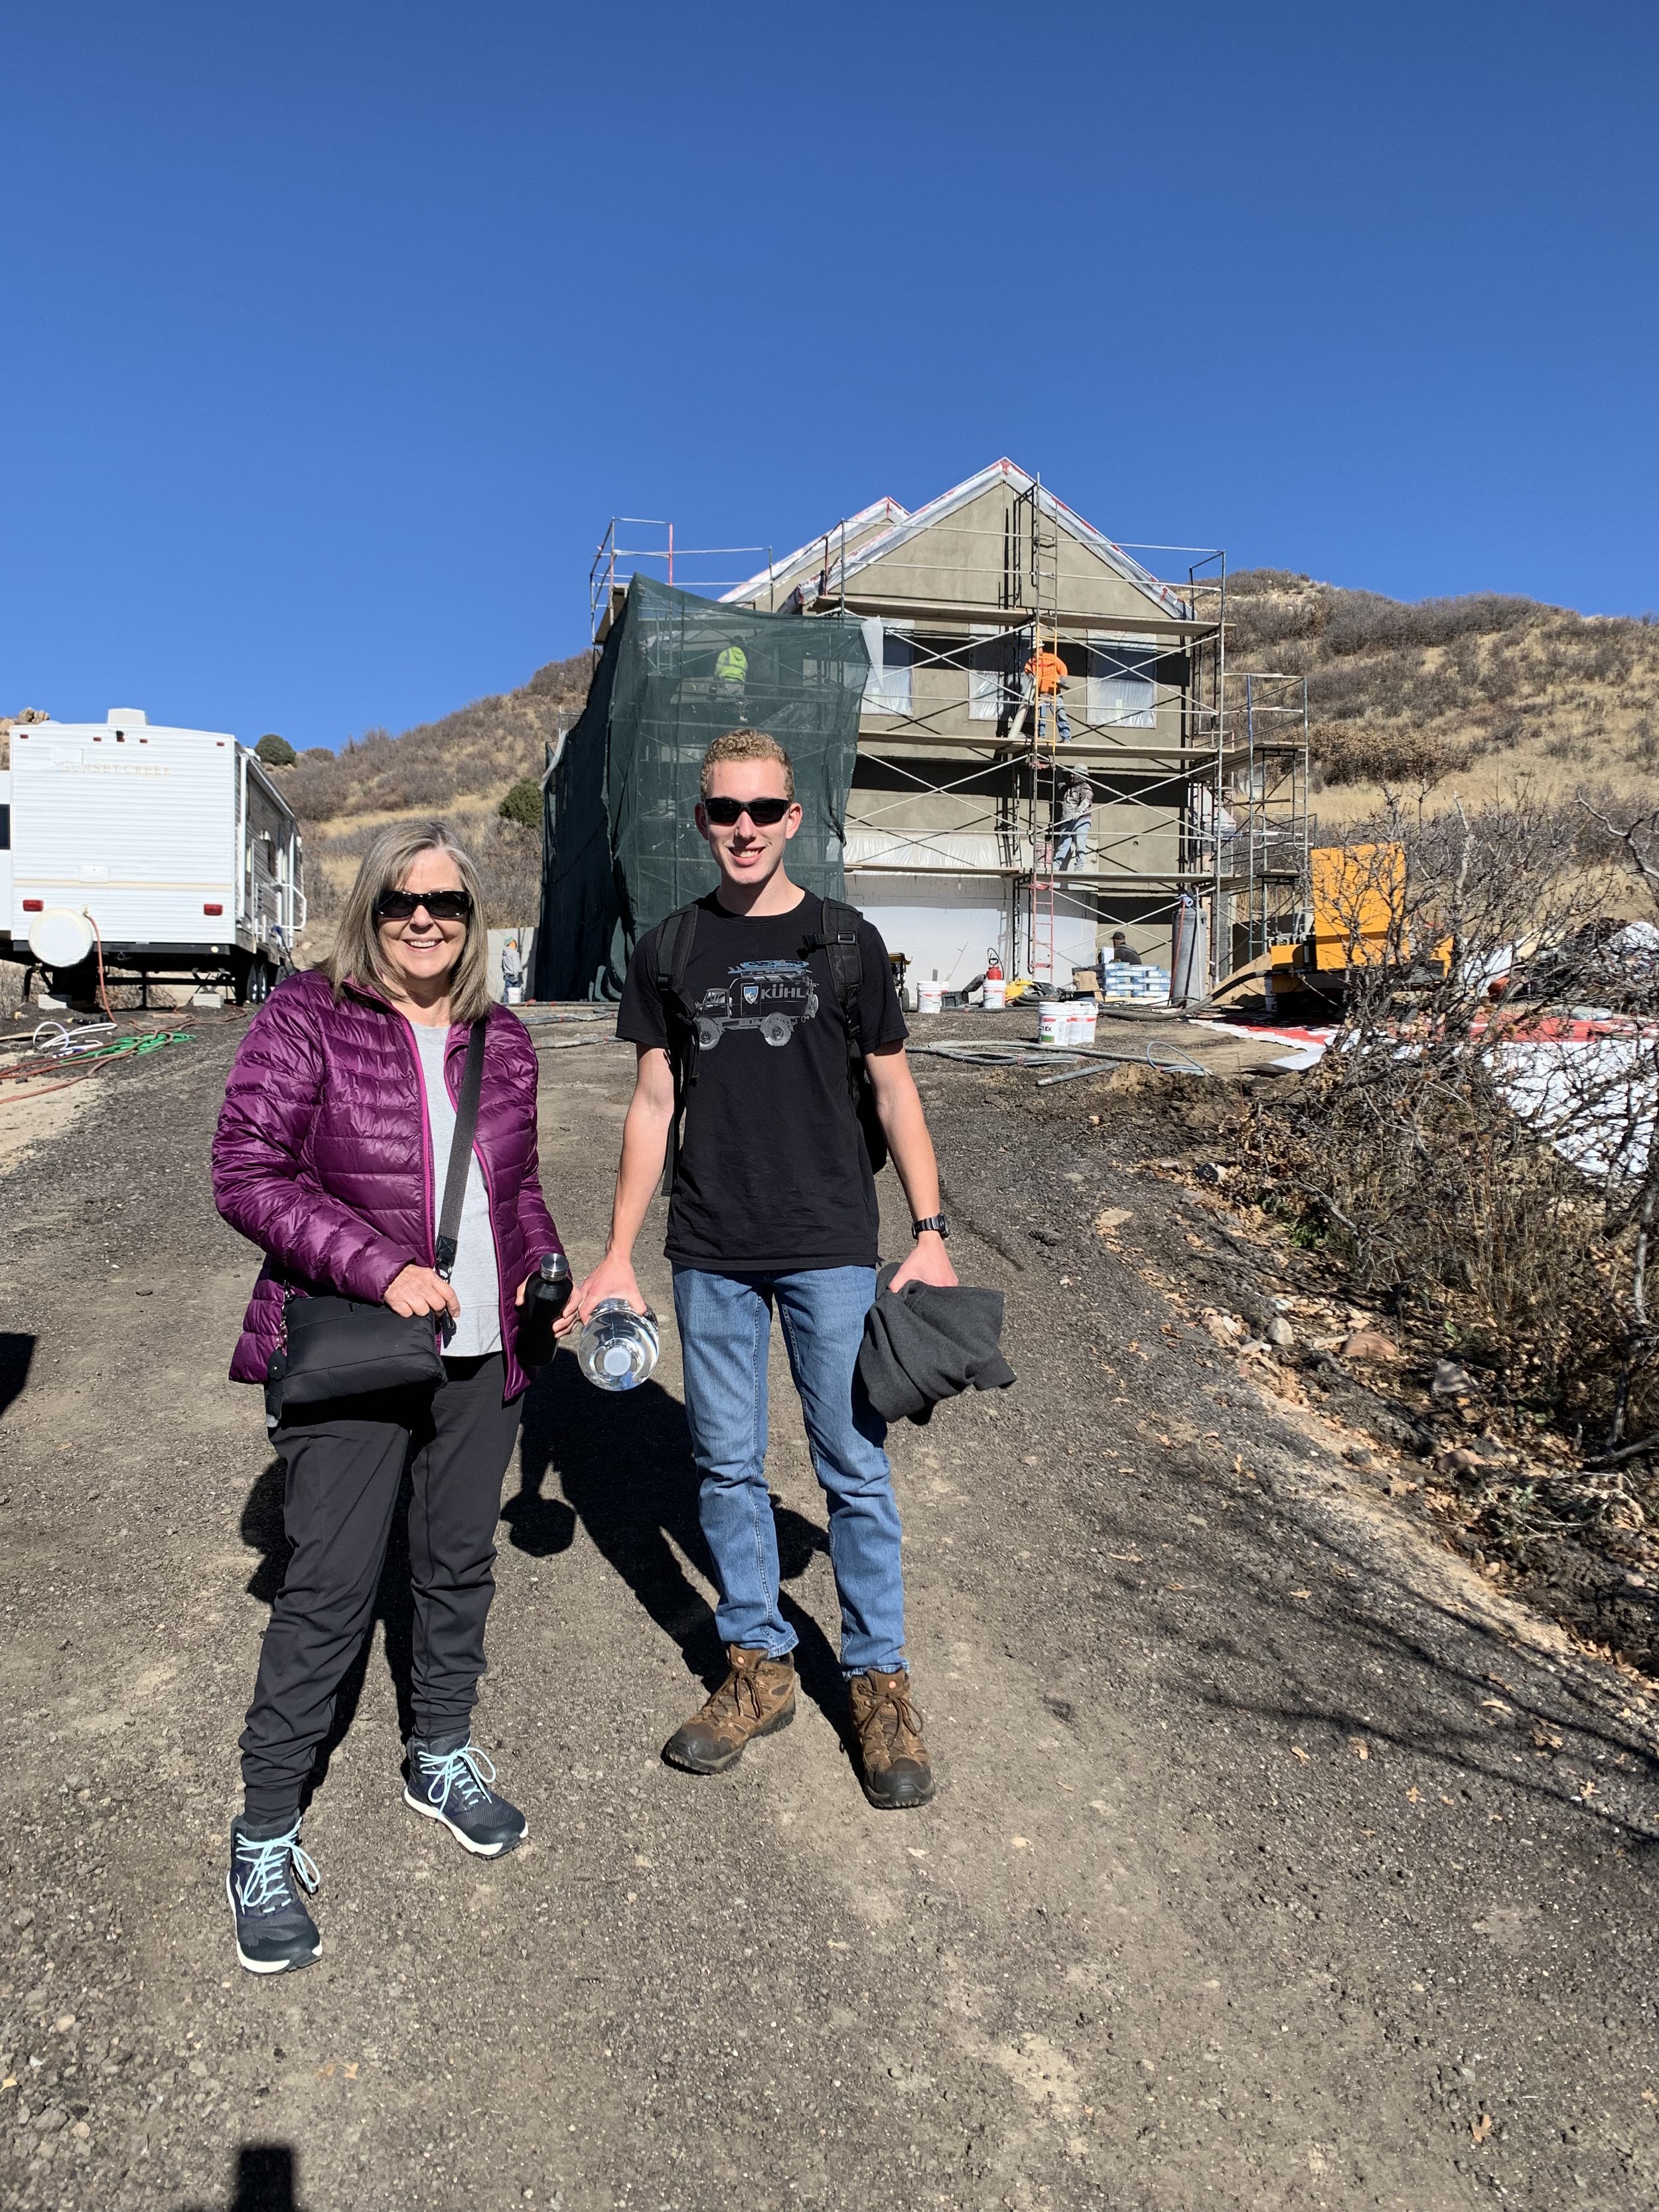
The rest of our family crew arrives too! Yay!

Layer 1 is called the brown coat...for obvious reasons.
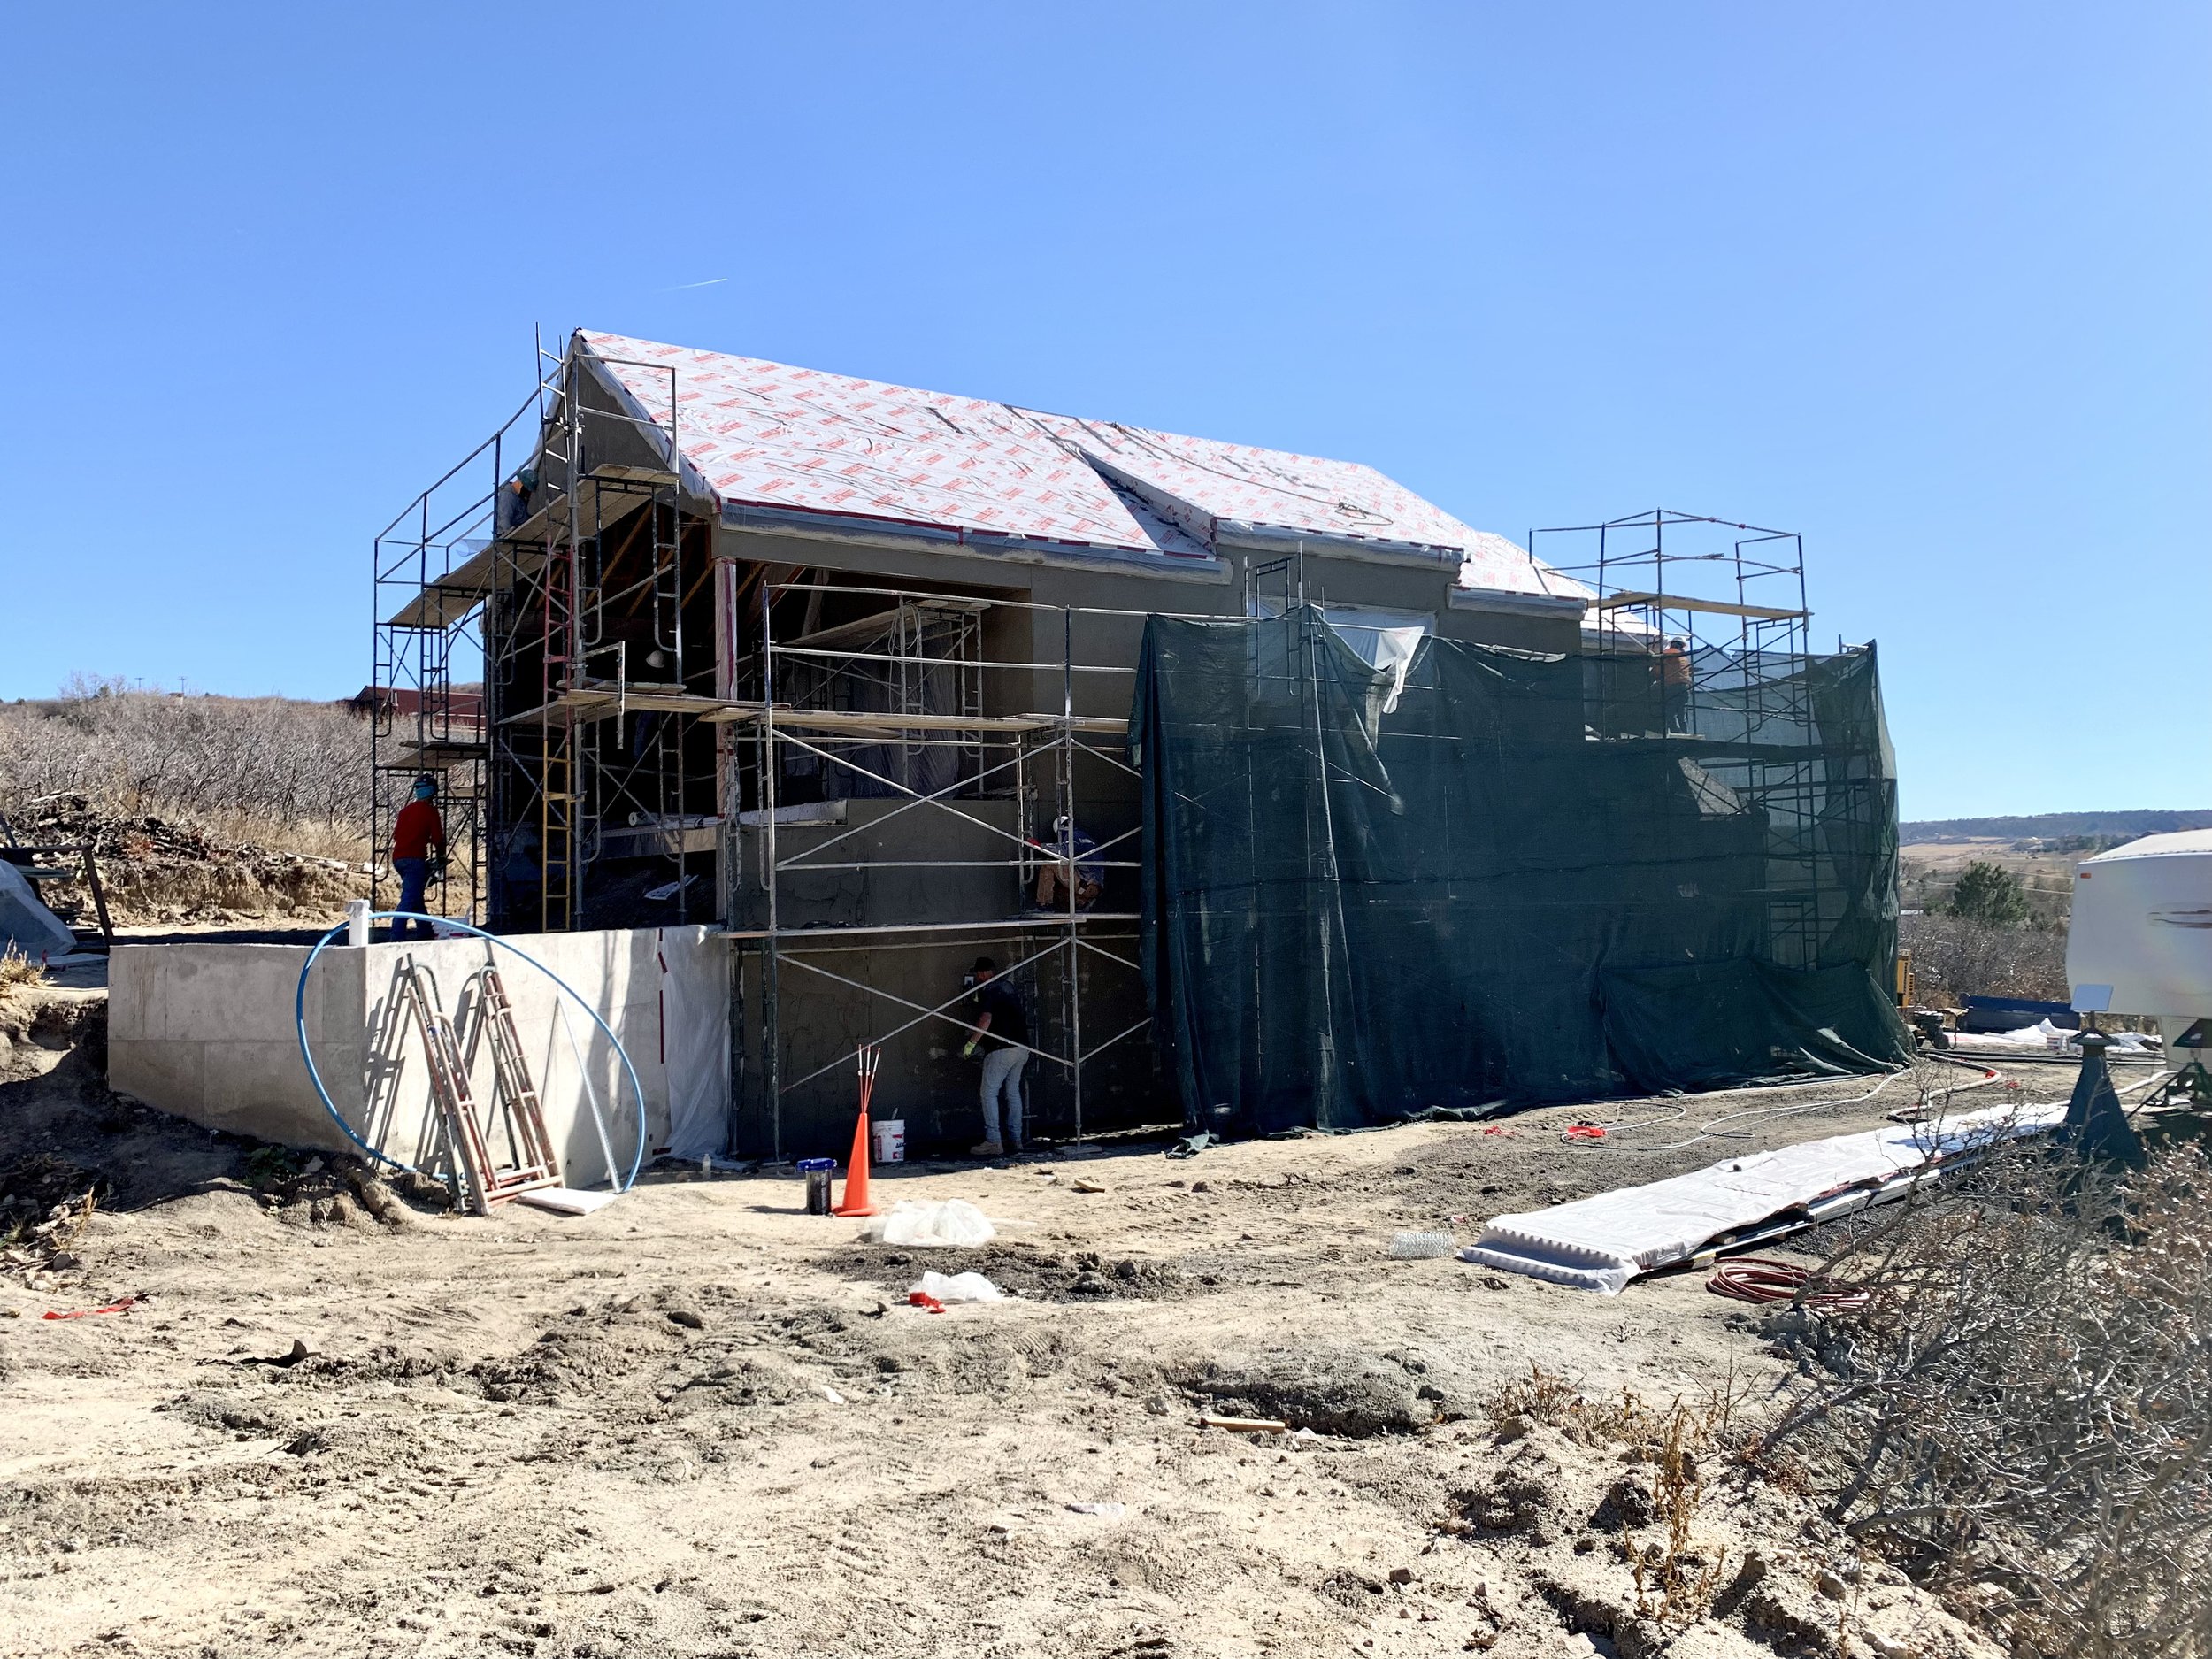
Wasting no time today!

They move around to the back deck area.

This is quite the process to watch! Glad we're watching and not DOING this phase of the house!

A close up view of the brown coat.

Moving right along to the back.

They're just about done!

...and the brown coat is officially done!

This is really starting to look like a house now!

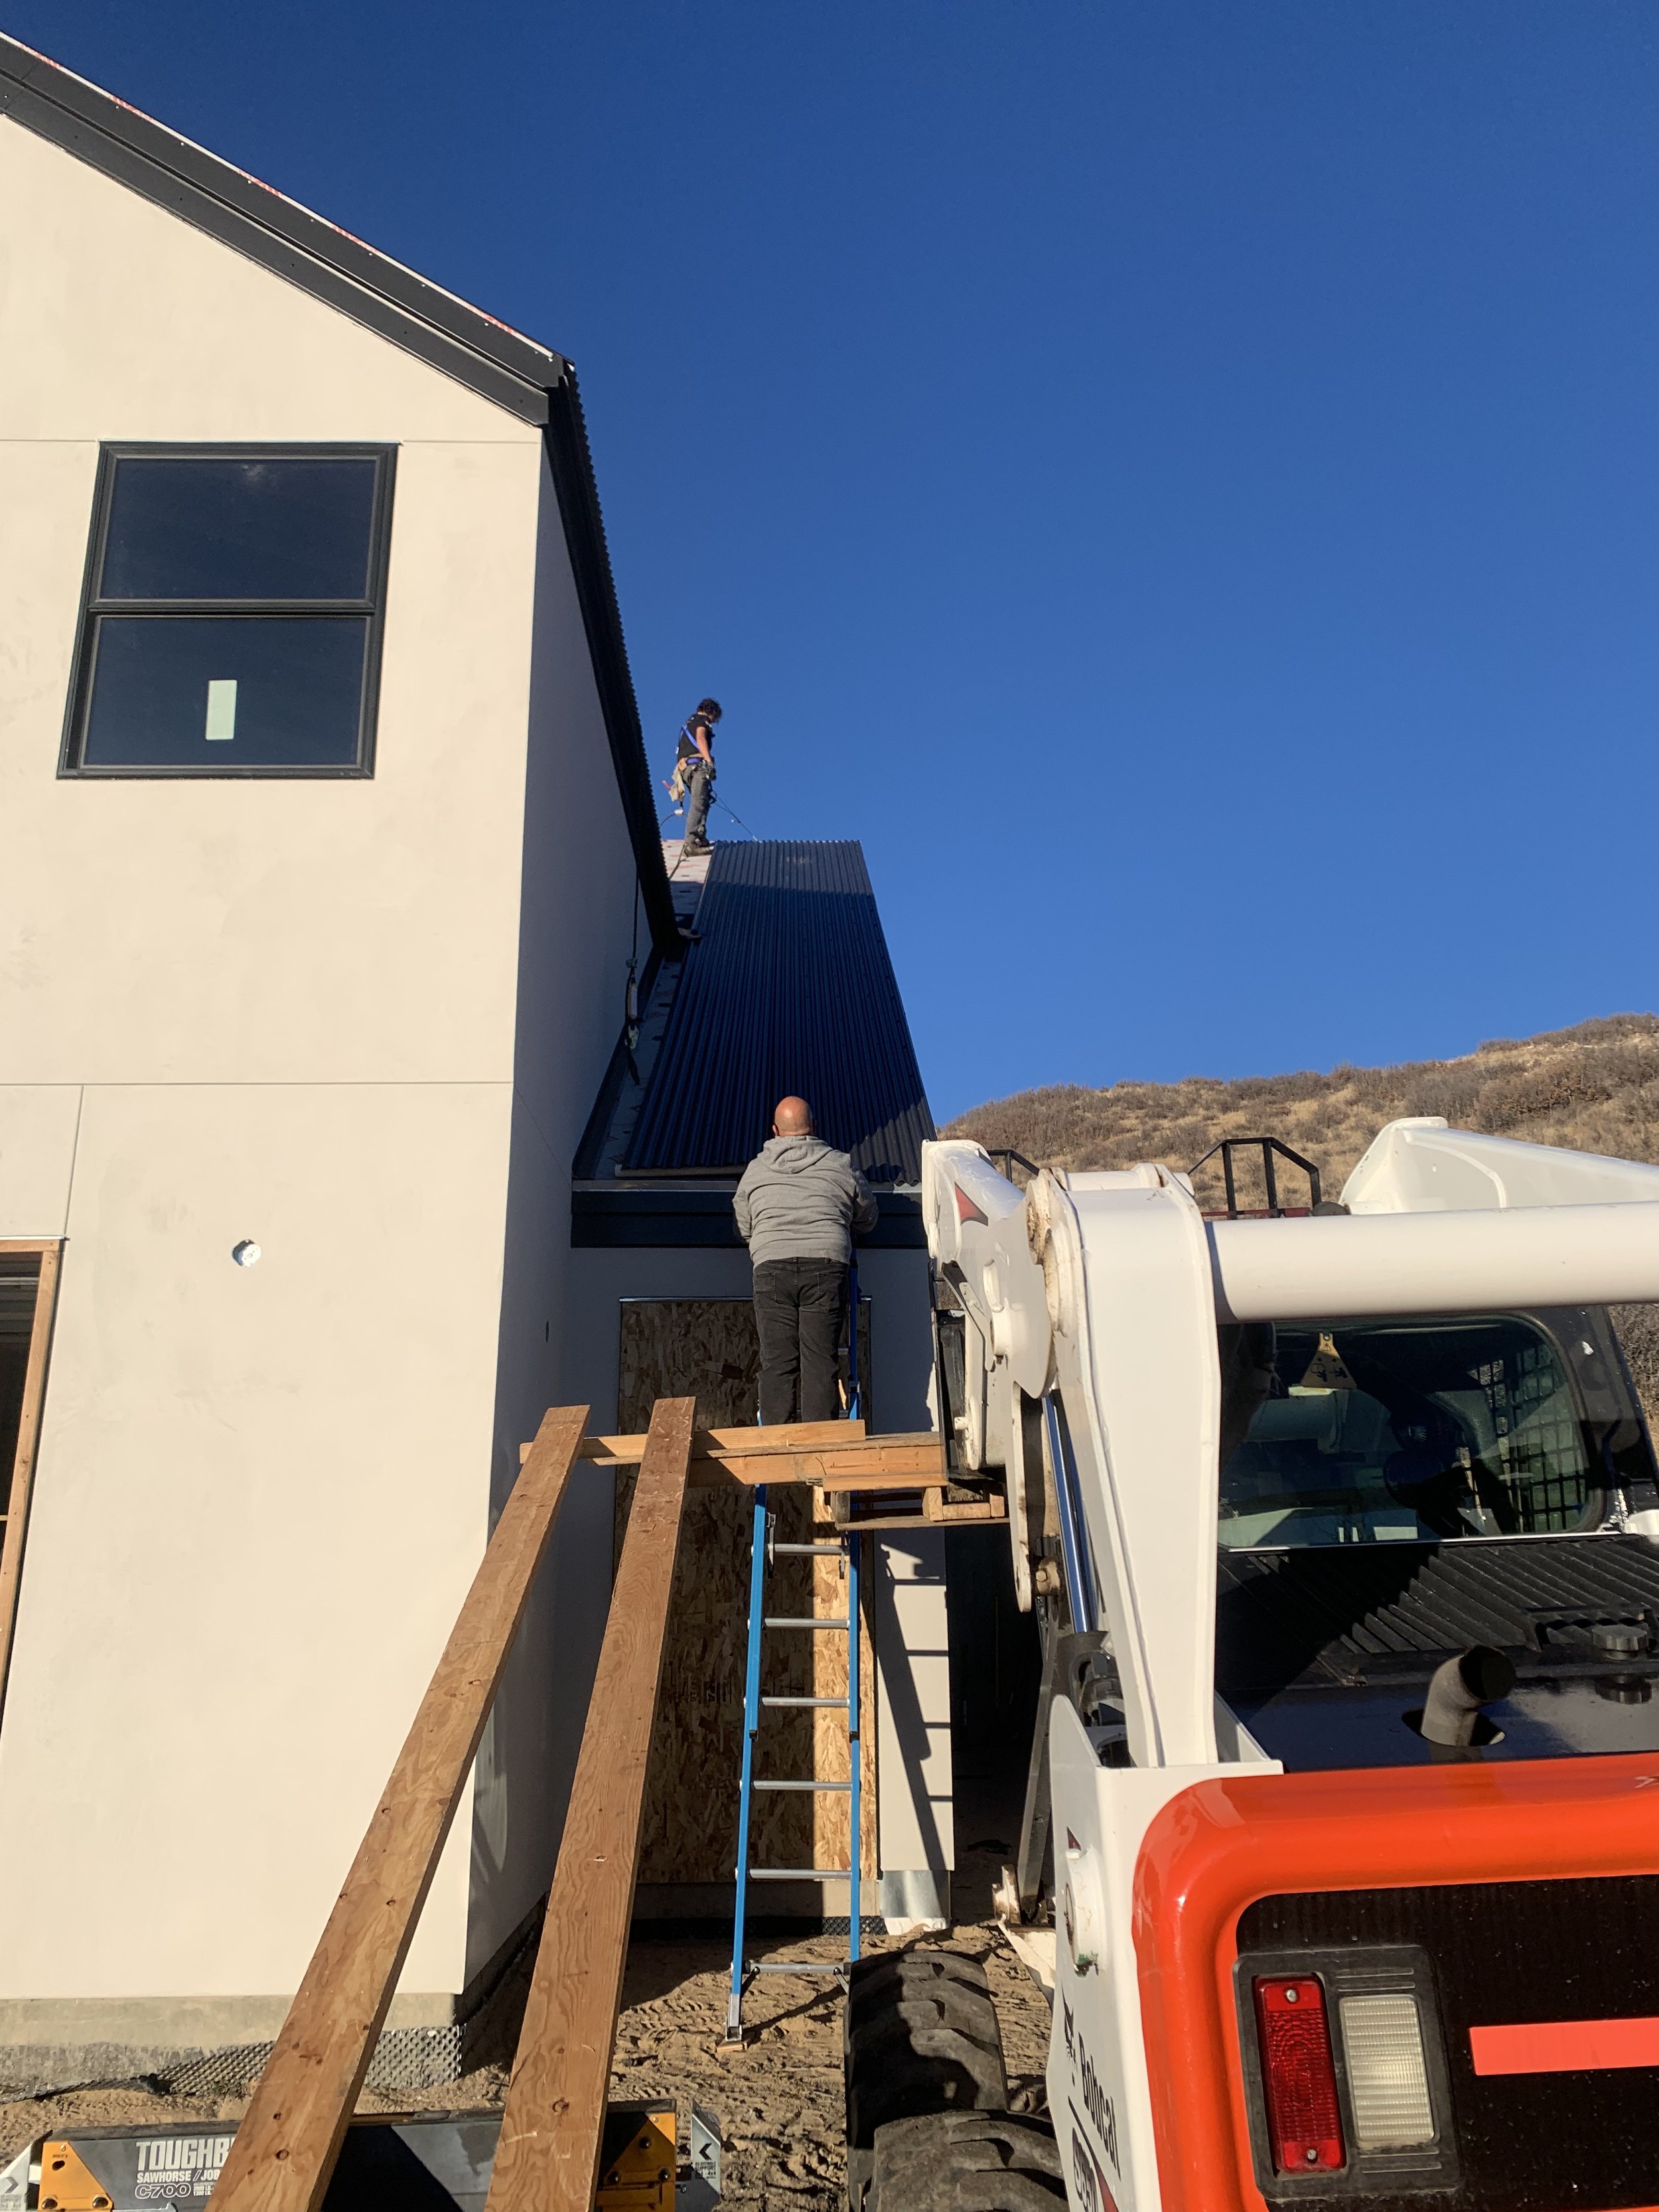
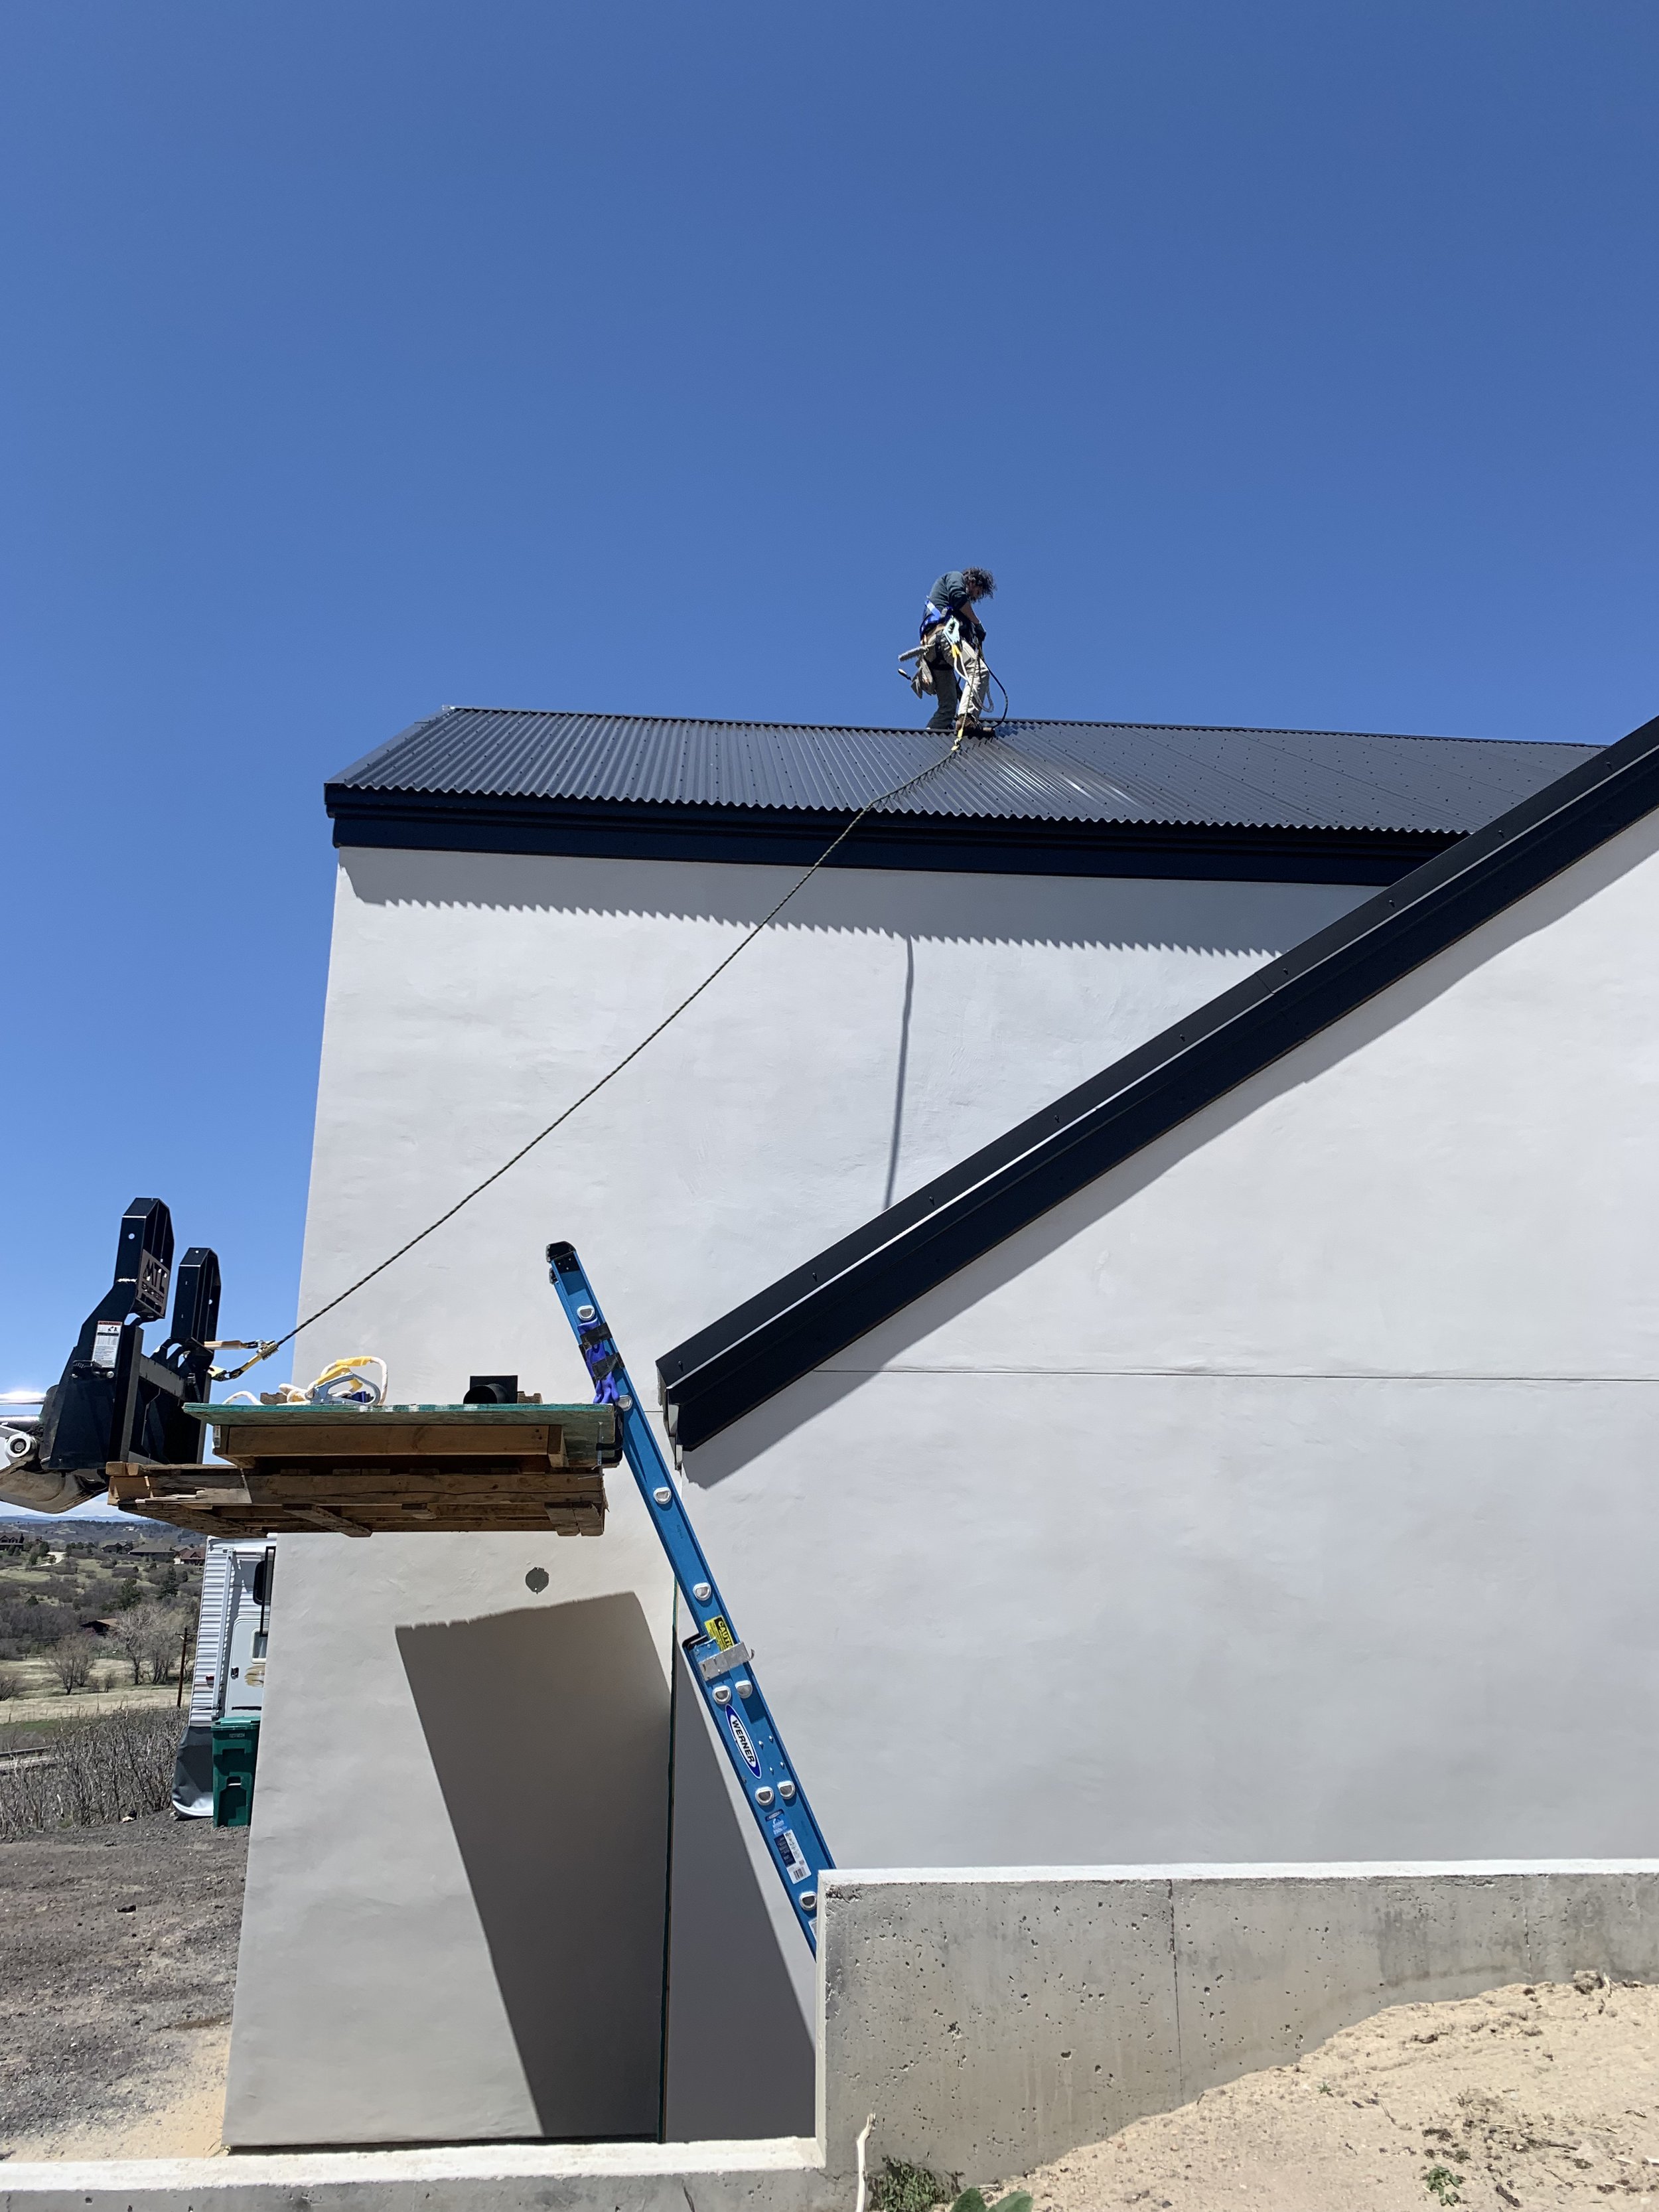
While we wait for the brown coat to dry, the guys start working on the roof. Safety harnesses...check!

Clearly it's a windy day, so those safety harnesses came in handy for the guys!
No fear for these guys. They climb right up!
The first piece is the most critical.

Piece #1 is done and it was a learning experience...in the wind.

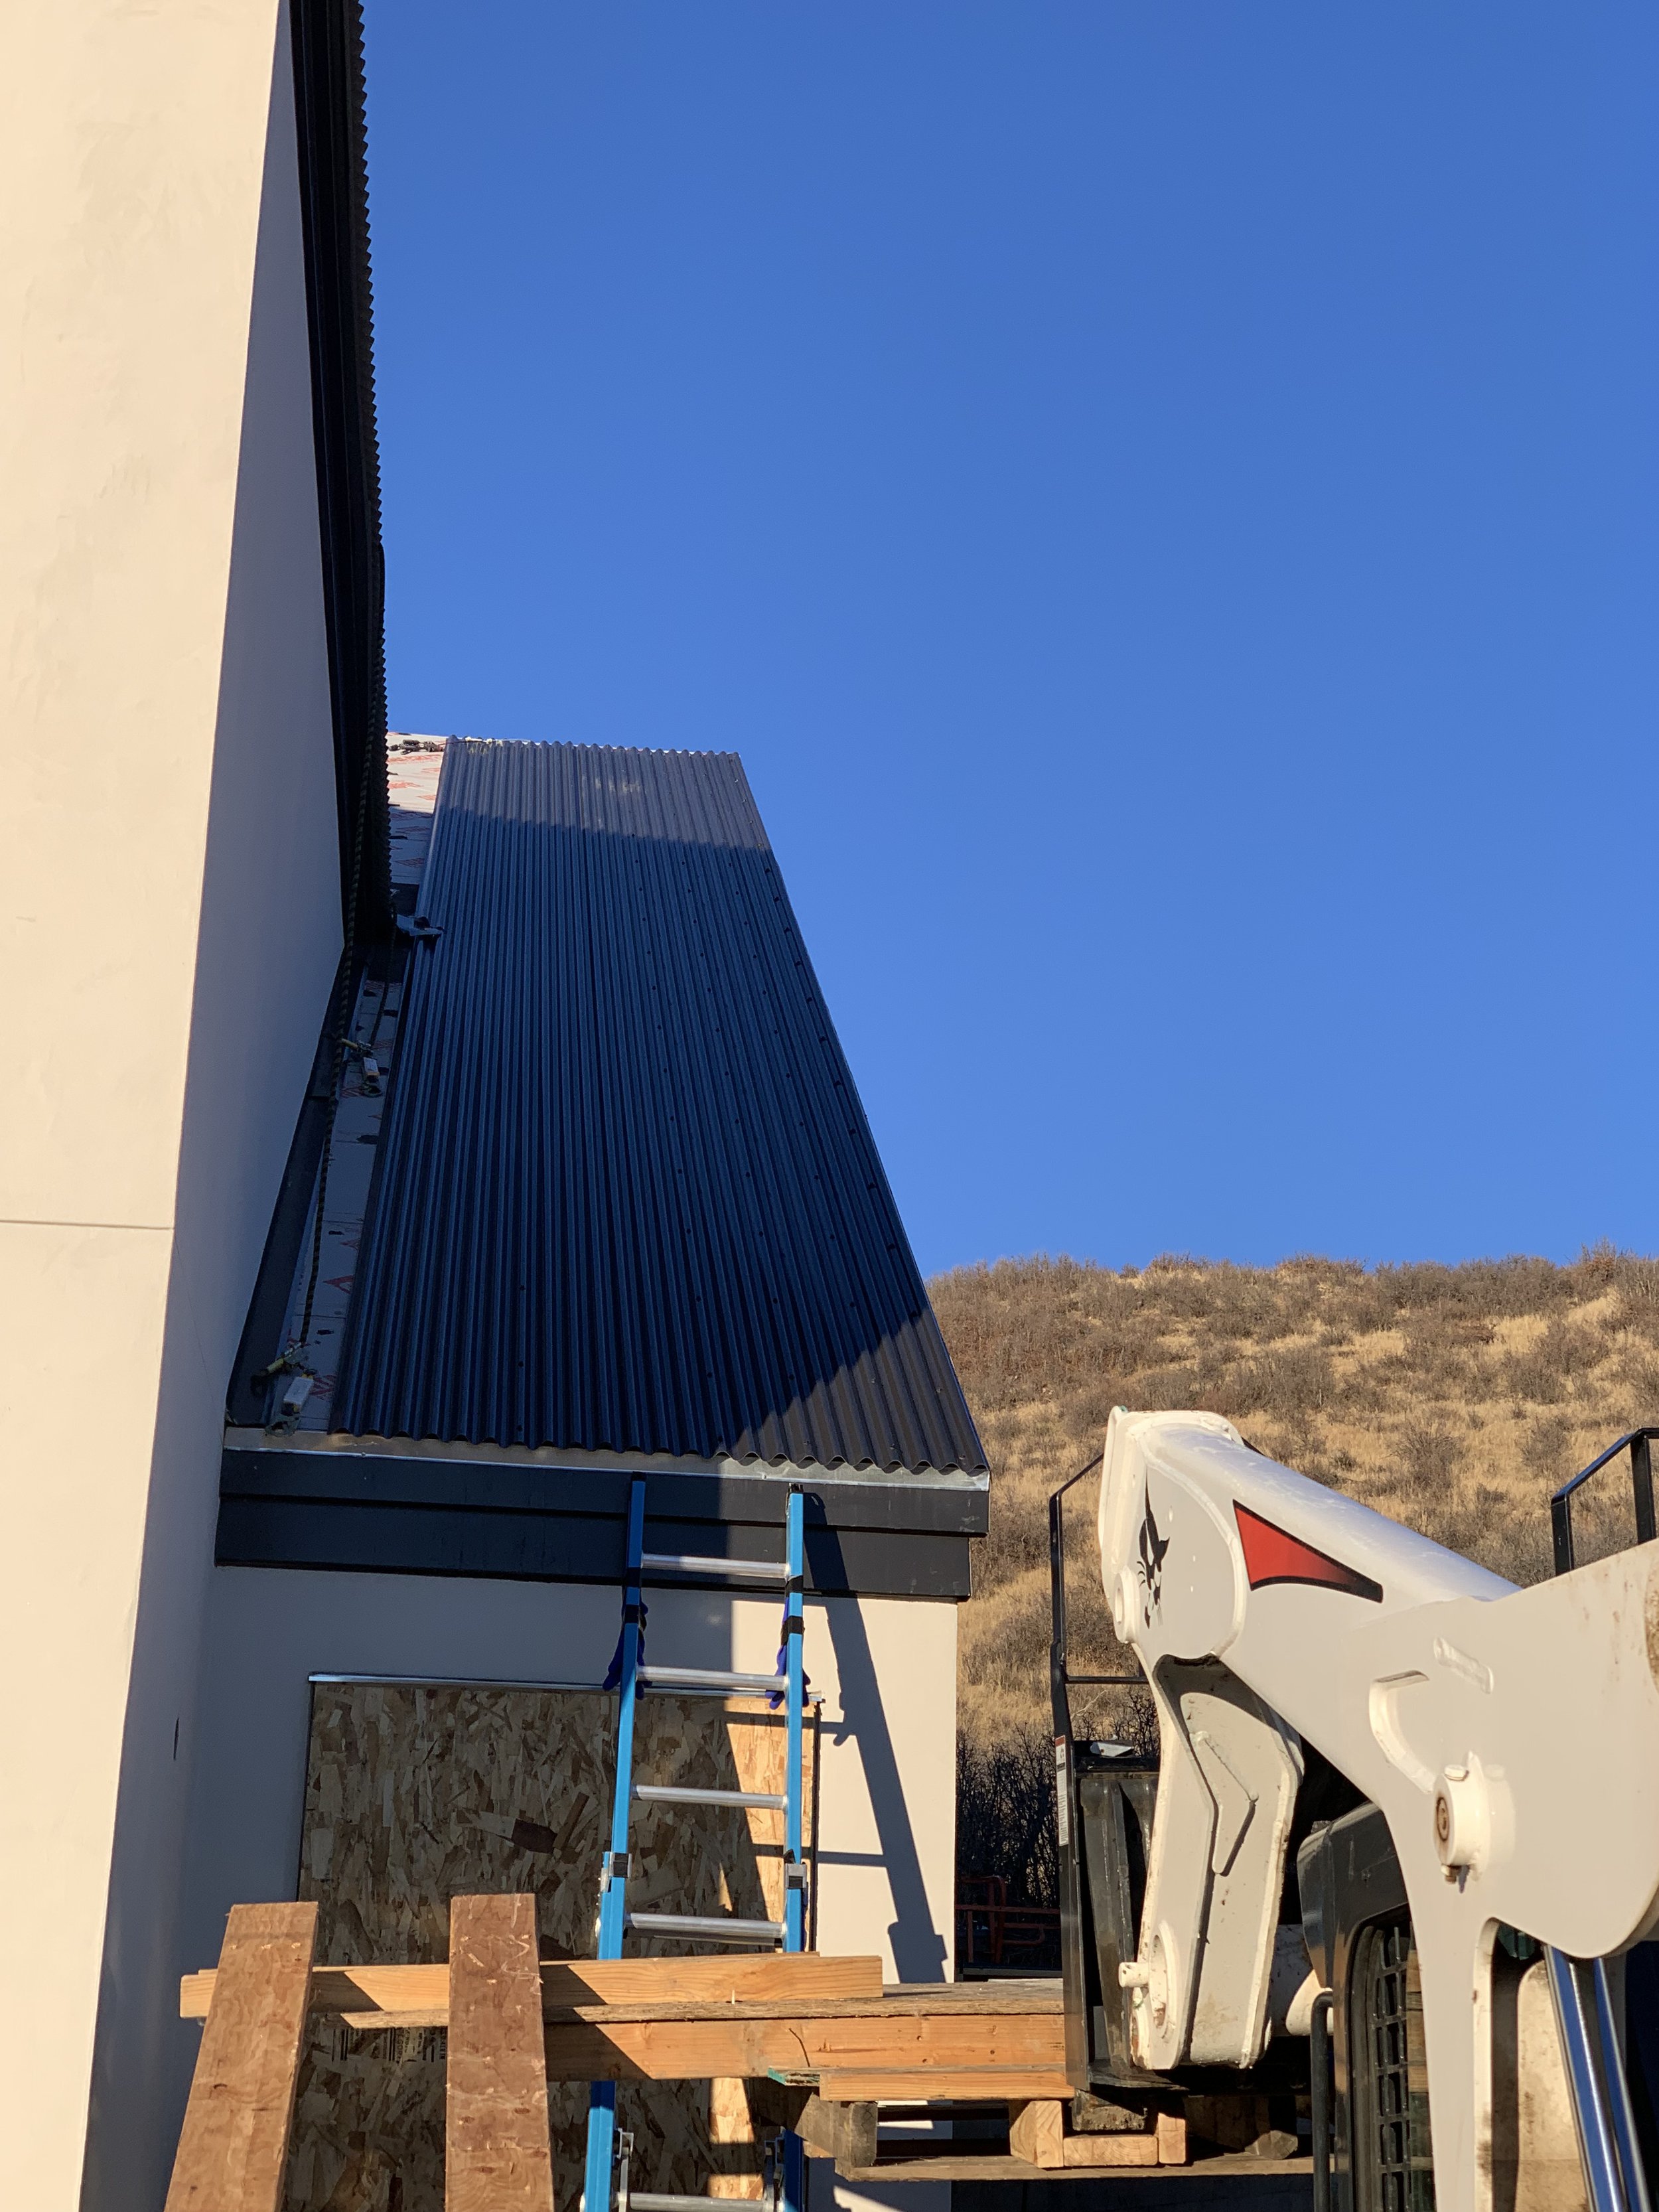
Now they're showing some progress!

Time for the stucco to start back up! We cannot wait to see the final product!

More tarps go up to protect the area from falling concrete. Of course this also covers the progress so we have to just bite our nails waiting.
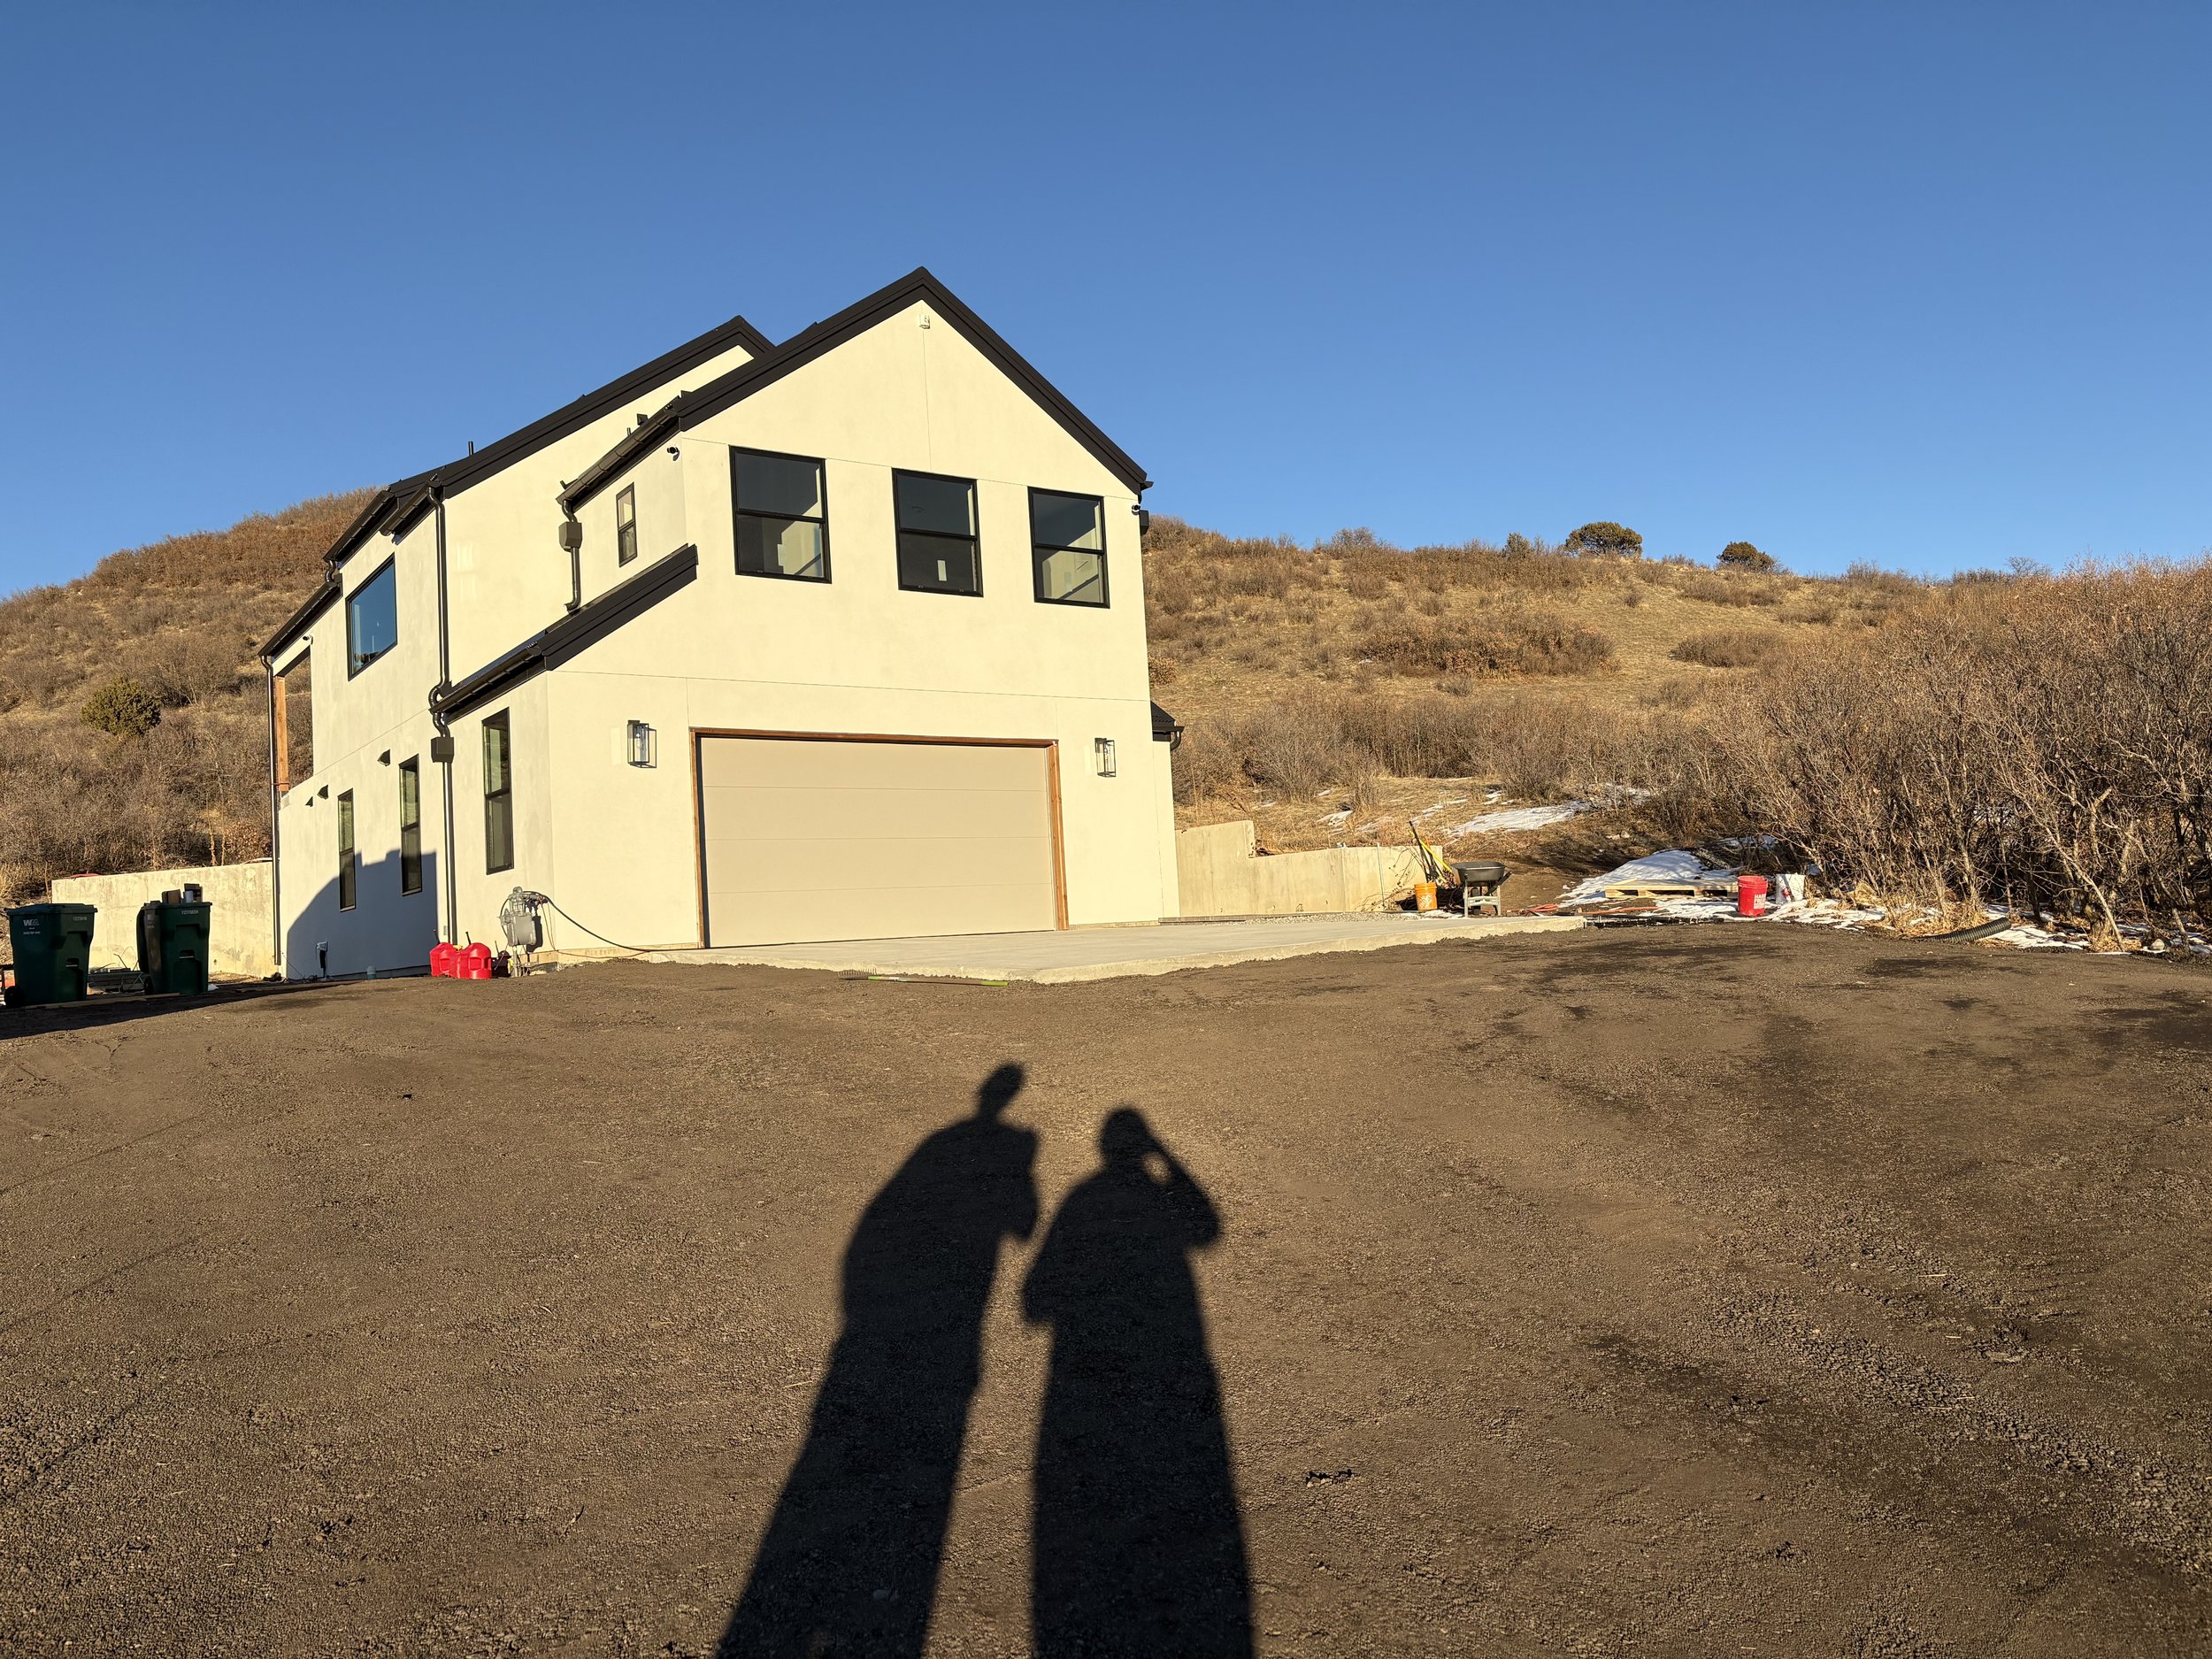
...and the completed front of the house looks amazing!

Taking a step back for a different view. Check out the sunset in the master bedroom windows!
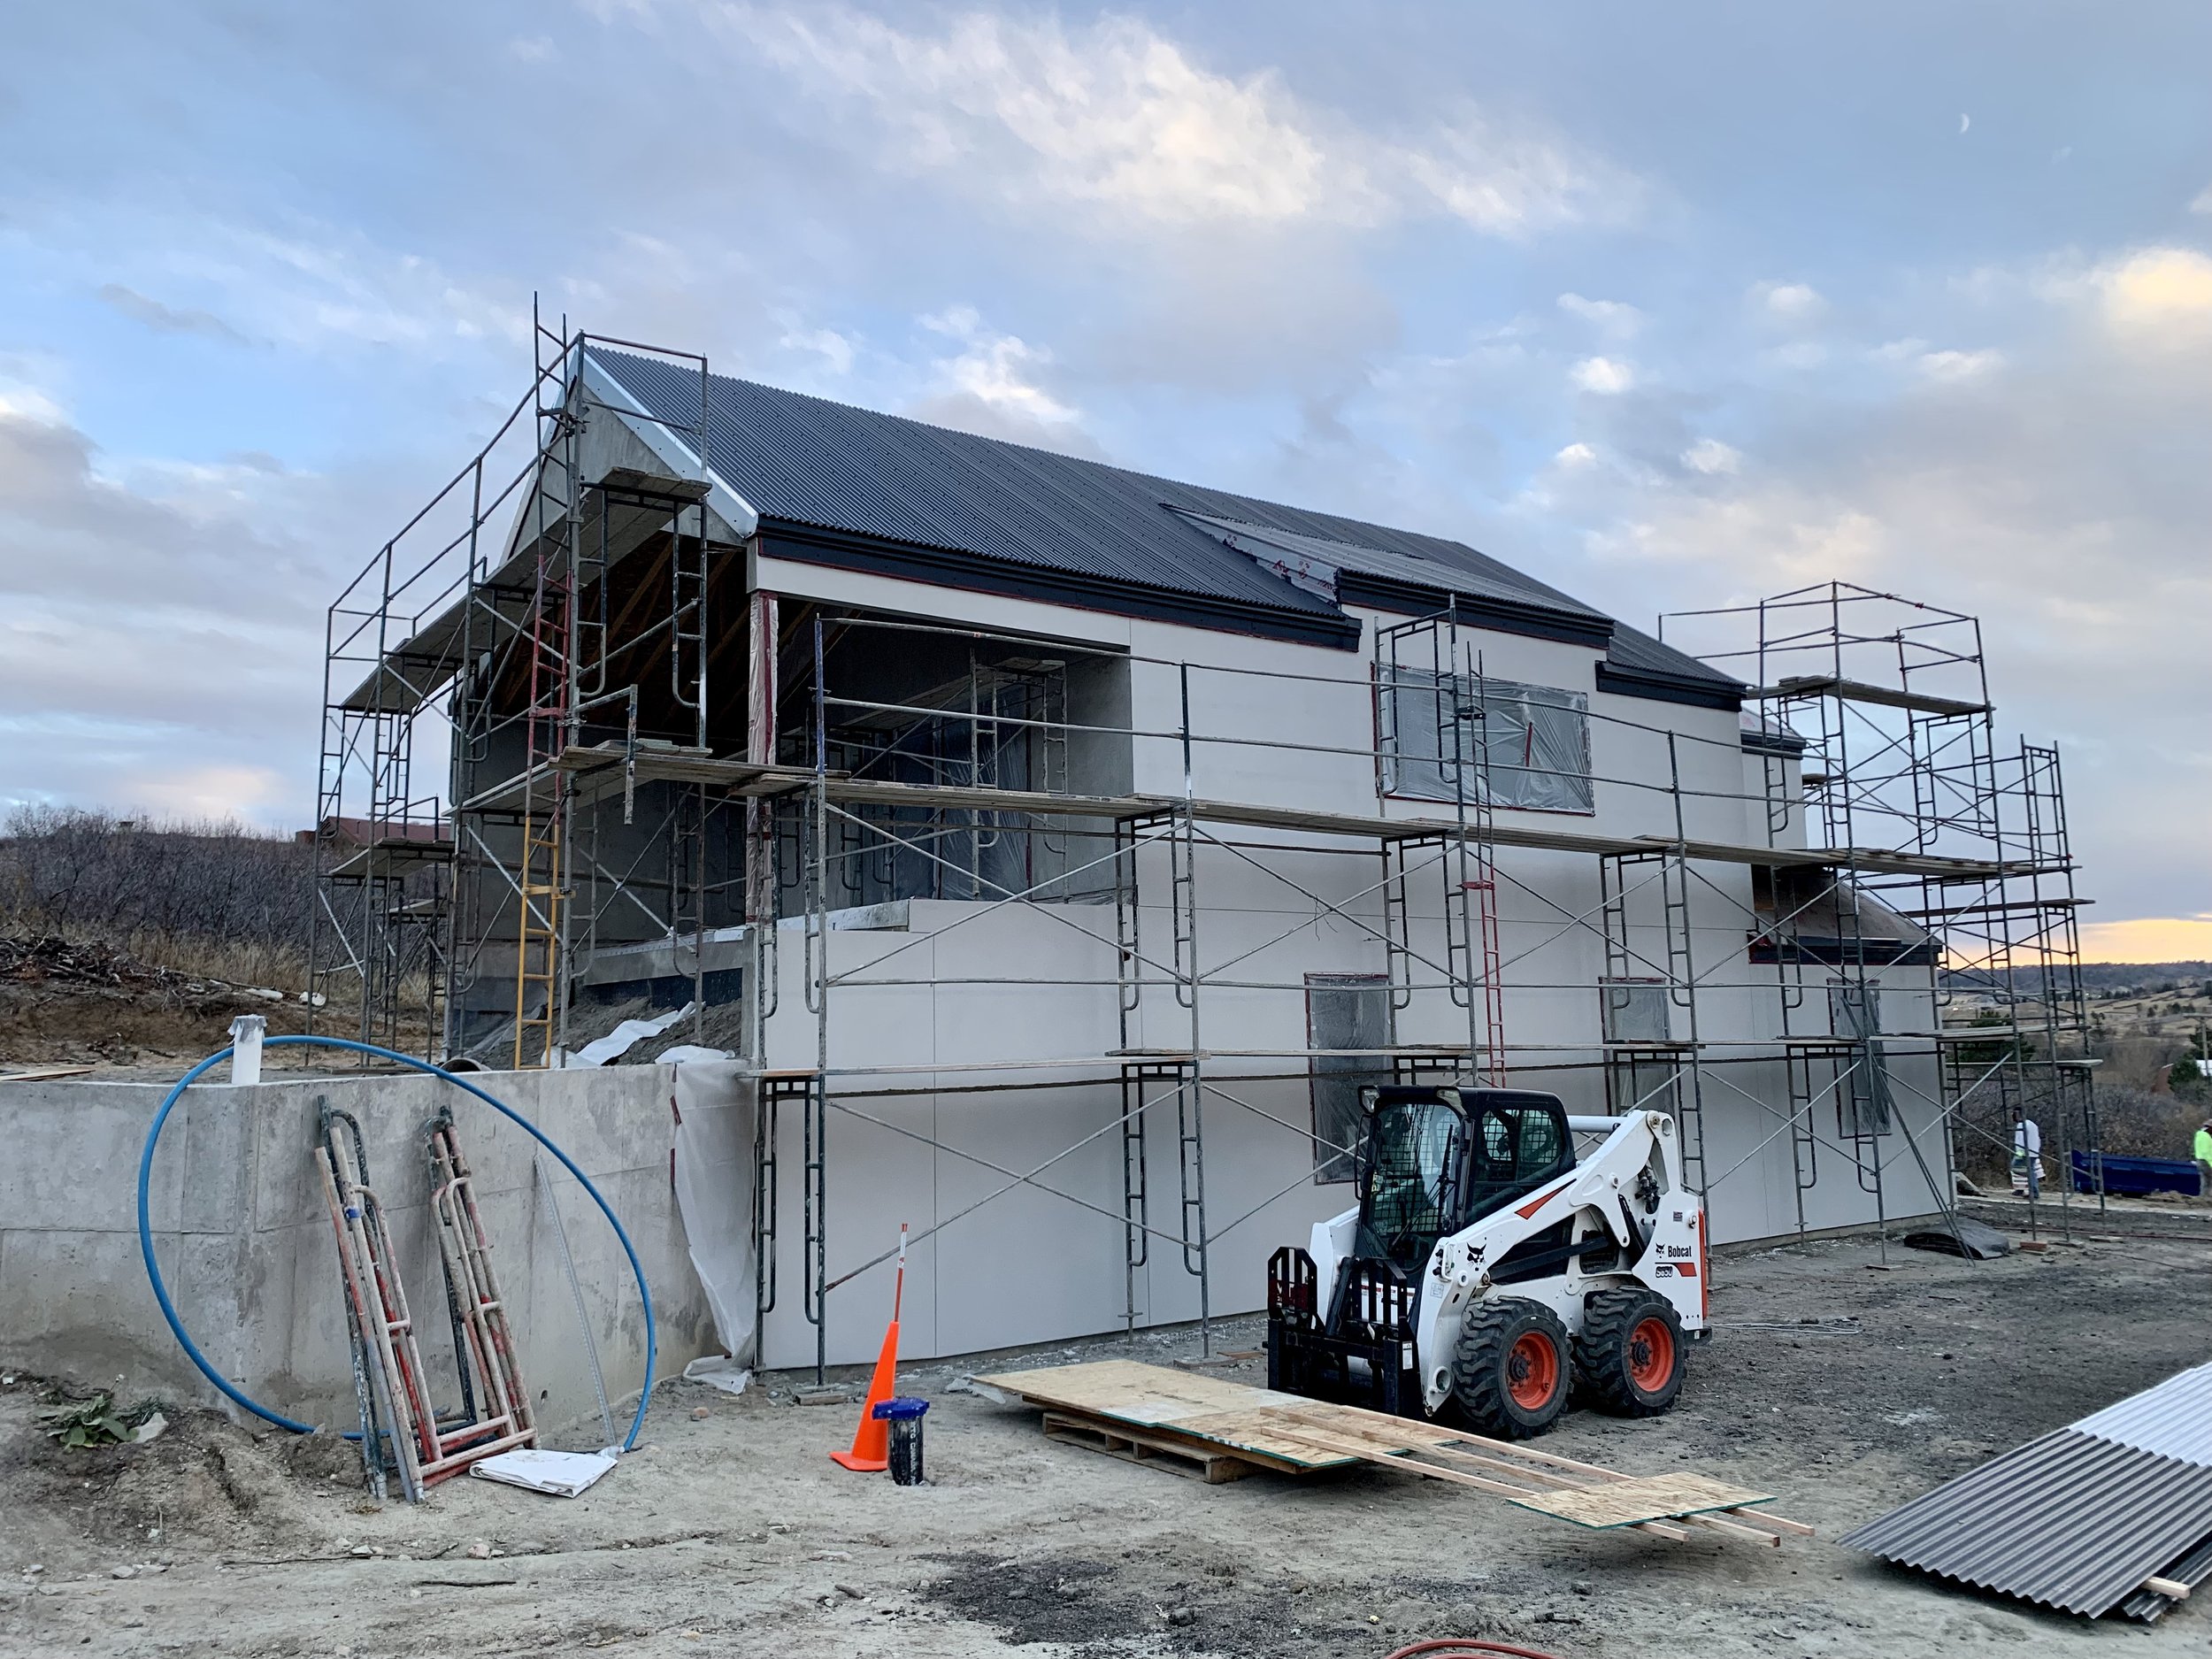
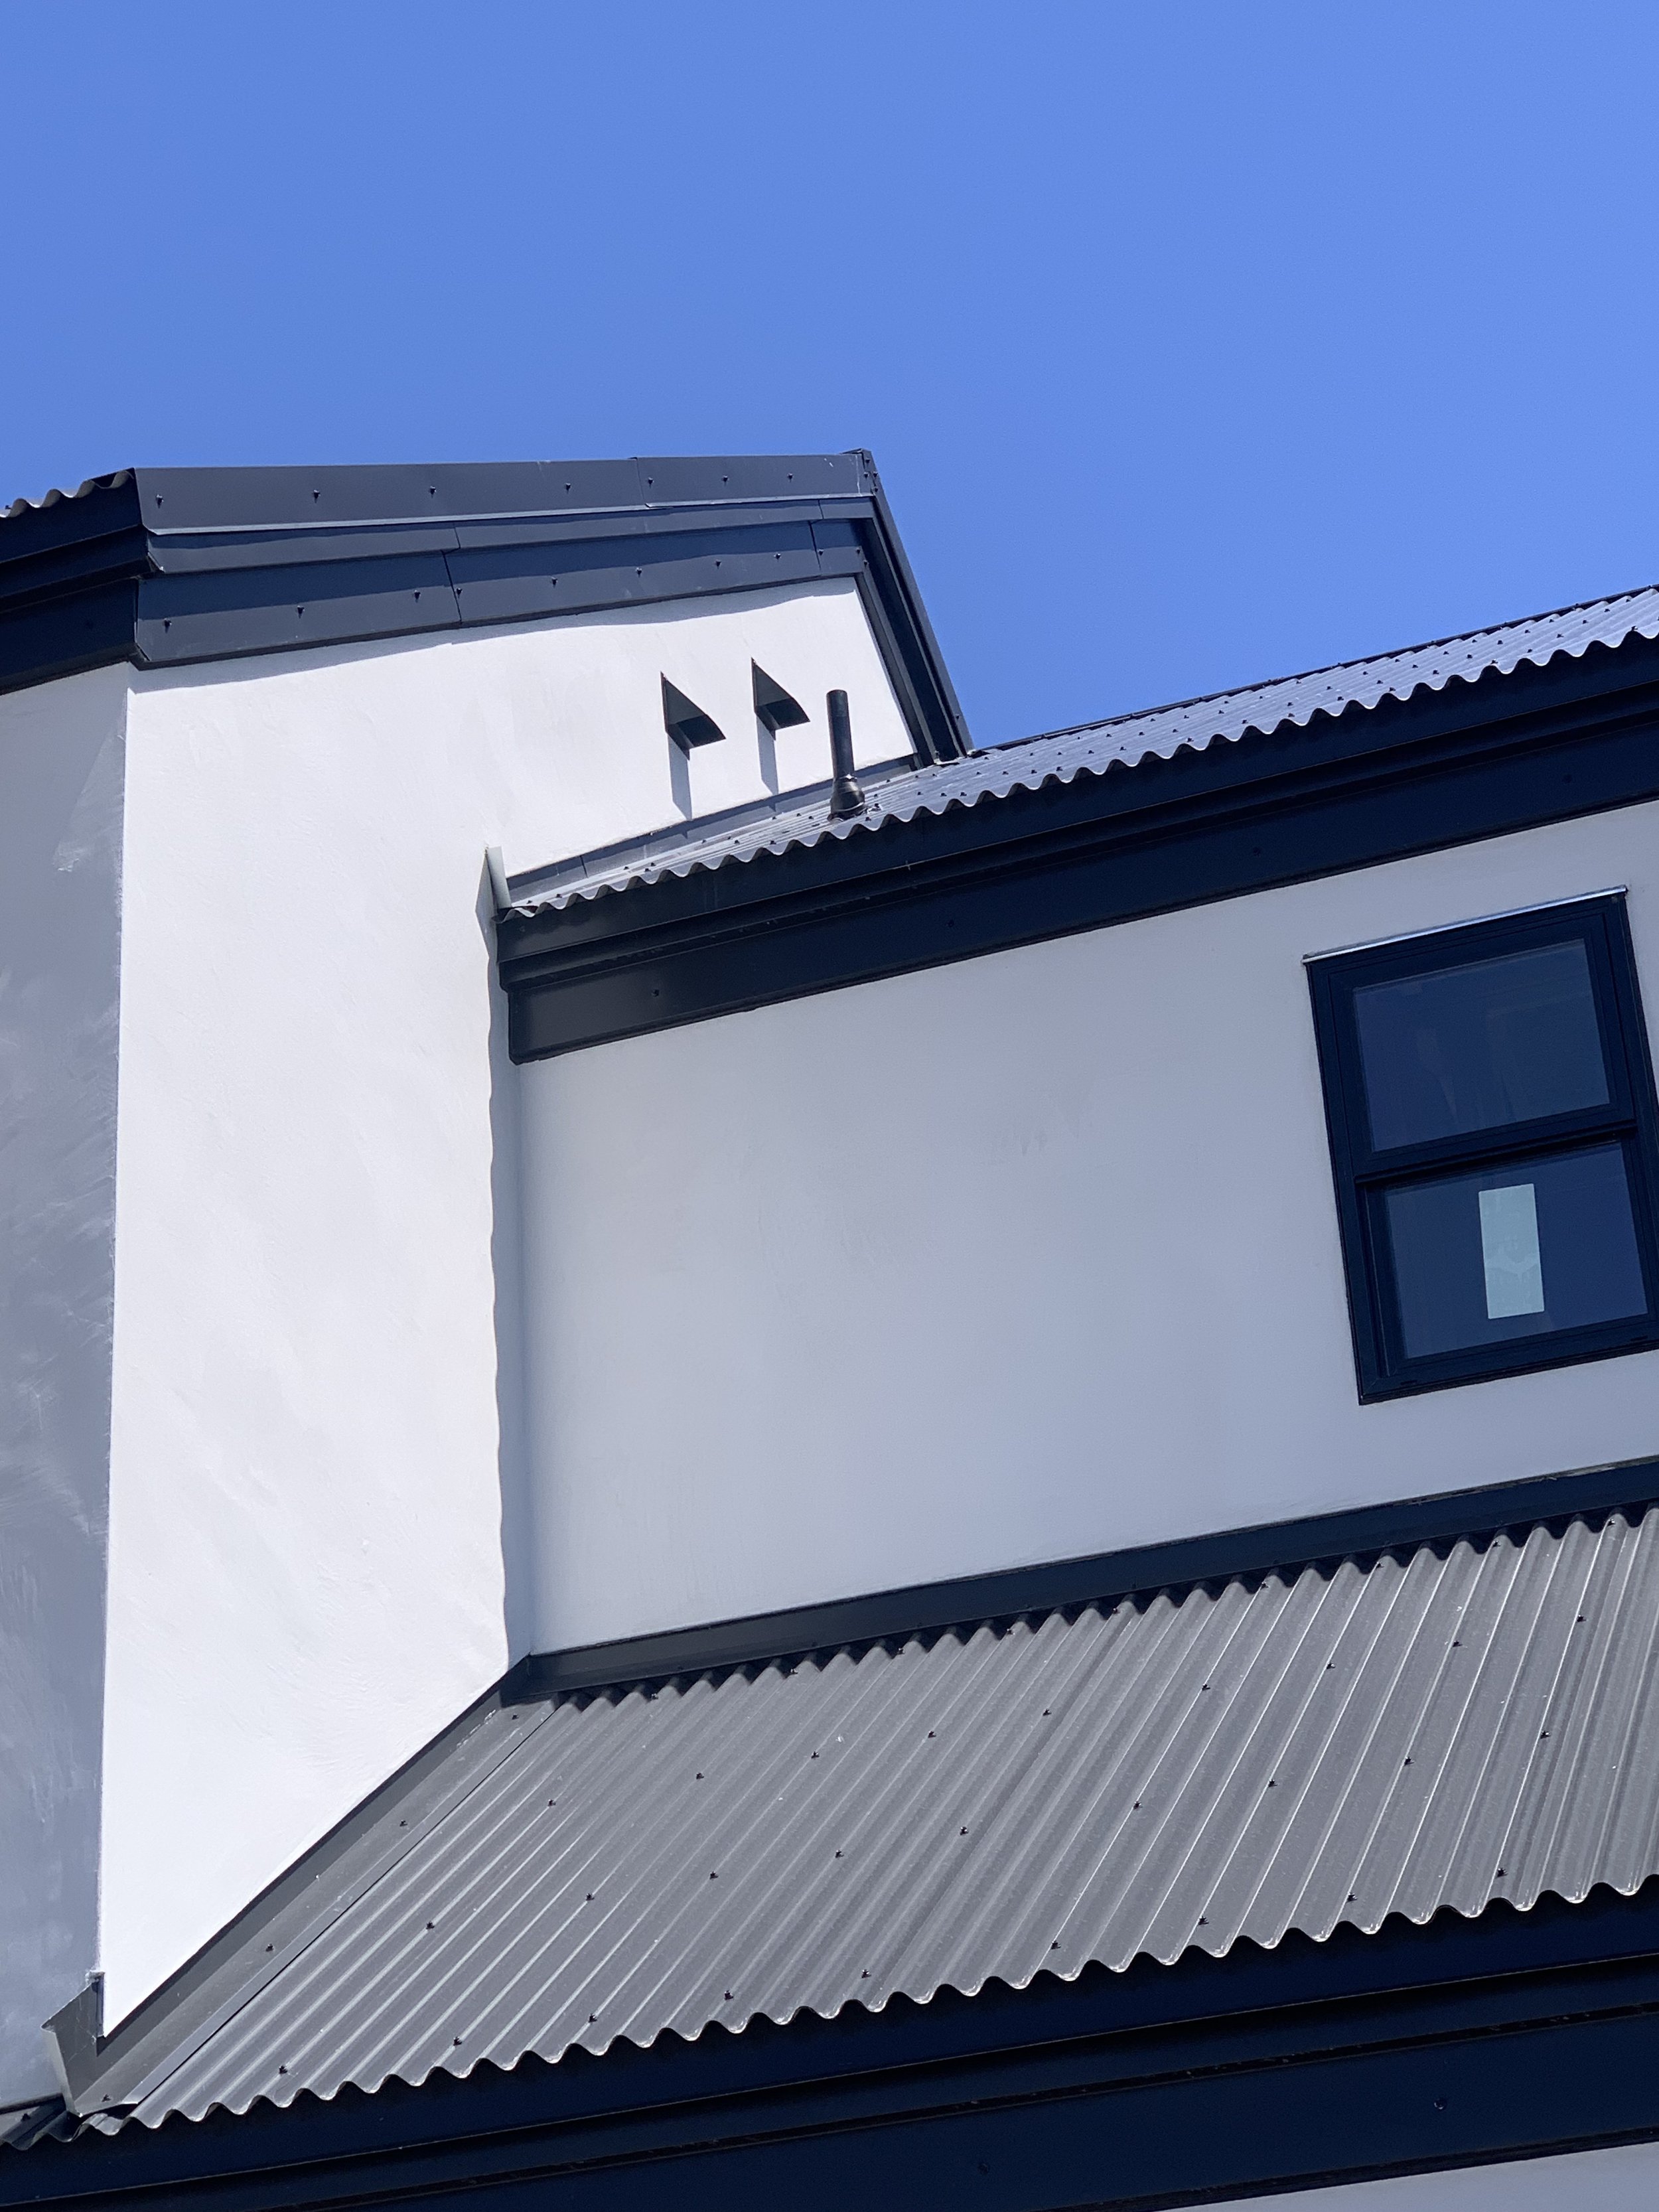
...and the stucco is complete! Now they'll remove the scaffolding for the full reveal.

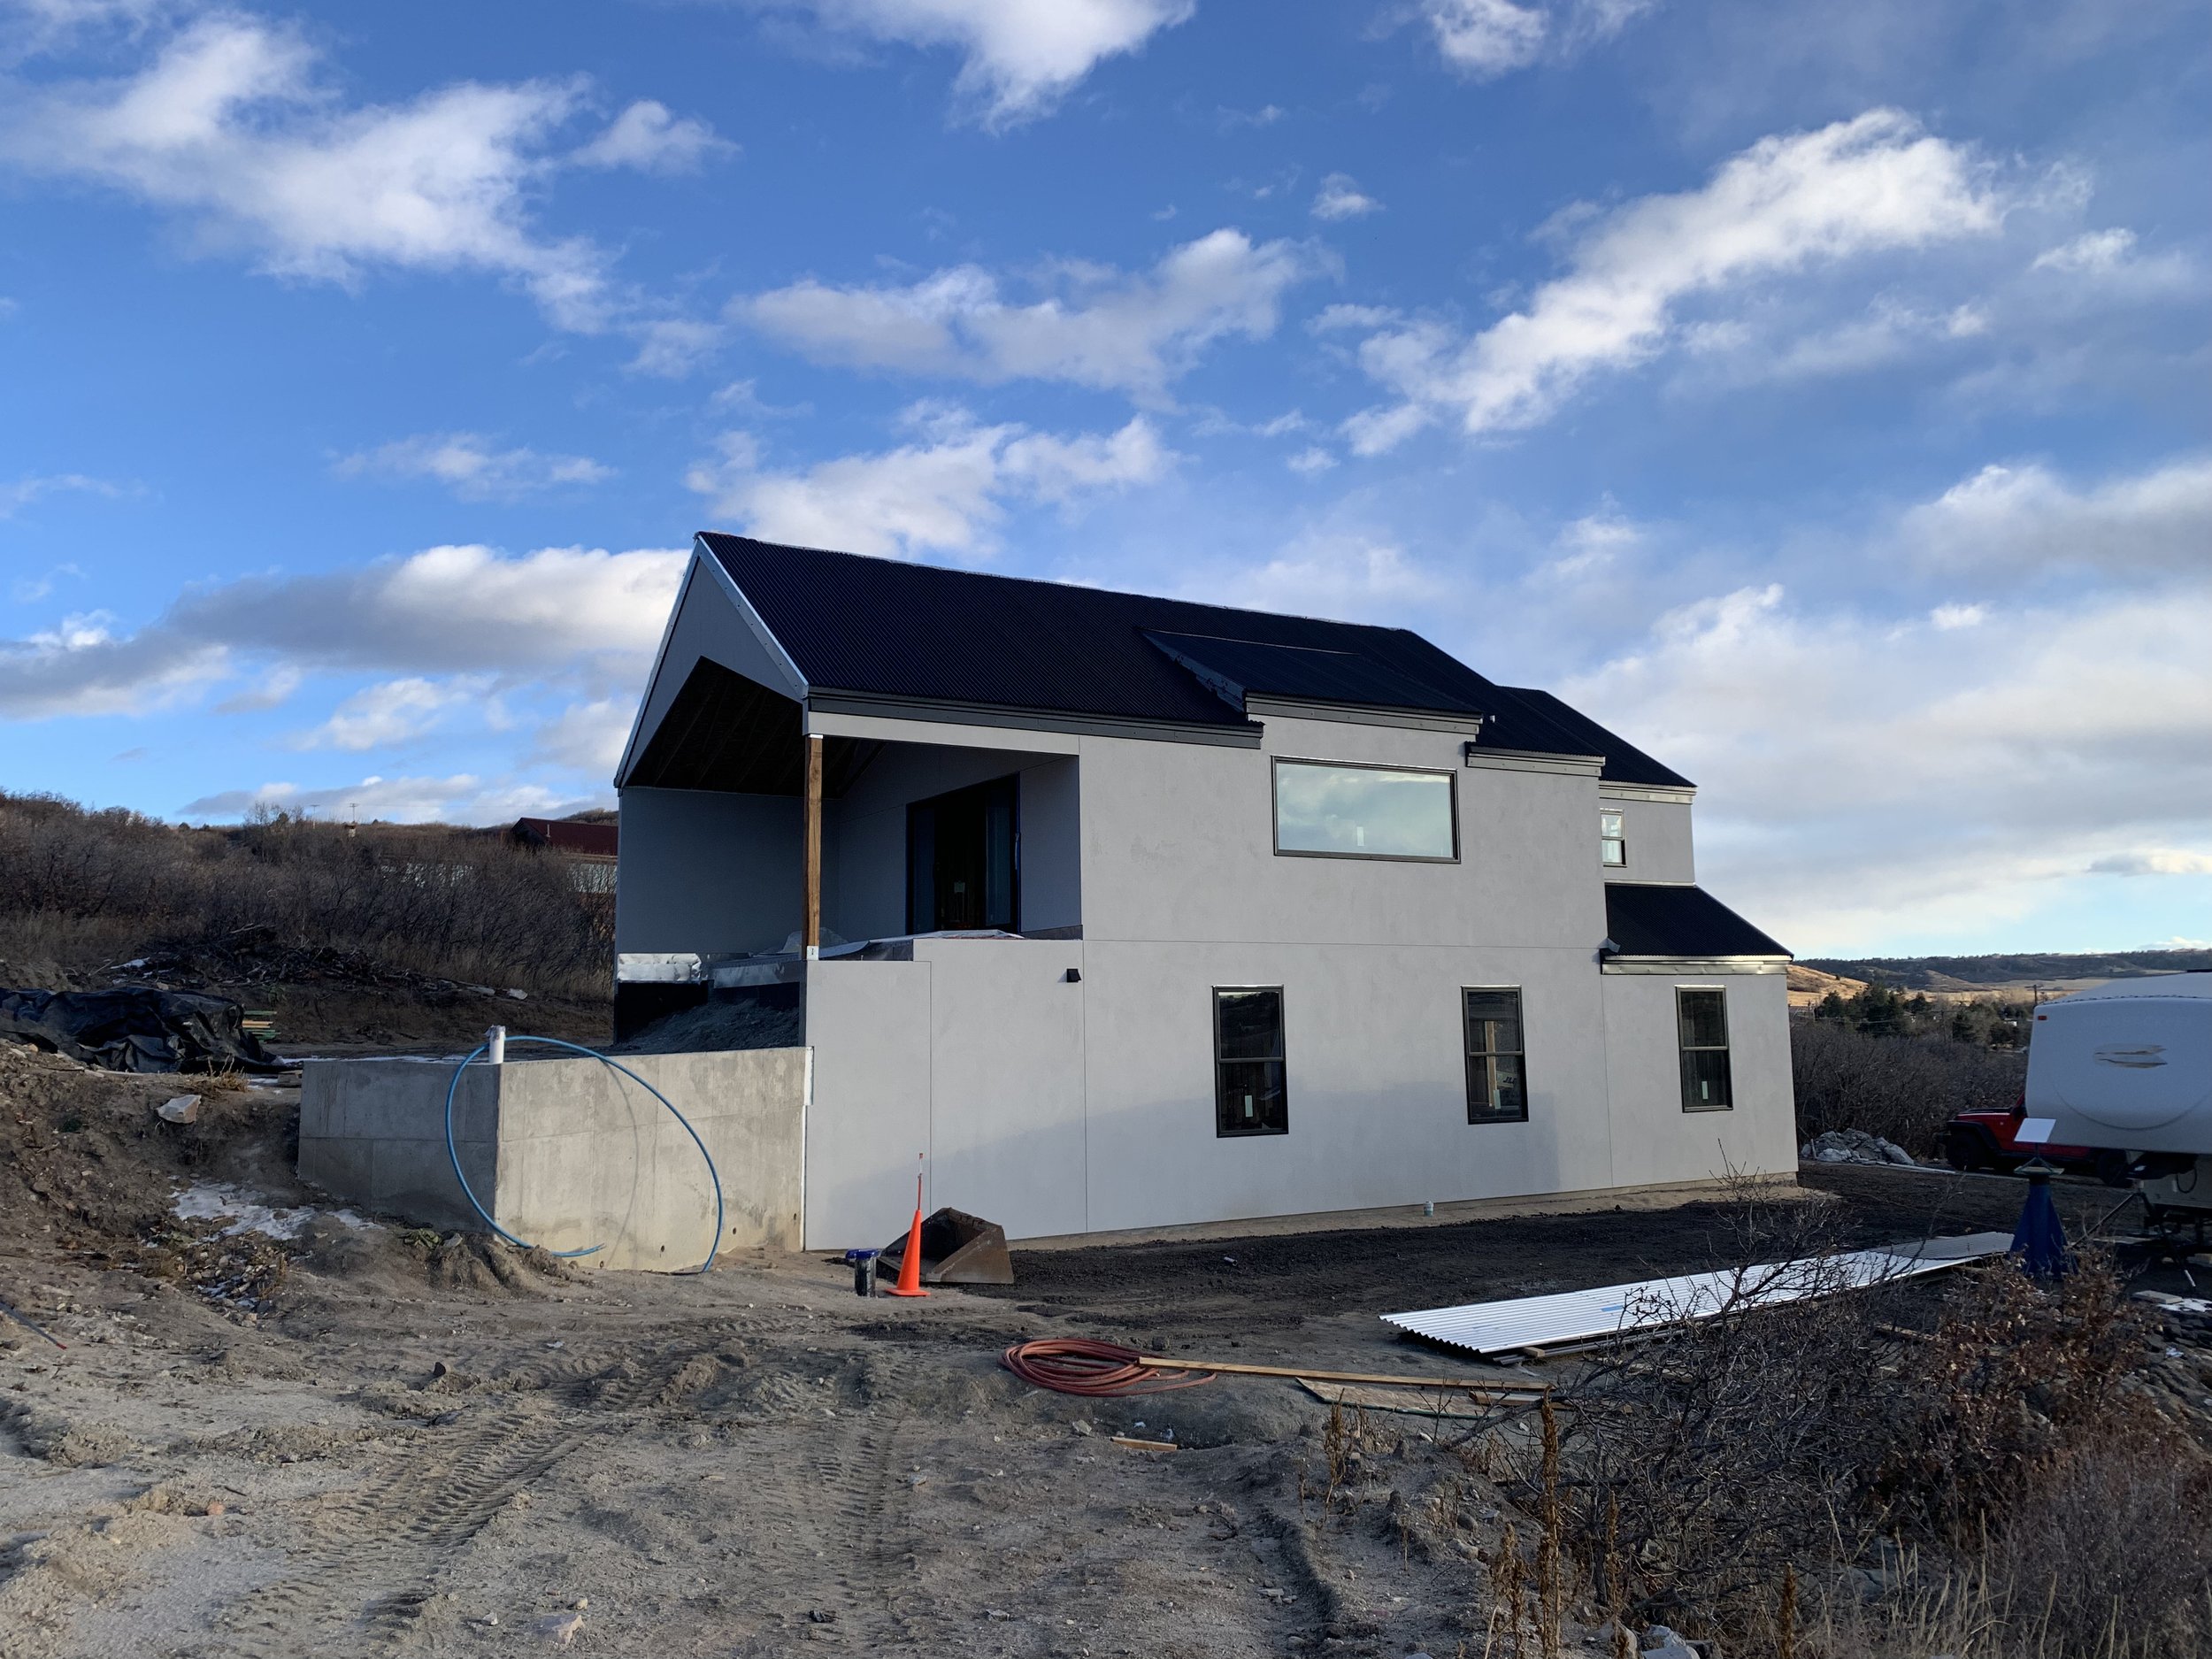
The completed garage/master bedroom side.

The completed front of the house.

From this angle you can see the guys have made more progress on the roof. Looks amazing!

This is where our front door will be. We're just waiting on the custom door jam. The side door down the walkway will go to Kris' office and the guest room.

A view of the back of the house.

Taking a few steps down the driveway. Better than we could have imagined!

...and last but certainly not least, the back patio/deck area! We will definitely be spending a lot of time out here. FYI, the deck will also extend all the way out to the end, where the support post is.

Now back to the roof, which seems like a never ending project! Our family has sadly gone home now, but a good friend came to help today and we were so grateful!

Between the stucco and roof, someone is always way up in the air! Those safety harnesses have definitely gotten a lot of use.
The last little portion of roofing on the end is complete.

The back of the house is much more complex with all the cool roof lines coming together, making them less "cool" once you realize how hard it is to roof!

Section by section, it starts to come together.

This was by far the most challenging part of the roof. These pieces were over 30 feet long and you don't even want to know how they got up there! Let's just say there was a moment that the roofing was on Kris' head pushing him down the slope. Yikes!
Another friend offers a hand to hopefully keep Kris from sliding off the roof!

The hardest part is done! Kris can come down for a moment and rest.
Nice work guys!

Kris is now solo for the rest of the roof. Time for selfies? Glad he's still smiling! Haha!

Some arial views!

You can see from this view the roof is so close to being done!

A view from the ground level.

The house looks so charming and quaint from this view, doesn't it?

Some arial views of the house. The big window up top is the kitchen and it has amazing views!

The garage and soon to be front door that's not going to be installed until workers are finished making a mess inside.

The back side of the house. The little sidewalk leads to our offices and guest room. You can also see a portion of our back deck.

A better view of the deck which will extend out further than it is in the picture, and eventually will step down to a tiered outdoor living space.
Step 12: Utilities

A crew moves in to permanently hook up the well!

It's a dirty job, but someone's got to do it.

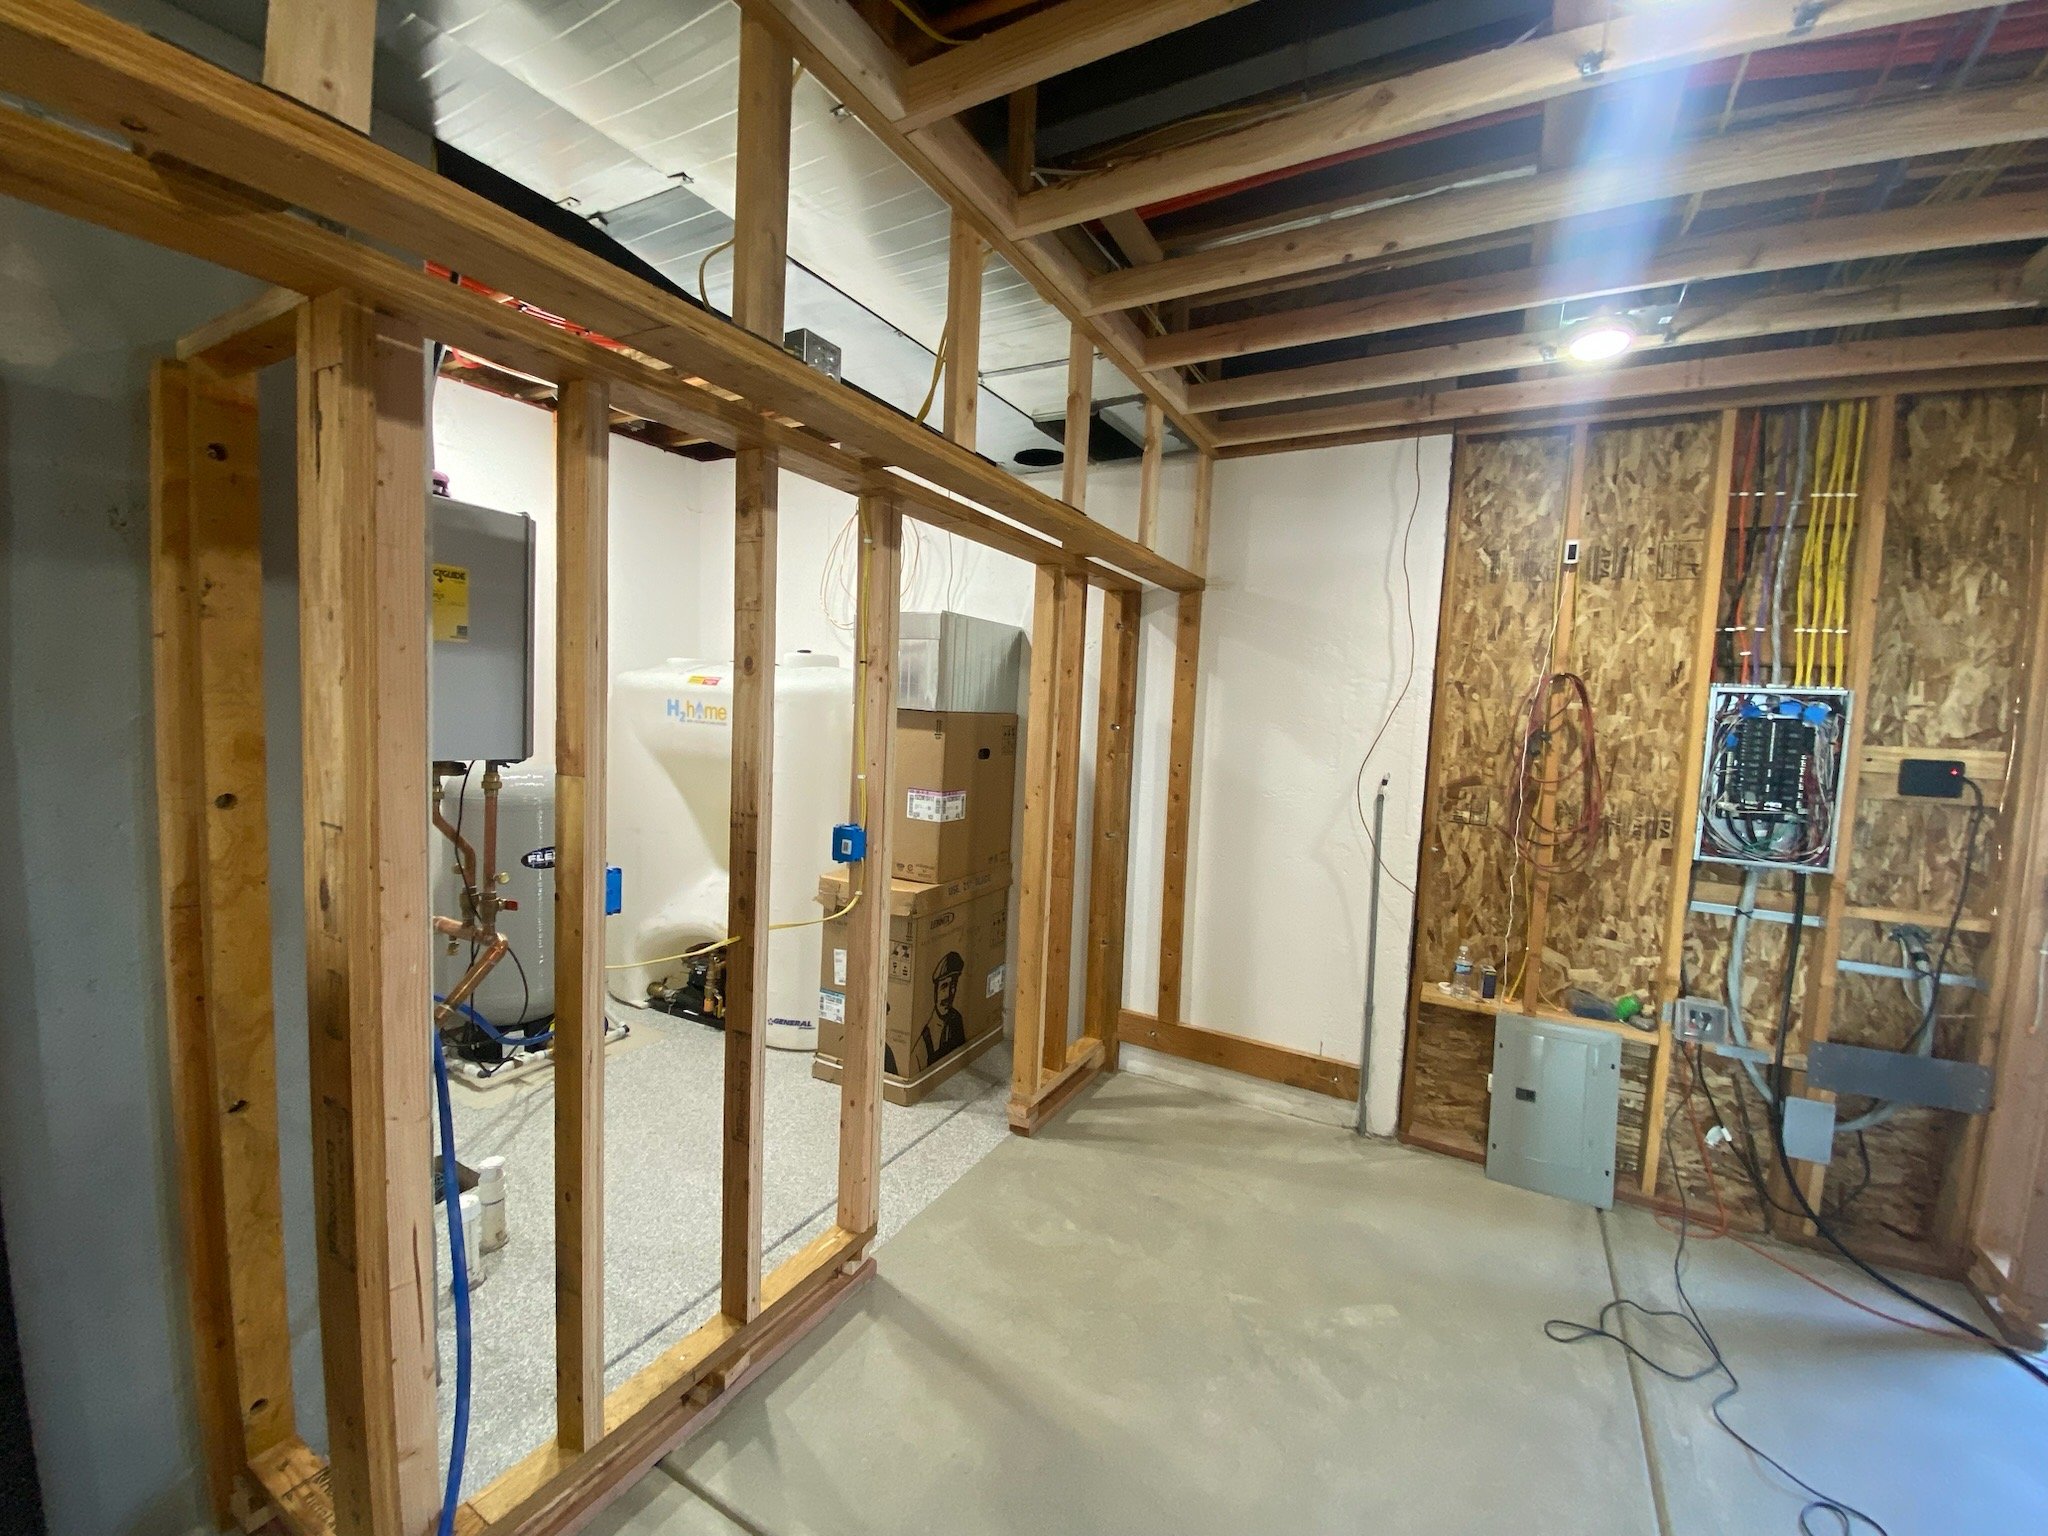
Anything well related requires at least 1 big truck. Hook up is completed outside so they move to the inside.

This is our well pressure tank. It holds water but also pressurizes it so it can be pushed to any area of the house.
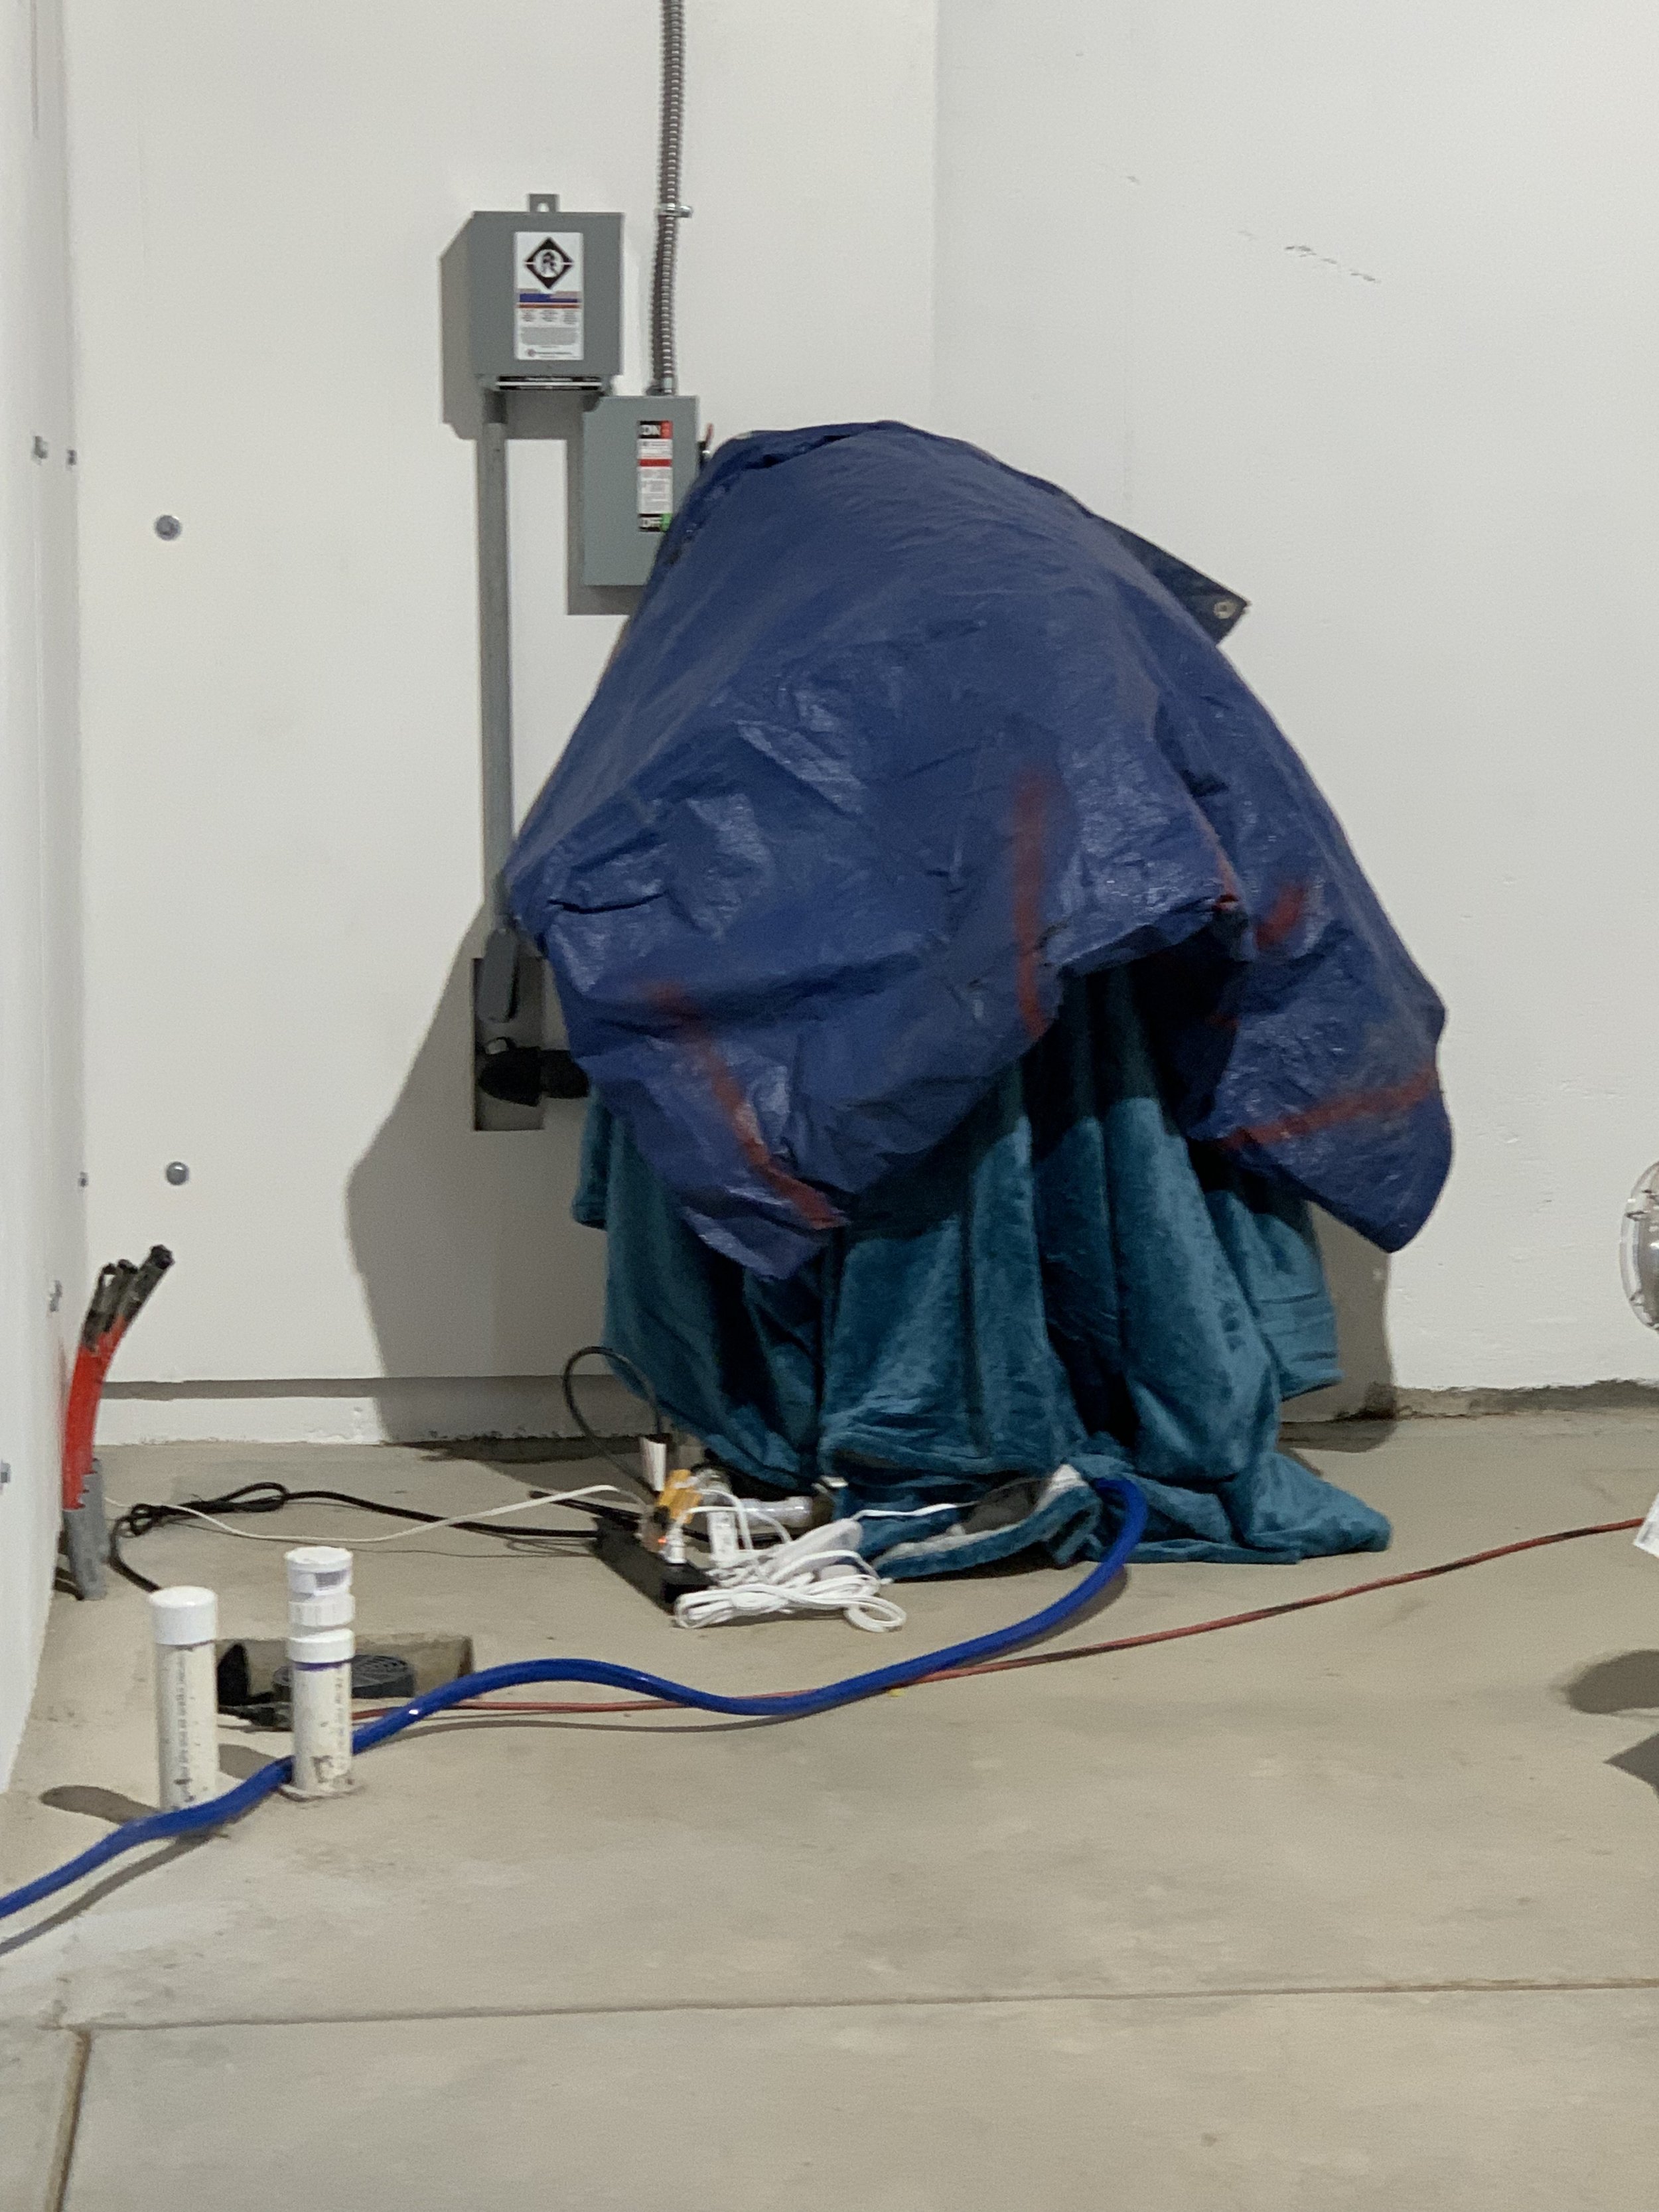
We had an issue with the tank connections freezing up in the dead of winter, so we tried wrapping it with tarps to hold in the heat.
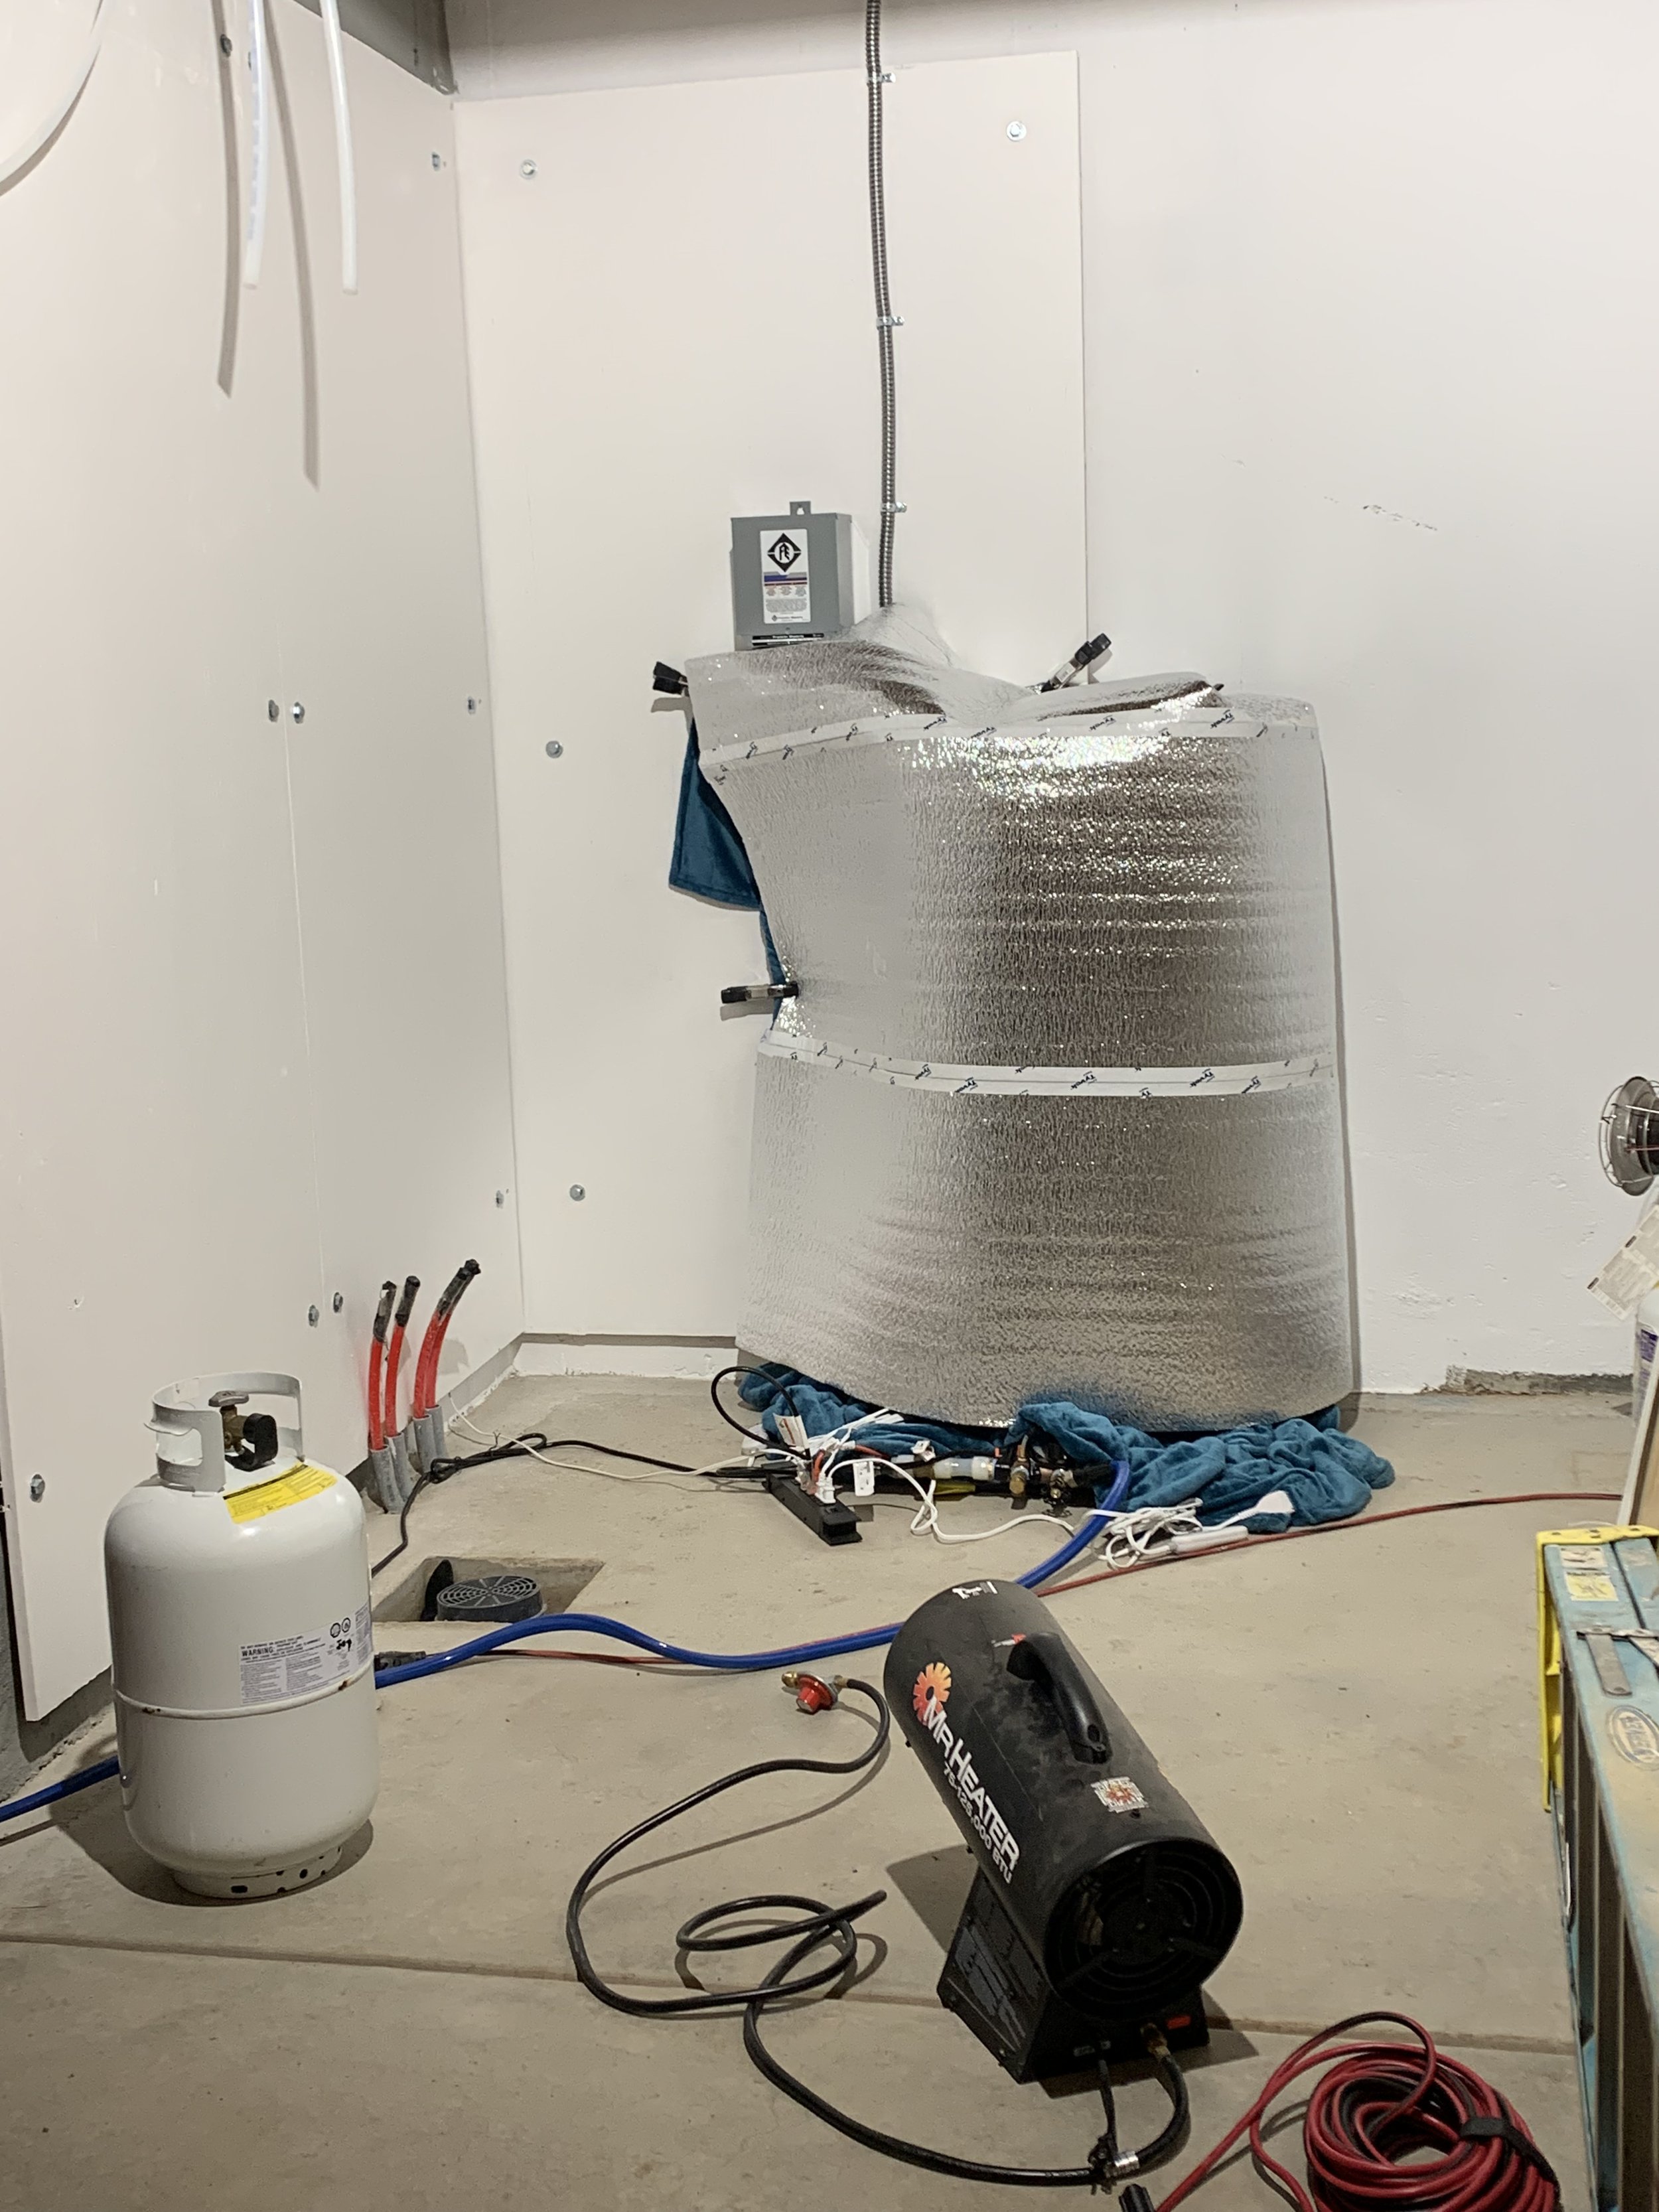
The tarps didn't work, so we moved to electric blankets followed by an insulating blanket. That seemed to do the trick!

On cold winter nights in the trailer, we'd find Hobbs snug as a bug rolled up in the blankets and pillows on our bed! He's no dummy!

Our not so lovely but necessary shut off panel for the power. Maybe we can hide this with a plant or something?

Power meter is hooked up and they're ready to start sending us monthly bills!

The gas company arrives to start installing the line that brings the gas to the house.

They brought their own welding crew too!

They bring the gas line from the road to the driveway.

Looks good! Now it's our turn...
Who doesn't like digging in the dirt? Kris rents a trenching machine to start digging from the house down to where the gas company ended. Too bad we had a cold snap just prior that froze the ground.

One slight problem. He dug through the power line that was running to our trailer. Eek! Guess who had to use the generator all day?
Good progress overall for 1 day.

Day 2: Just keep digging, just keep digging...

Made it all the way down with time to spare!

Here are some drone shots of our gas line path.

Quite the dig!

The full view! The gas company was shocked by how precise Kris' trench was!
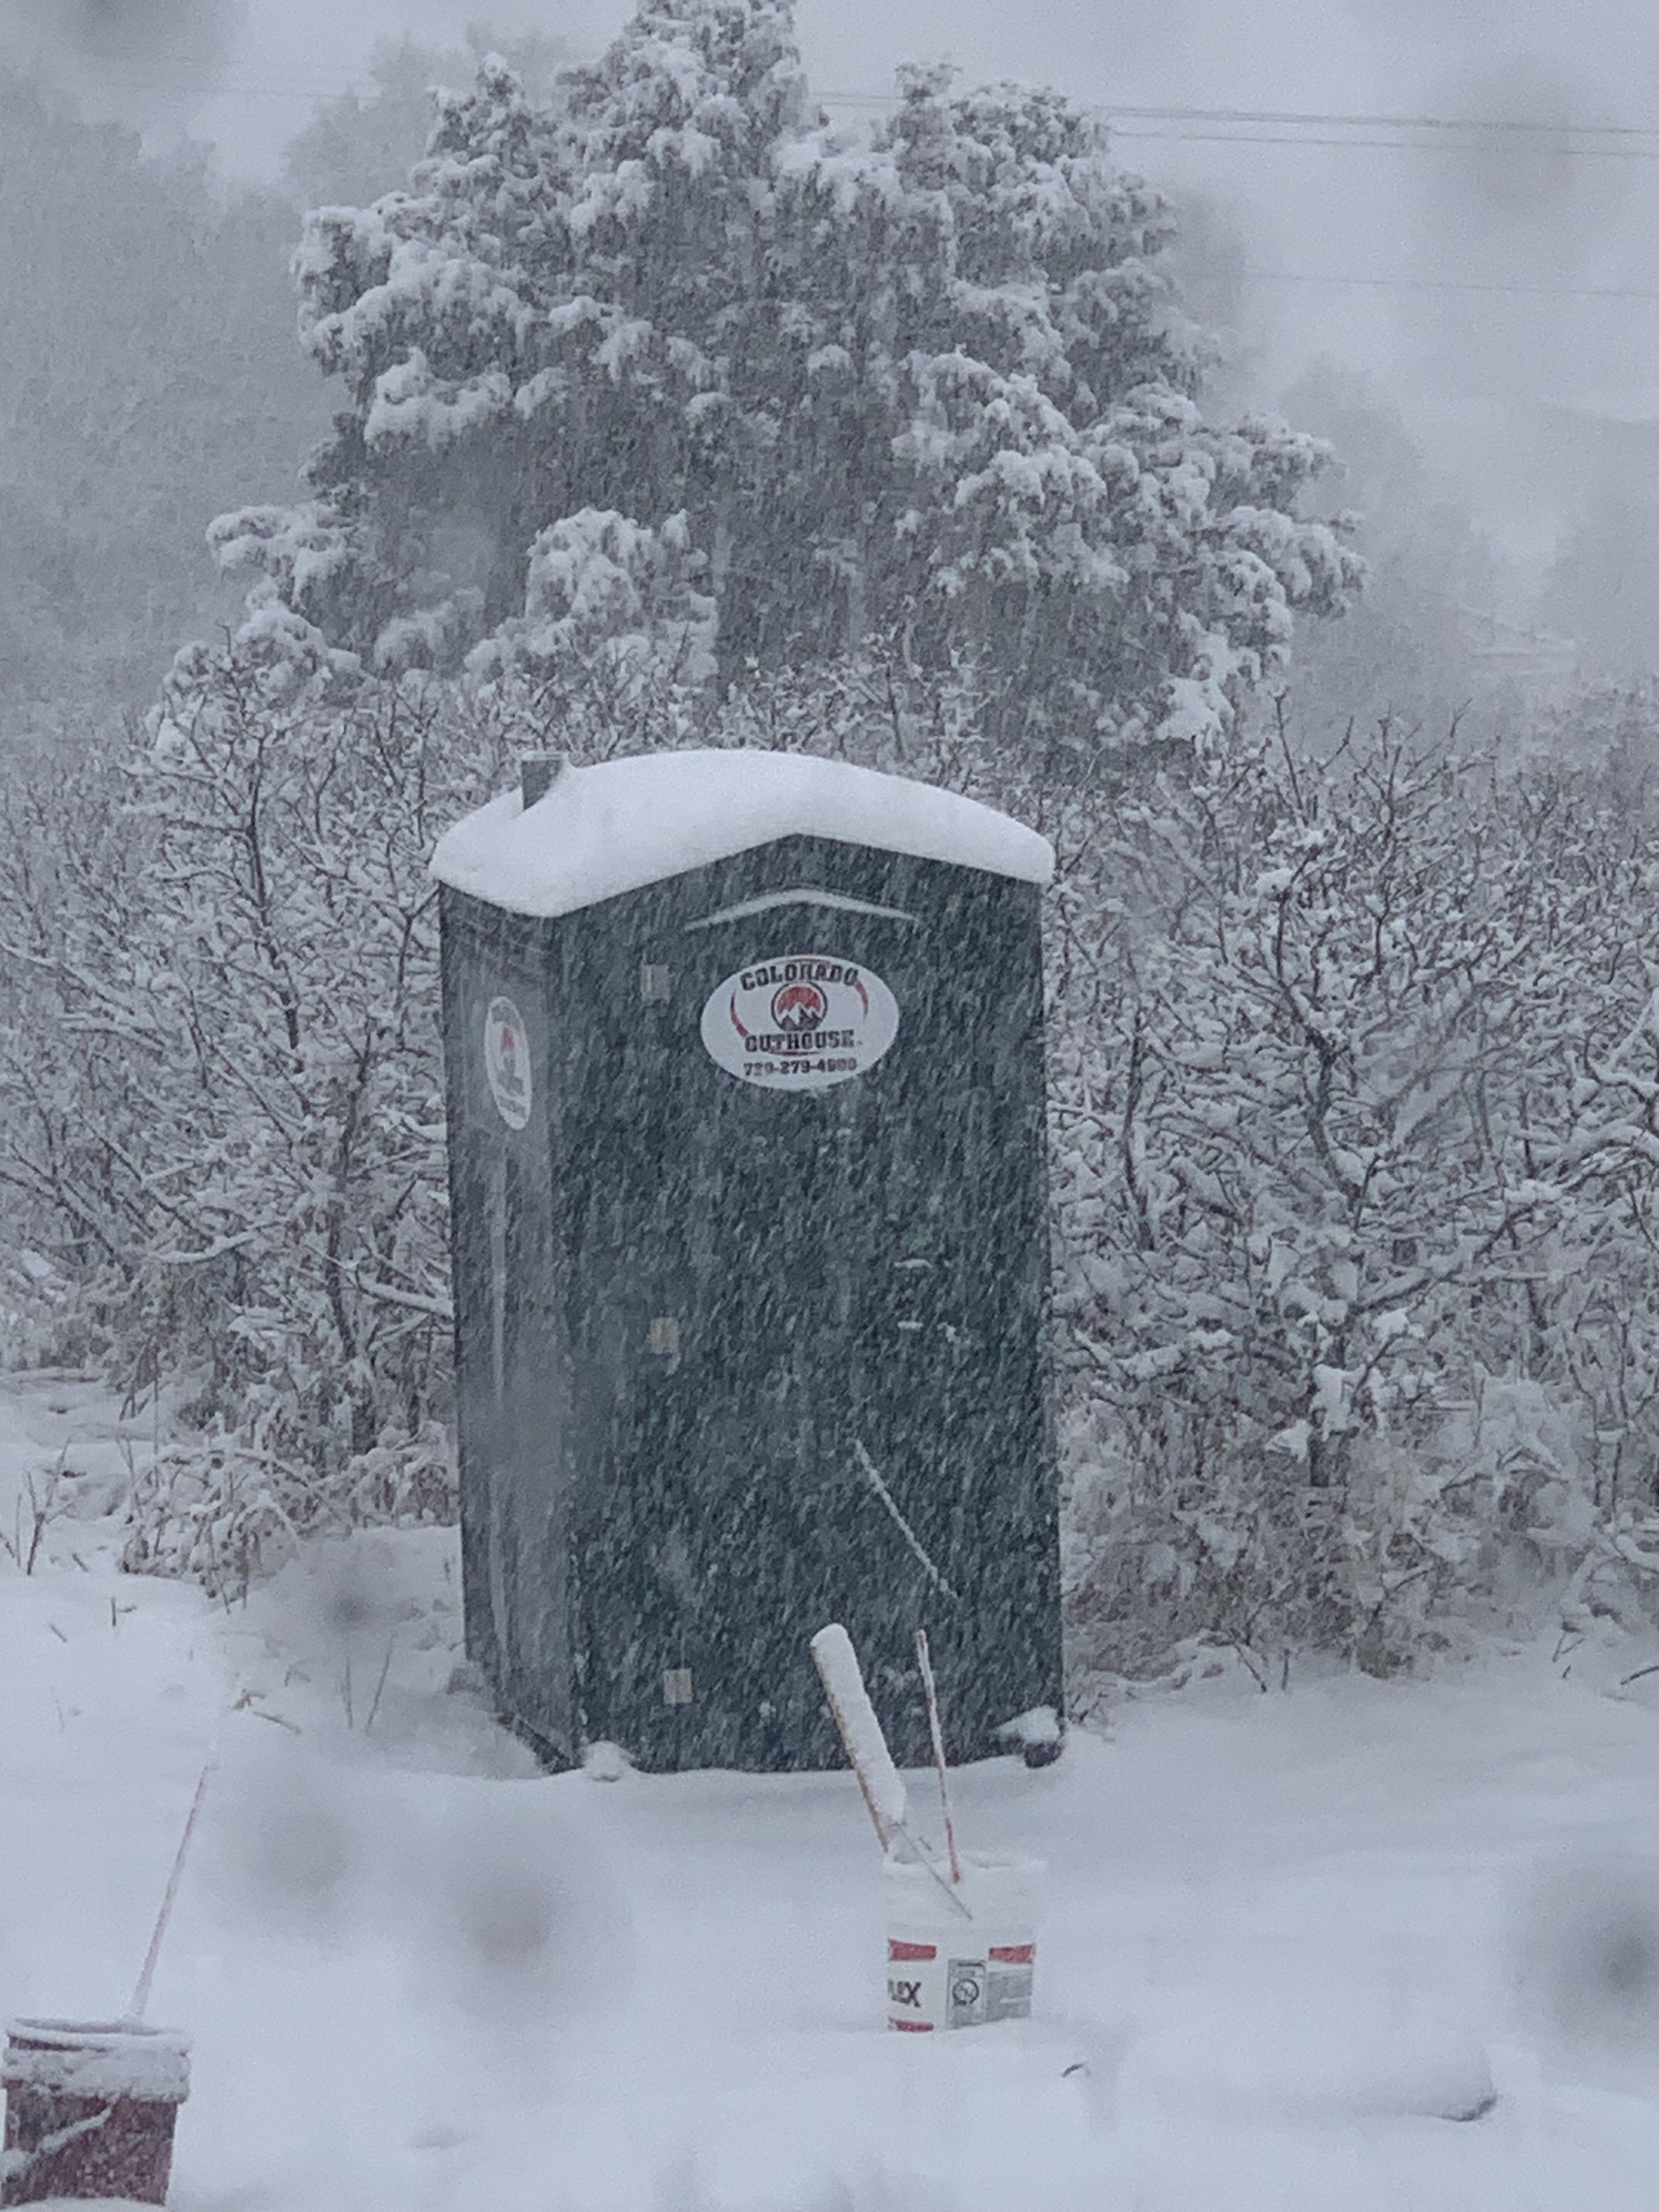
The gas line trench was completed just in the nick of time! A huge snowstorm moved in right after. Made for one cold outhouse! Ha!

The snow drifts went almost halfway up our front door!

The Bobcat is ready to start plowing....once we dig it out.

Our first big snowfall at our new home. Had to get some fun pics!

At least in Colorado, it's mild enough to take a snowy walk!
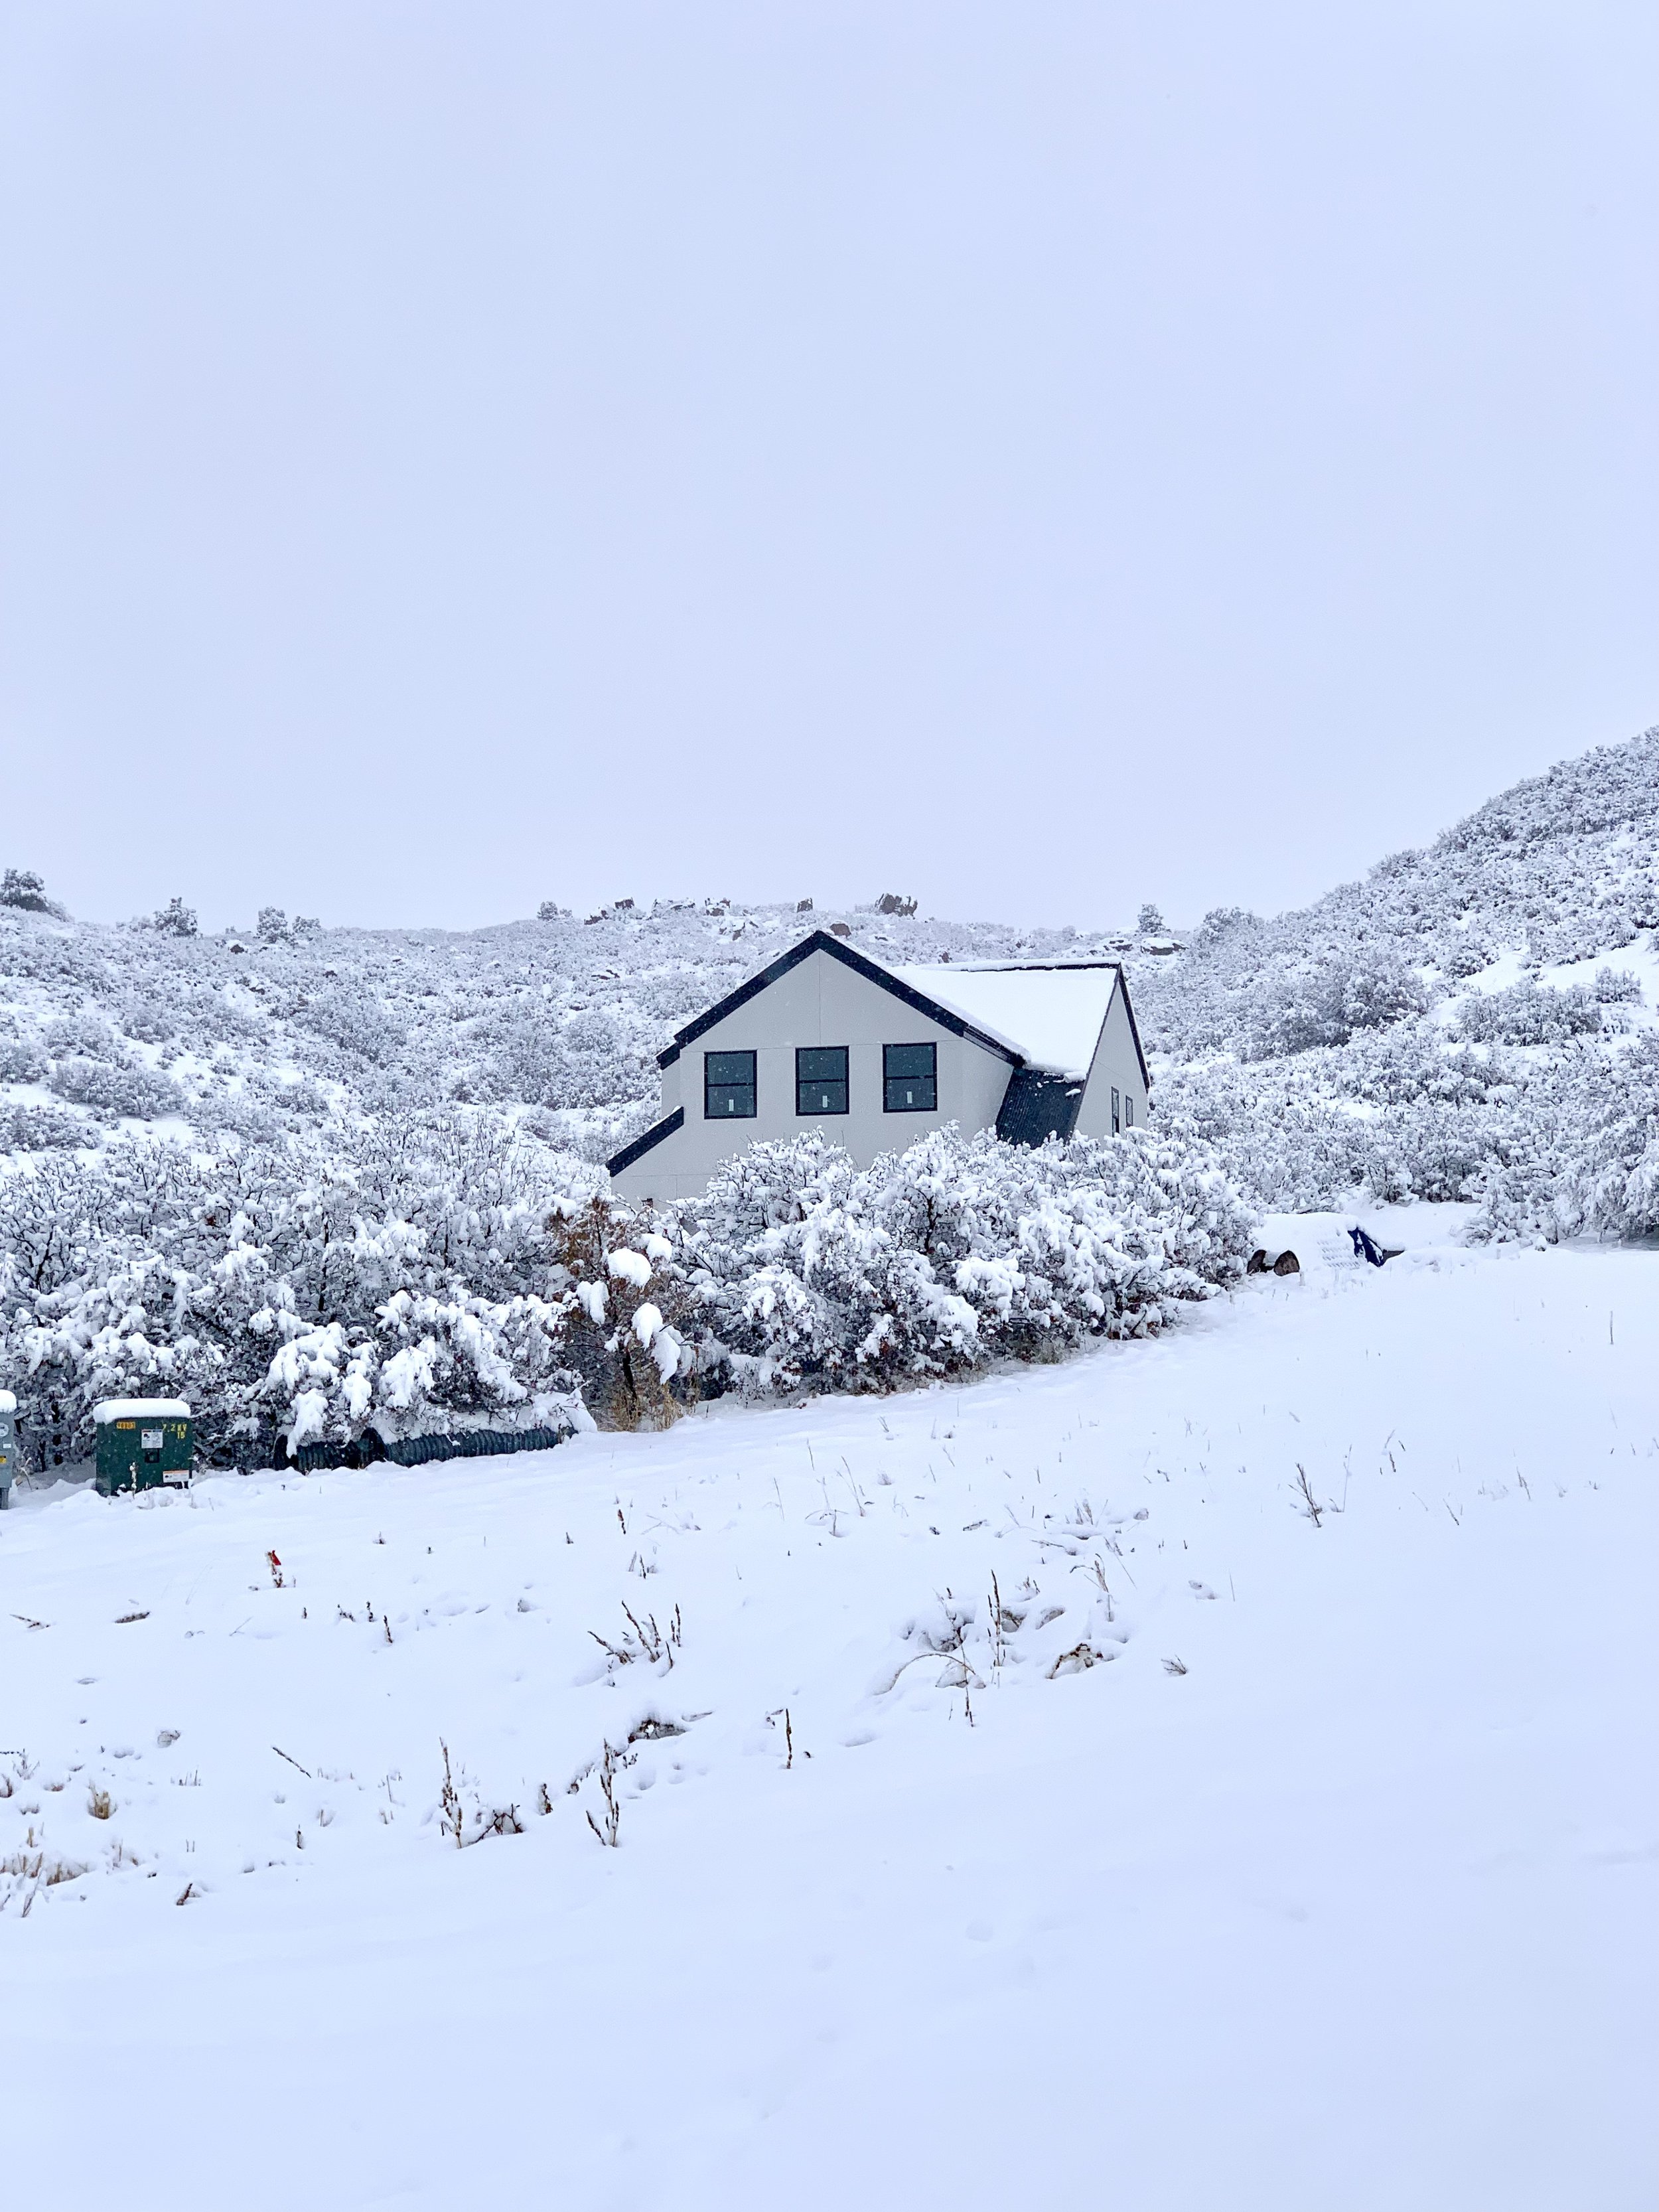
Winter wonderland!
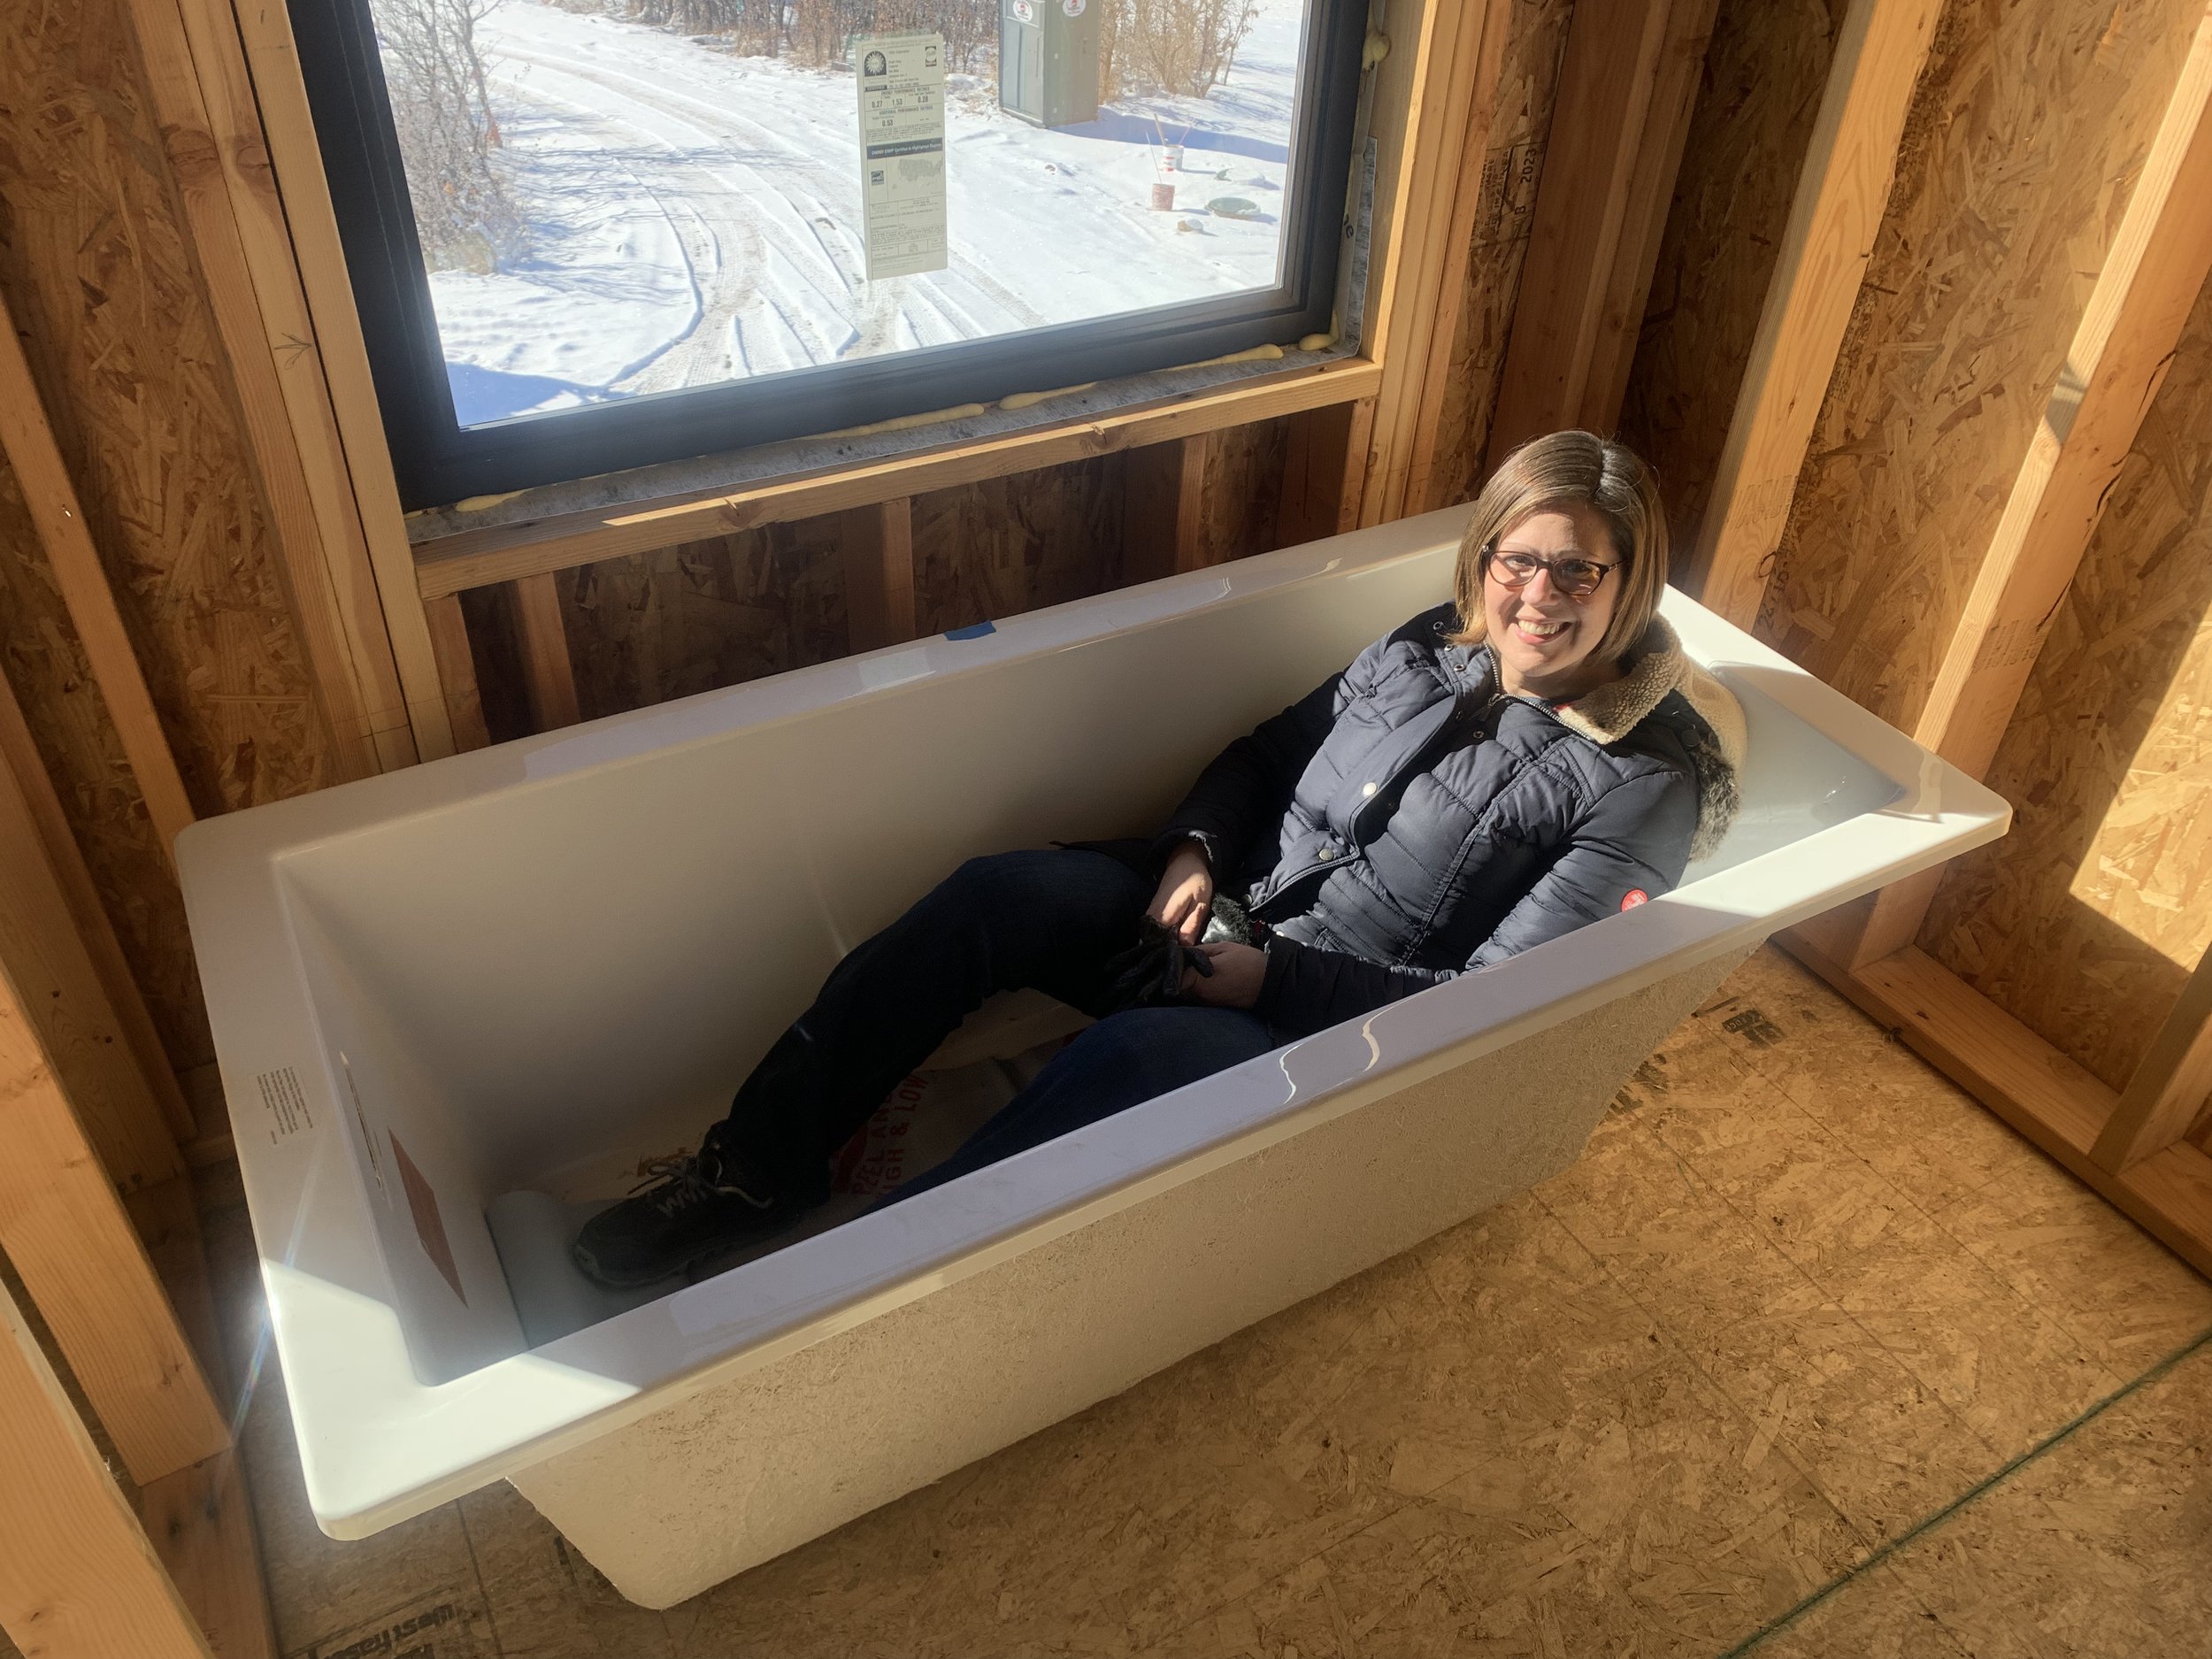
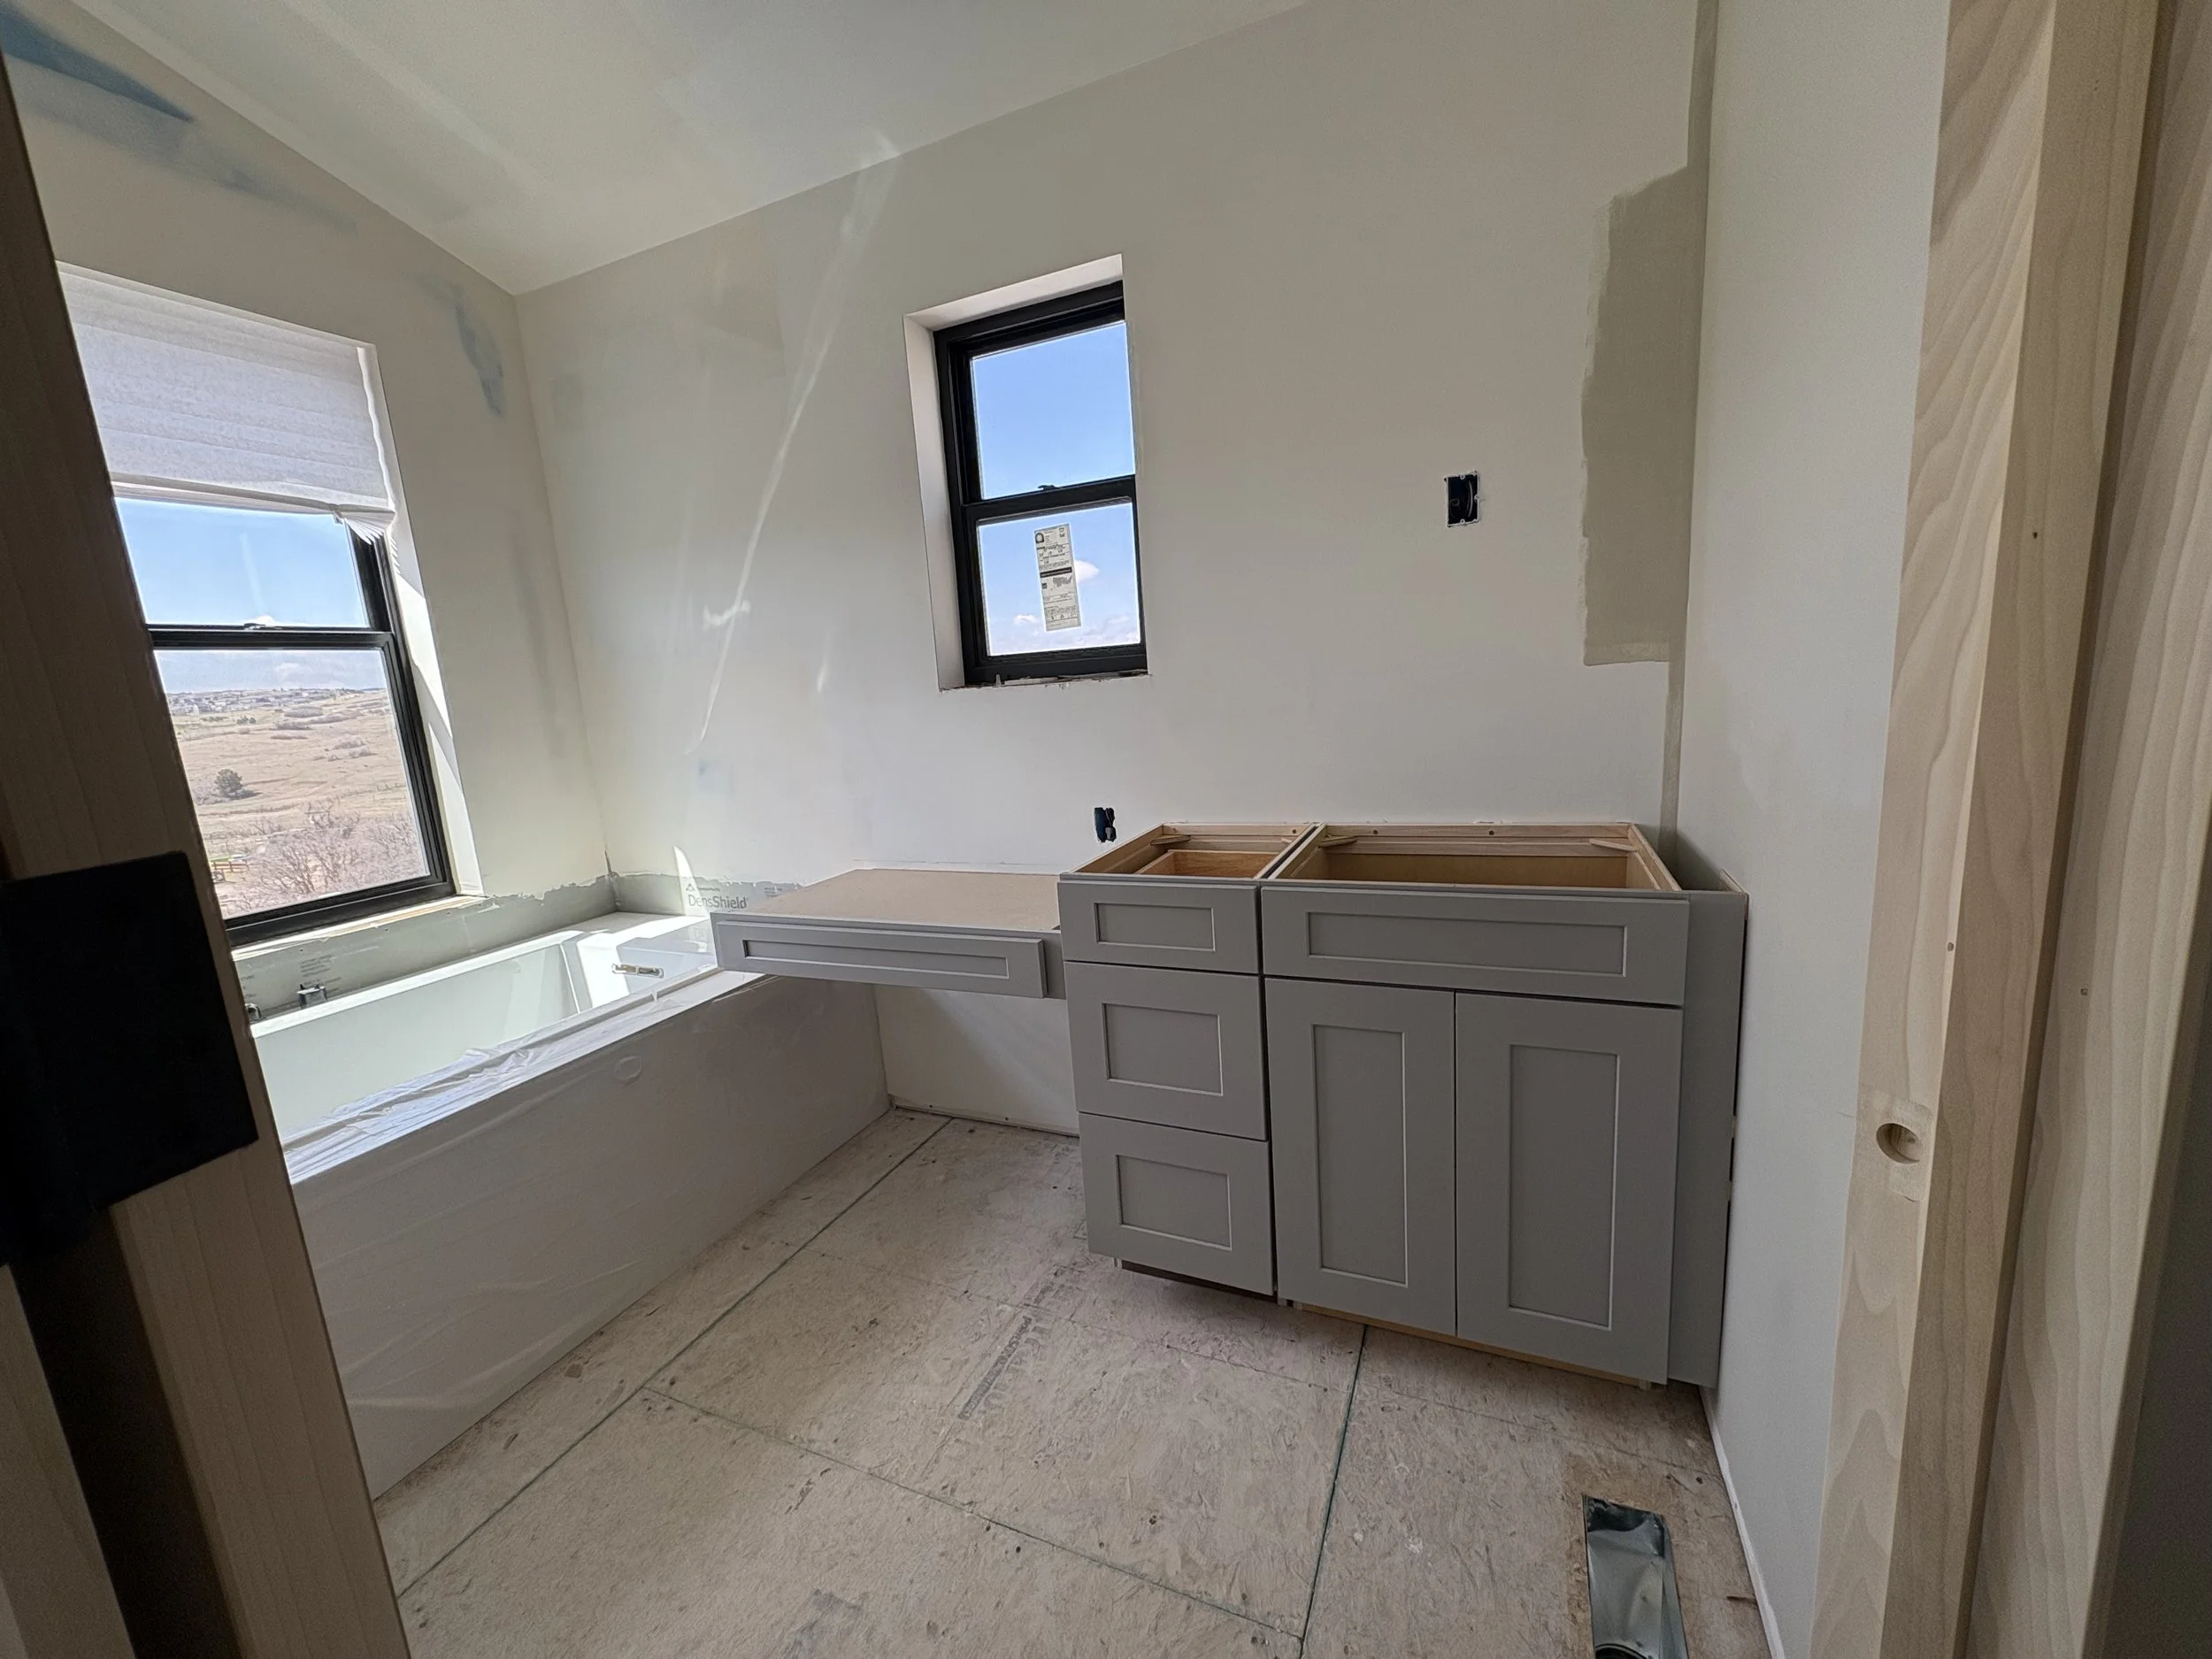
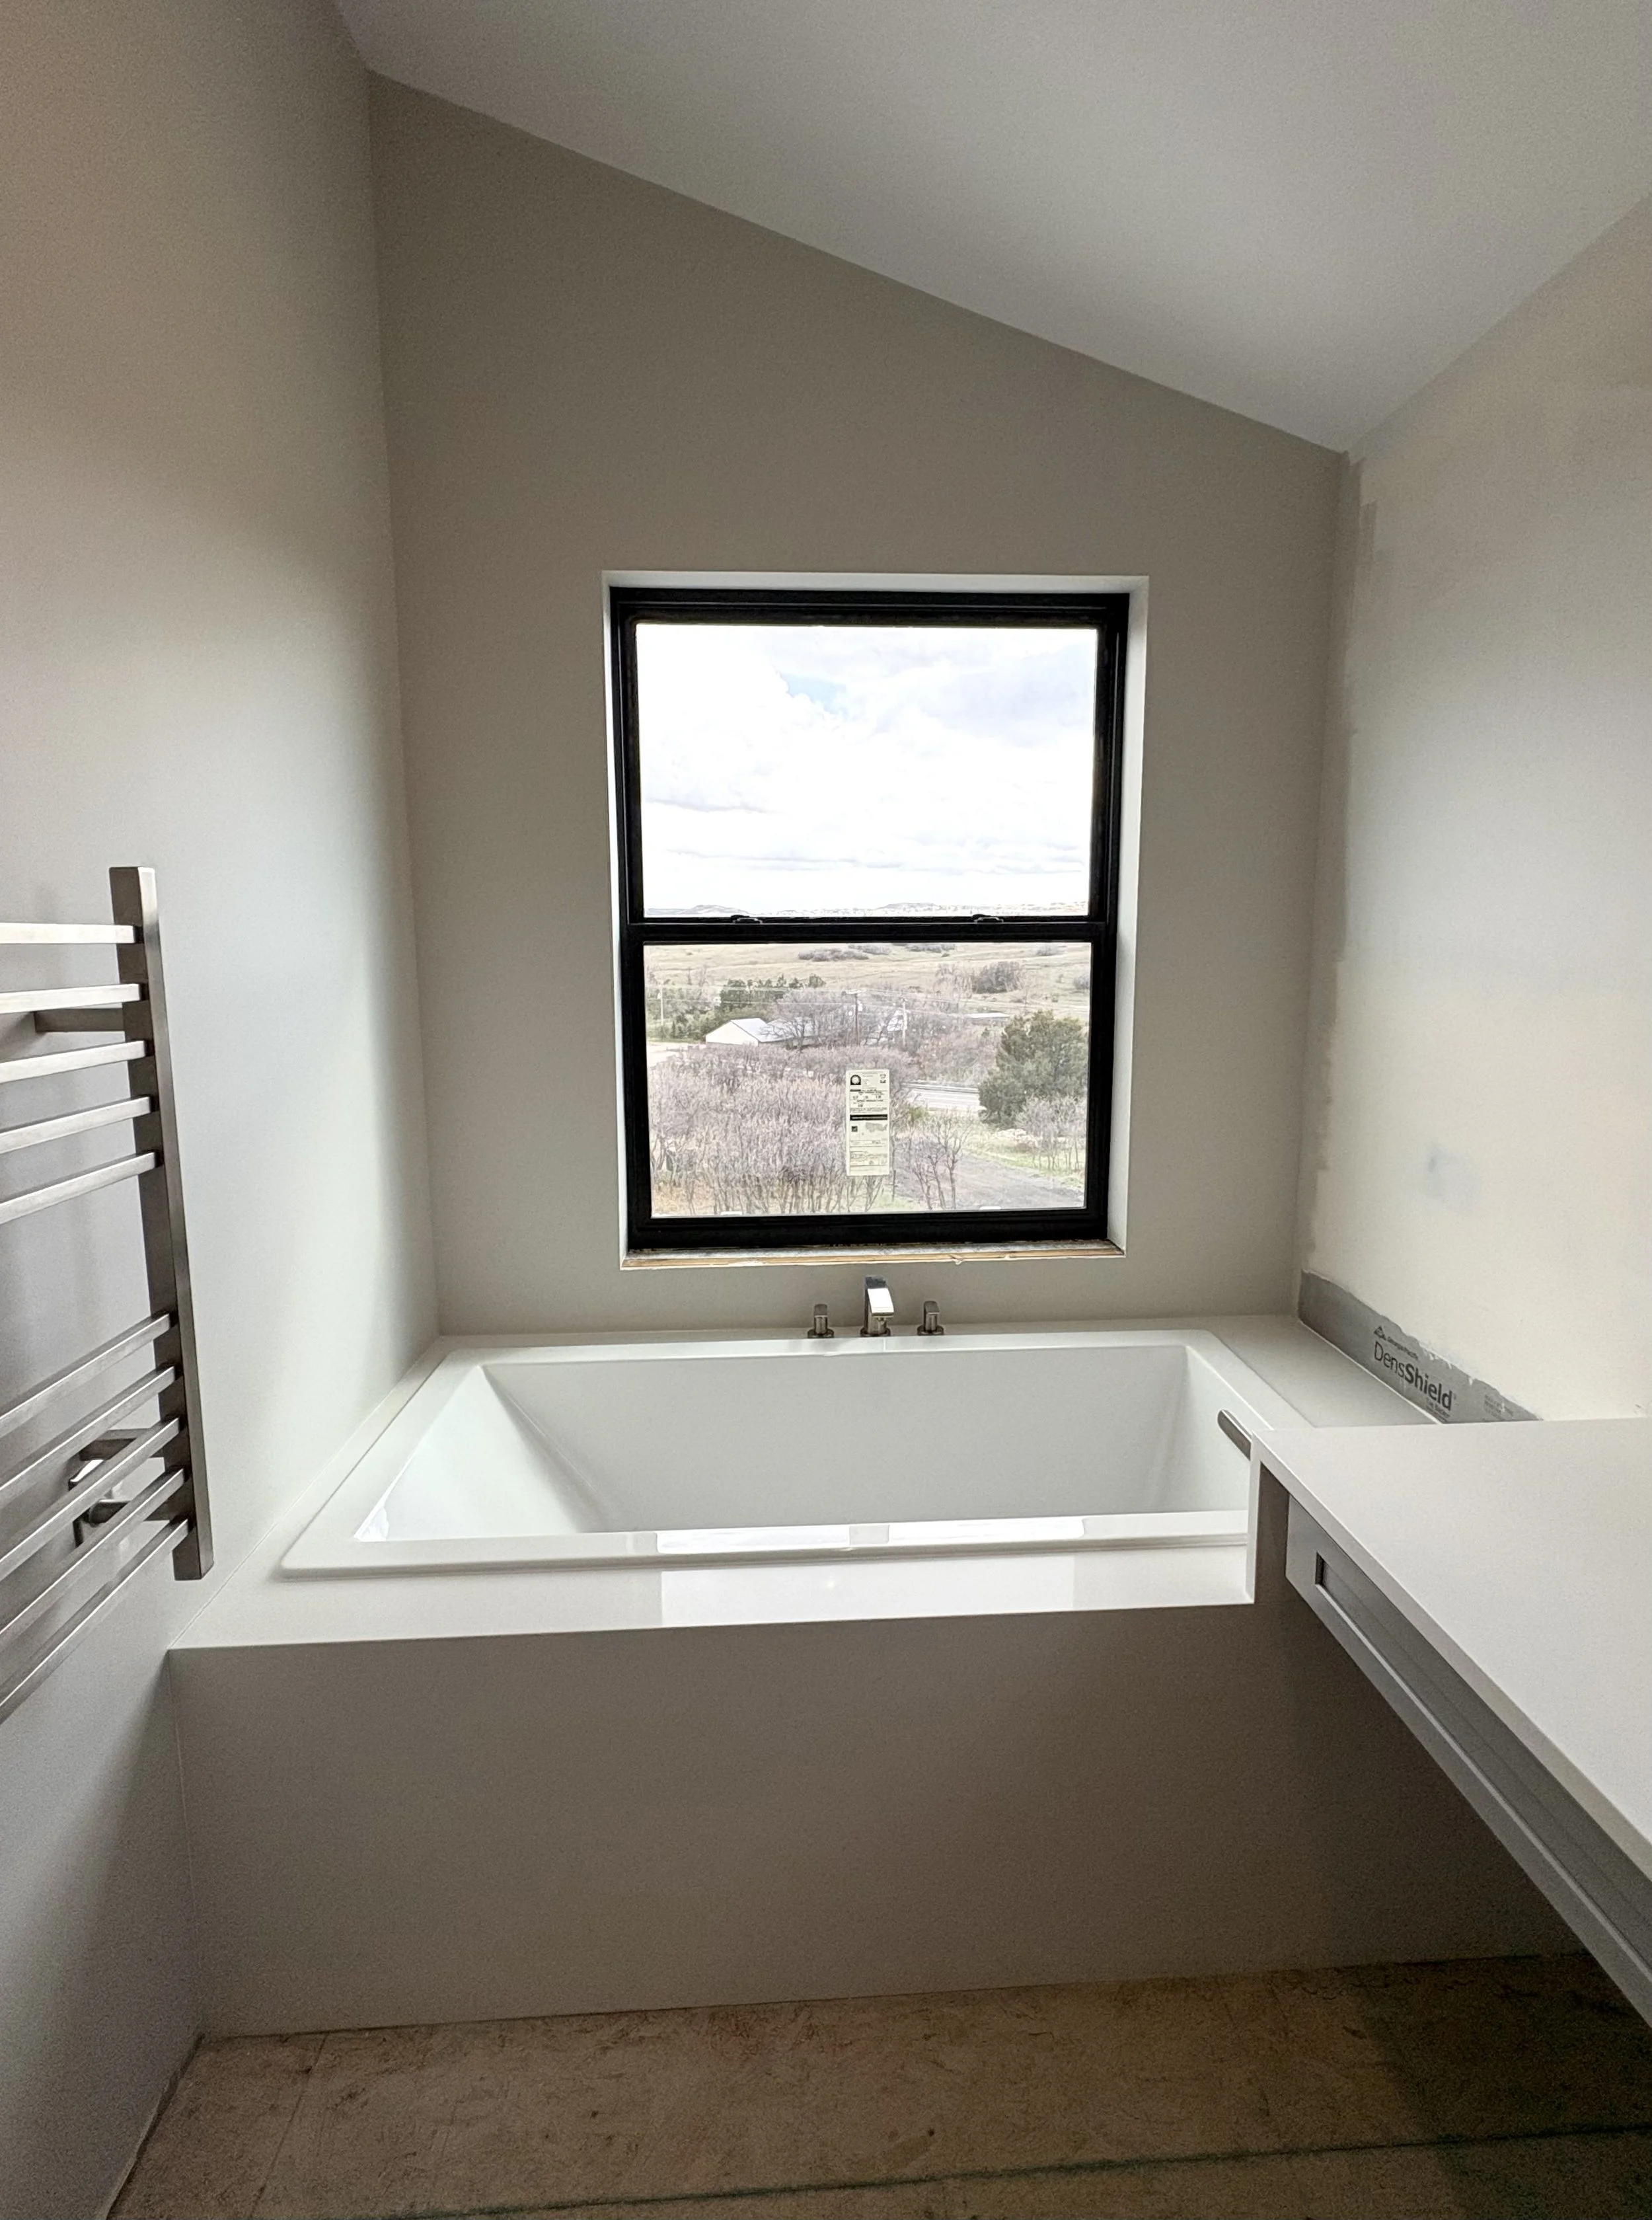
Now, back to the house. Our bathtub came!

Kris went right to work framing in the tub surround.

Another happy arrival....our appliances! Too bad they can't be hooked up yet. We'll just put them in the garage like everything else!
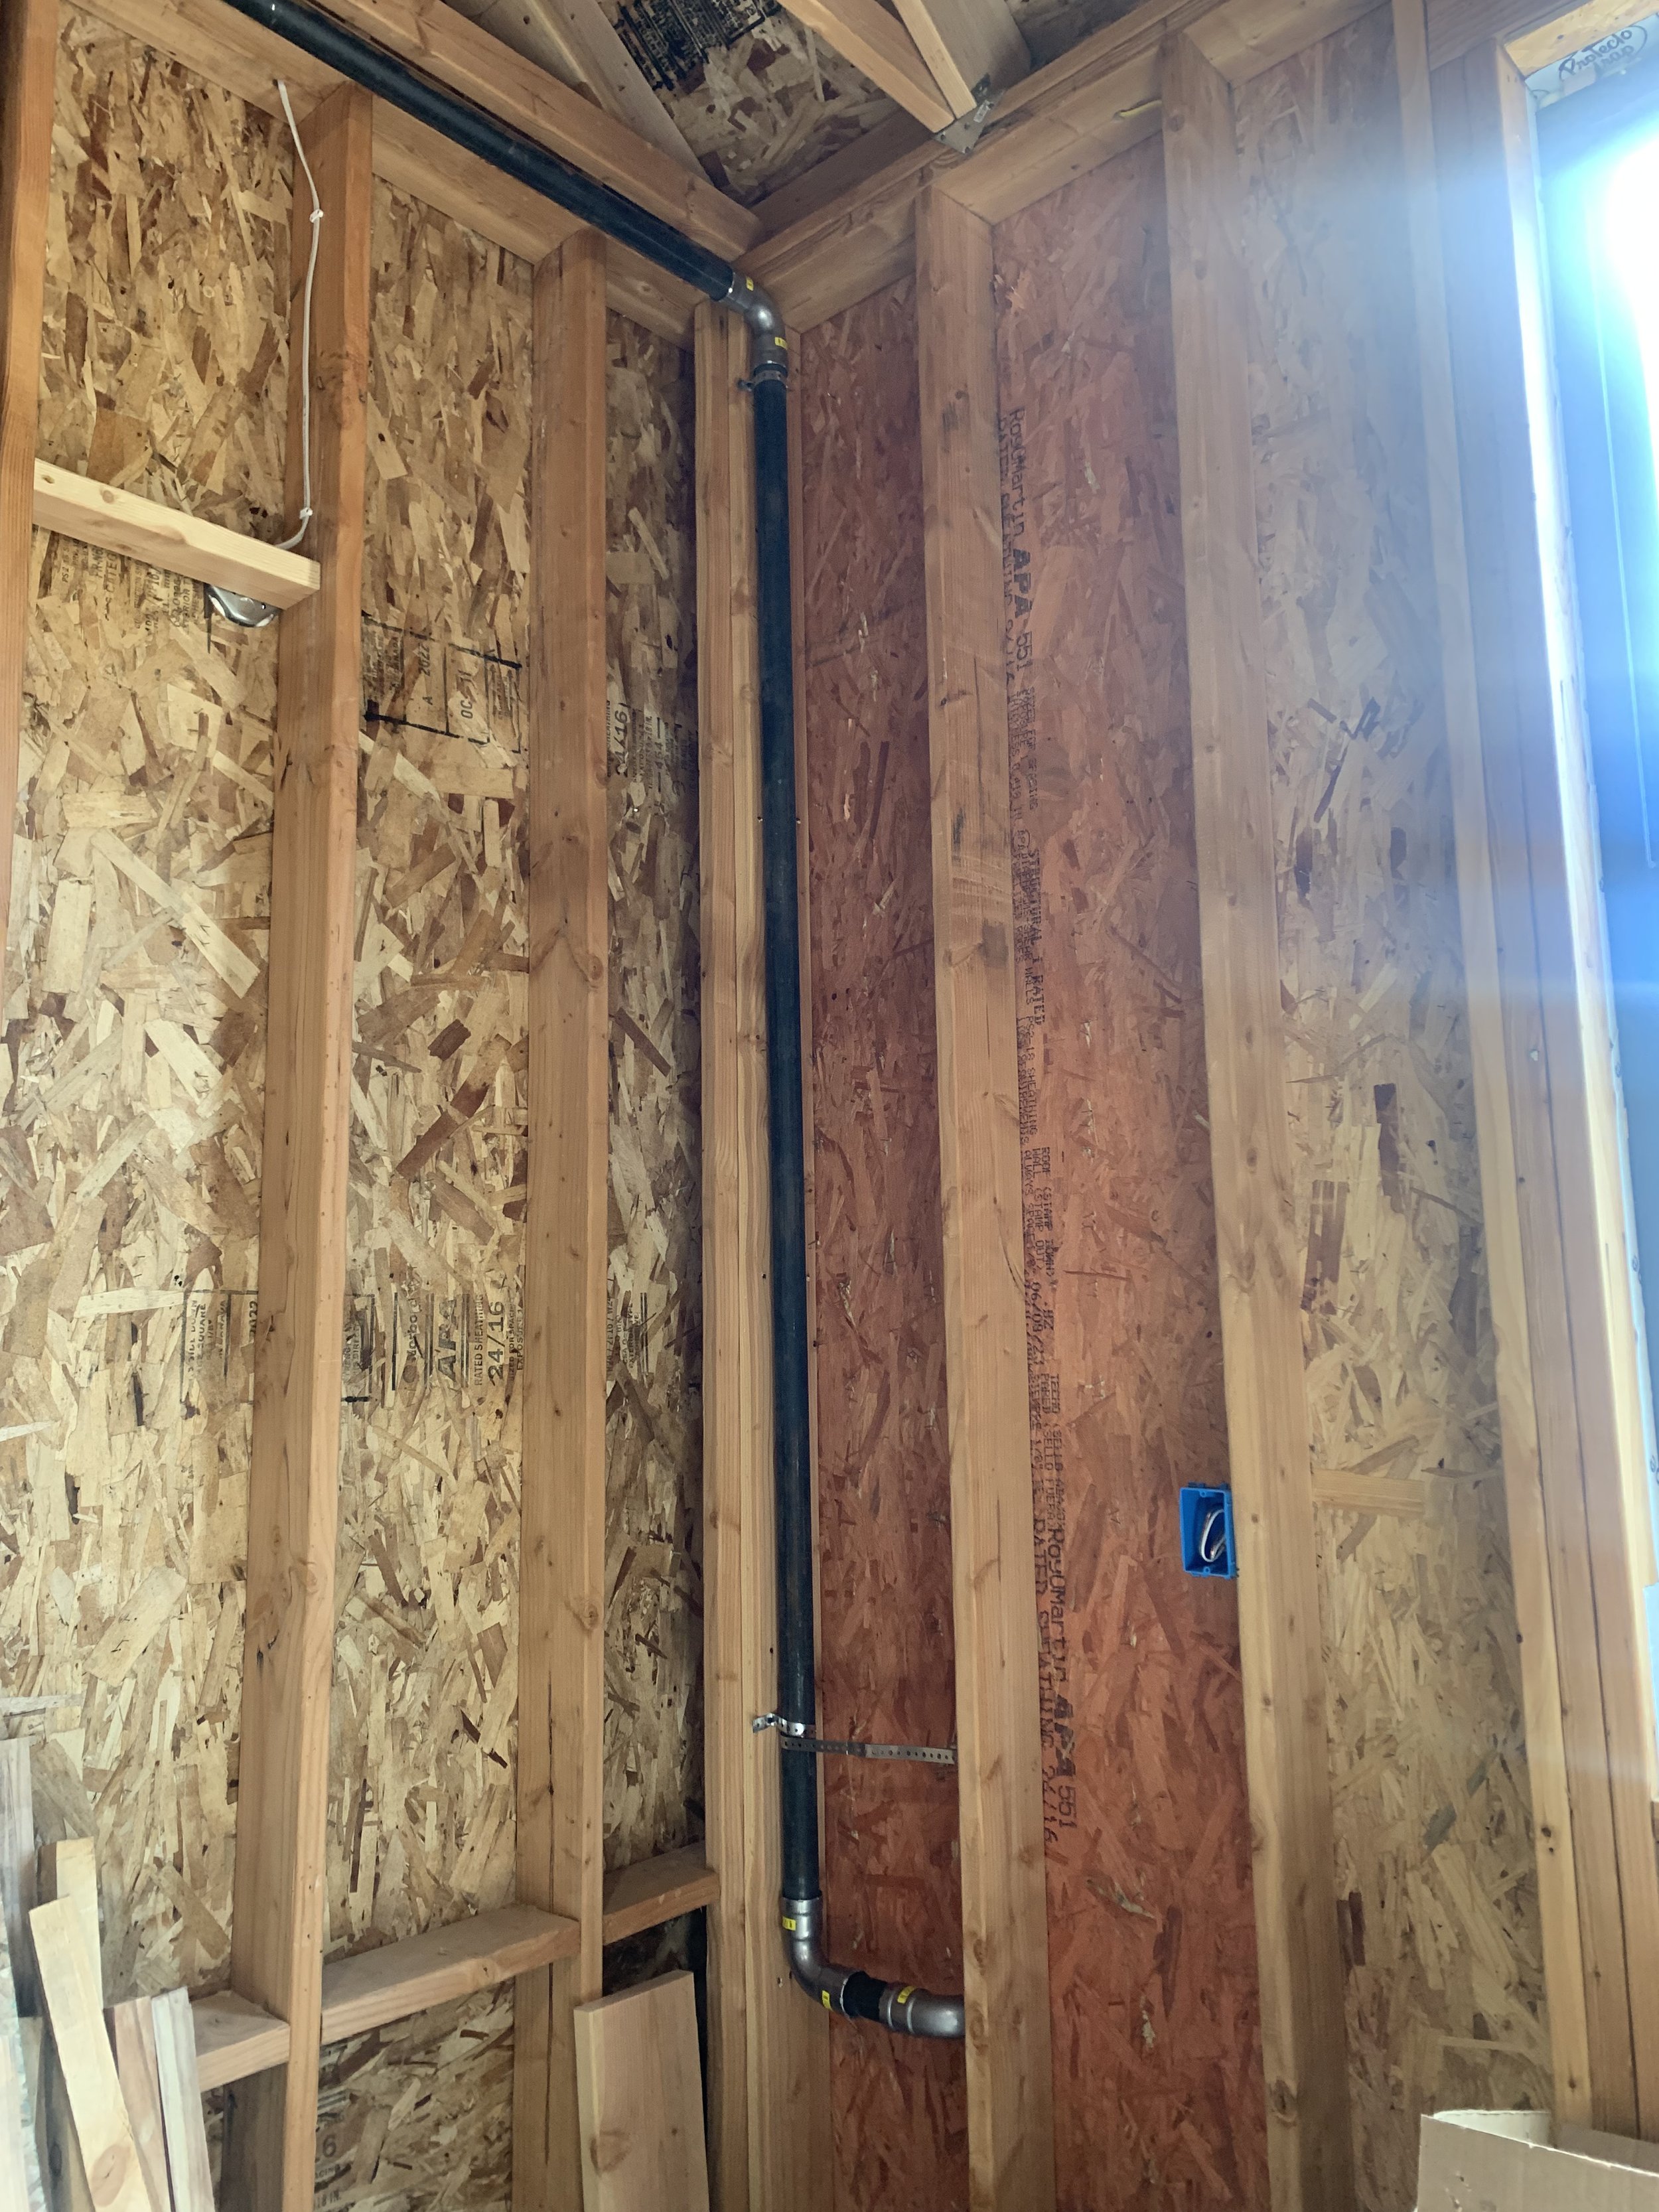
The plumbers arrived to start installing the gas line on the INSIDE of the house.
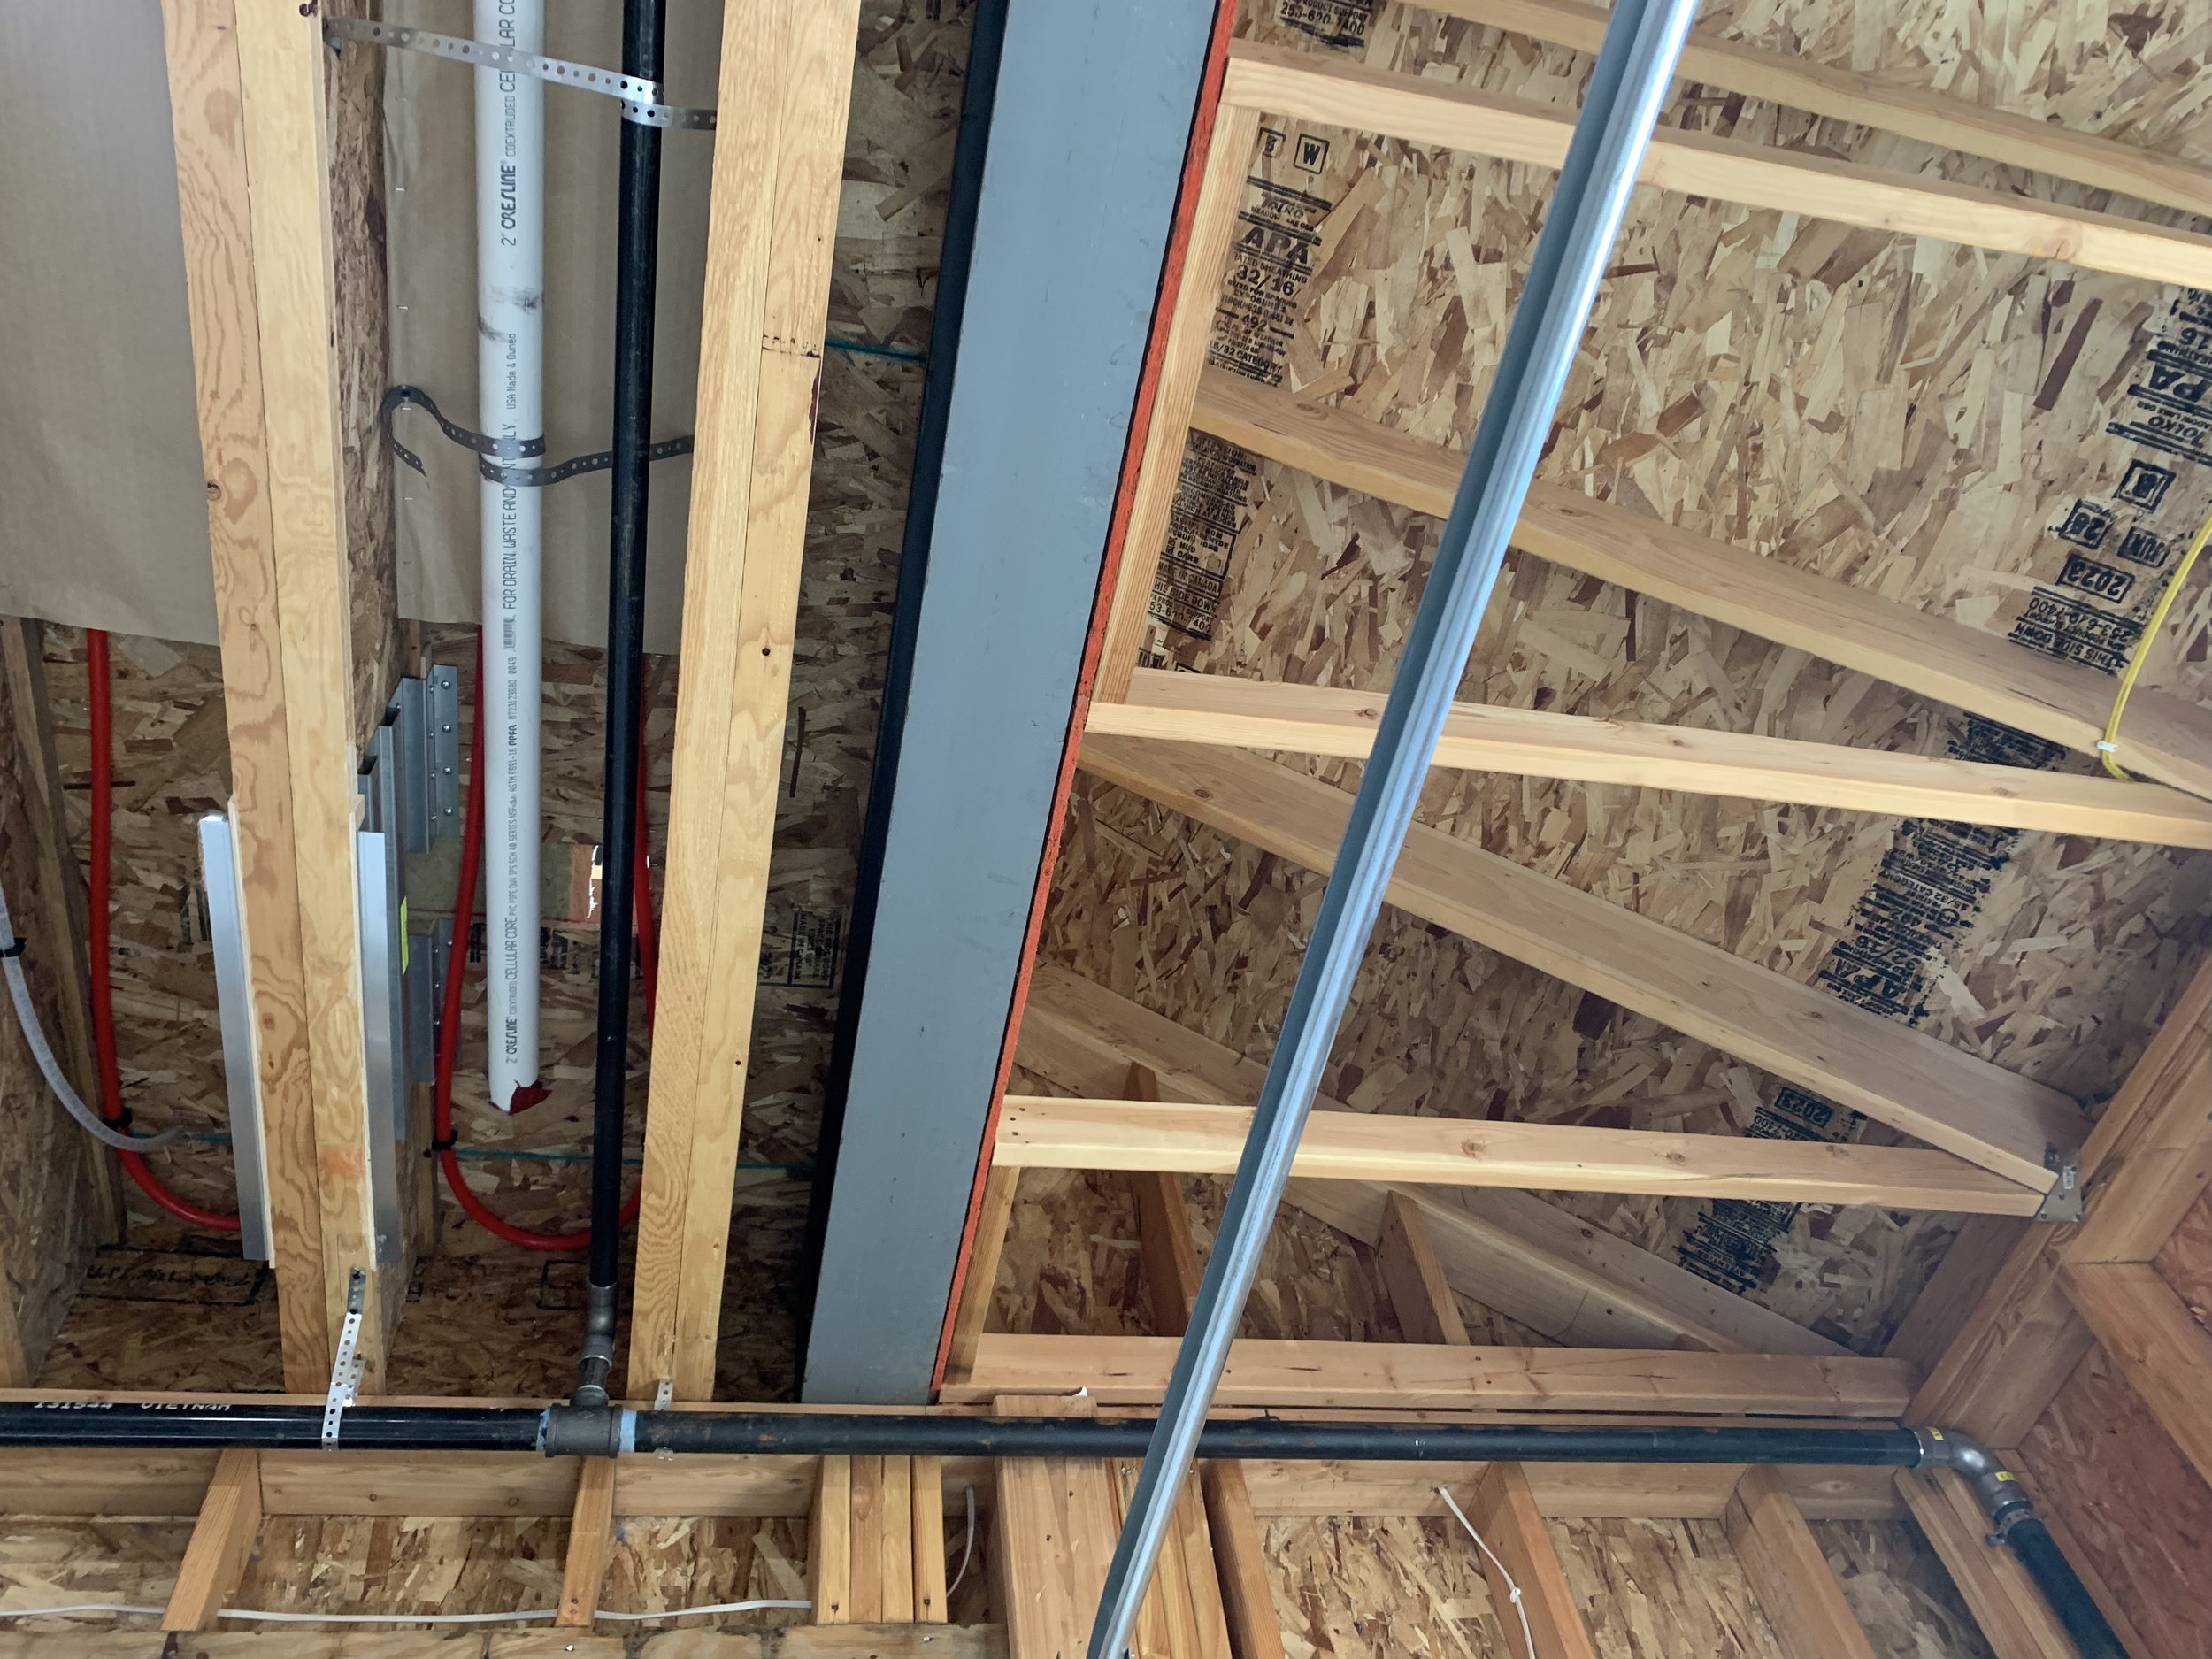
Anywhere you see black tubing, that's a gas line.
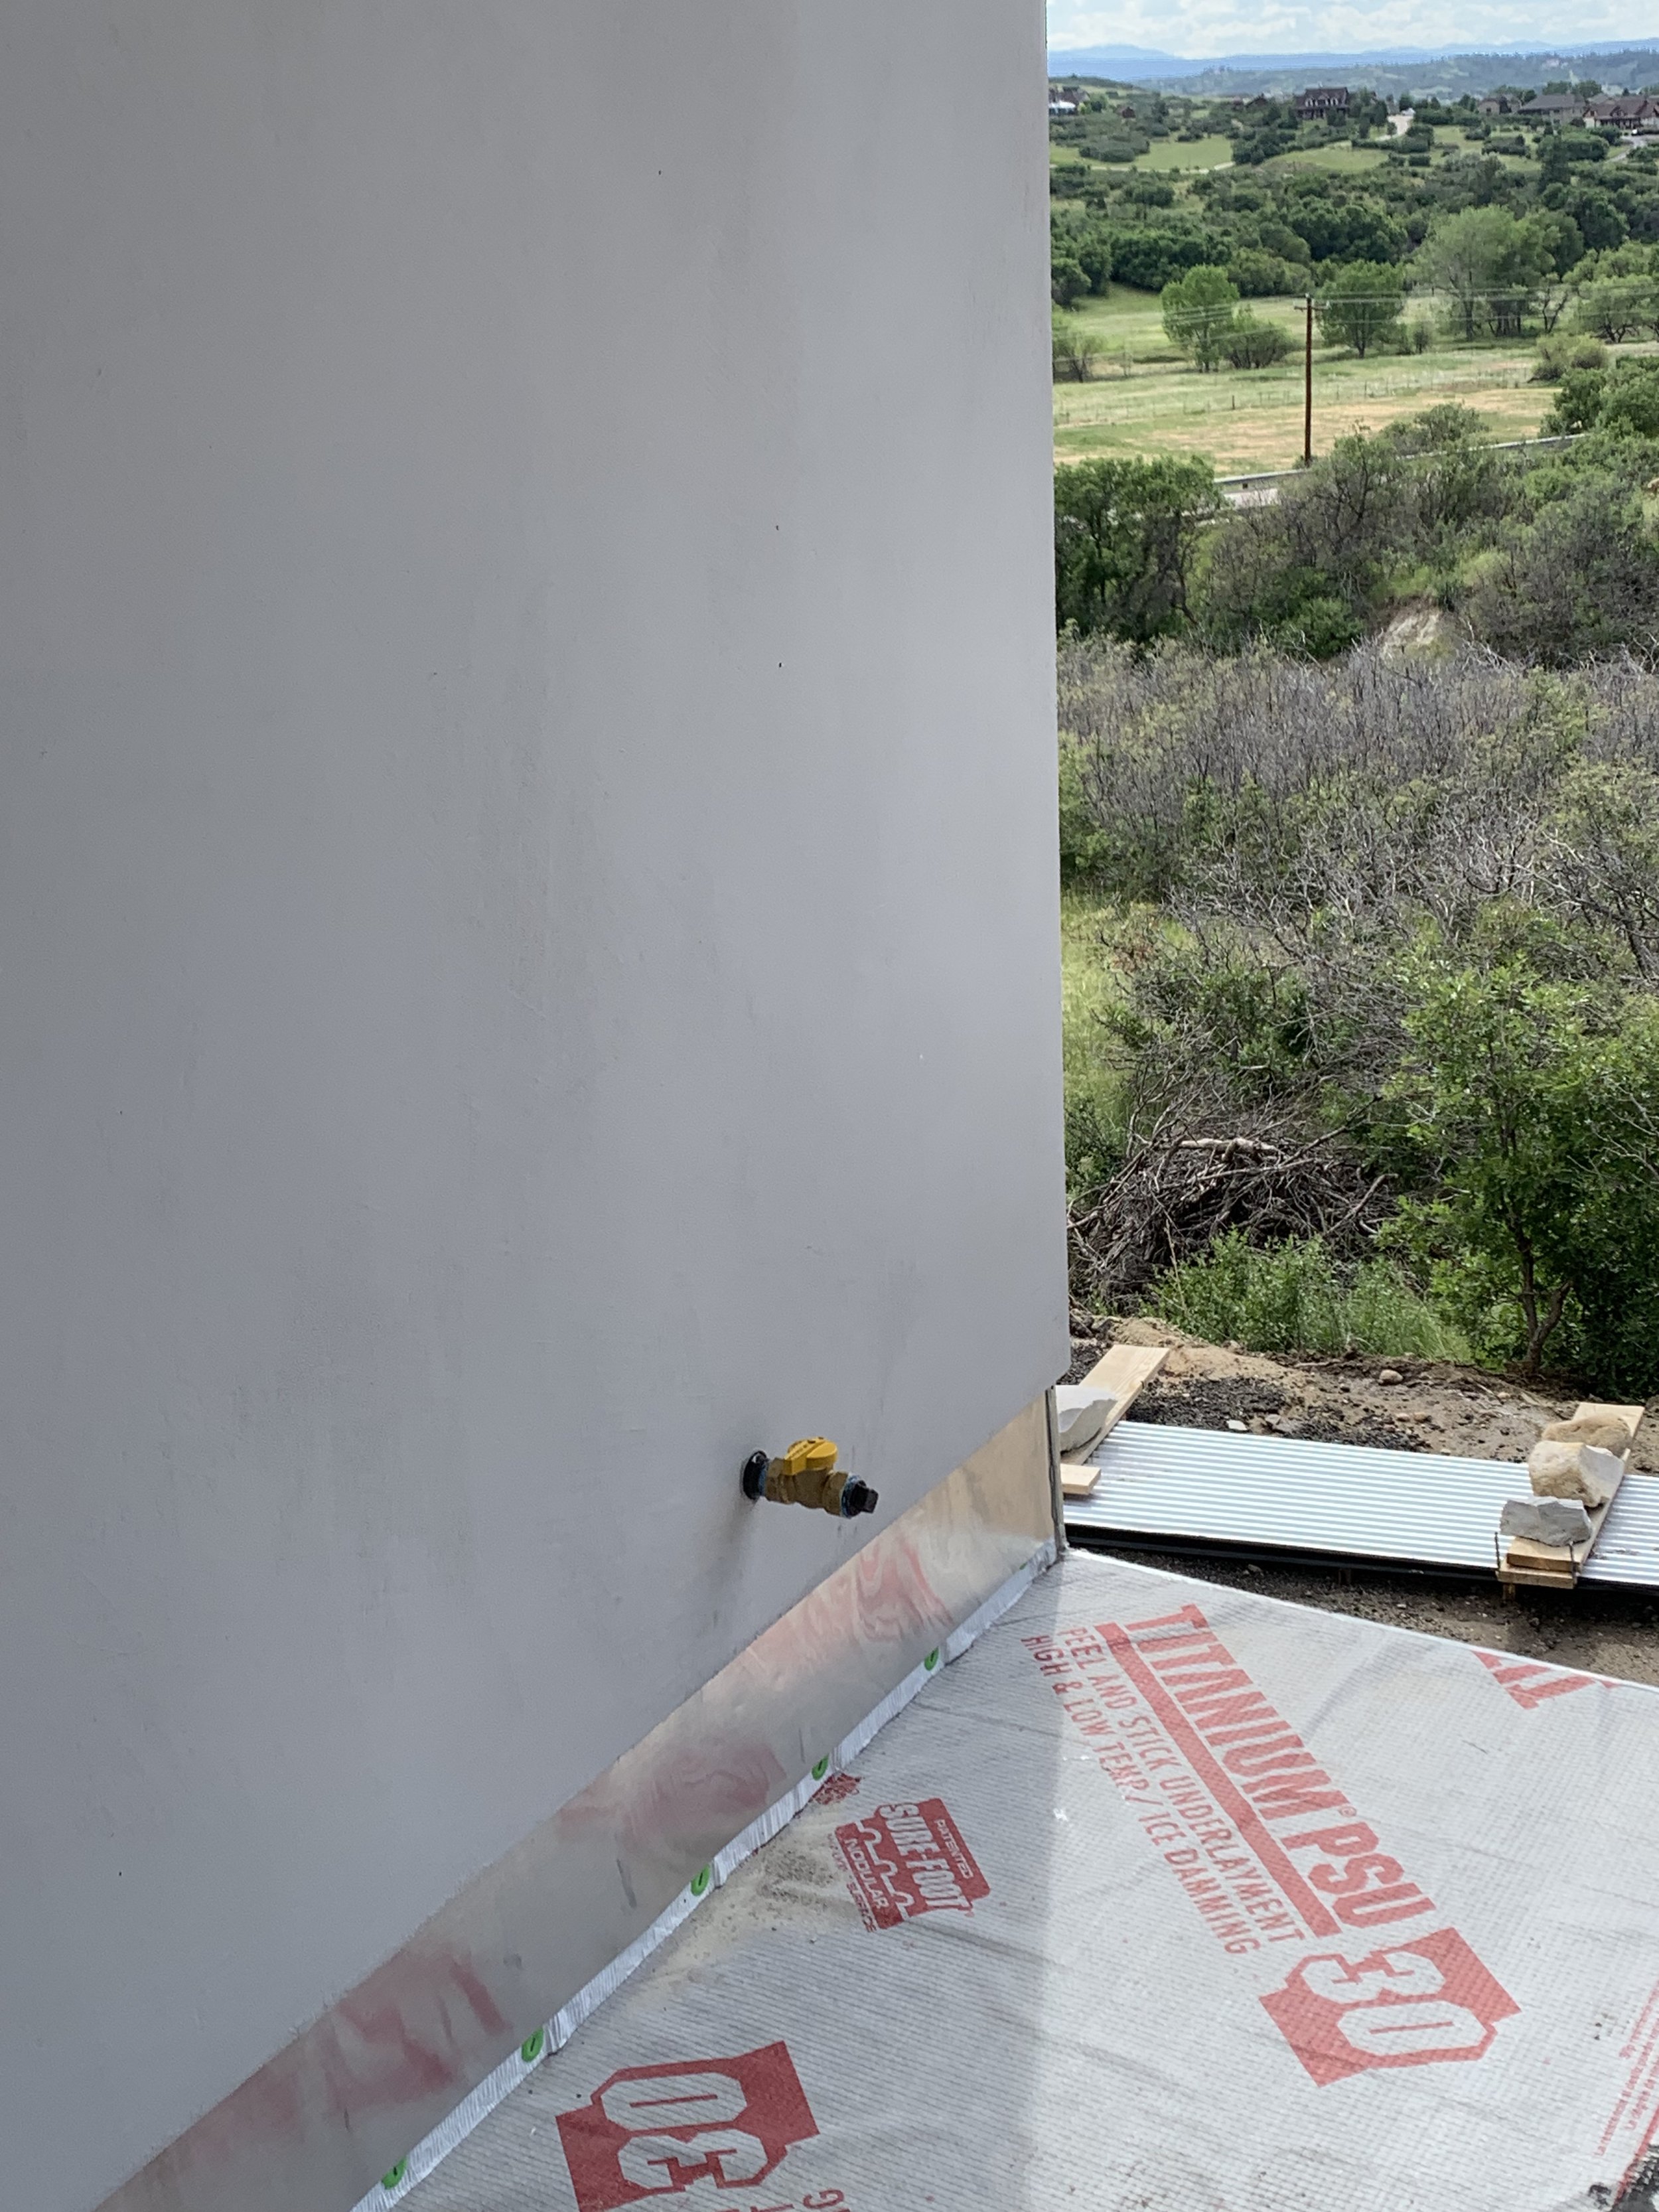
Here's a gas hookup on our deck for the future fire pit.

...and the gas hookup for my cooktop in the kitchen!

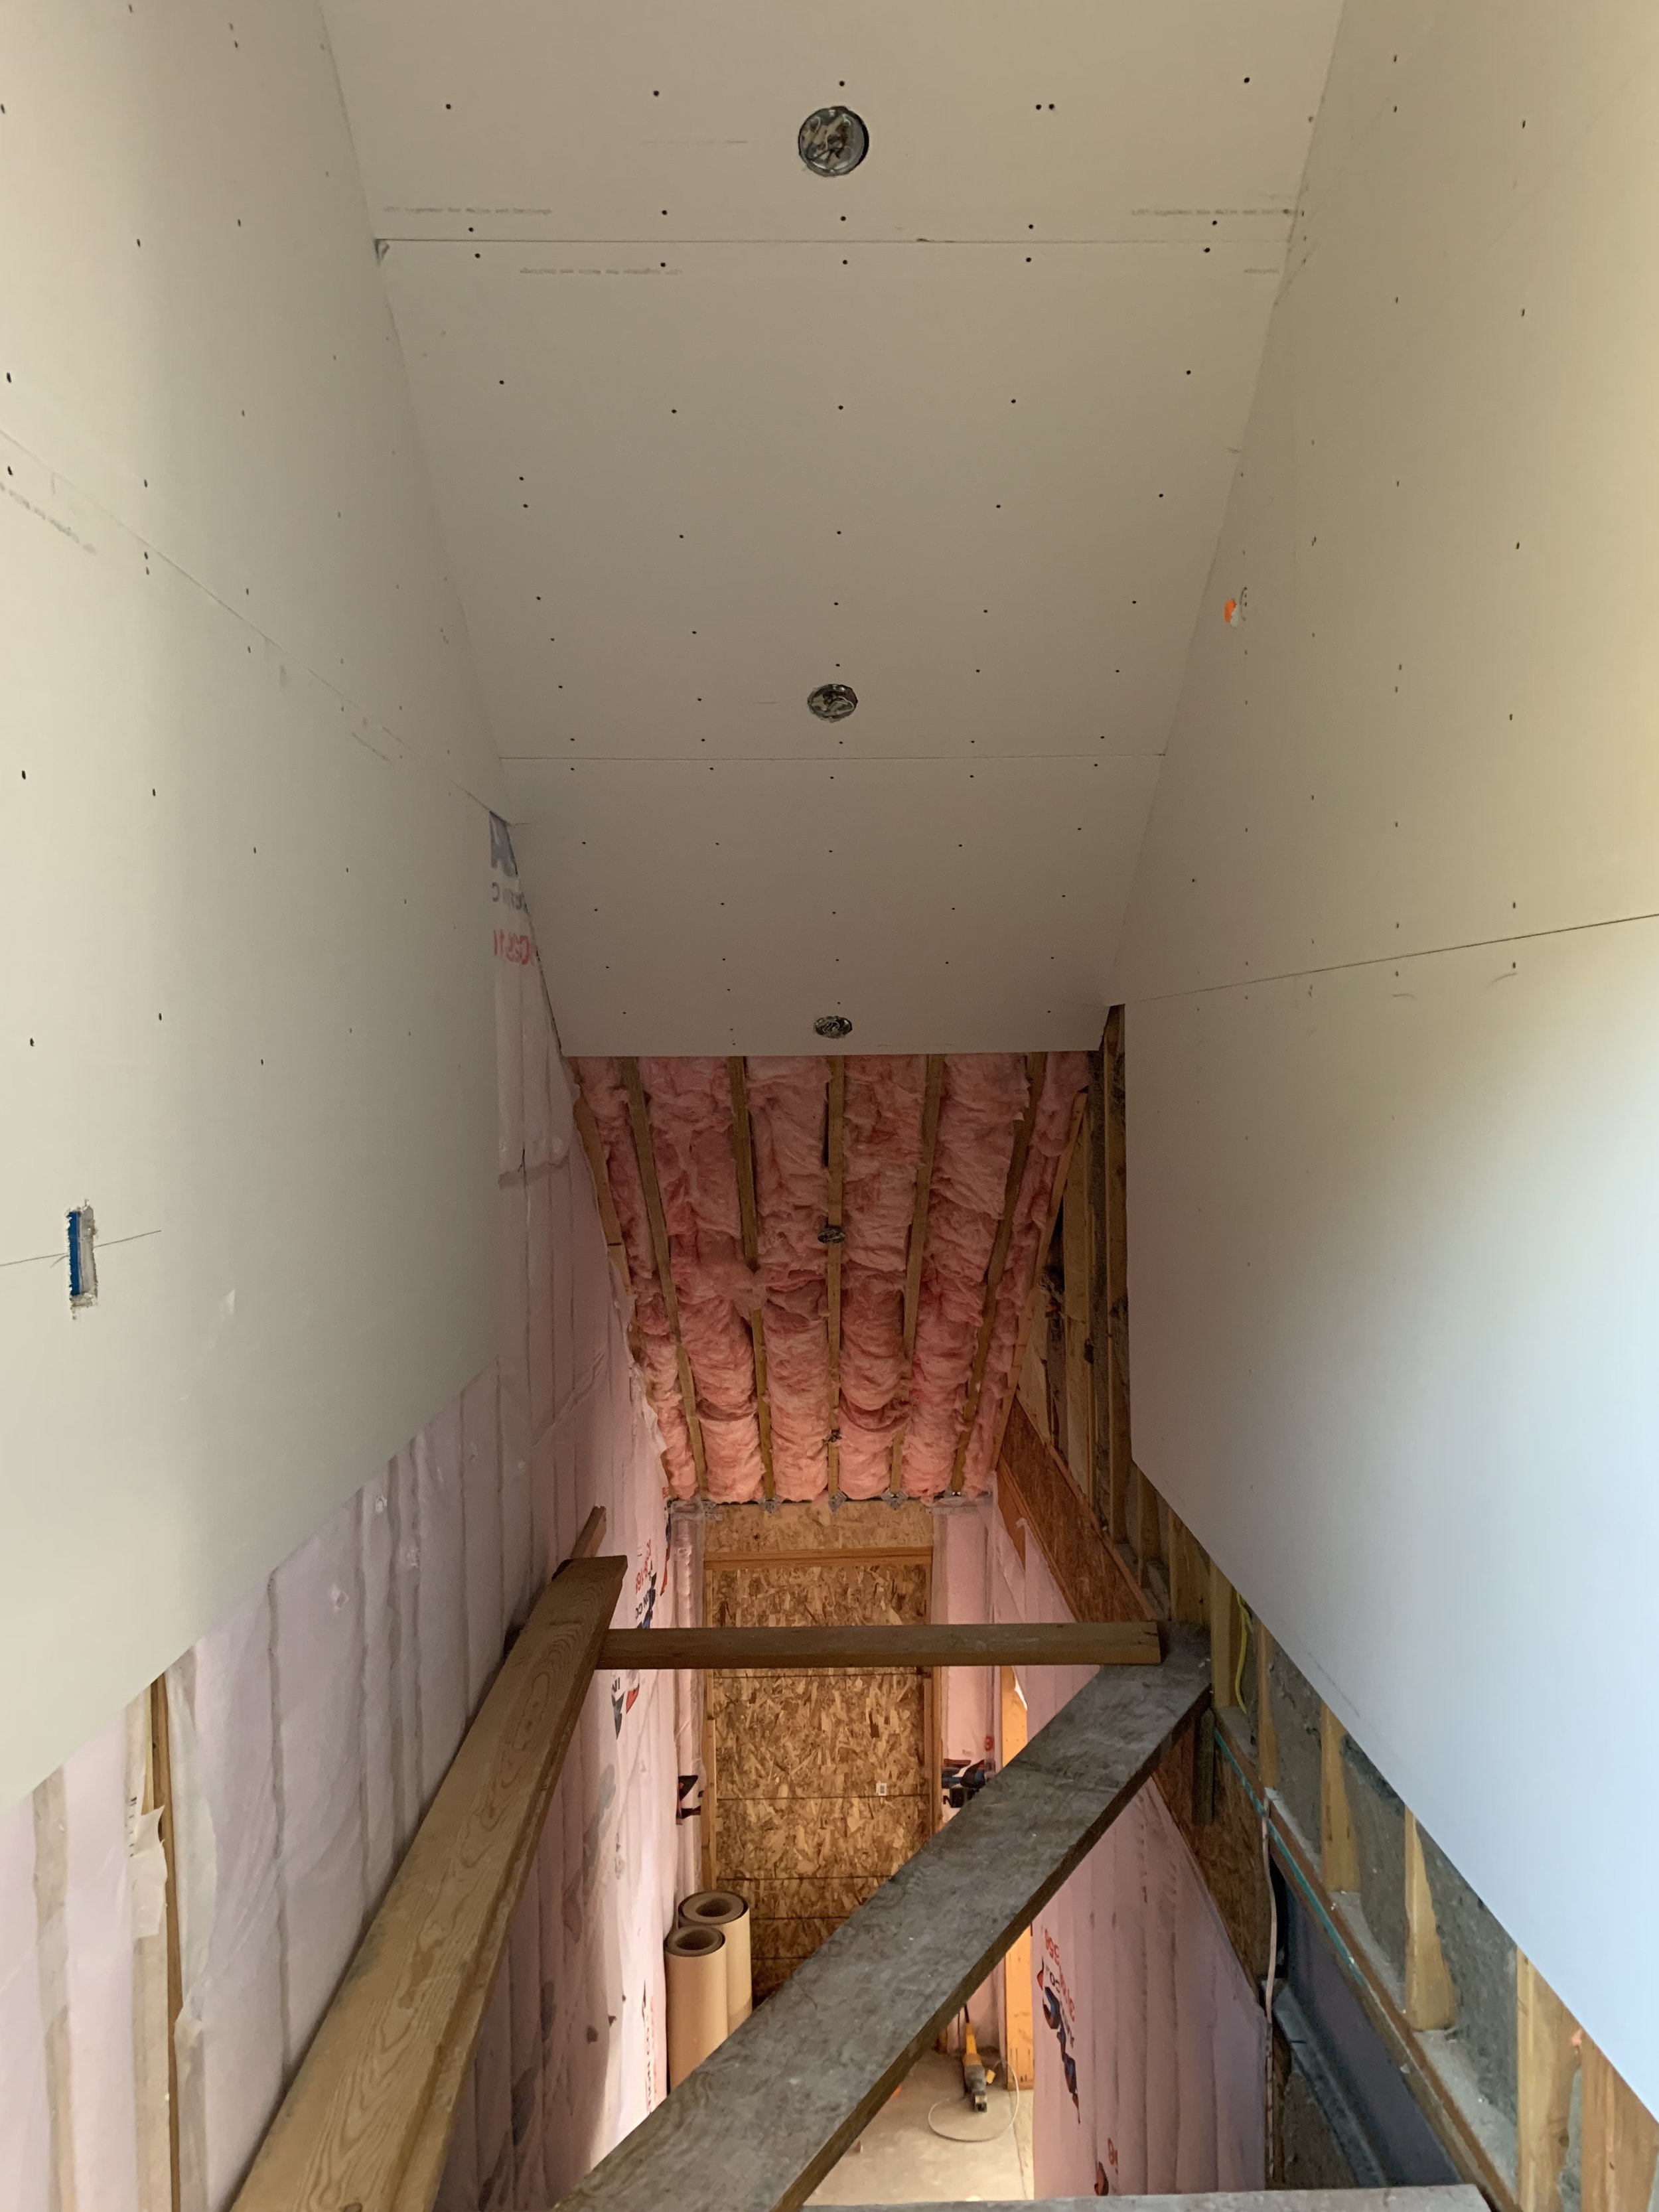
Now on to the radiant heat. Kris began the very tedious process of installing the radiant heat tubing for the upstairs....which is inconveniently put into the ceiling of the downstairs.
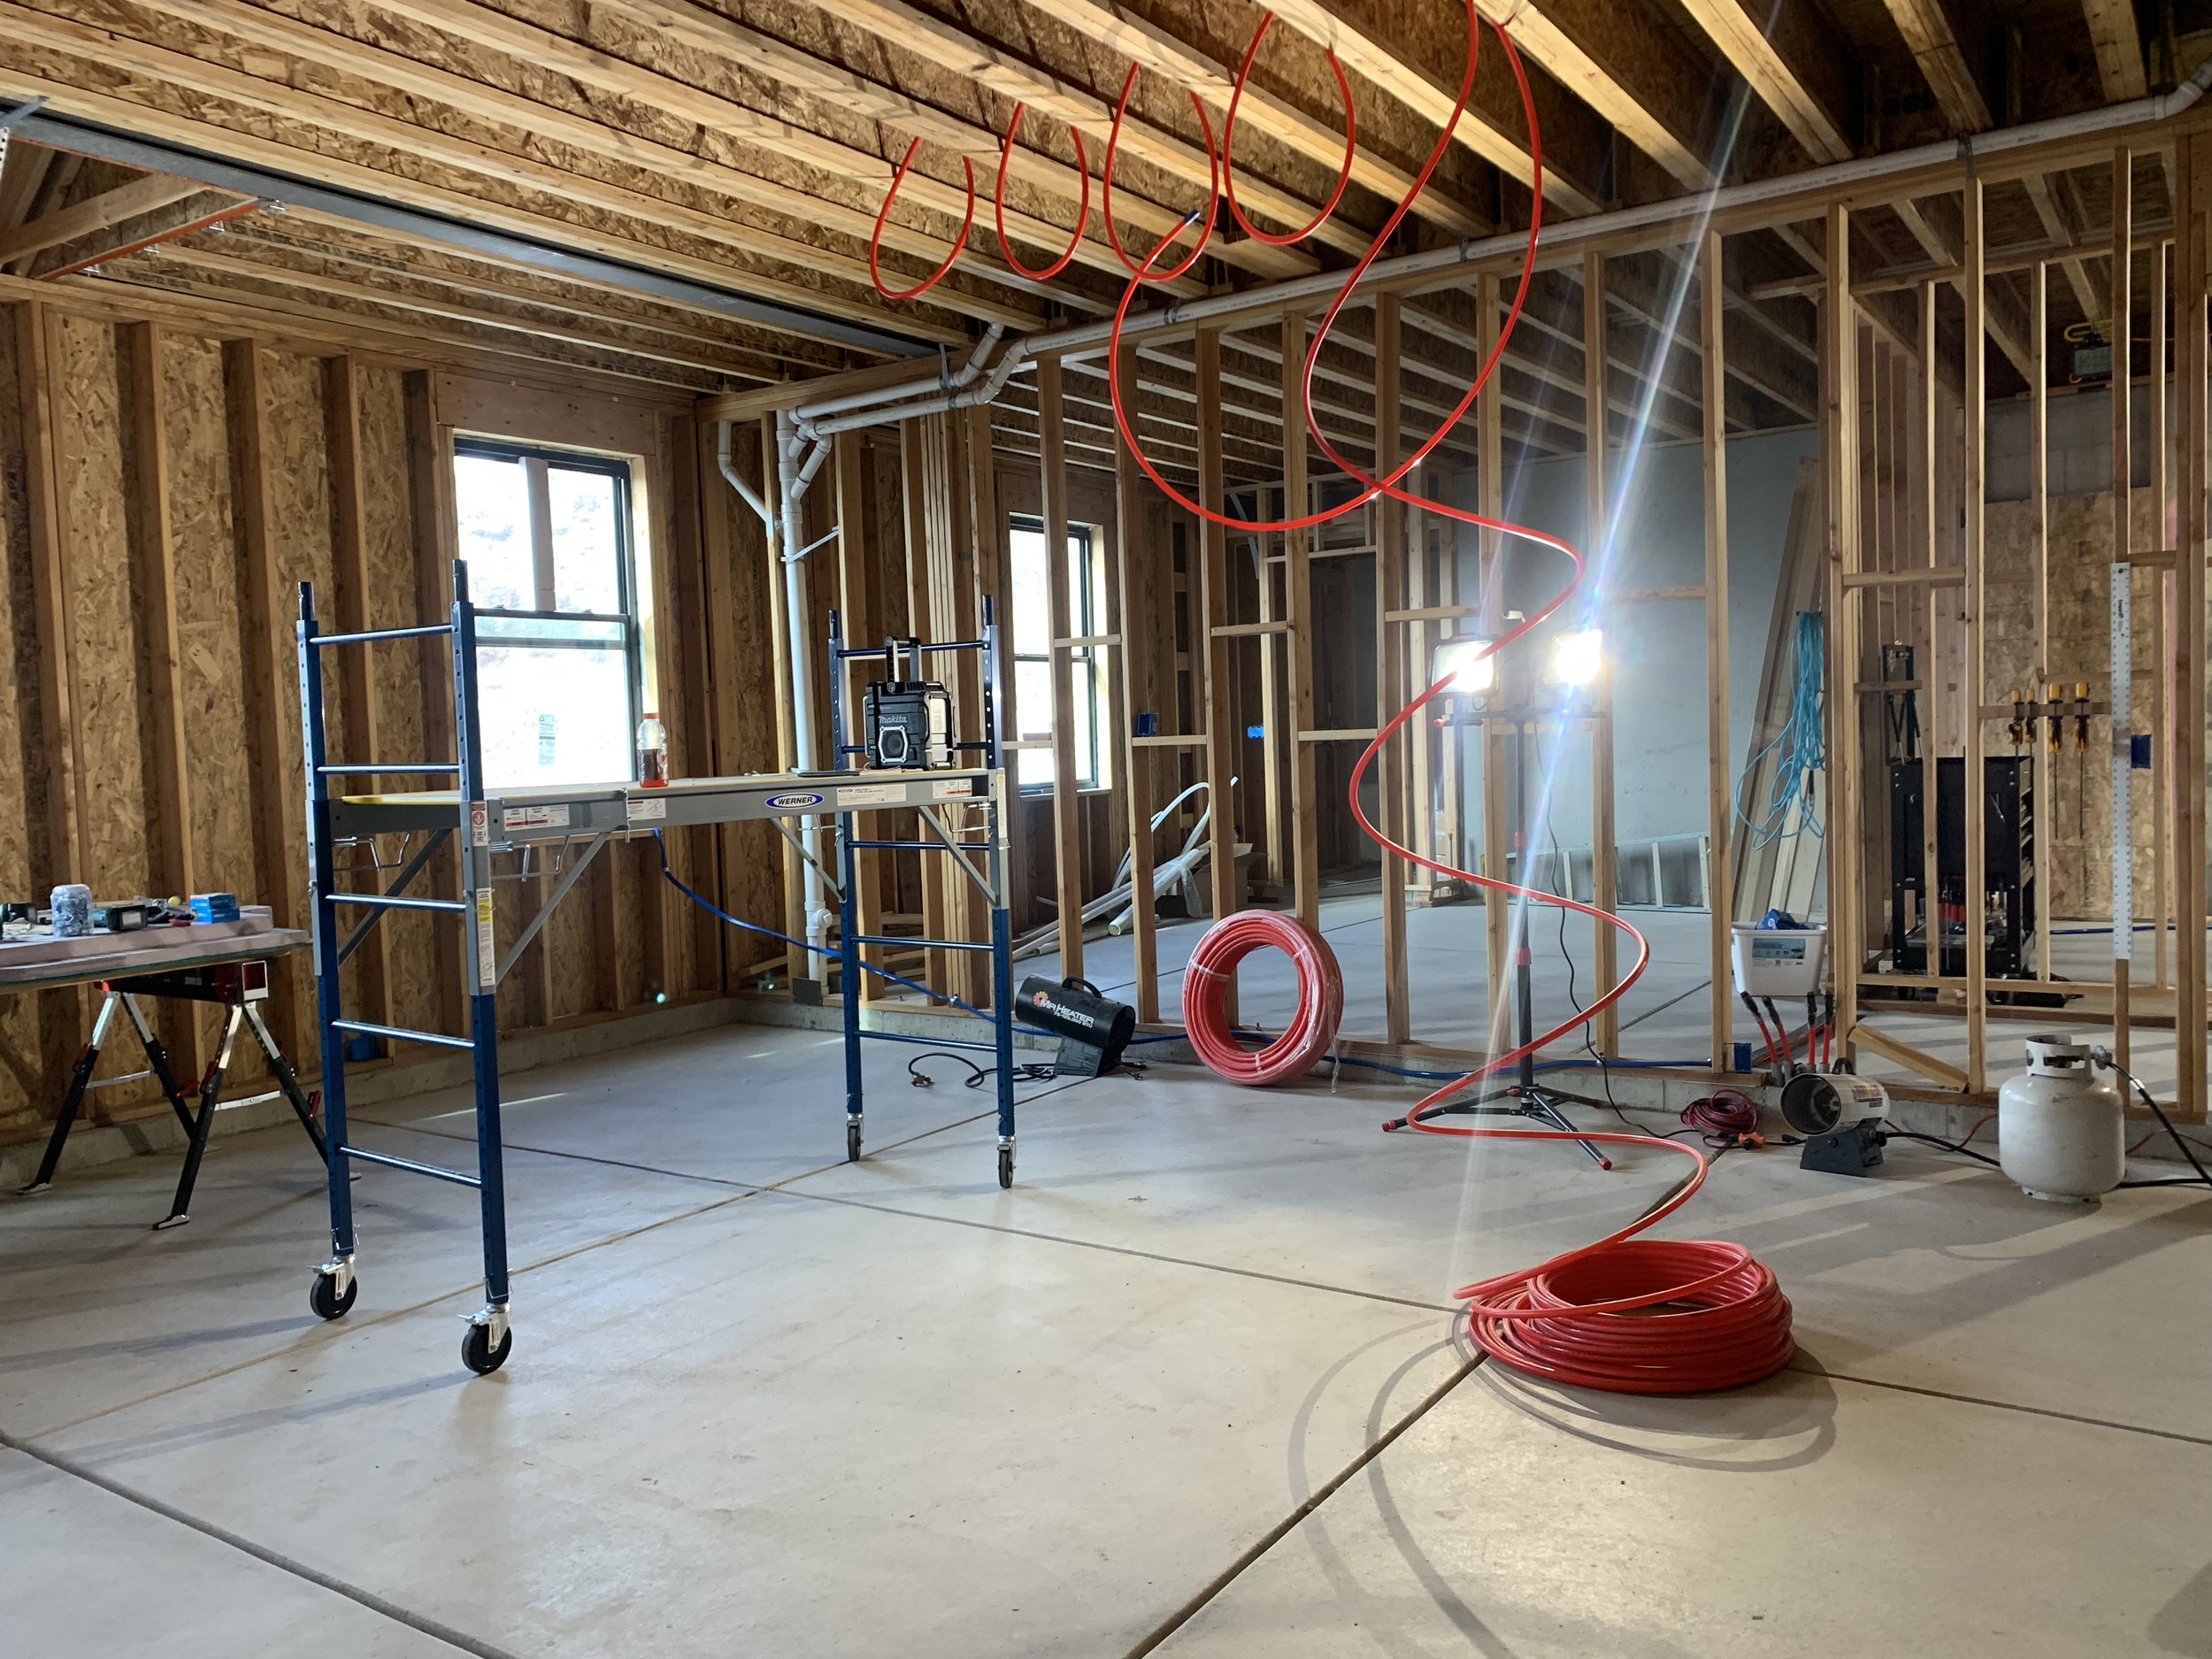
The loops have to be even so when they're pulled up into the ceiling, you get nice, even heat distribution.
Here's a closer look at the process. So time consuming!!

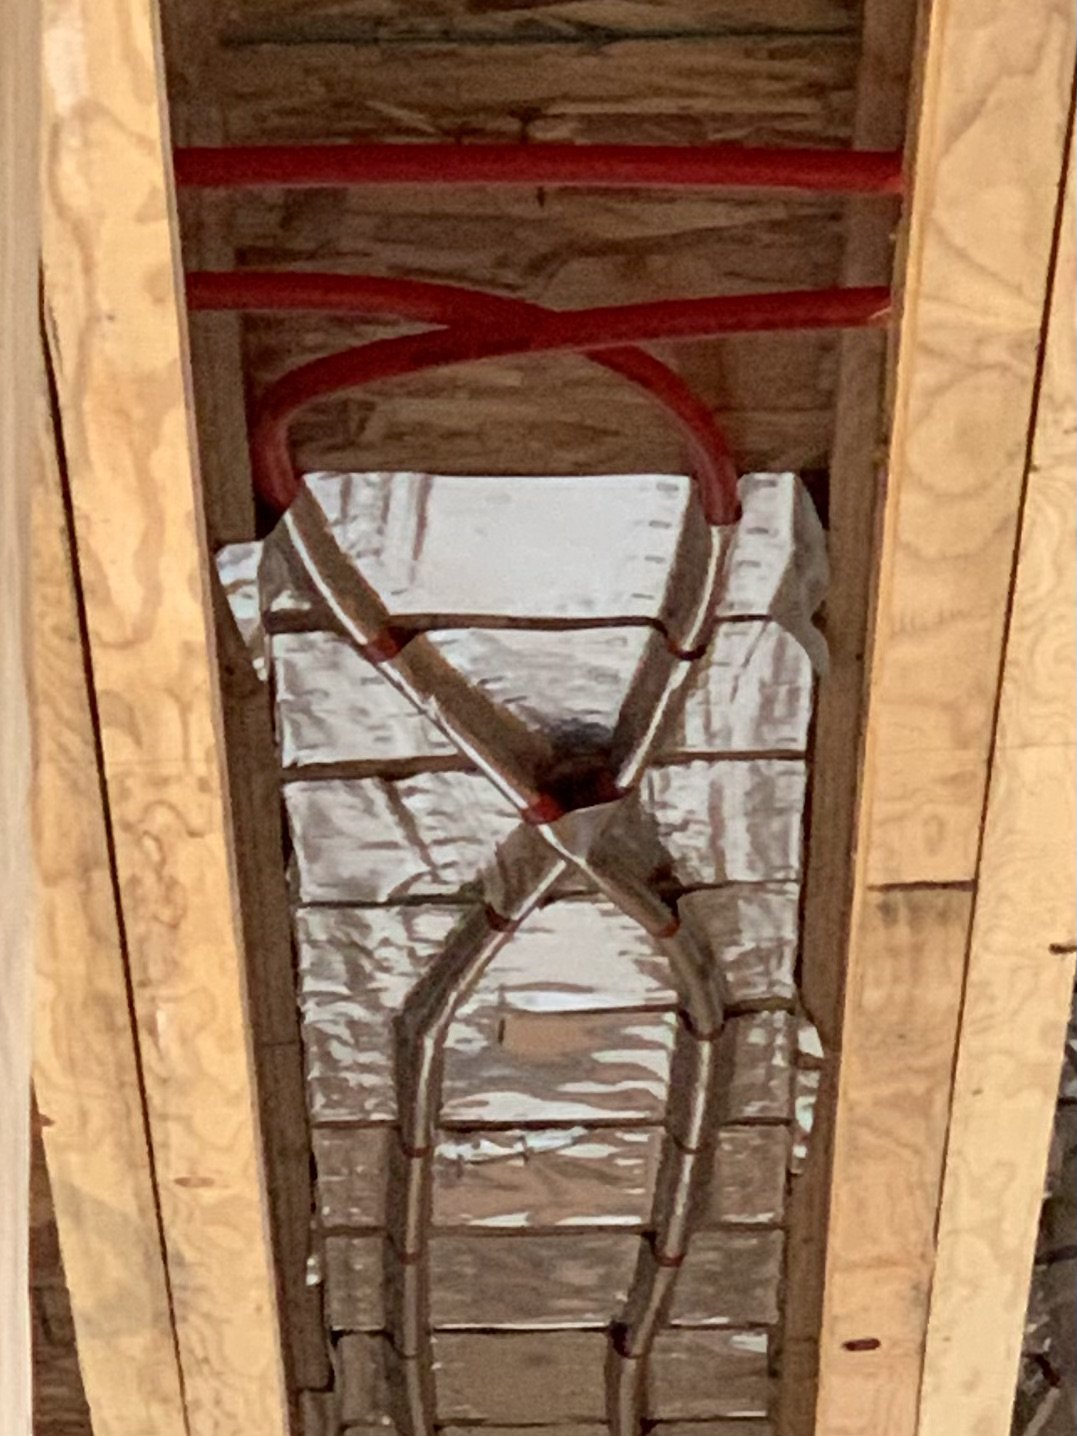
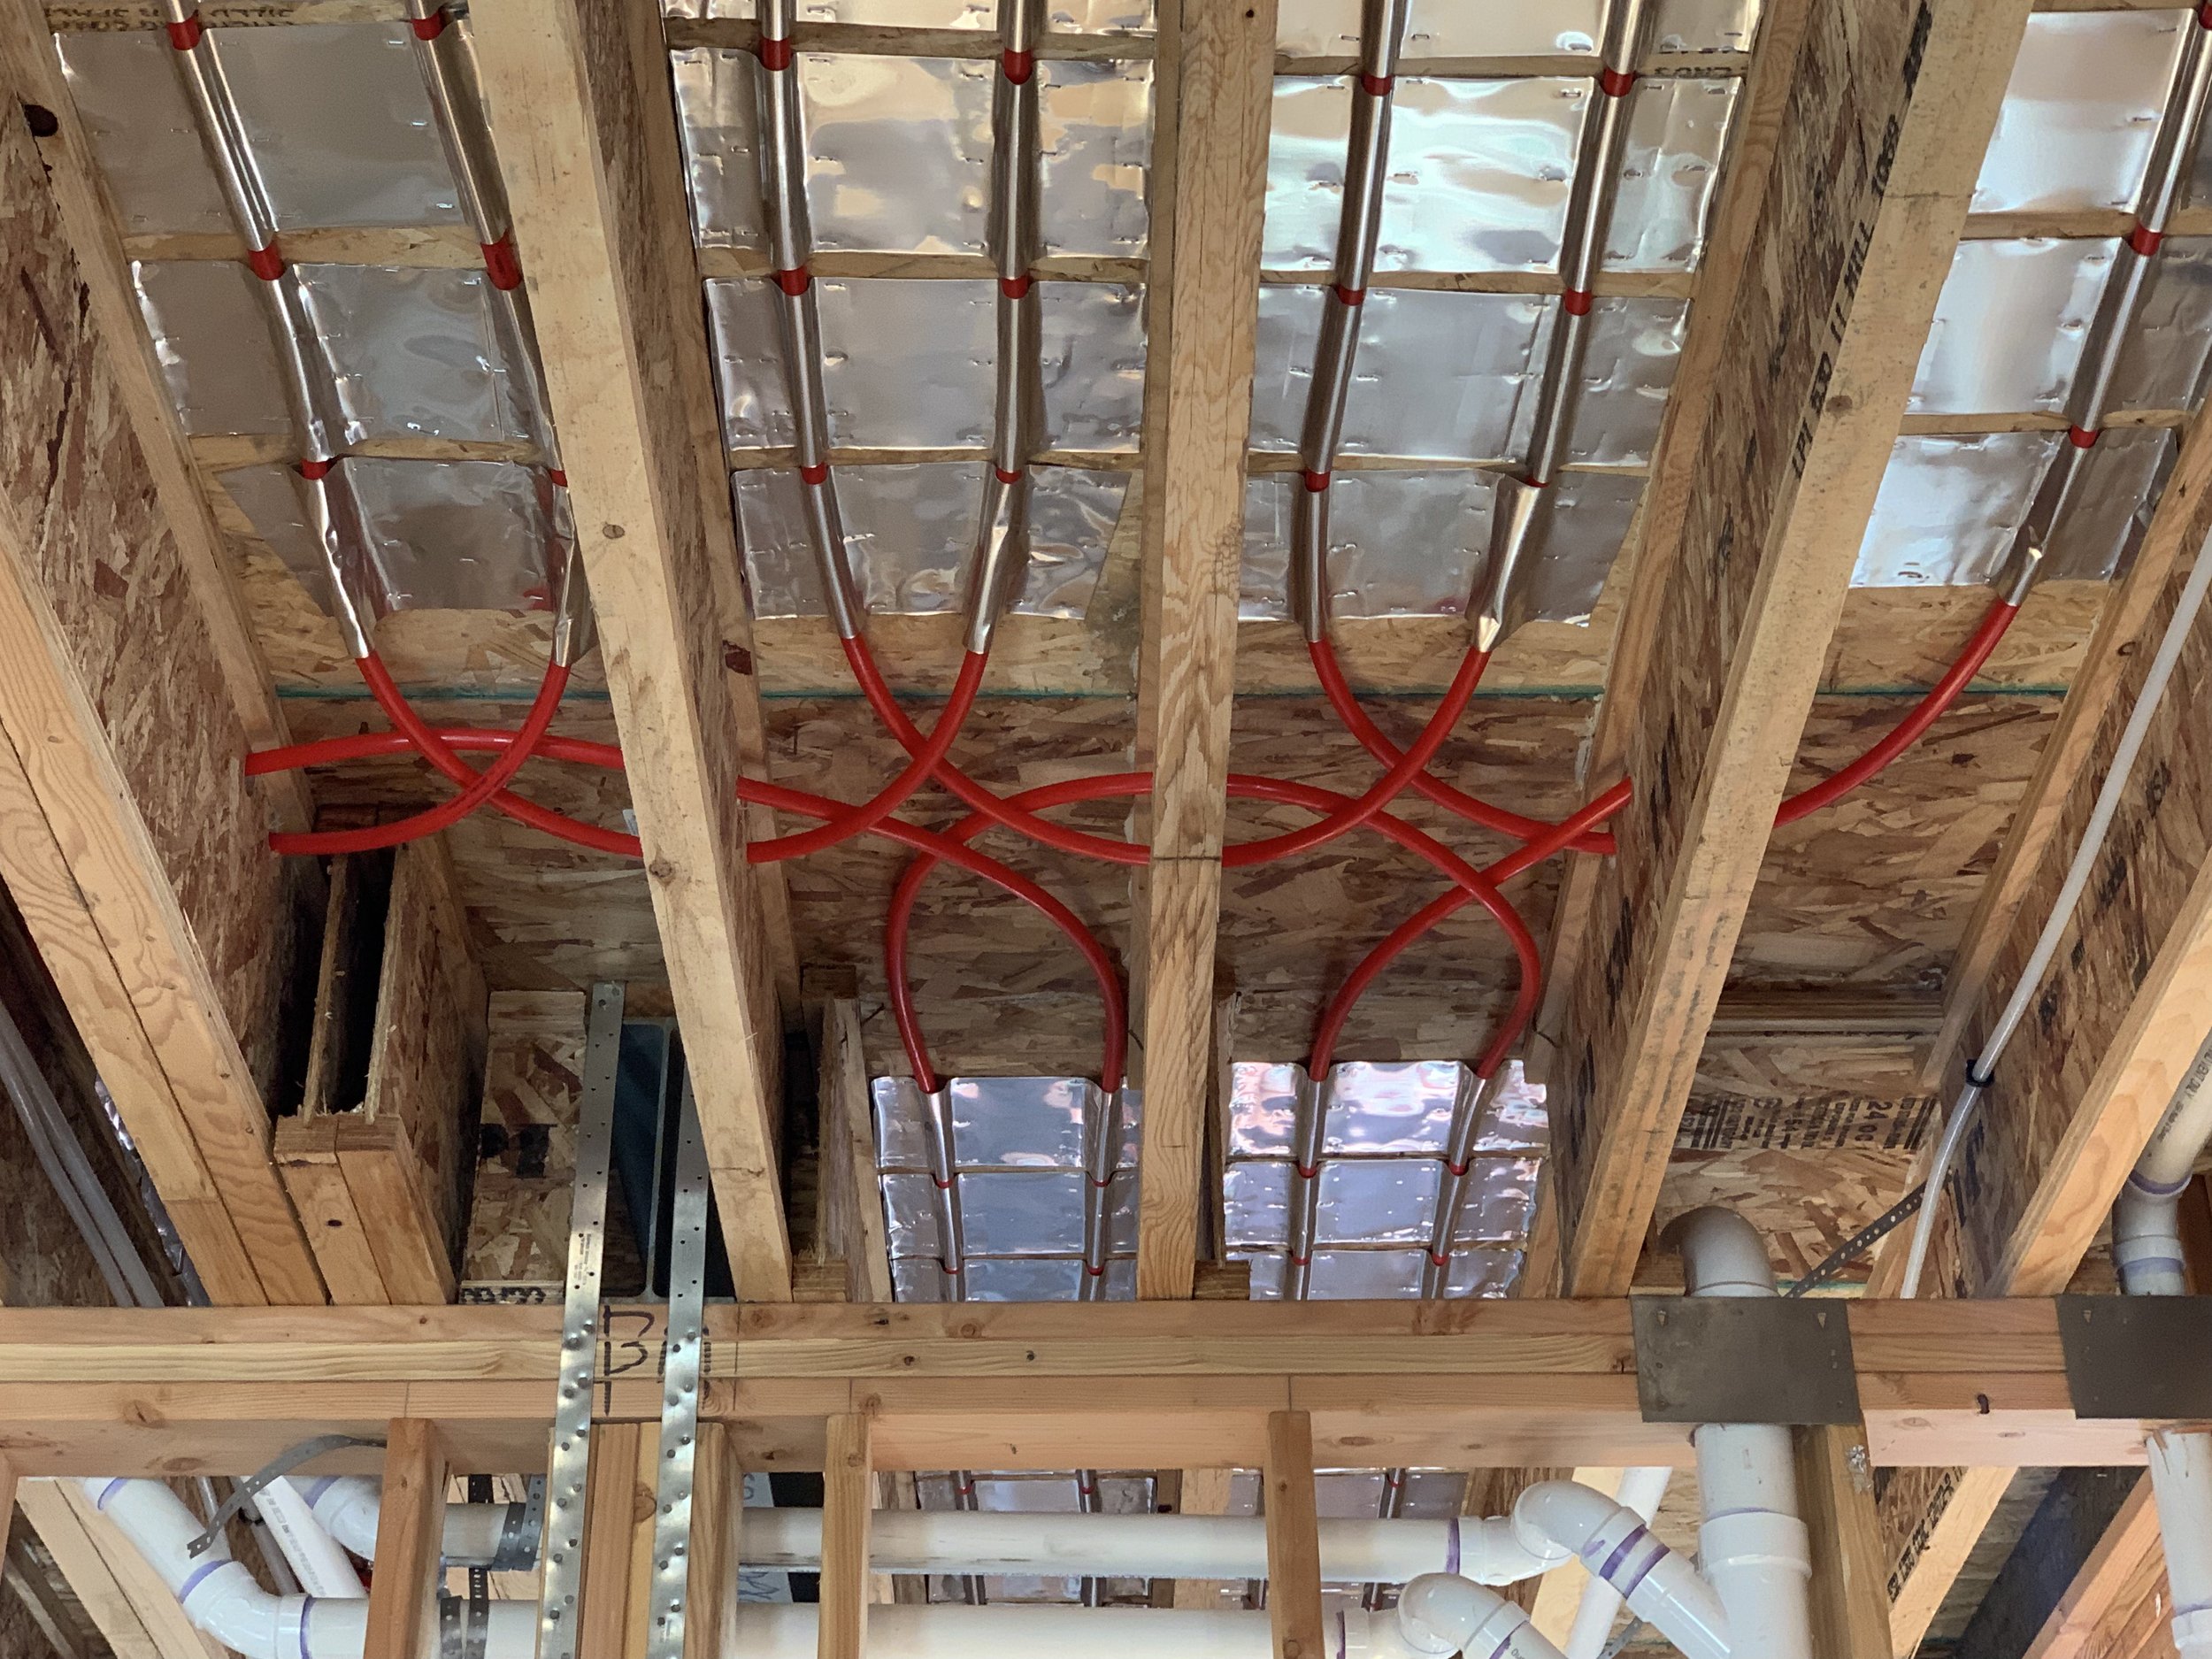
Once the tubing is in place, you install a metallic foil over the tubing that disburses the heat across the floor.

Every portion of the ceiling has to be covered.

If you like neat and tidy, this is the picture for you!
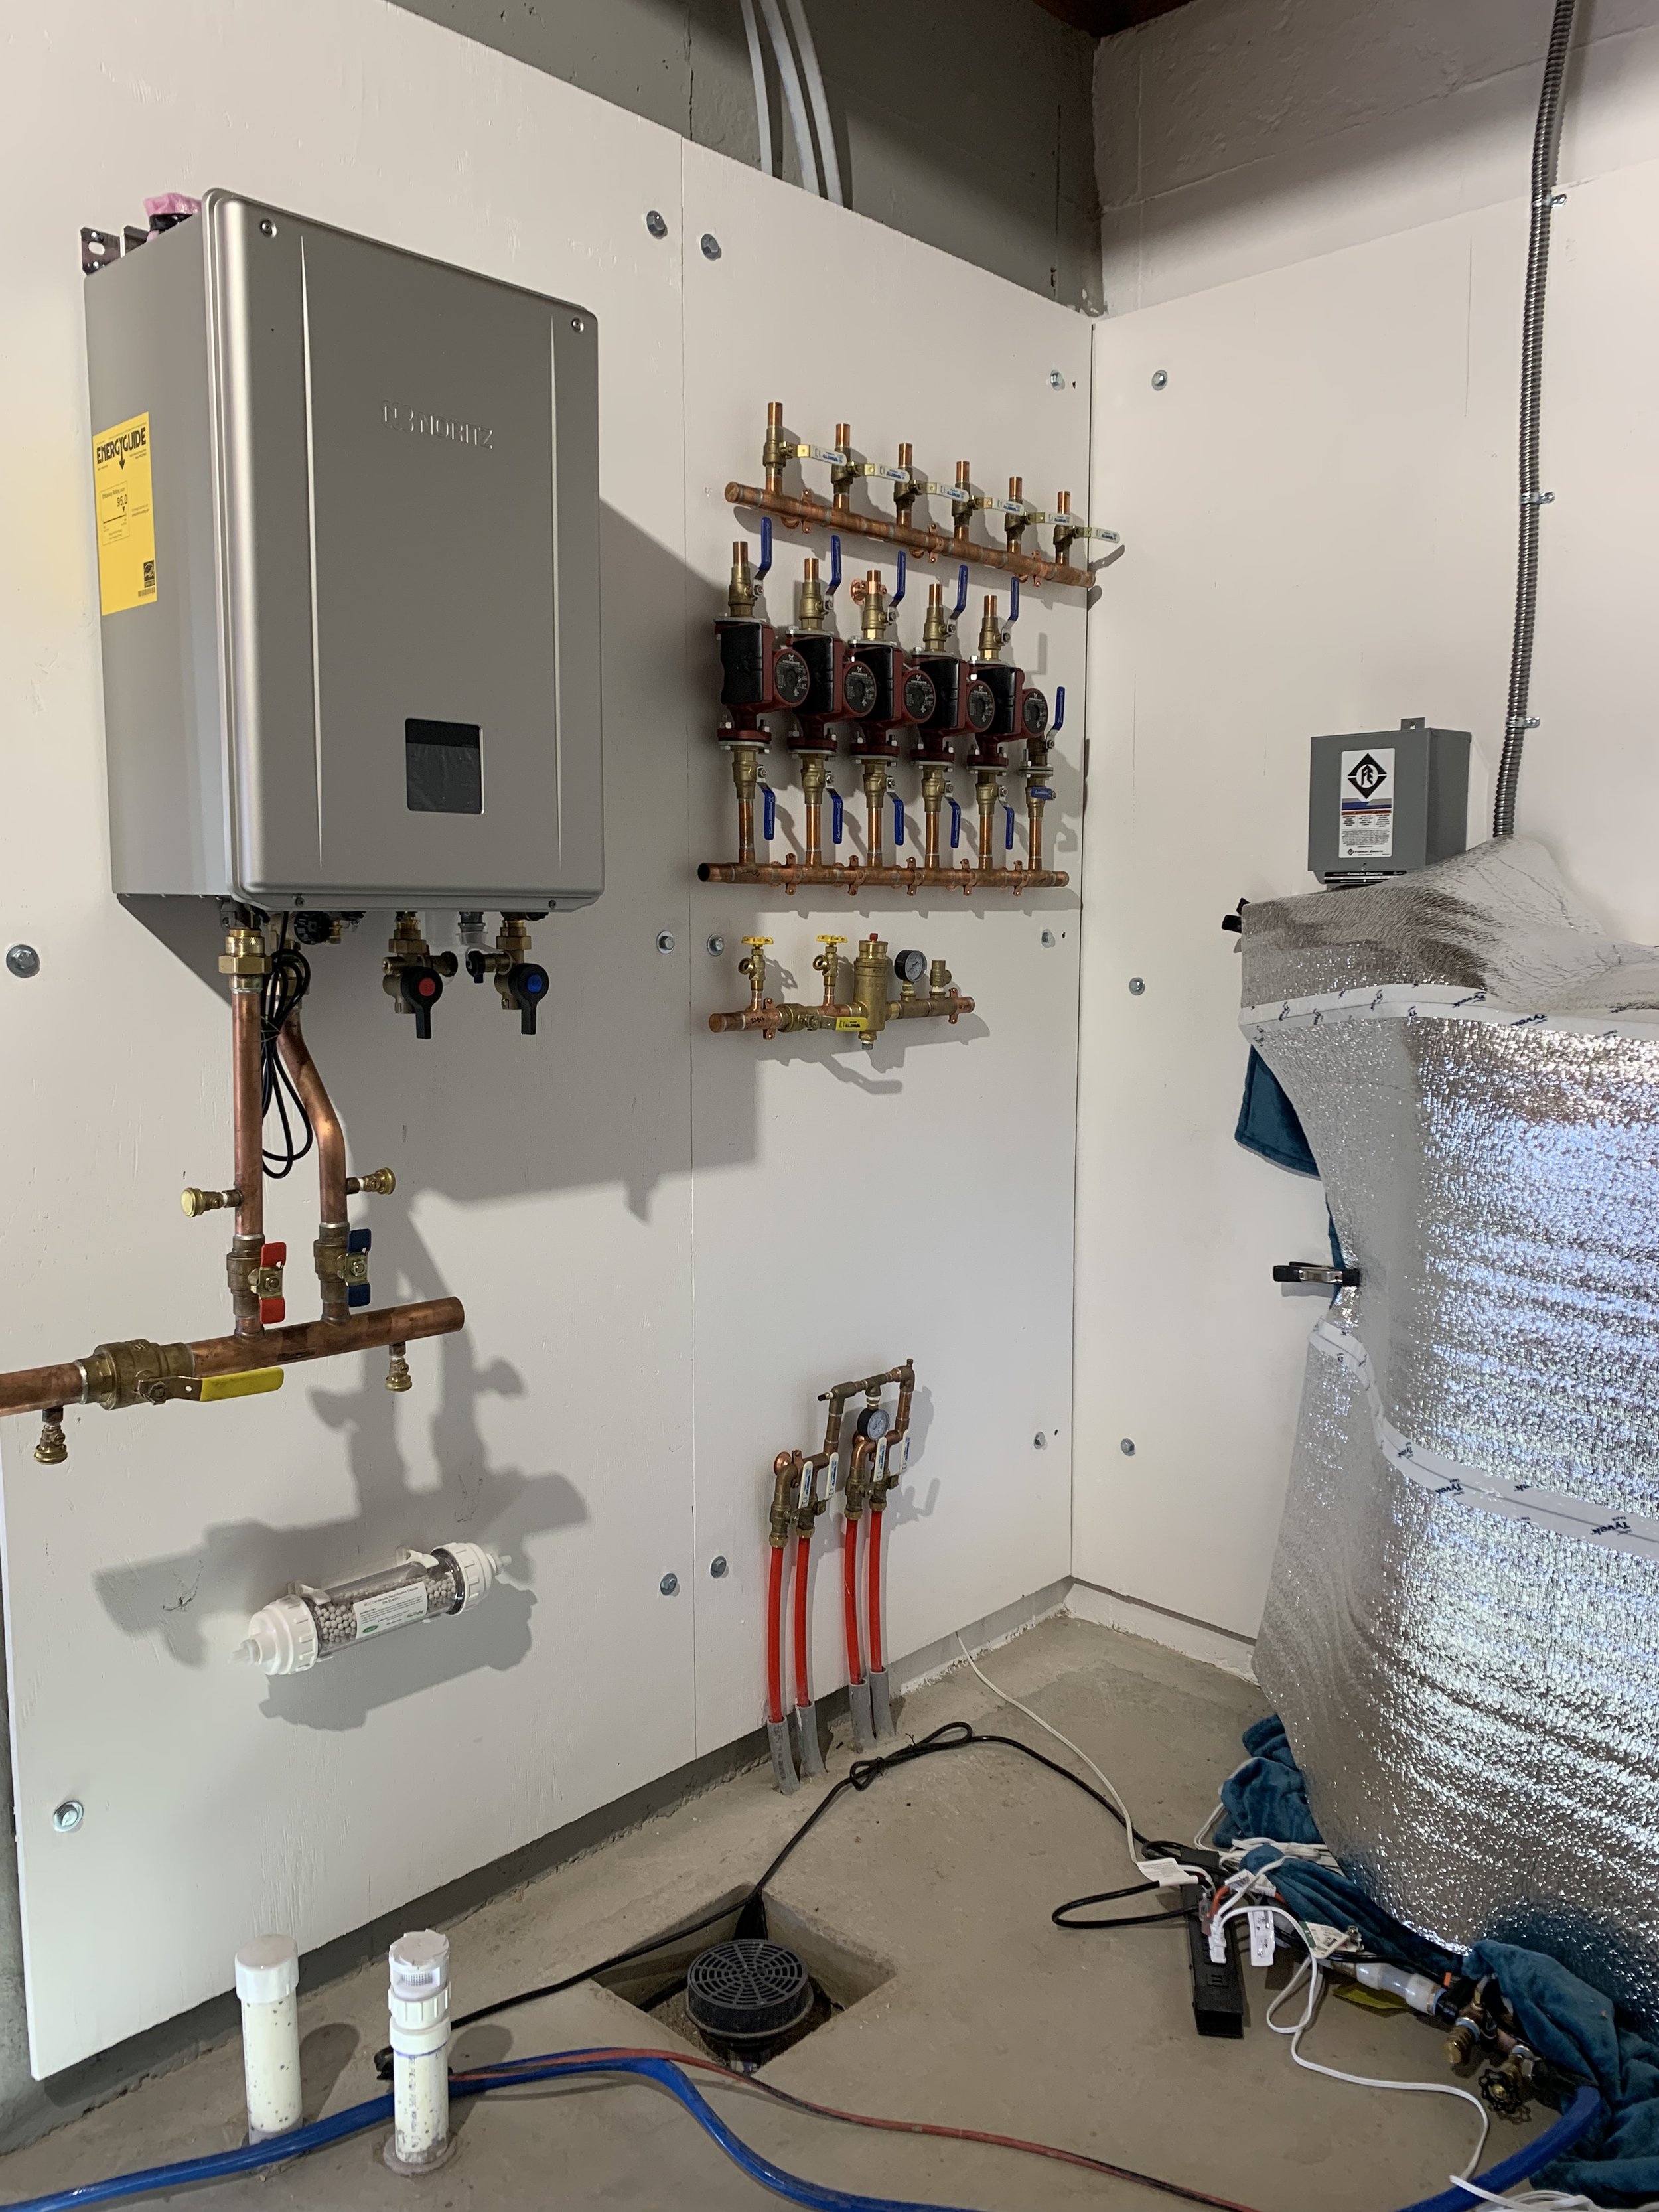
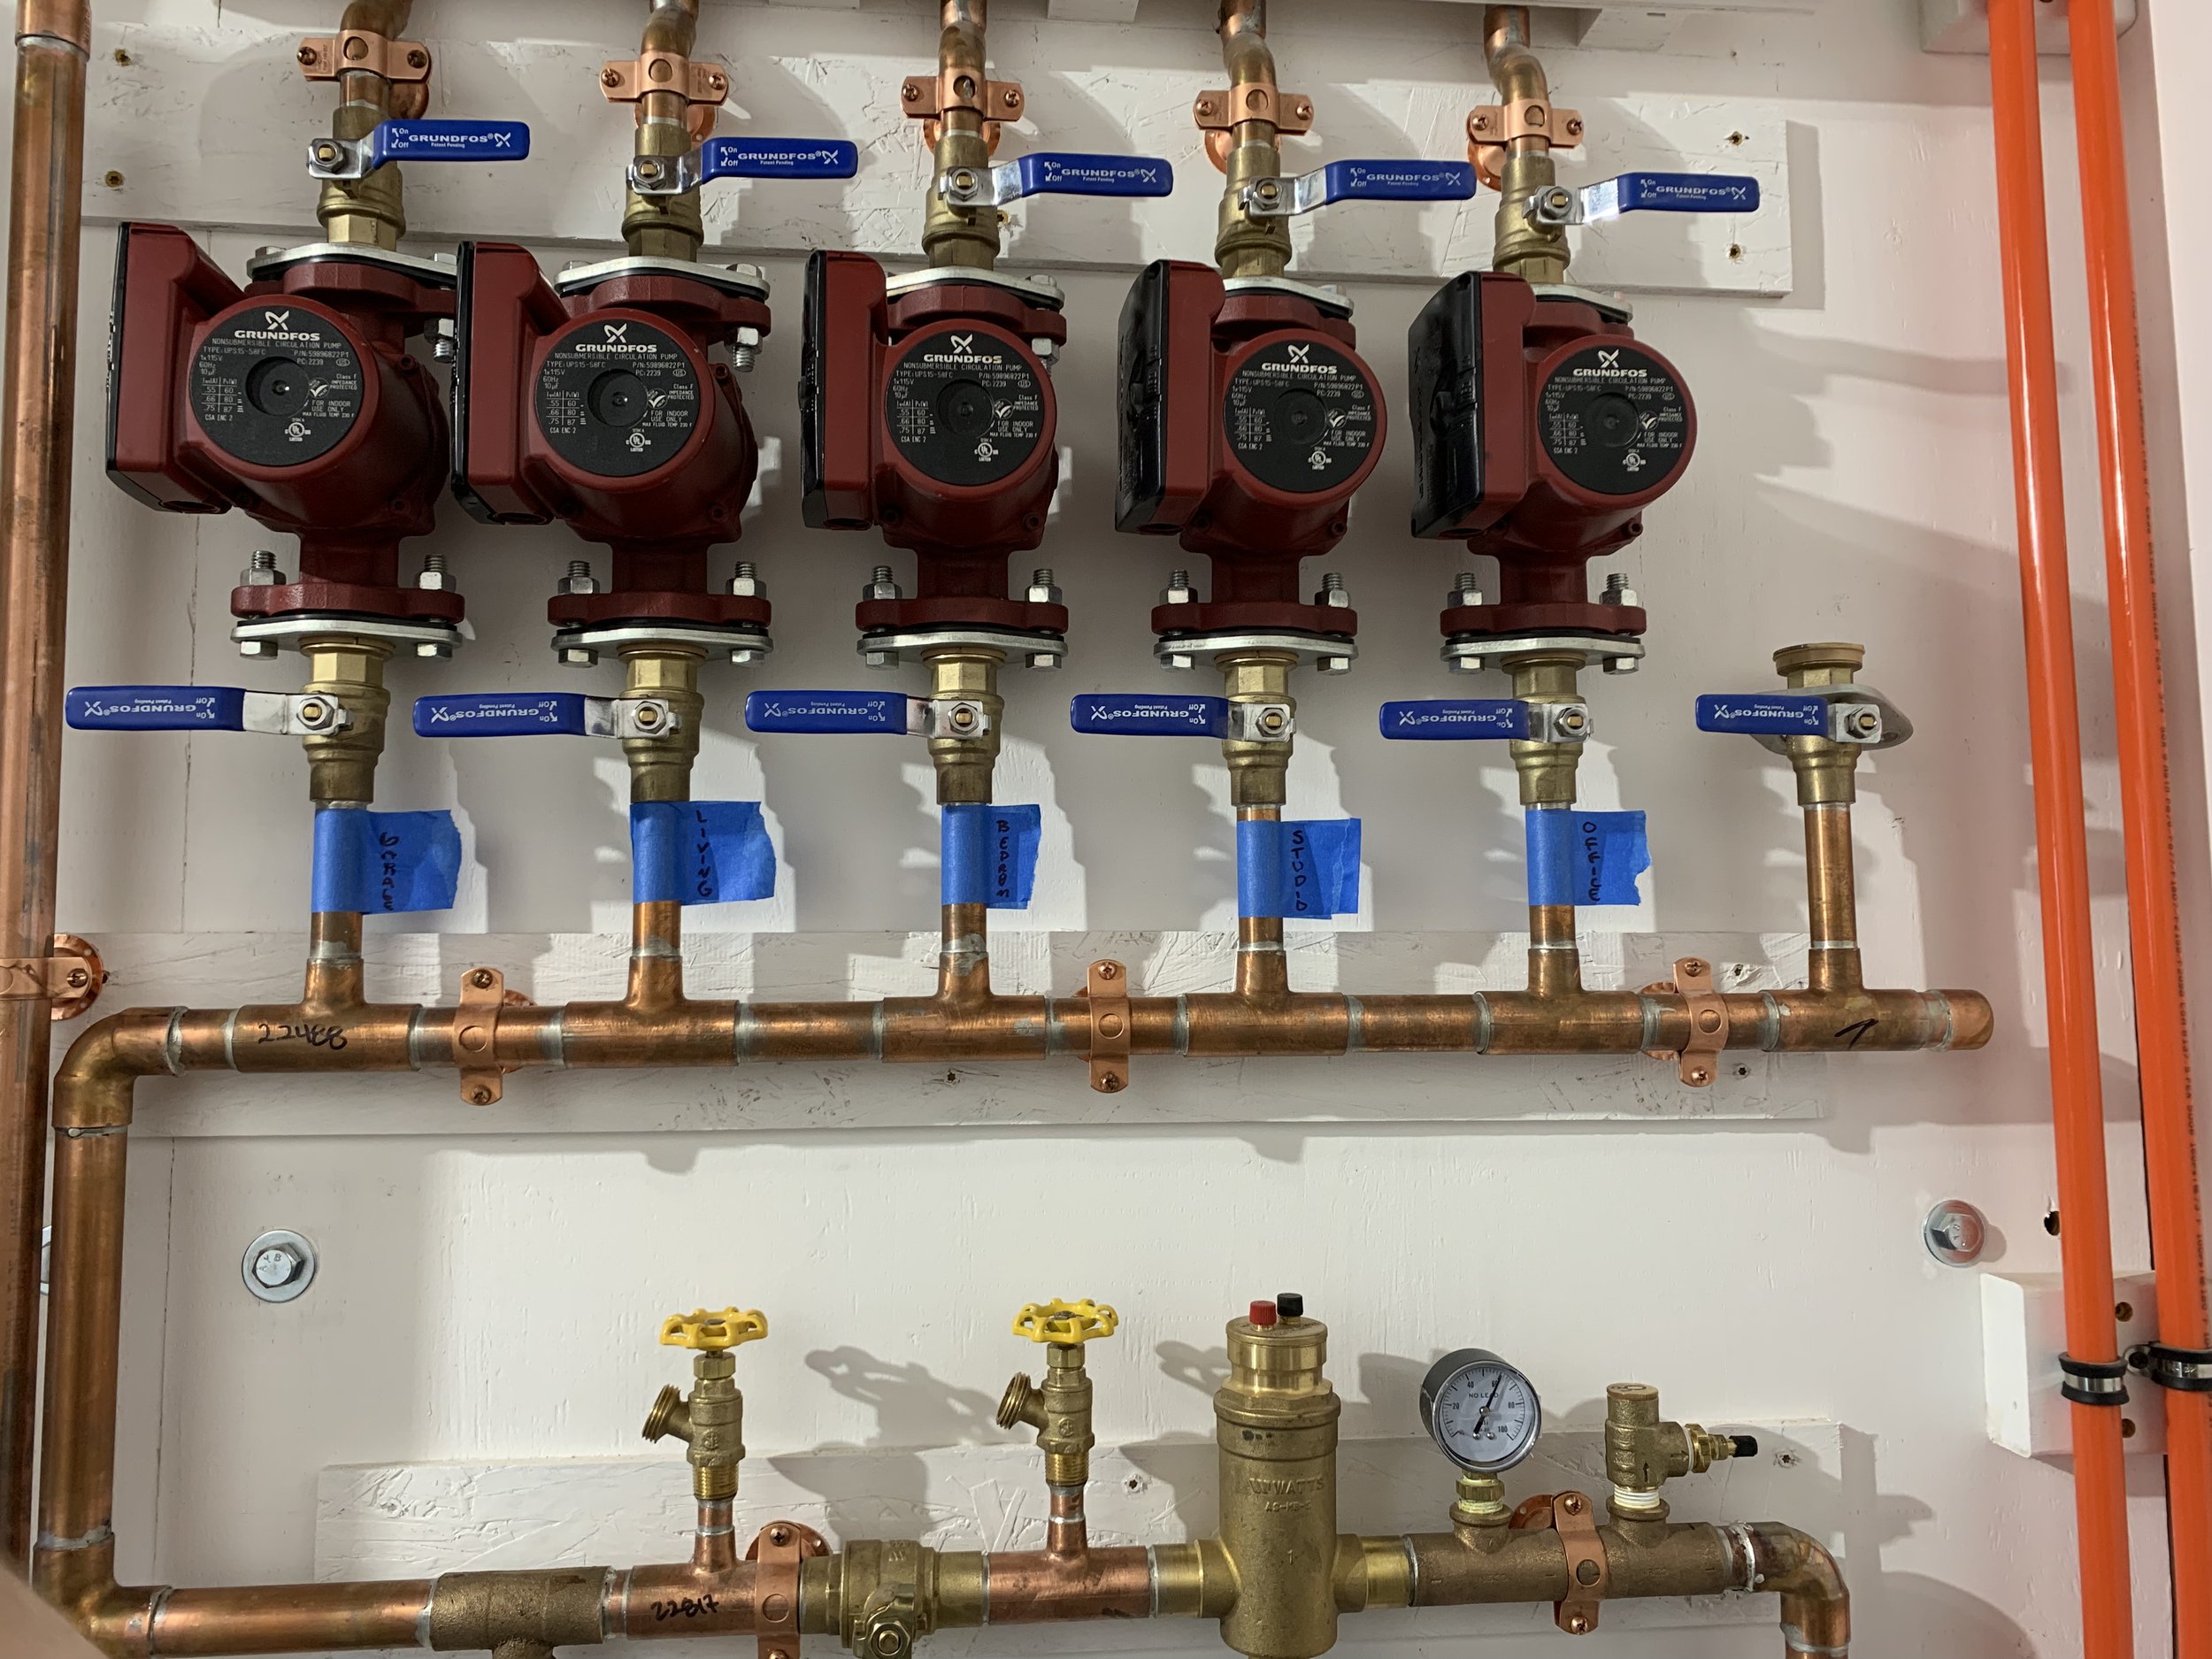
Kris installs the boiler system in the mechanical room.

We have multiple zones to the house and each one has a manifold like you see in this picture. This allows us to control the temperature in each zone.
This is a puzzle to see if you can find out which tube goes to which zone! Haha!

Once the tubing and foil are completed, the final heat shield is installed. This metallic paper essentially catches any heat being lost off the tubing and bounces it back up onto the floor.
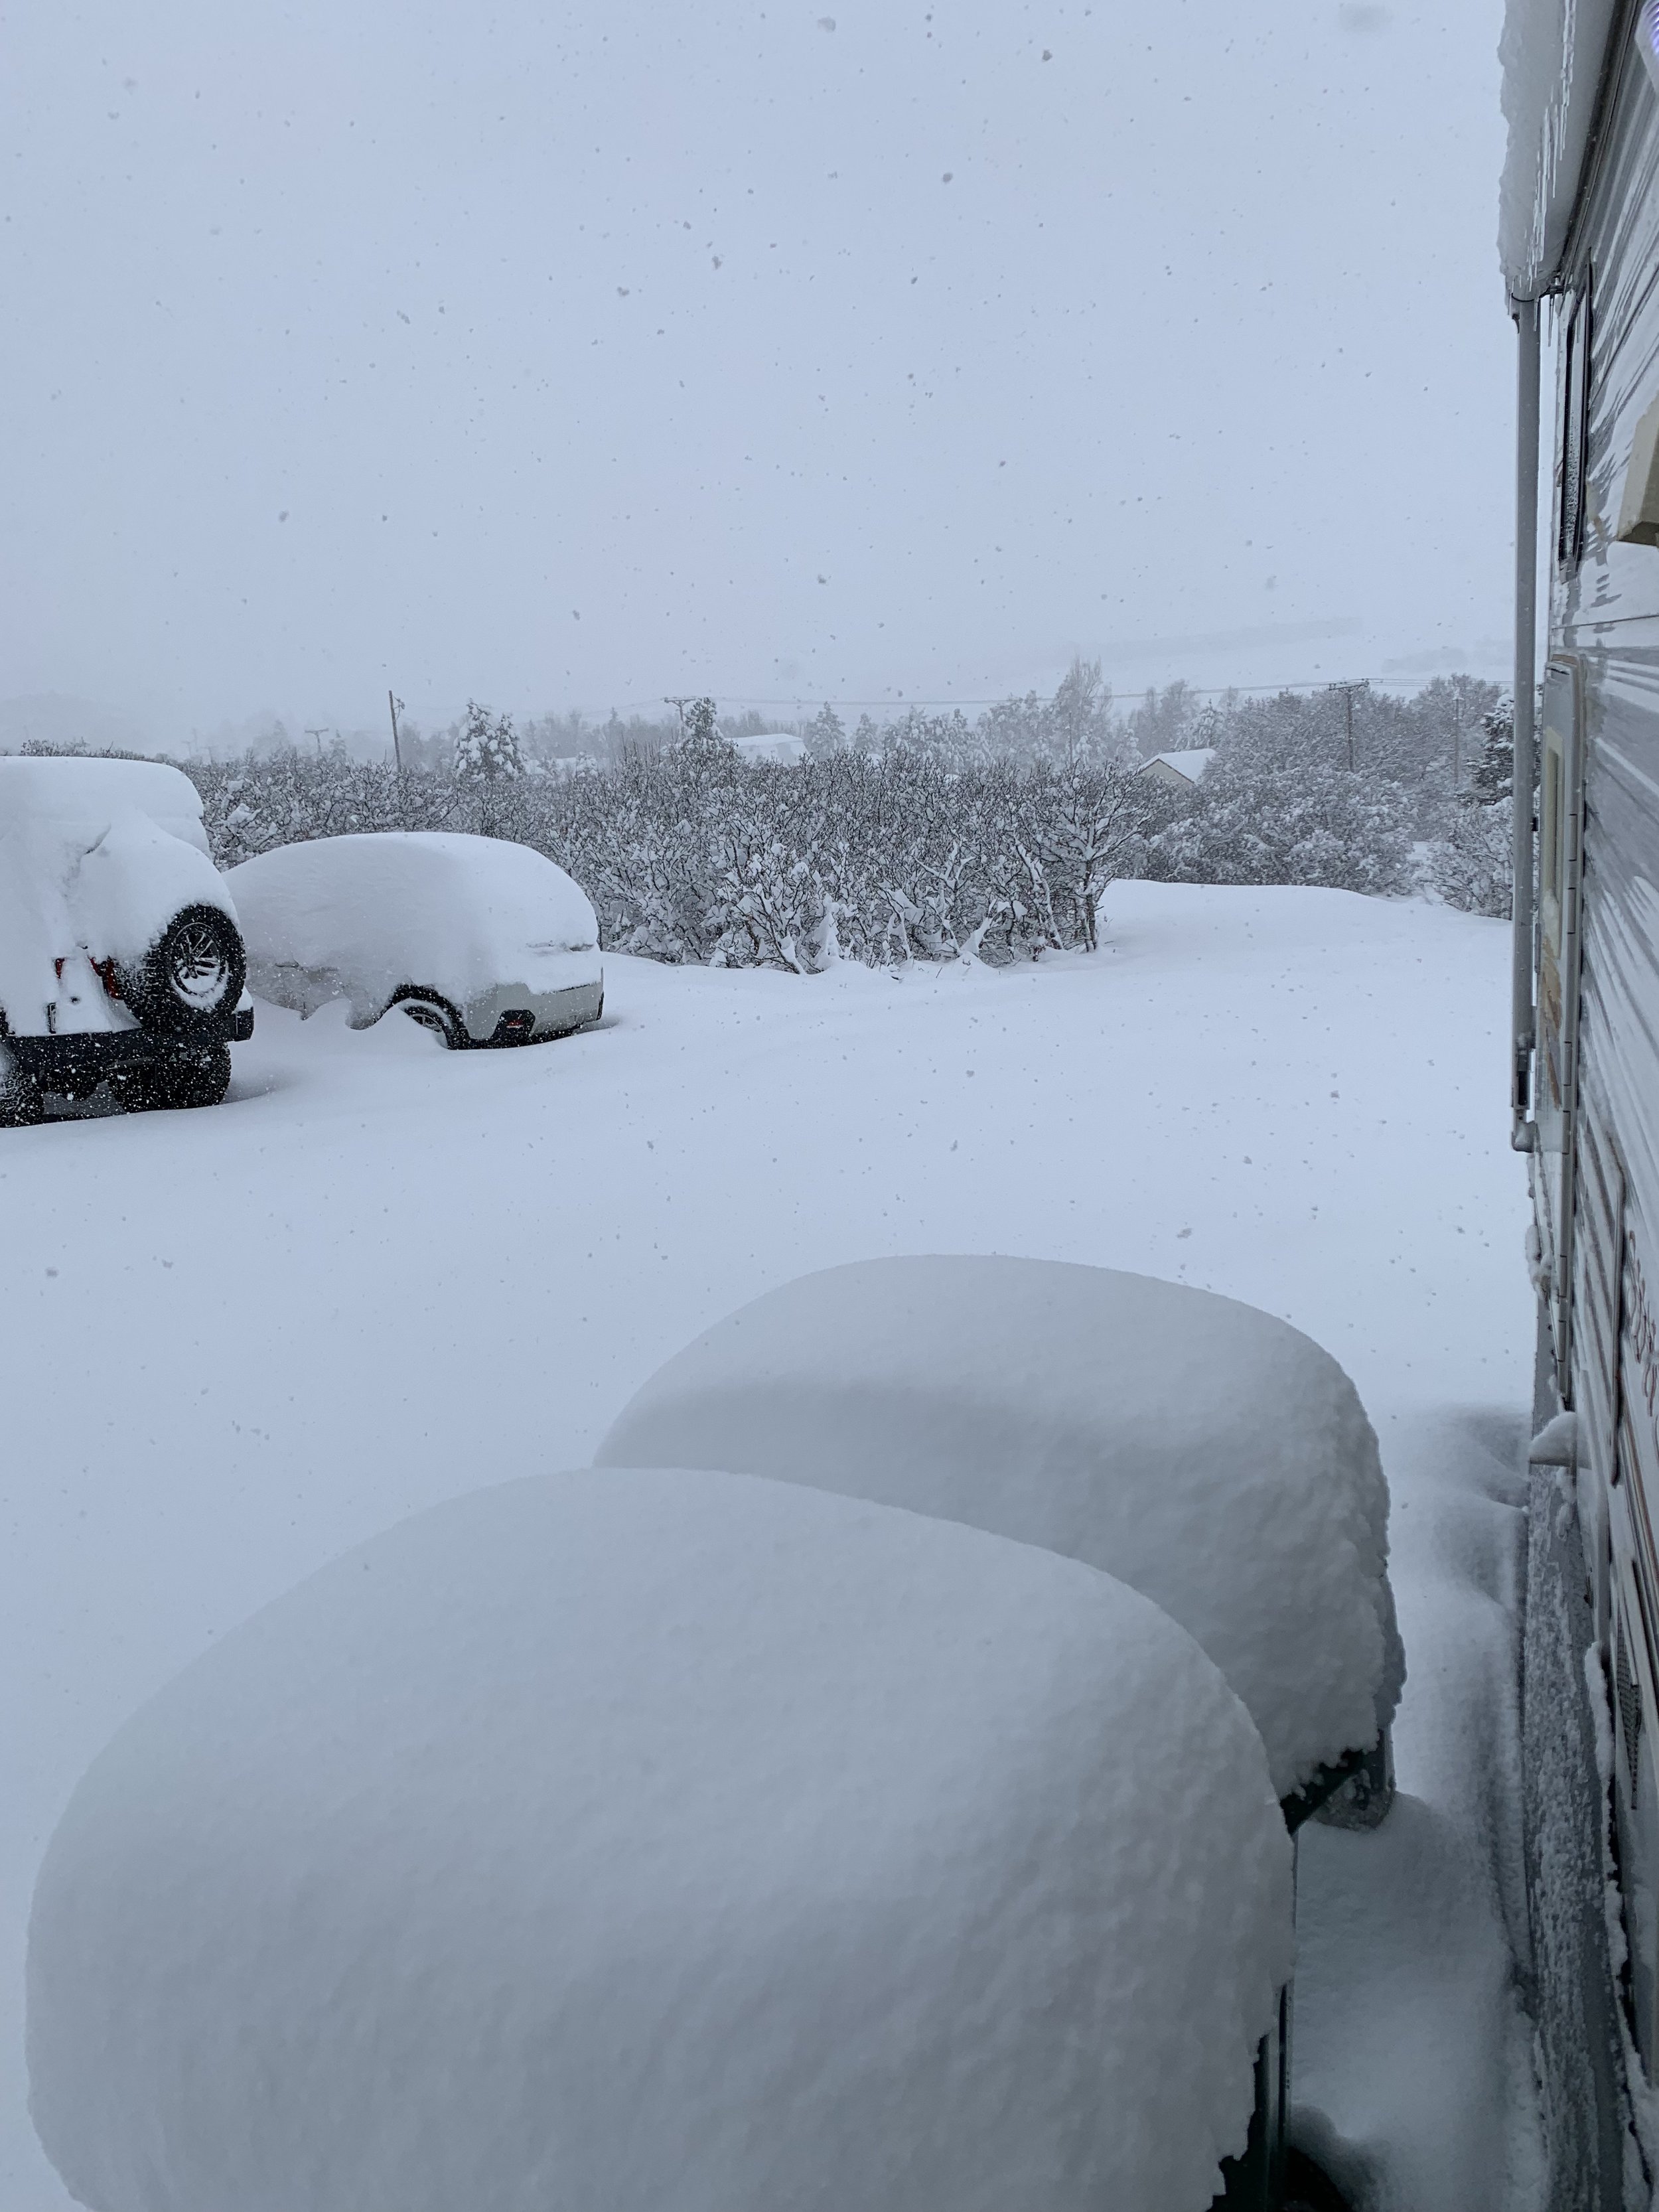
The winter fun continues as we get slammed with yet another blizzard!

This is a view out the front door of the trailer. Watch that first step, it's a doozy!!
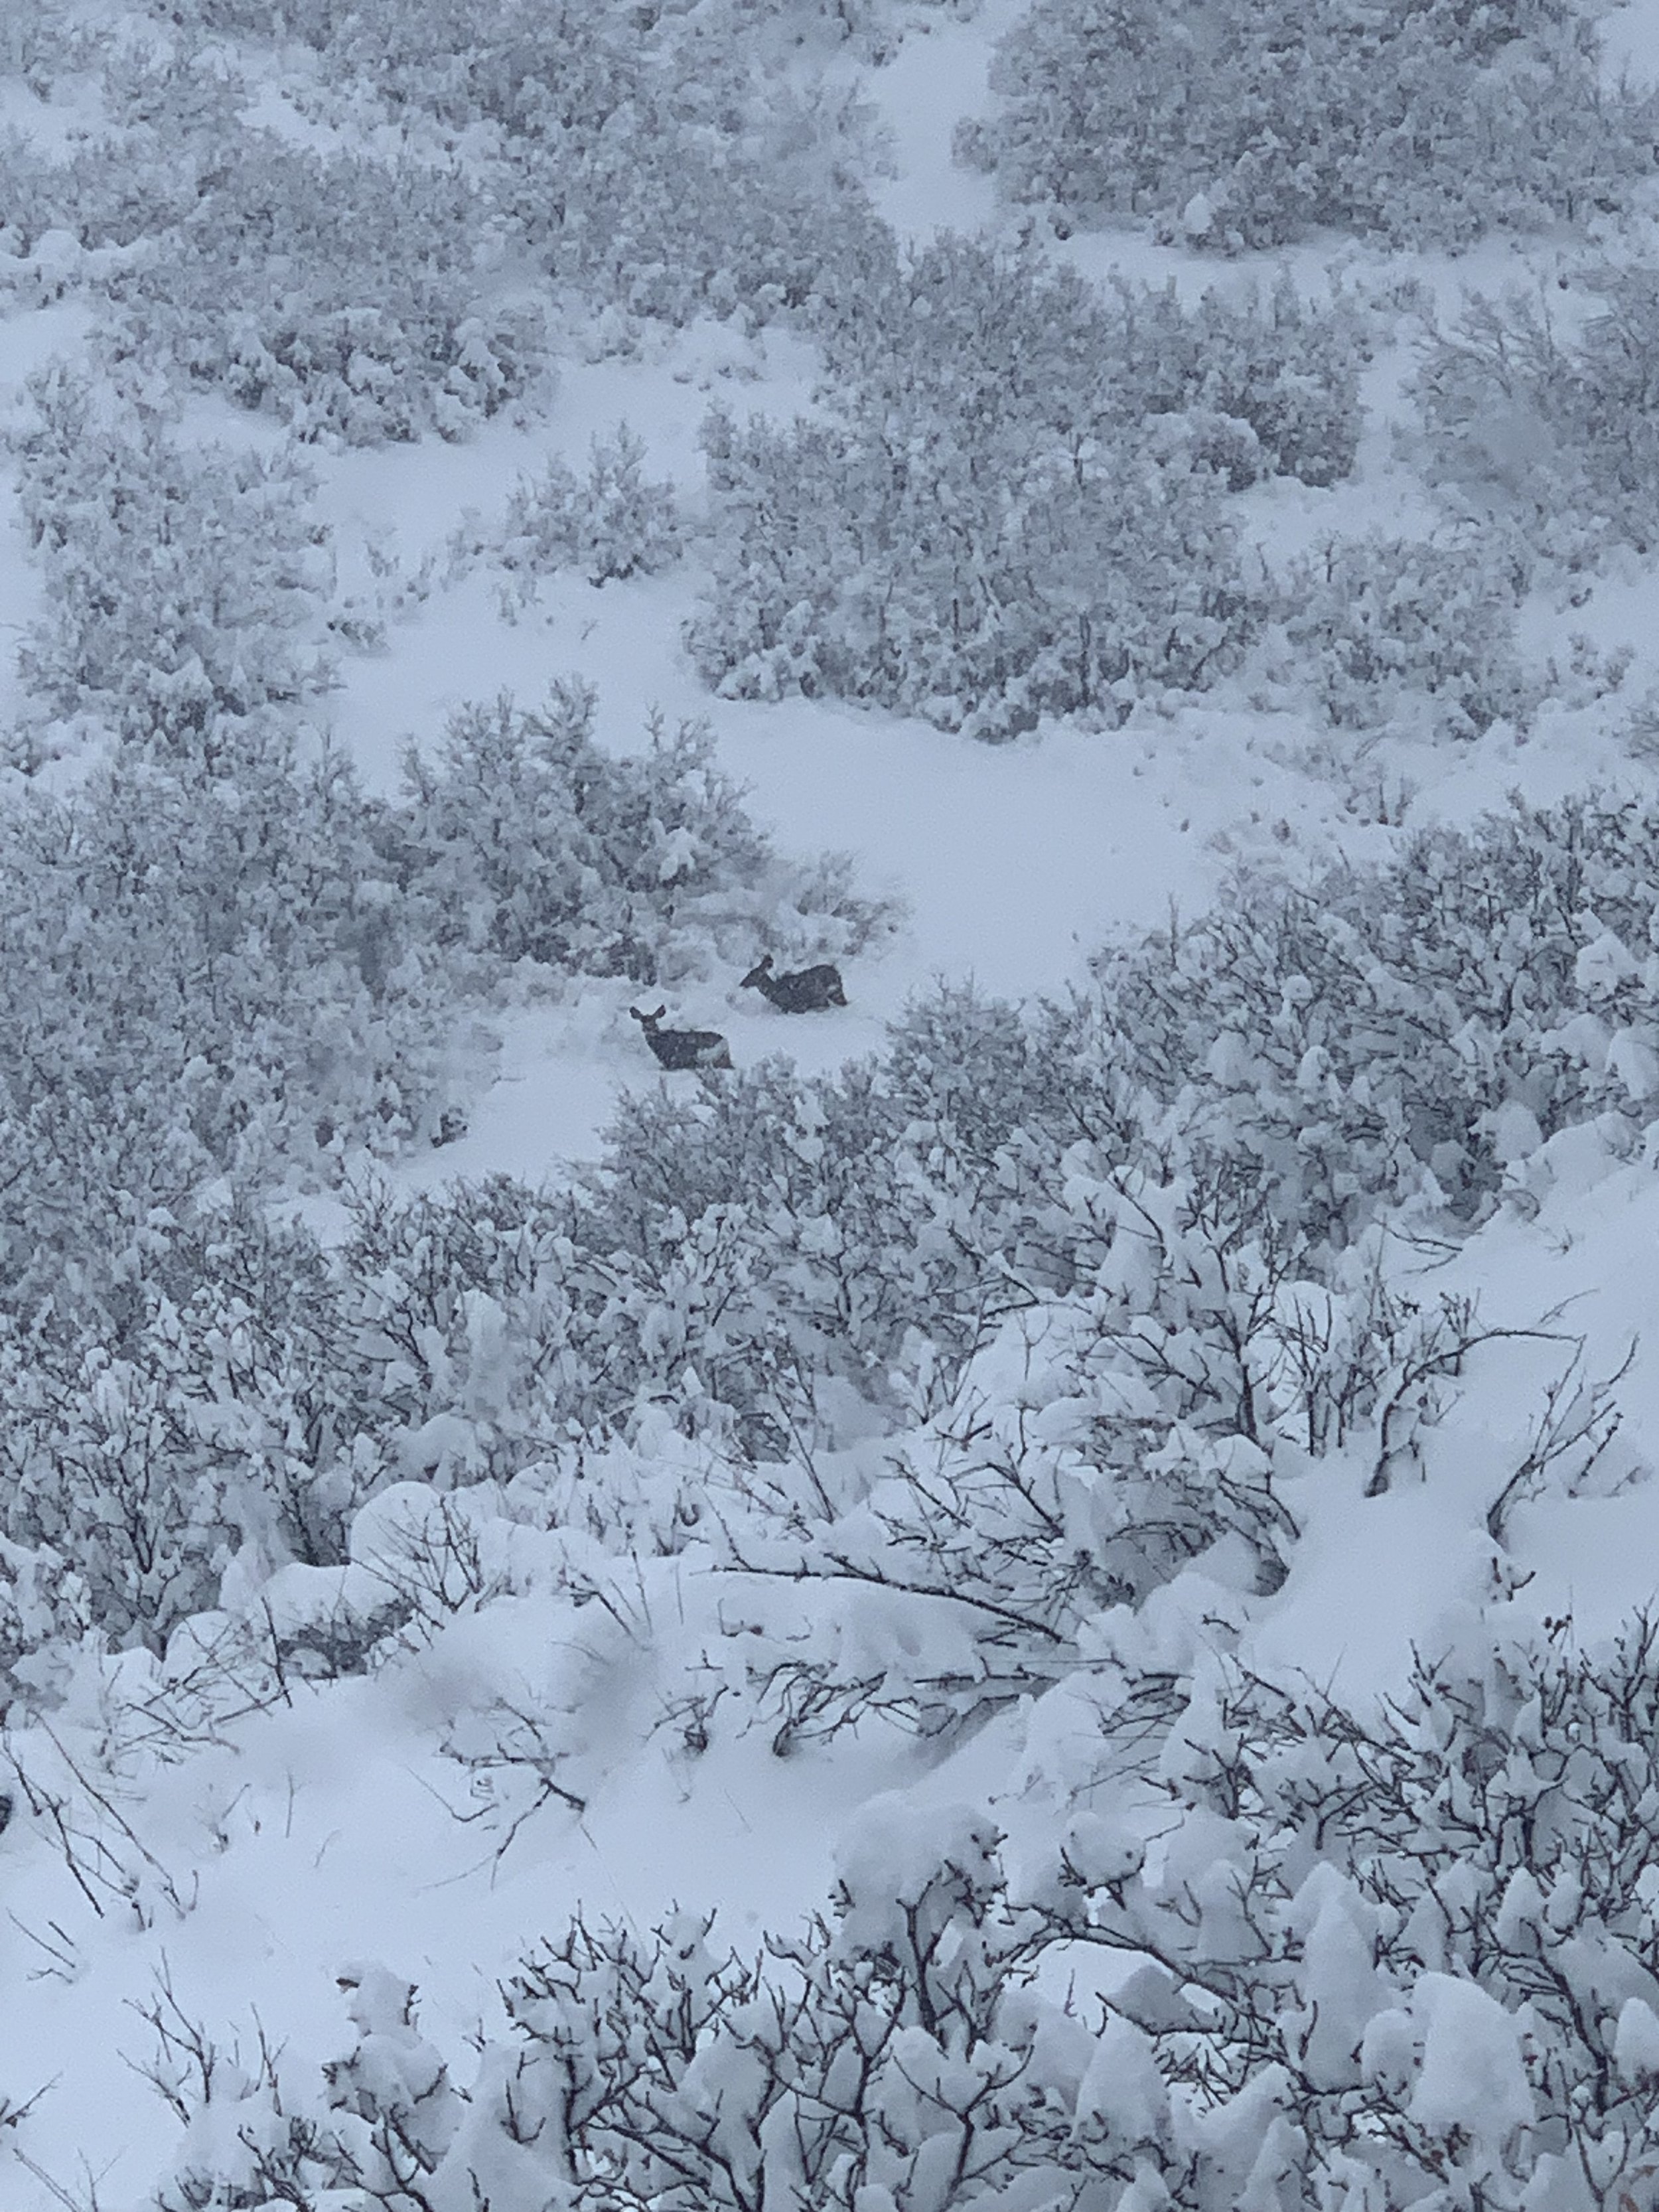
The snow doesn't keep the deer down. They might be belly deep in snow, but they seem to be unaffected otherwise.
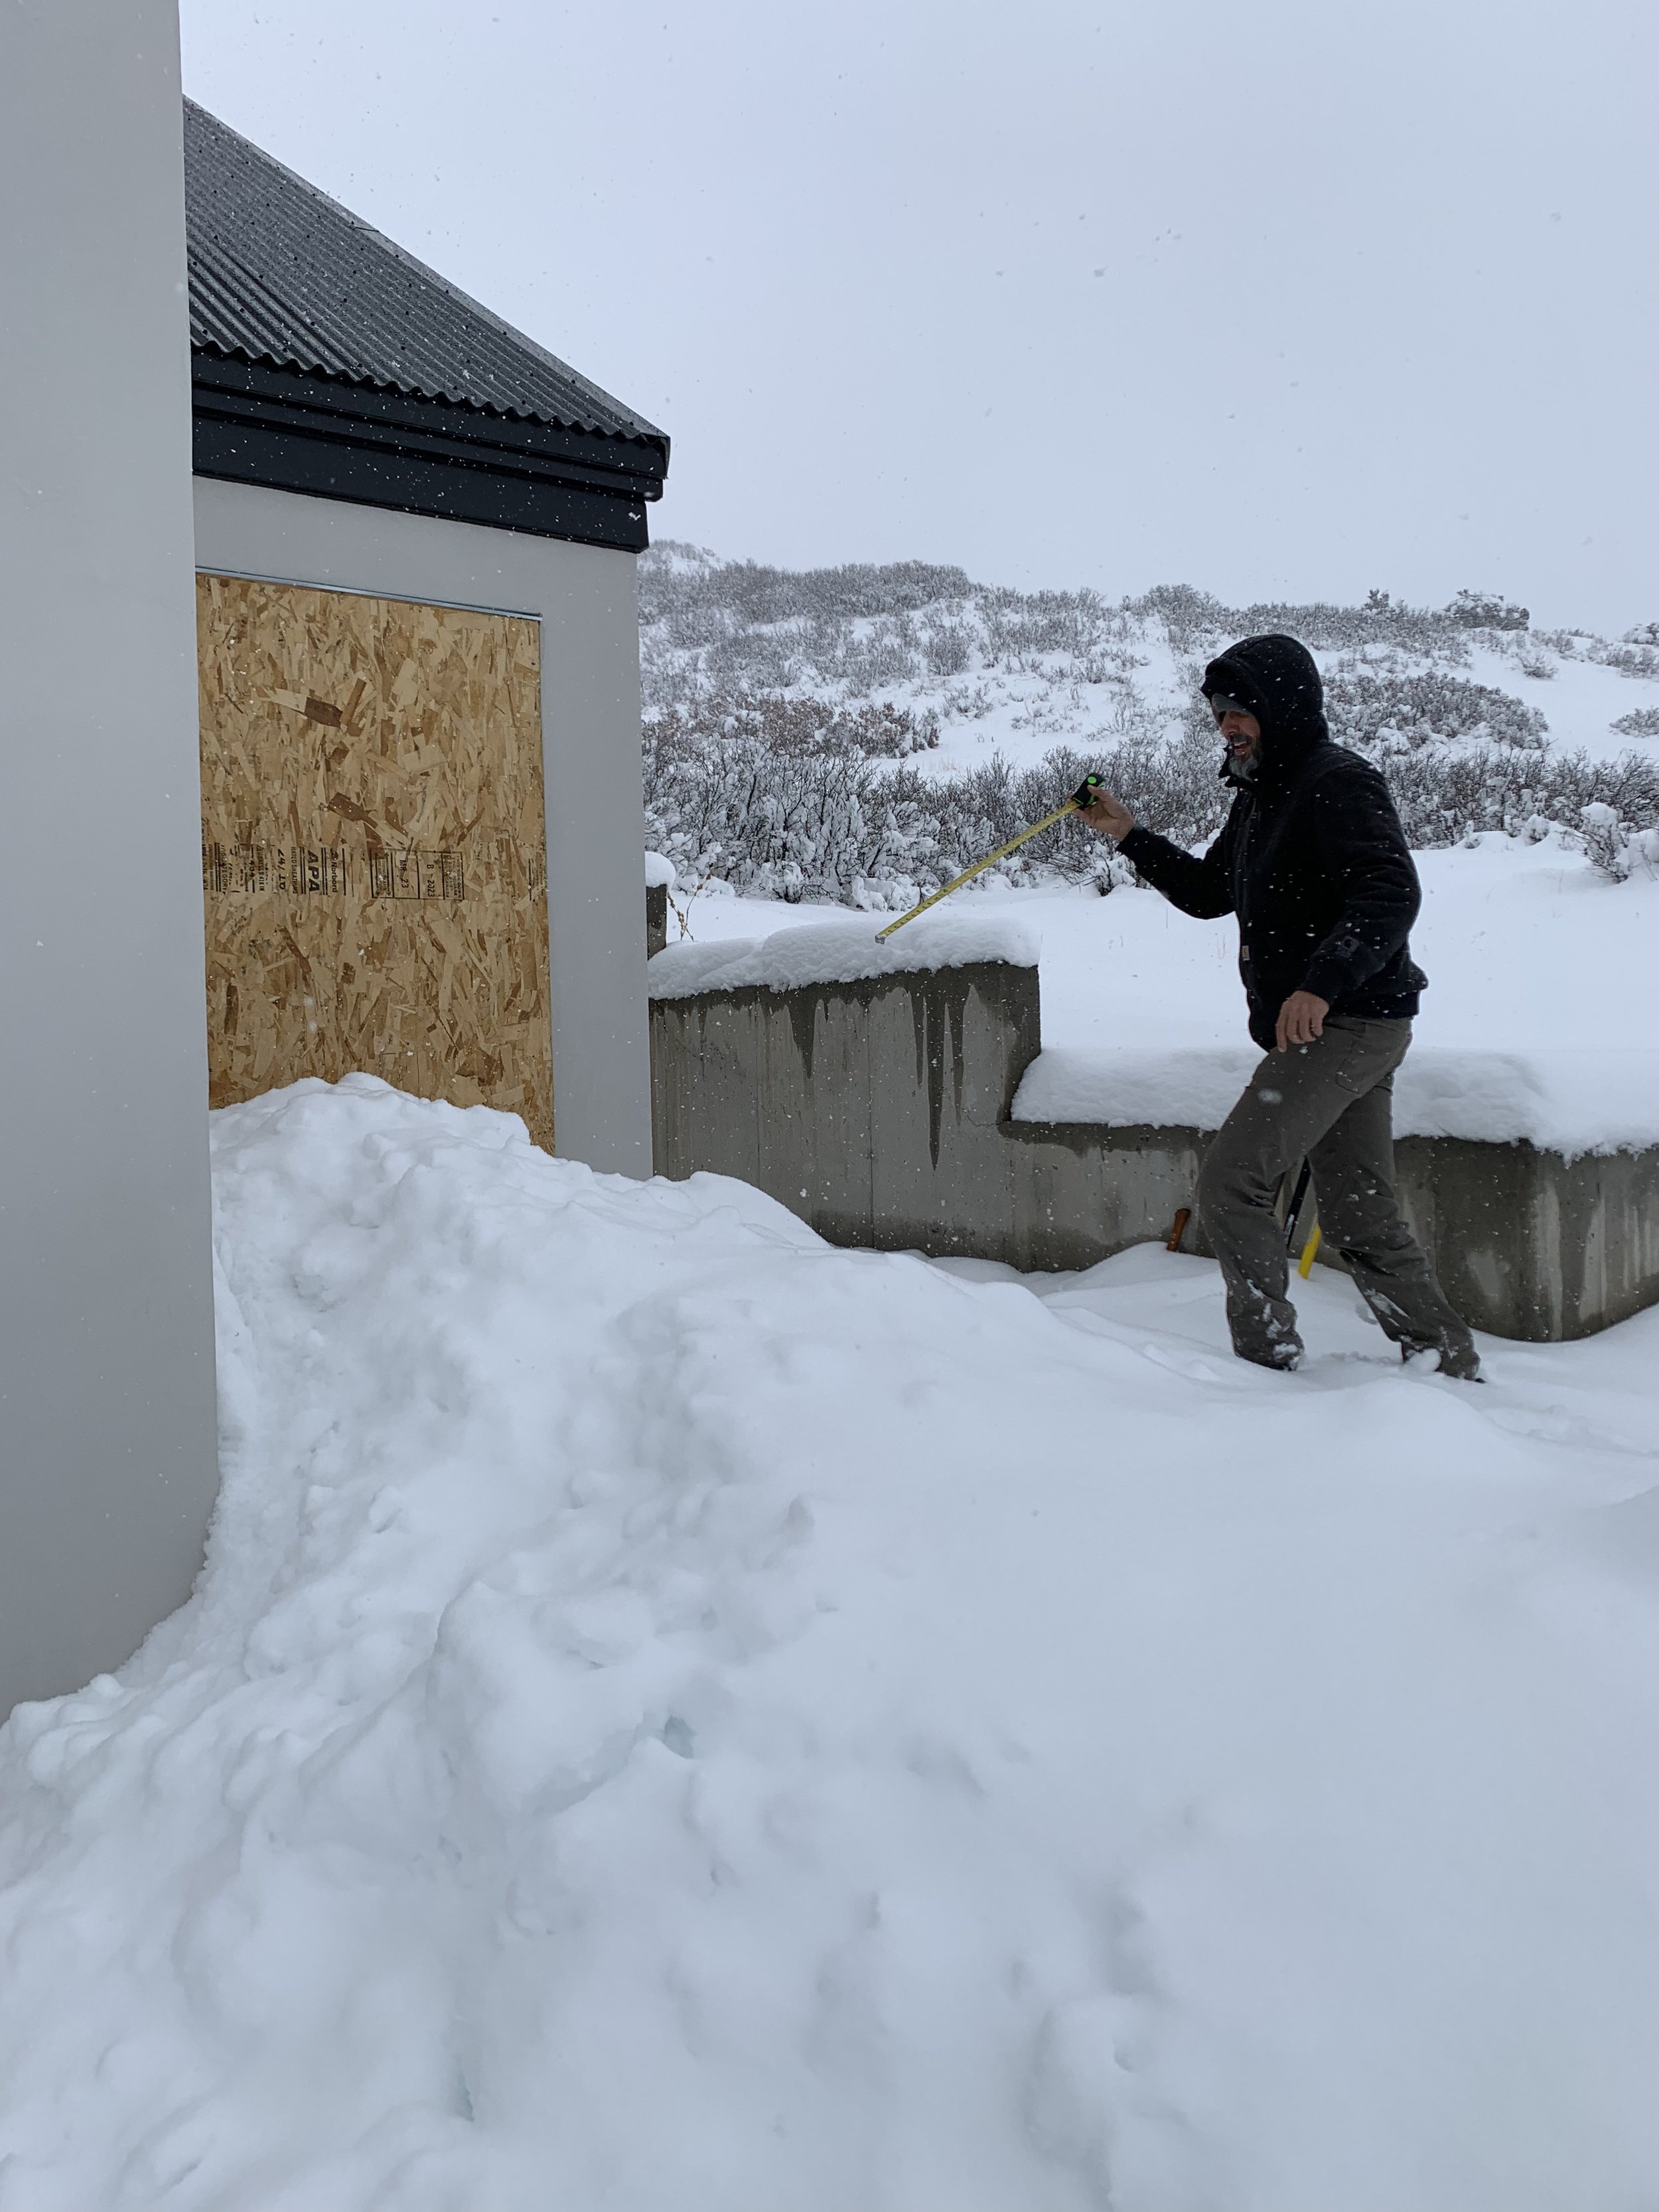
Kris heads out to try to measure our snowfall. He could probably just jump up onto the roof the snow is so high!
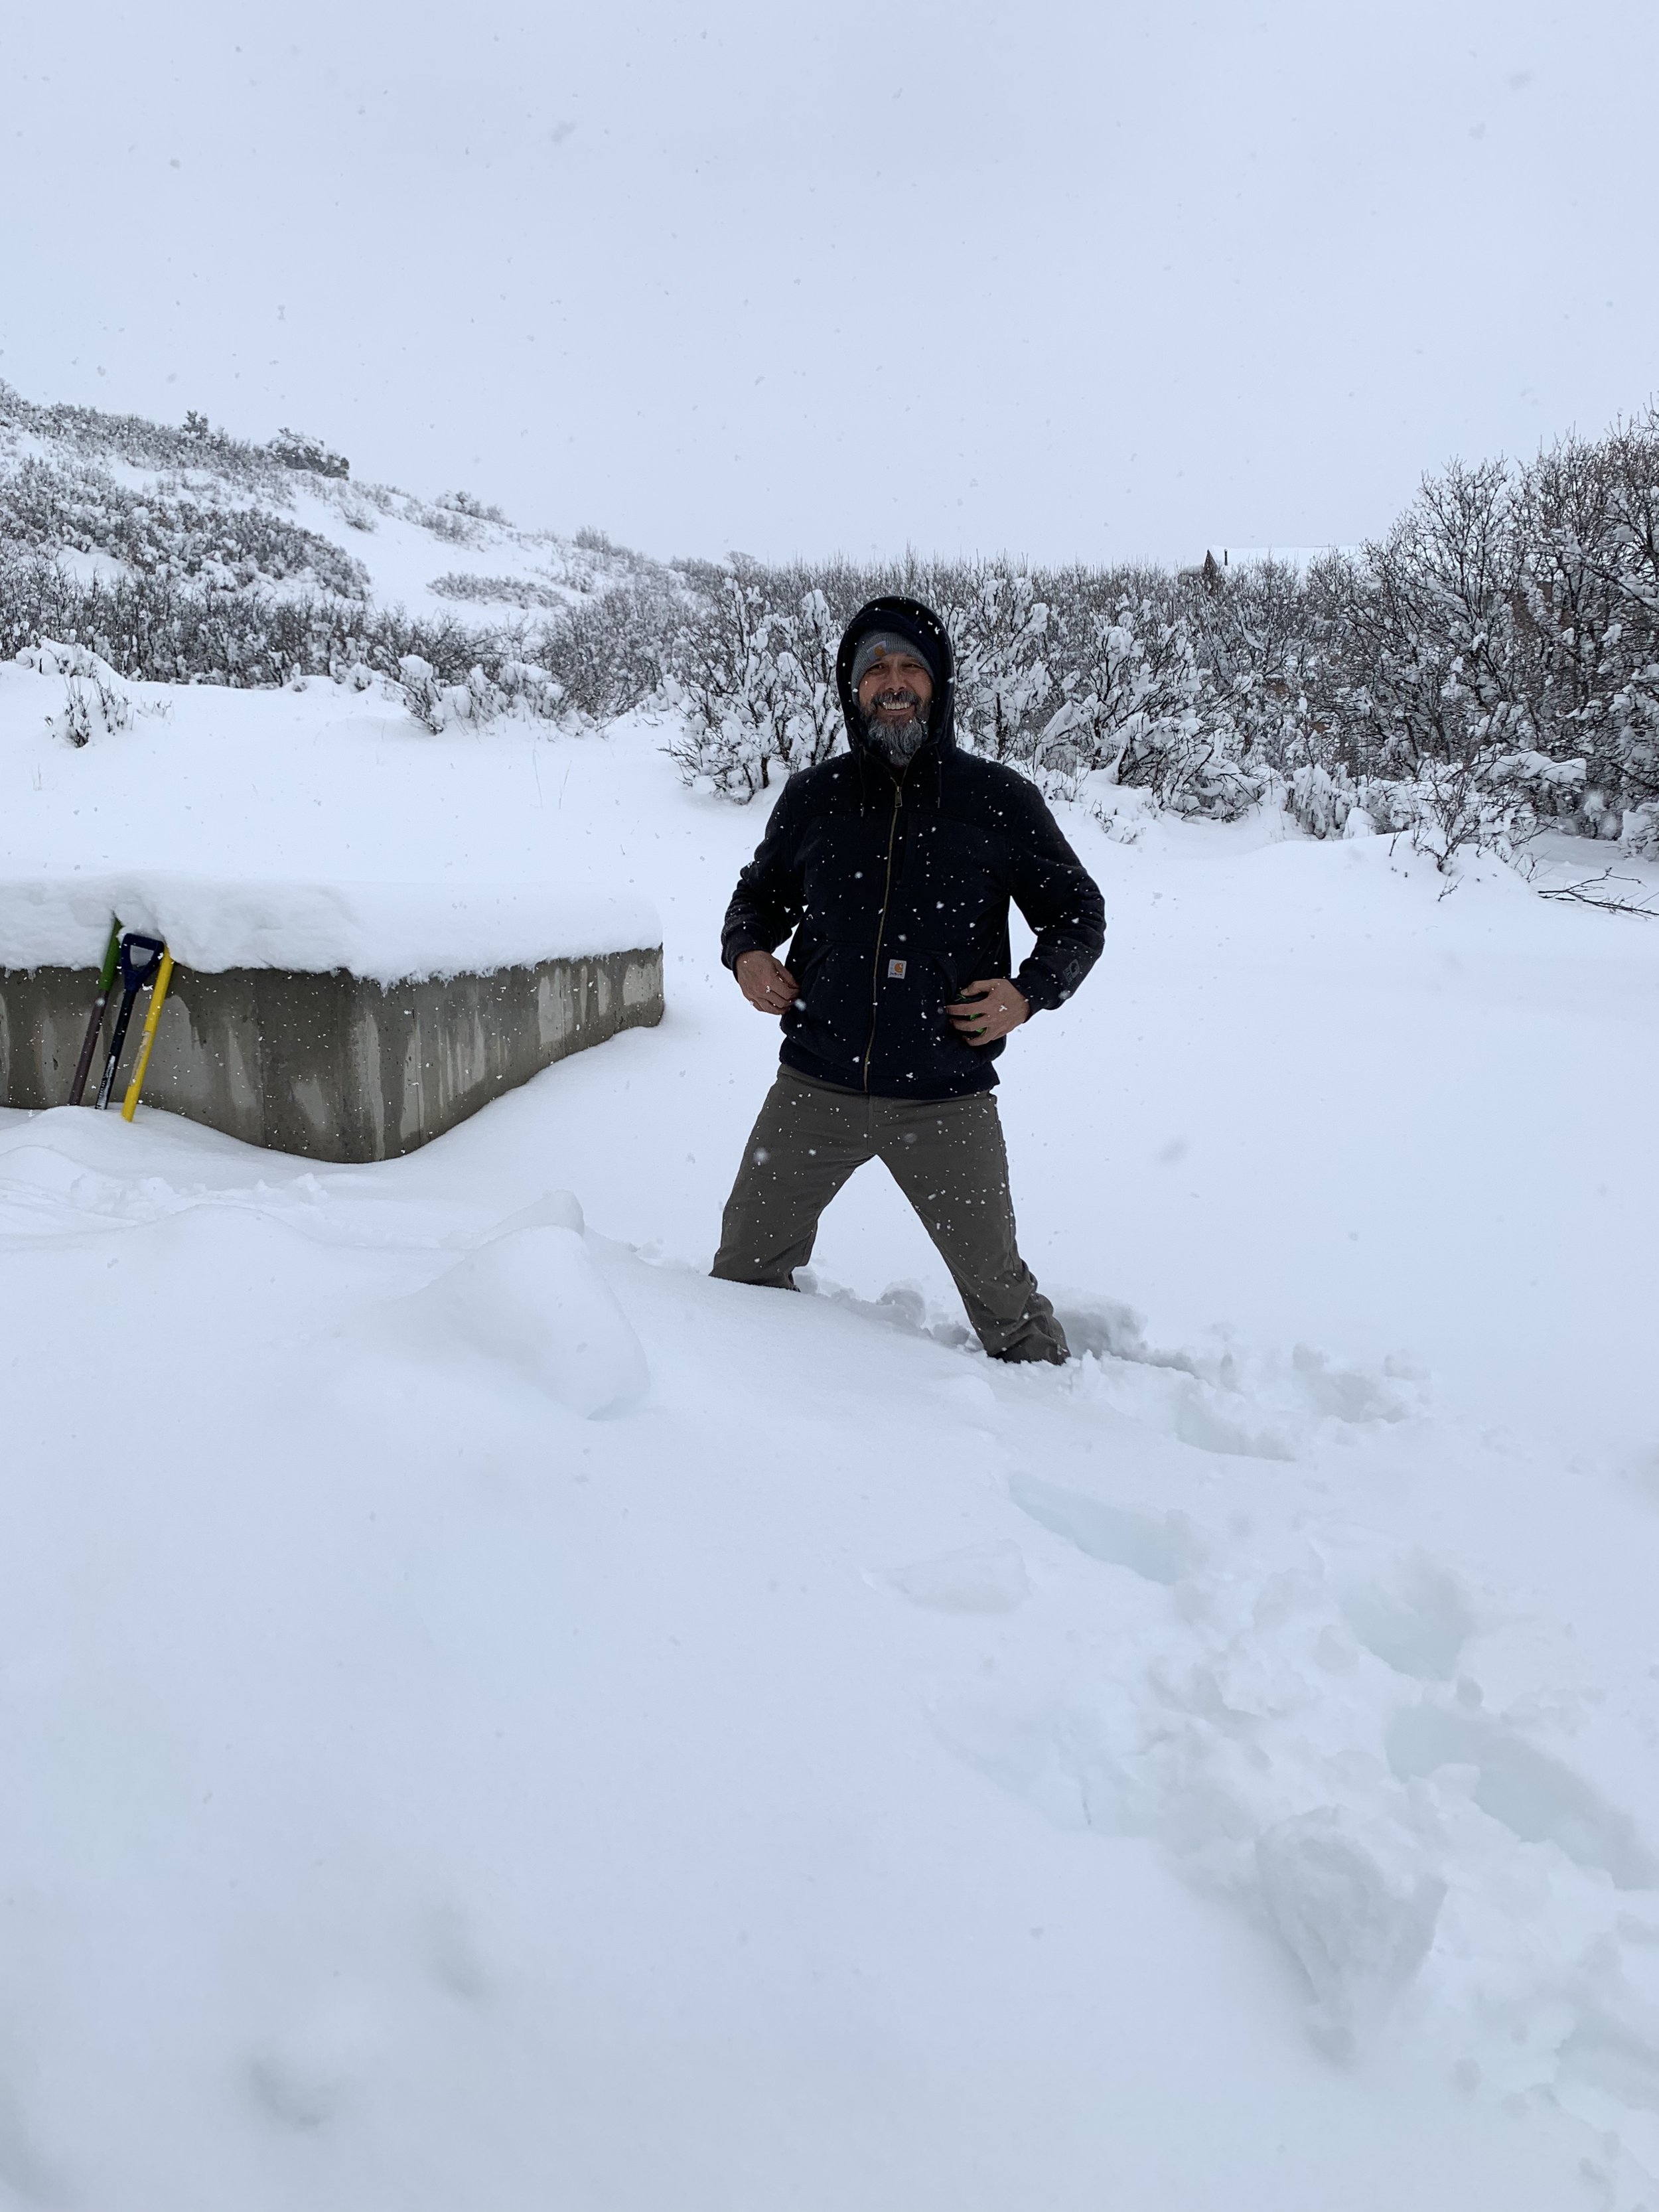
Quite the storm!

Hope no one needed the outhouse today!

The front door is absolutely buried! Crazy!
The snow melt came fast and furious and we soon ended up withe a giant mud puddle.

The snow didn't stop our tile delivery! One more thing to add to the garage!
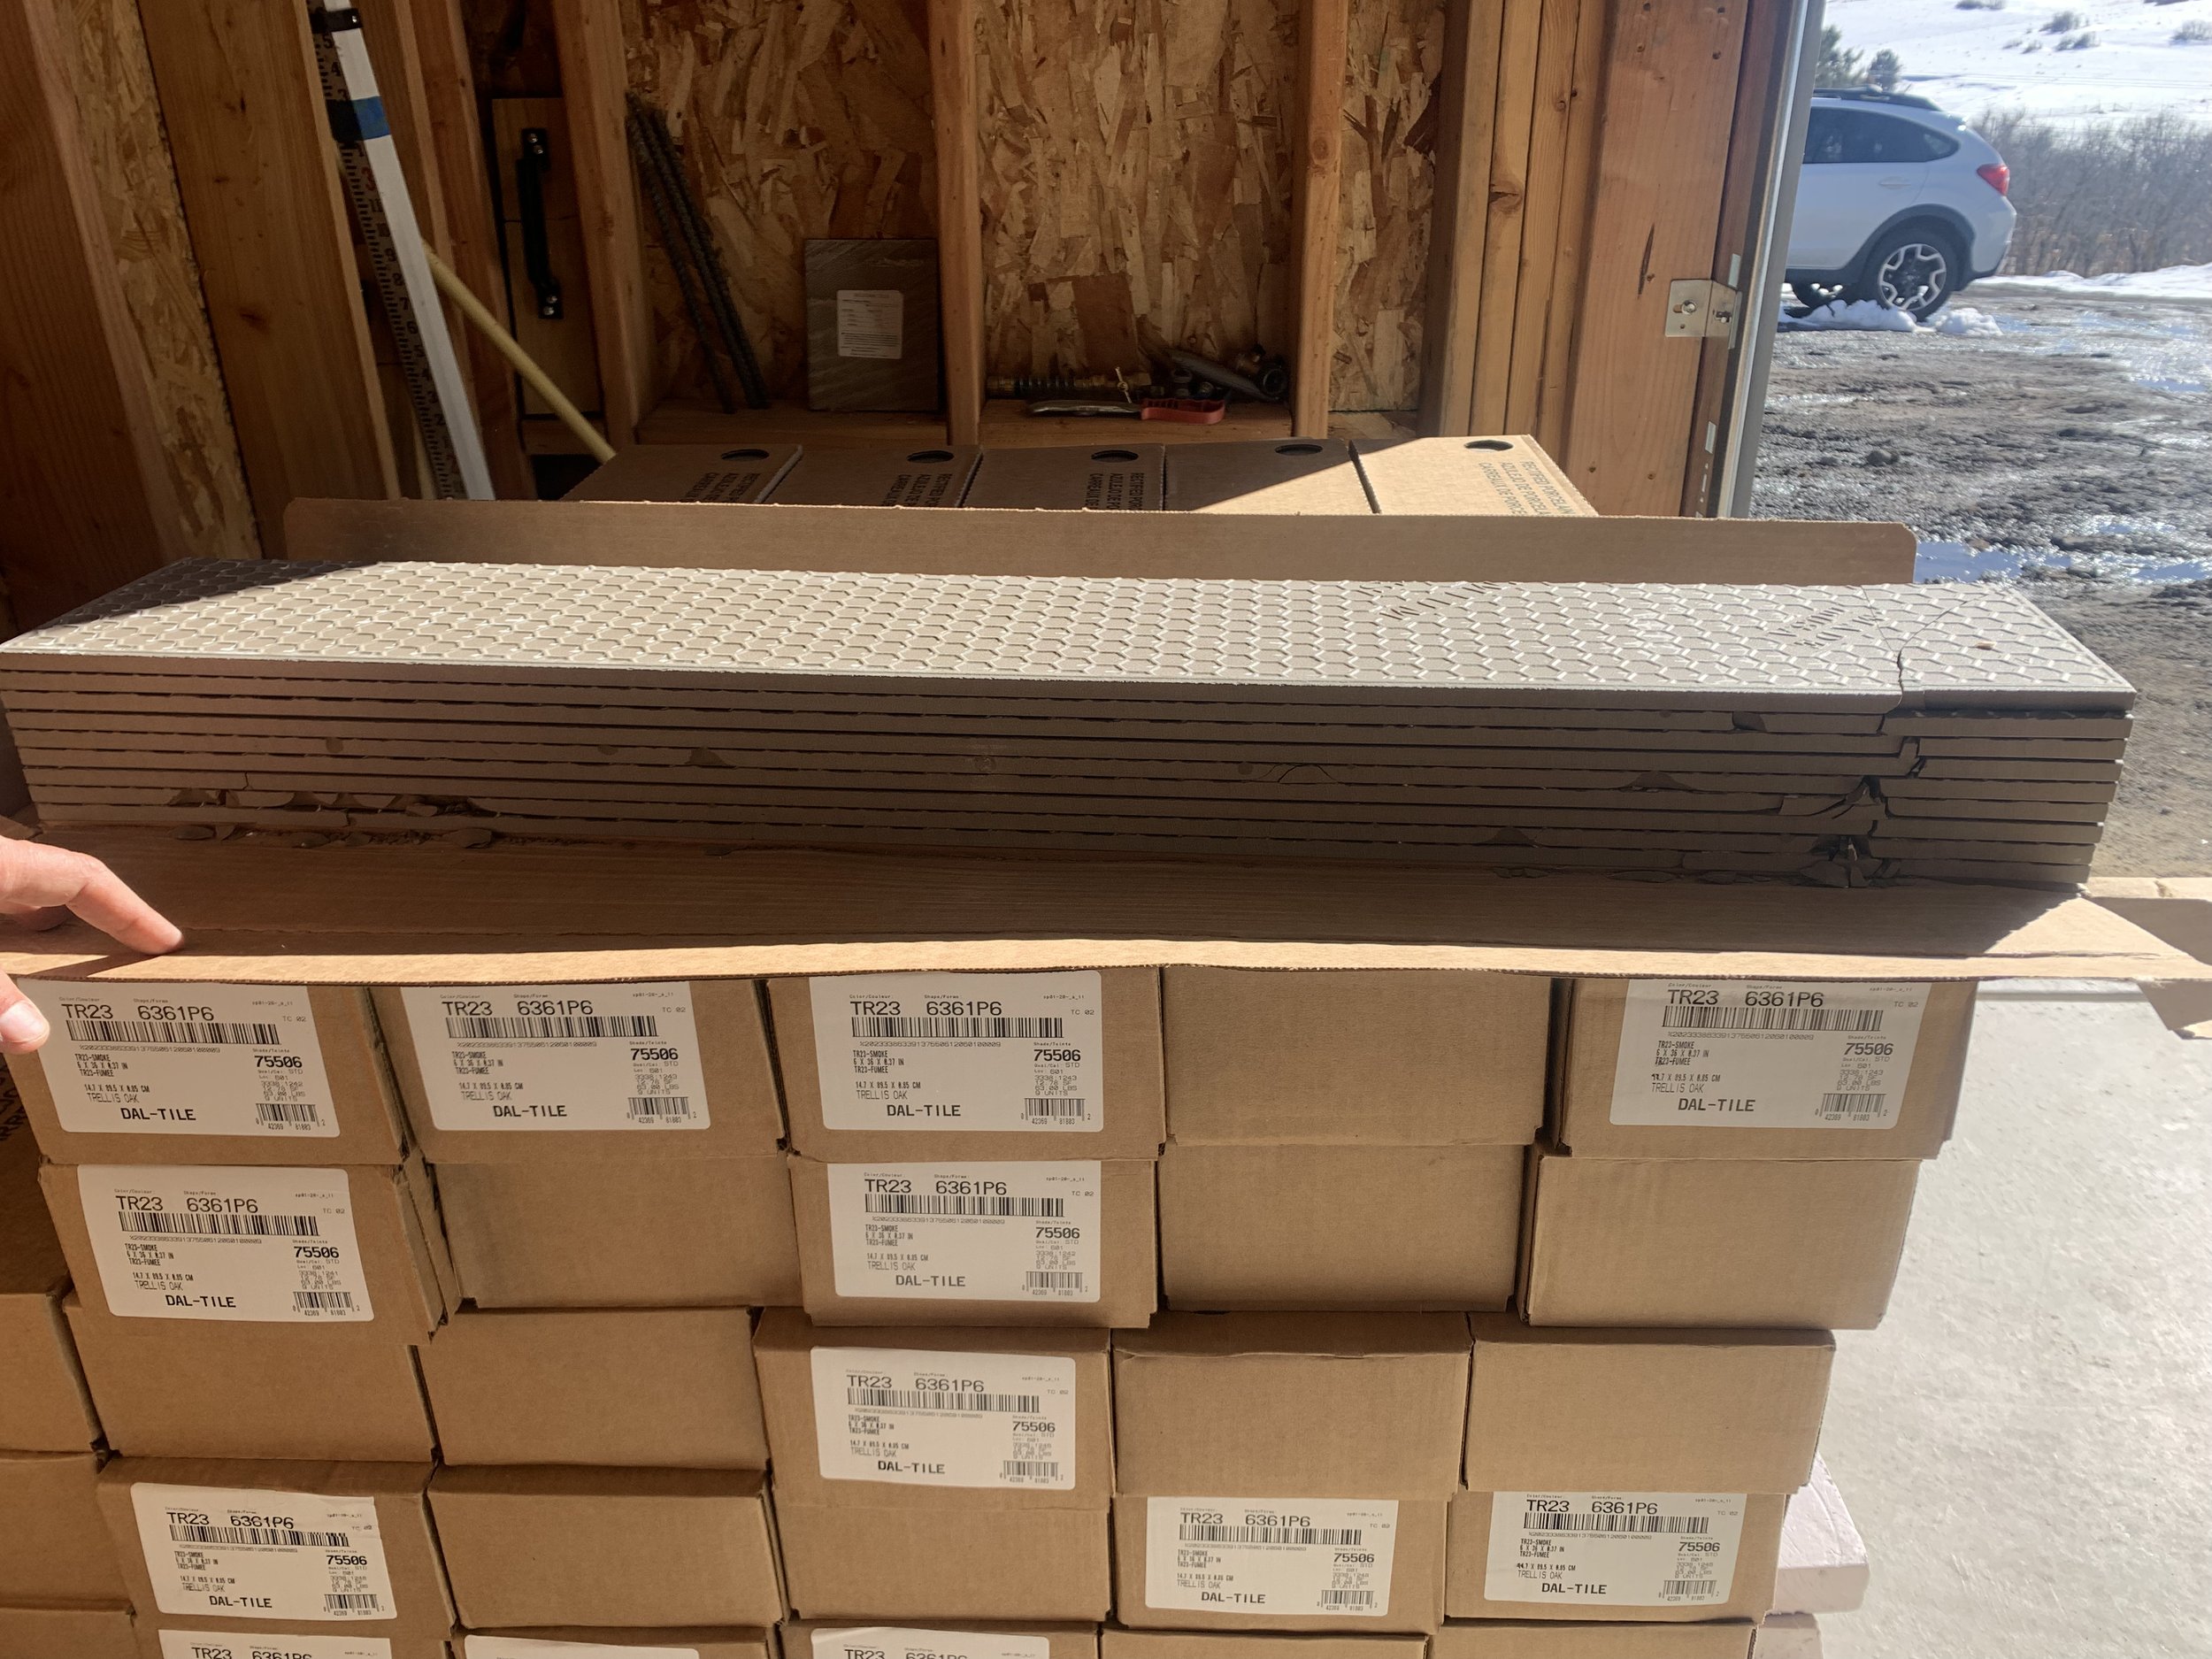
Unfortunately we found some broken tiles, which led to us going through over 7,000 pounds of tile...box by box...ugh!

Red tubes are in and now we move to orange! Orange brings the water to the manifold and the red tube distributes the water.

One could go crazy trying to follow all these tubes.
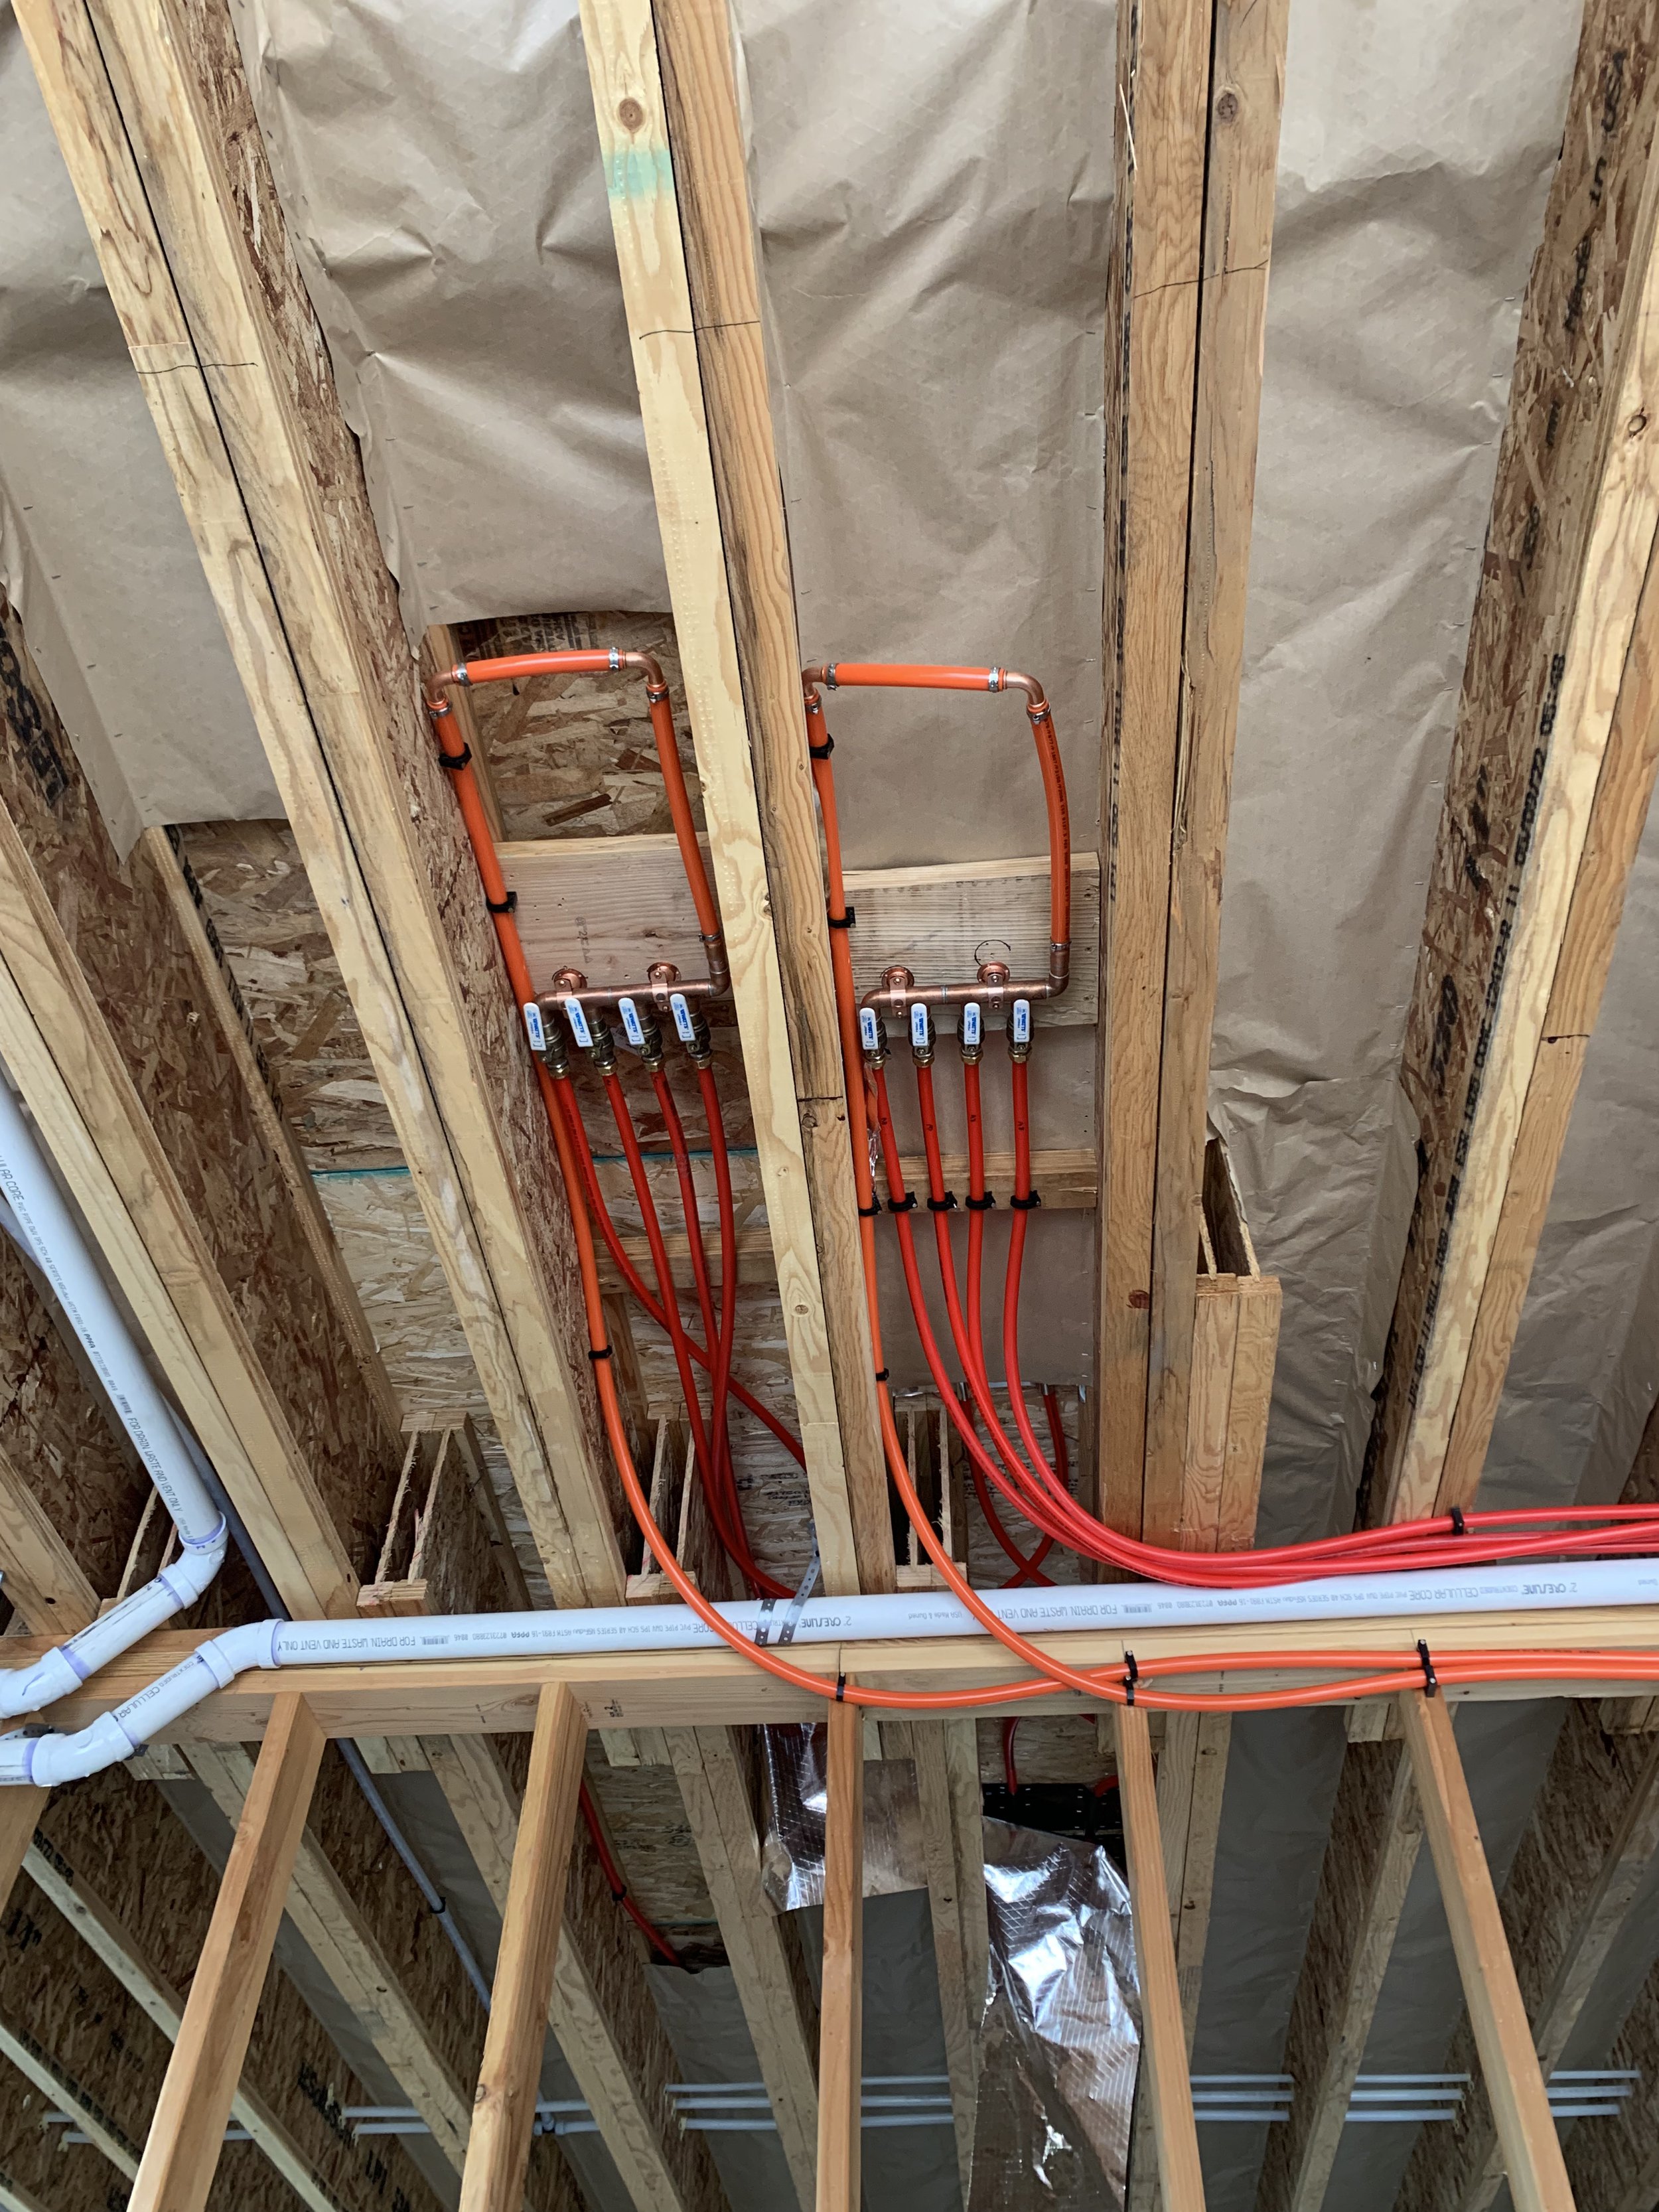
Everything's hooked up so we can mount the manifolds to the ceiling.

All ready for pressure testing! Eek! Cross your fingers!

...and pressure is holding steady! That means our hard work paid off and our radiant heat system is leak free!
We marked all the zones and we're ready for another inspection.
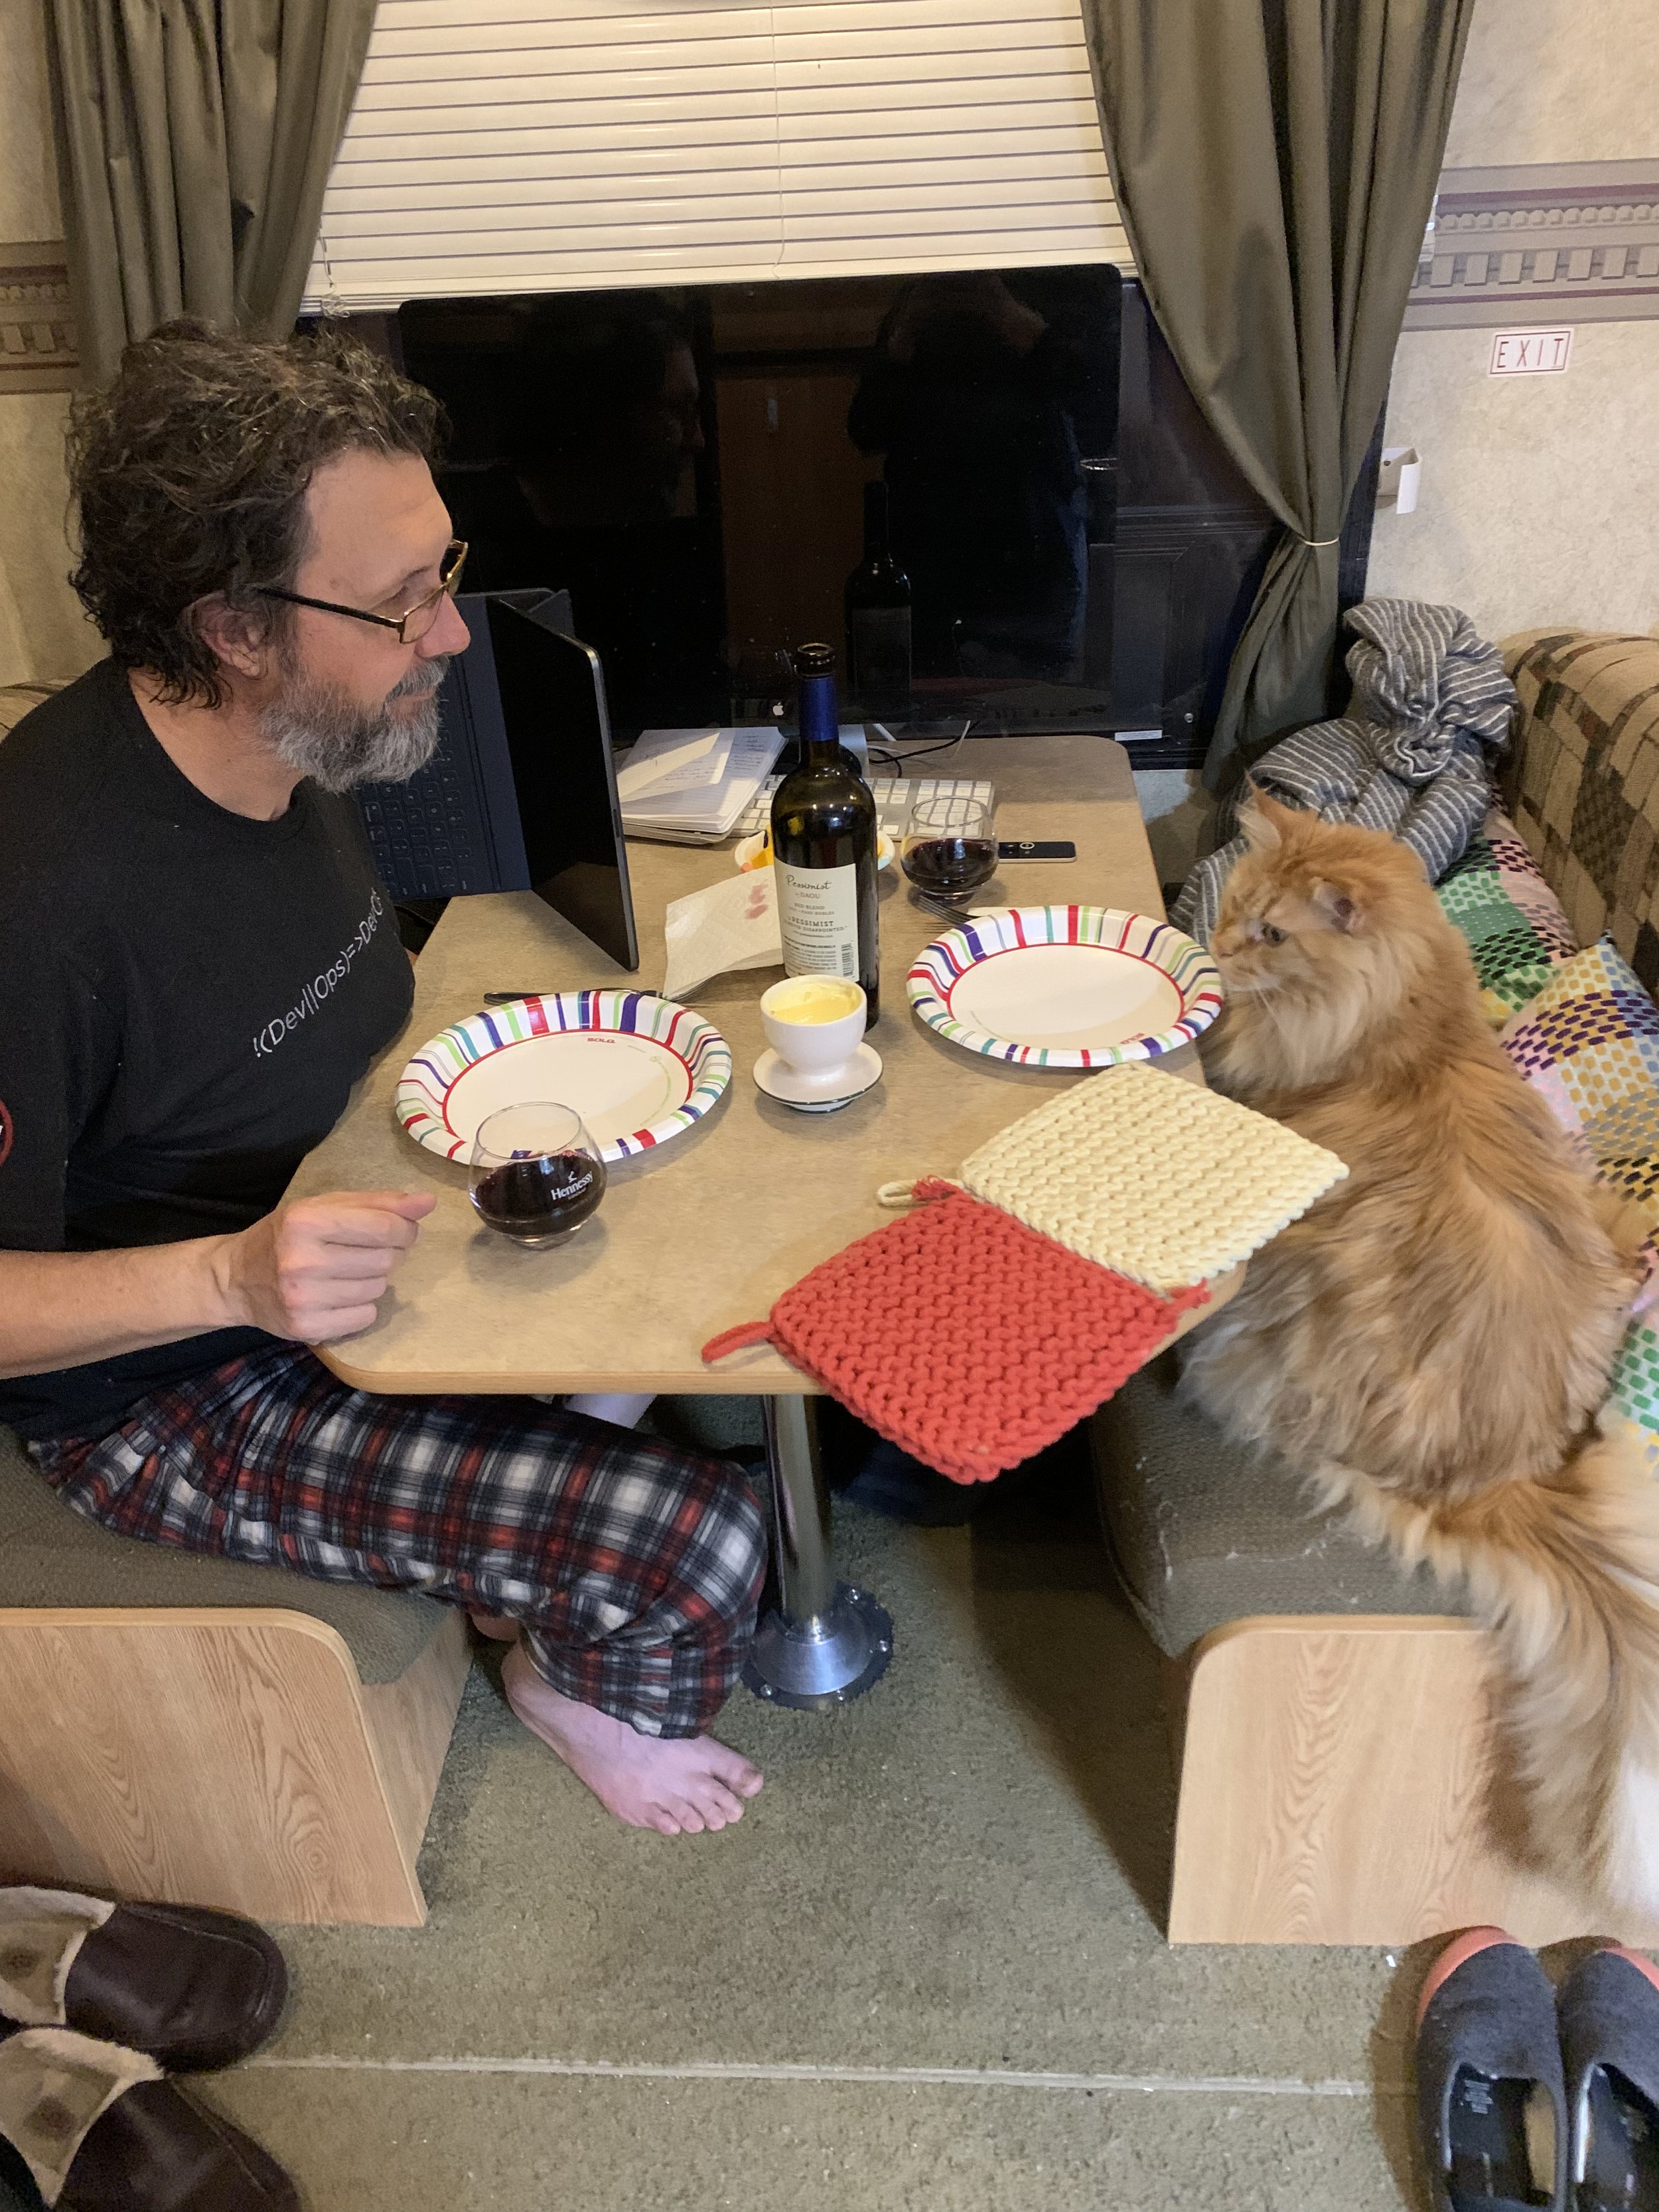
After a long day of work, Hobbs decides to take over my spot at the dinner table!

Some exciting wildlife sightings around the property! A bobcat stopped by the house for a photo. He is now known as Uncle Bob.

...and some wild turkeys stopped by for a potty break apparently!

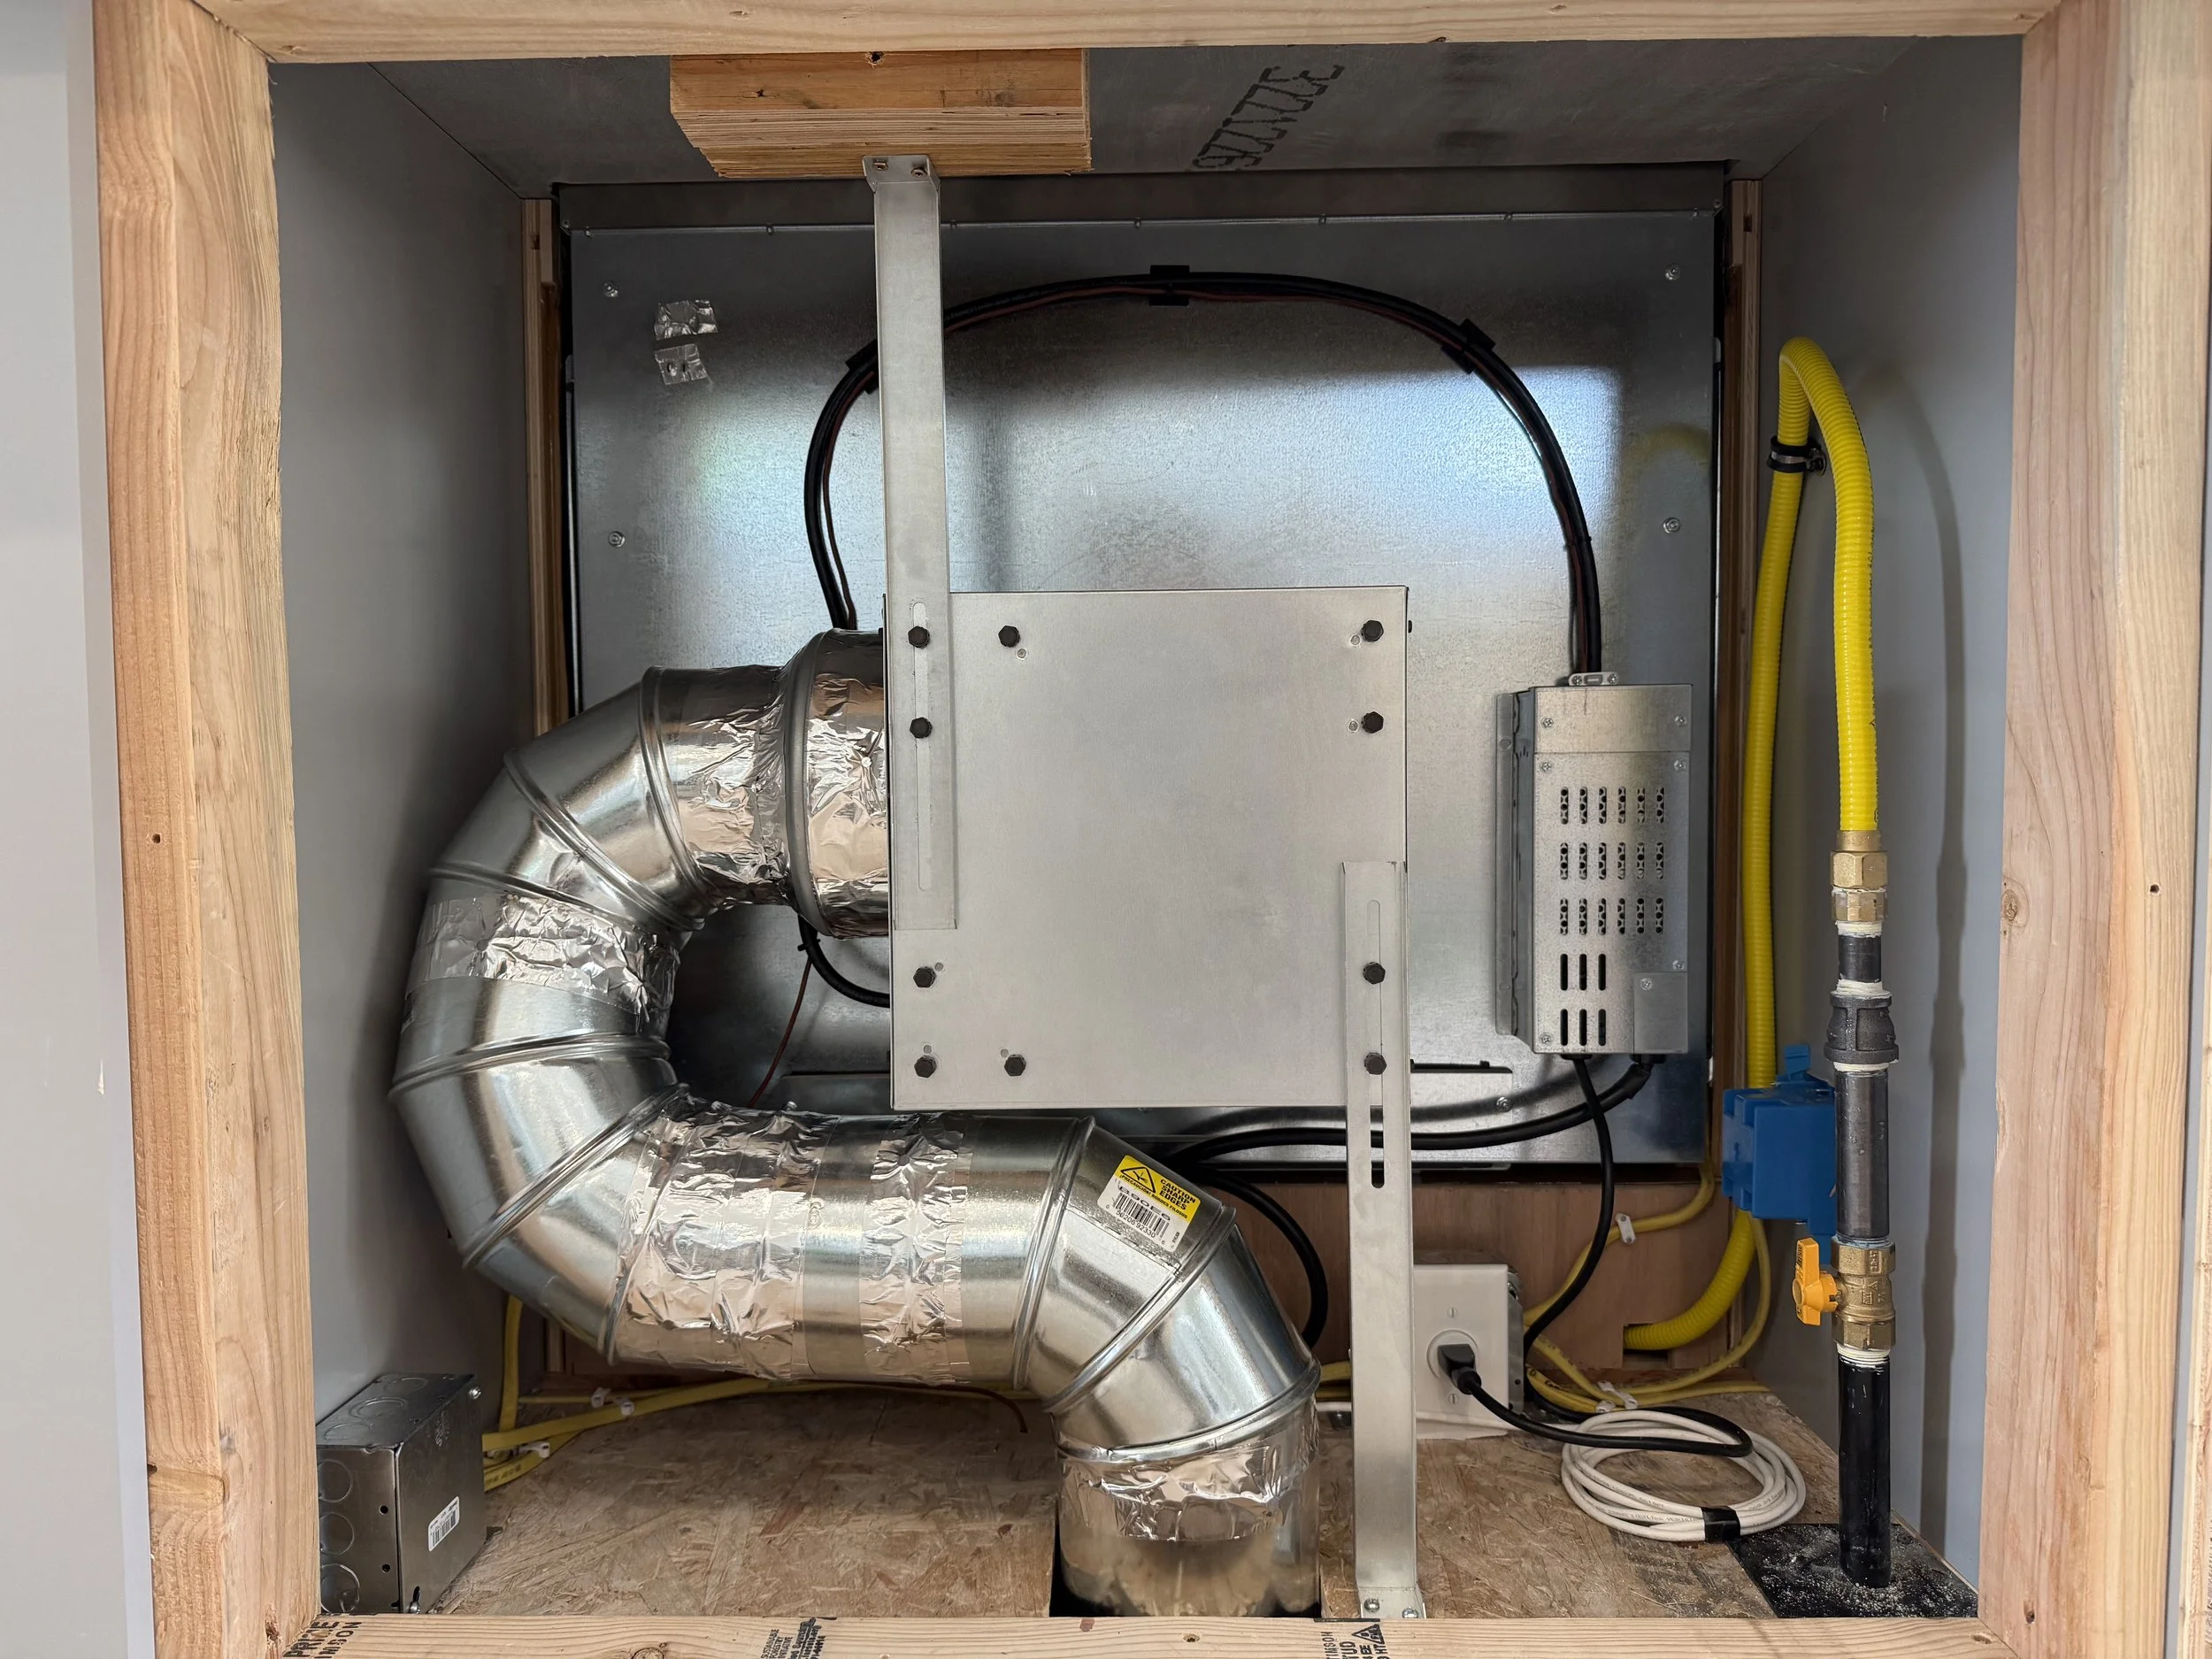
HVAC installation begins!

The crew did speedy work.
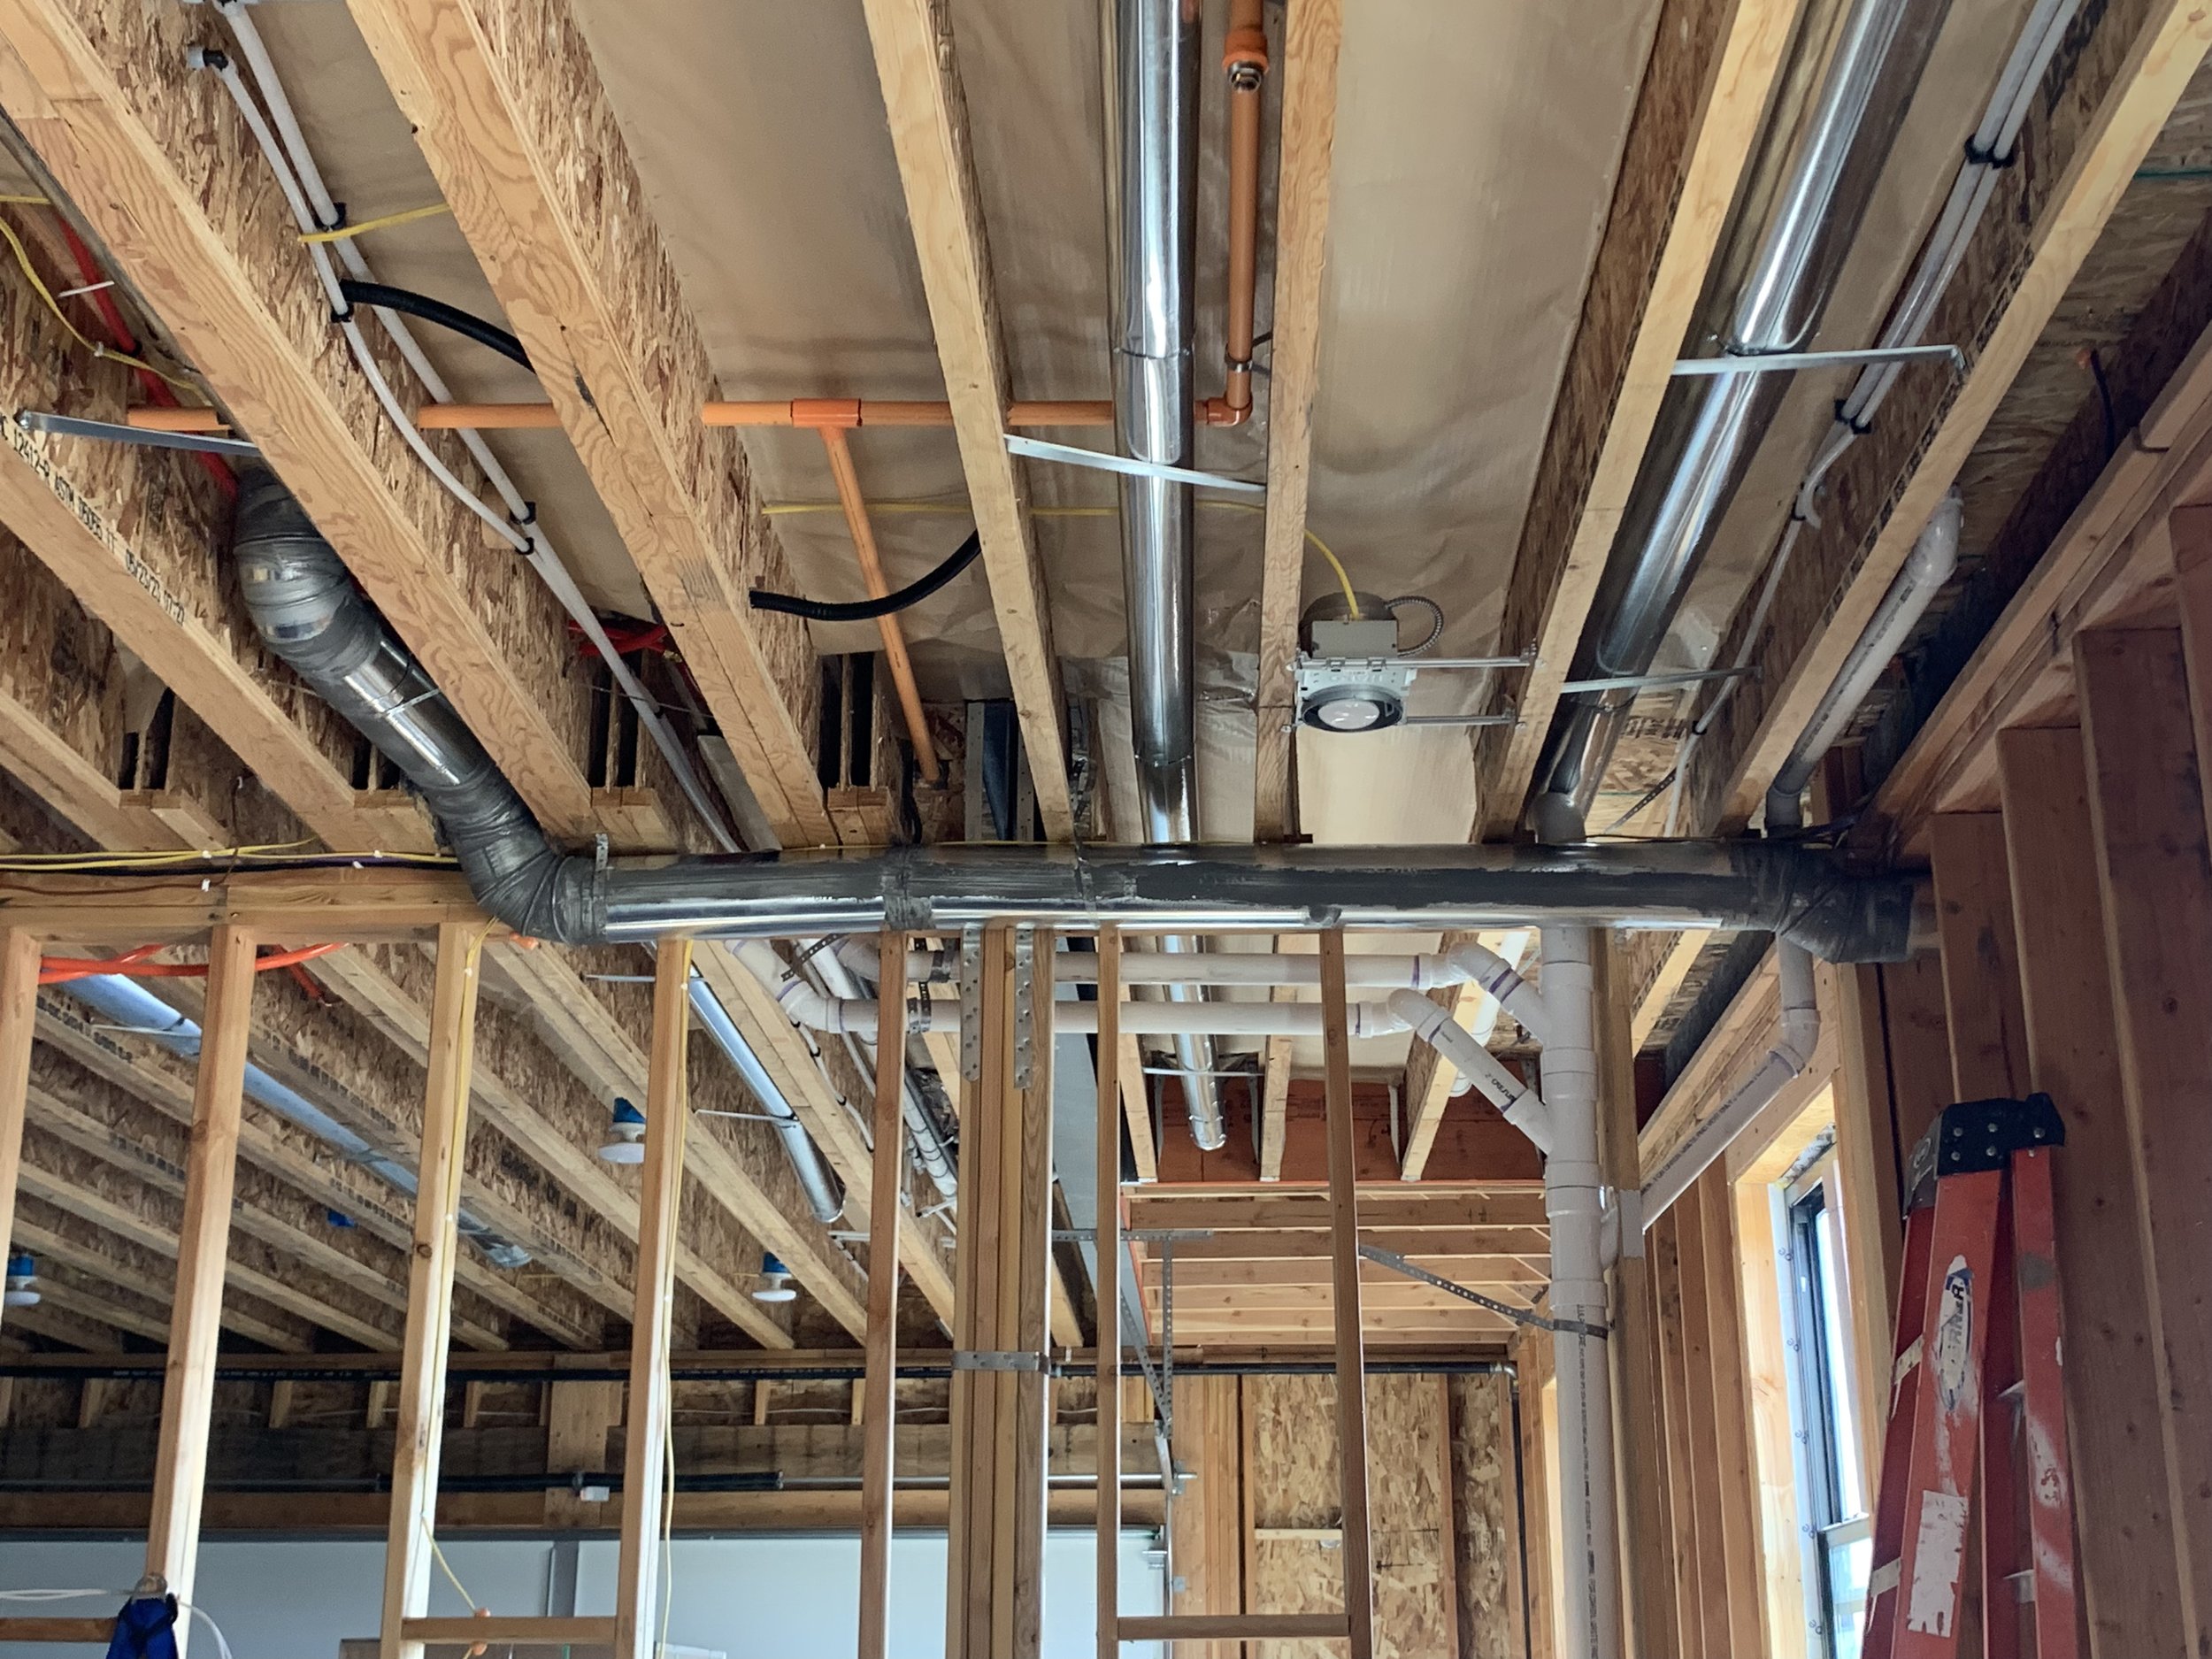
Lots of duct work needed.

Duct work in Kris' future office.

A tight fit in some areas!

Our downstairs ceilings are starting to look a bit full.

Duct work going in to the mechanical room.
Kris has to install venting for the HVAC crew. That means going up on the roof.

Since we don't have a lift on site right now, he had to climb up via the Bobcat. Eek!

Hope that rope tied to the Bobcat does the job!

The holes are drilled.

Vents installed and now Kris' dismount!
The finished product and Kris is on the ground safely.

HVAC system is in and it's time to seal it up! They've got quite a fancy system.

Apparently they push a chemical up into the duct work and it seals up any leaks.

Their computer will tell you the stats as it's sealing.

Can't be inside during this process. It's super stinky!!

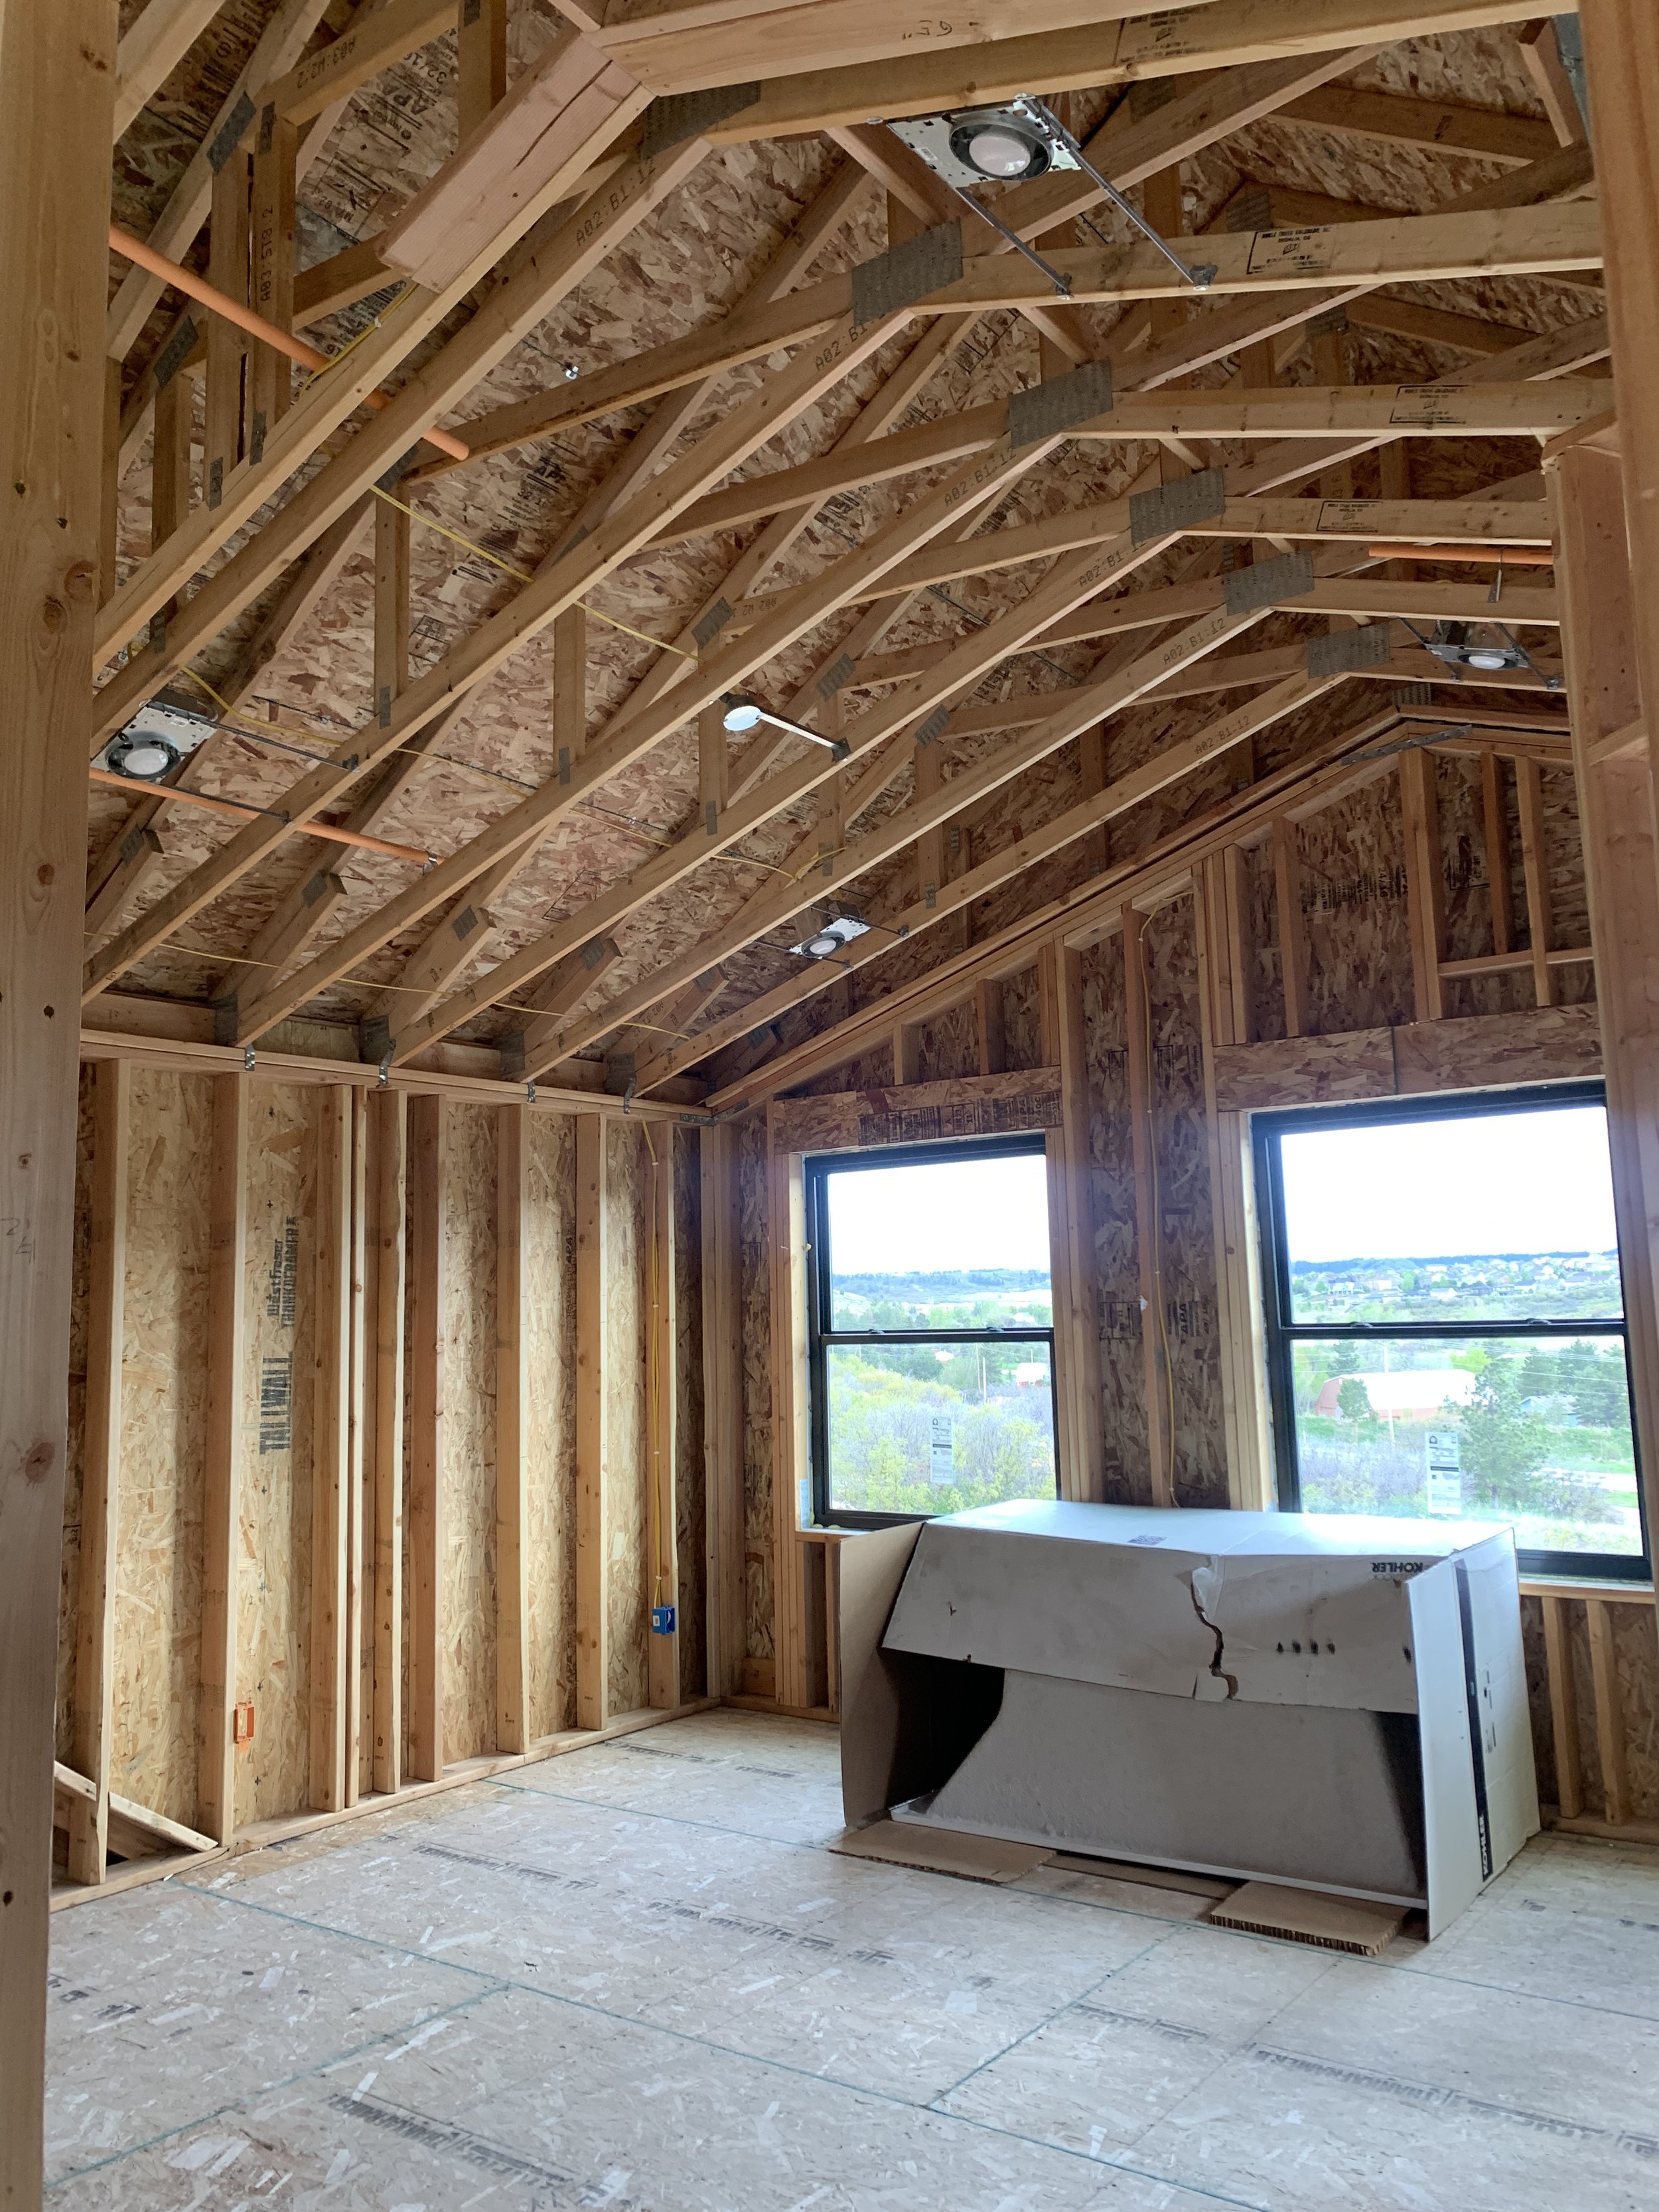
Now moving on to lighting and electrical. Kris starts with all the recessed lighting.
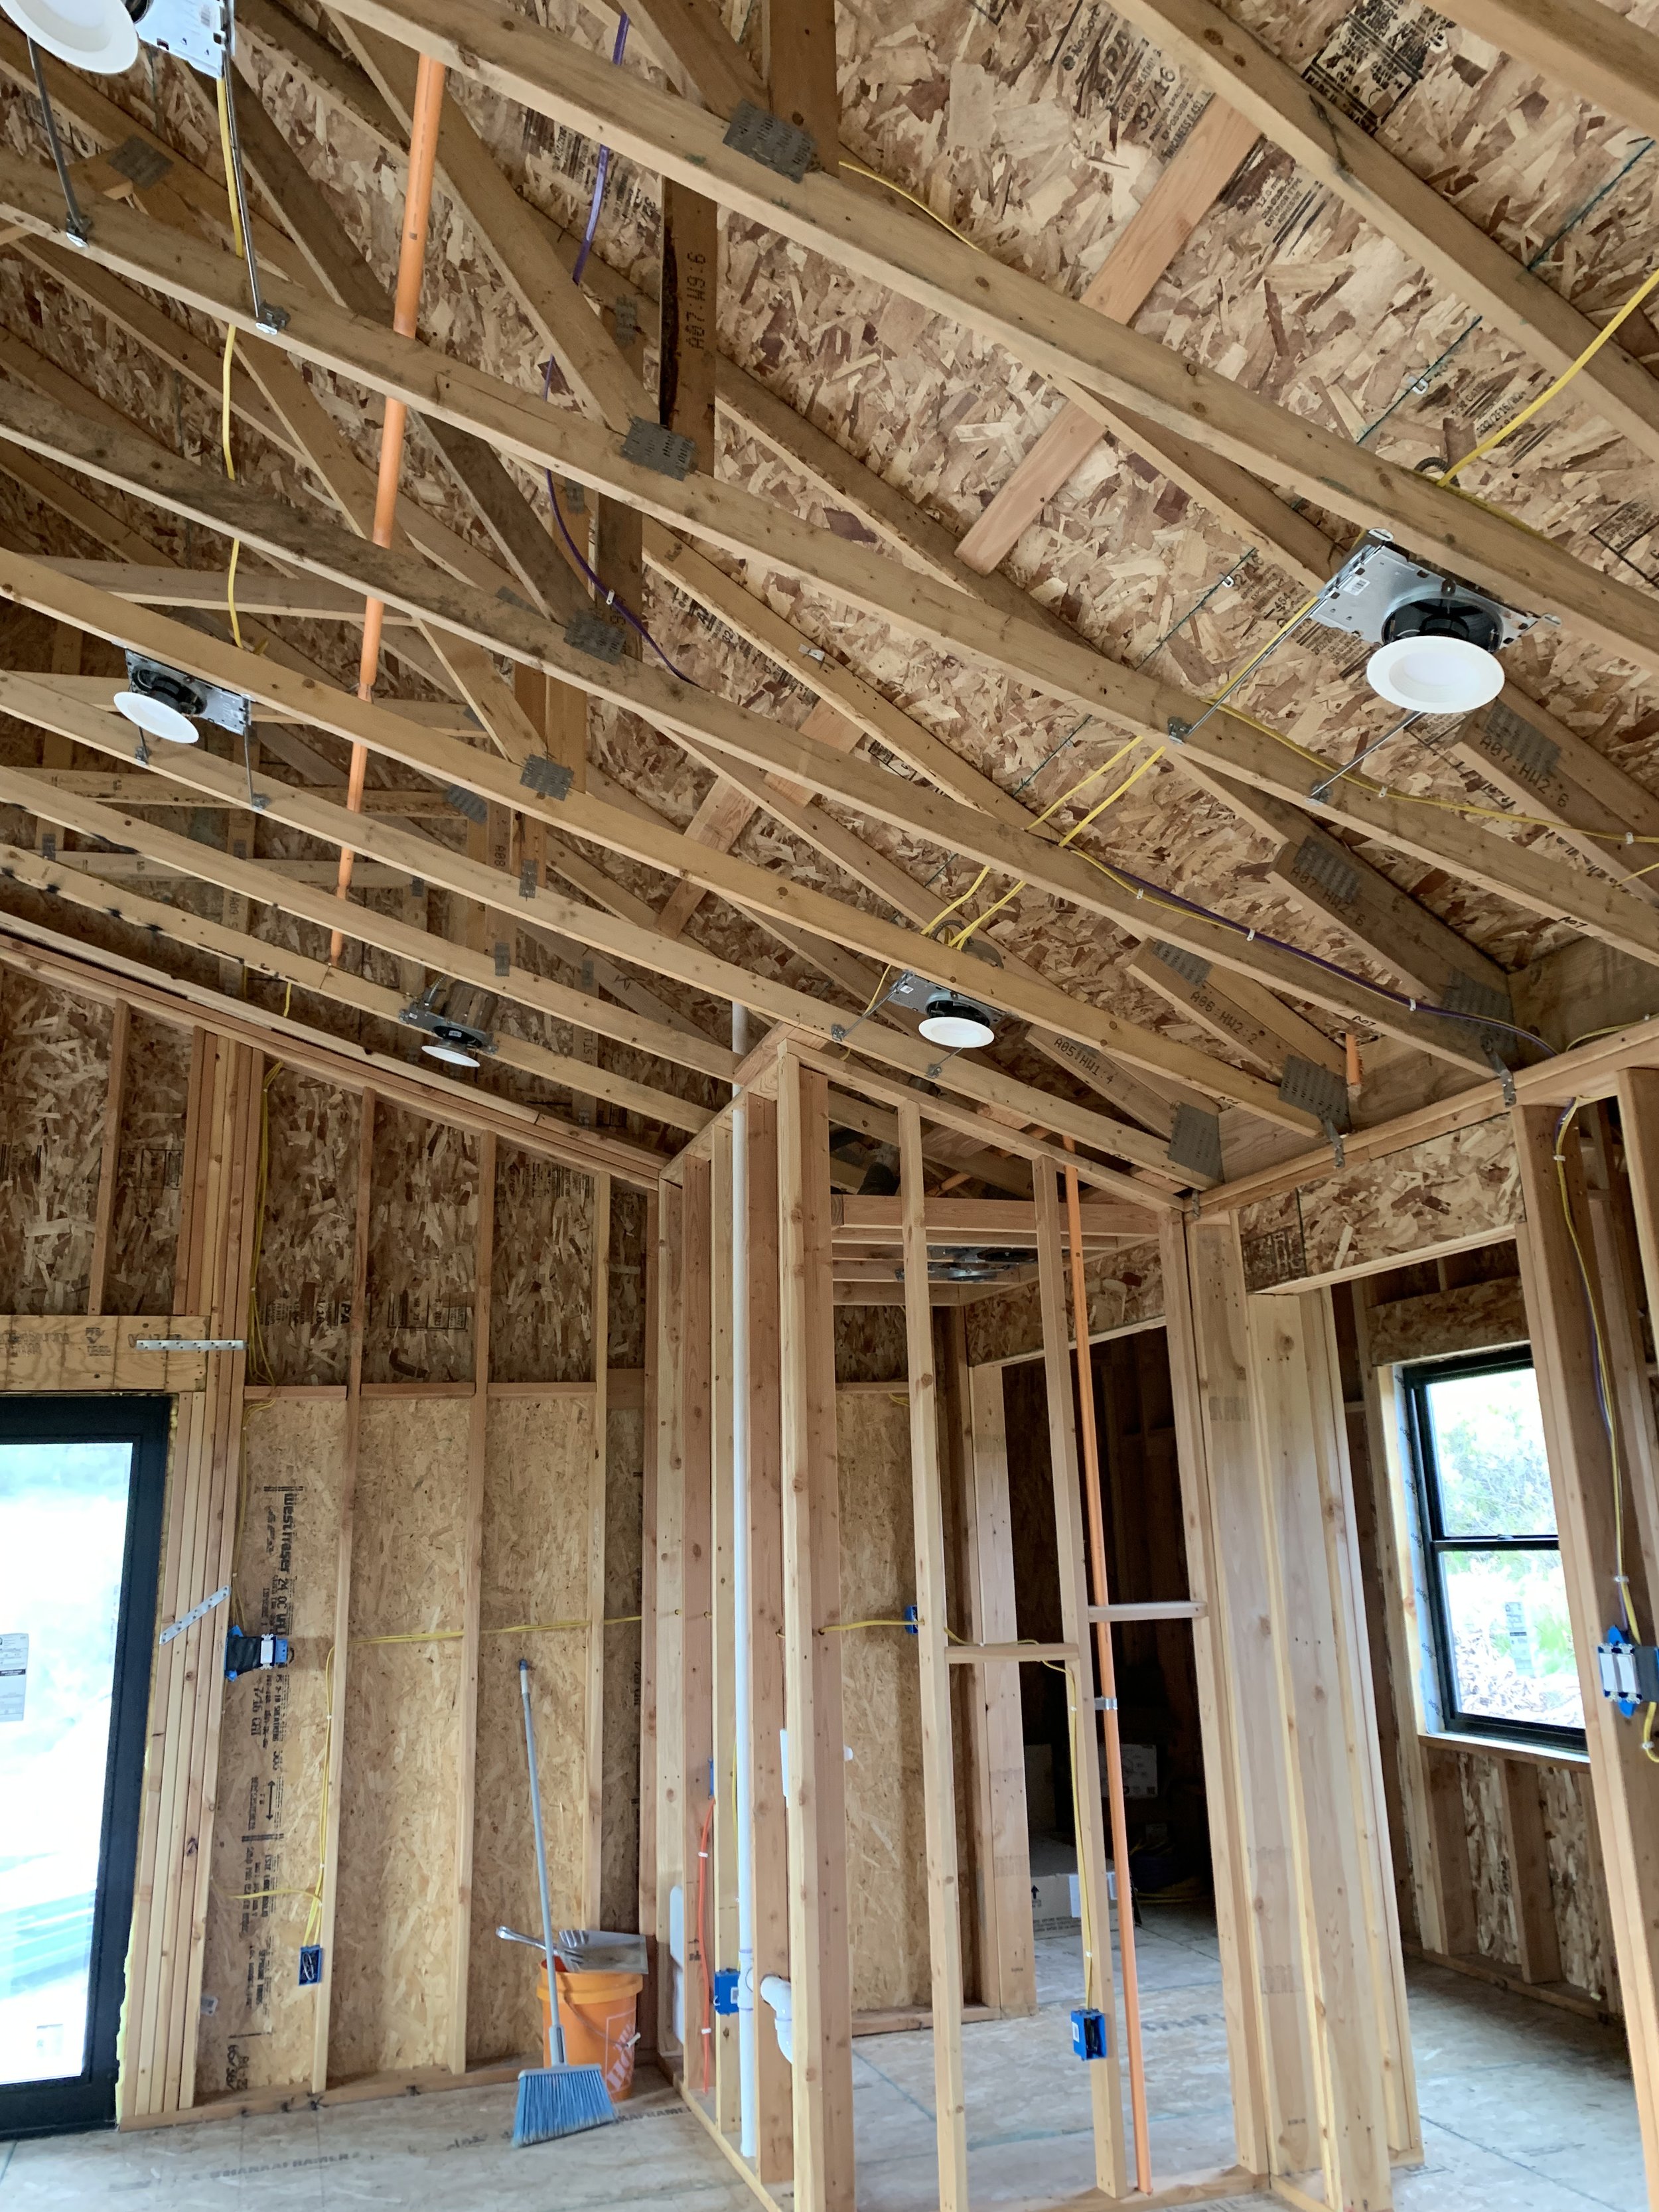
Around the same time, the fire sprinkler installers started. Anywhere you see an orange tube in the picture, that's a fire sprinkler line!

Small orange sprinkler heads are hidden all over the house.

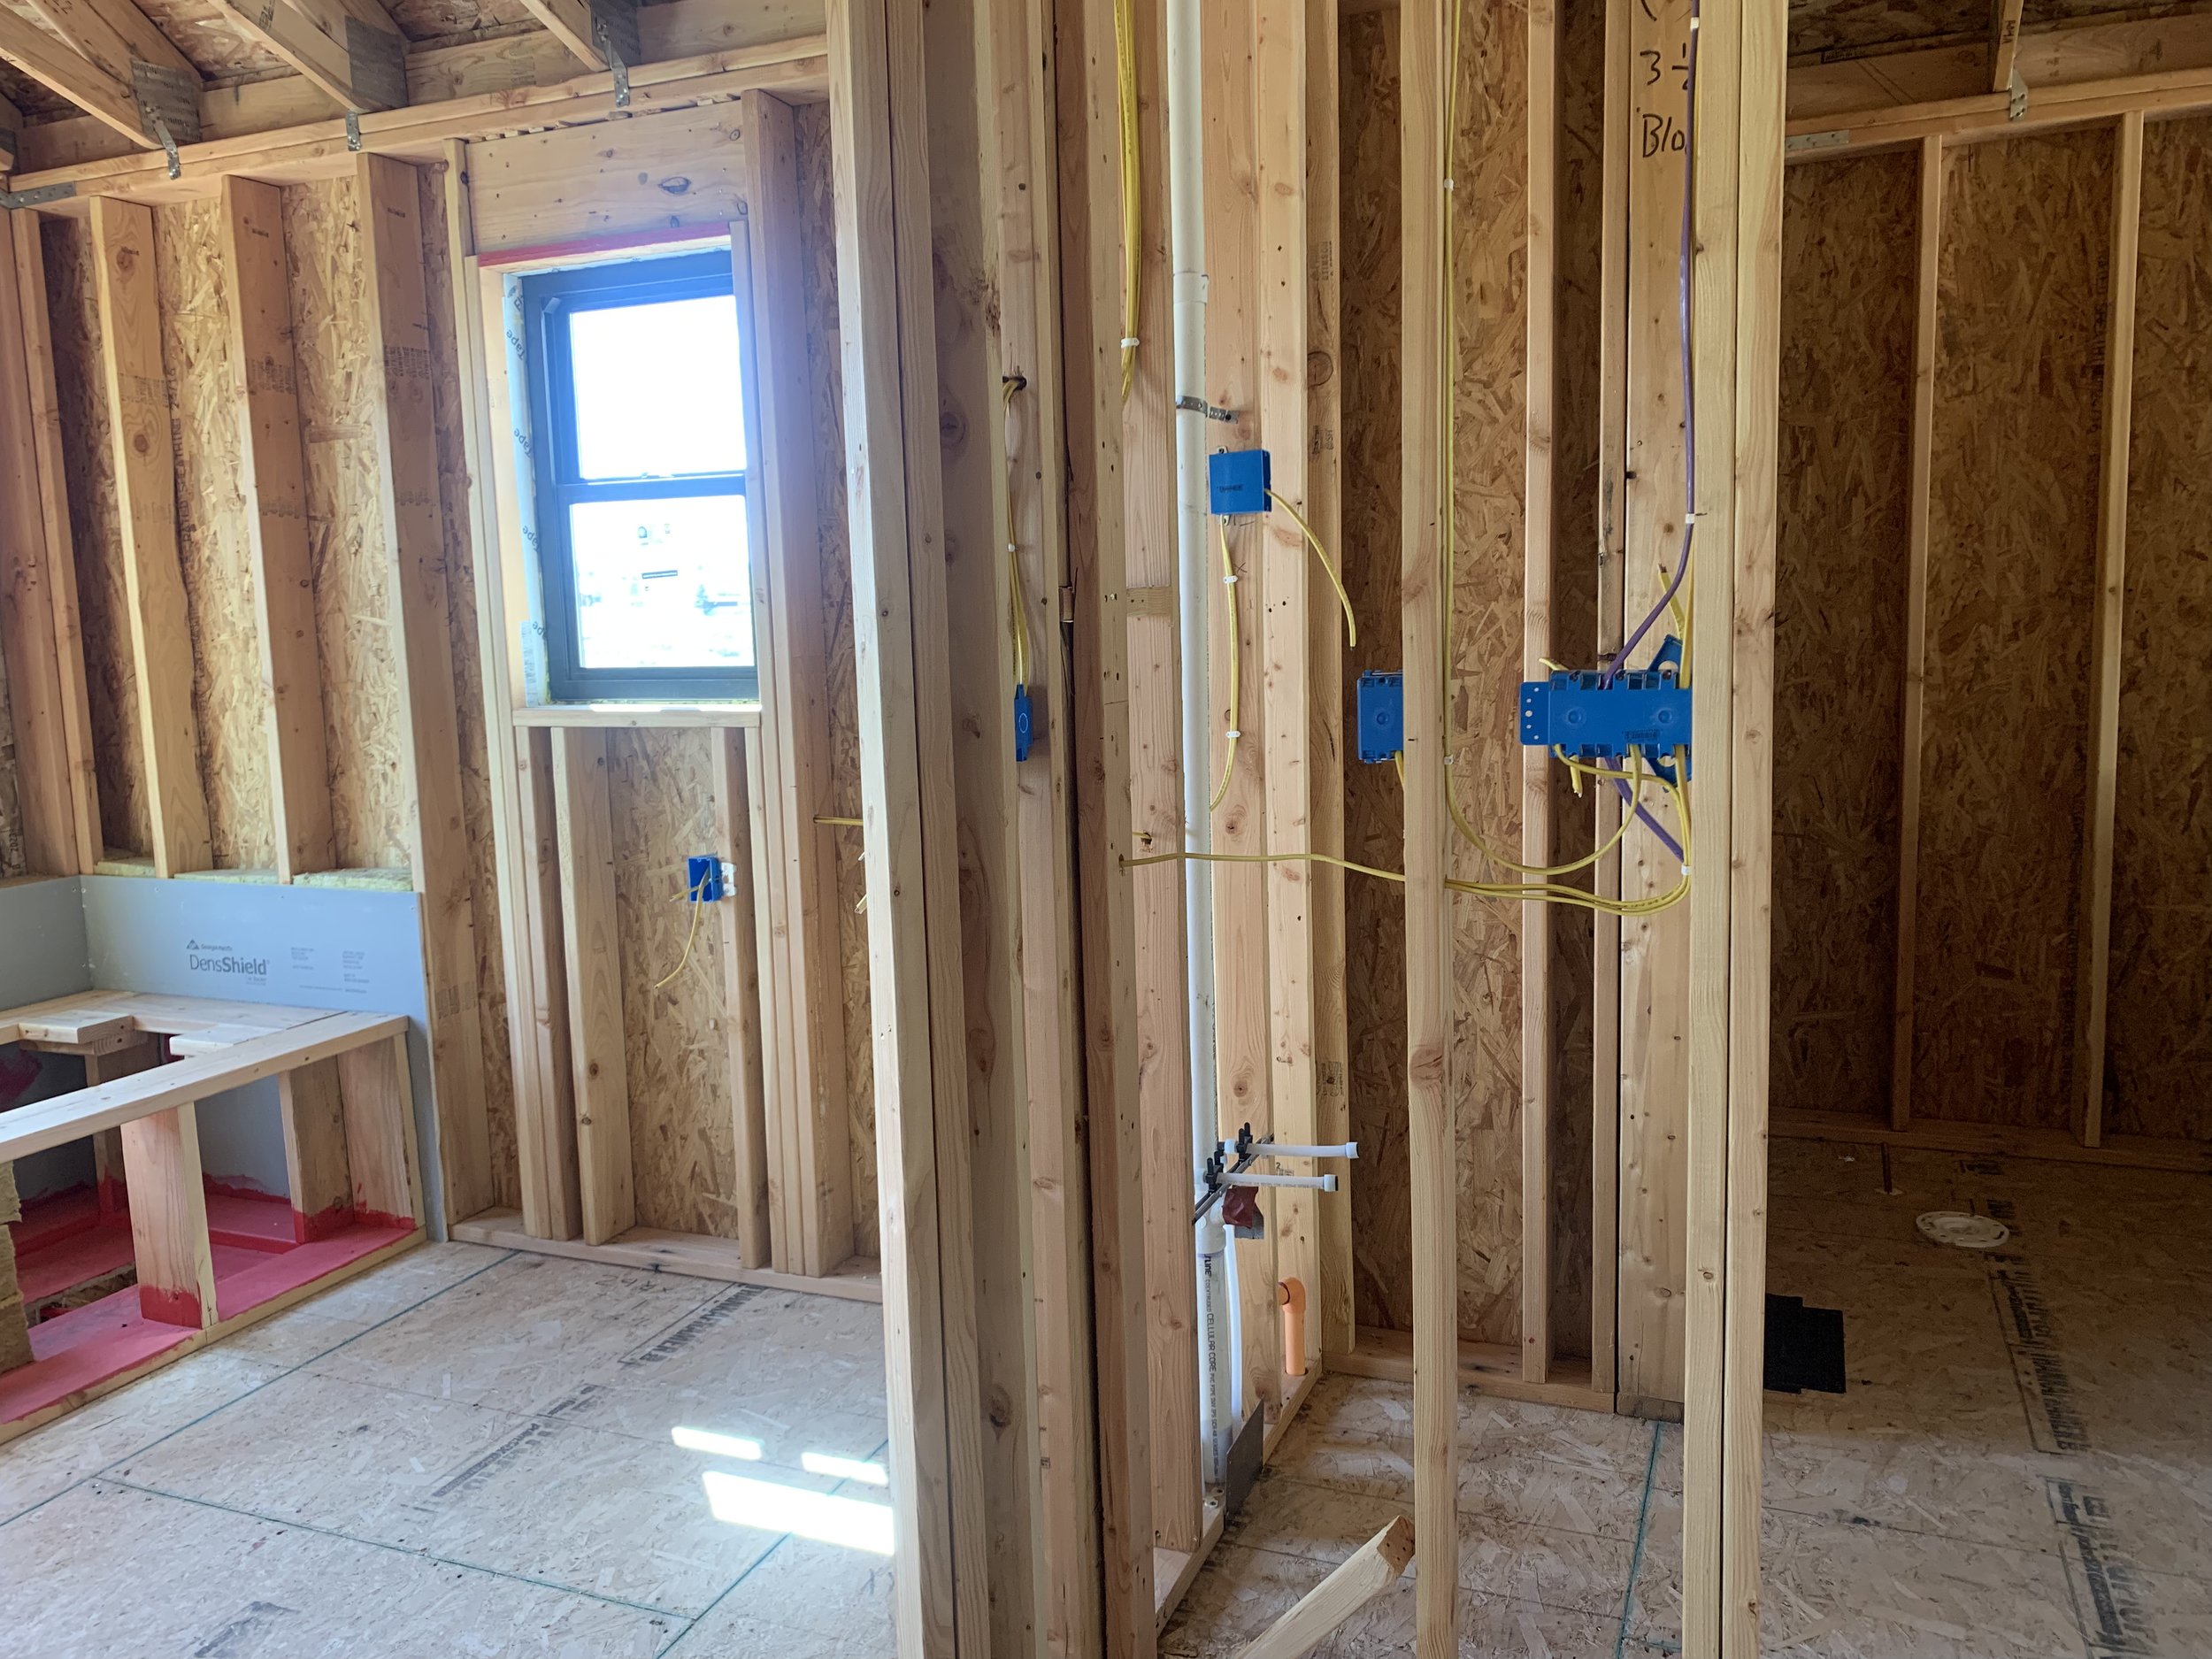
Adding task lighting in the kitchen. Those are the little blue boxes.

Electrical boxes installed in the kitchen.
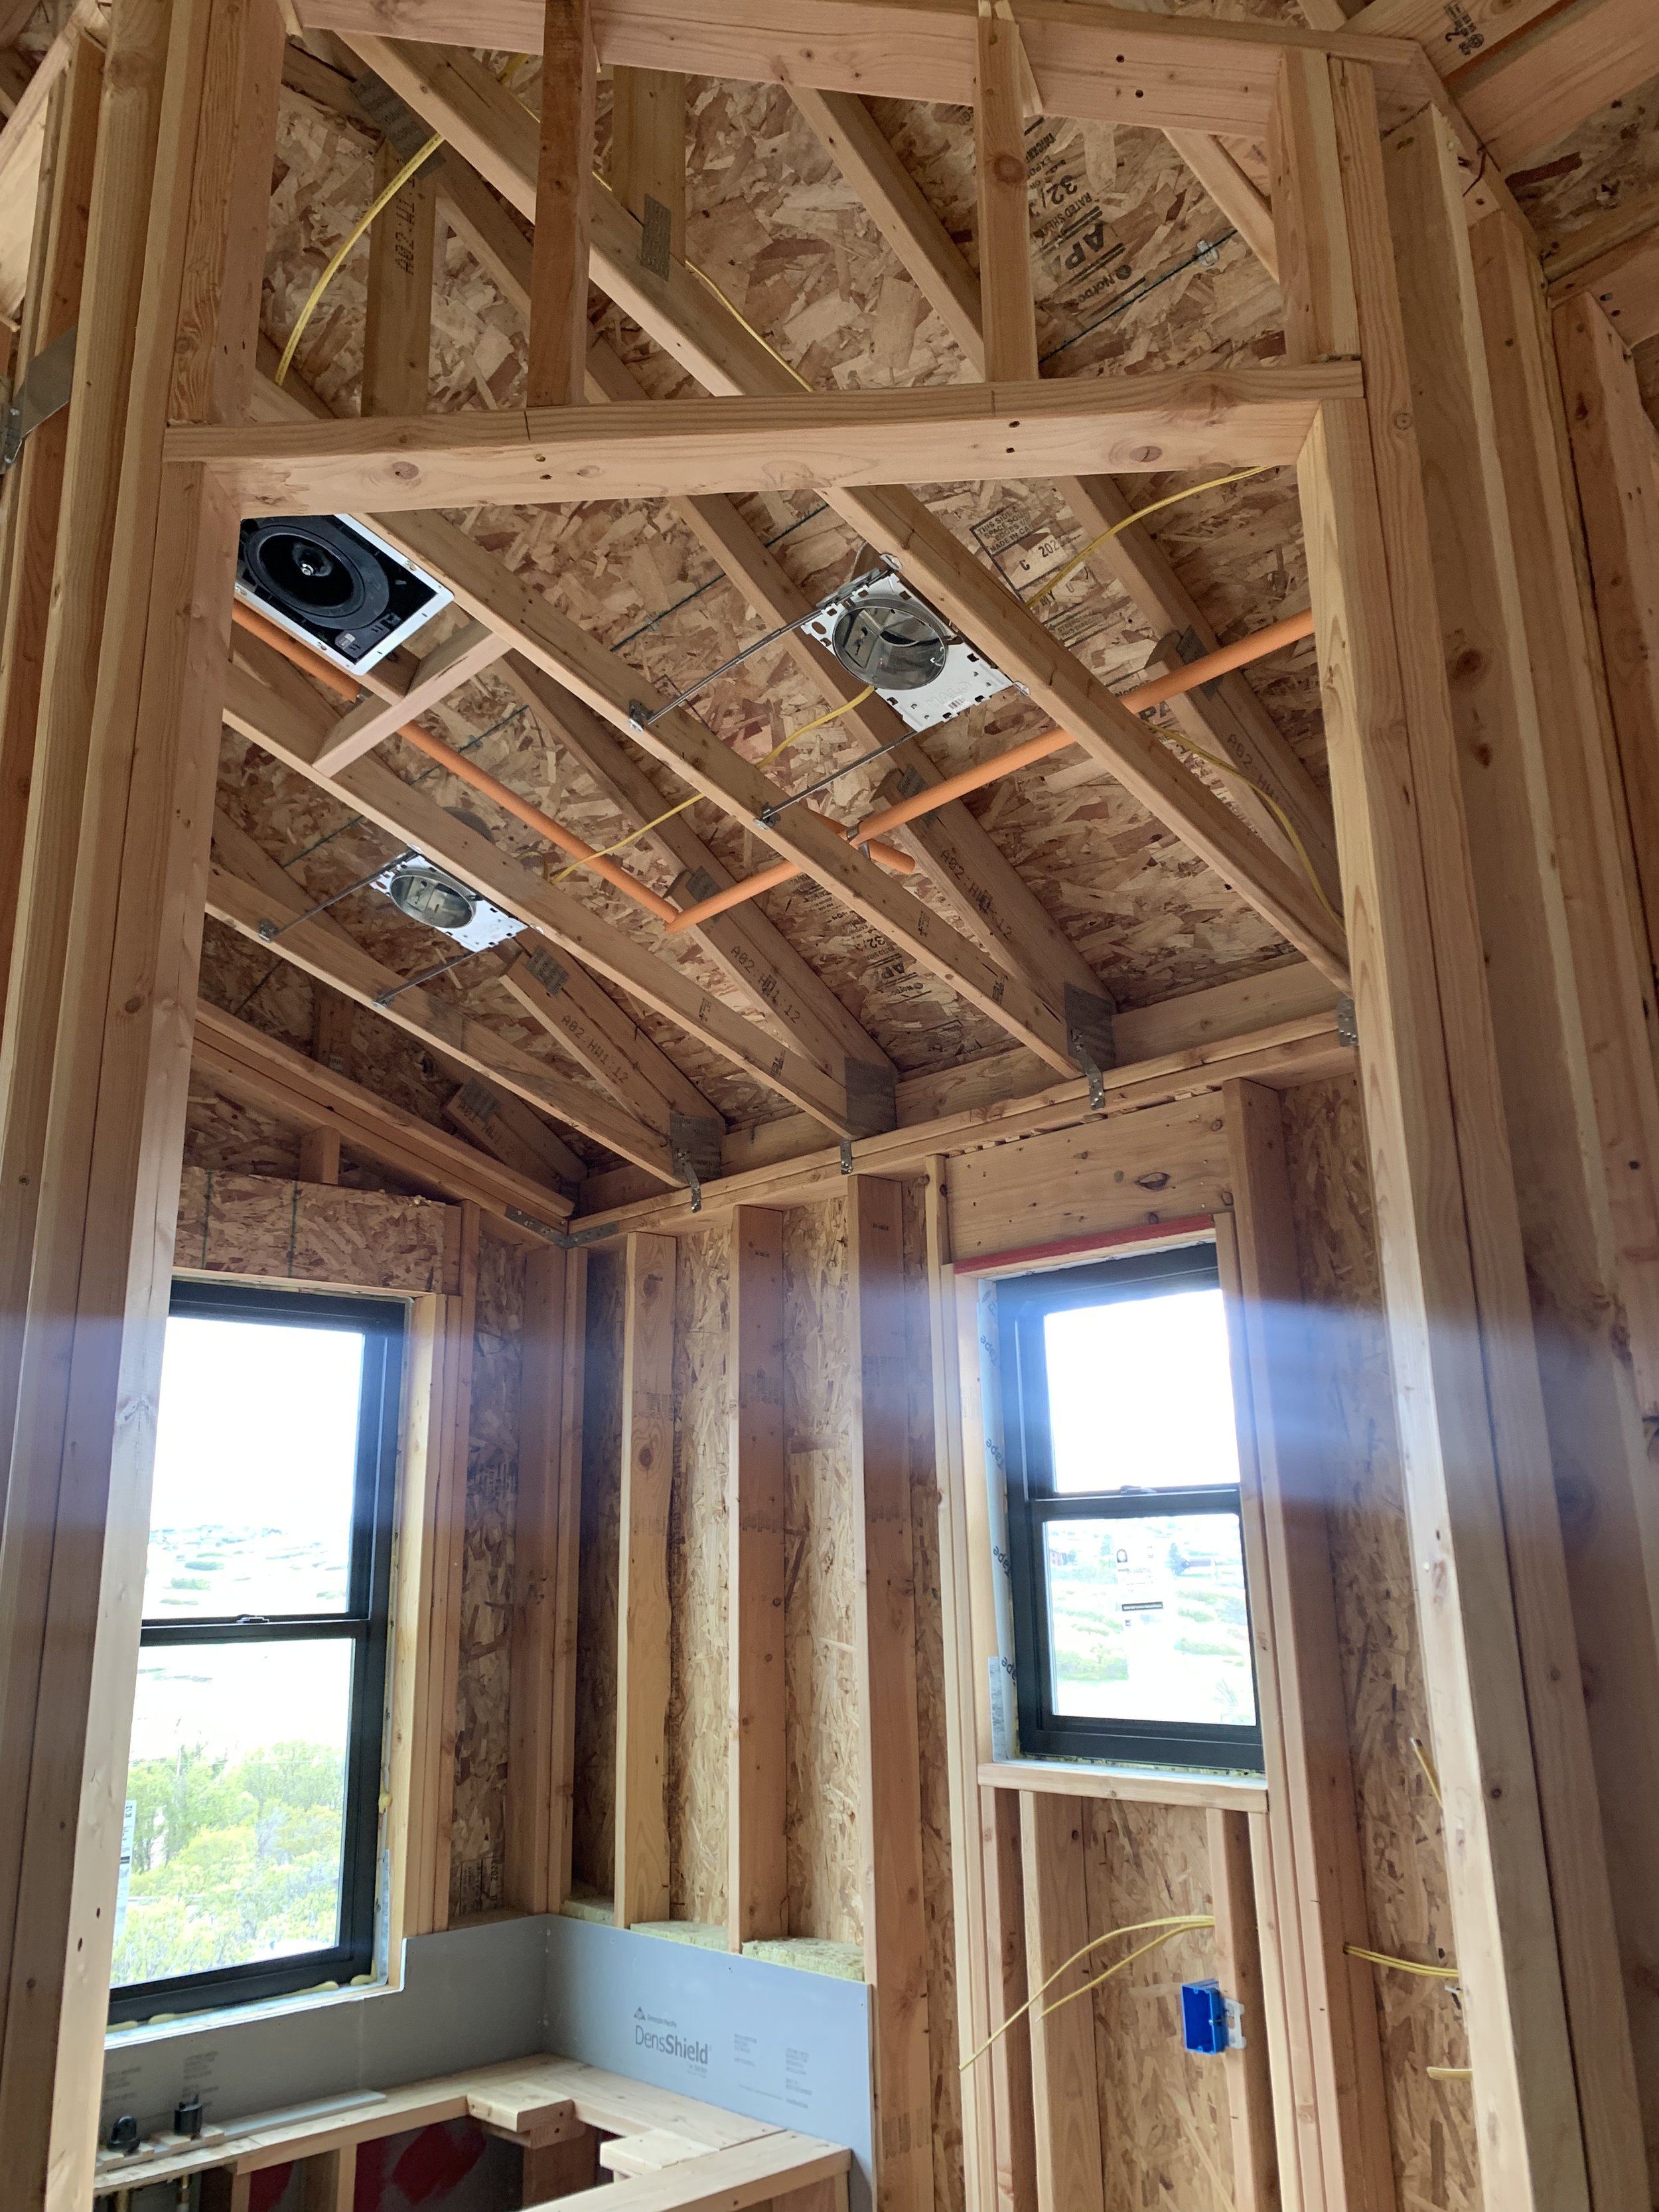
Lighting and venting installed in the master bath.
Electrical pulled to the master bath and powder bath.
Recessed lights and fire sprinklers are installed in the master bedroom.
HVAC starts in the upstairs!

Electrical added to the living room. This will be the TV wall.
Electrical begins in the laundry/mud room.

...and of course, we also need lights on the back deck!
This is a view from the deck, looking in to the main living space. It's starting to come together!
Electrical pulled to the staircase ceiling for future art lighting.

If you think you're cut out for being an electrician, here's your first test! Get all these wires to fit inside the box.

Don't forget, it needs to be neat and tidy!

Panel 1 ready for inspection!

Panel 2 ready for inspection!

Our data cables are a bit out of control. This is what happens when you wire for a "smart house!" Clearly some more work will have to happen here.
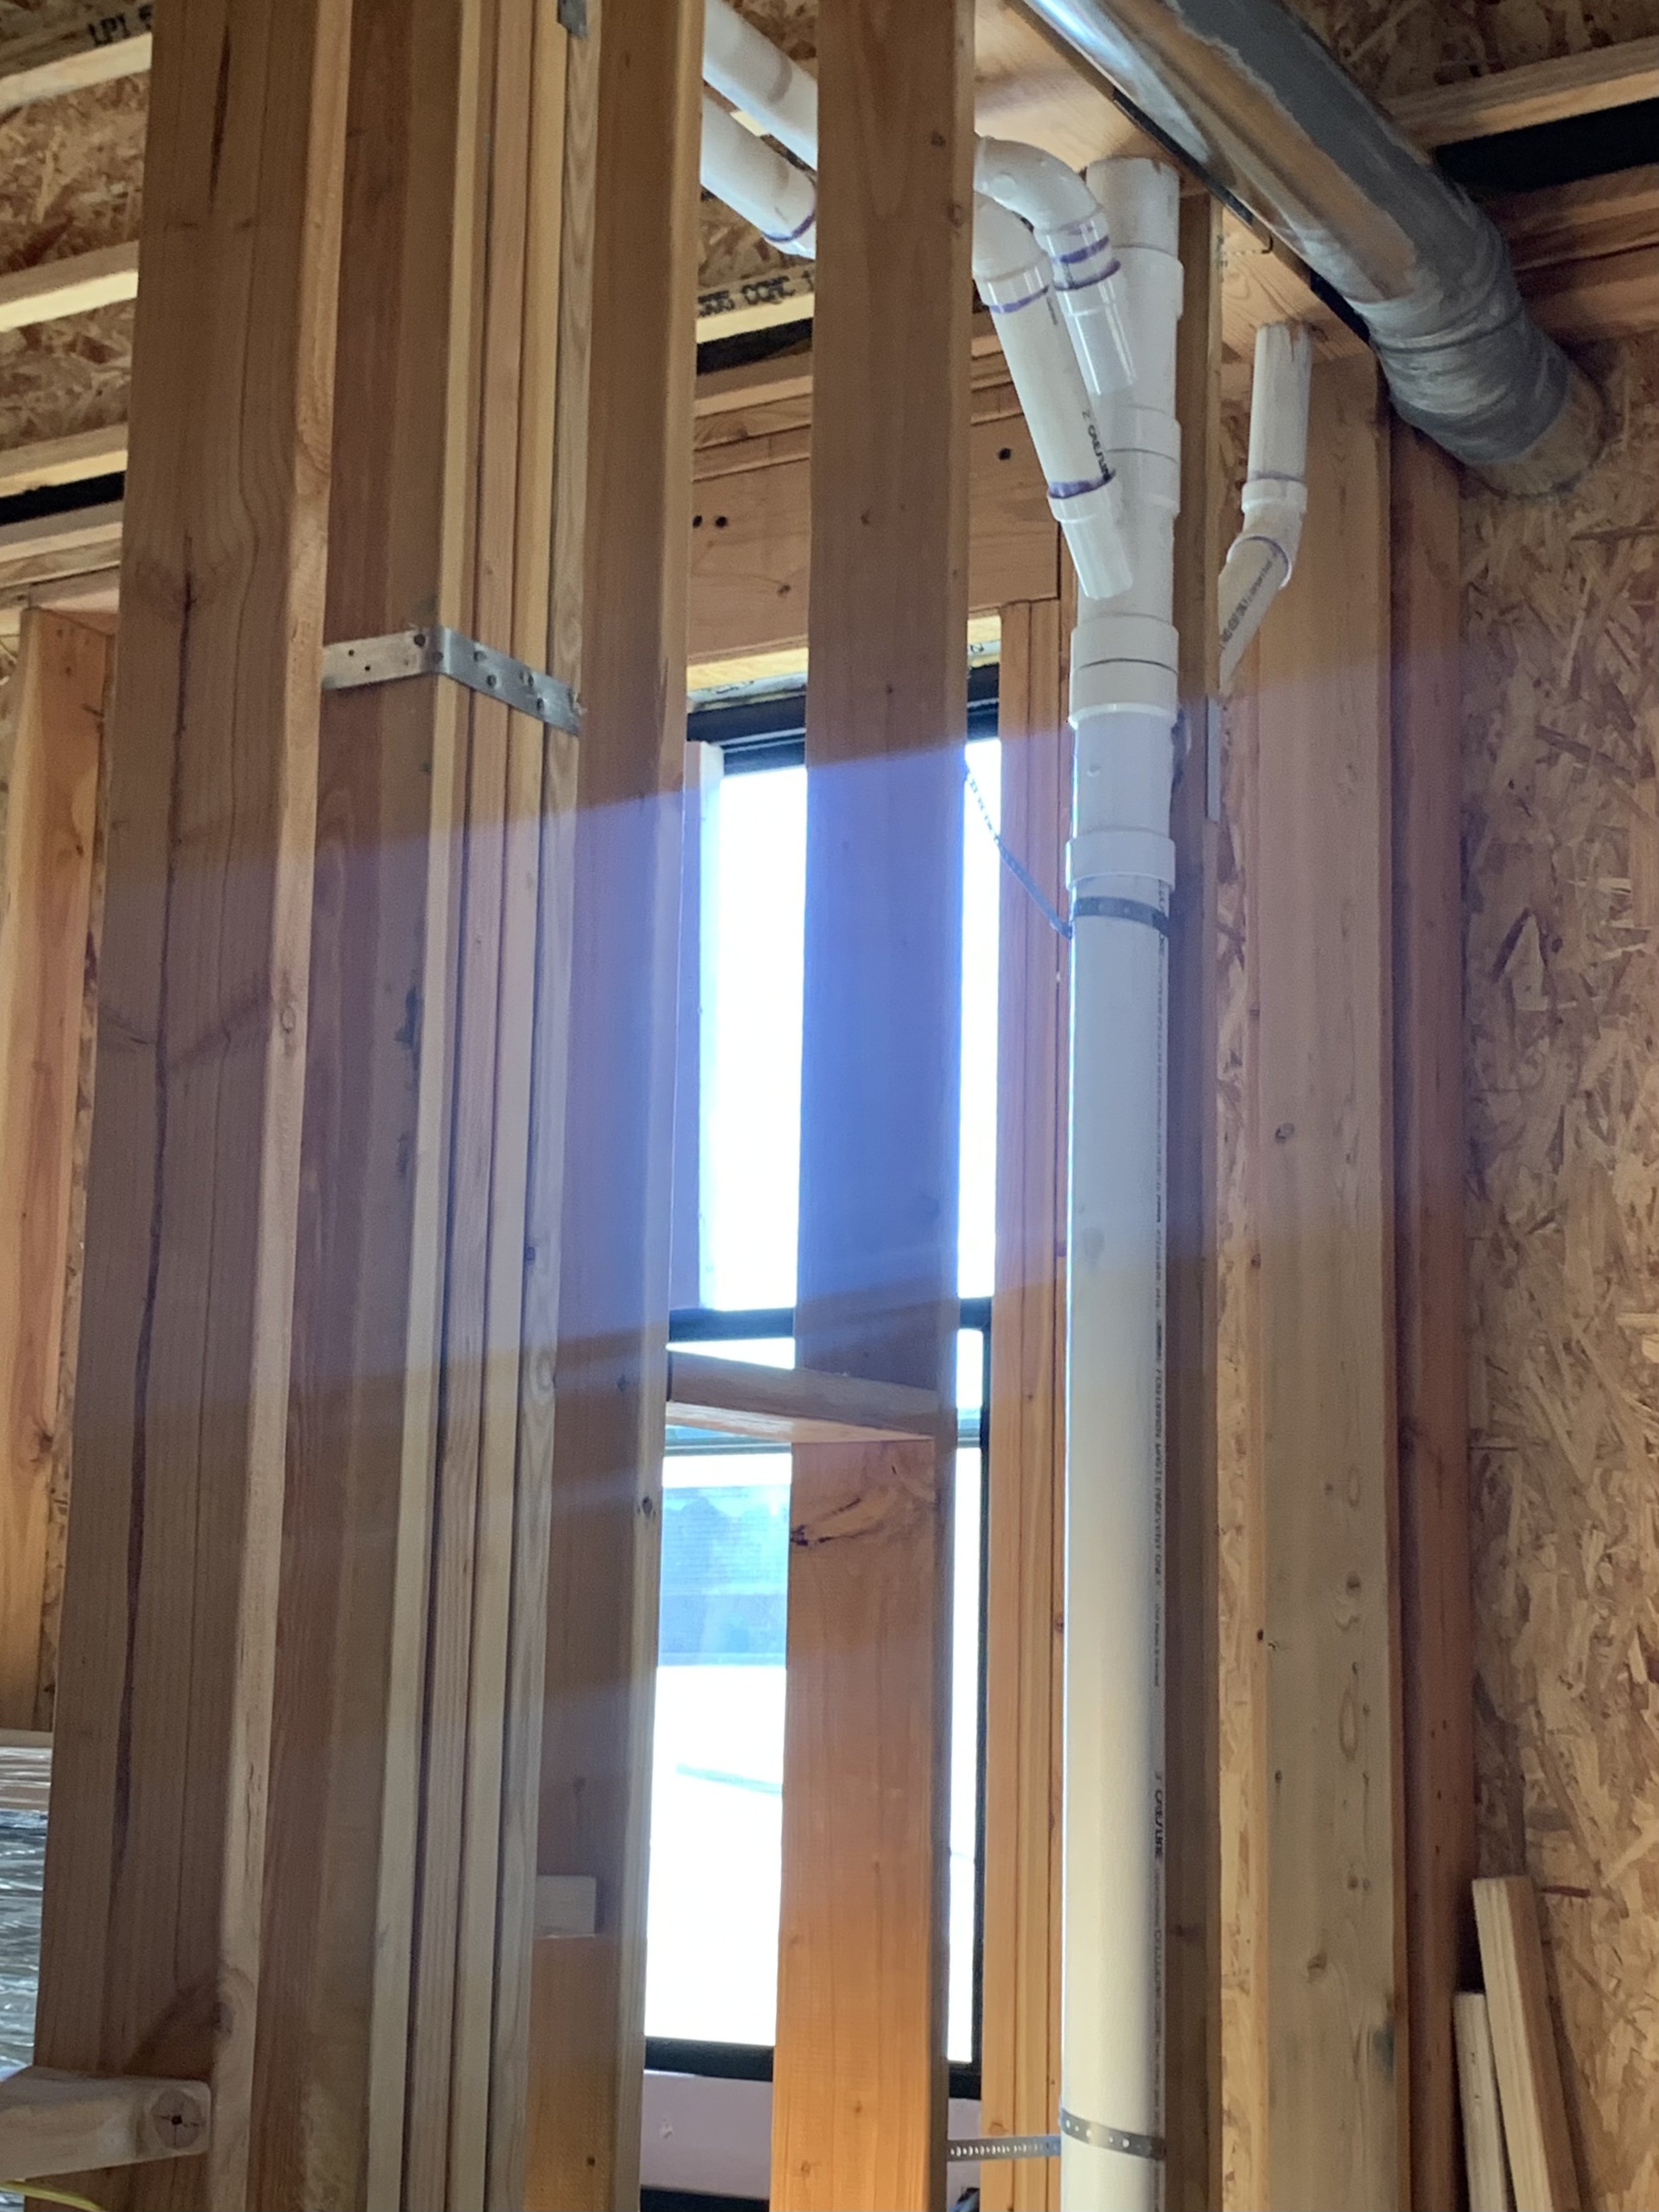
Now we tackle the dreaded broken vent pipe that broke after our first big snowfall. Once again, we have to use the Bobcat...but with the added bonus of a ladder on top!

Yikes! I can't watch!

The new pipe is in place and I'm happy to report that Kris made it down in 1 piece.

Another delivery arrives! This time, our interior doors! They're going to look amazing!

Just when we thought we were finally going to have some smooth sailing, mother nature brought us another special treat.

Massive amounts of hail and rain came through and almost took out the trailer...with me and Hobbs in it!
Heavy rain and hail fell for an hour creating a flash flood! We ended up with about 4" of water in 1 hour. The ground around the trailer started to wash away.

Once the storm passed, we surveyed the damage.

Hard compacted hail everywhere!

The driveway took the brunt of the flood.

You can see here how much of the driveway fell into the ravine.

This was a bit too close for my comfort! Hobbs and I will be moving into the house for any future storms because the trailer is now literally teetering on the edge!
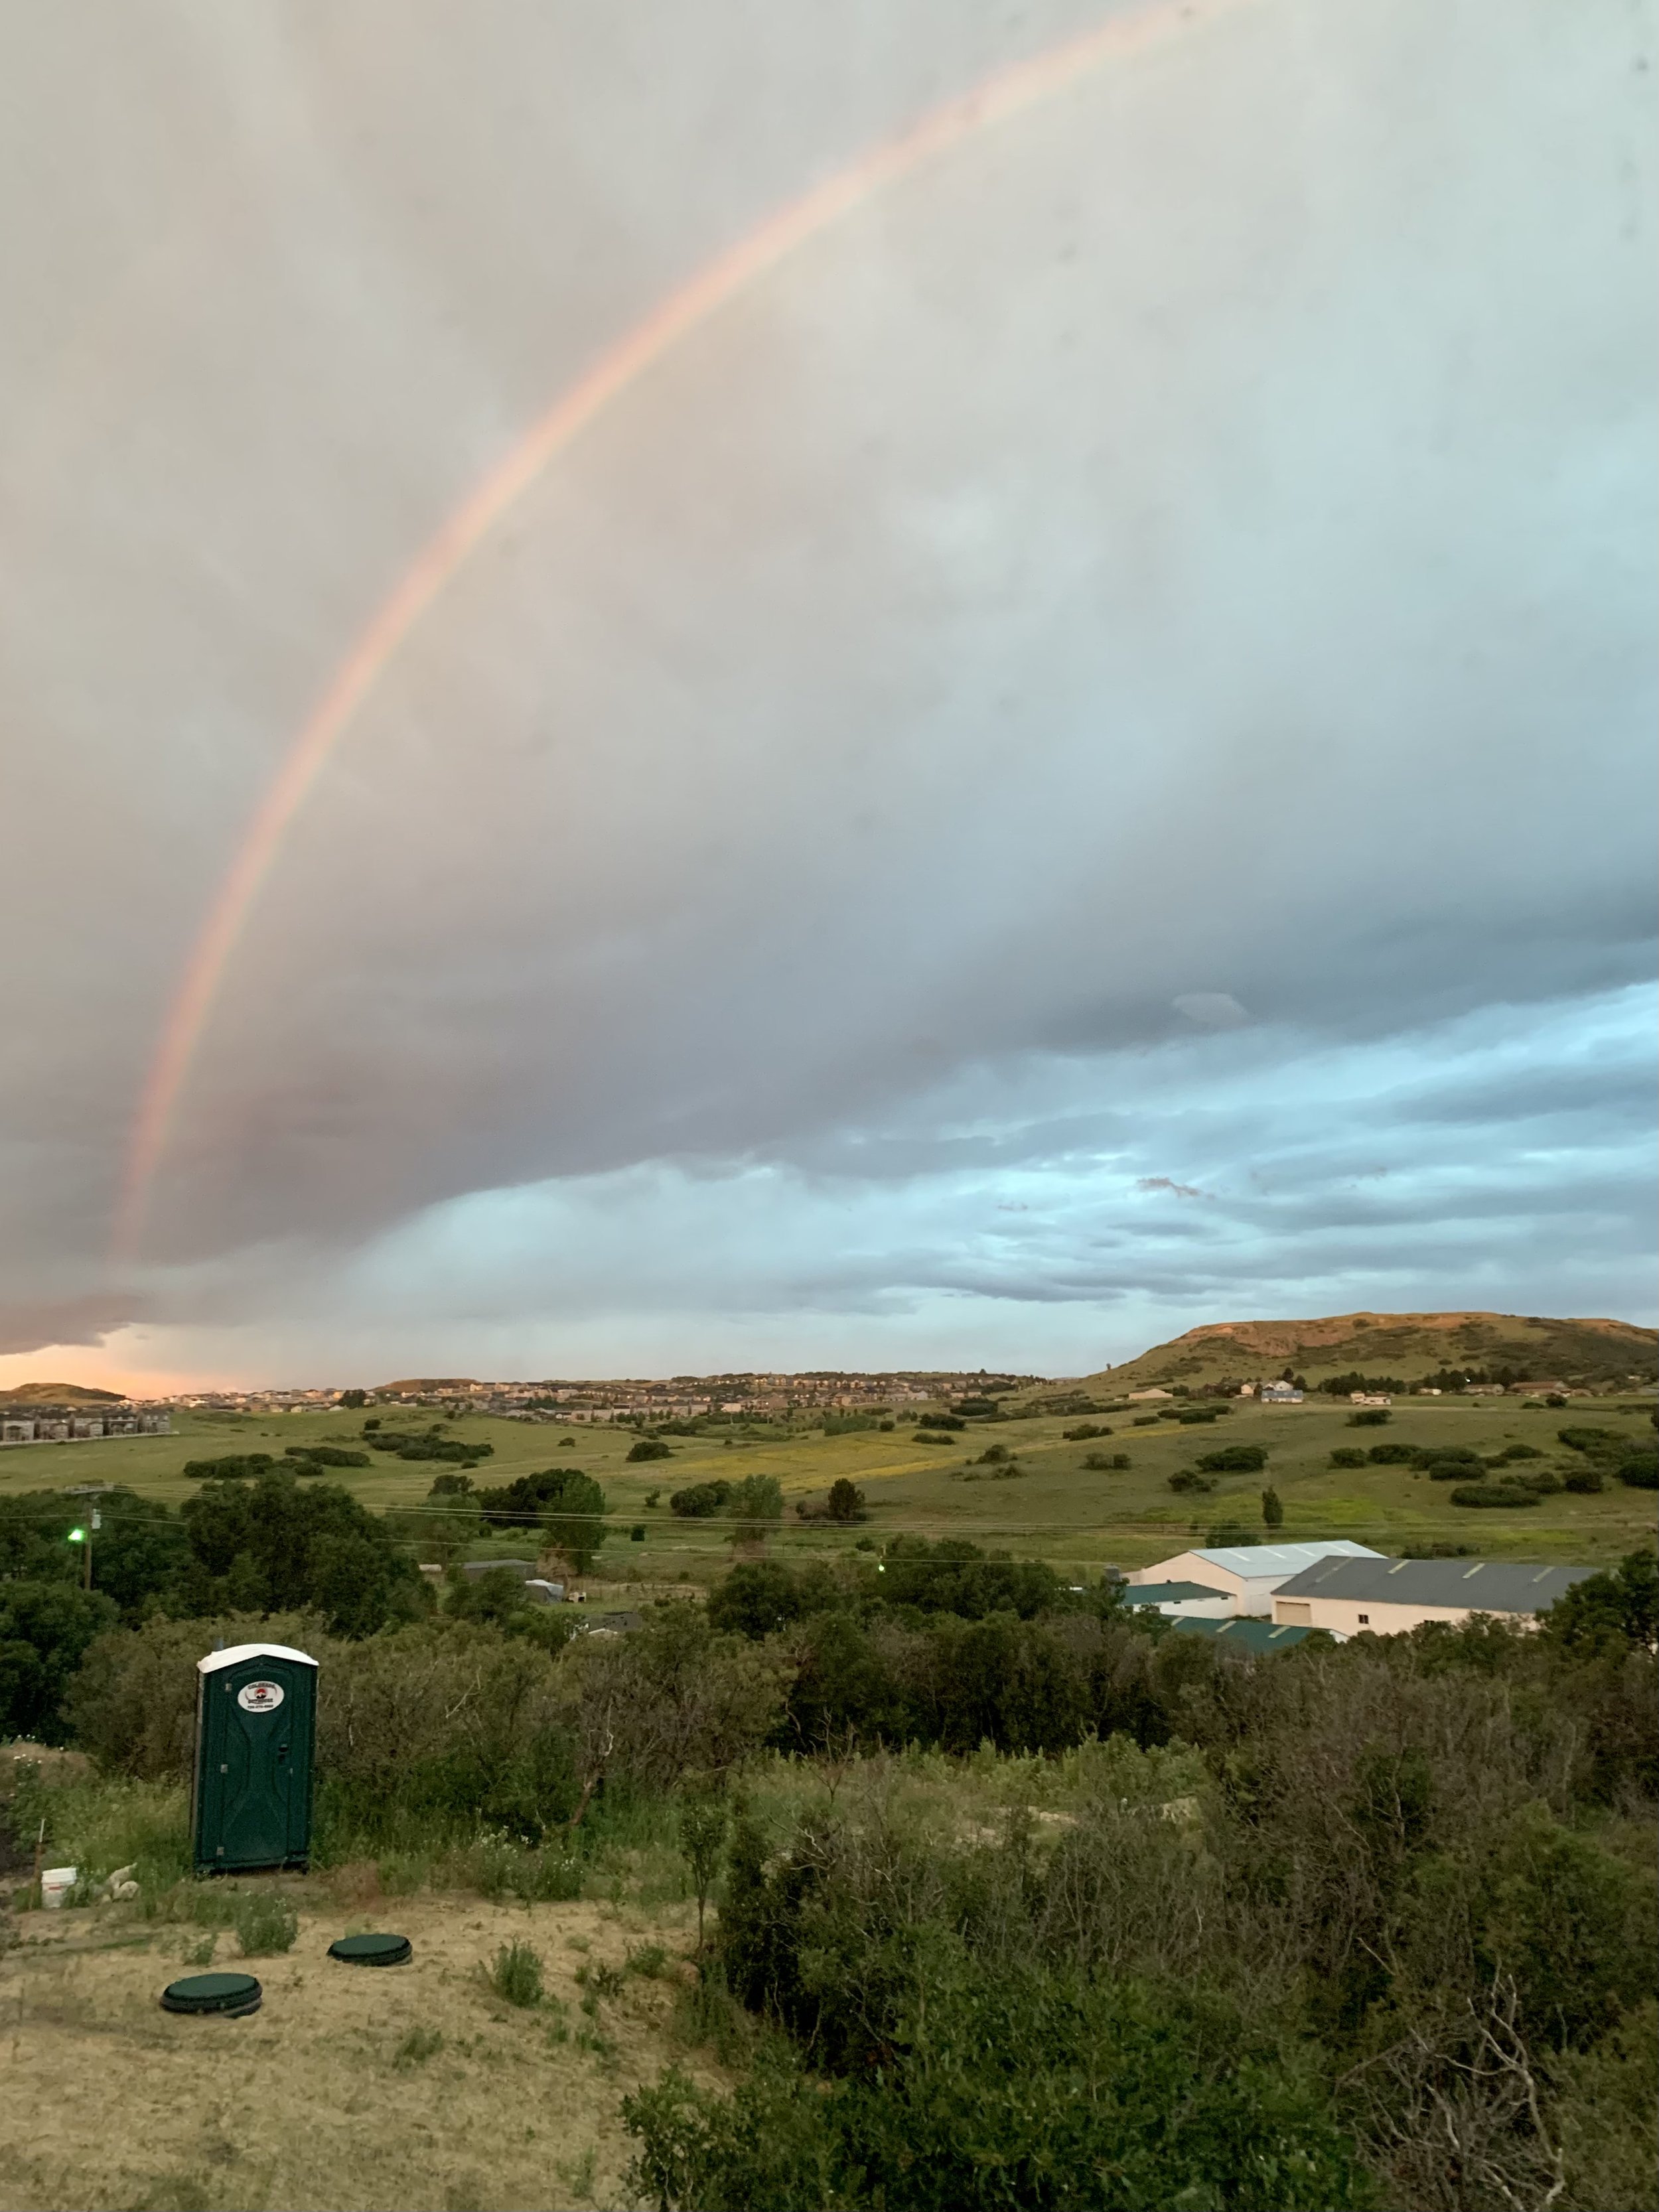
Apparently there's no pot of gold at the end of our rainbow. Just a "potty" of gold! Ha!

Our evening visitors! So fun to watch the babies grow!
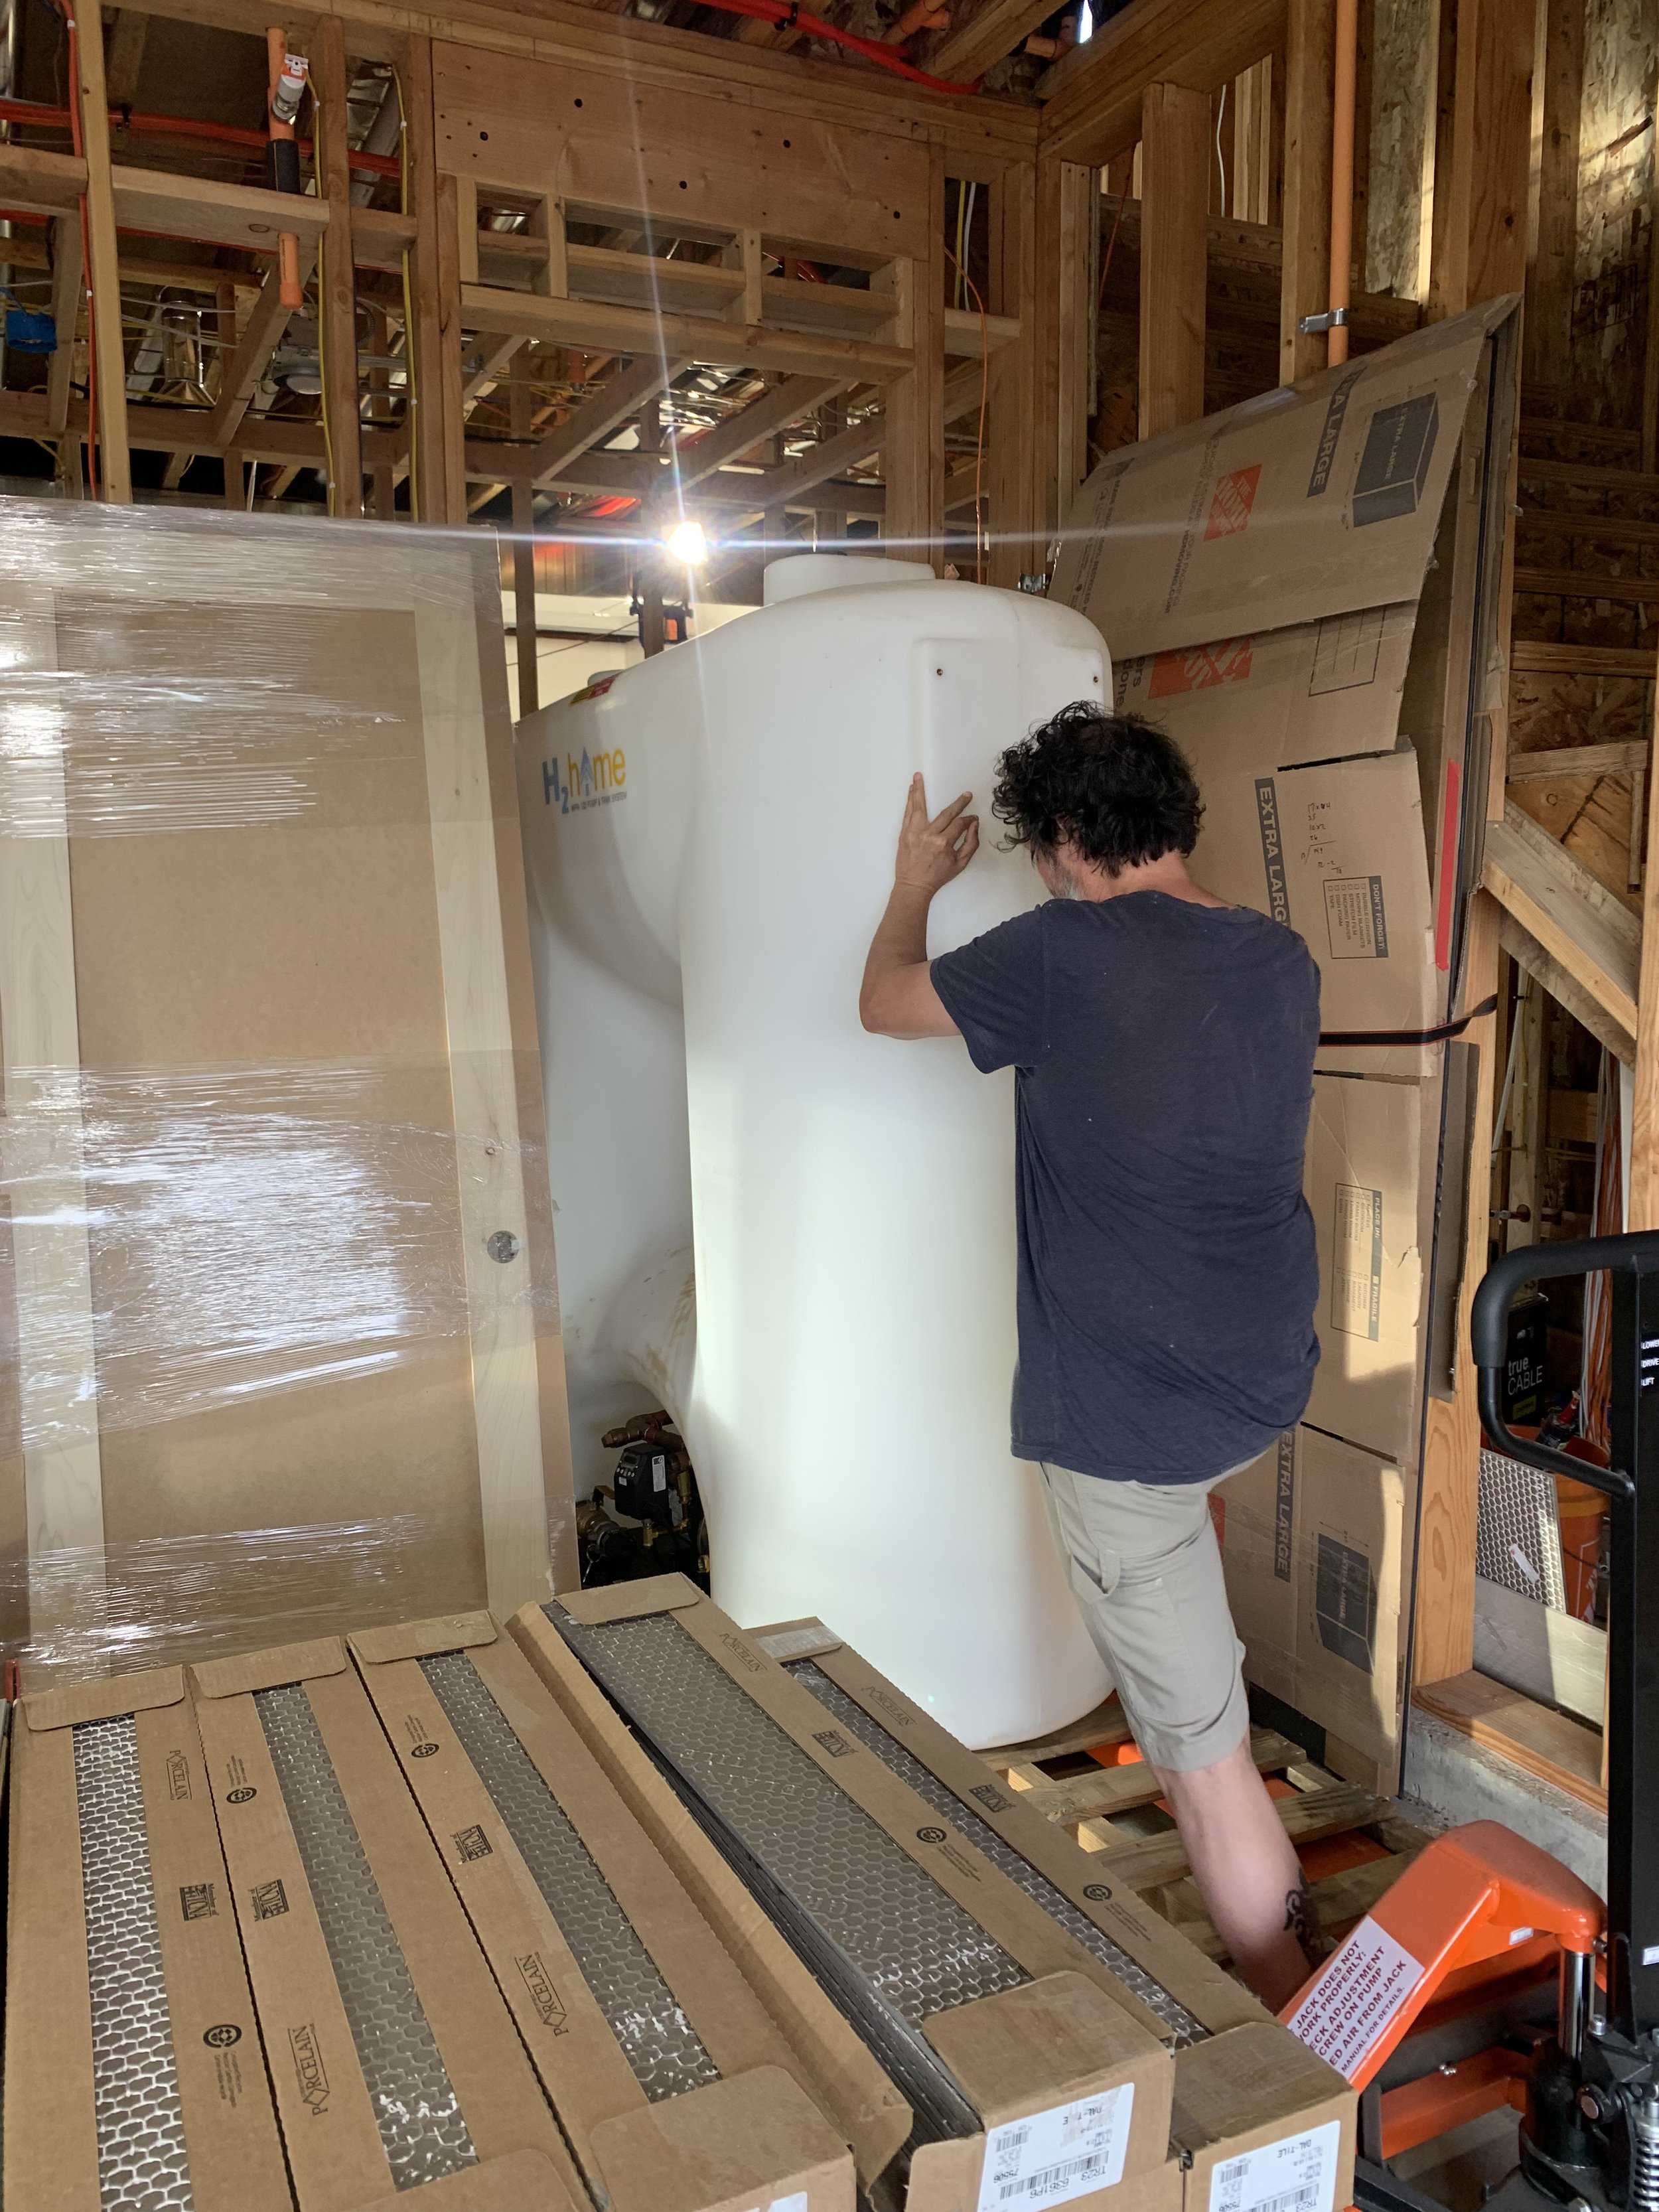
Now back to the fire sprinkler system. We knew our water holding tank was going to be big, but today's delivery shocked us both!

Not only is this tank massive, but it's crazy heavy! The delivery guy offered no help so it was up to Kris and me to maneuver this beast!

Gonna be a tight fit in the mechanical room.
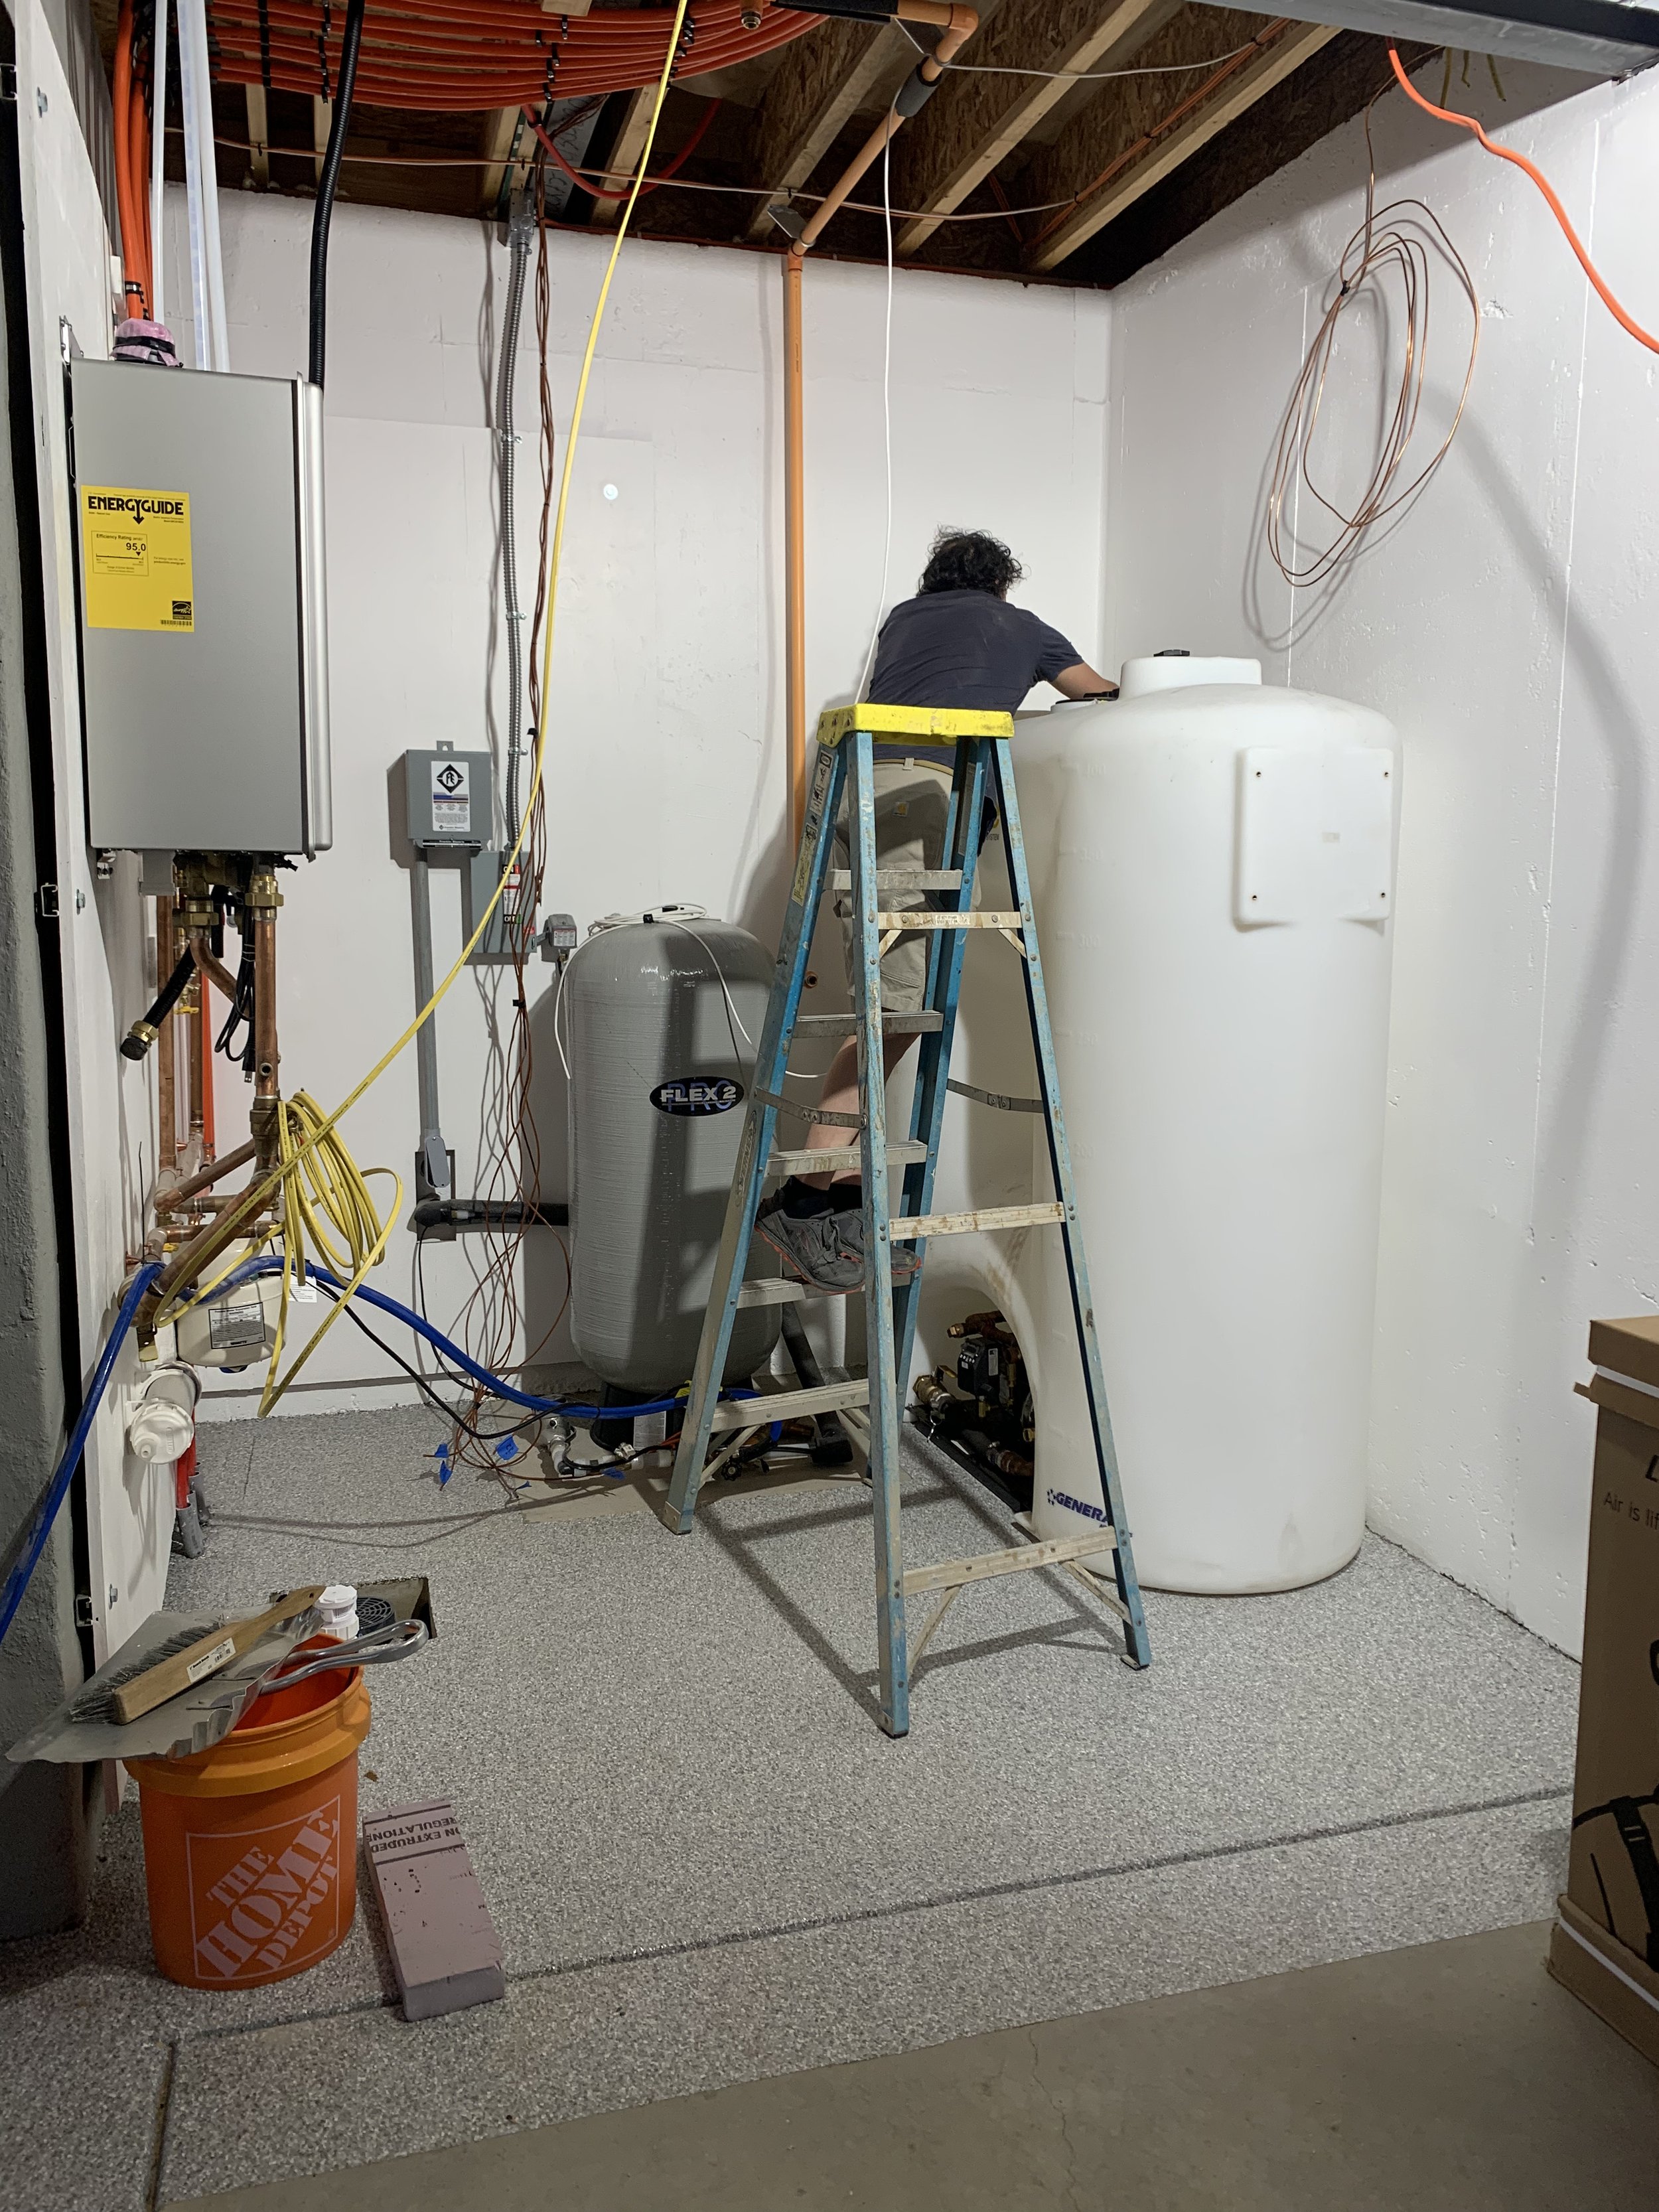
Kris needed a ladder to reach the top of it!
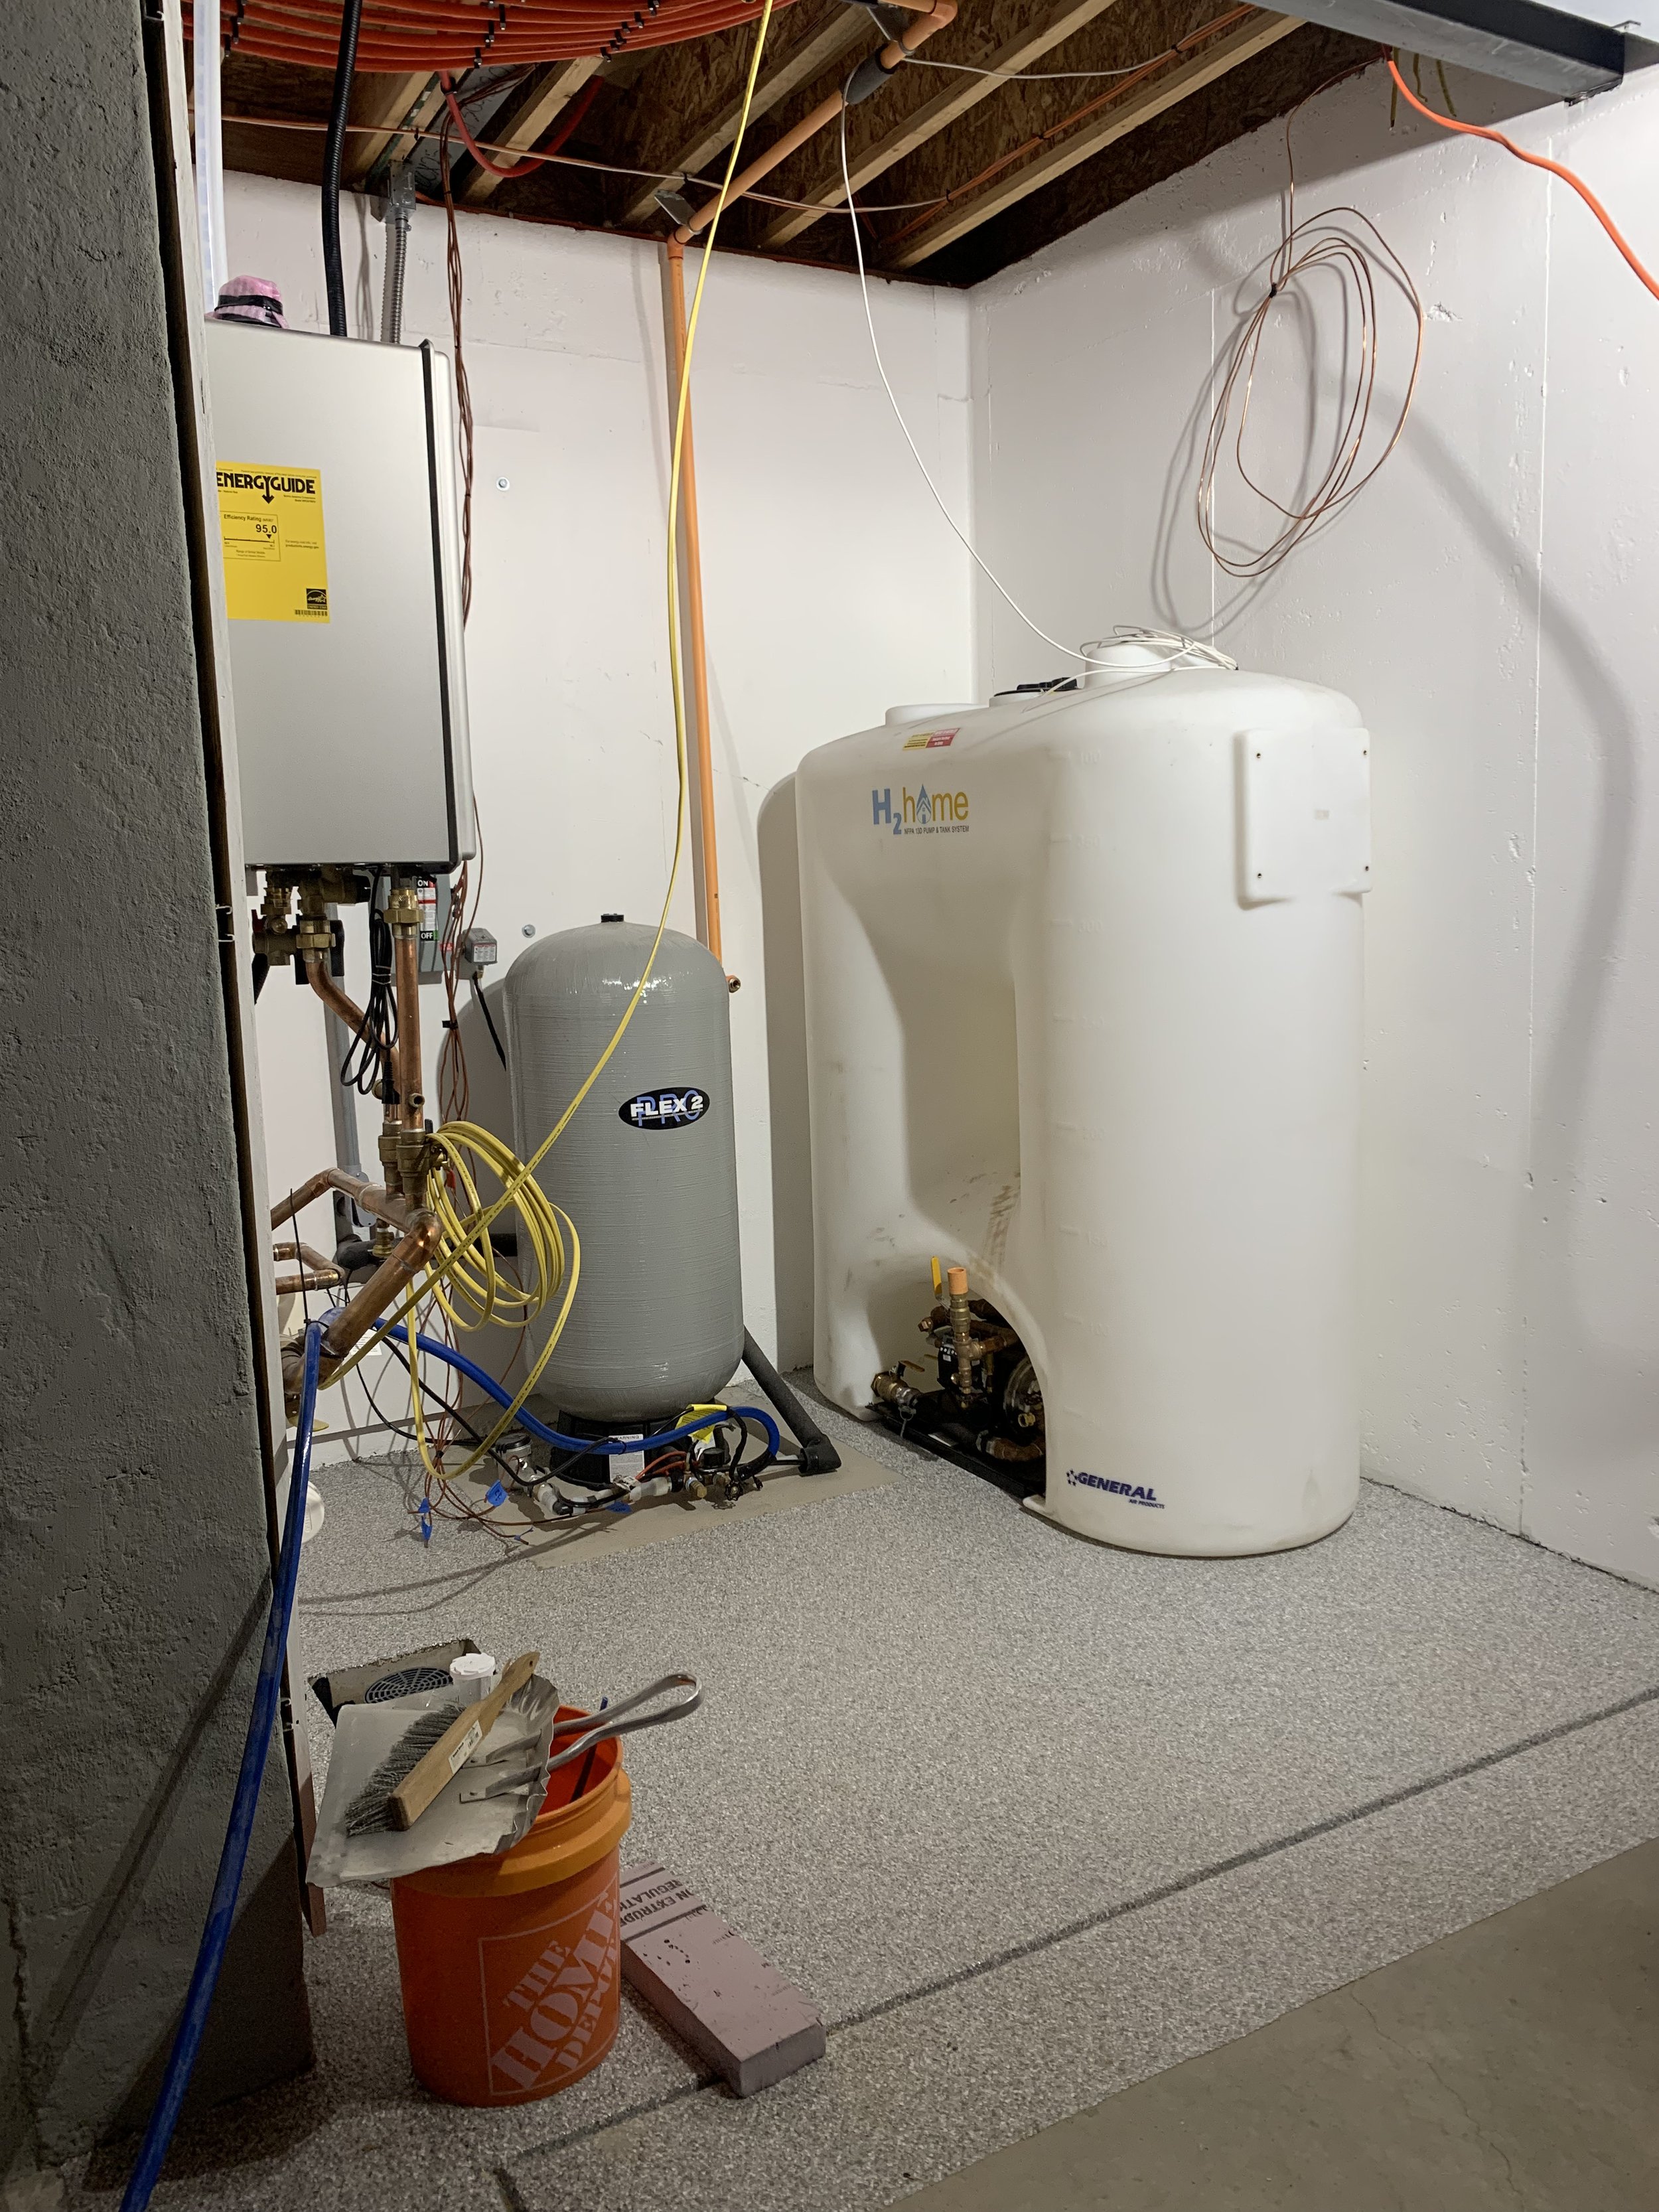
...and it's in! A massive tank of water that we hopefully never need to use!
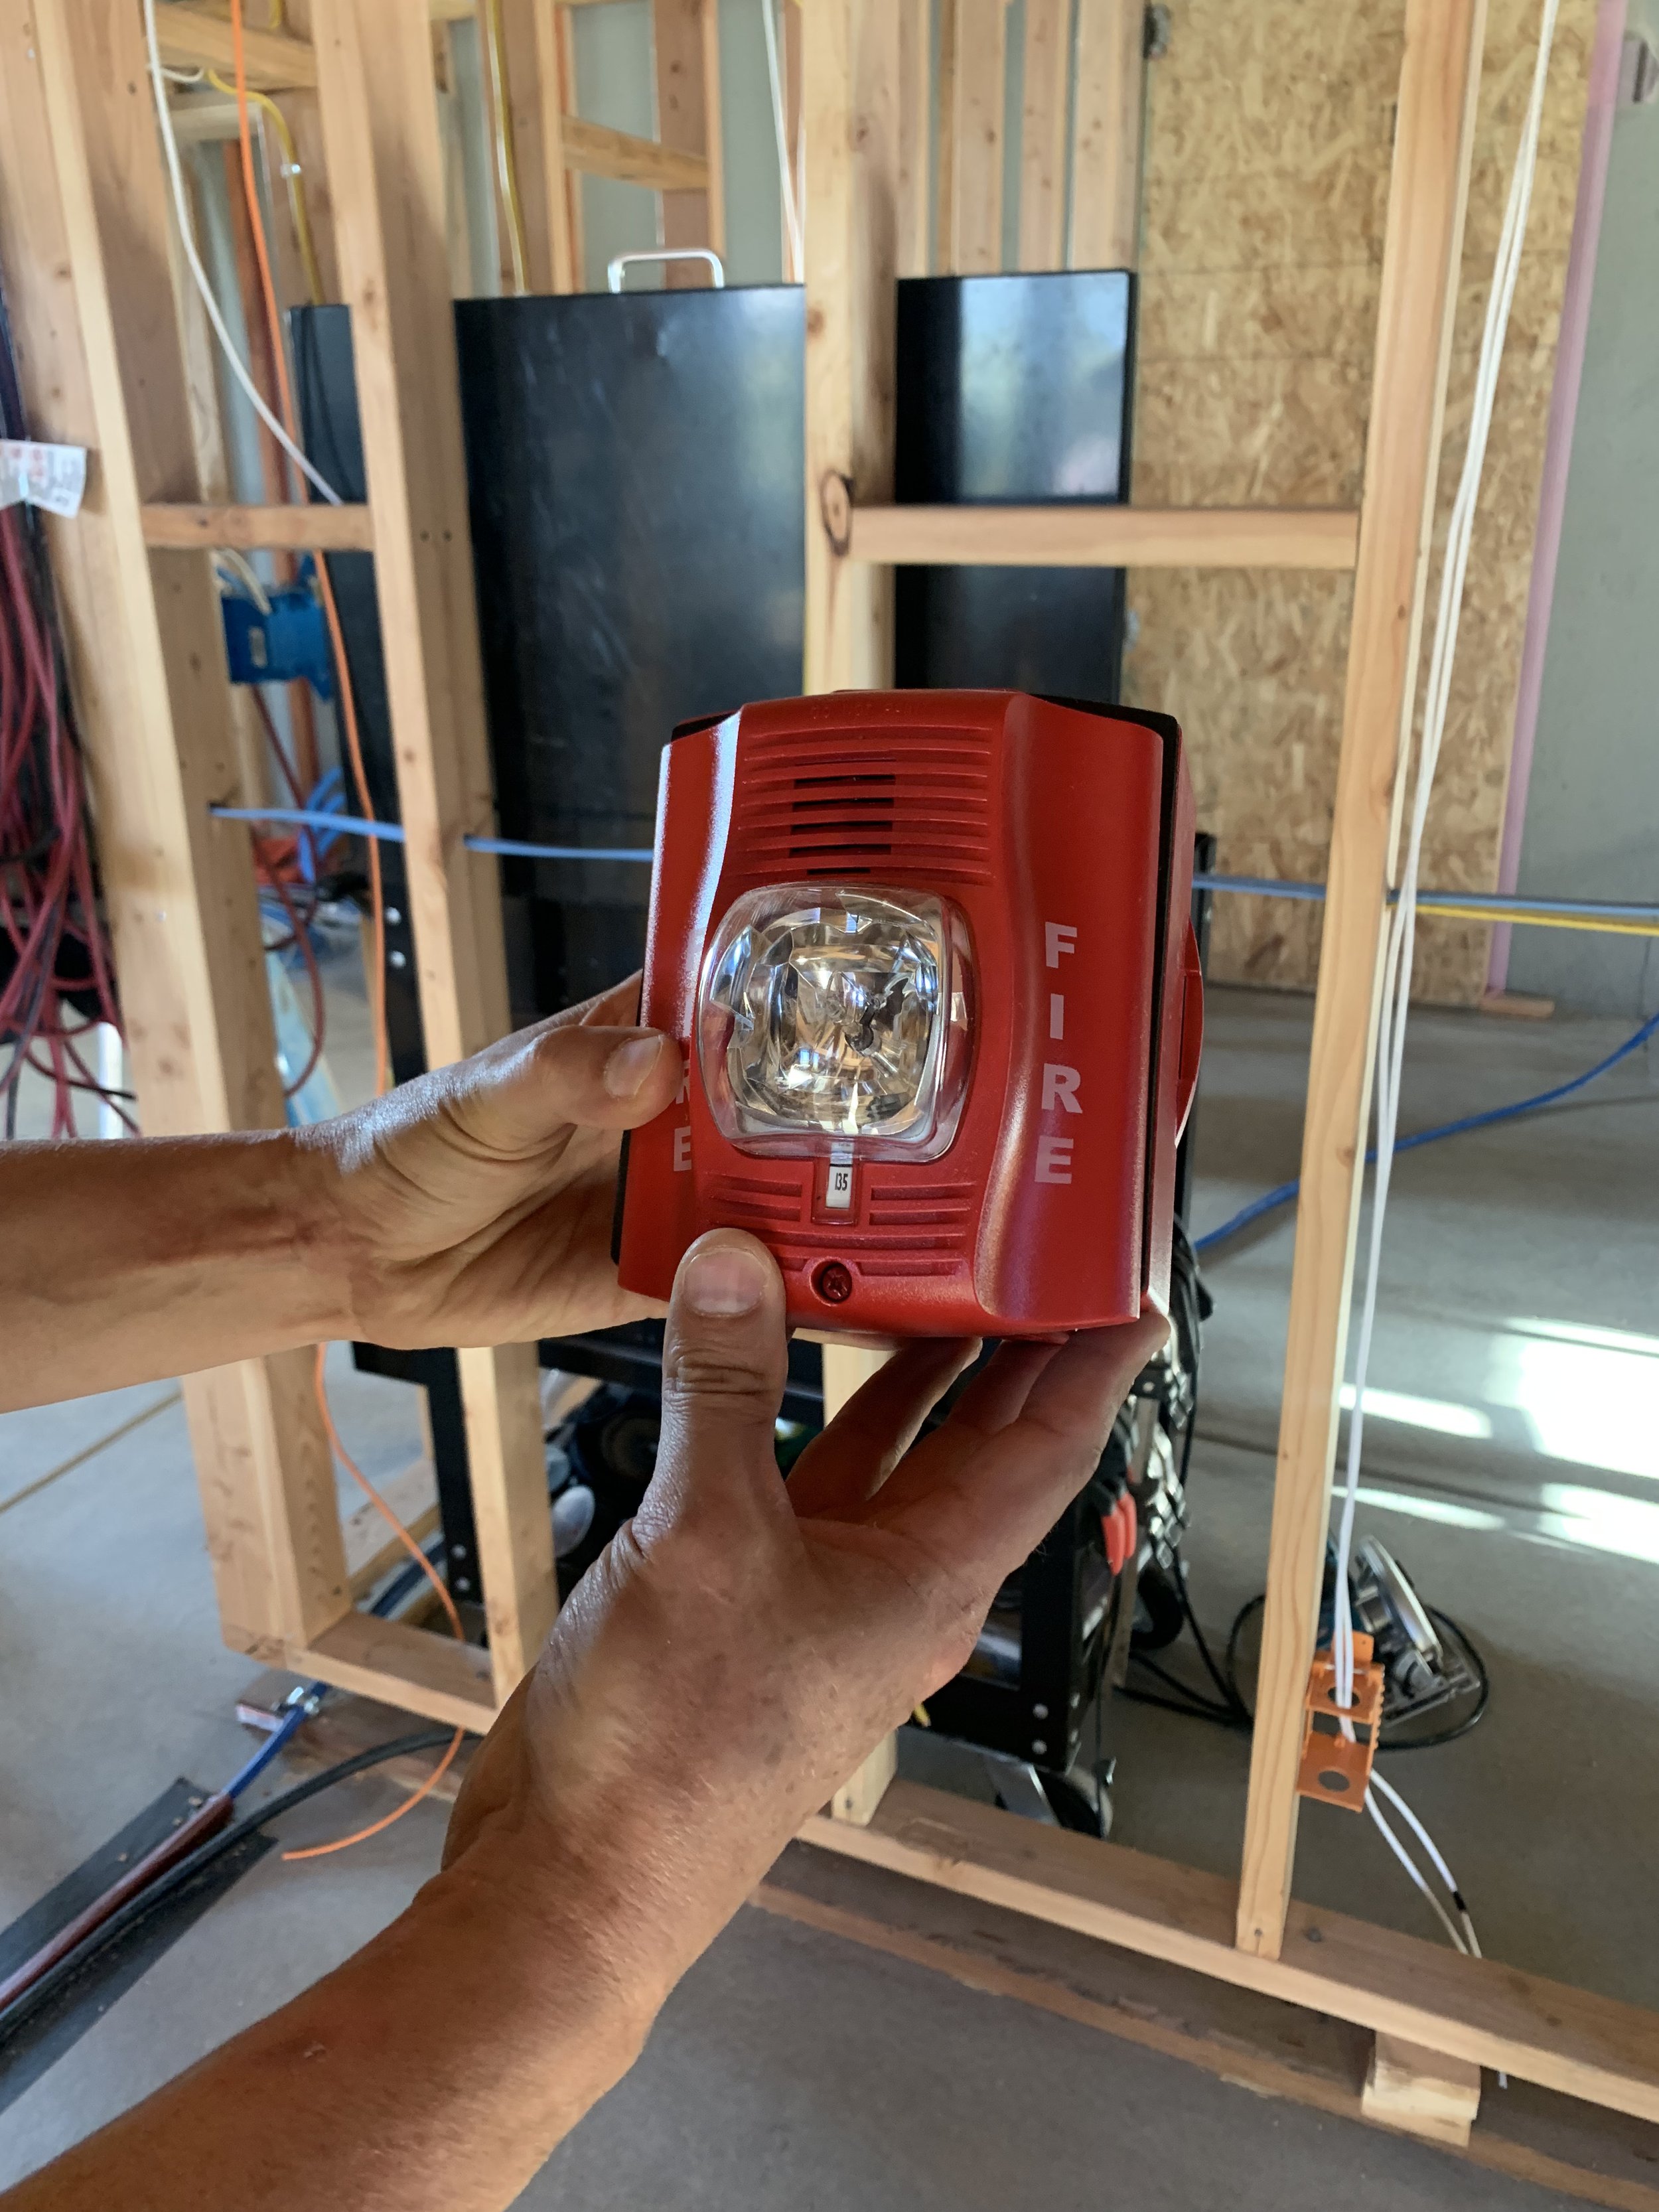
Another "special" gift from the fire department. Not only do we have to have sprinklers, but apparently we have to mount this siren and strobe on the peak of the house for all to see! Oh brother!

We upgraded to a white fire alarm to hopefully help it blend in.

I think it's much better than red, don't you?
Now it's plumbing time! This is the main branch into the house.
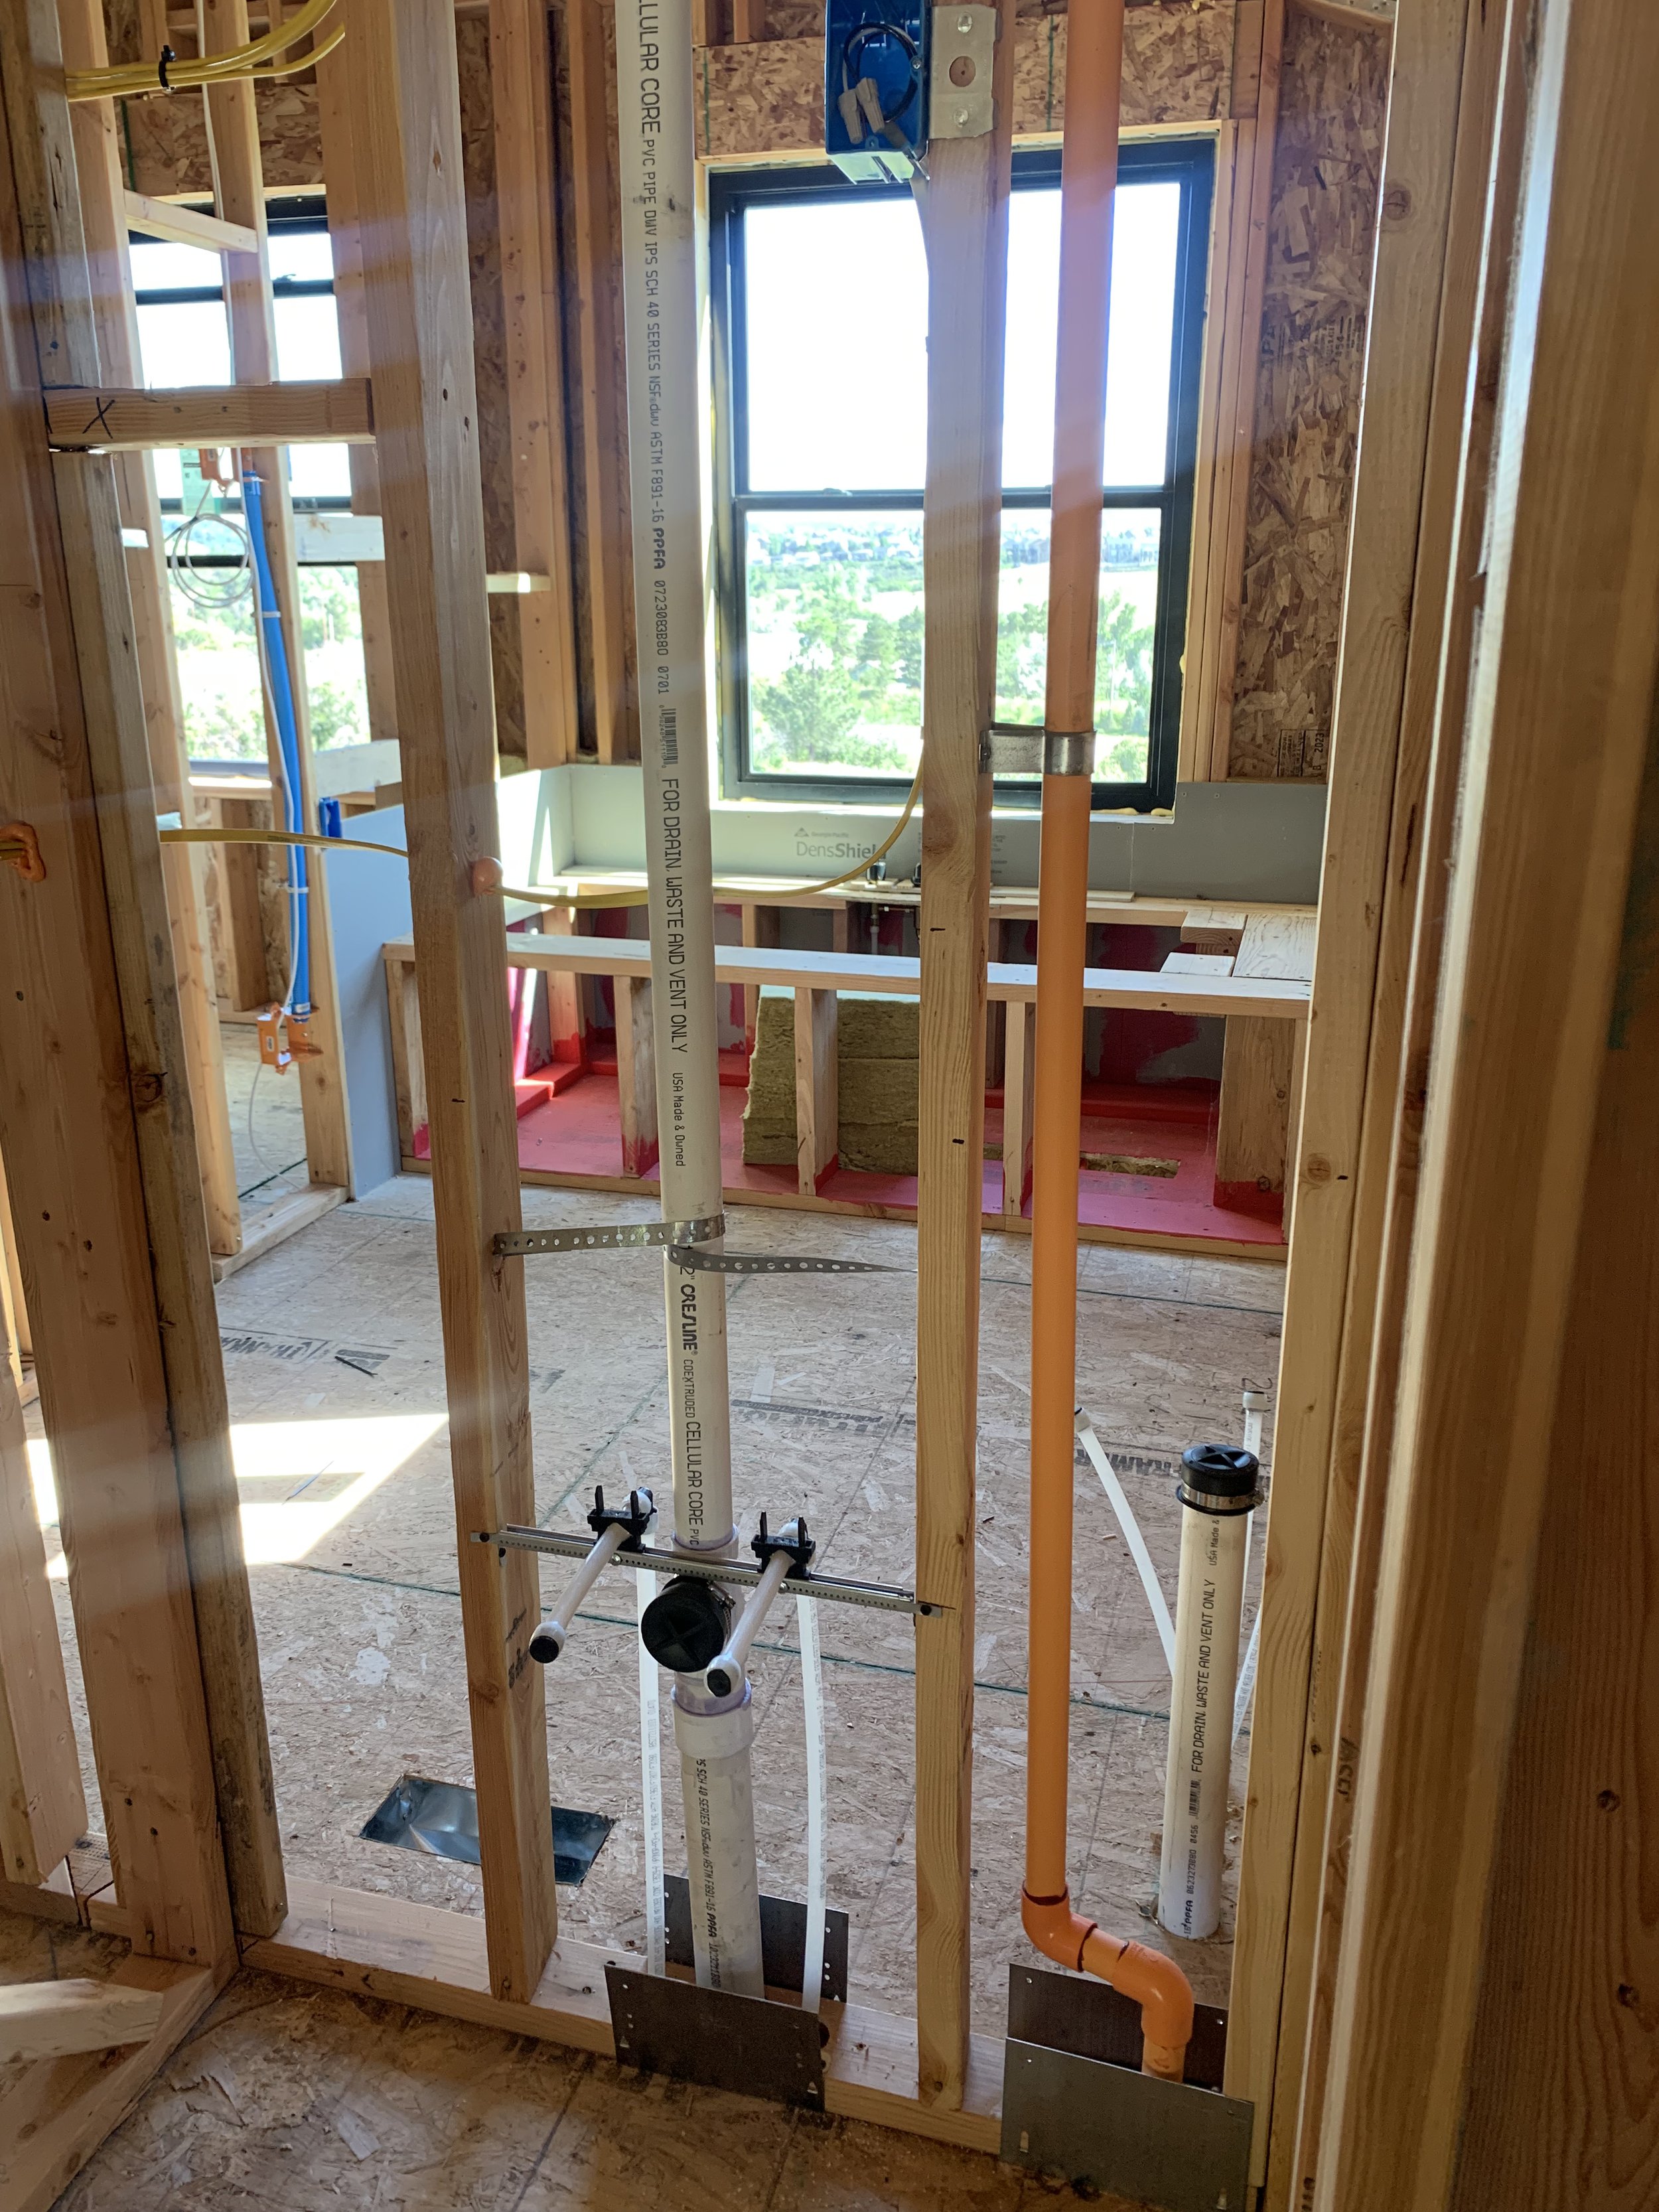
Plumbing installed in the master bathroom!
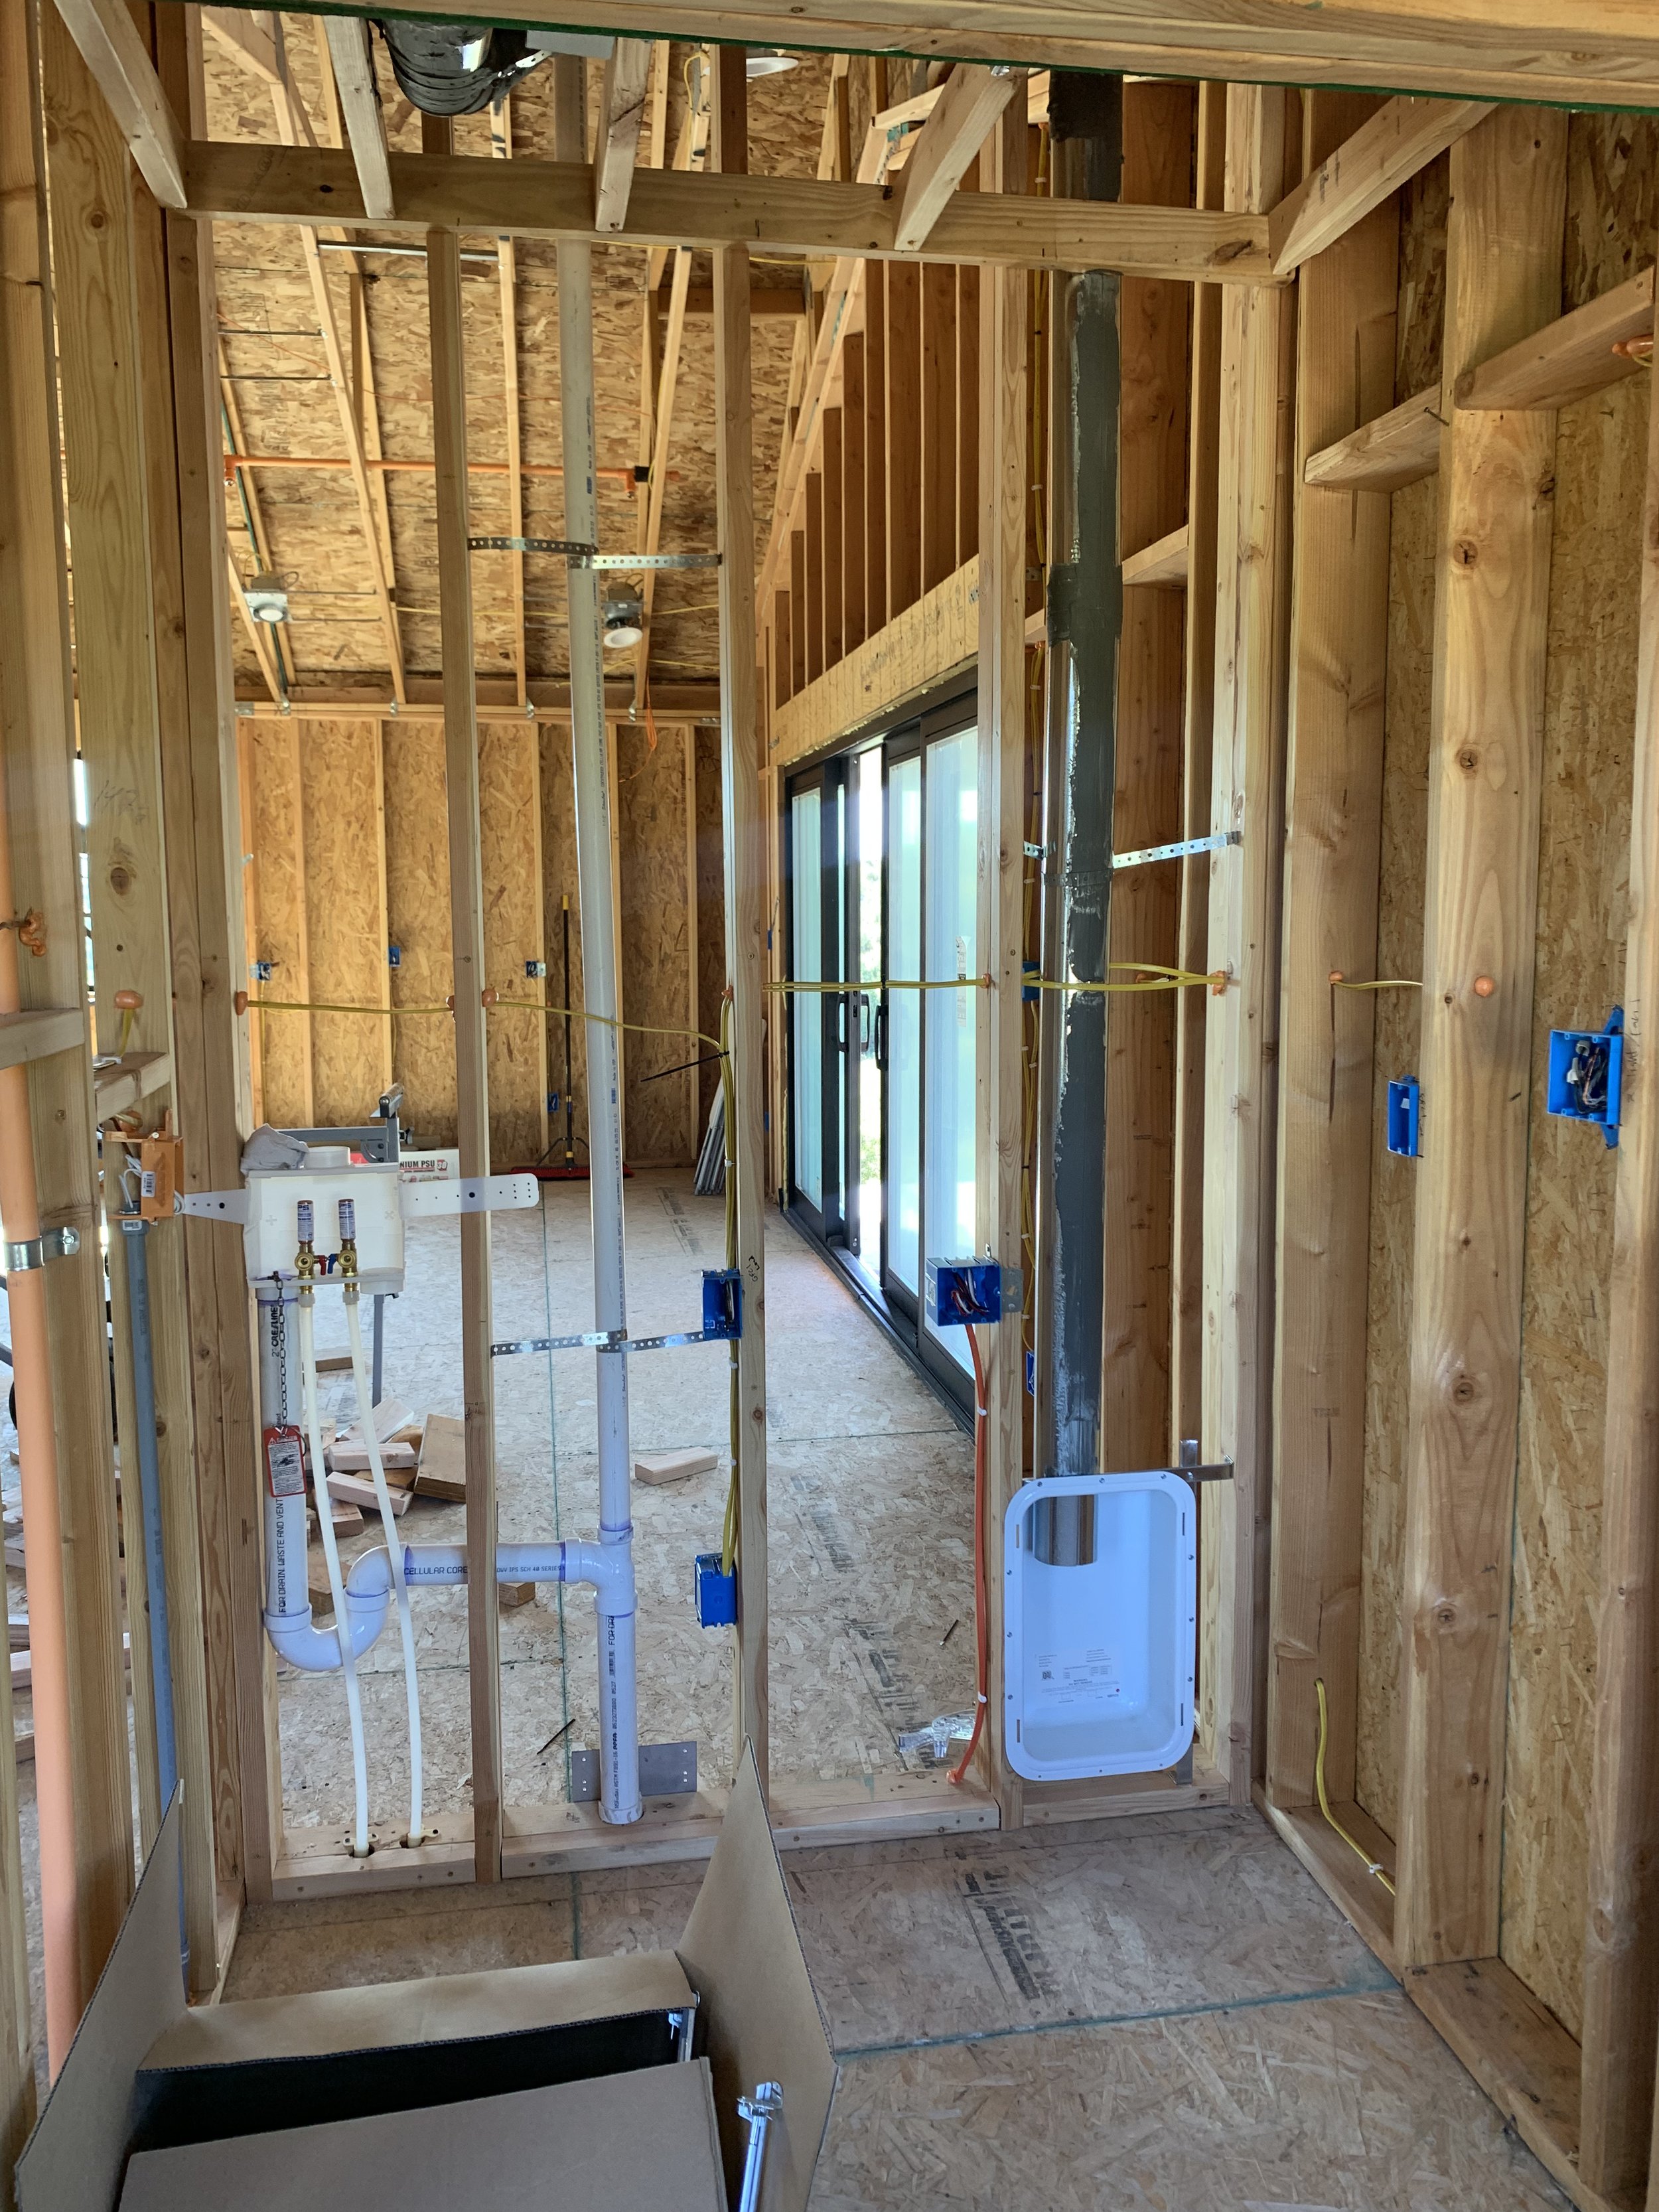
Plumbing finished in the laundry room.
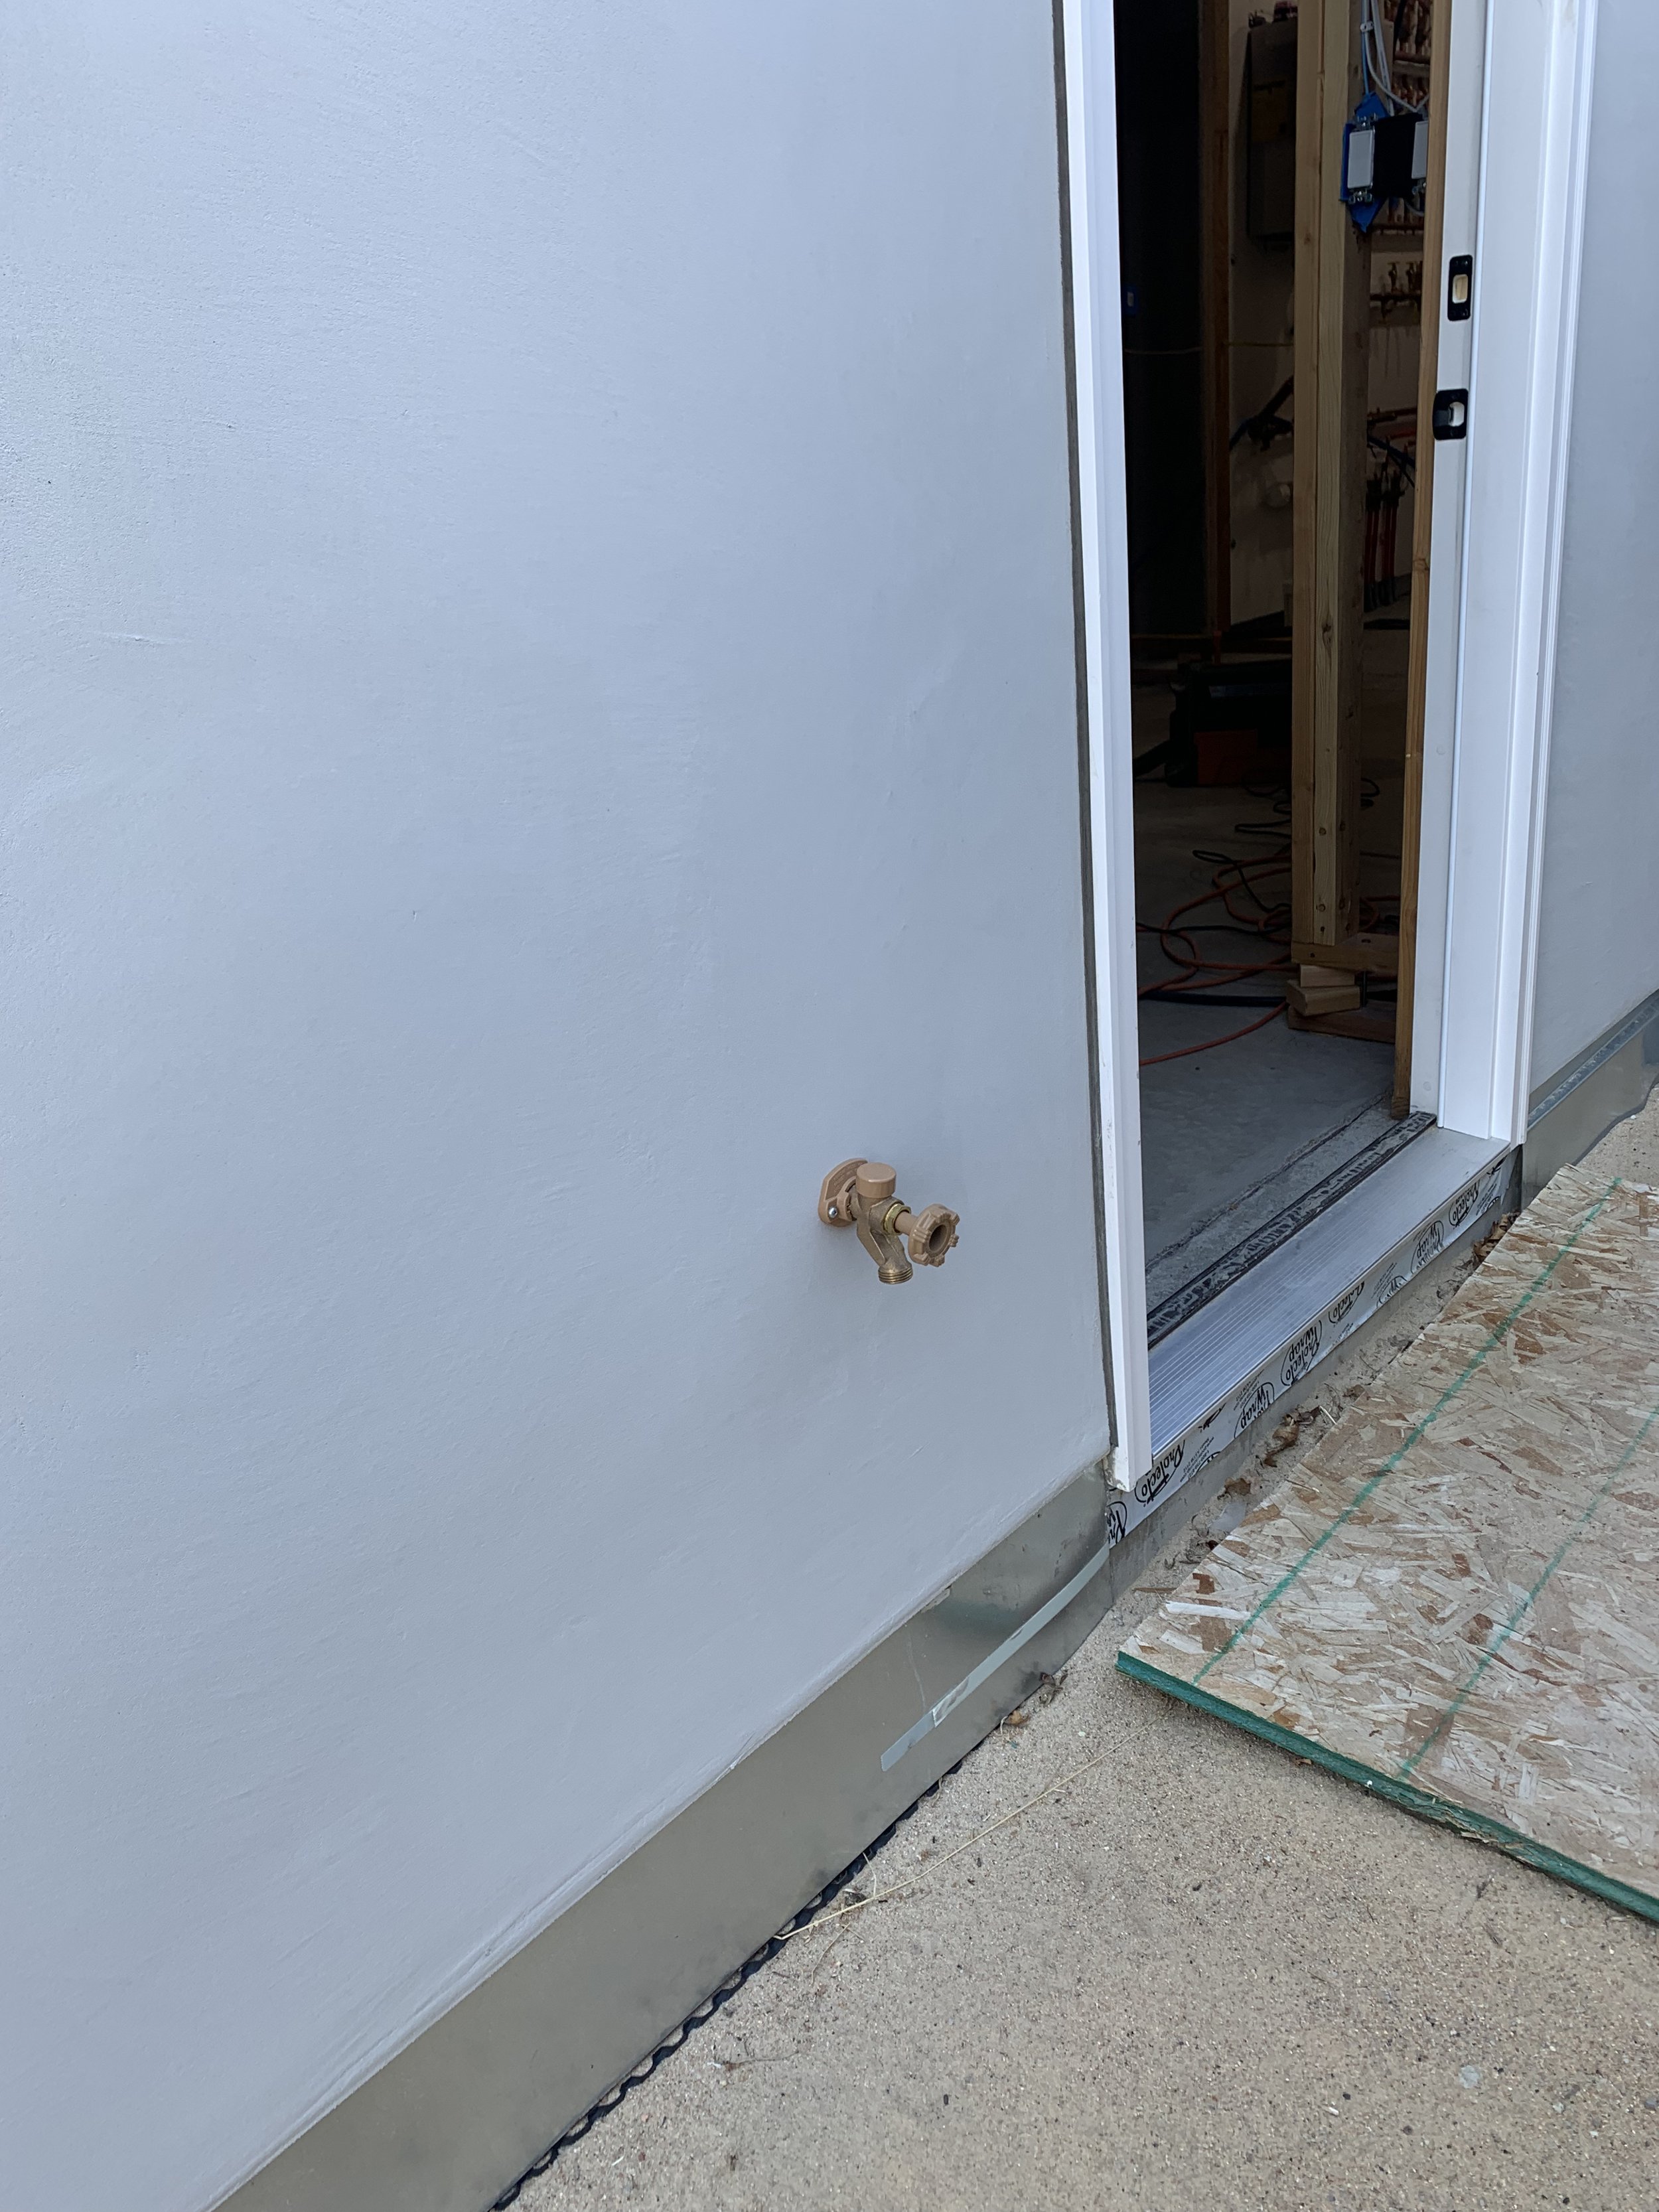
Outdoor water hookups are in.

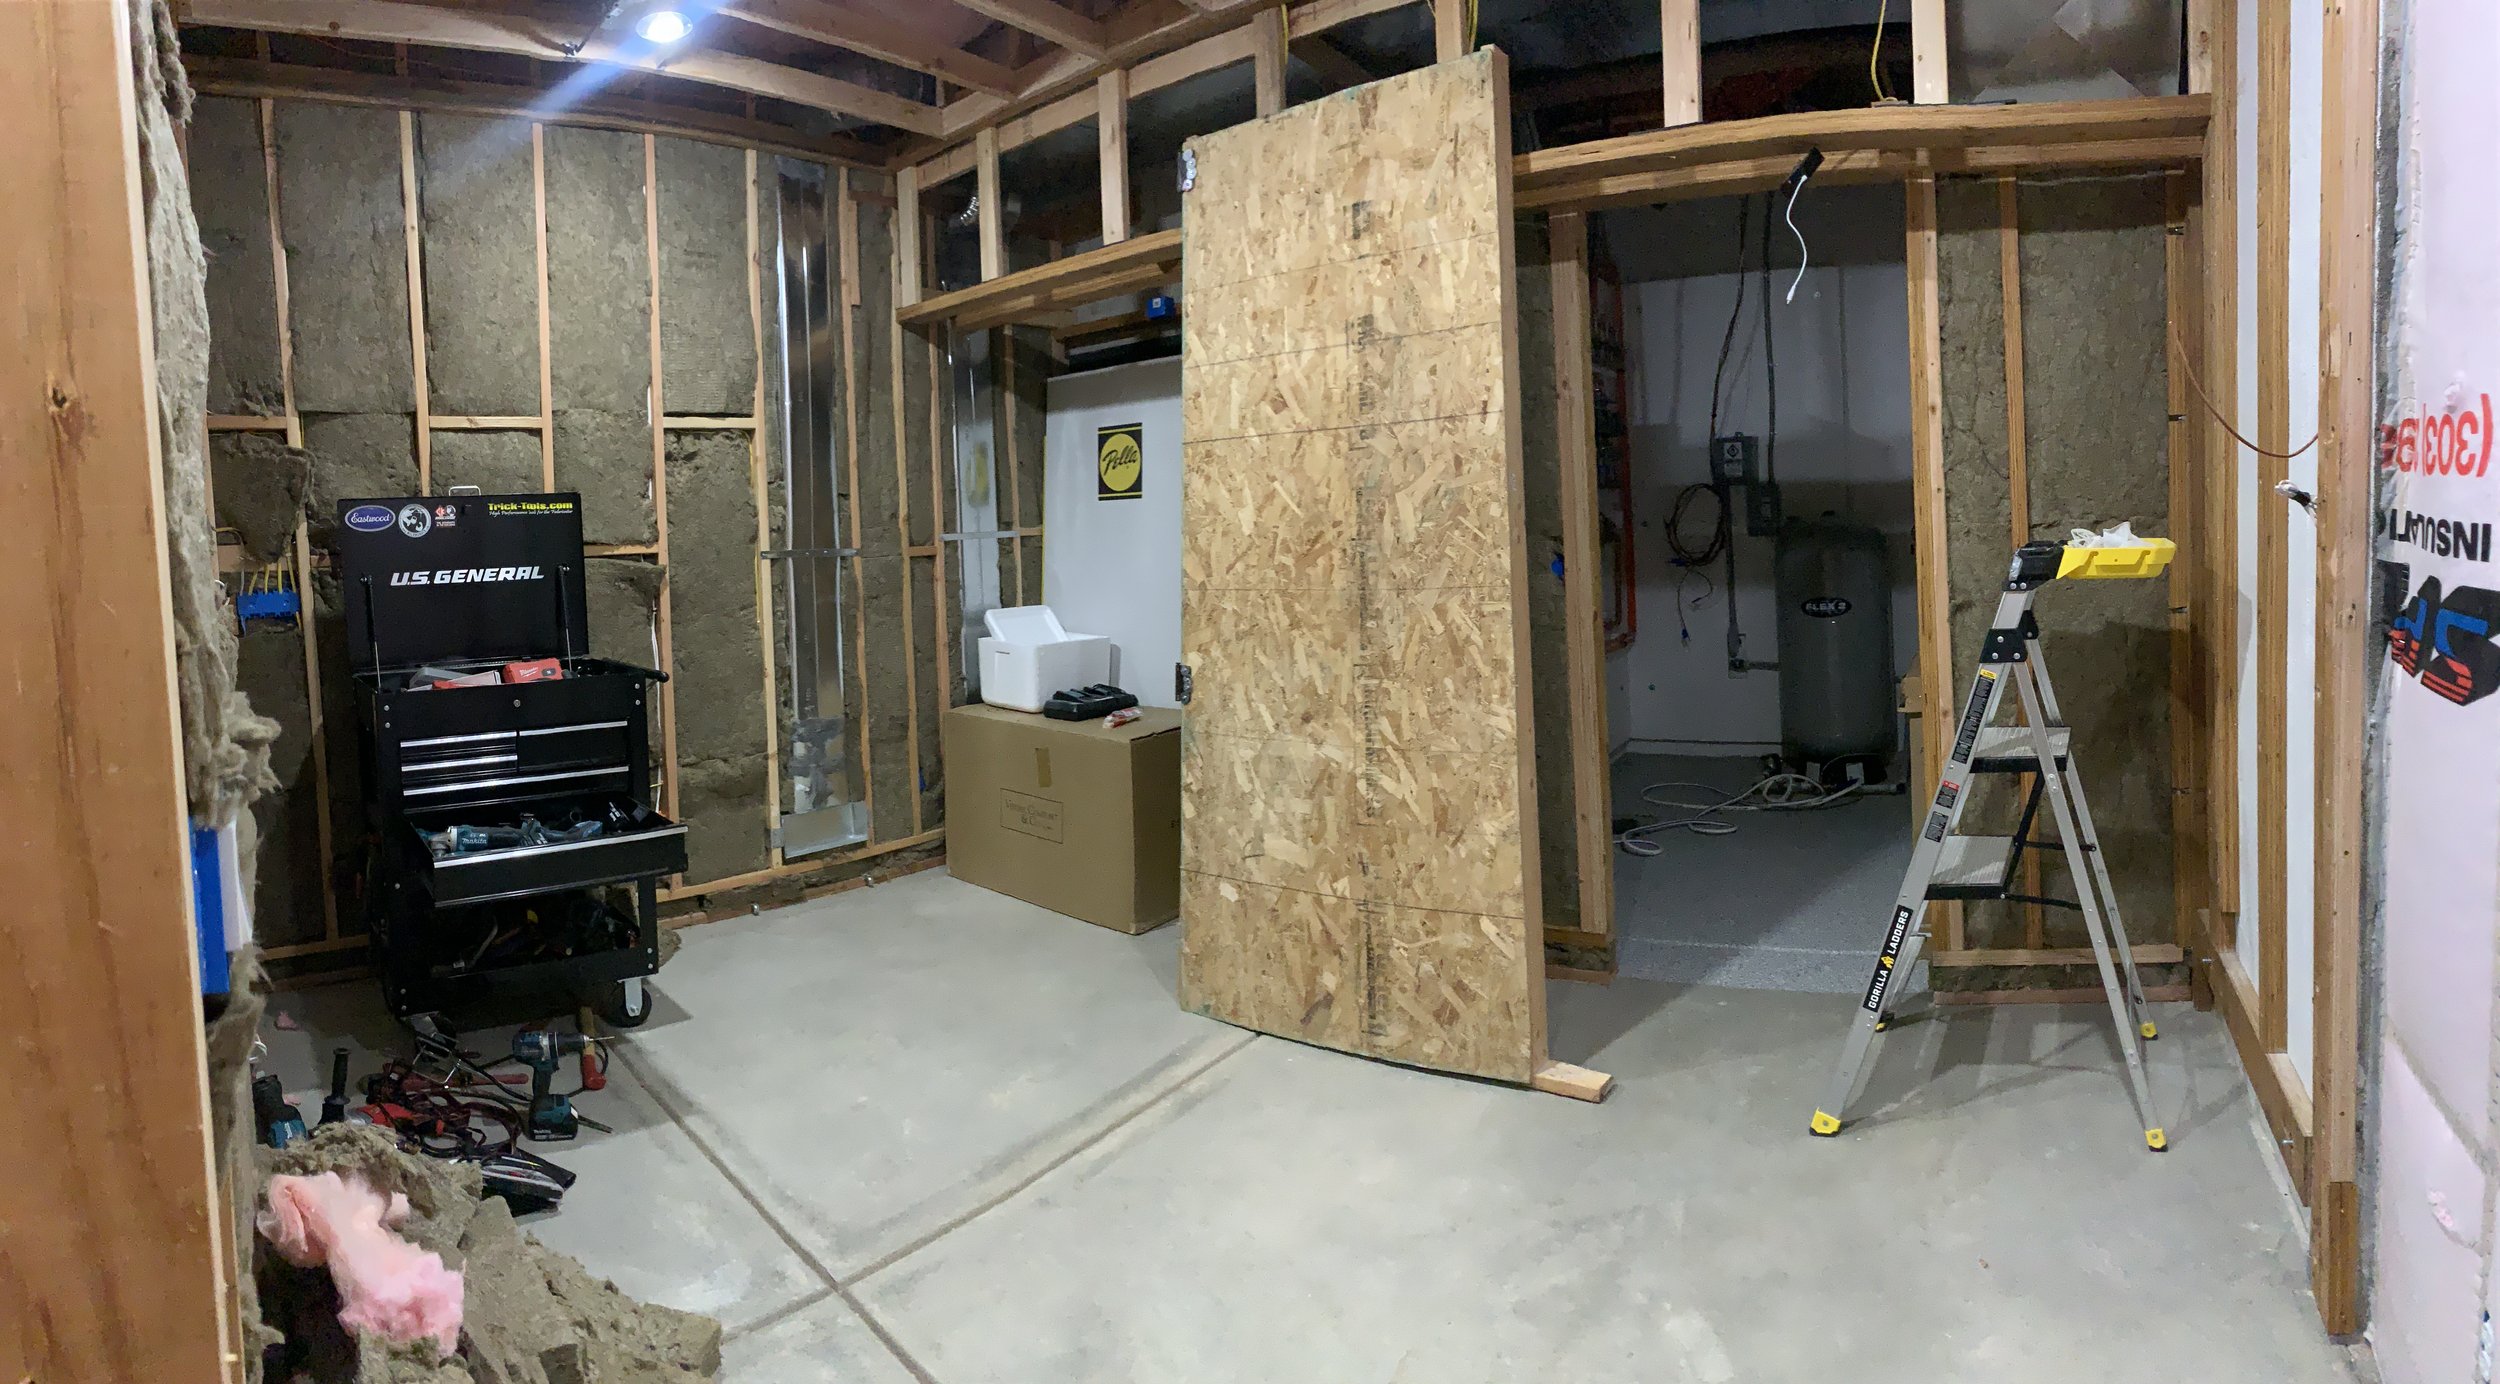
Now it's time to frame in and organize the mechanical room.

We had the floors coated to keep them water tight.

I think this radiant heat system is pretty self explanatory....right???
Mechanical room wall gets framed in!

An actual doorway. Lookin' good!

This is Kris' future office space.

The office ceiling is like a maze!

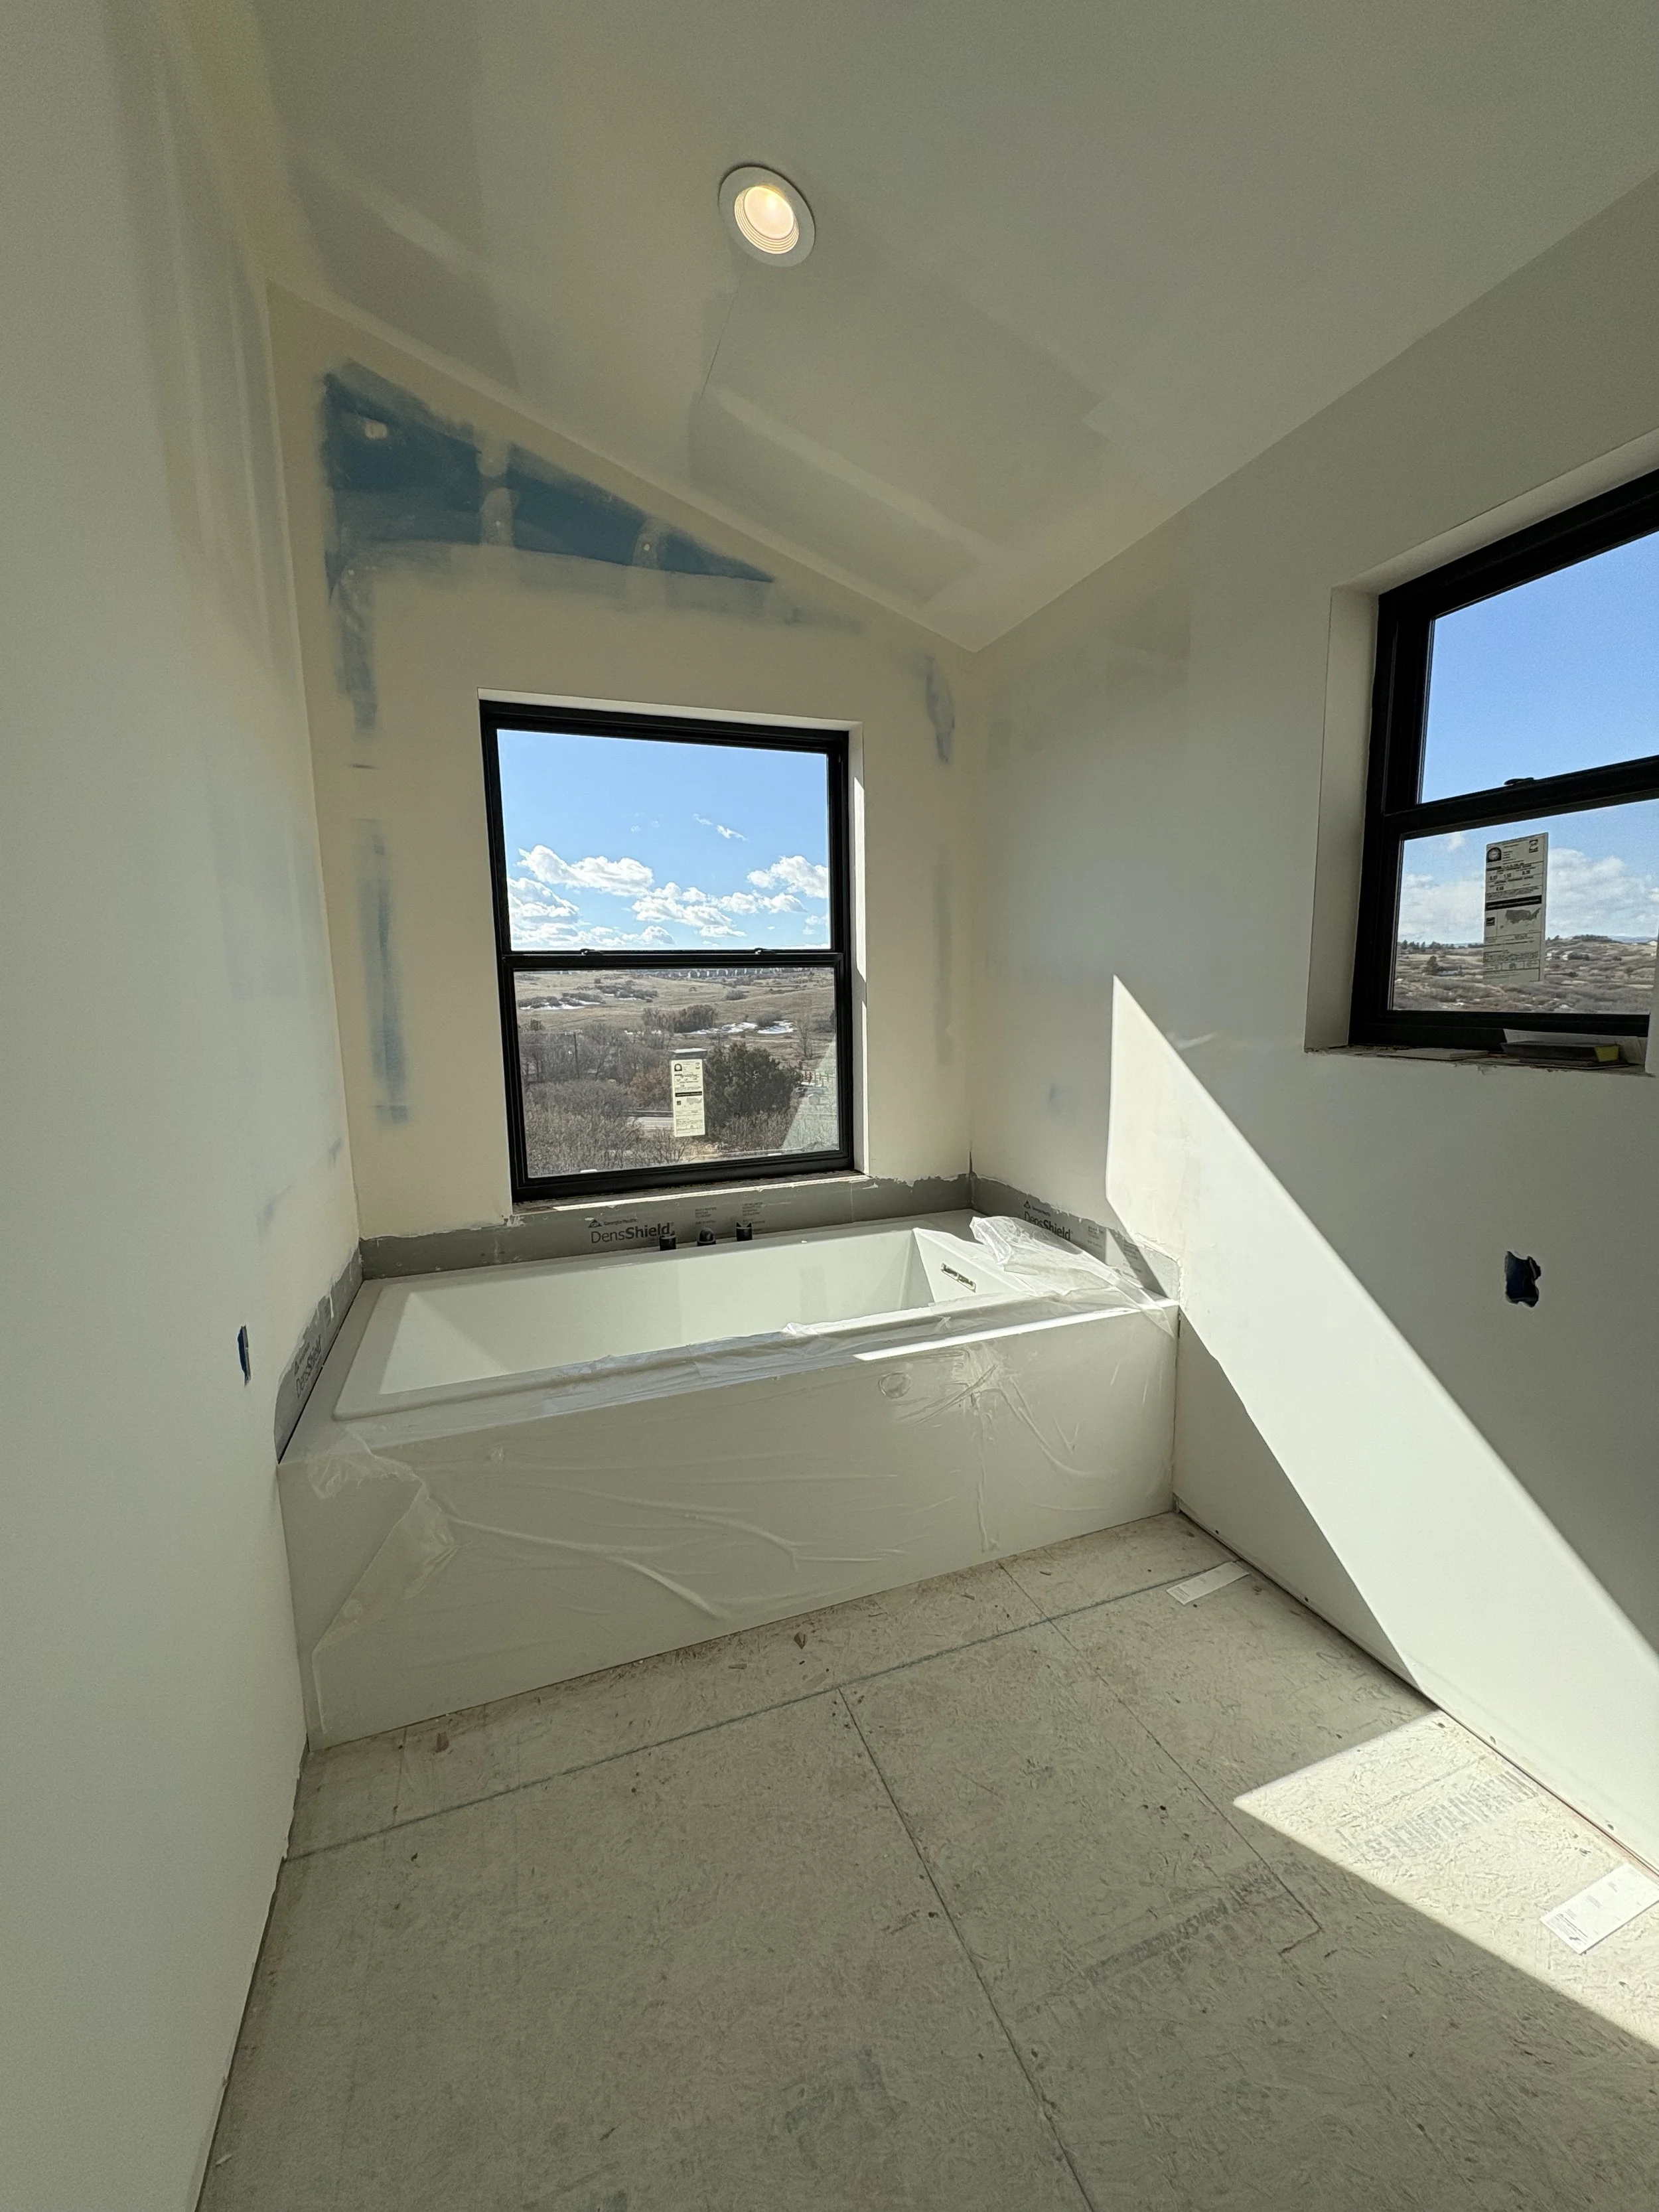
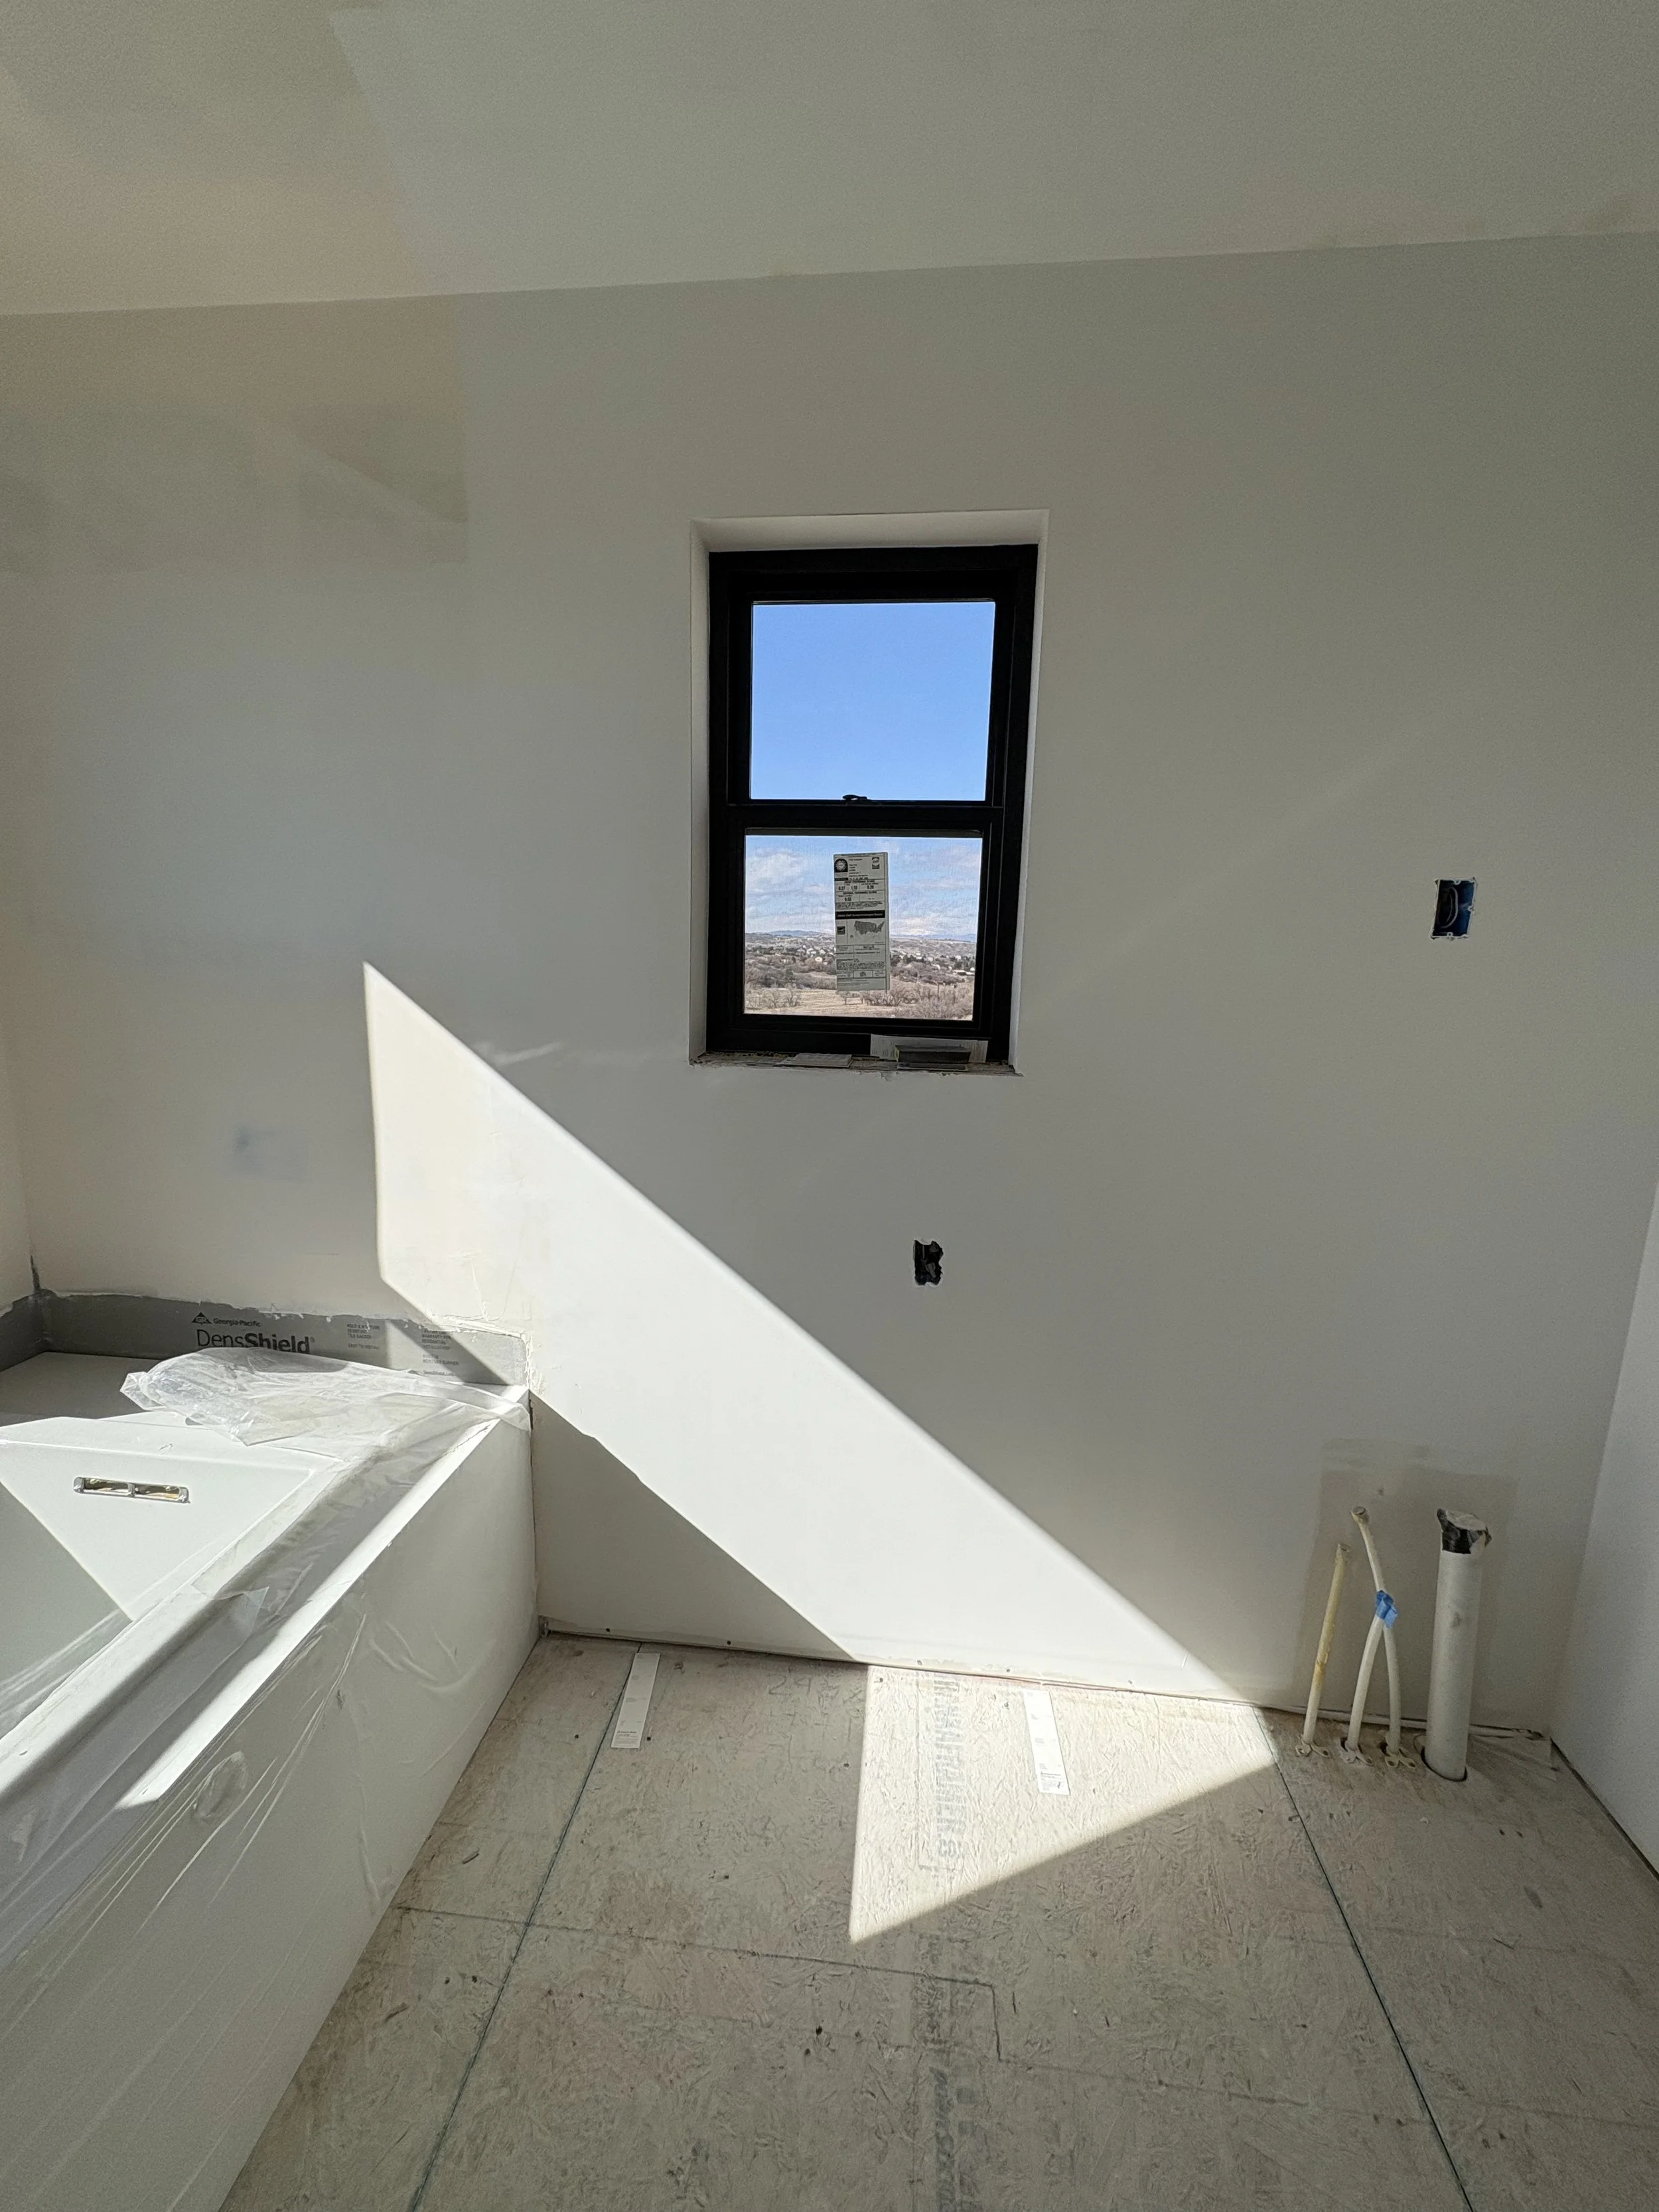
Before we move into insulation and drywall phase, we need to get the bathtub installed. They quartz surround looks amazing!

Now the bathtub gets set in concrete. We used what we had to weight it down!

Ta-da!! Our beautiful master bath! Can't wait to try this baby out!
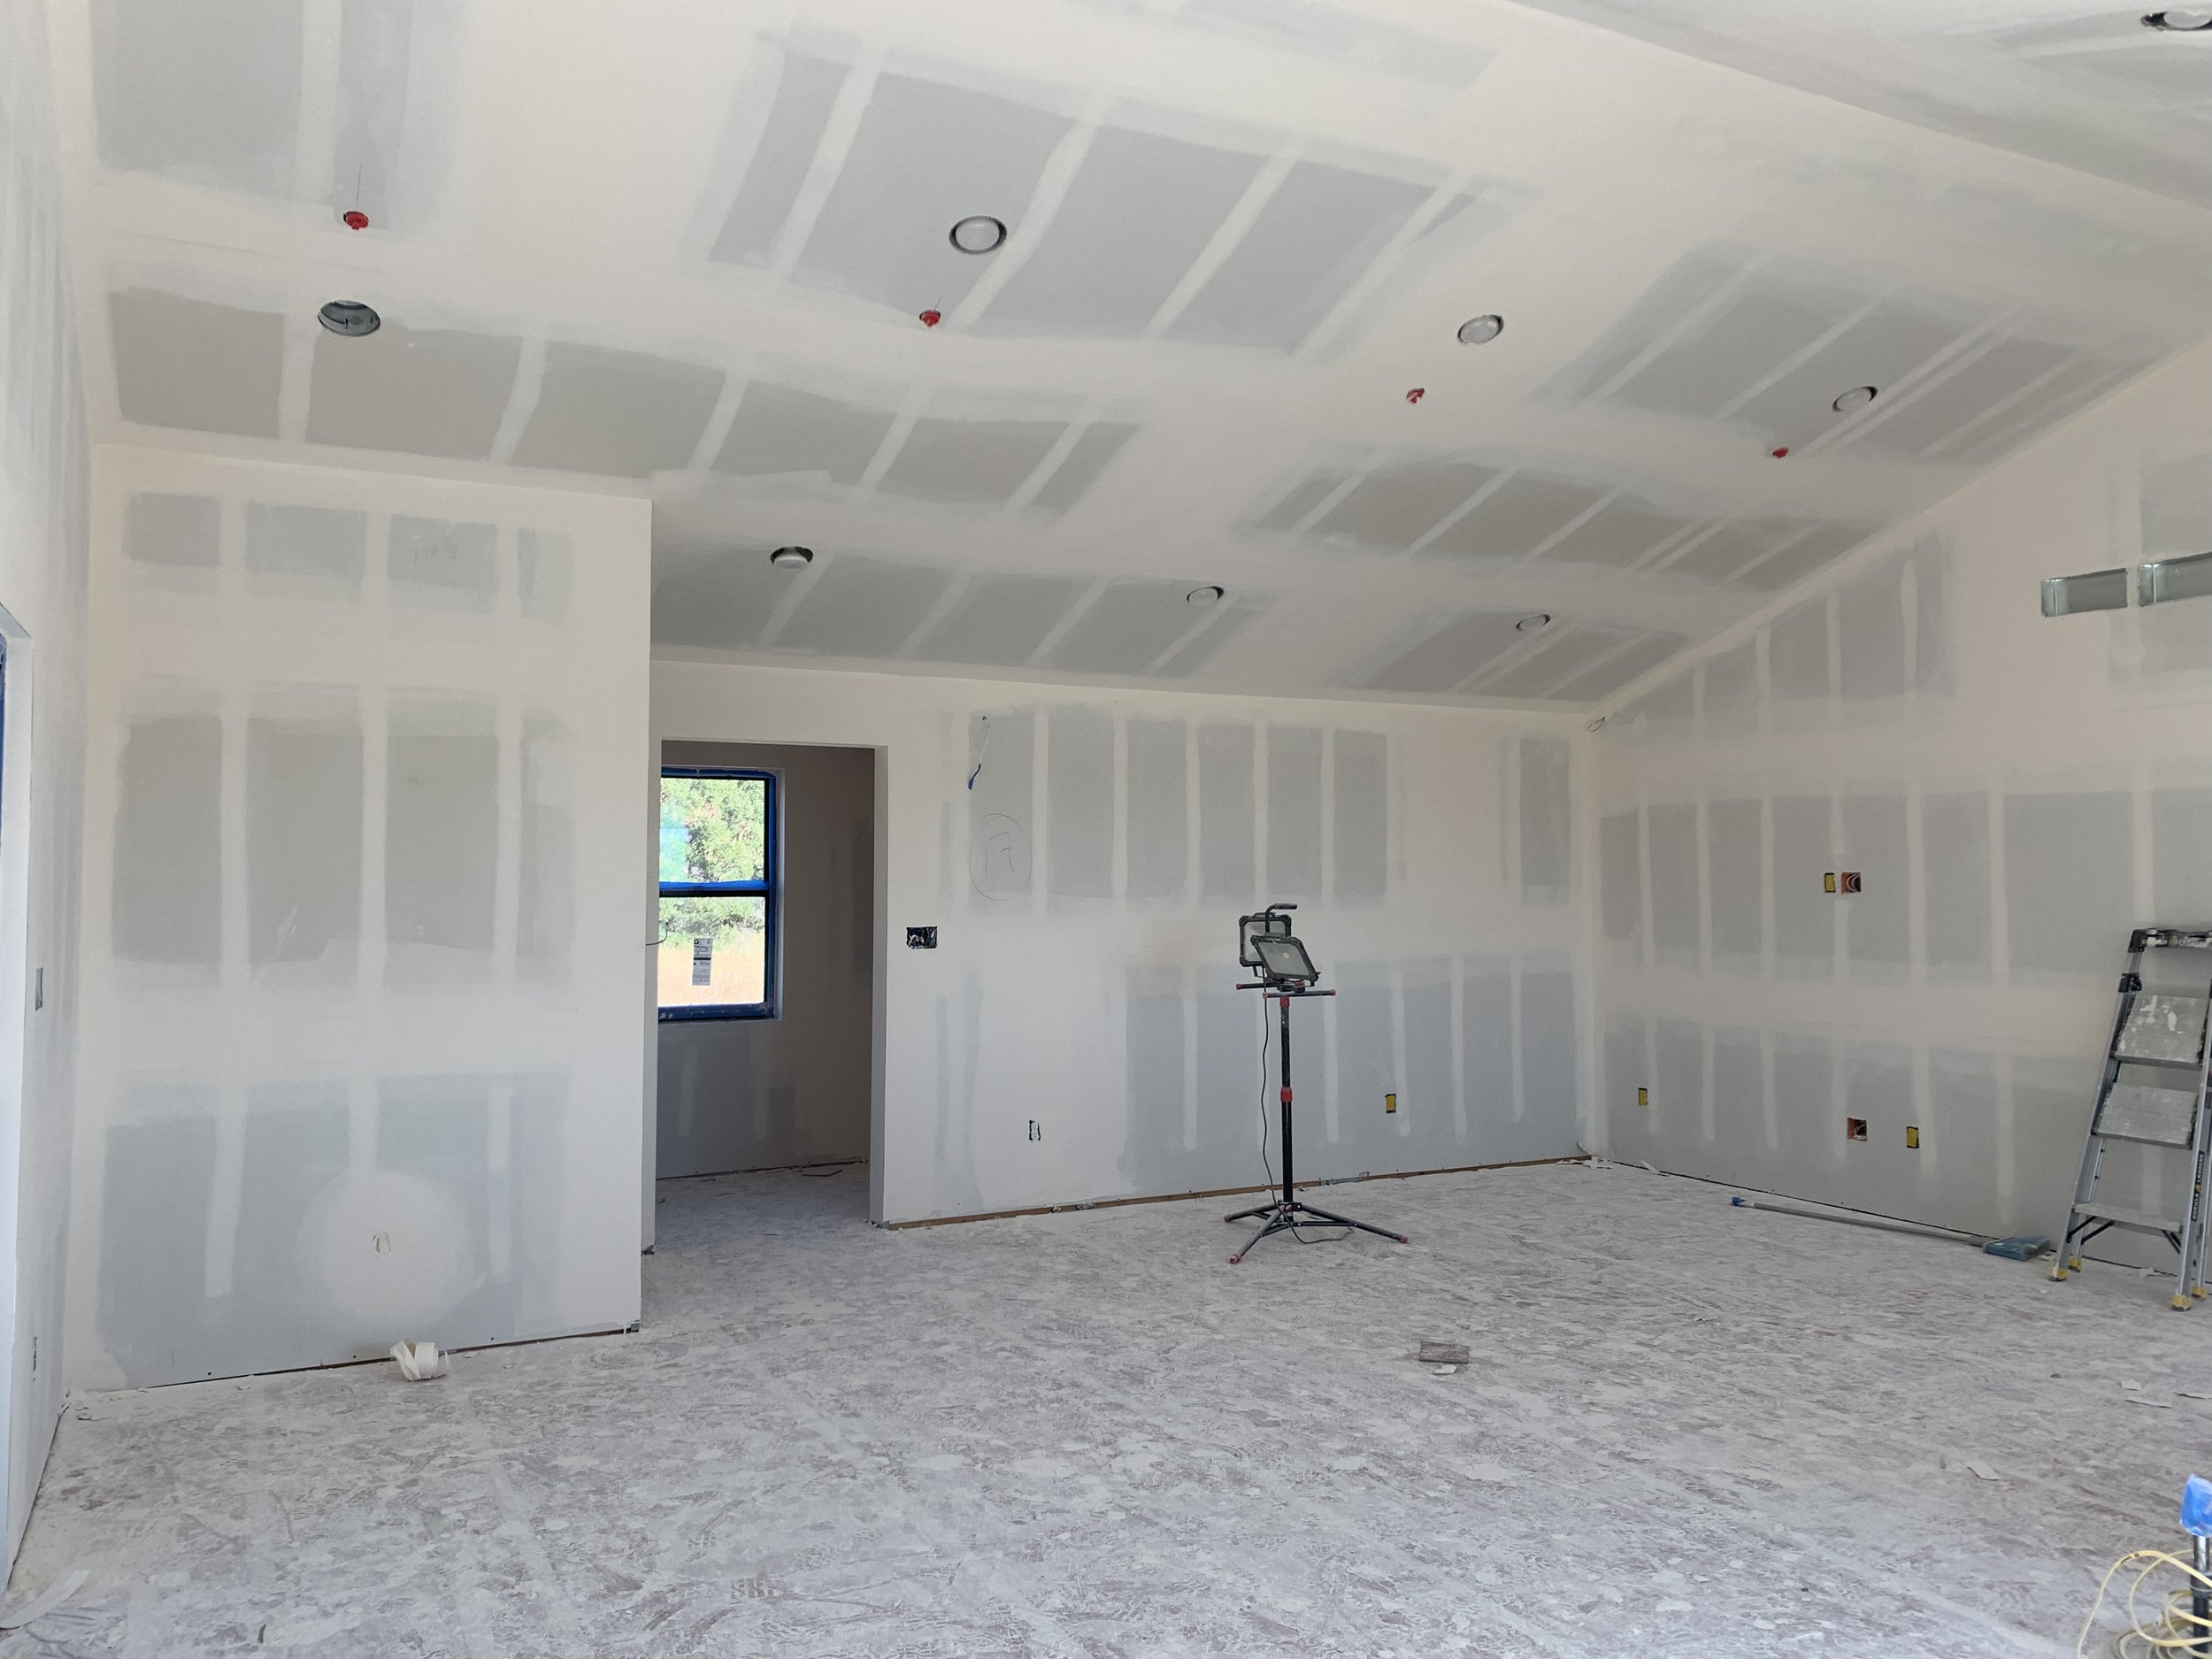
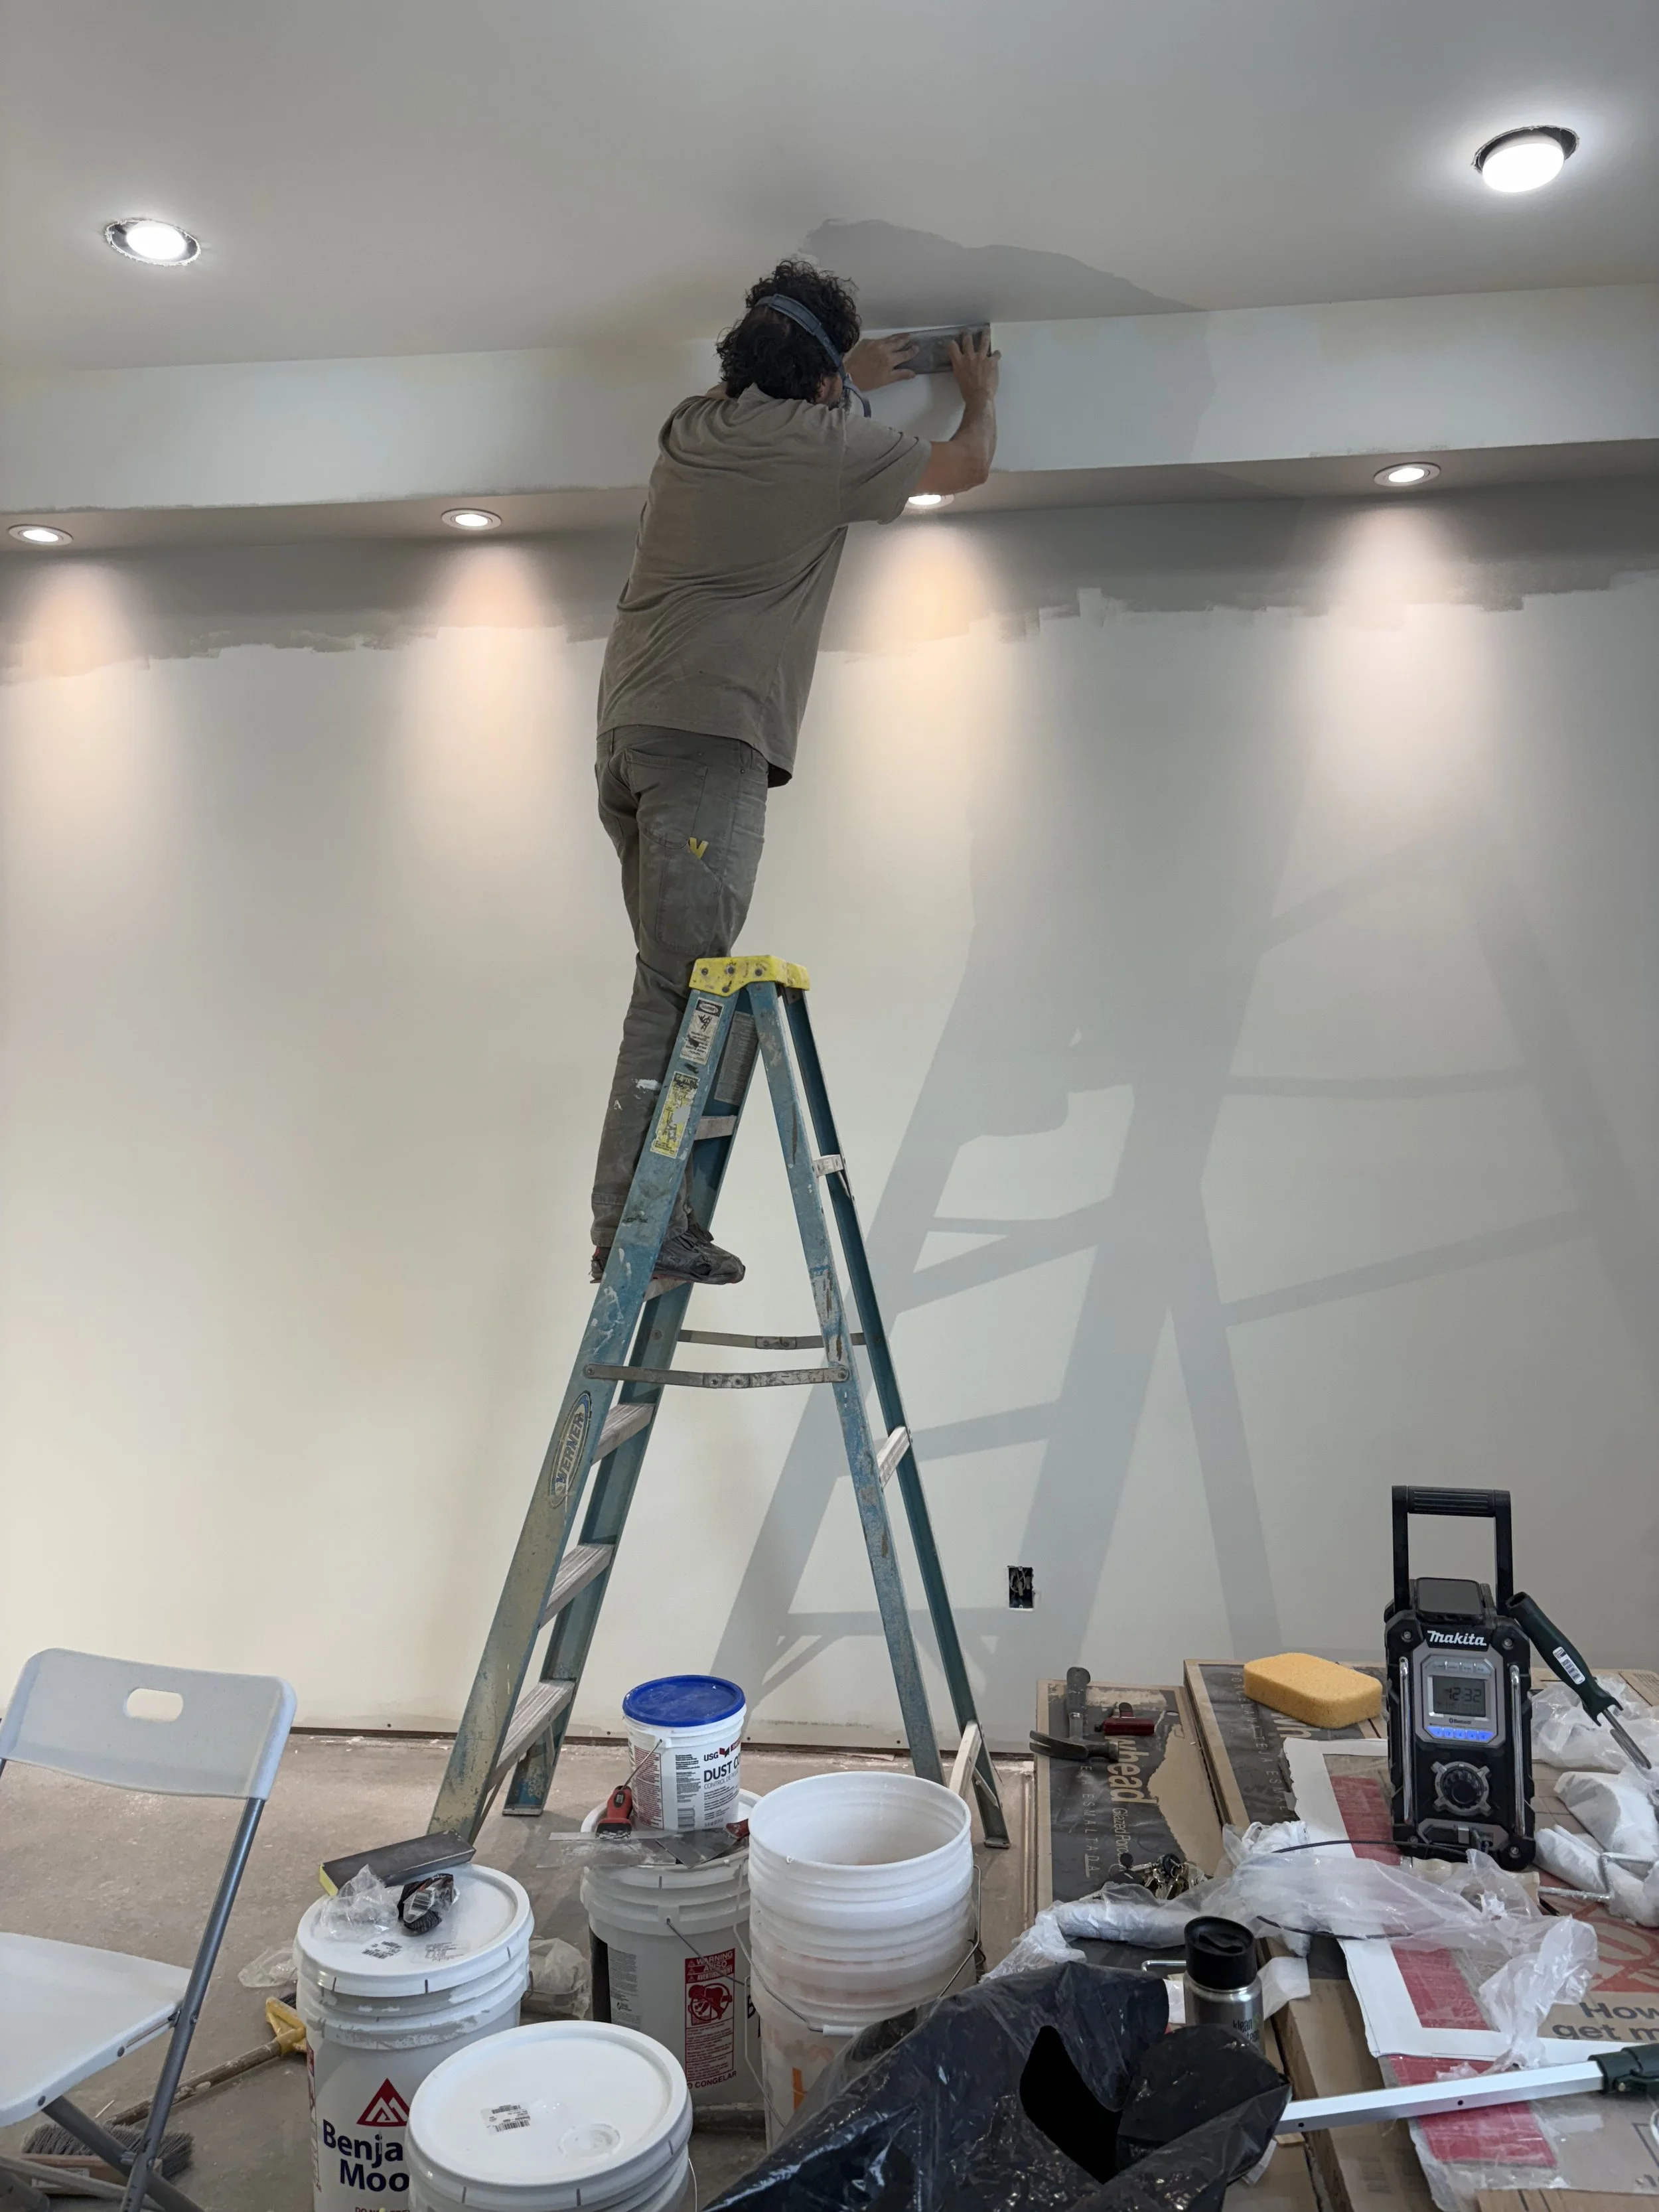
Step 13: Insulation and Drywall

Time to start insulating! We opted for spray in insulation for all our exterior walls and the ceiling. This seals up the house from any future leaks and makes it very efficient in the winter.

Here you can see the spray insulation in the ceiling.

The master bedroom is all sprayed...

...and of course the master bathroom. Can't have a draft when I'm enjoying that luxury bathtub, right?

The next phase of insulation is blown in. Here they start hooking the pumps up so they can begin.

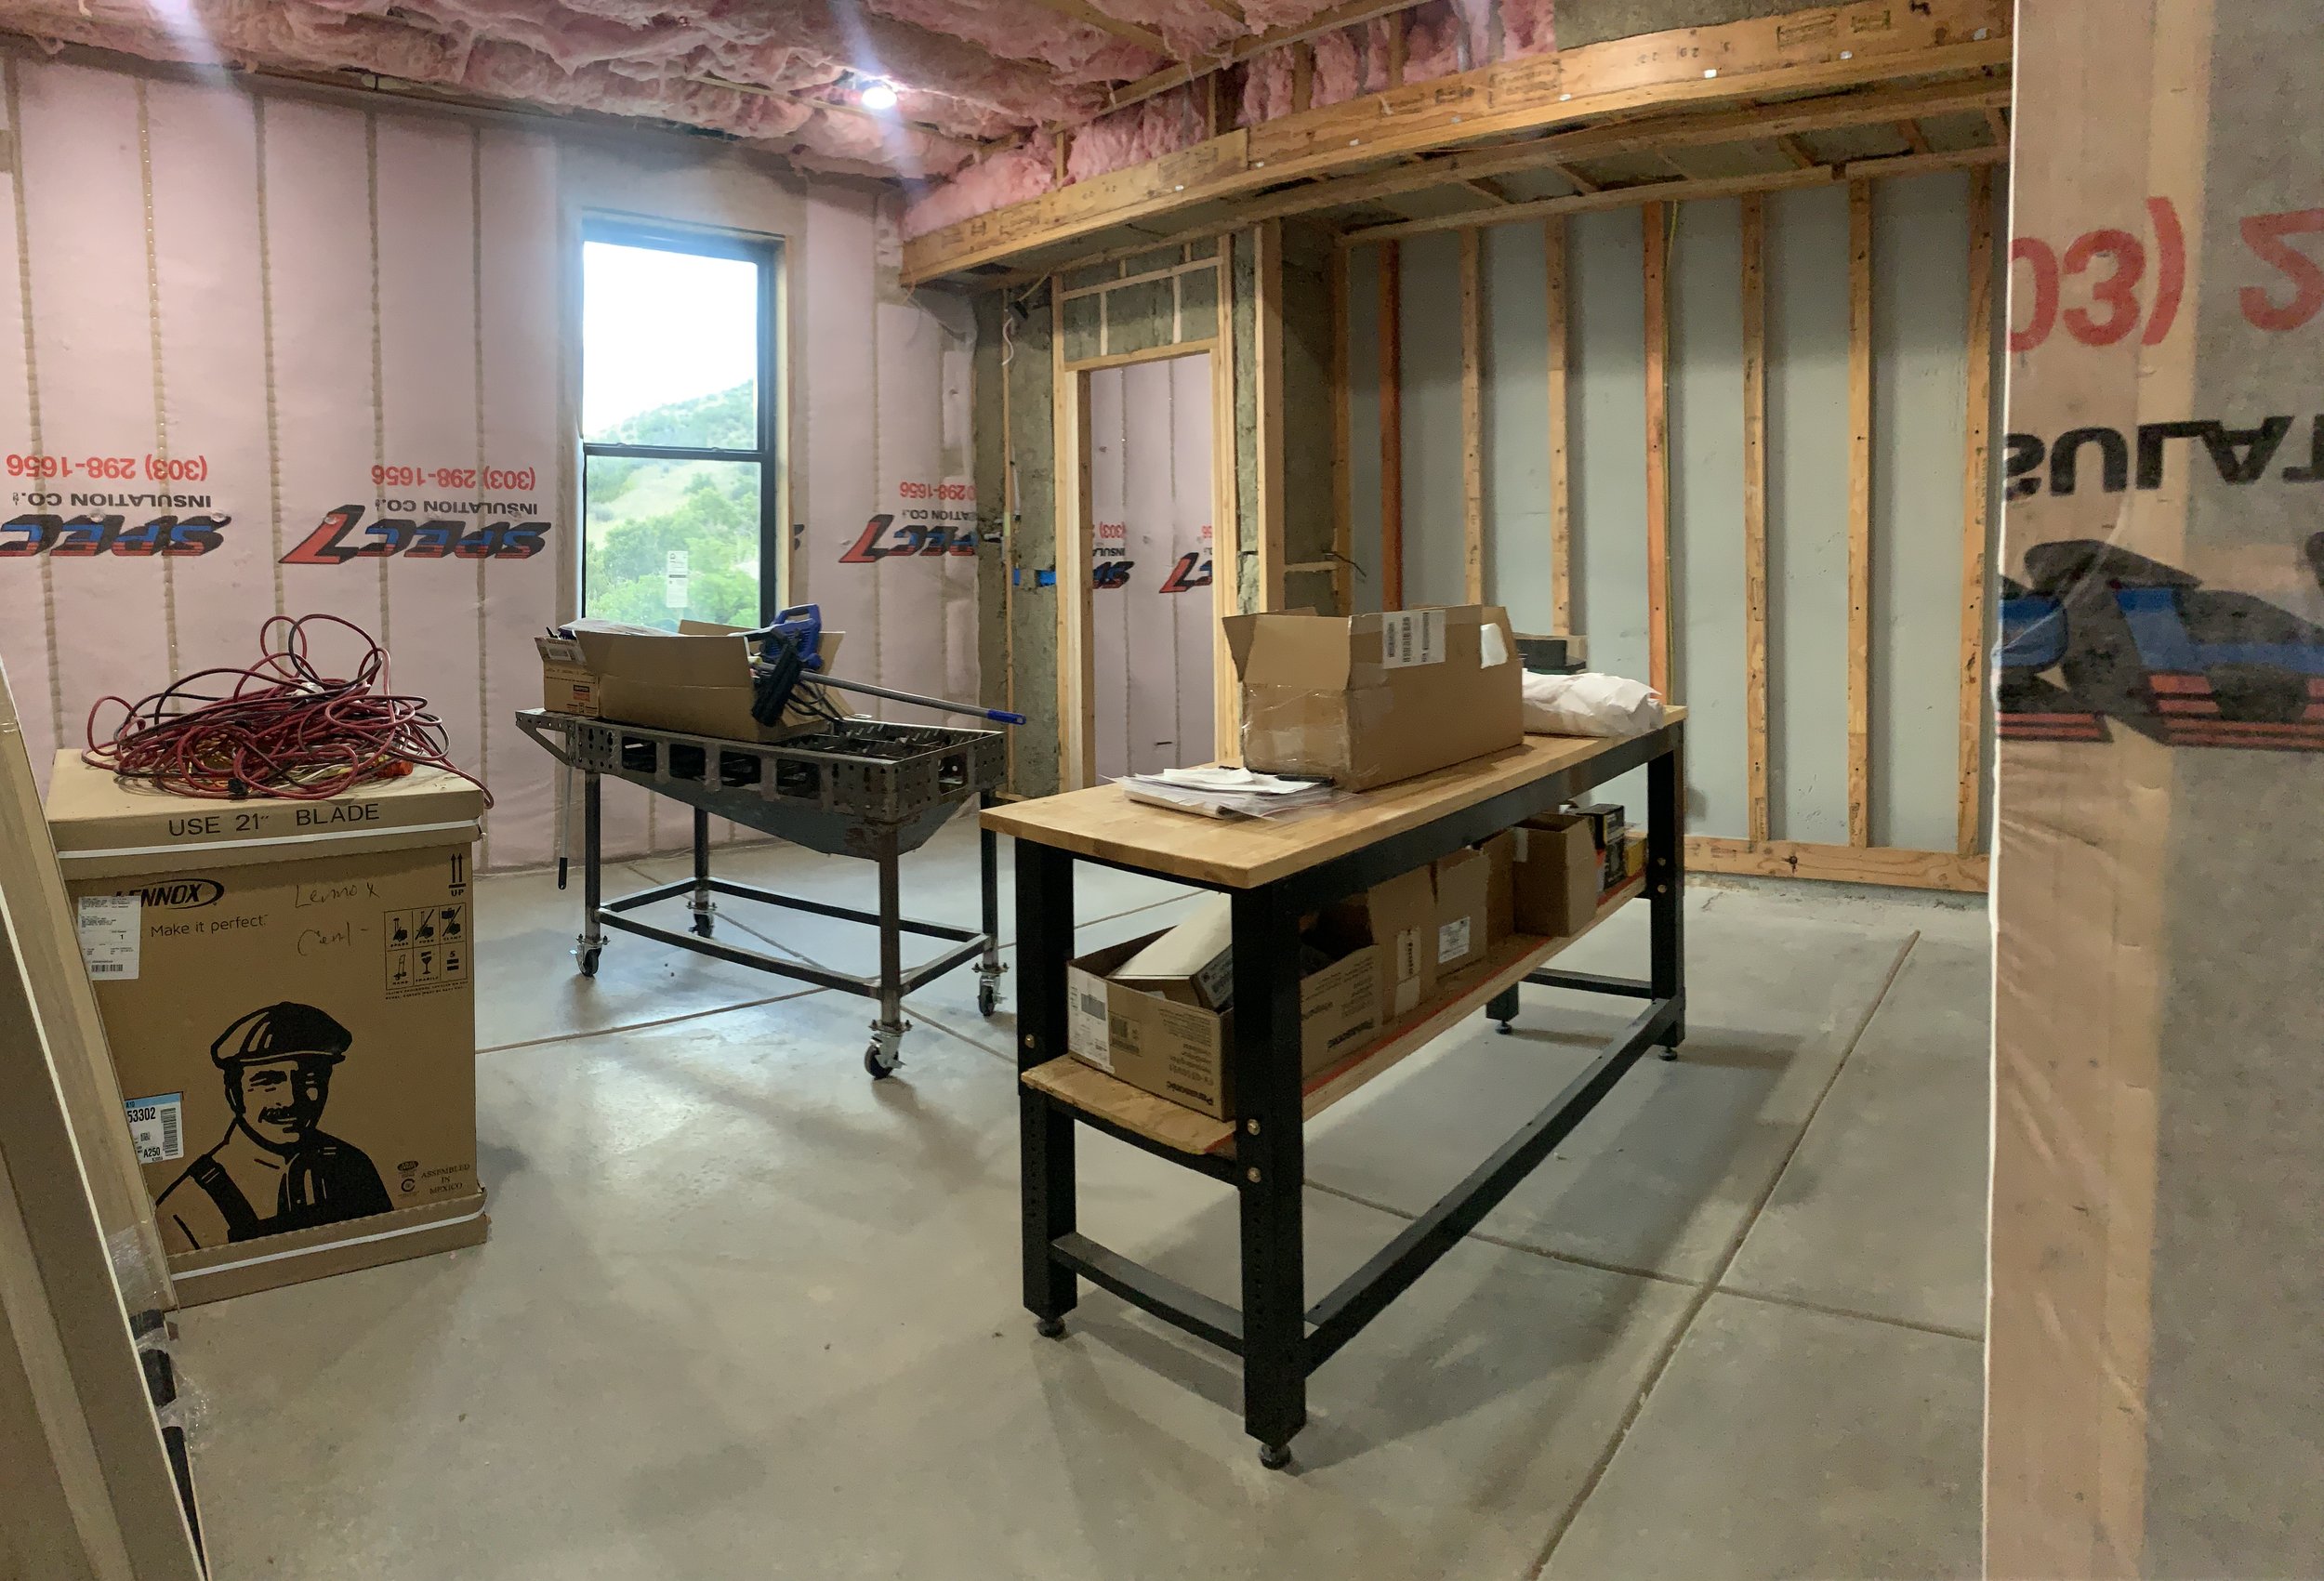
This is the mud/laundry room. You can see the pink blown in insulation is behind plastic to keep it where it's supposed to be.

The staircase gets the pink layer applied!

Now the walls of our living room and kitchen.

...and of course the master bathroom goes pink as well.
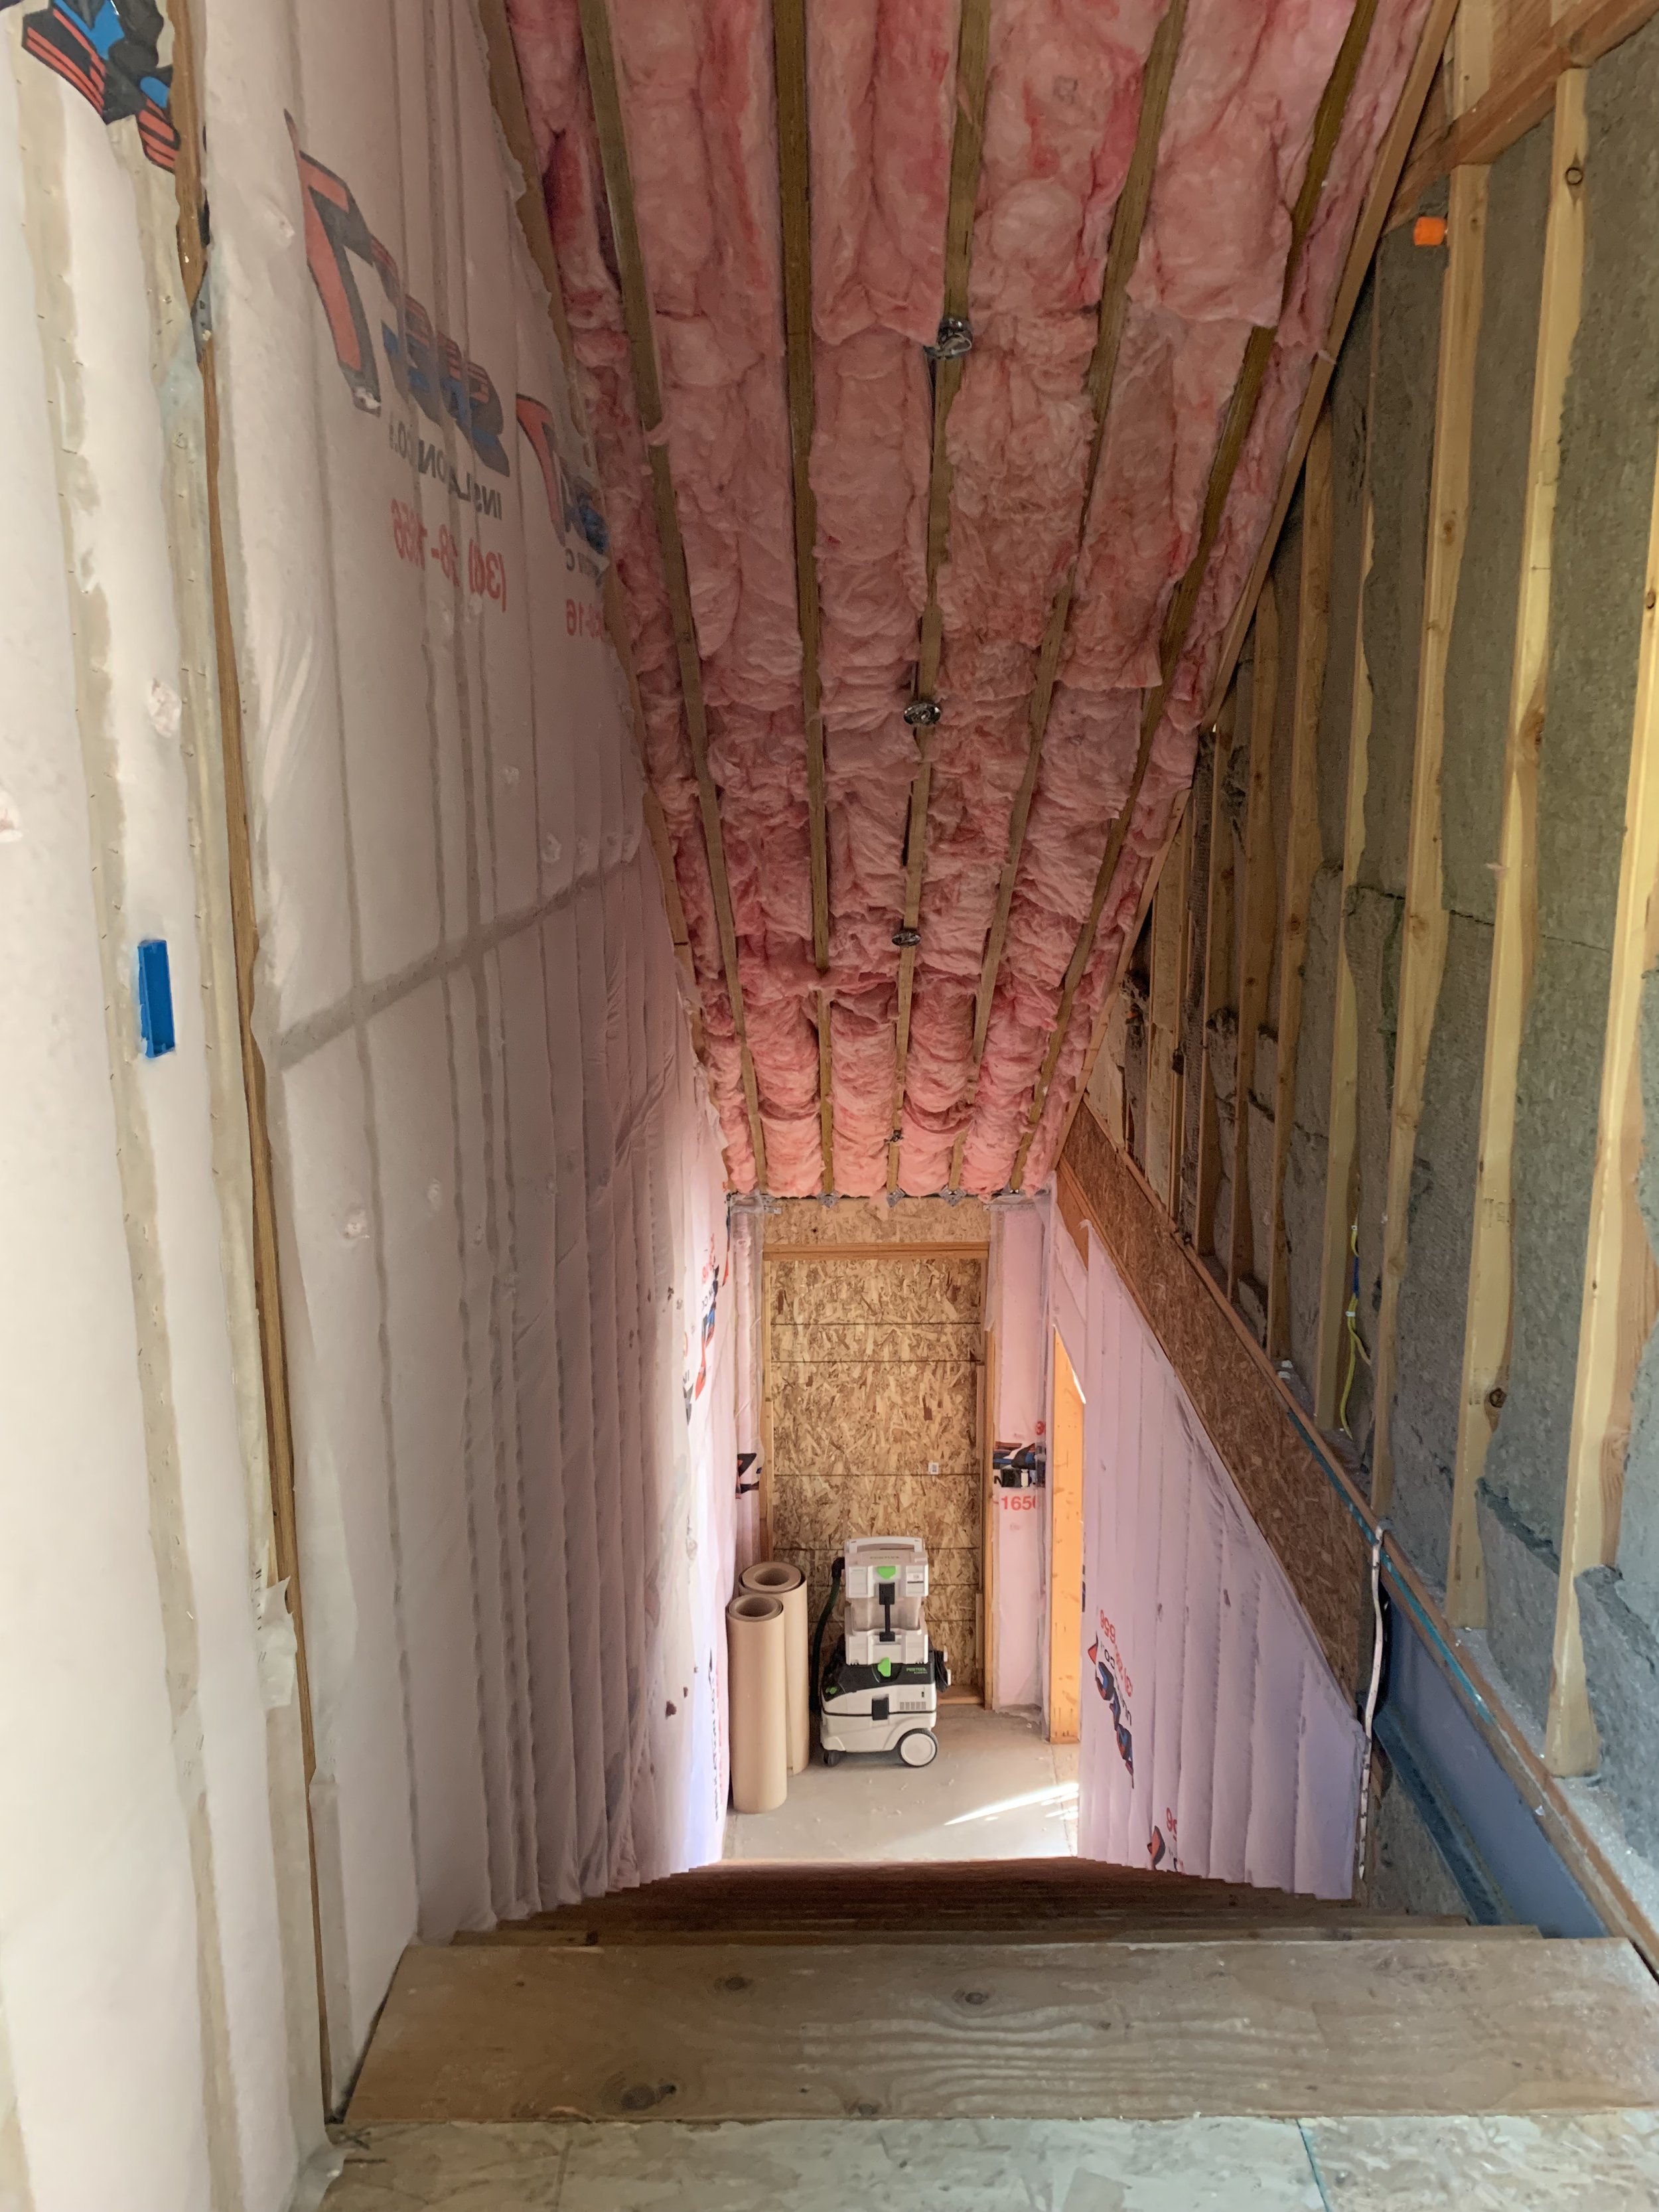
The staircase has a combination of spray-in, blown-in, batt and acoustic insulation. Wouldn't want any heat to escape now would we?

The dark insulation in the walls is acoustic Rock Wool. It deadens sound and is made of basalt rock, so it's fire resistant and super durable!
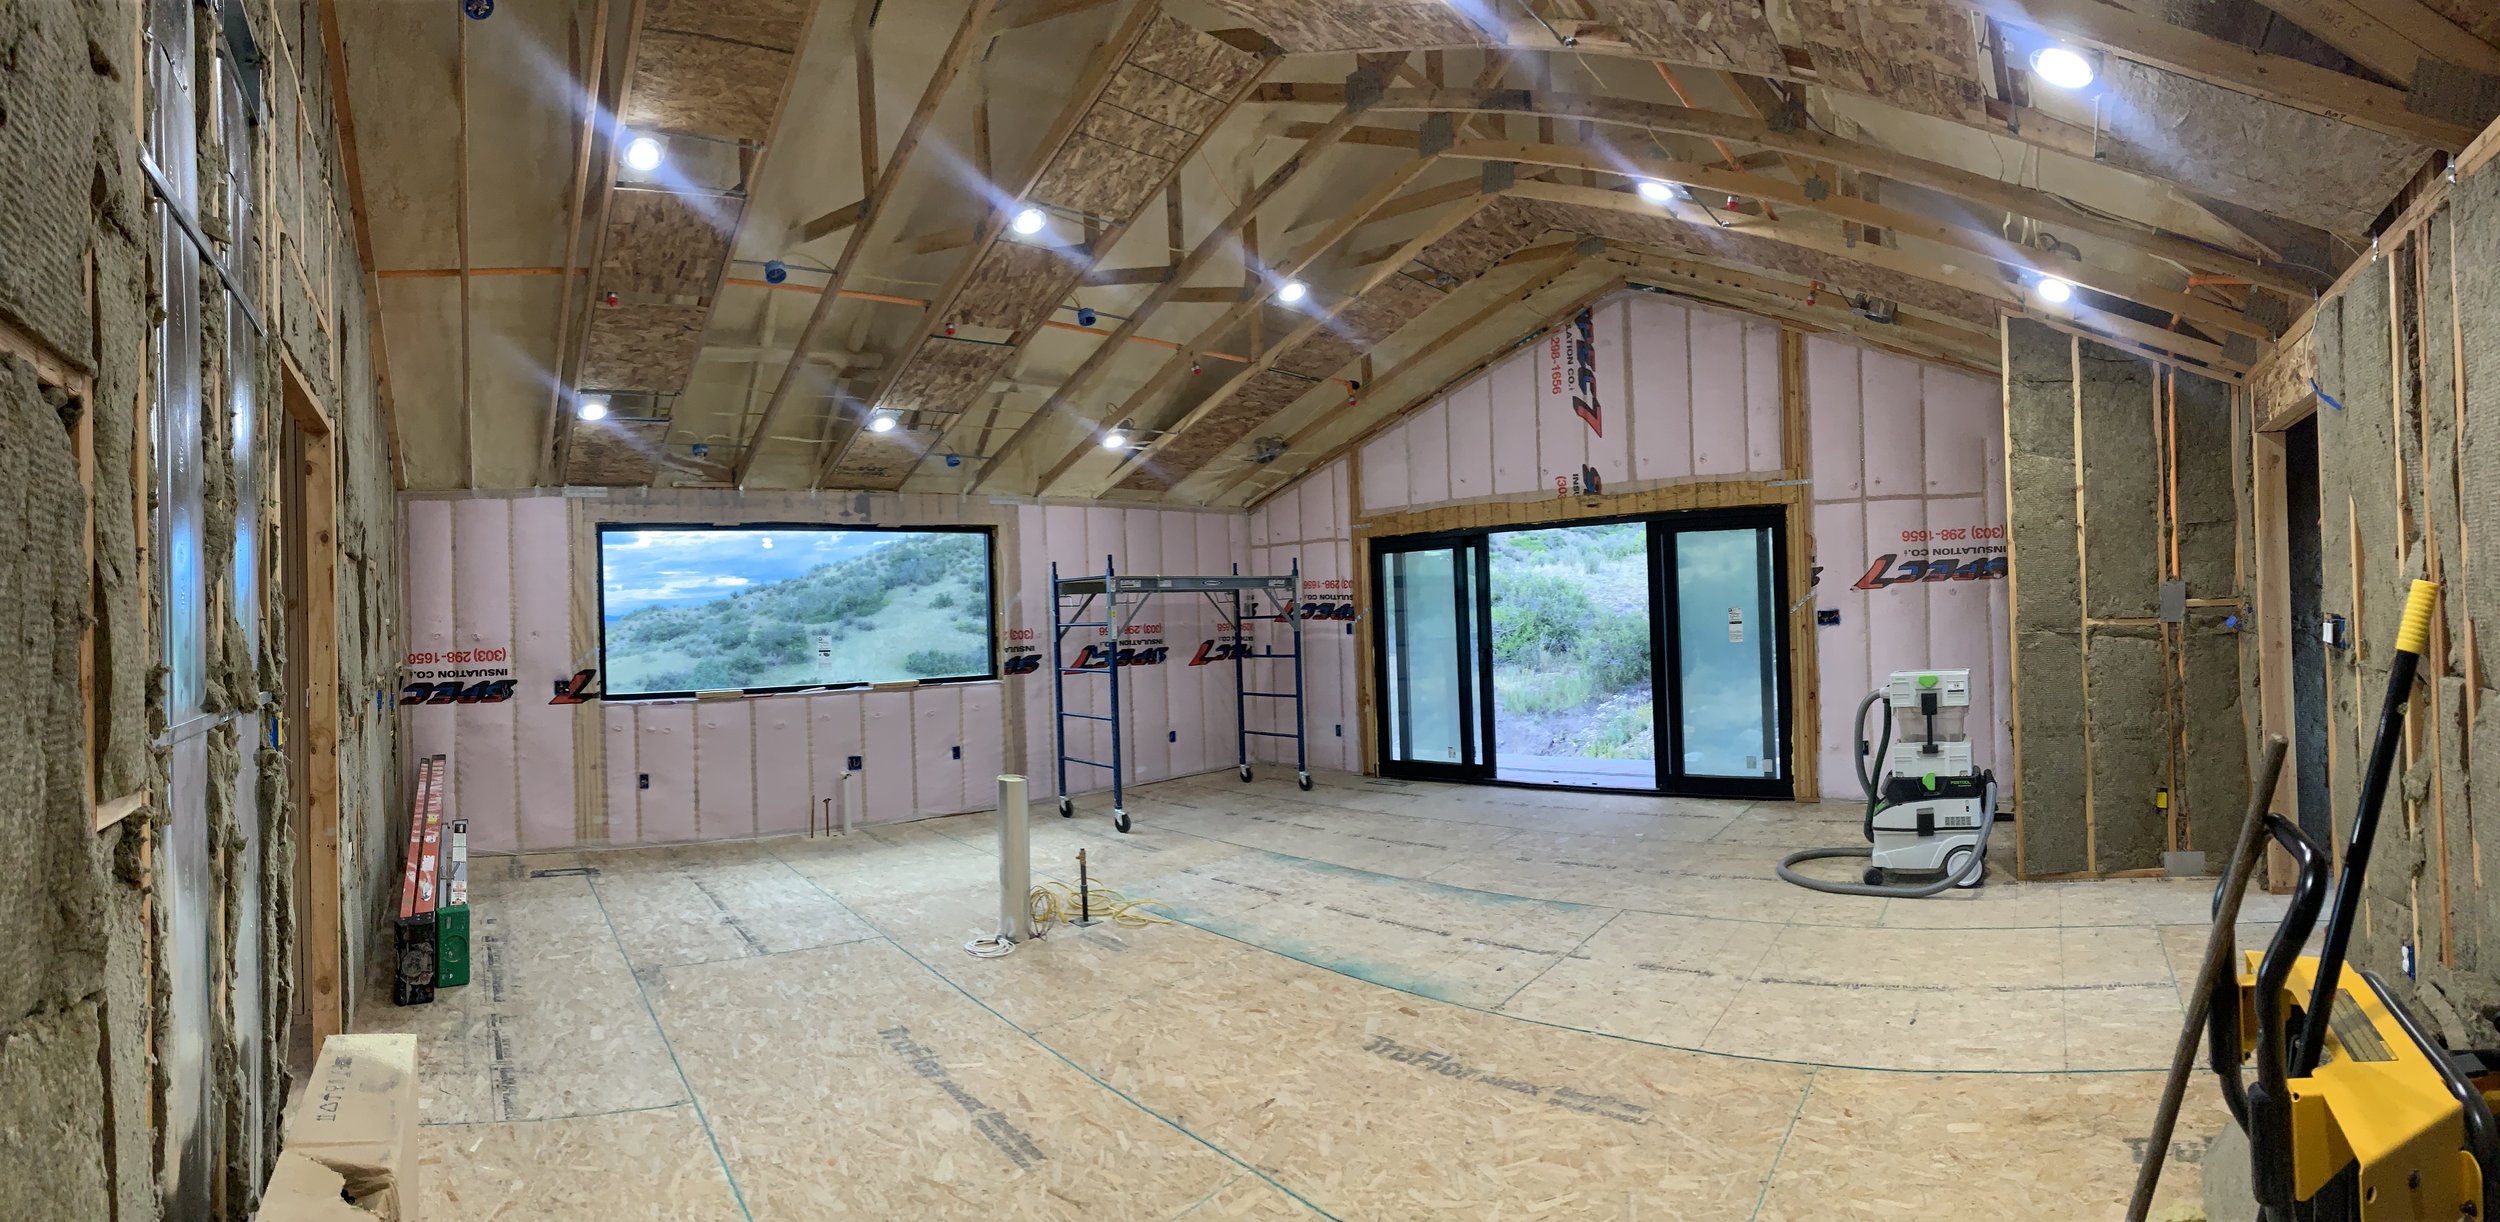
Heres a pano of our main living area fully insulated!

...and another pano looking in at our main living space from the staircase entry.

Finishing up the master bedroom and bathroom with it's combo insulation.

The master bedroom looking out towards the kitchen/living room.

We definitely want sound proofing around the washer and dryer area! No one needs to hear our laundry rattling around.
Now for the downstairs. Here's the guest room! Nice and insulated so our guests are cozy.

This will eventually be the guest bathroom. I promise you won't even recognize this bathroom when it's done!

This is the hallway from the guest room looking at the side entrance.
Last but not least, Kris' future office...which currently doubles as the catch-all room! He definitely wants the acoustic insulation in here so our guests can't hear him yelling at his computer! Haha!

Drywall delivery day!!

Don't even ask how this delivery truck got to the back of the property. It involved me not watching the 1 inch of clearance between the truck and the trailer.
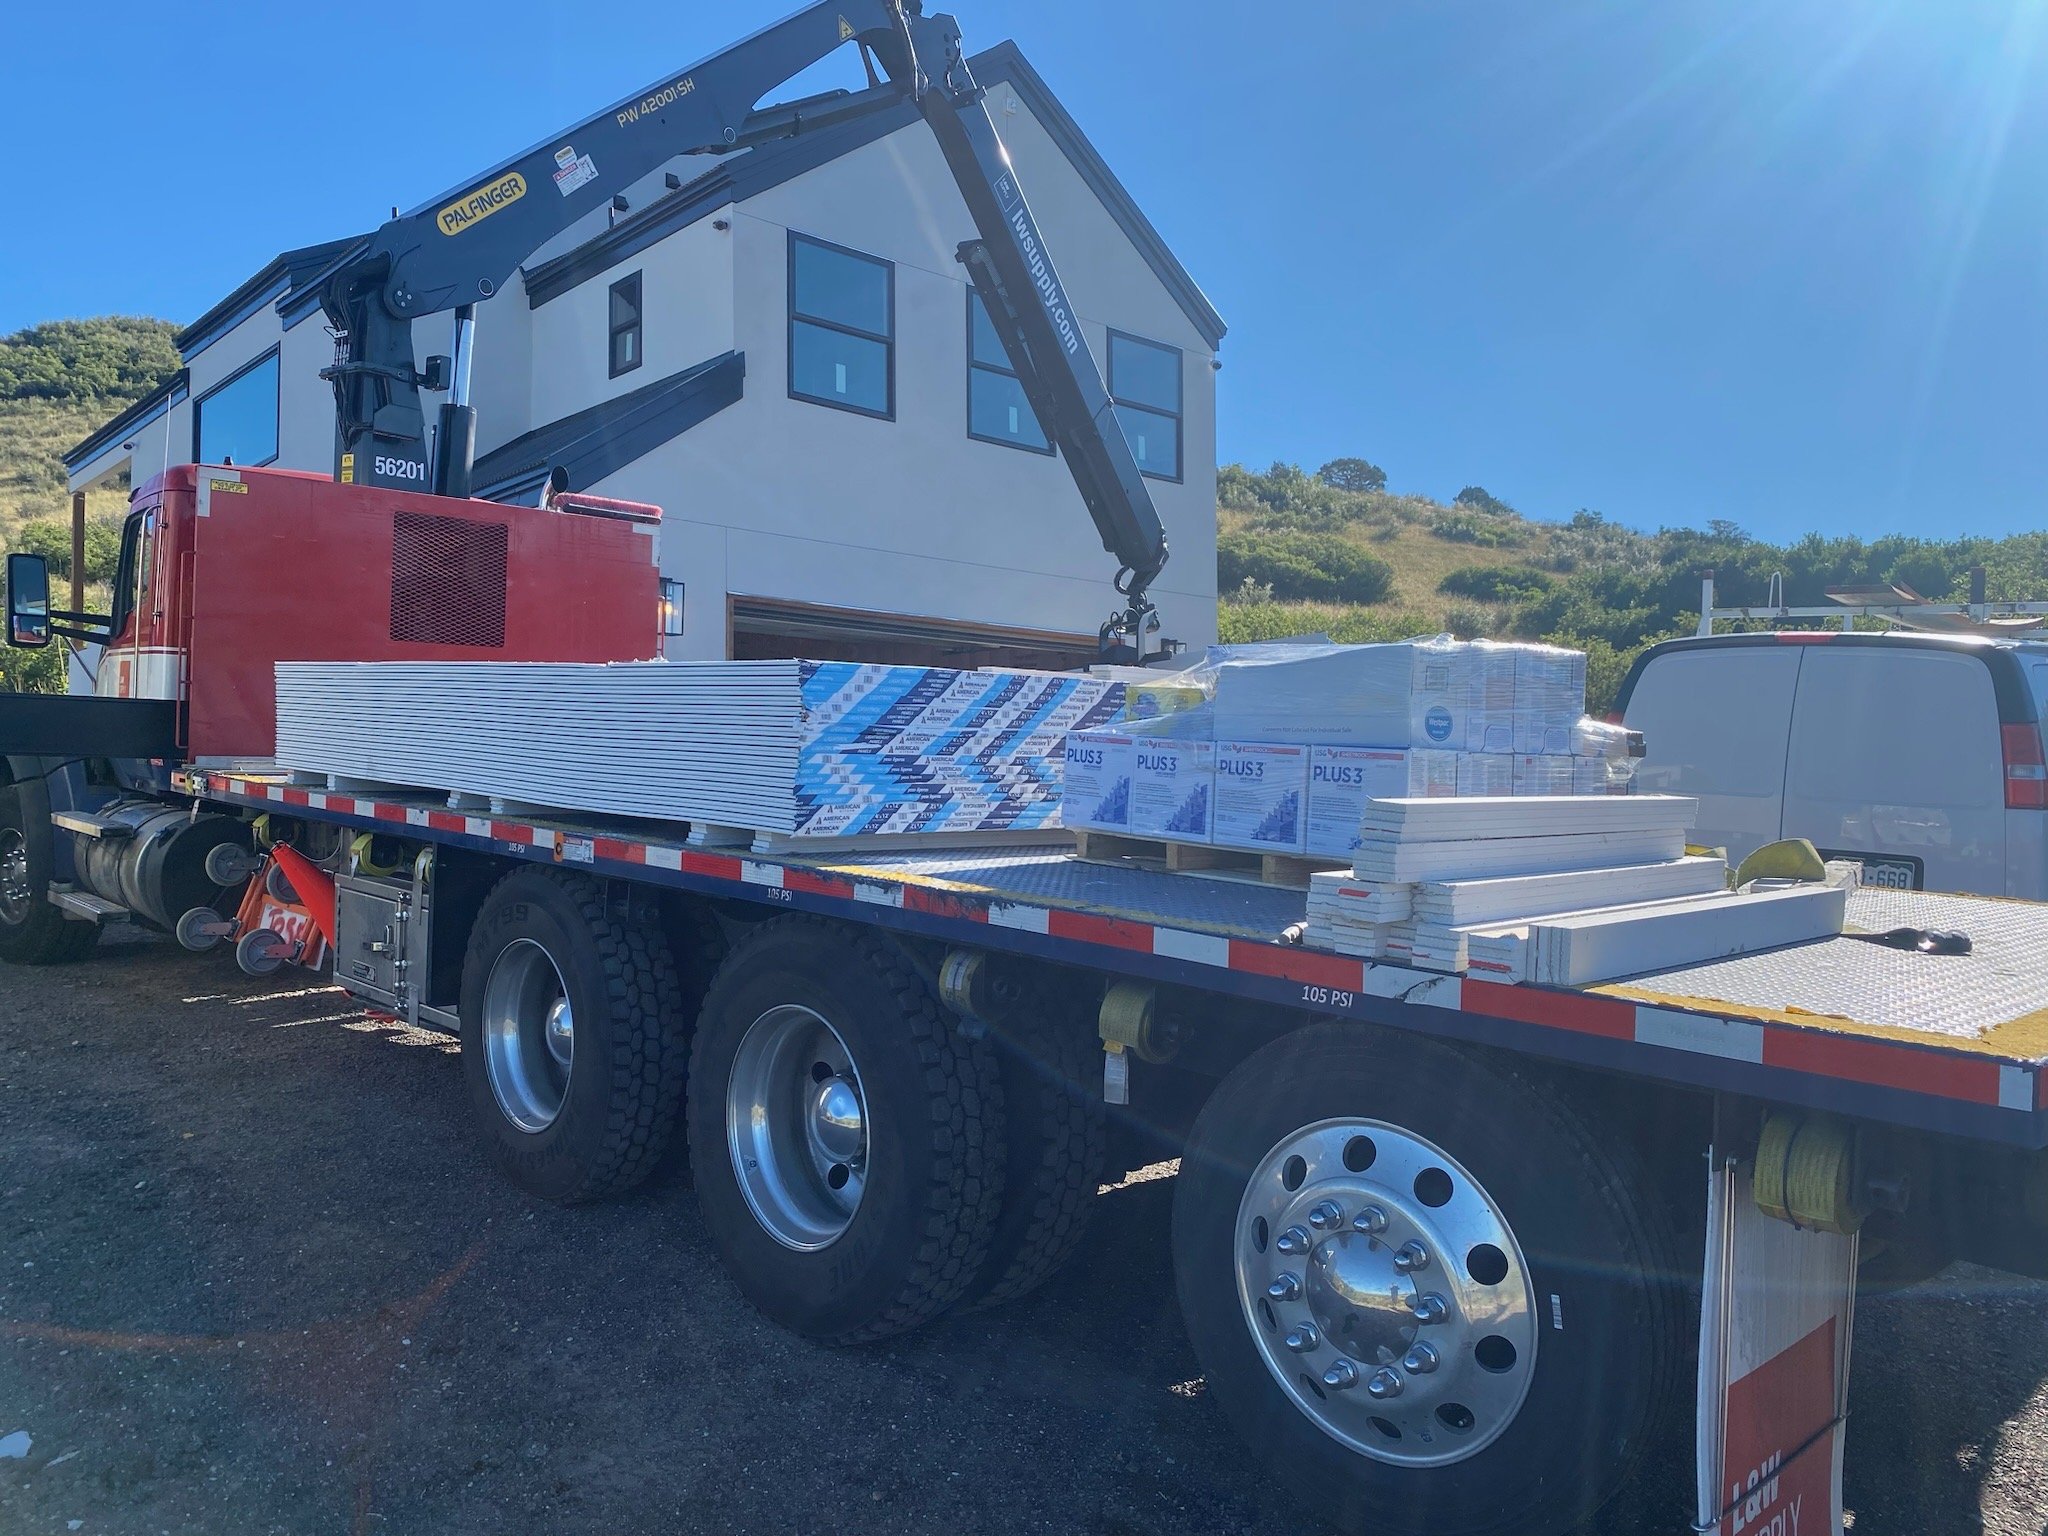
Now that the hard part is done, they can unload the rest into the garage. MUCH easier!

The drywall crew wasted no time getting started! This is the guest room which actually looks brighter already!

Another view of the guest room.

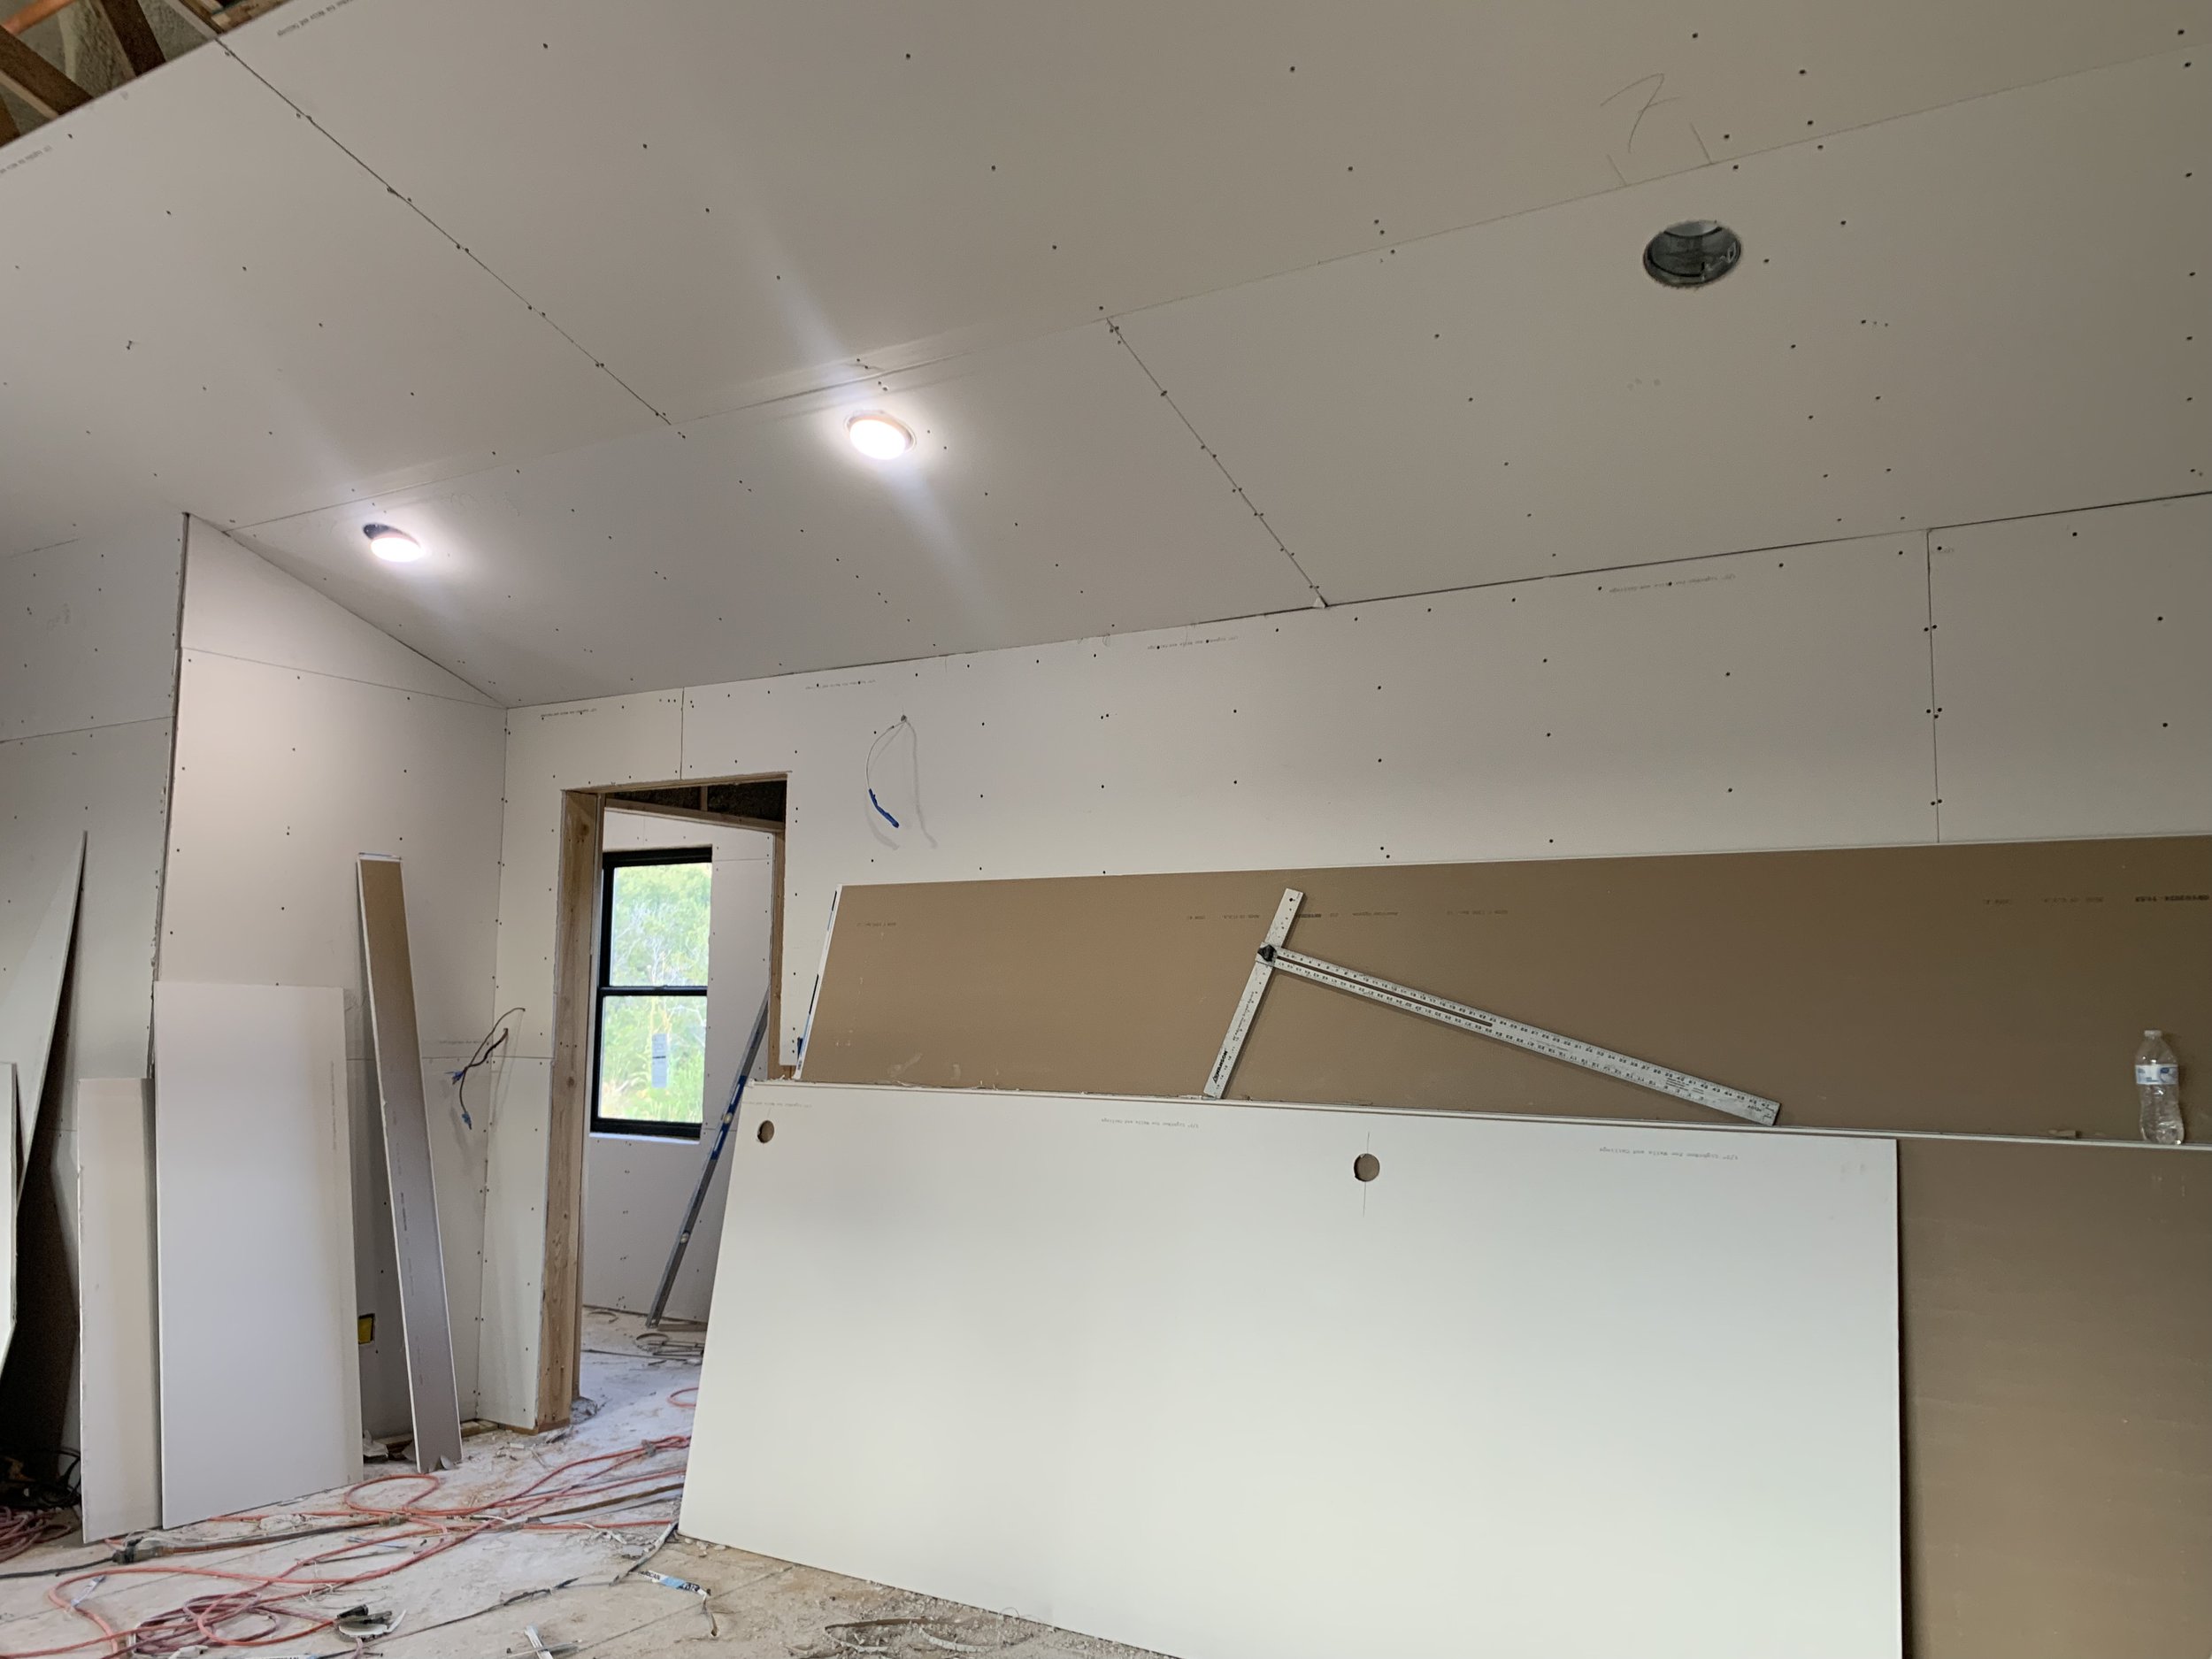
Drywall hanging begins in the master bedroom.
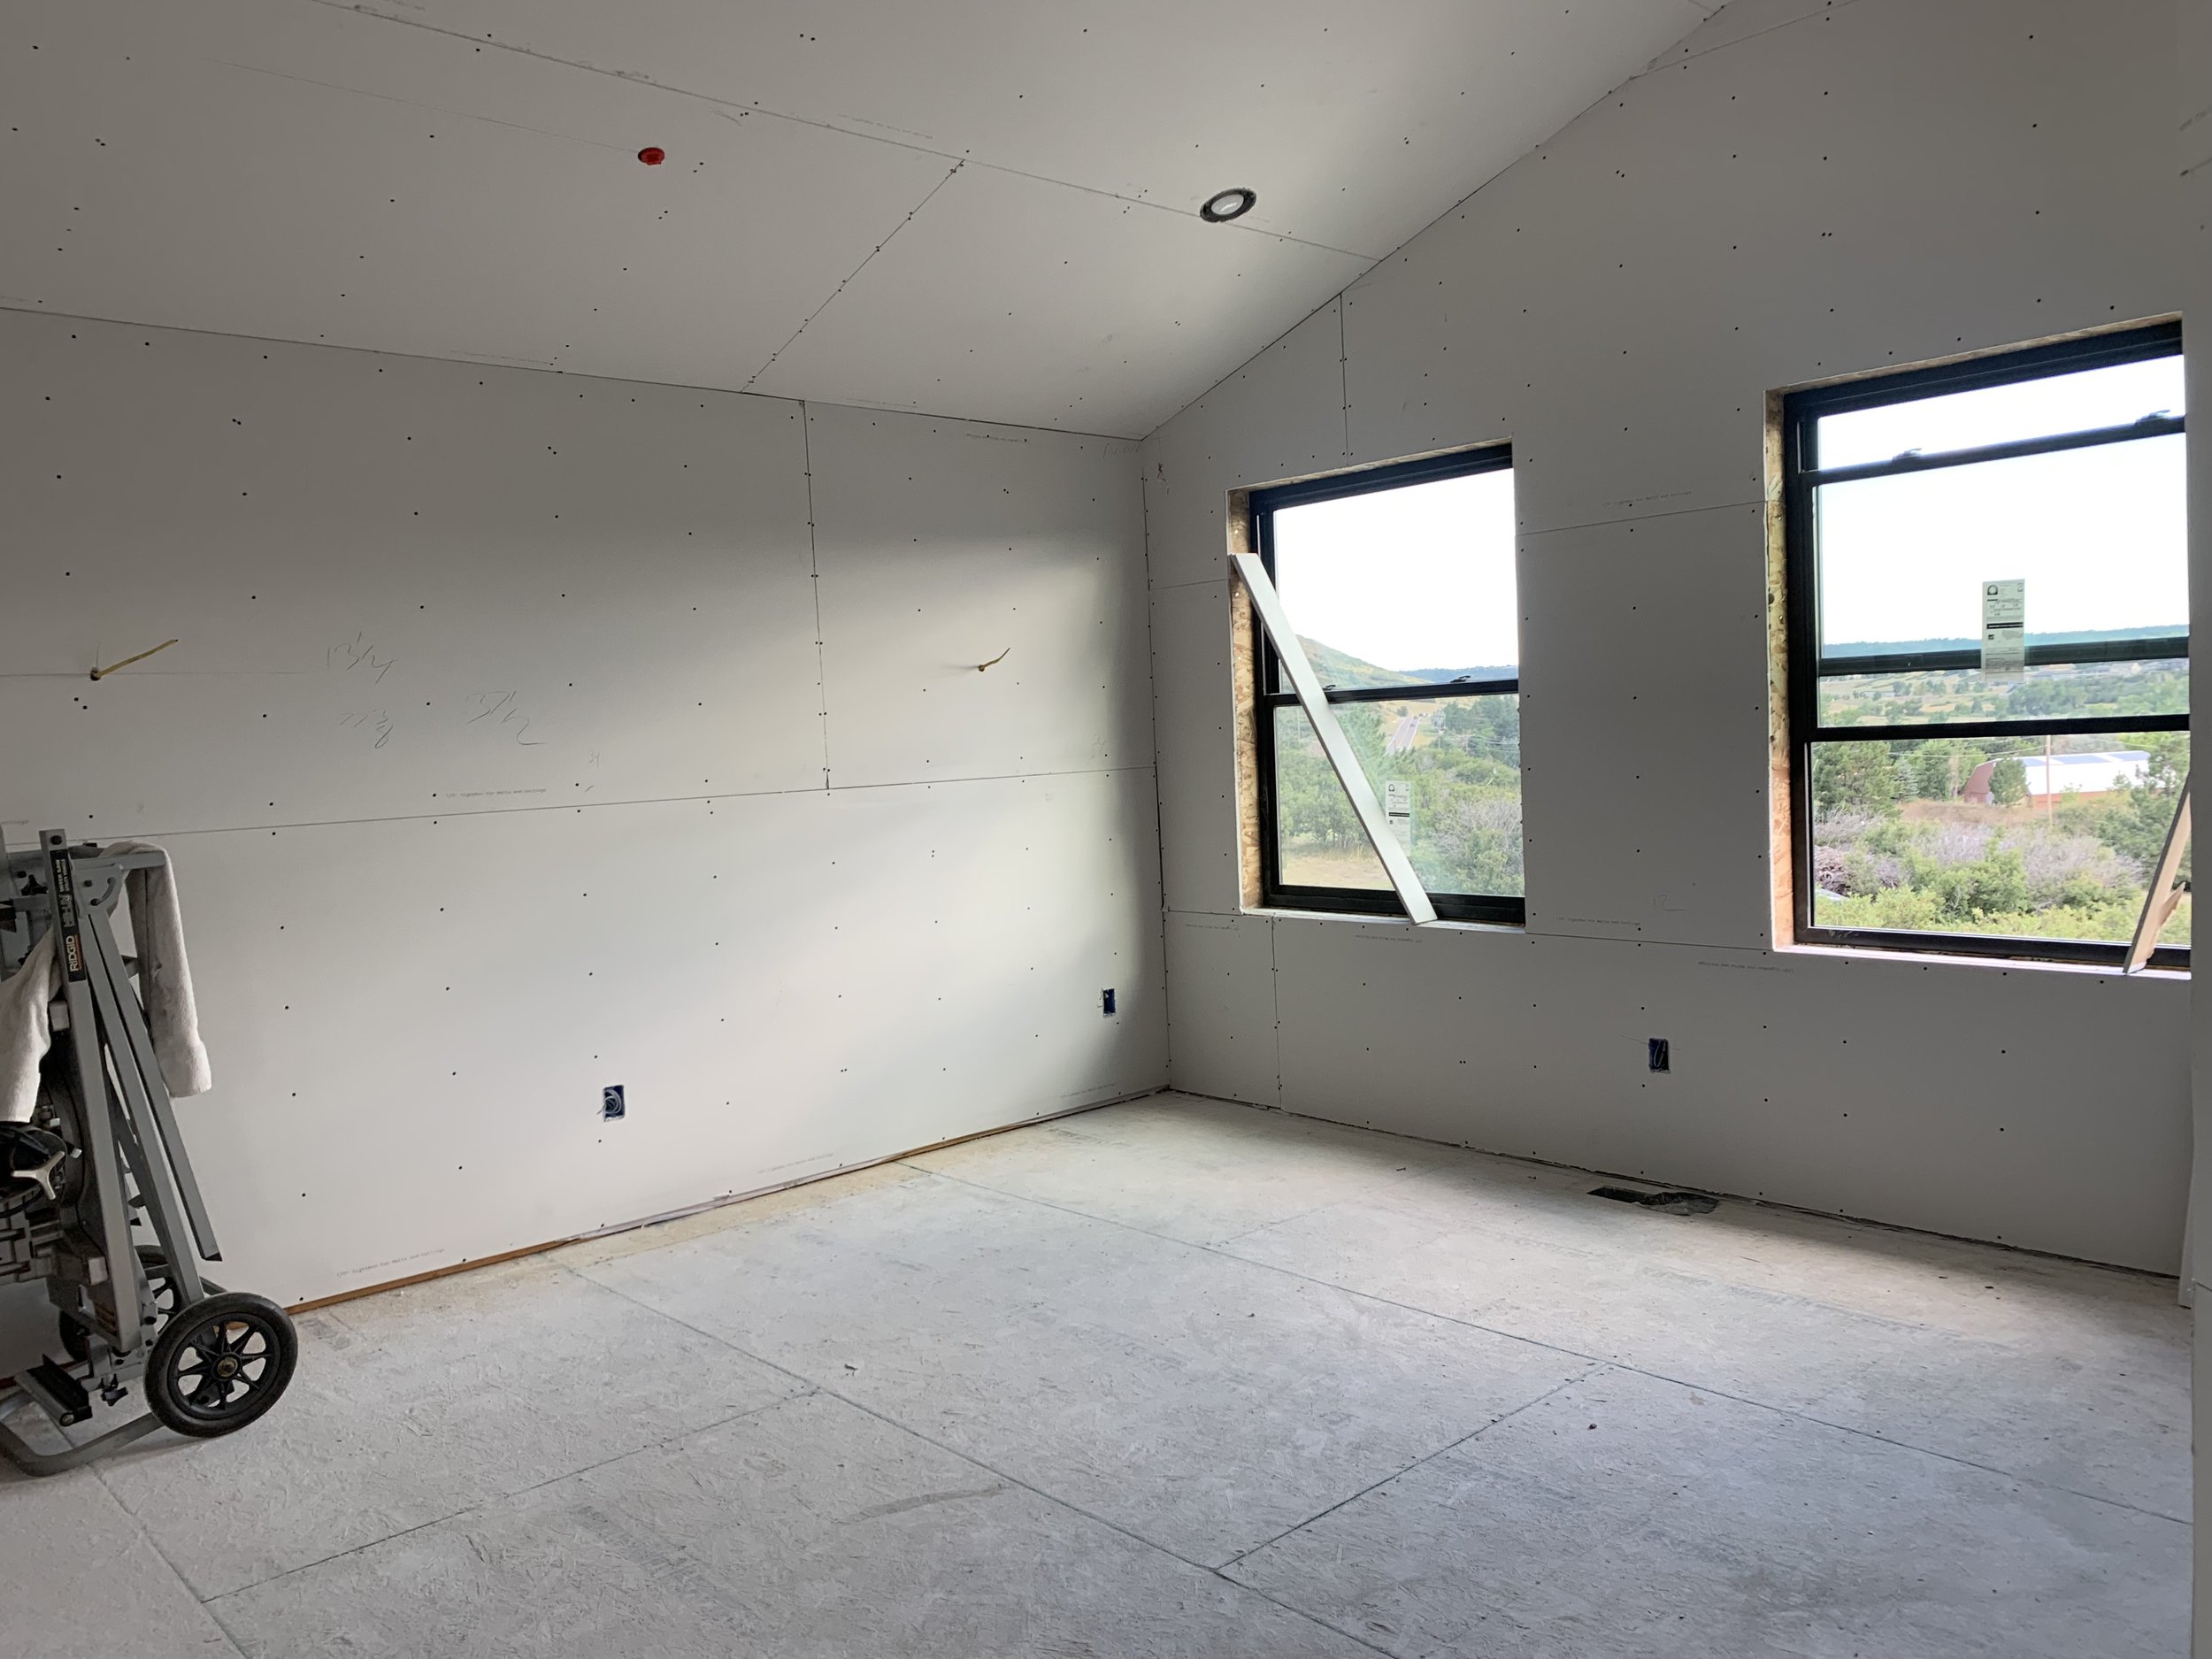
Each piece that goes up makes such a difference.

Ooohh! The bathroom went from pink to blue! Maybe we'll keep the cheery, bright blue!

The powder bath in the master bedroom.

Now they start in the main living area.

Another view of the living area.
What a messy house we keep!
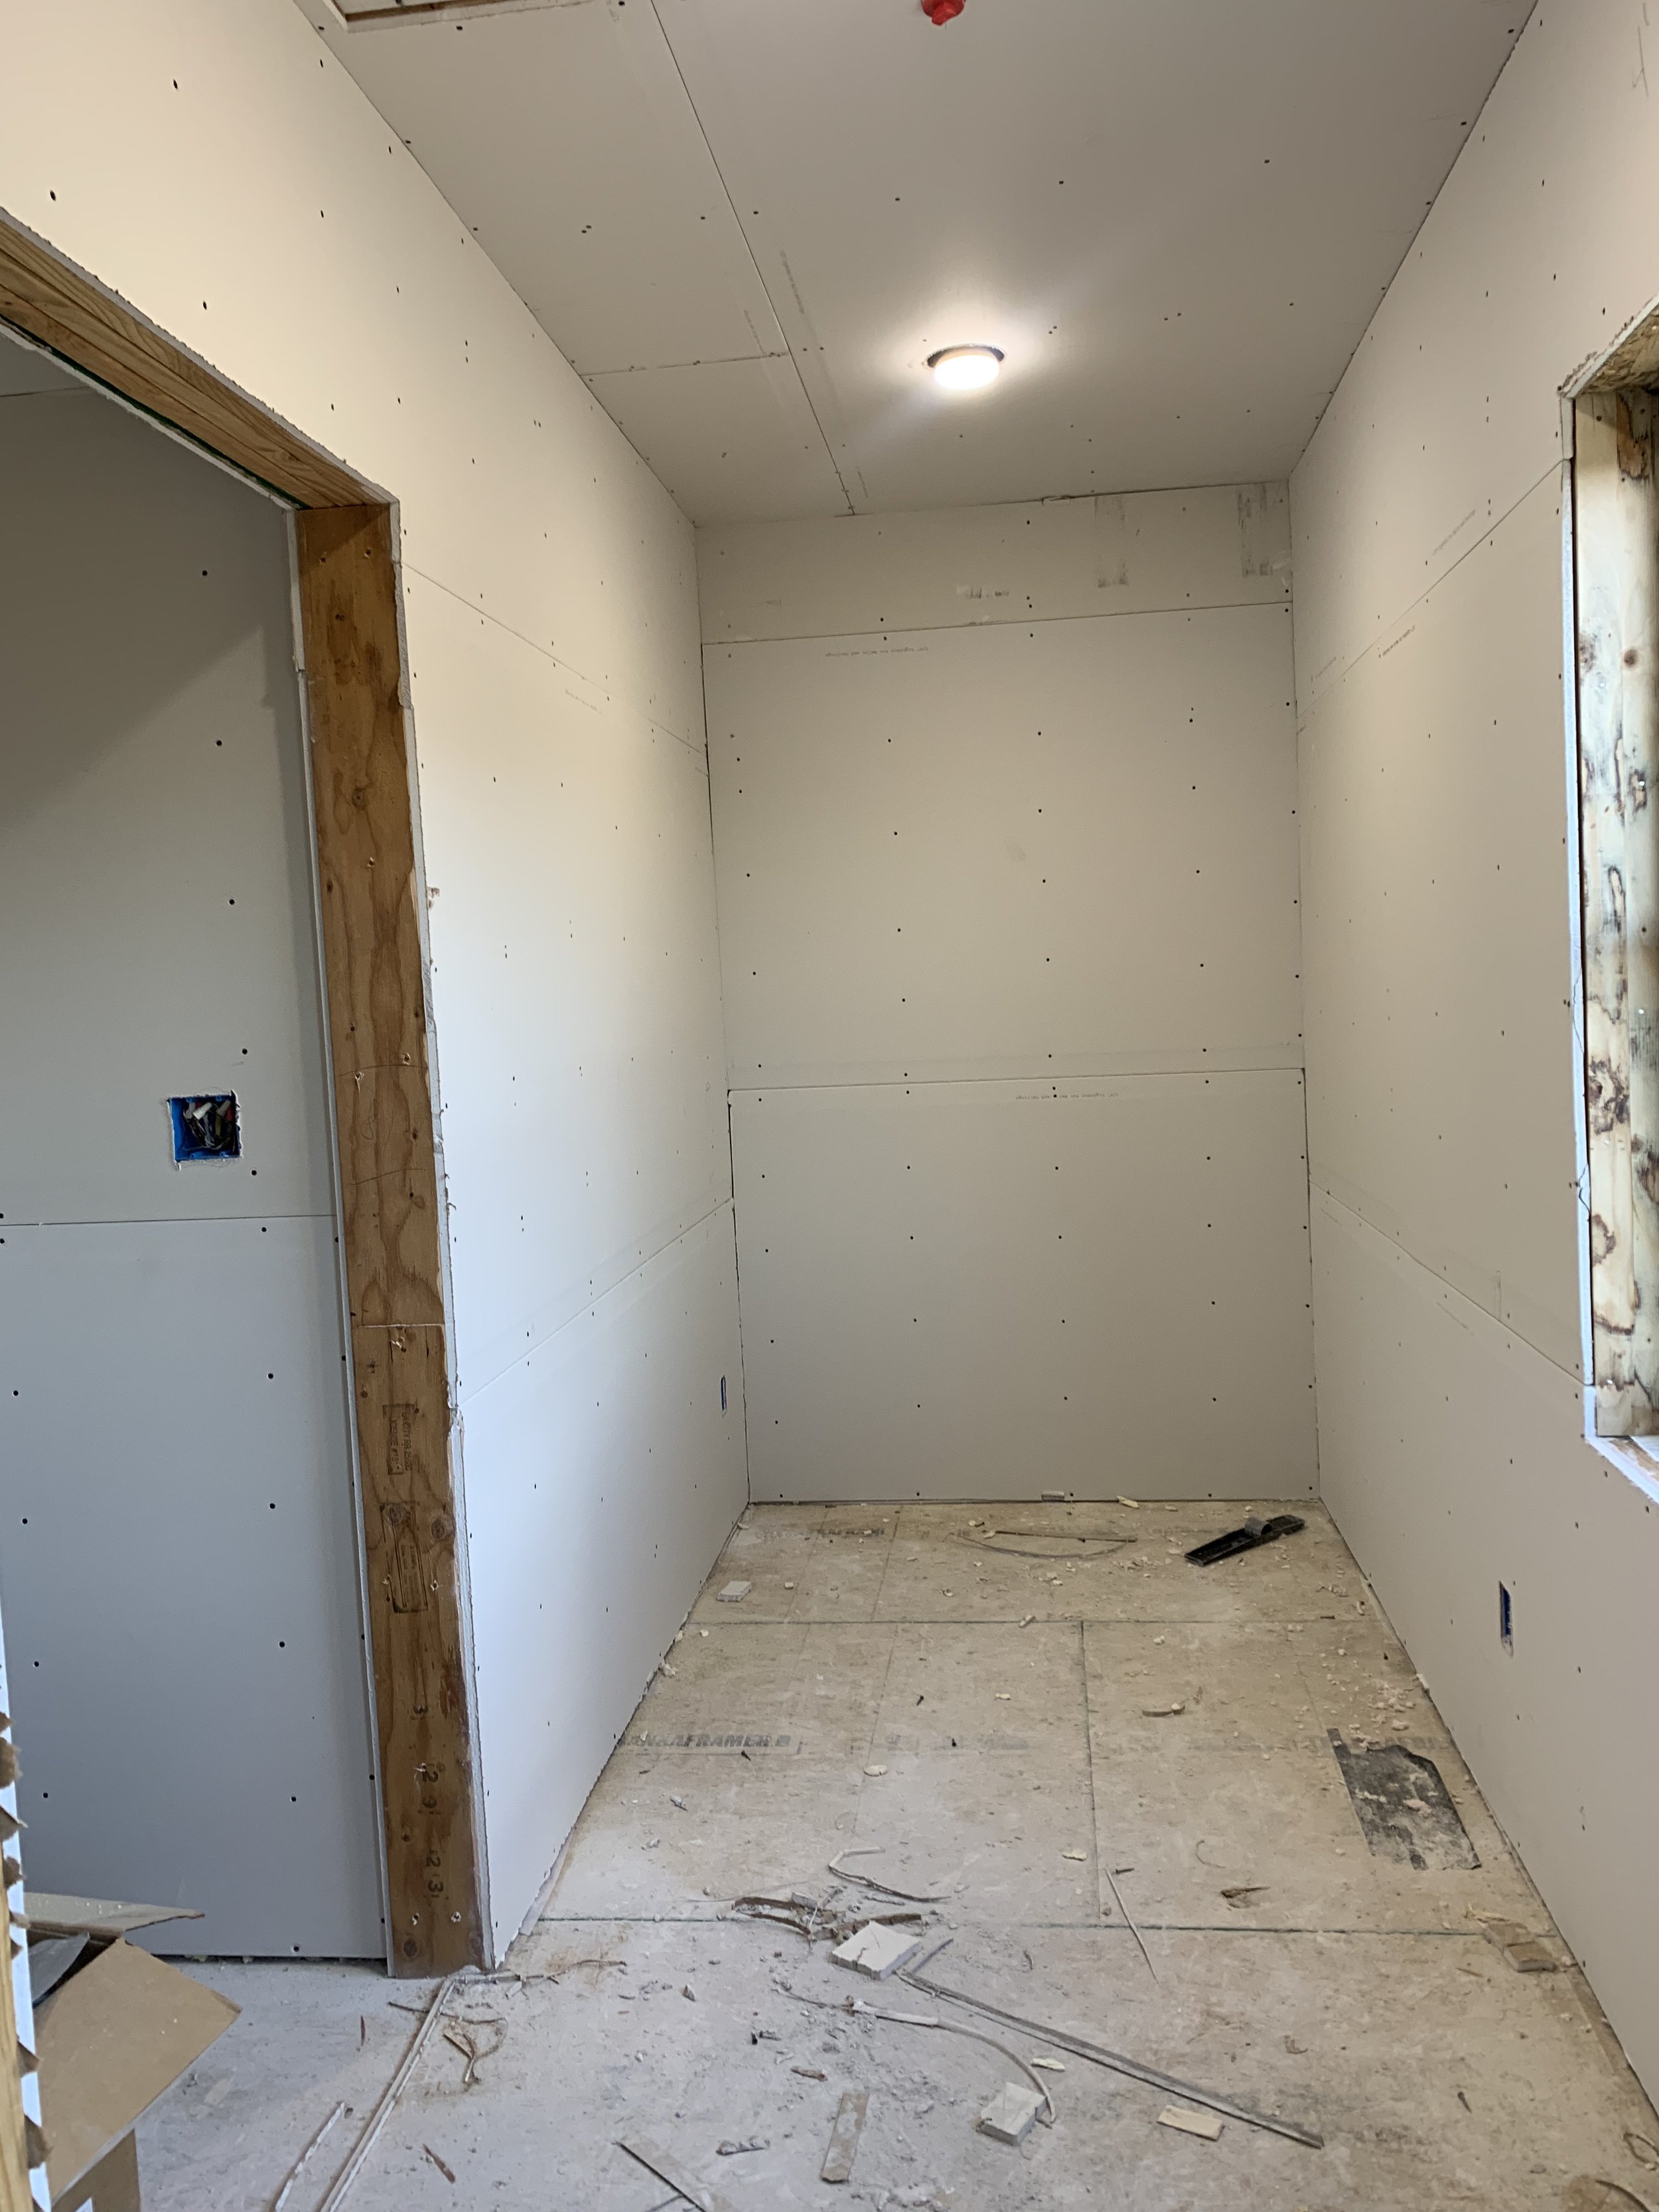
Here's our mud/laundry room.
Do you see the boards mounted in the stairwell? This was the crew's makeshift scaffolding! Doesn't that look safe and secure? Eek!

The drywall hanging is complete in the guest room!
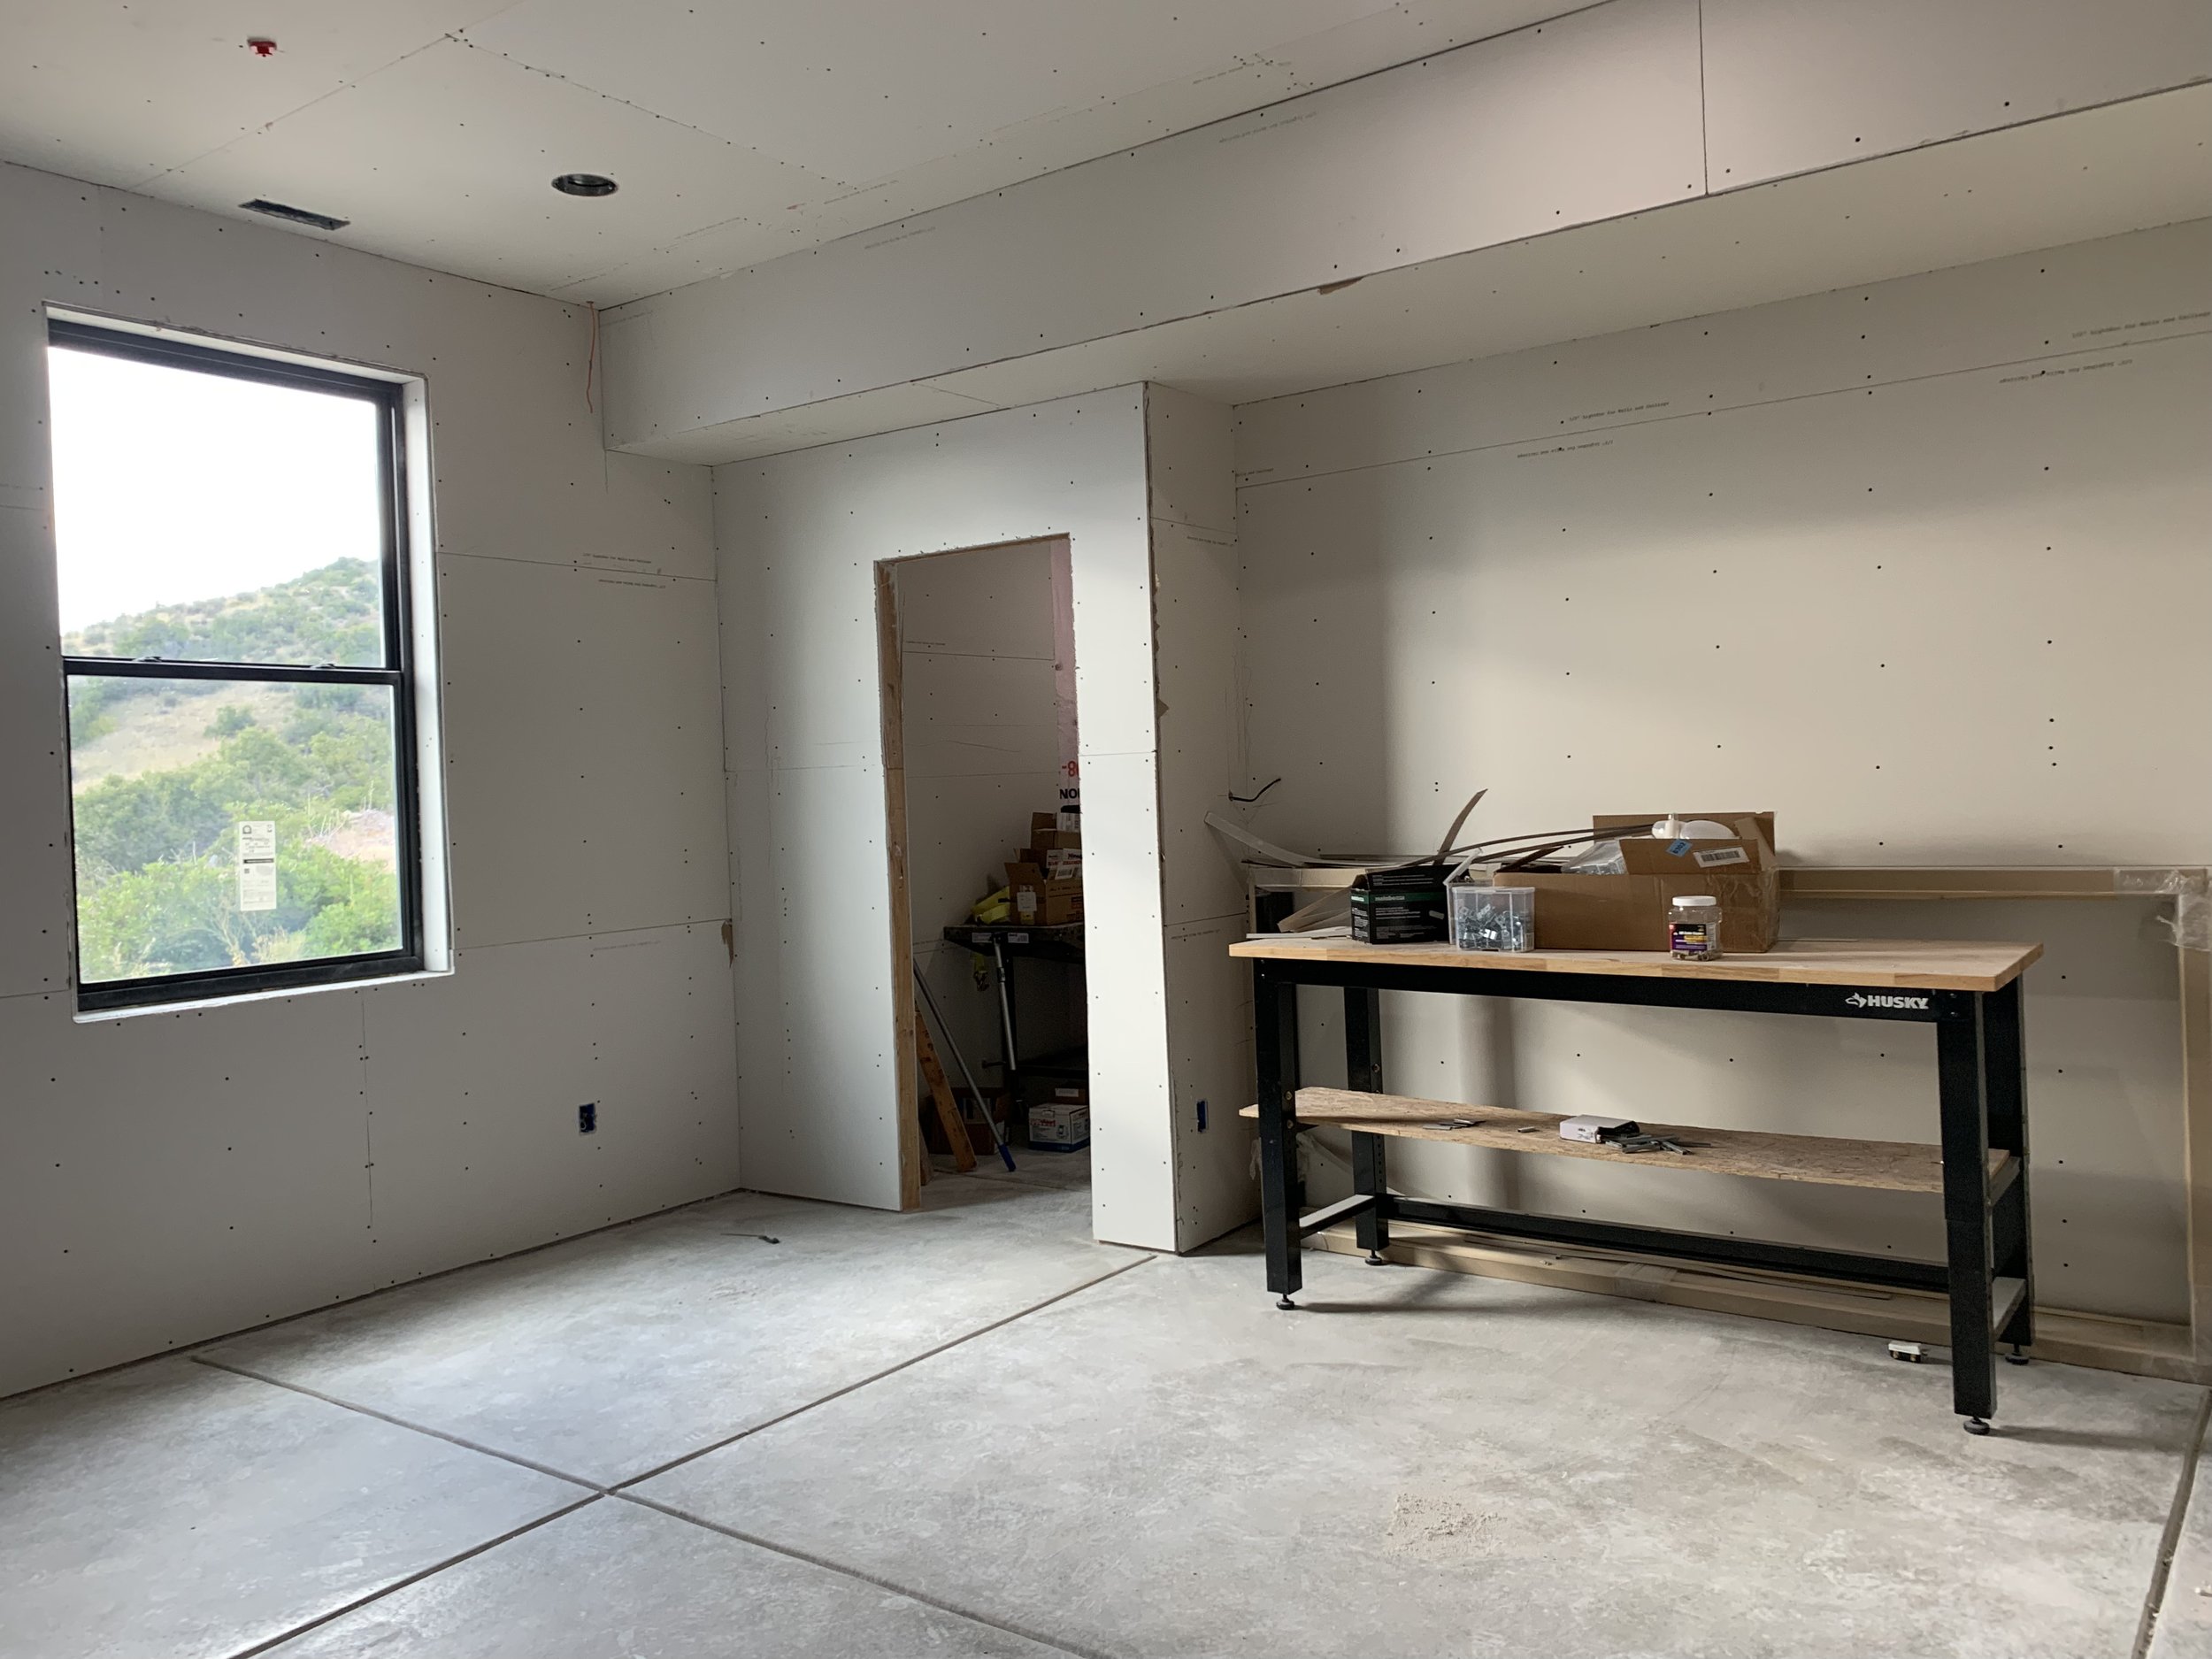
Looks so nice!

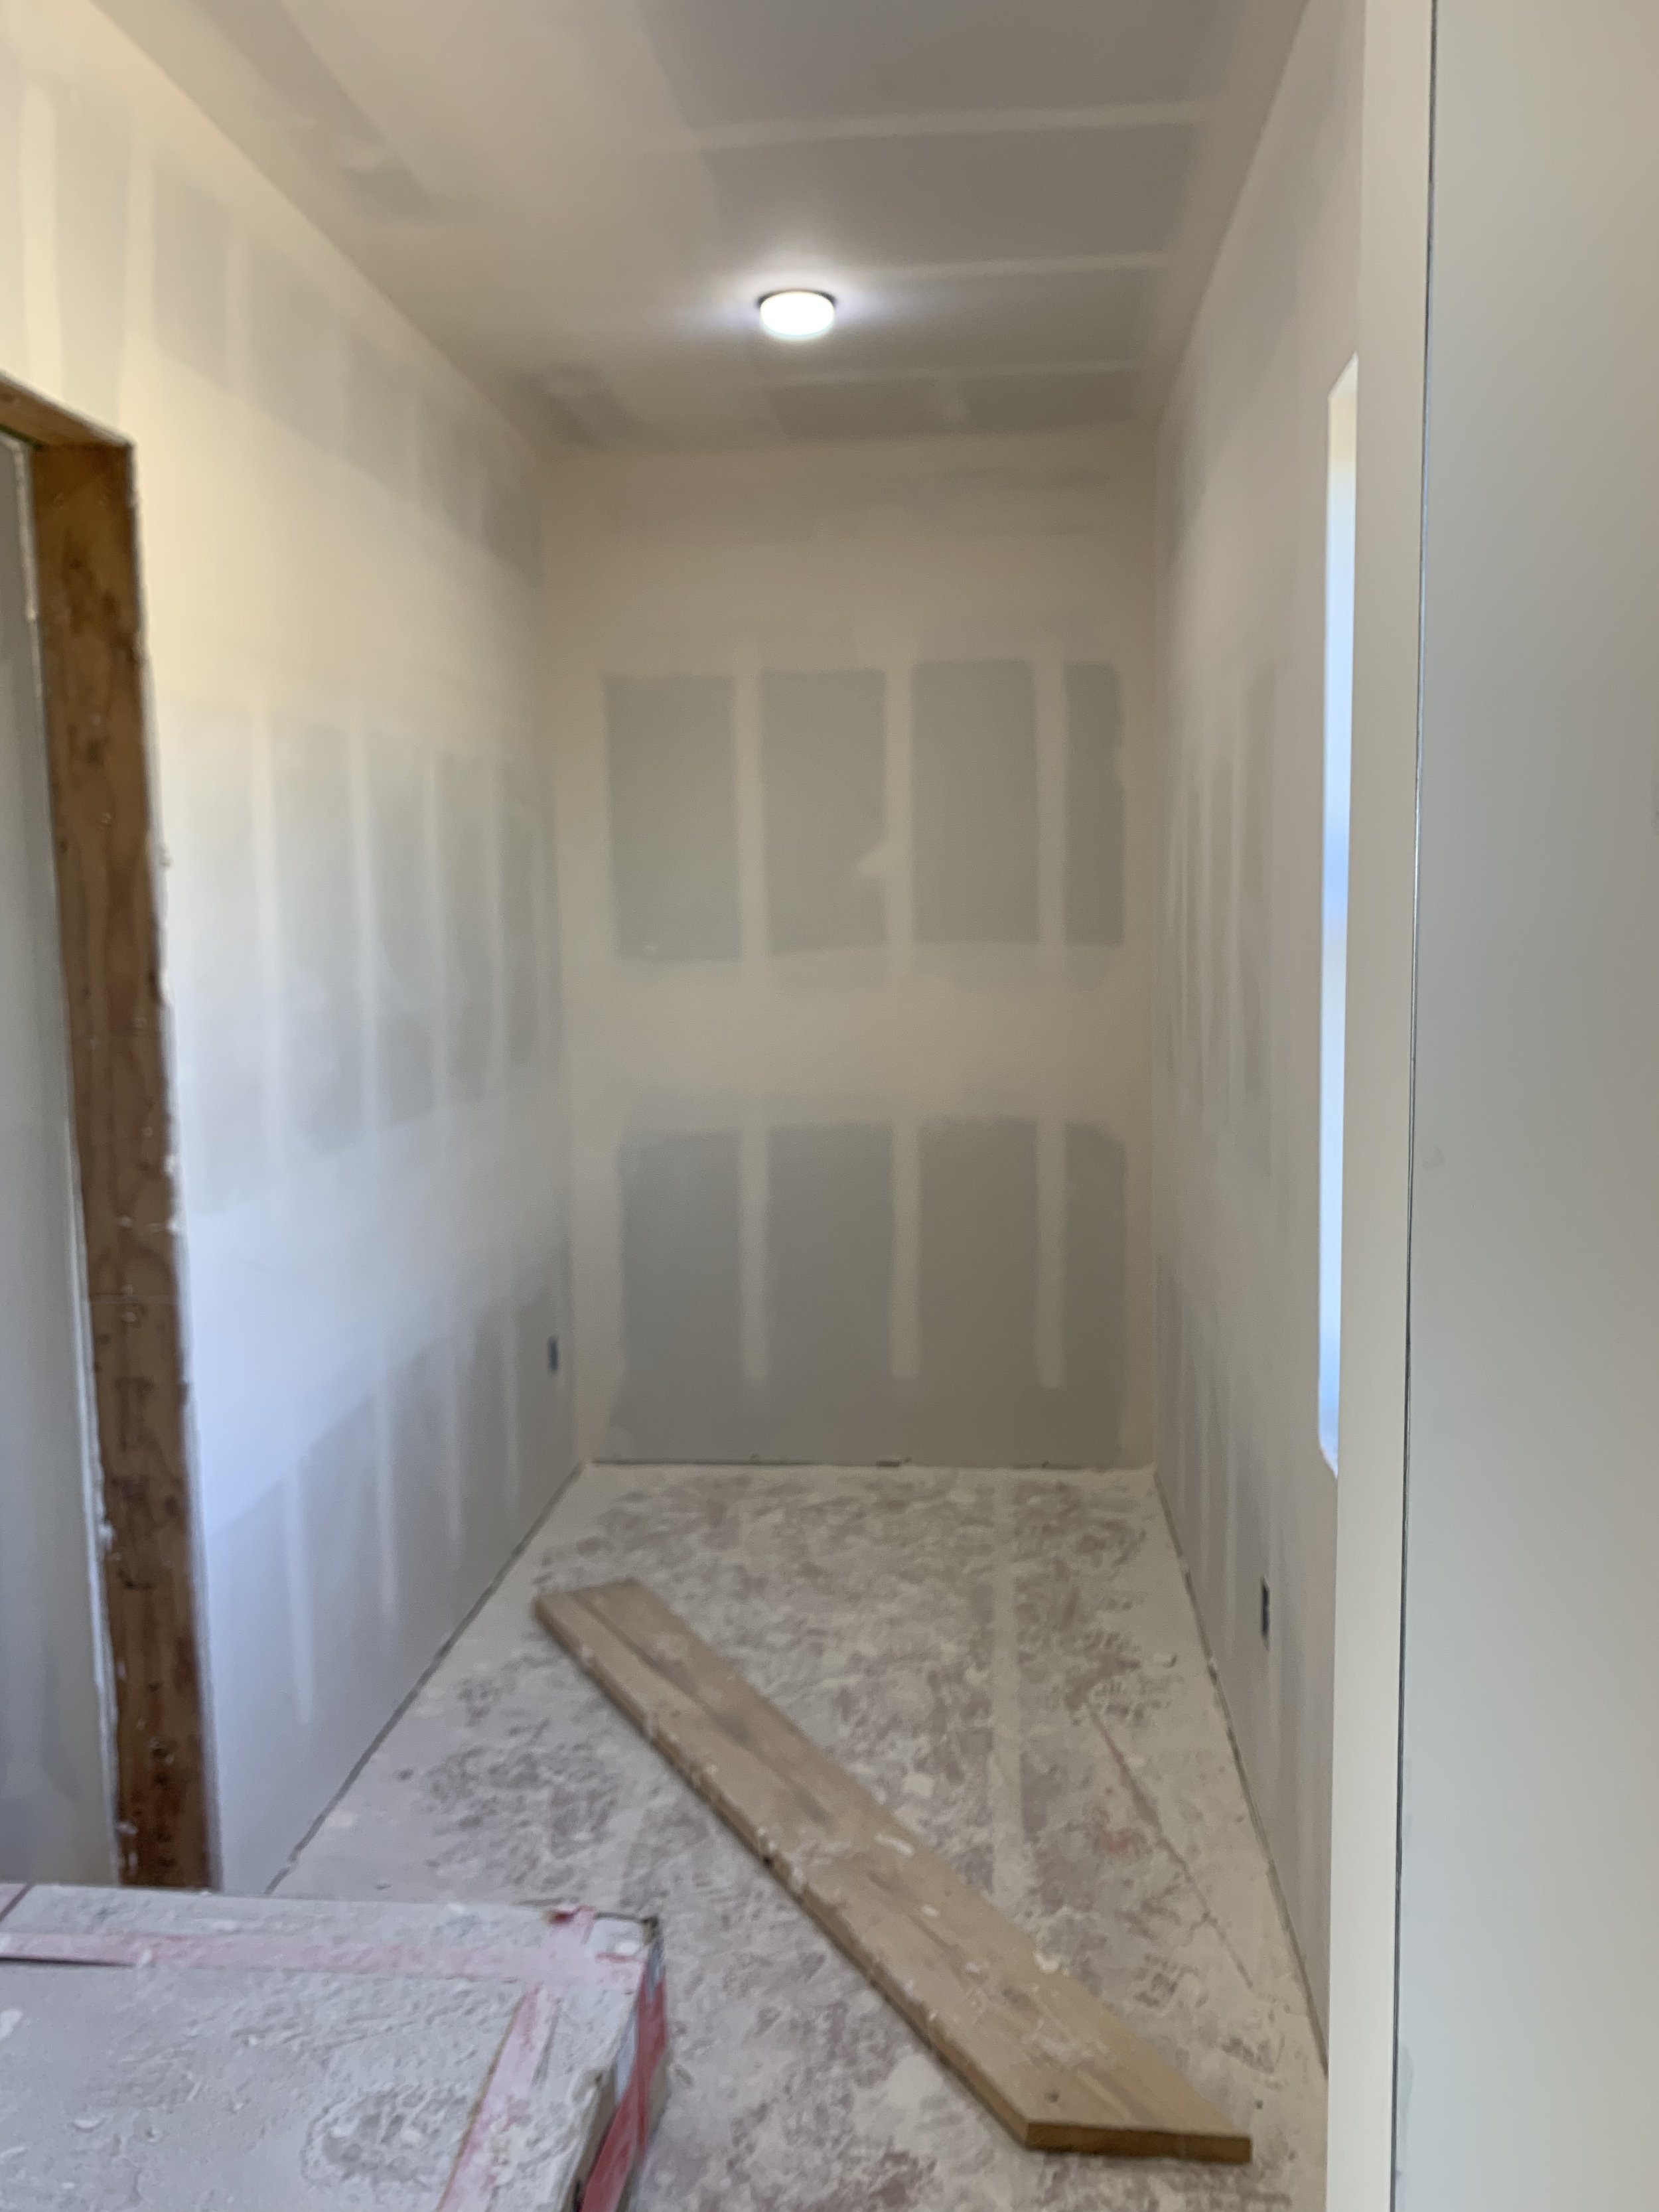
Here's the hallway to the side entrance. It's incredible how much higher the ceilings look when it's white instead of that dark insulation.

Kris shows off the grand staircase!

Some views of our main living area!

The kitchen window!
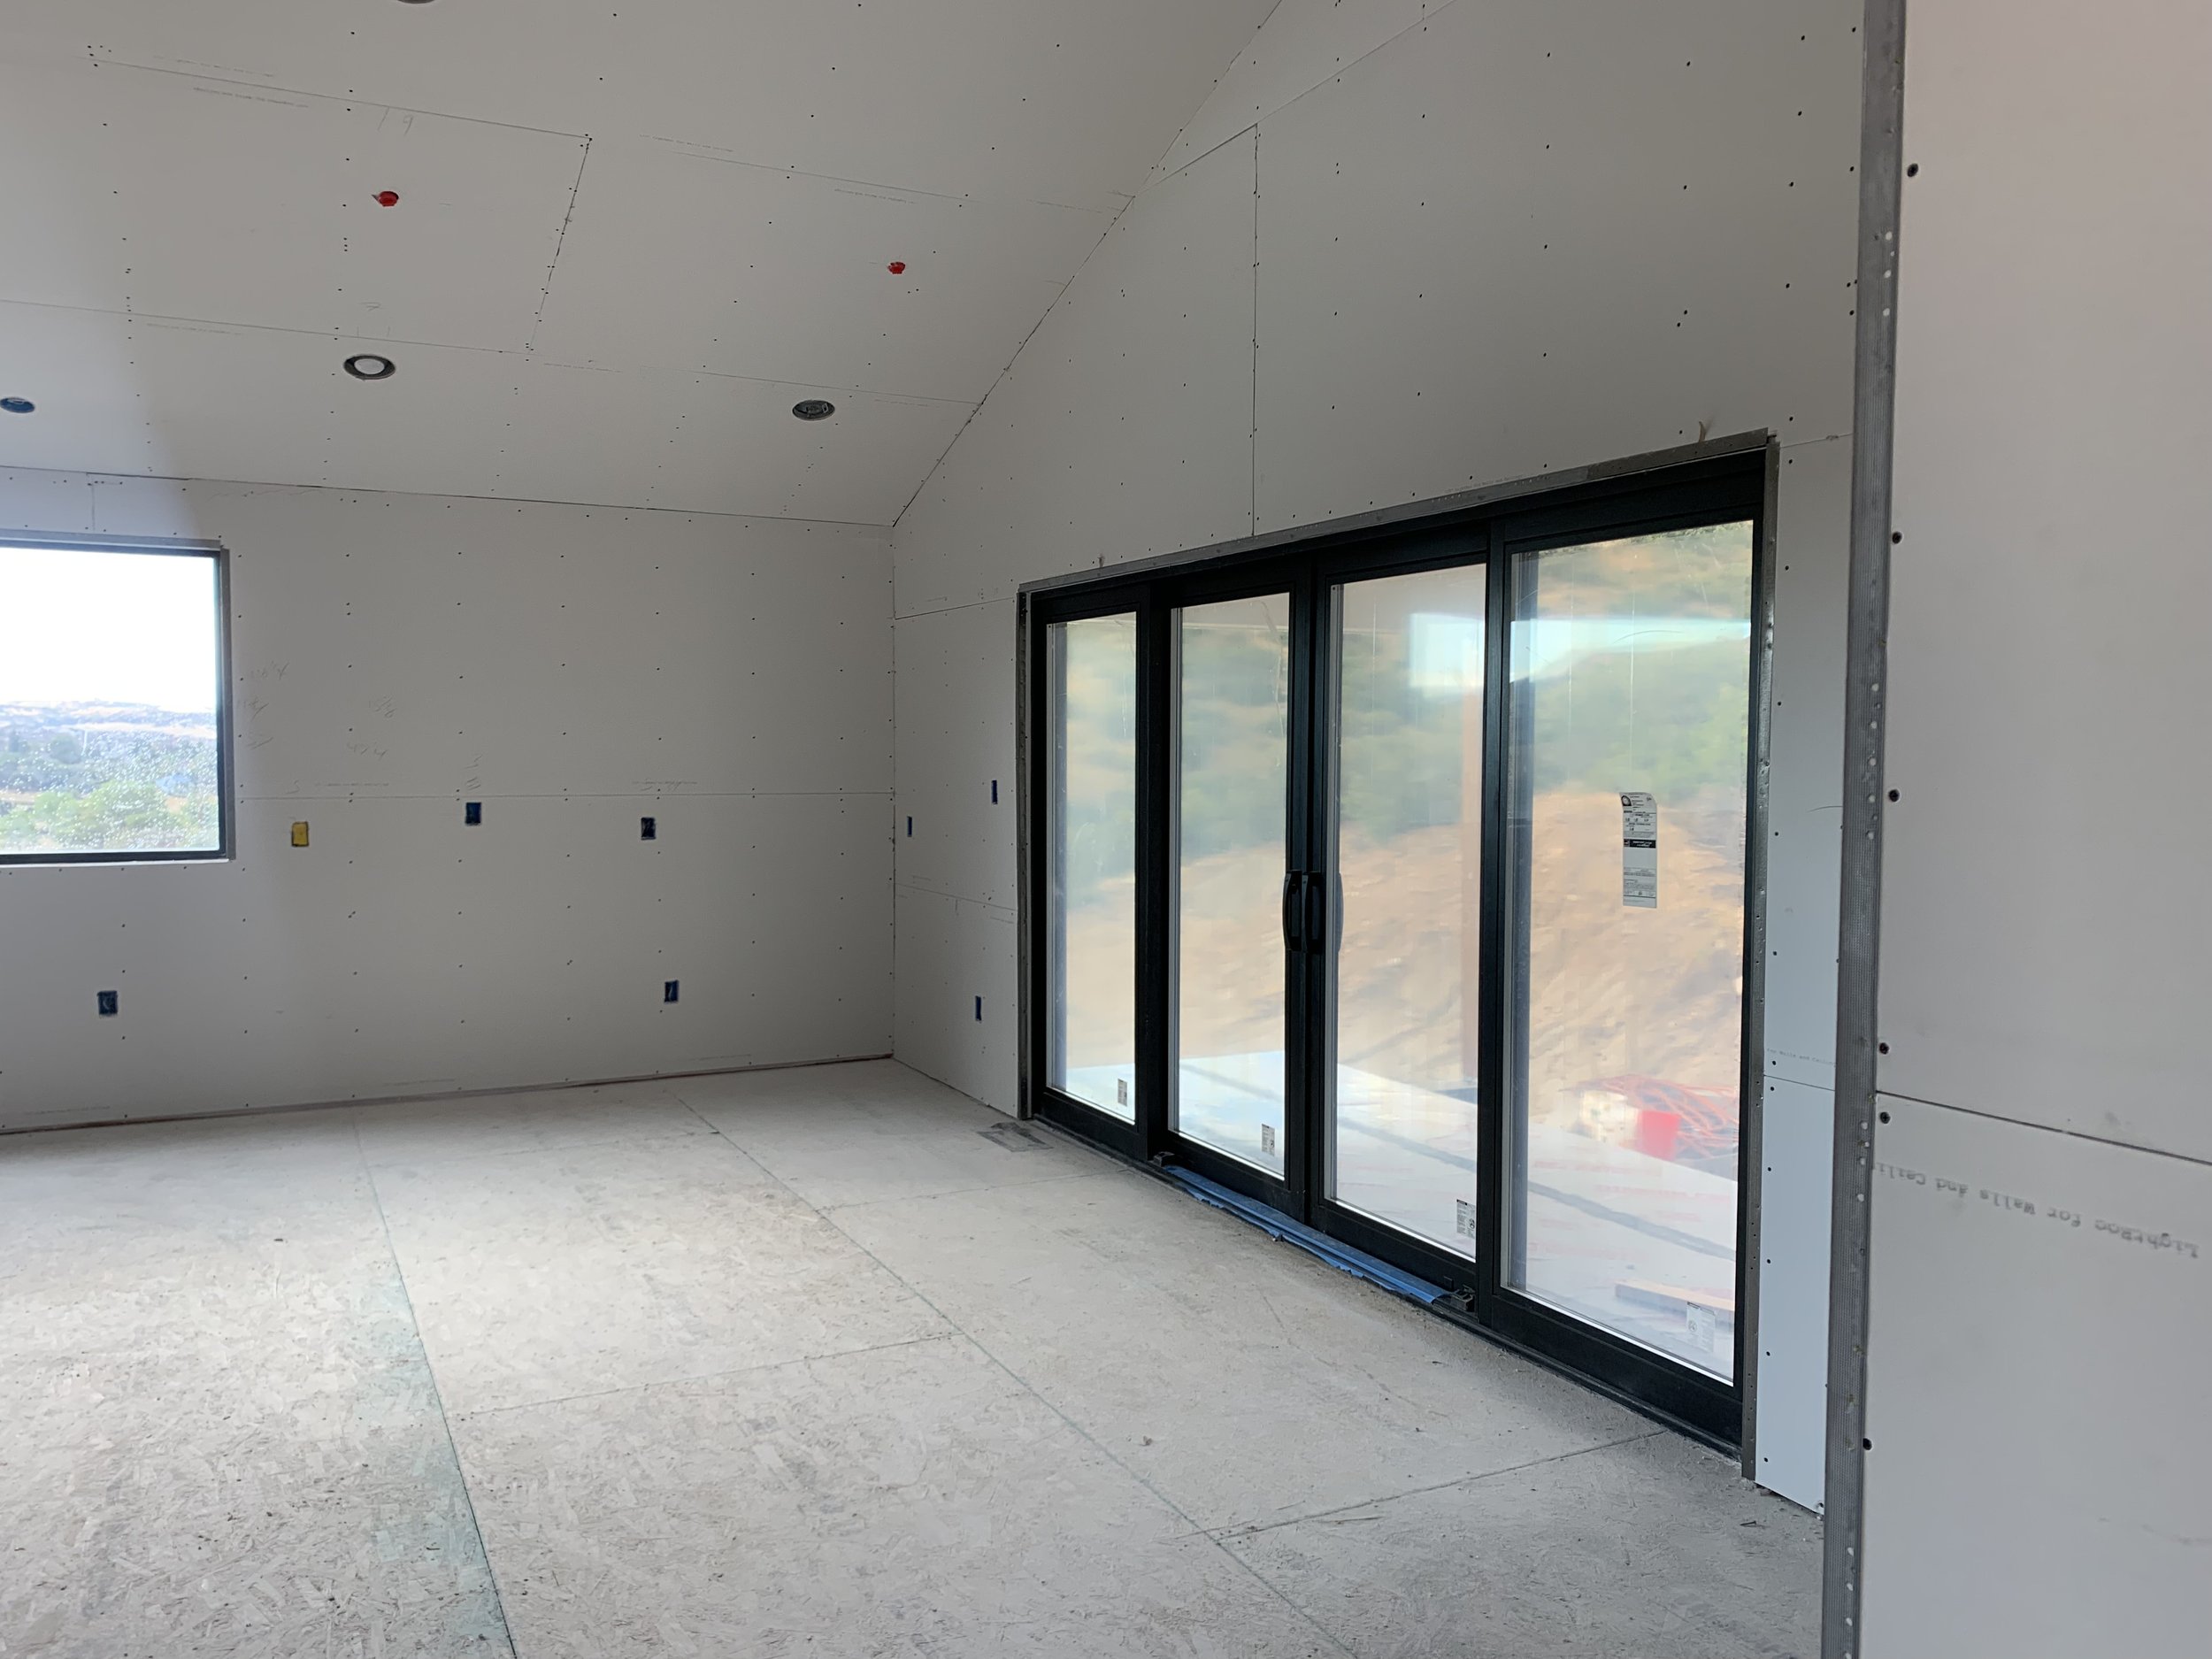
So excited about these double sliders out to the patio. They are going to get some serious use!

The living room area.

The baby grand piano will go just to the right of the sliders!

A little pano of the master bedroom.

Master bath drywall hanging complete.

Apparently, this is the view if you're standing on top of the bathtub....not sure why you'd be standing on top....never mind.

A random visit from the wild turkeys! They are so funny to watch!
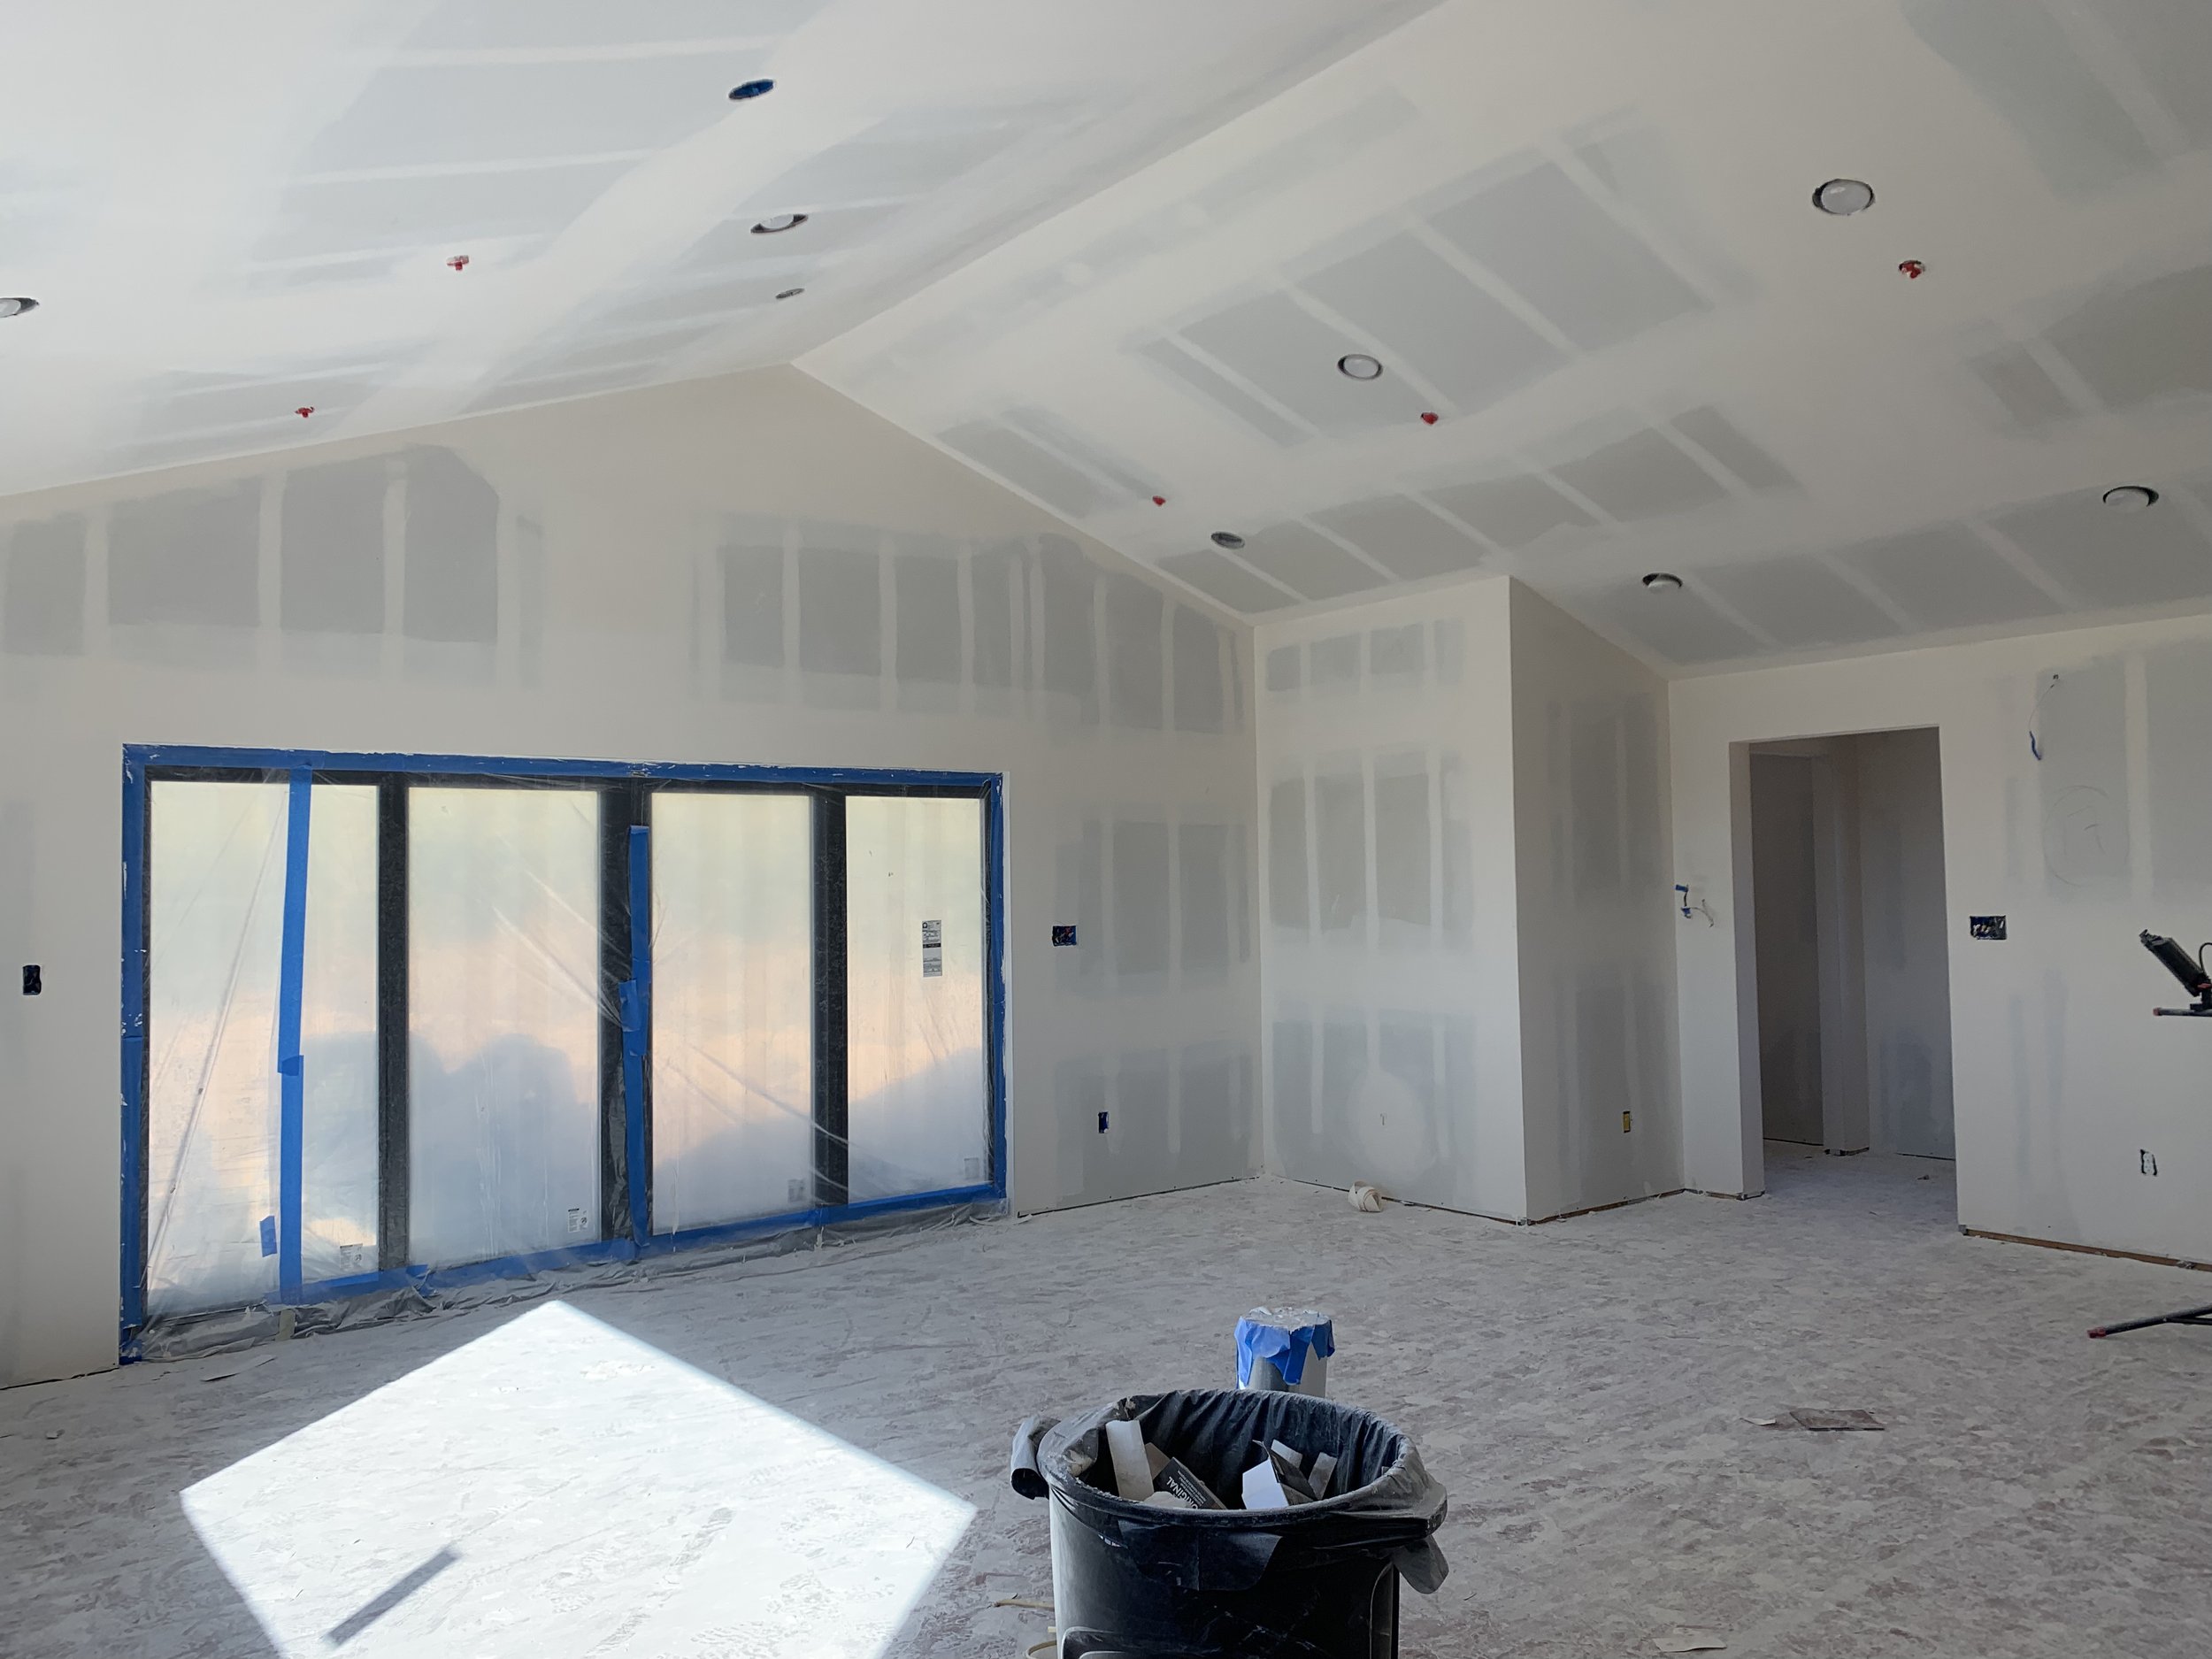
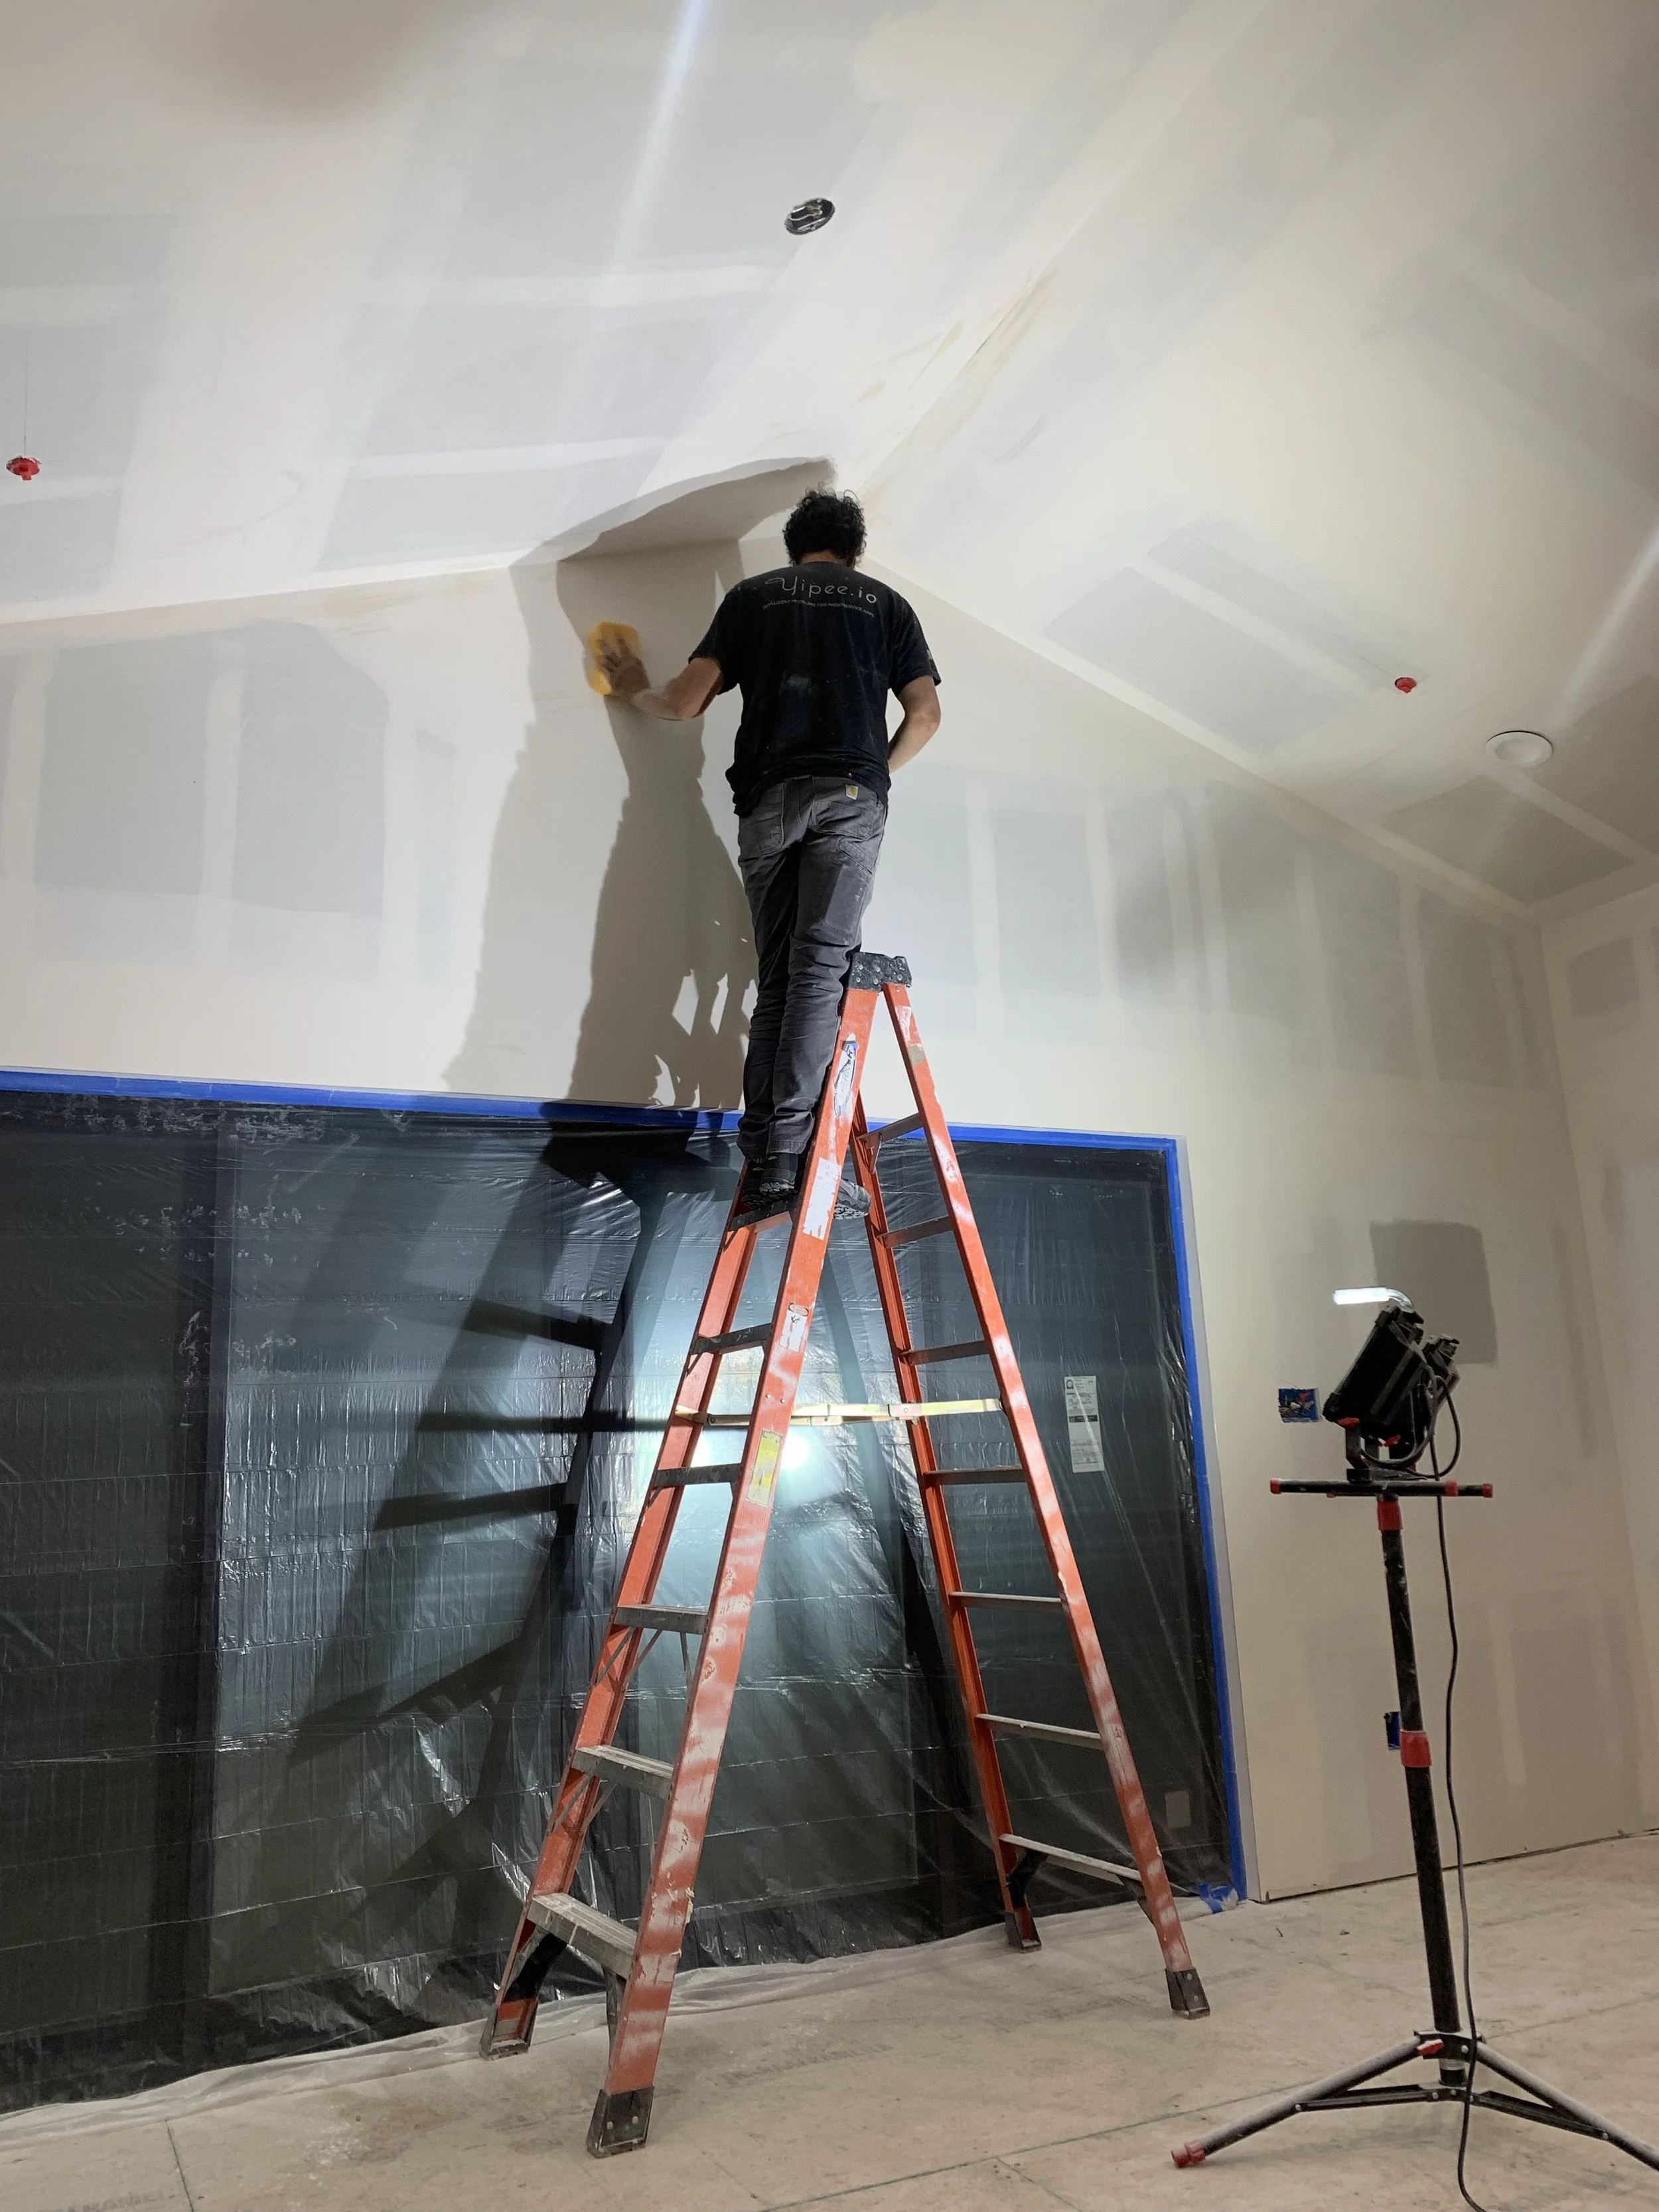
Now we begin with taping and mudding. This was DEFINITELY a job to hire out.

It's looking like a house!
Piano area and living room.

The kitchen.
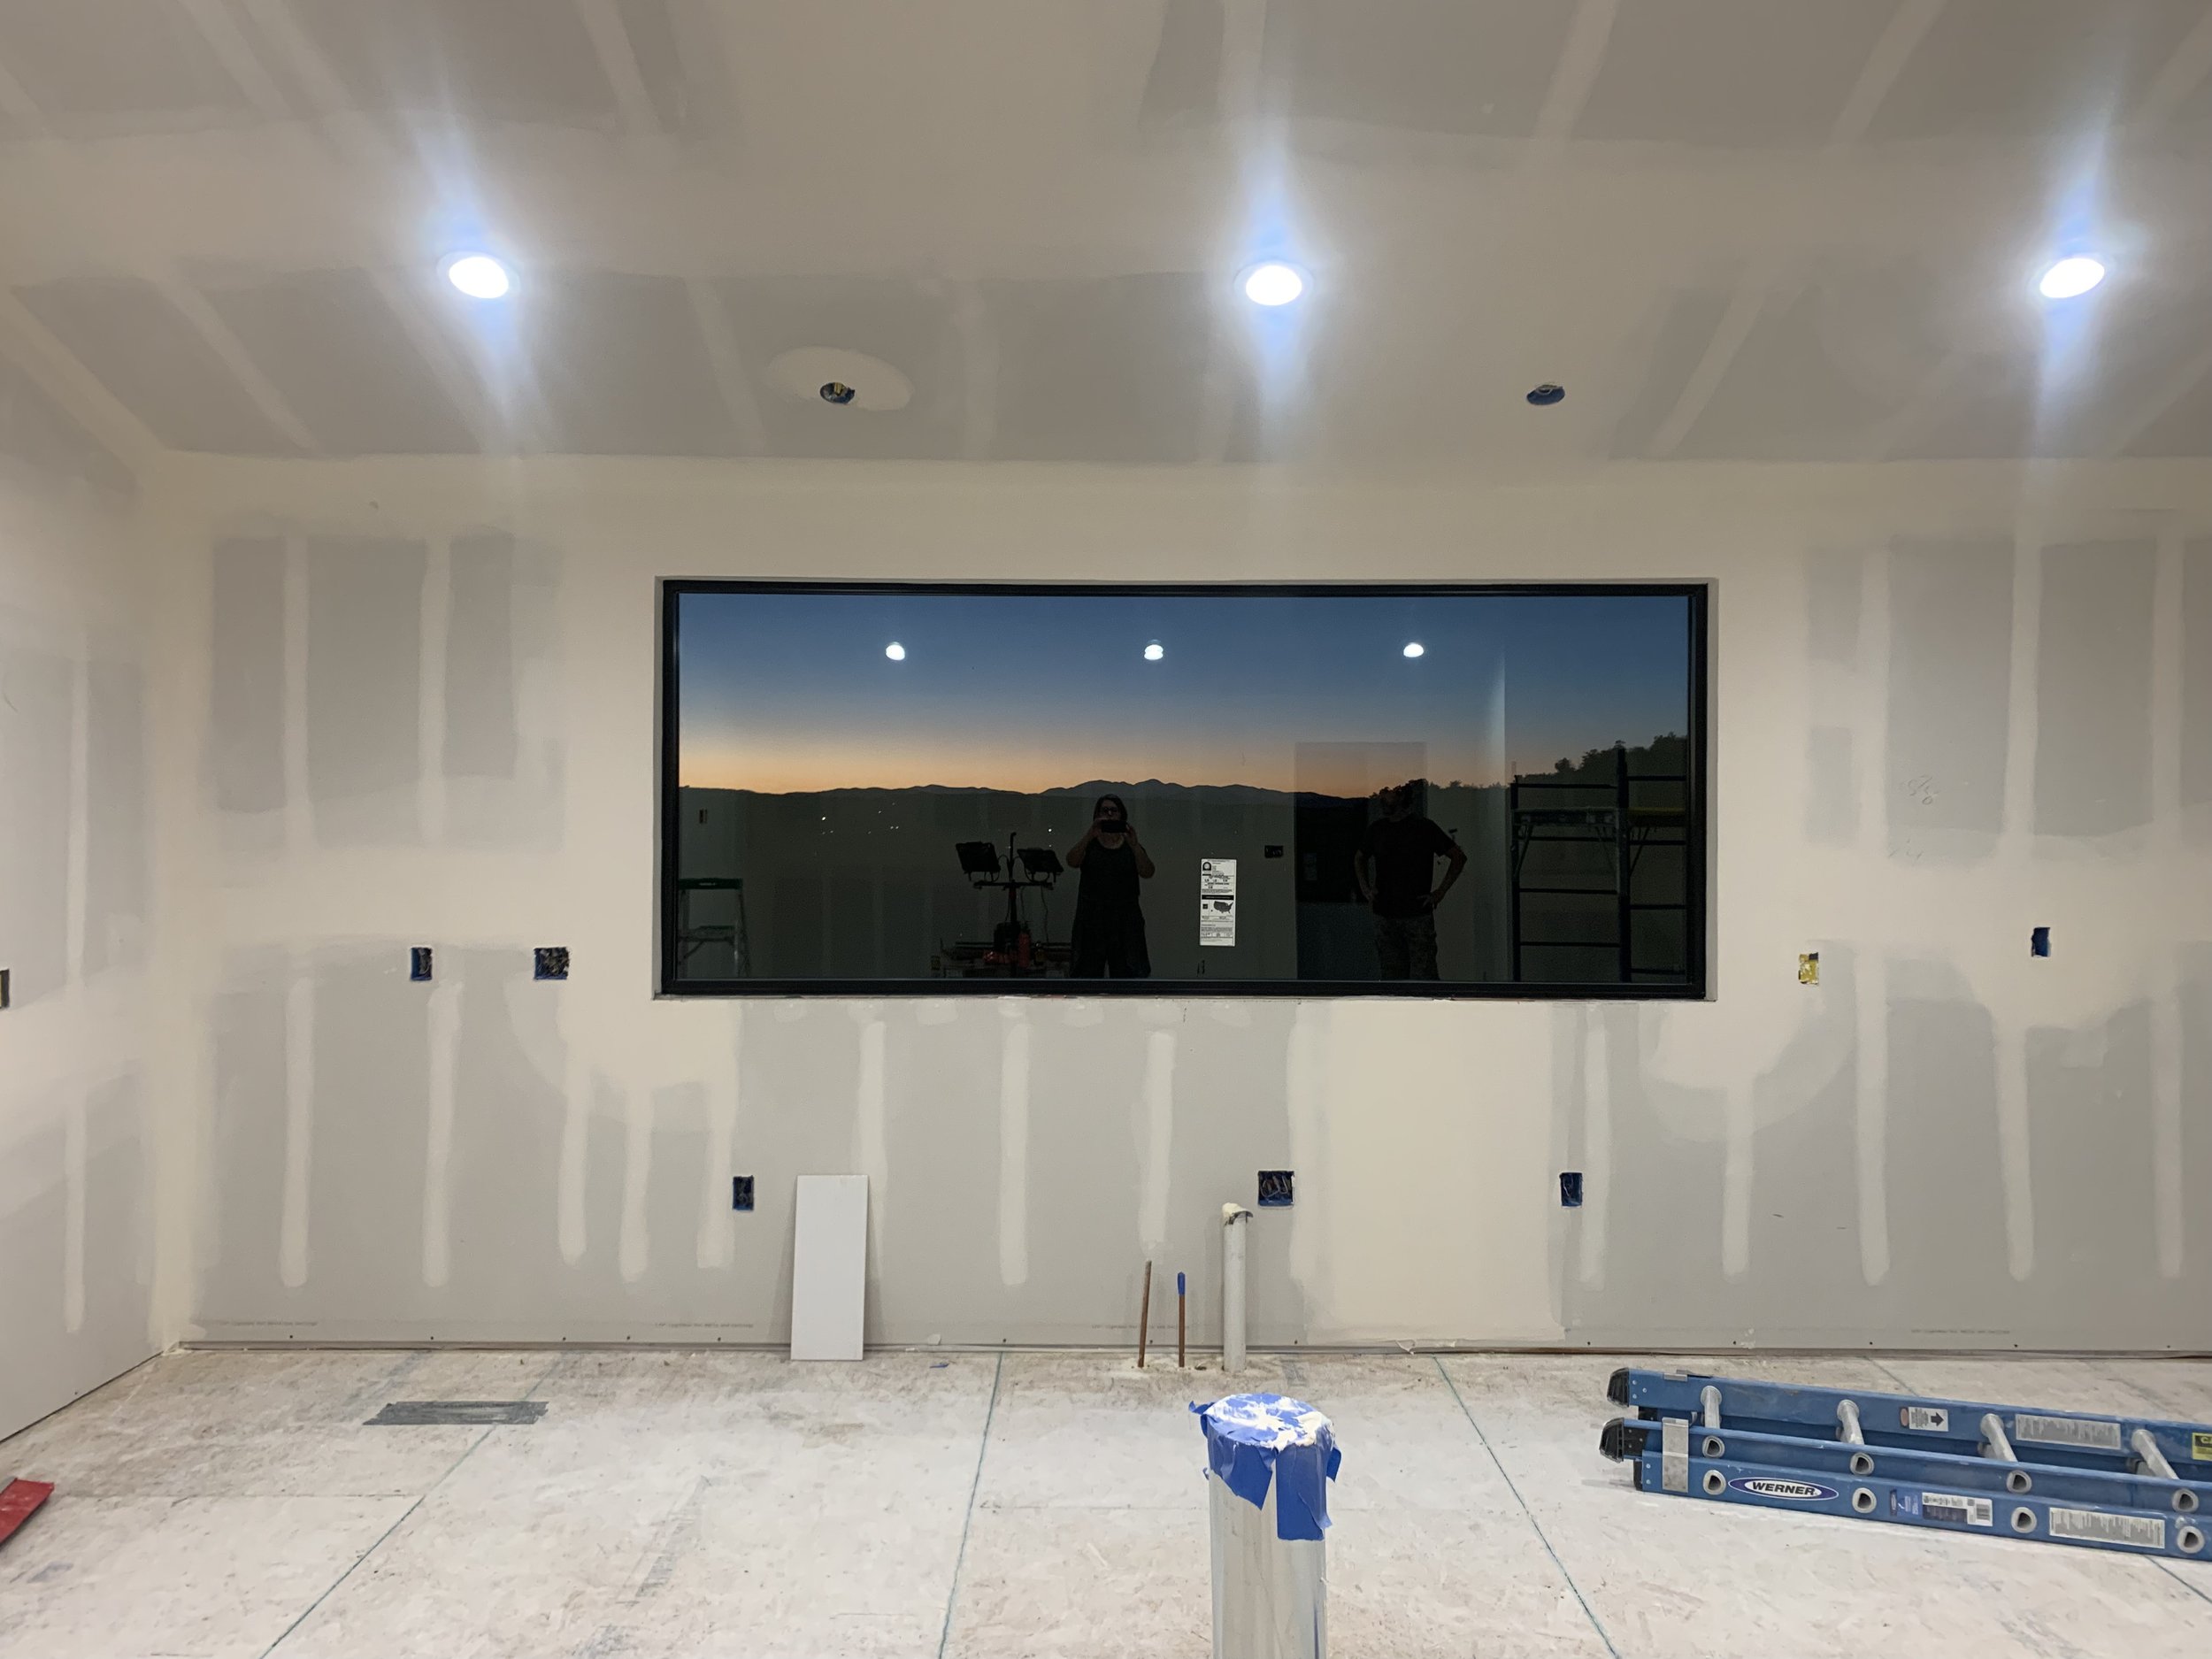
A nighttime view through the kitchen window. Looks like a framed picture!

Mudding completed in the master bedroom.

Amazing sunlight coming into the master bedroom.
Mudding the mud room!
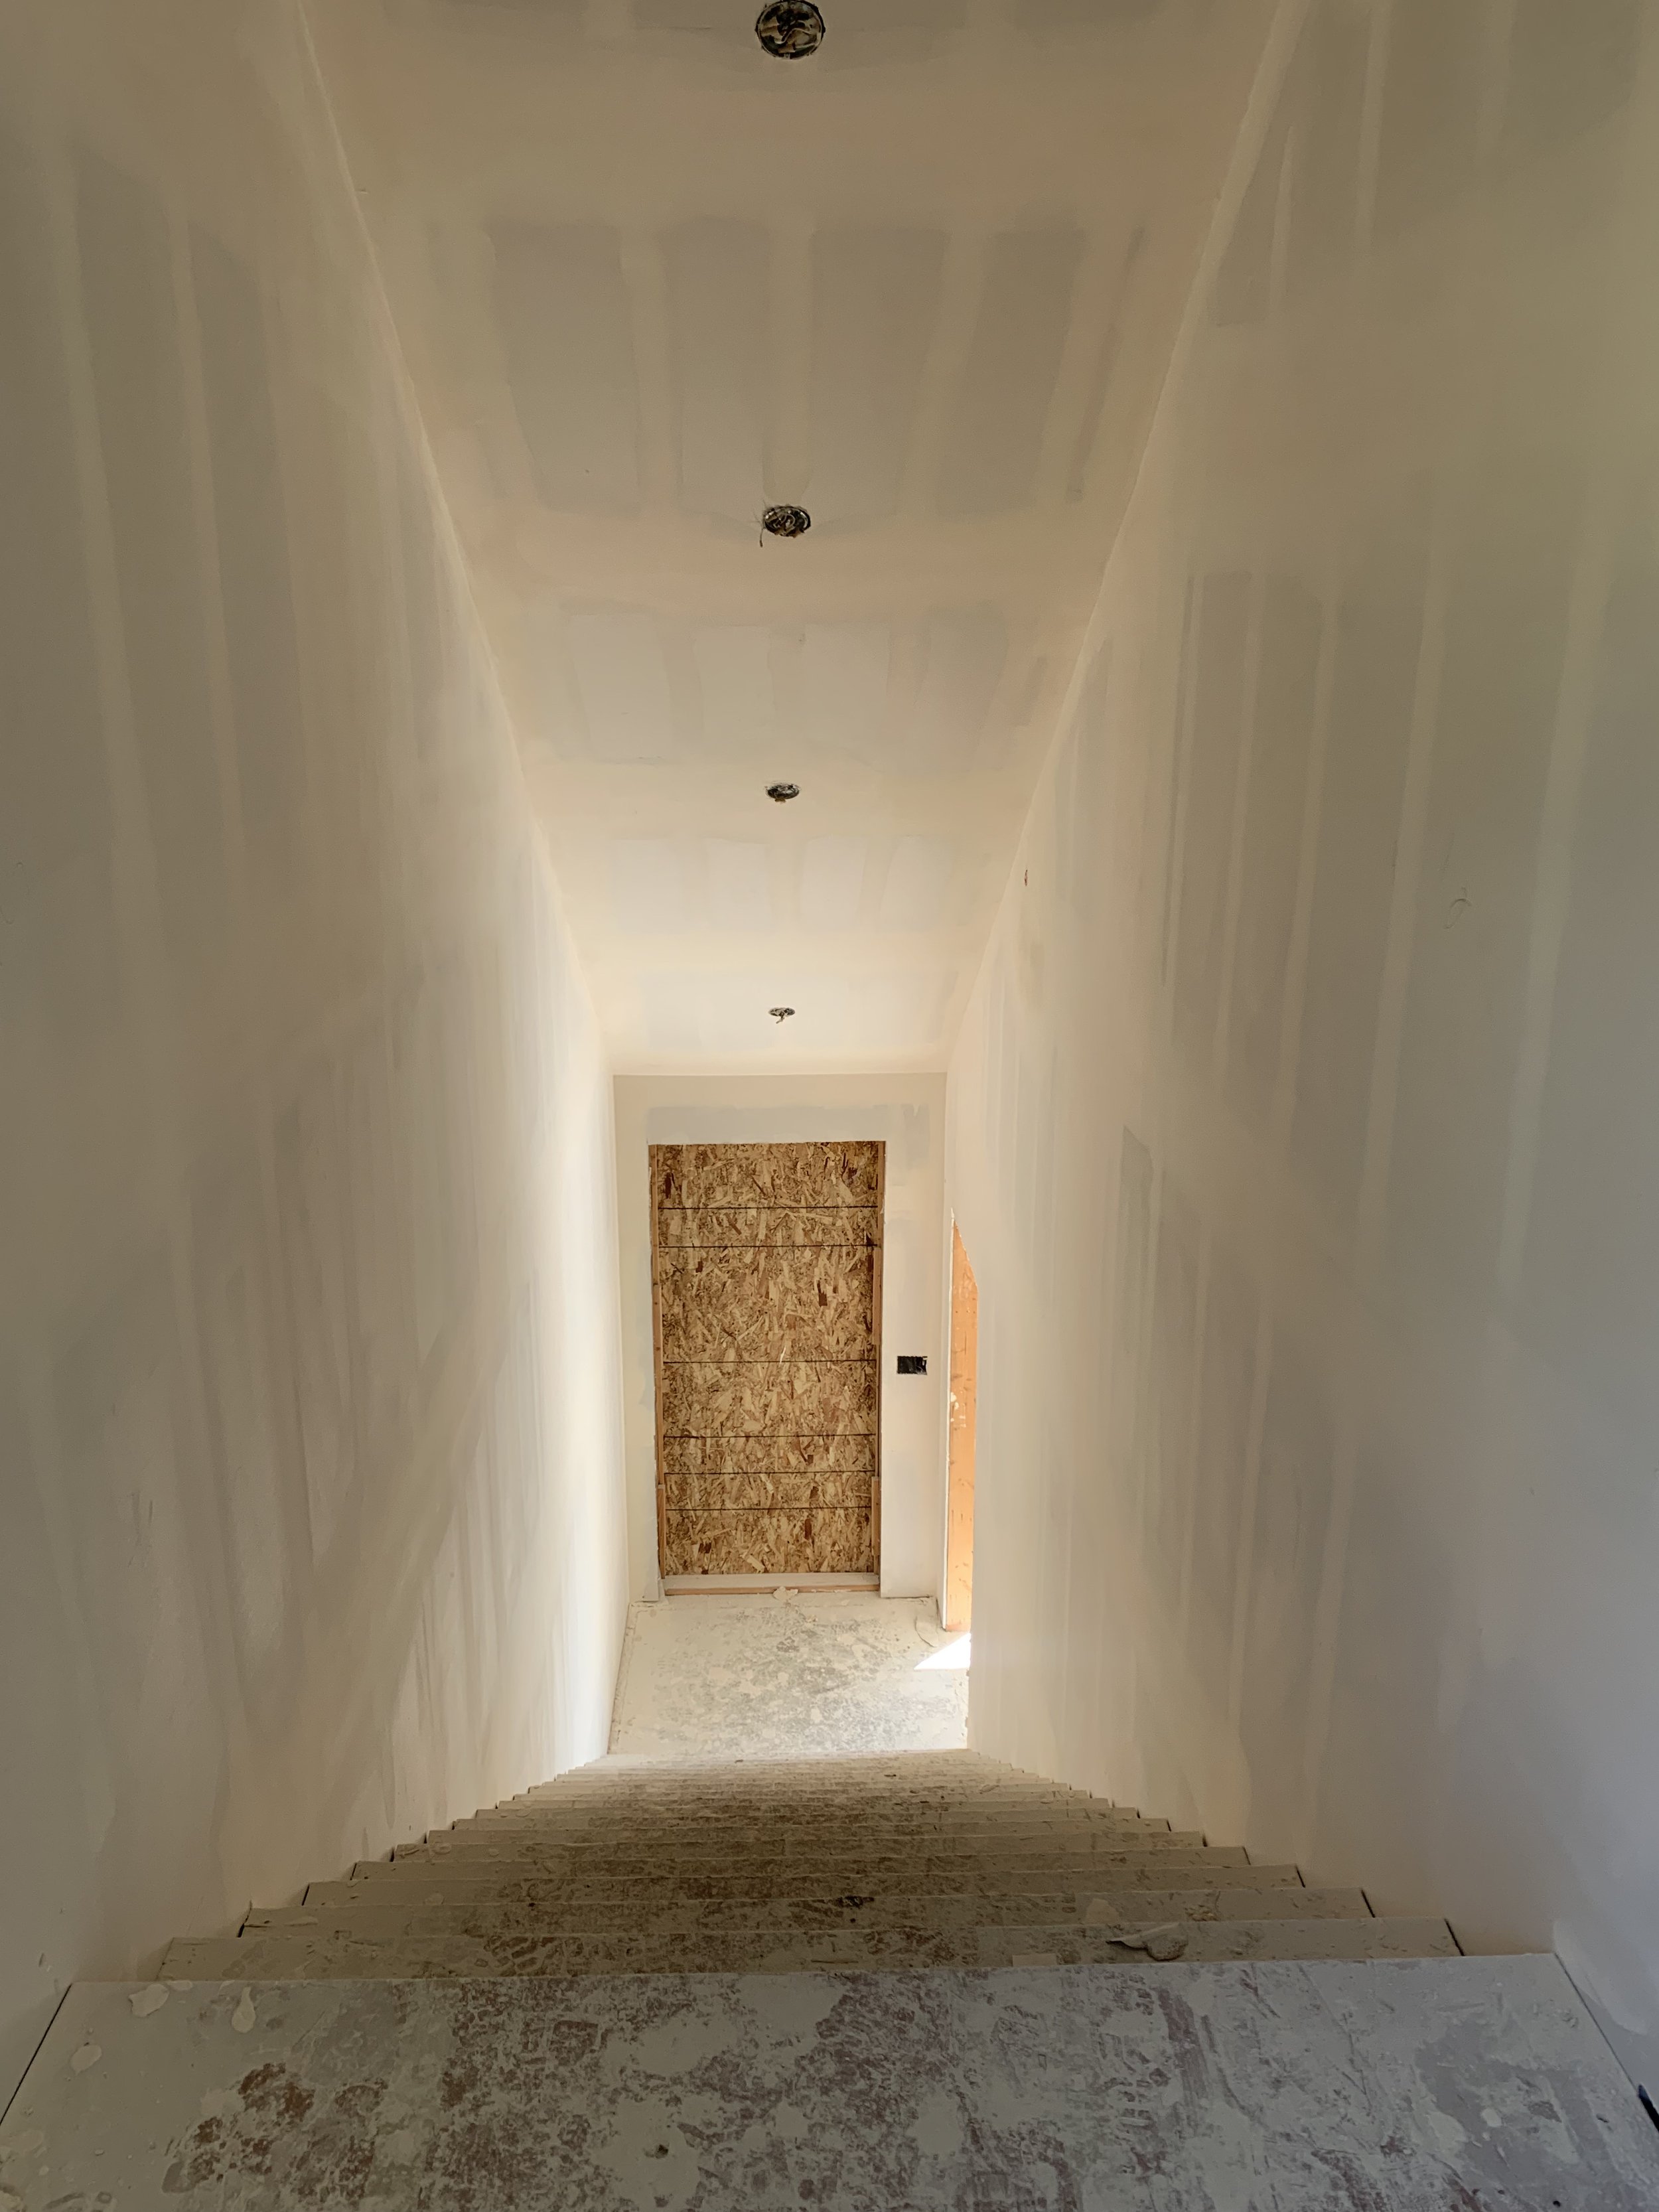
The completed staircase! Wow is that grand!

A view from the bottom looking up!

Just don't look down. It's a huge mess!

Now the downstairs. The hallway to the guest room.

A view from inside the guest room.

Nice bright light coming in!

Kris' office looks so neat and tidy now!

The garage.

Right after drywall we rushed to complete the garage so we could move tools, appliances and anything else in asap! Awesome finish on the floors!

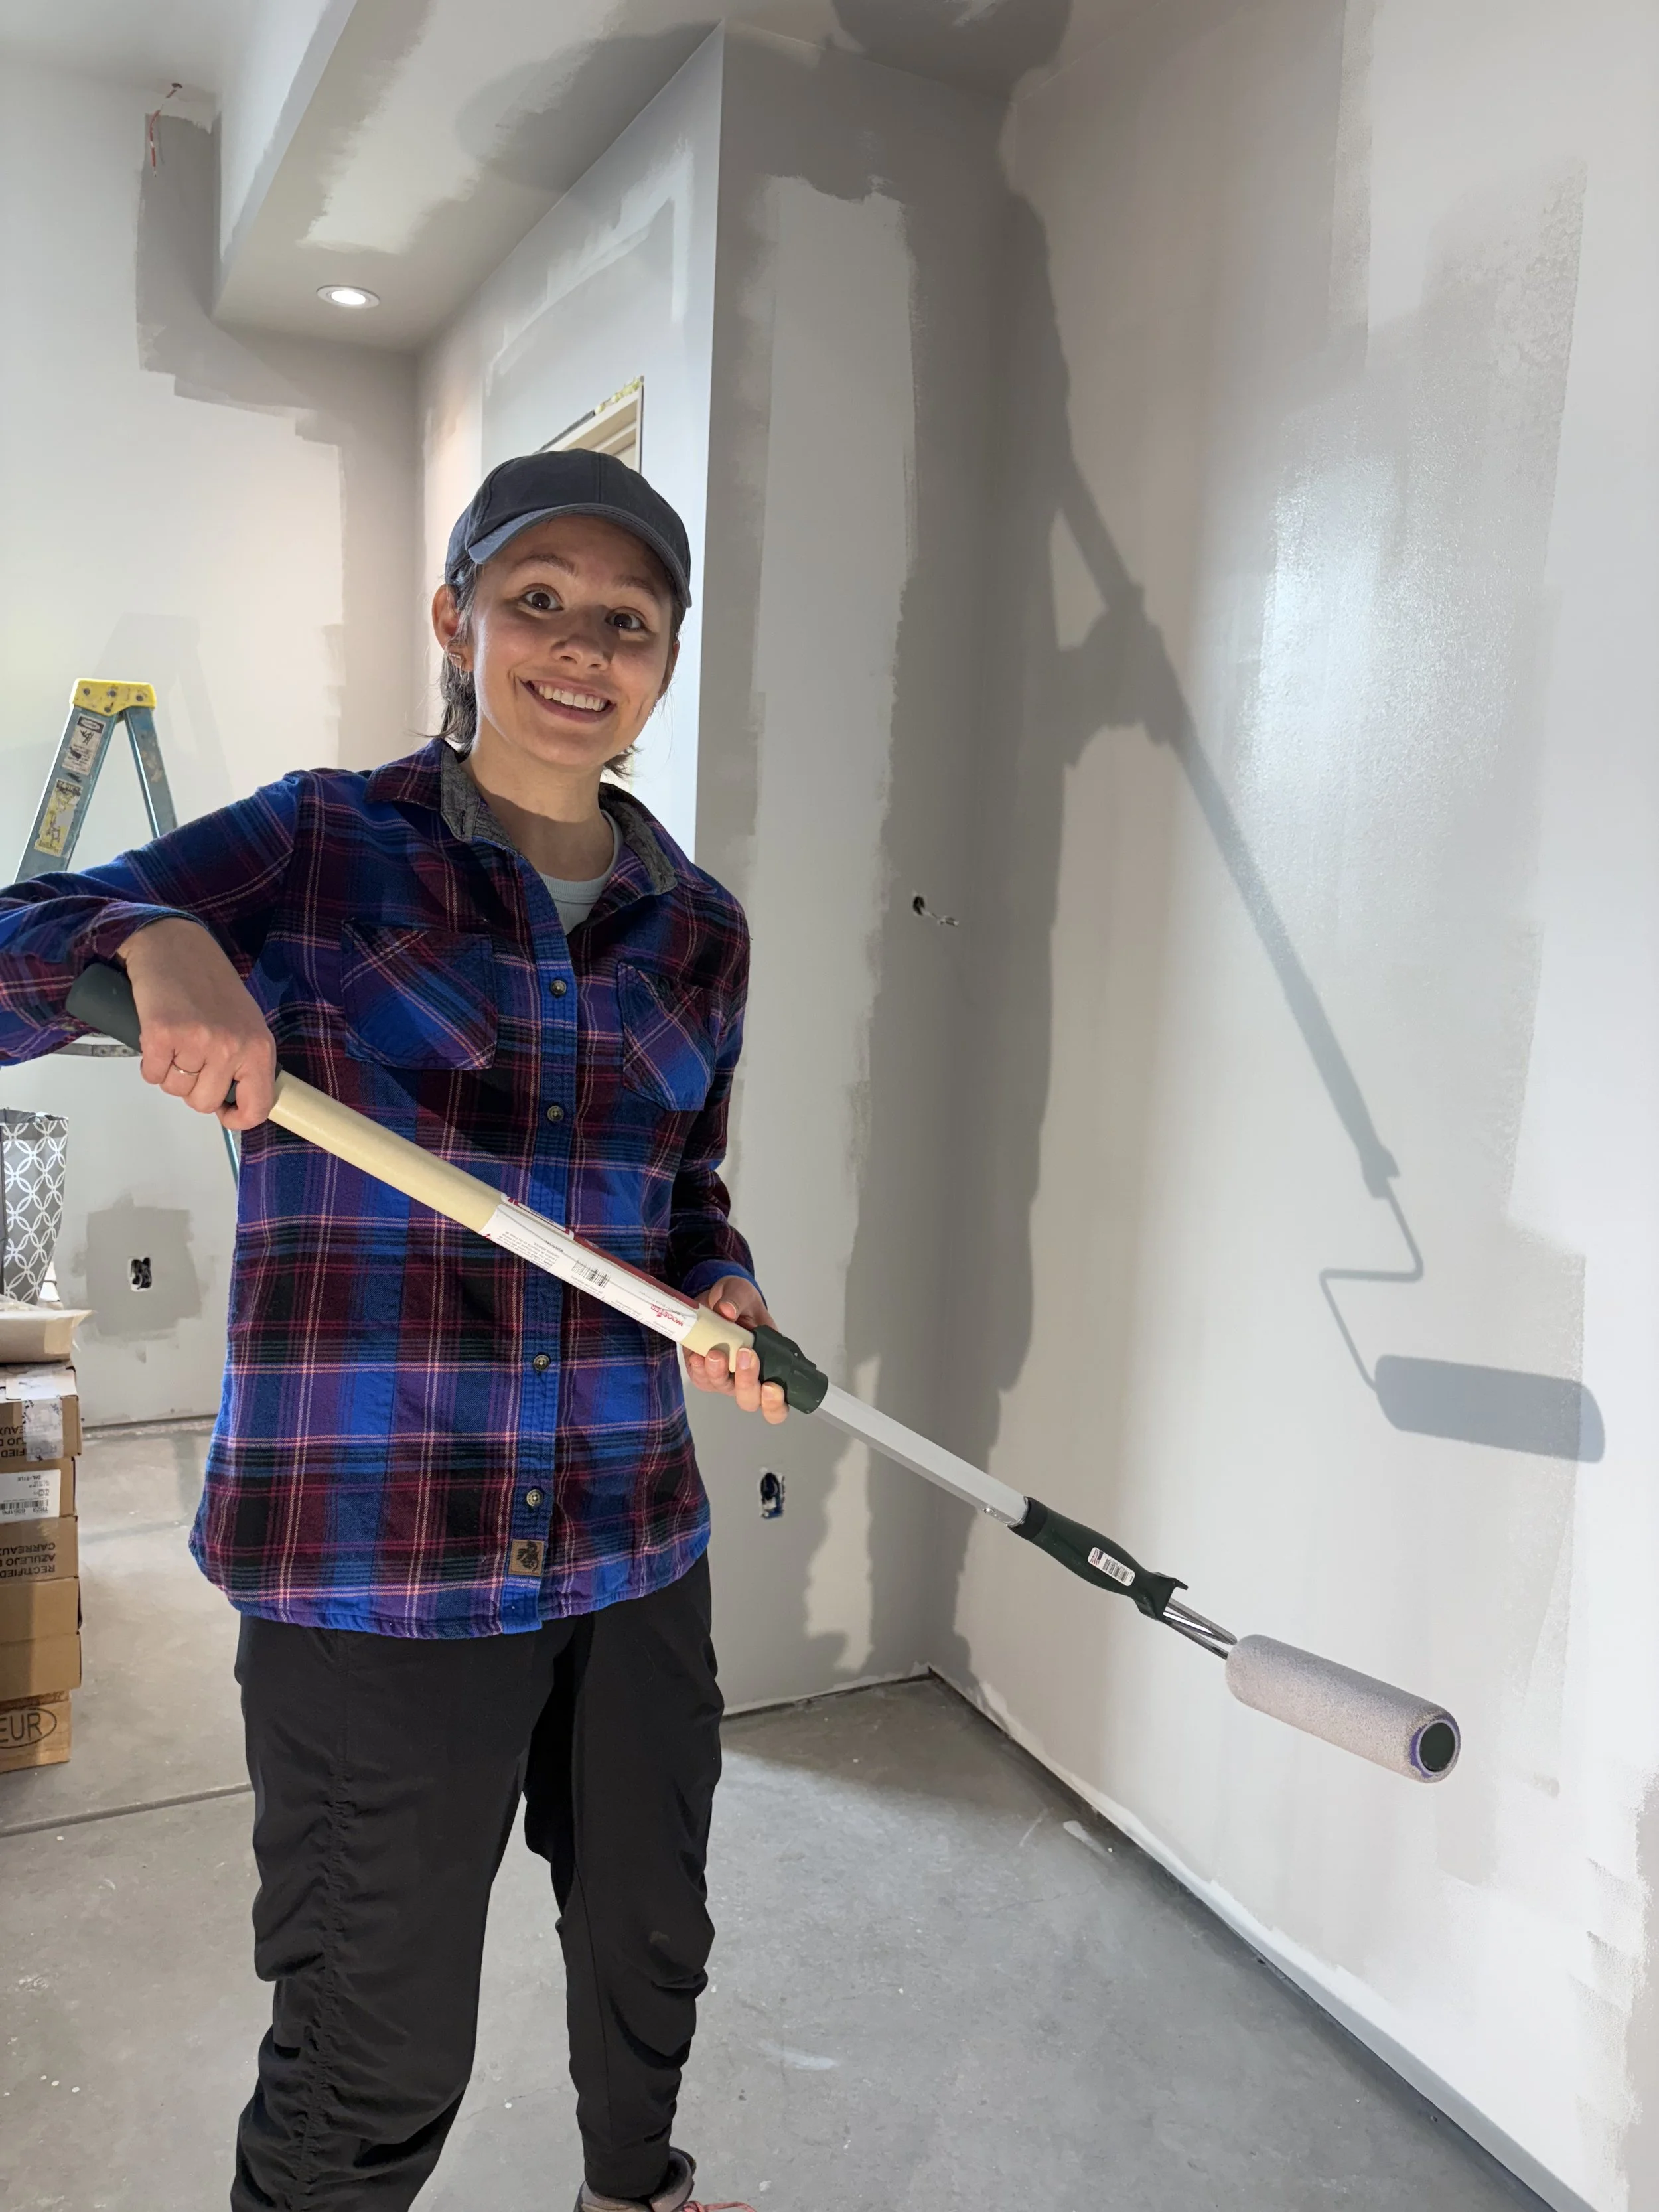
Kris got all dressed up to start painting! Nice suit! Are we building a house or a laboratory?

Looks good! Enjoy it while it's clean!
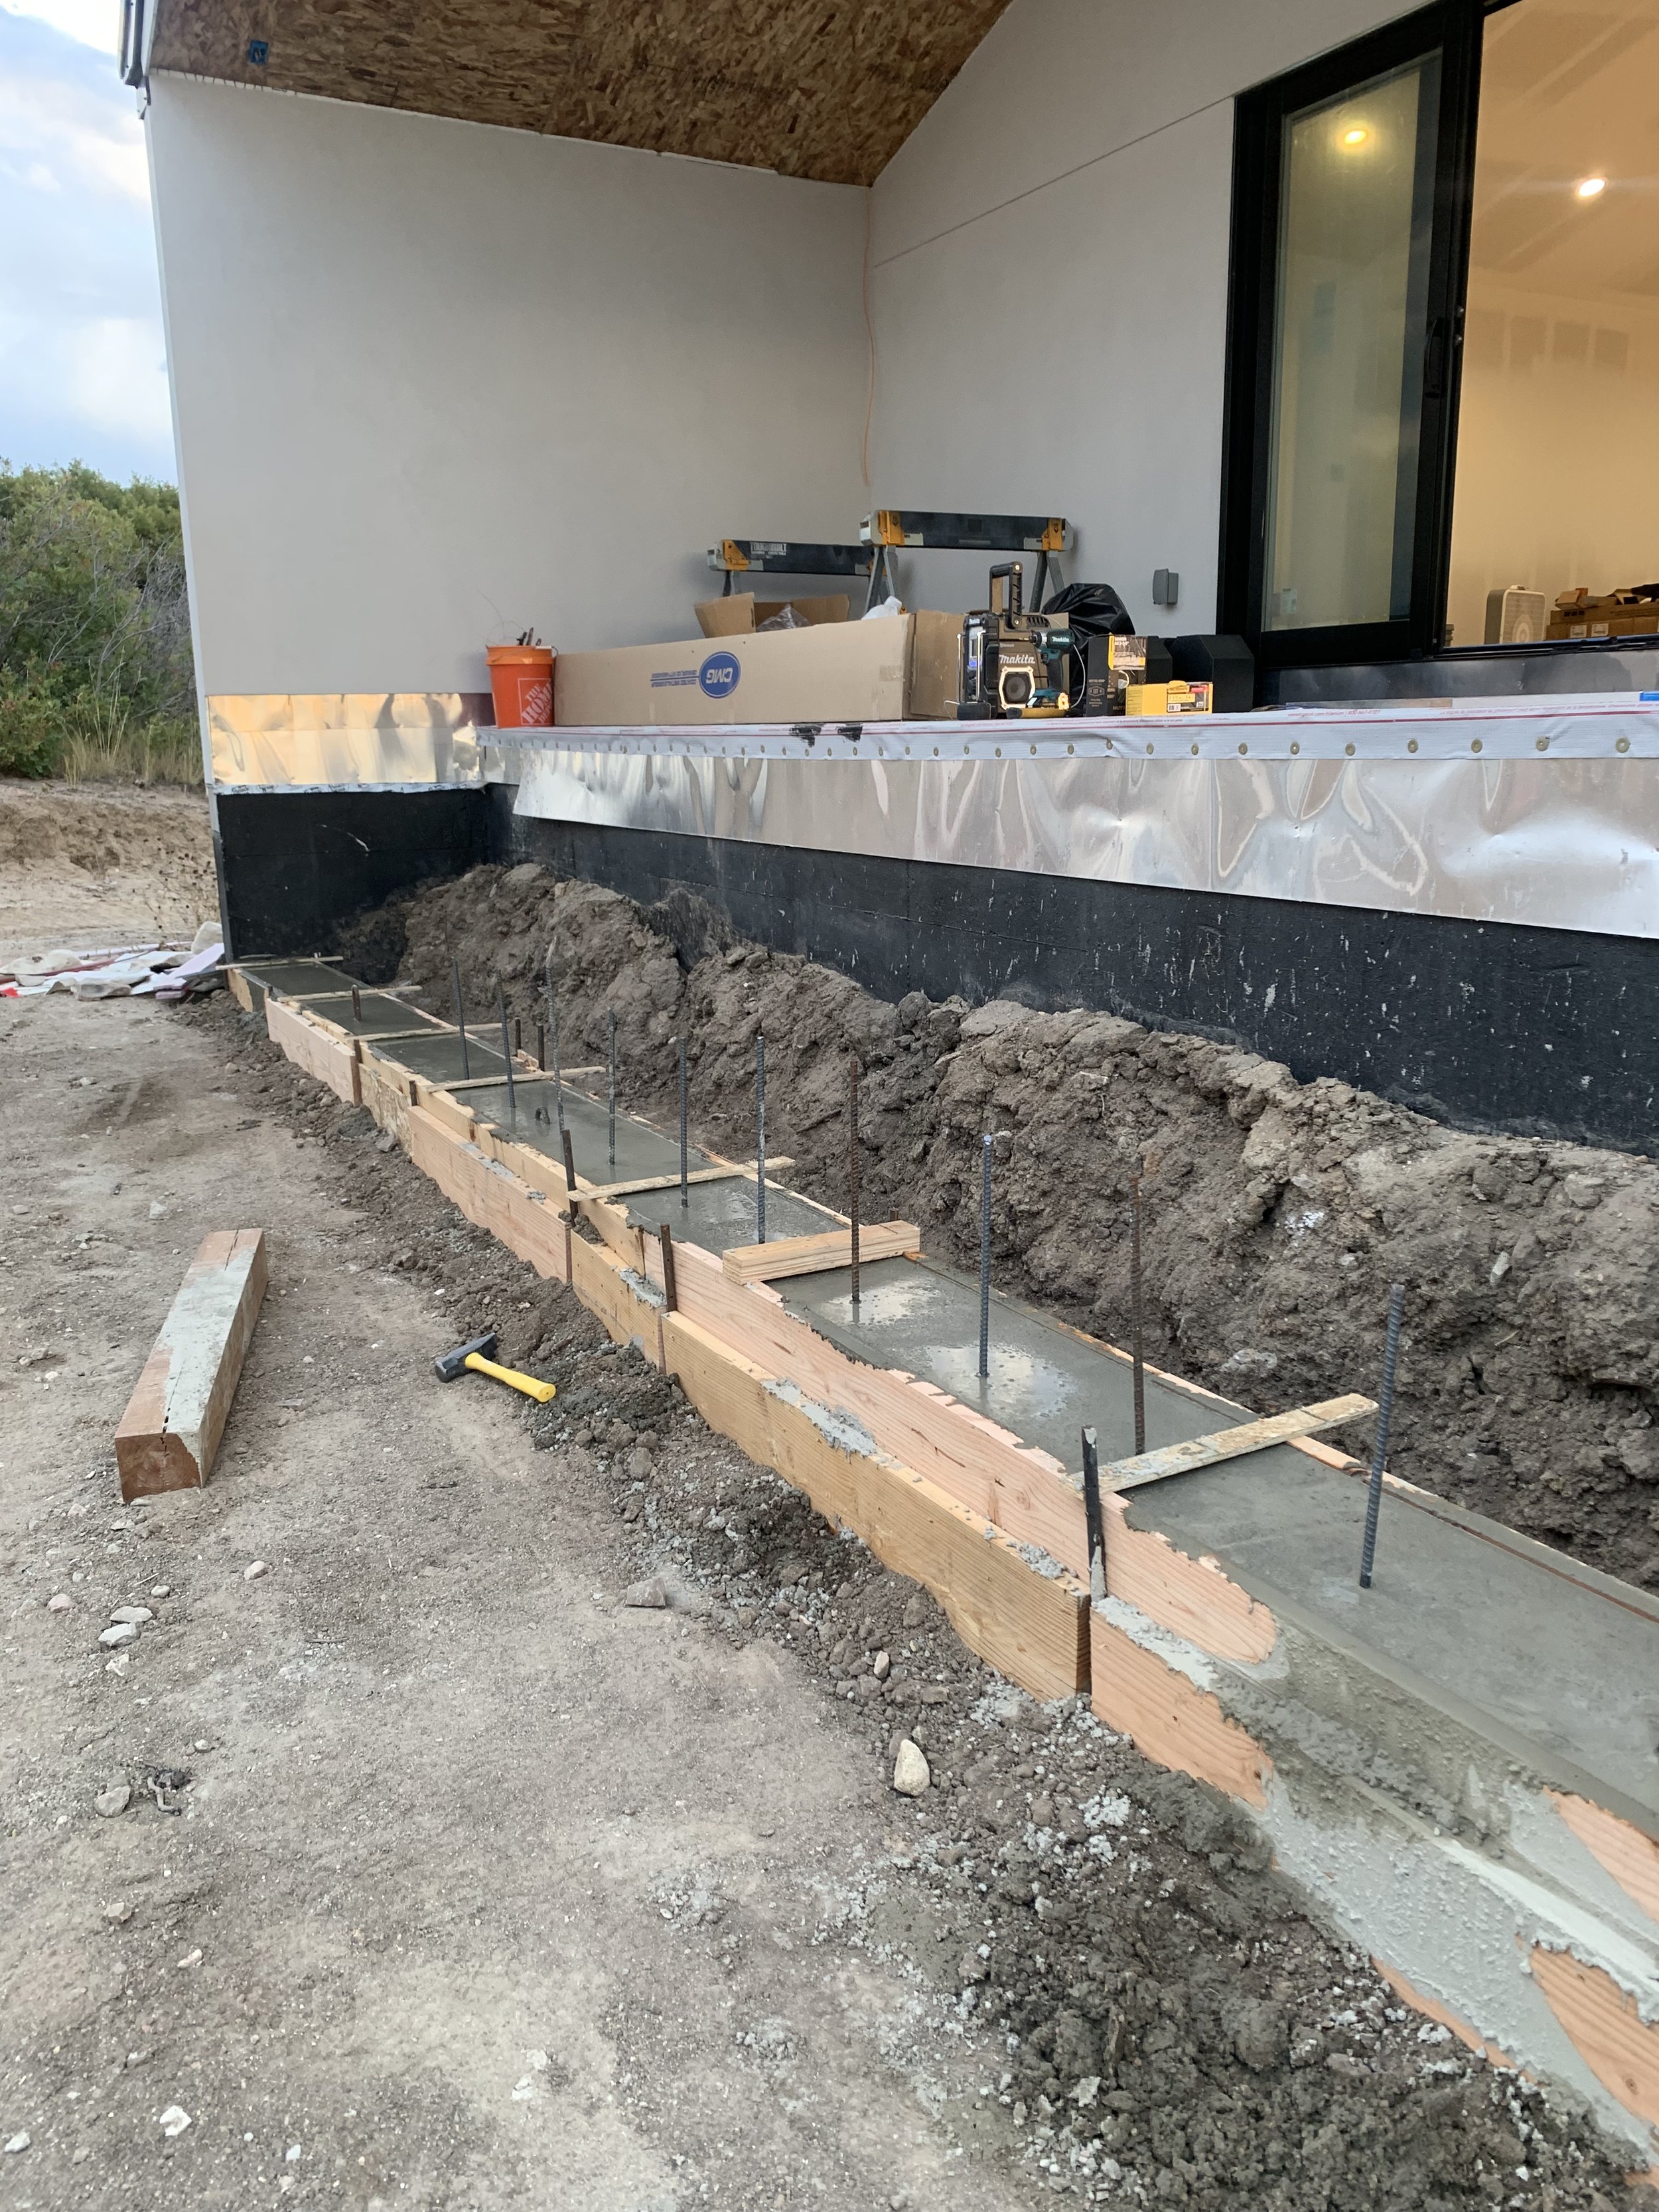
Step 14: The Patio and Driveway

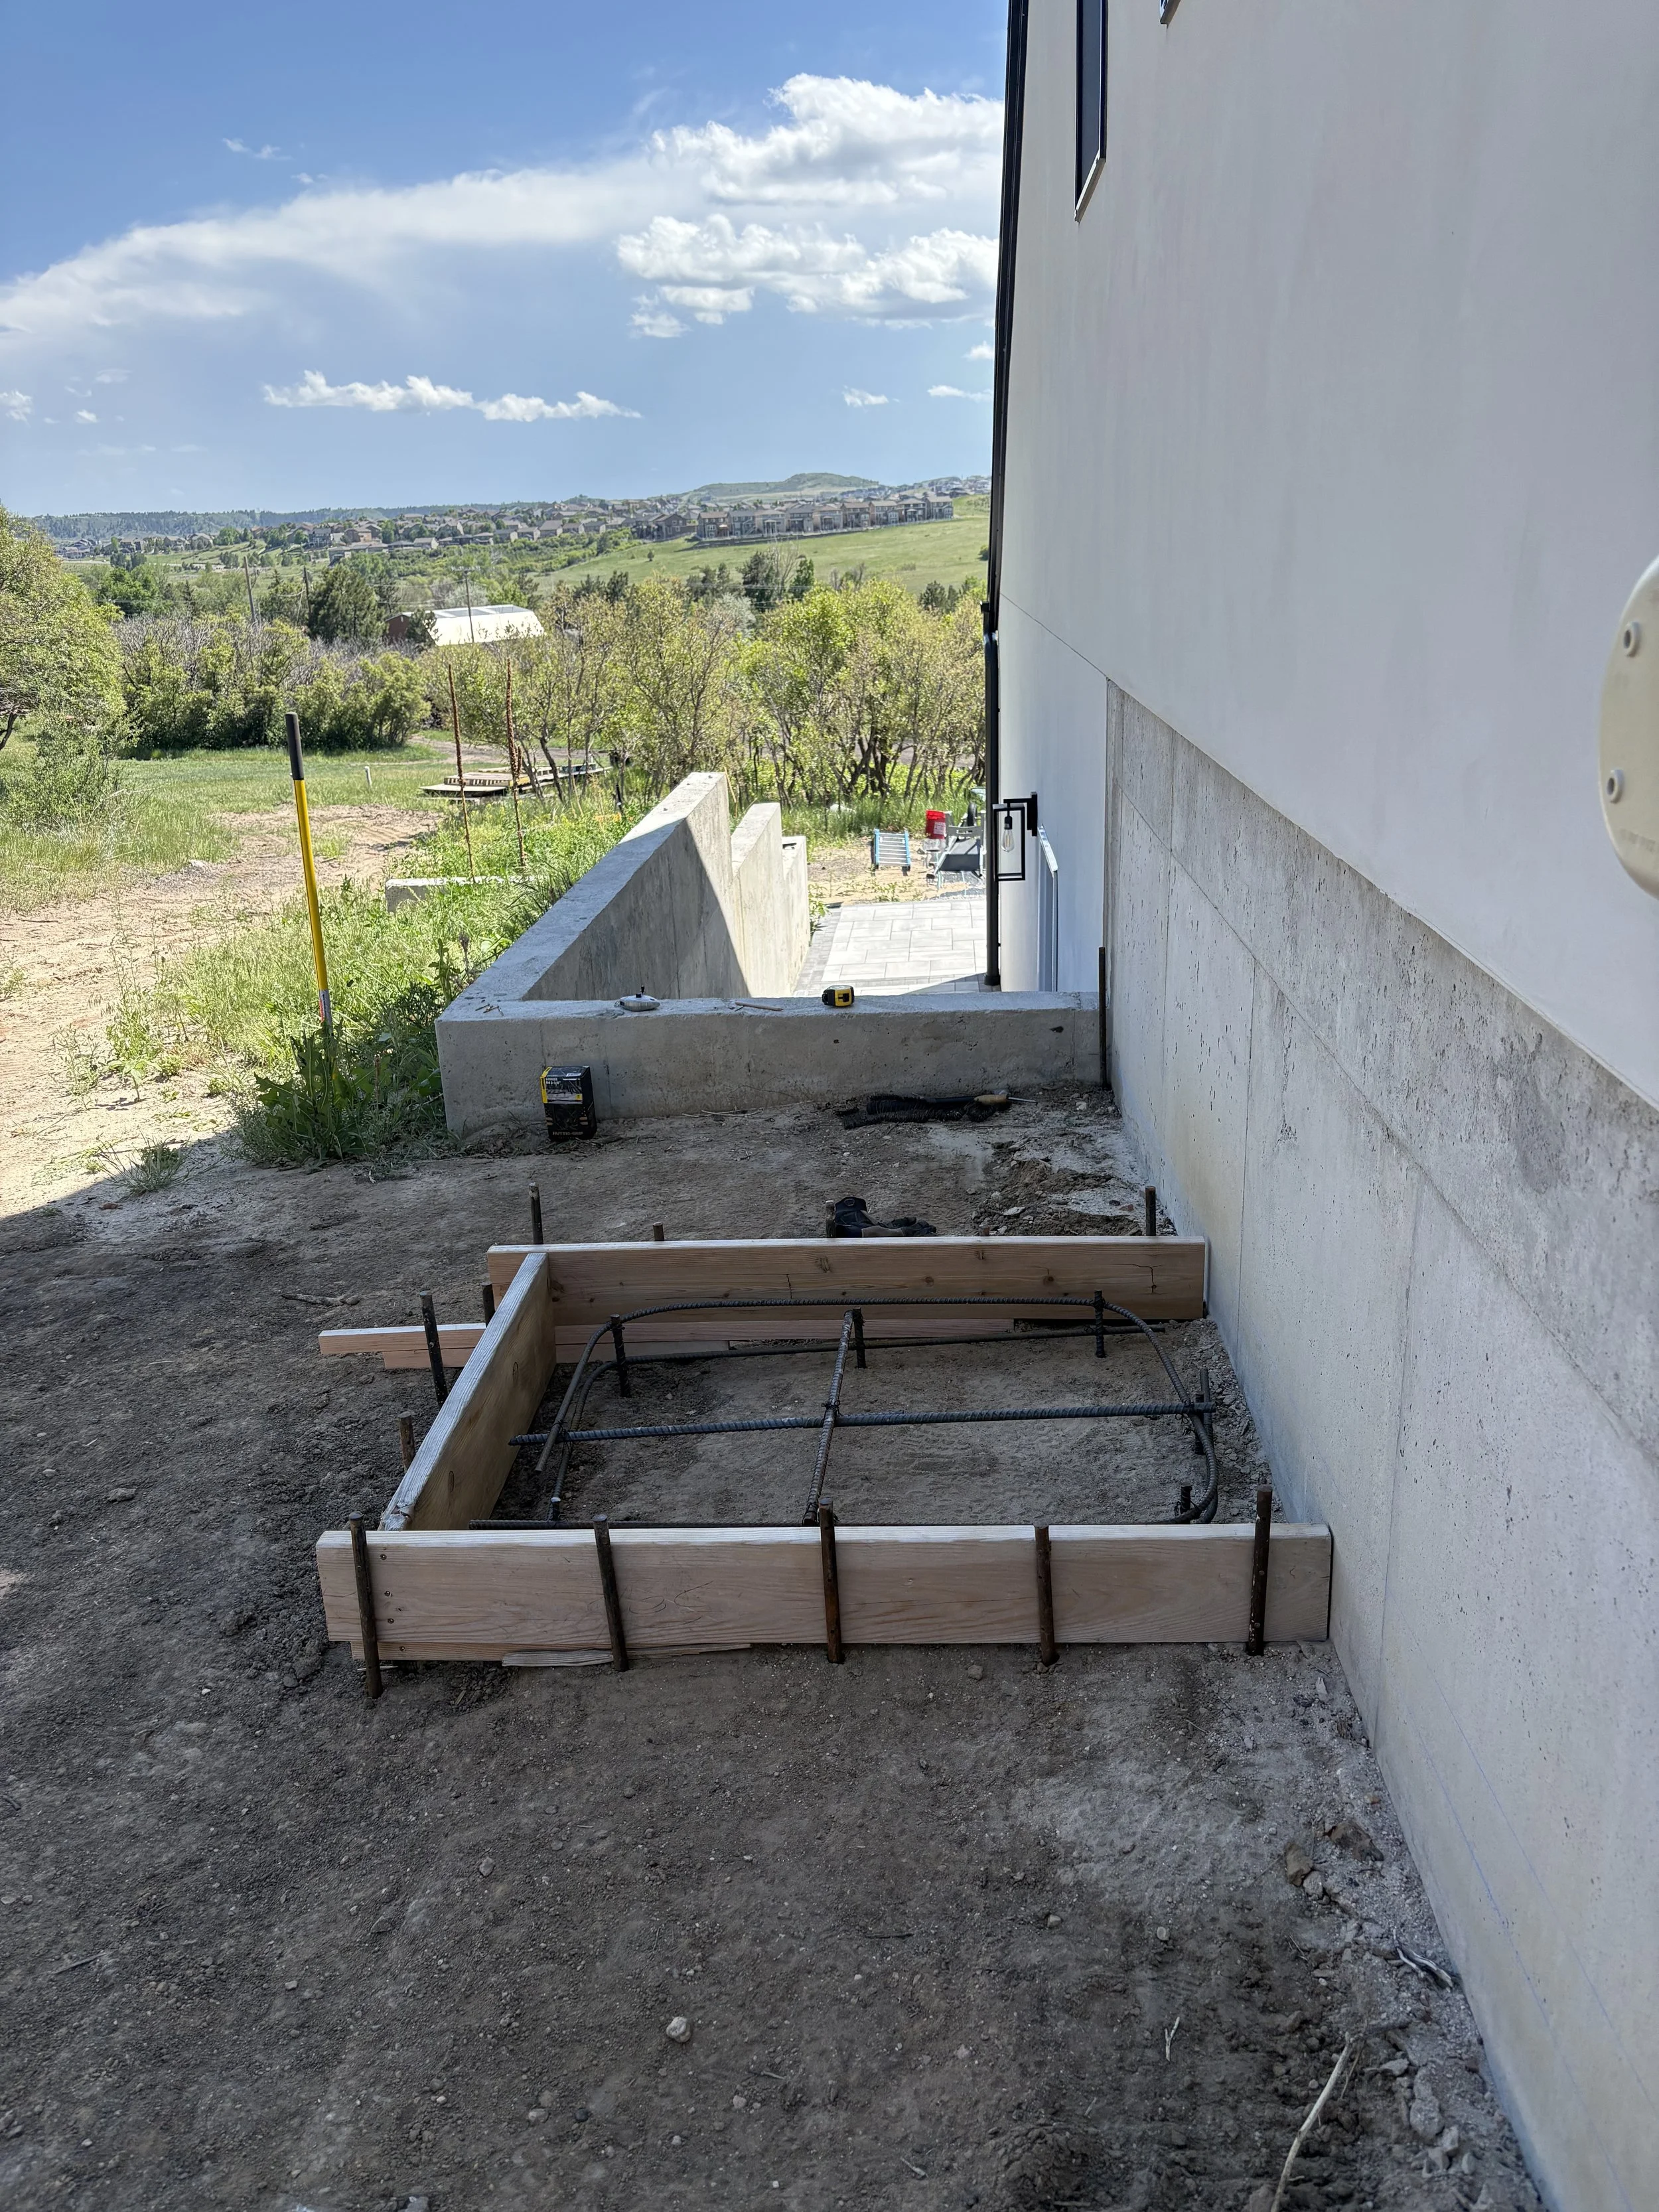
Now it's time to tackle the back patio. First we need to extend it to it's true size. This will require building an underground support for the weight of the patio.
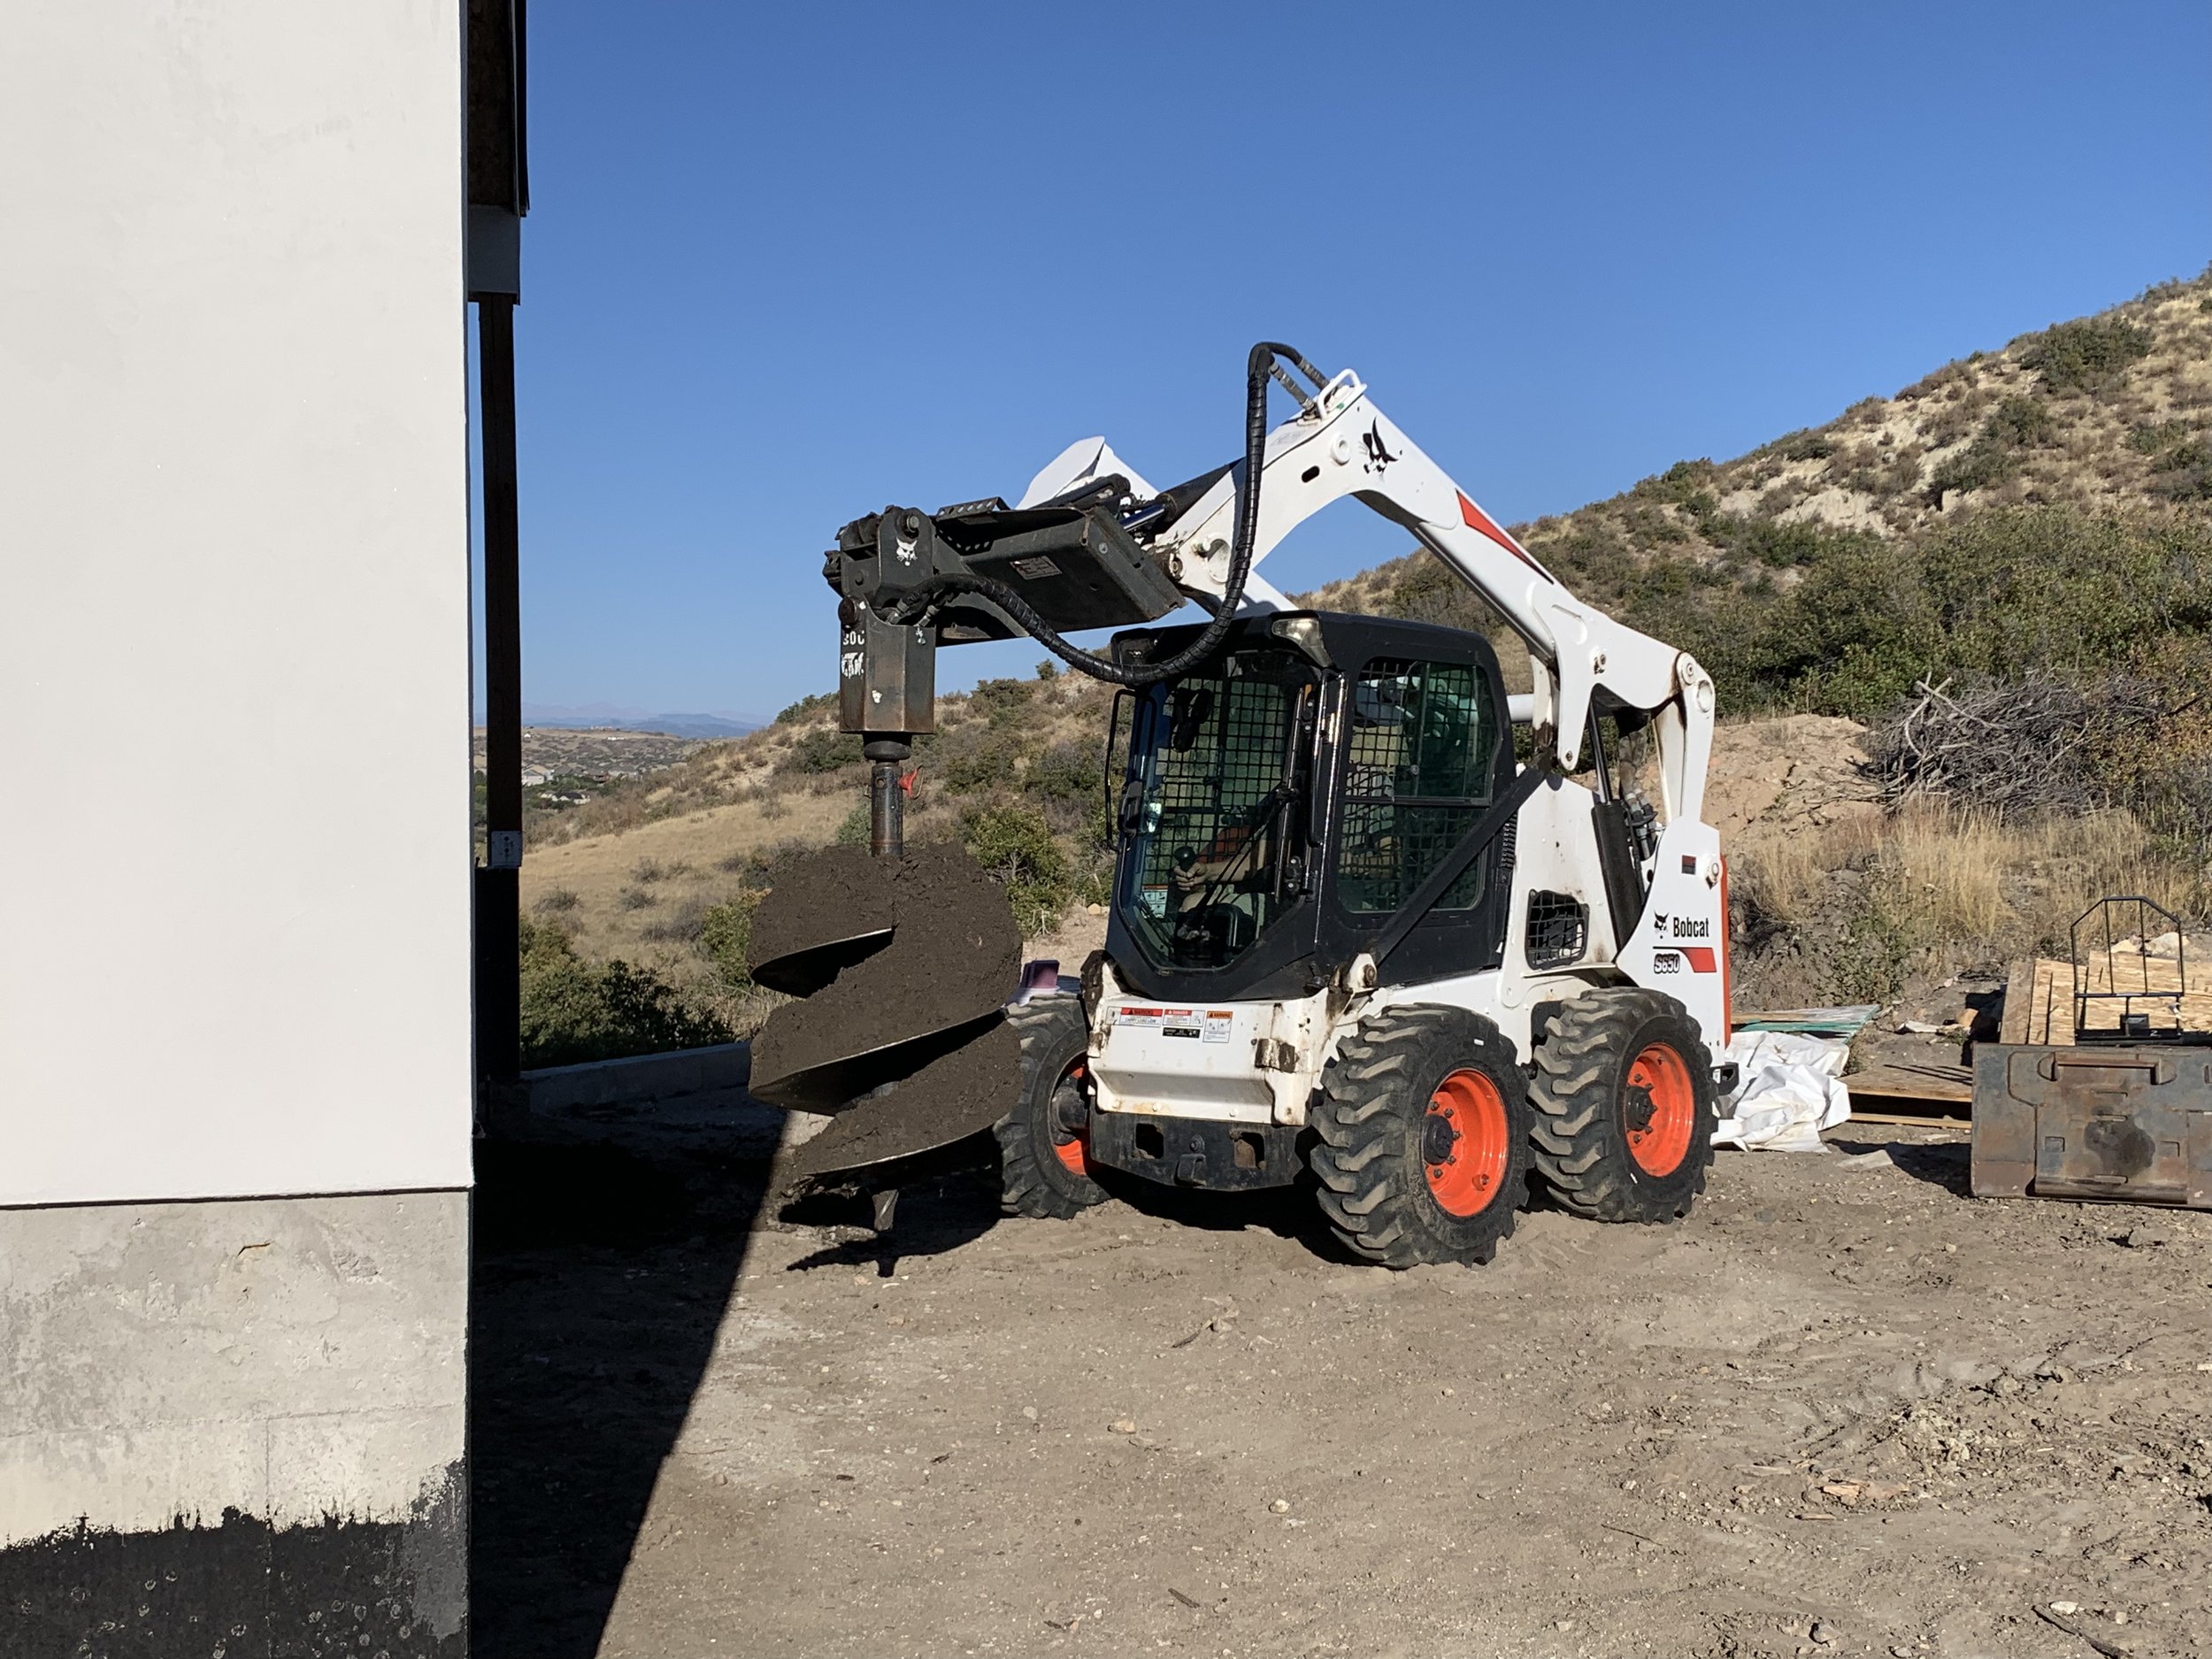
Kris had no fun at all playing with this new toy! A giant auger to dig 3 massive holes!

He made short work of that!

Now Kris inspects his work. Watch your step!!

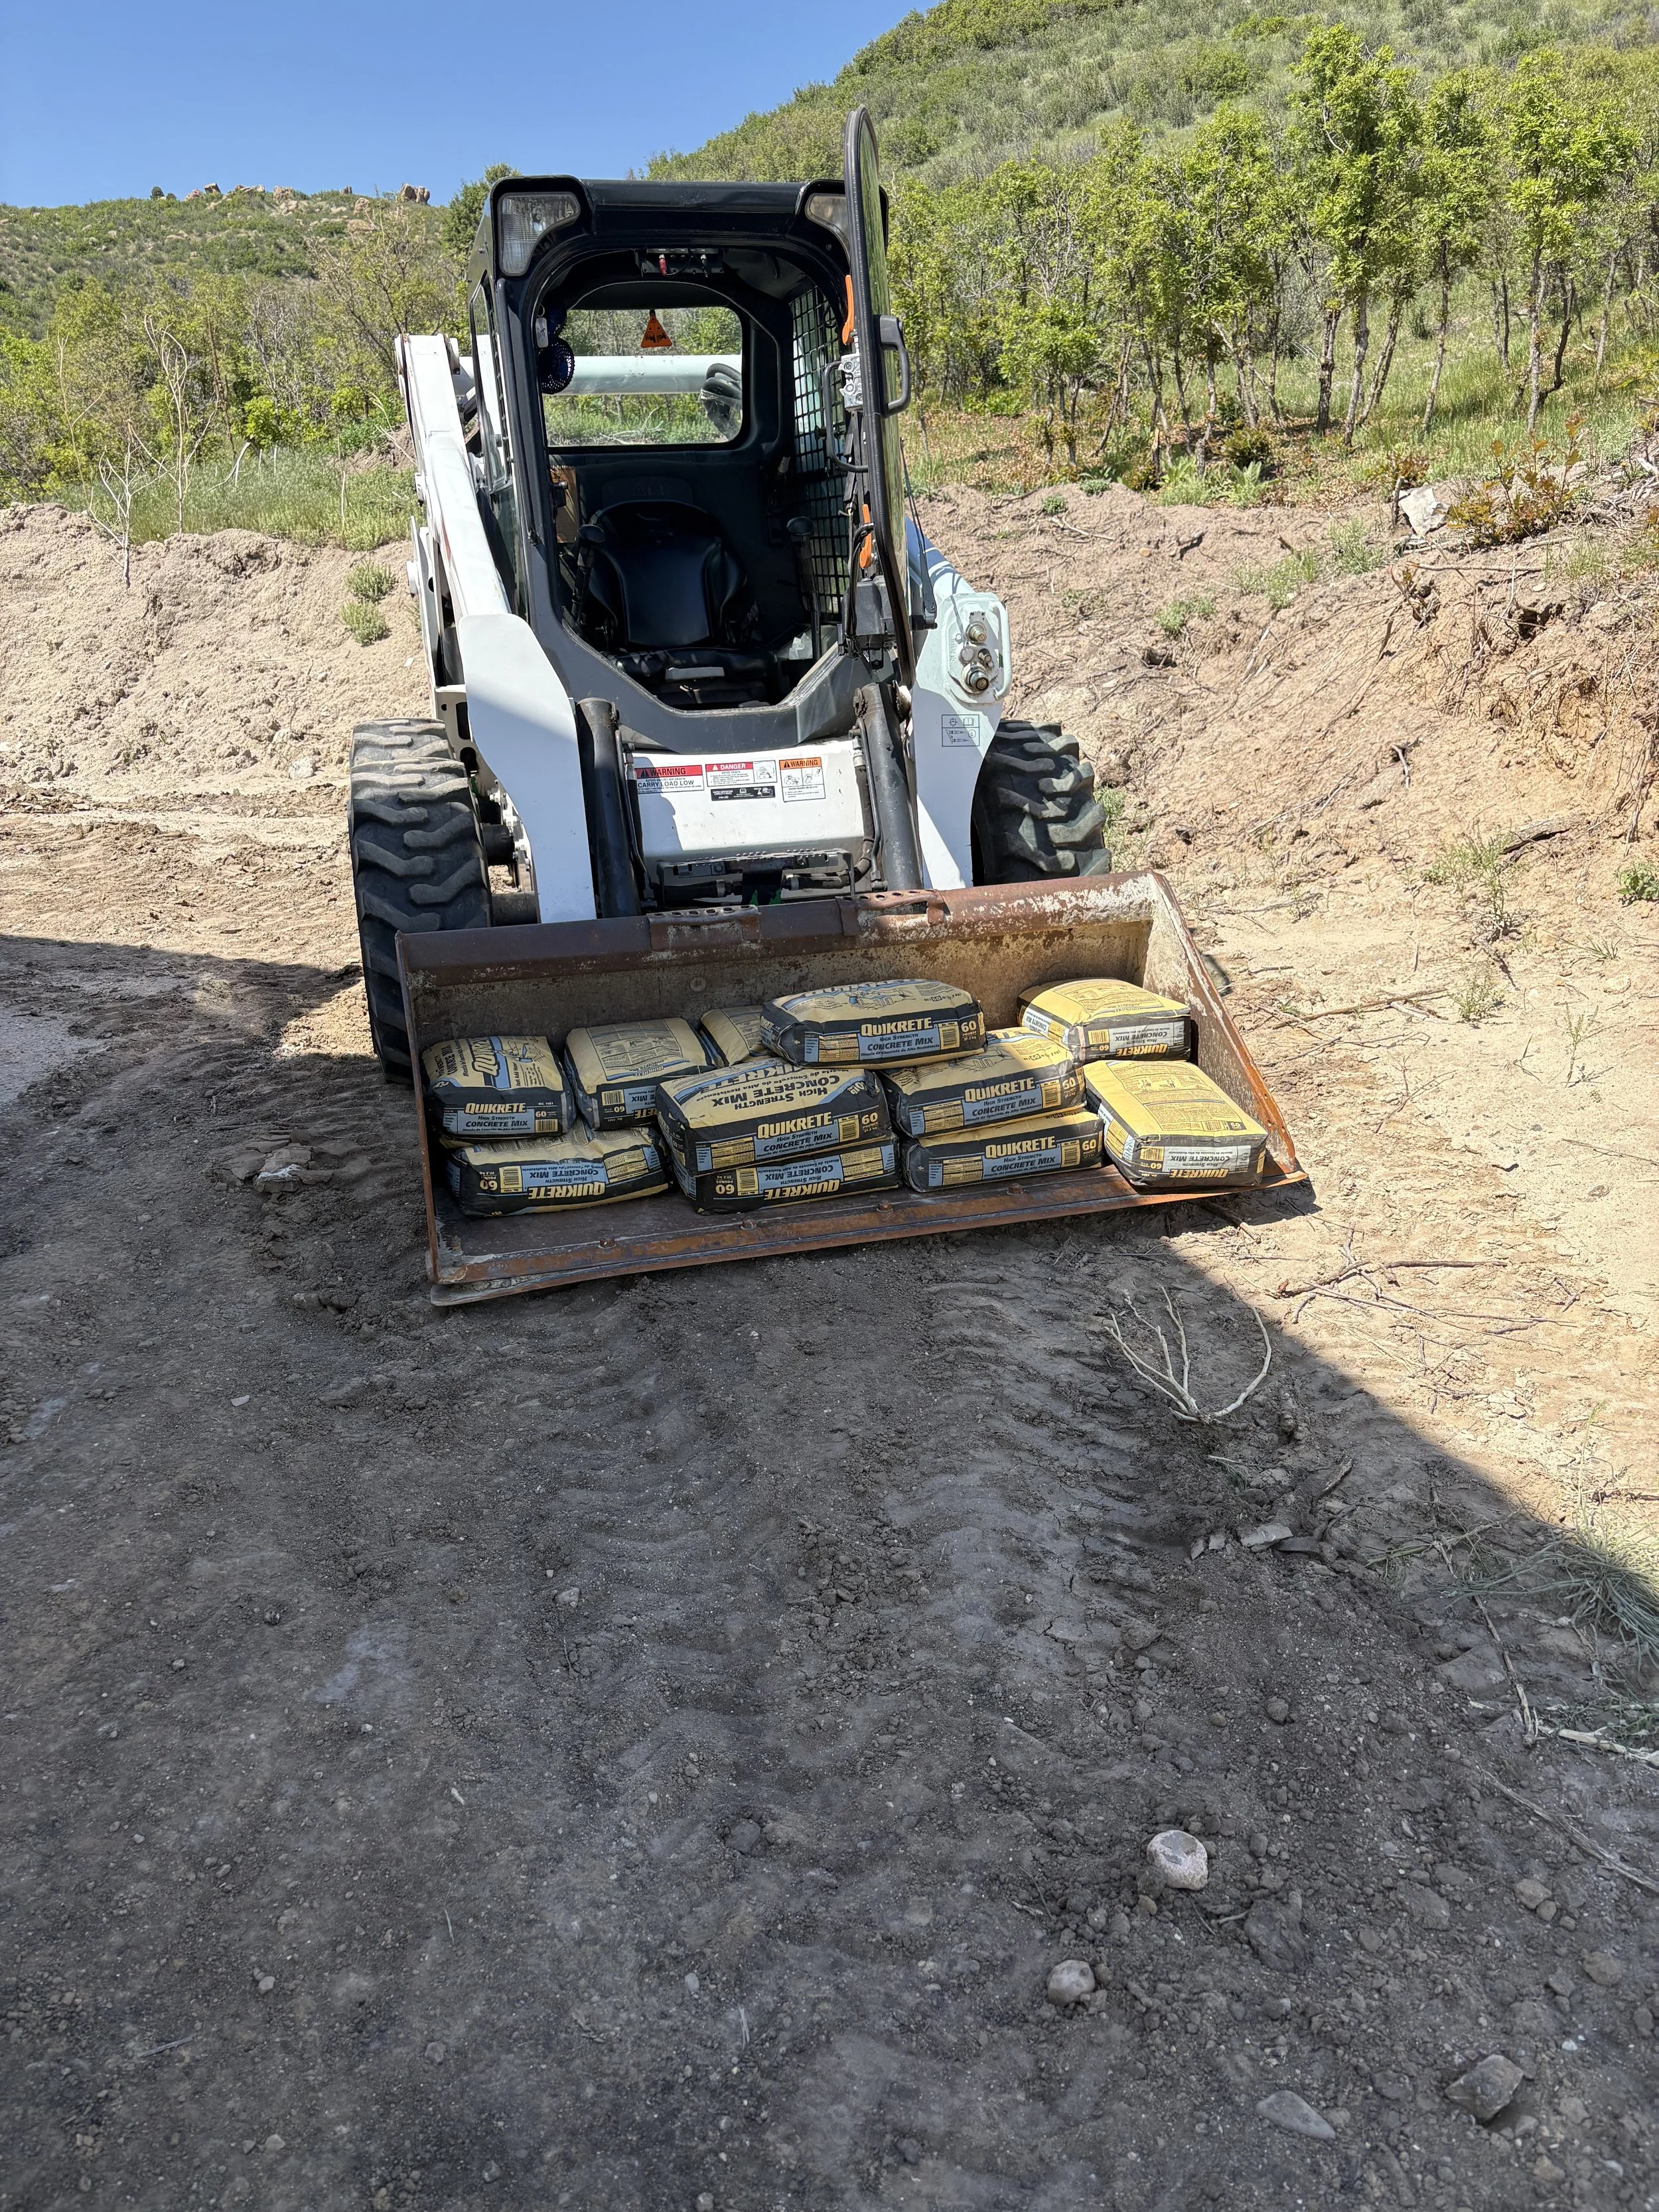
Time to prepare to fill the holes with concrete! Check out our cute little pumpkin concrete mixer! It turned out to be a real gem!

Now we fill the holes with a bunch of rebar and wire as added support.

We hauled sooooo much concrete! Our neighbors came to the rescue and helped haul a ton of it.

Time to start mixing and pouring!
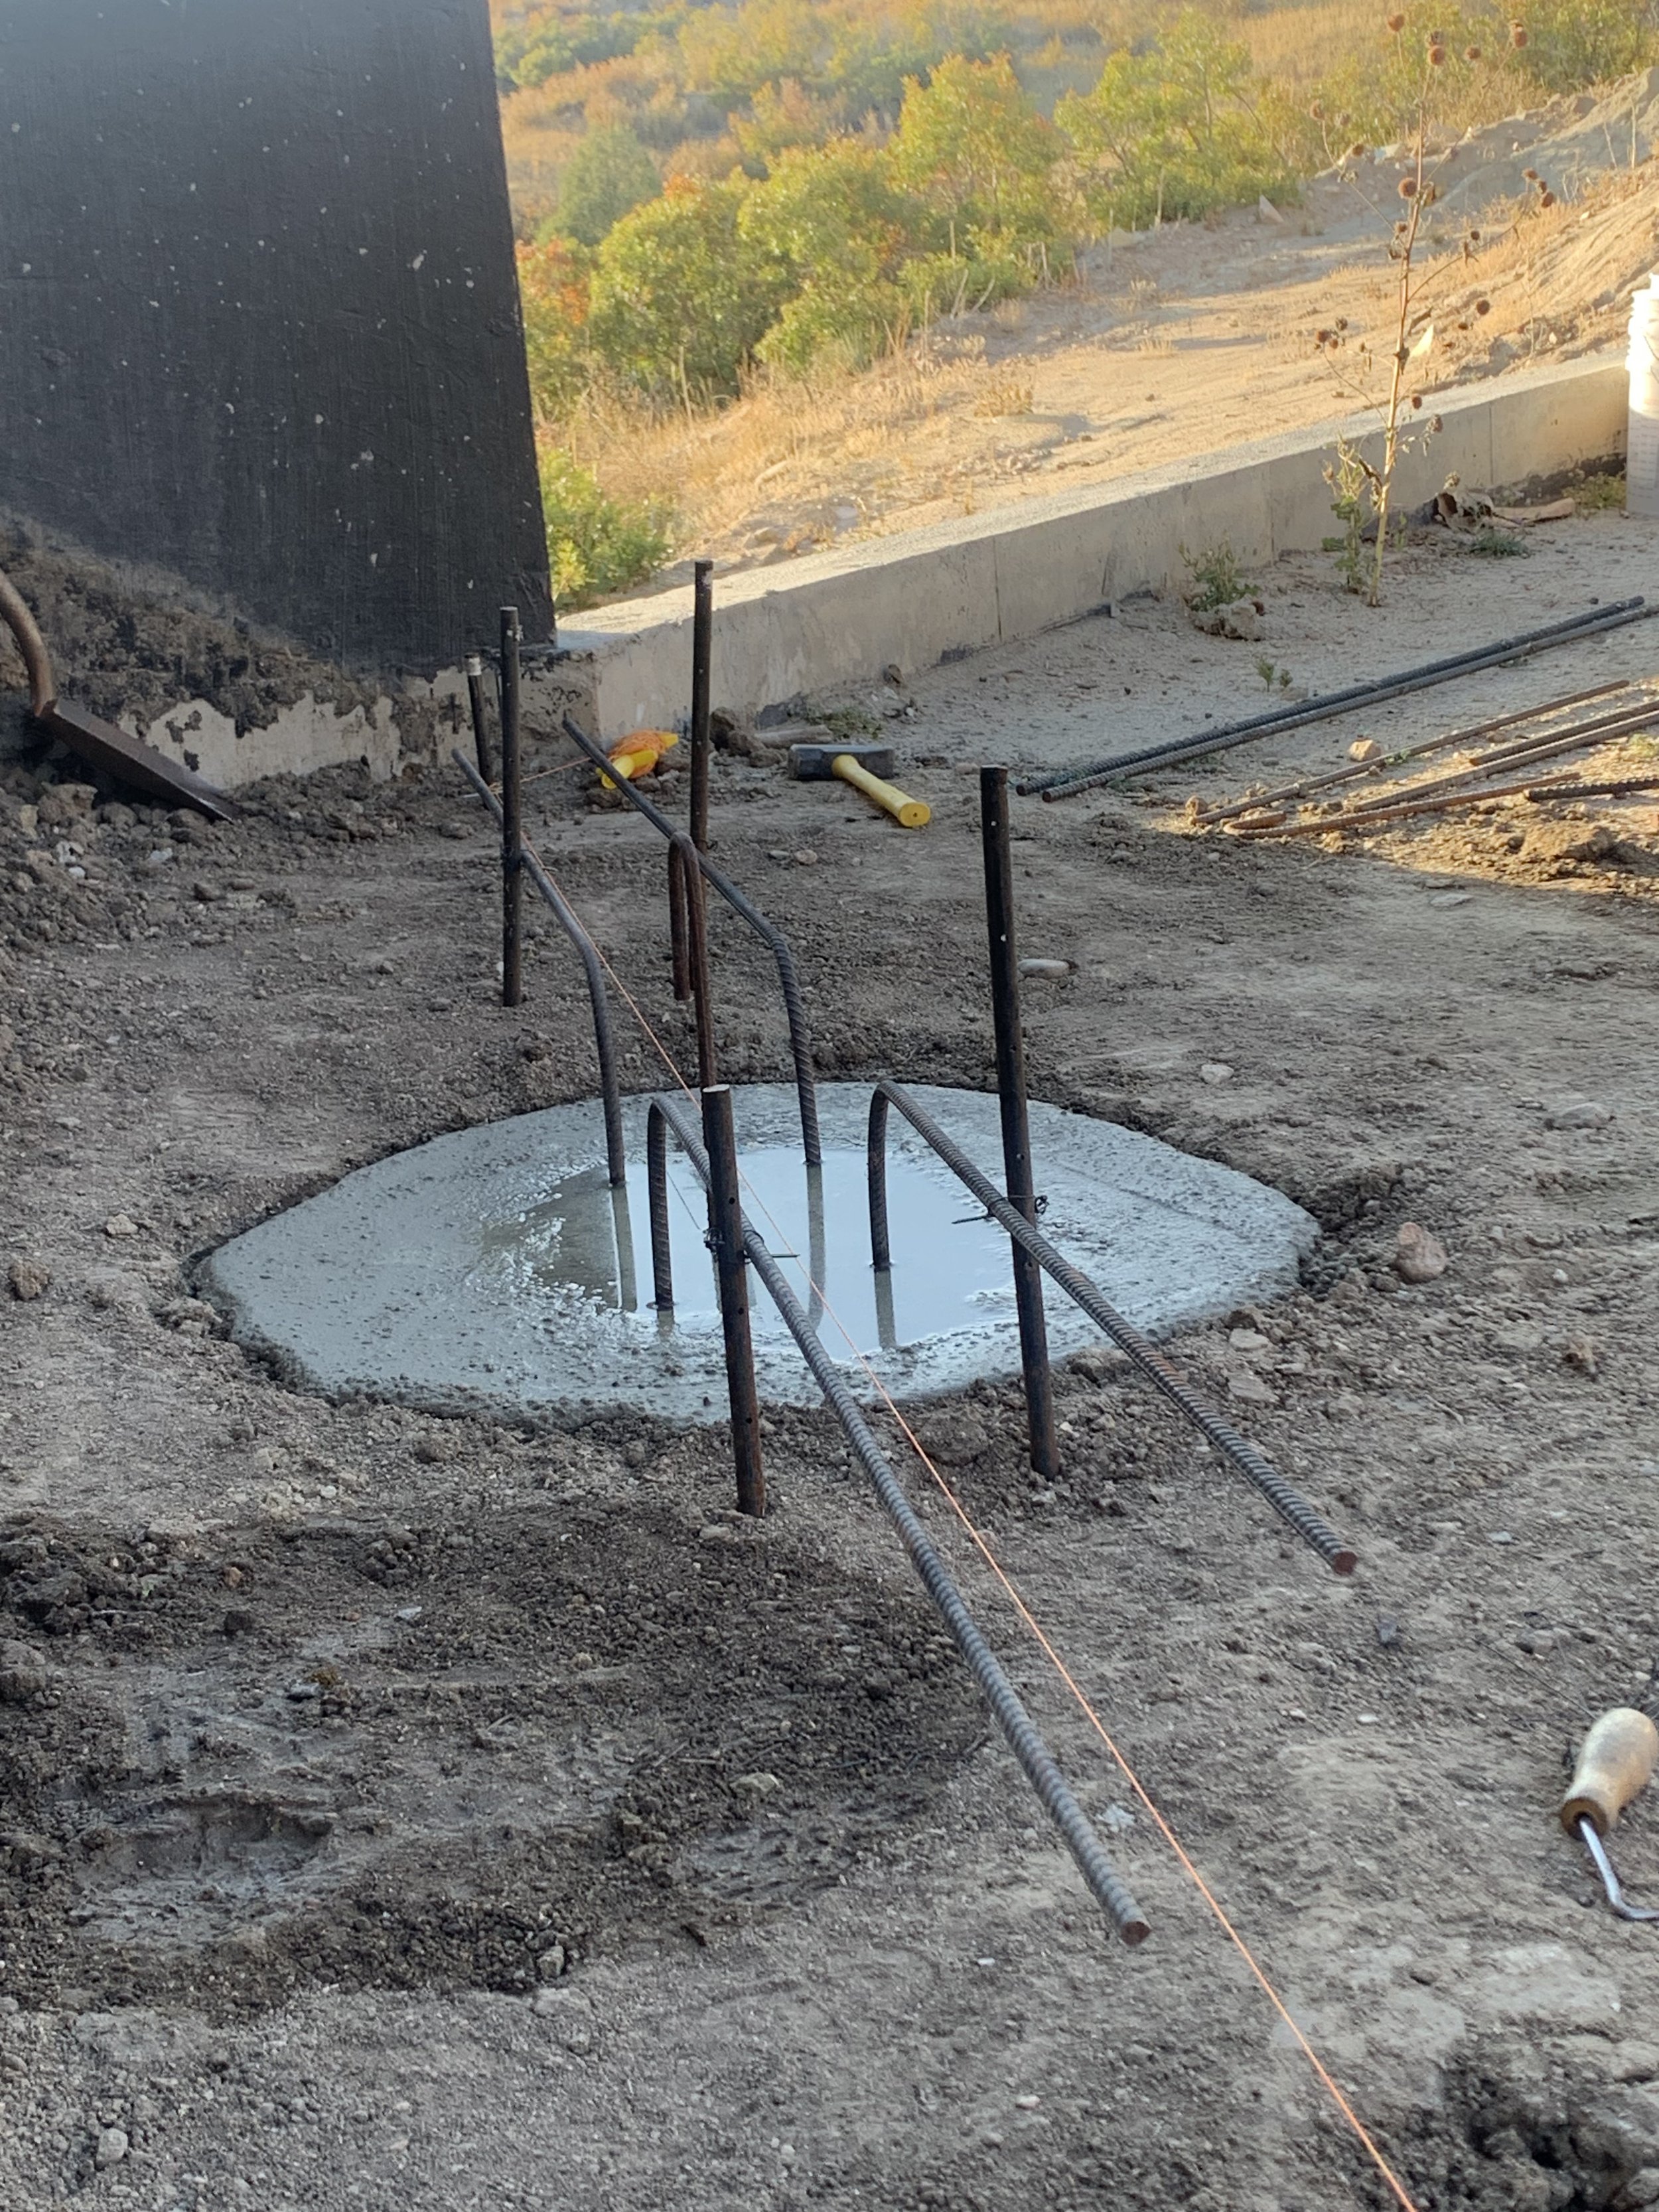
Once a hole is filled with concrete, we added yet more rebar. The pieces that stick out will allow us to tie into the retaining wall footings.

Hole #2 complete!

Hole #3 complete! A total of 8,000 pounds of concrete! Ugh! Can we say sore backs???
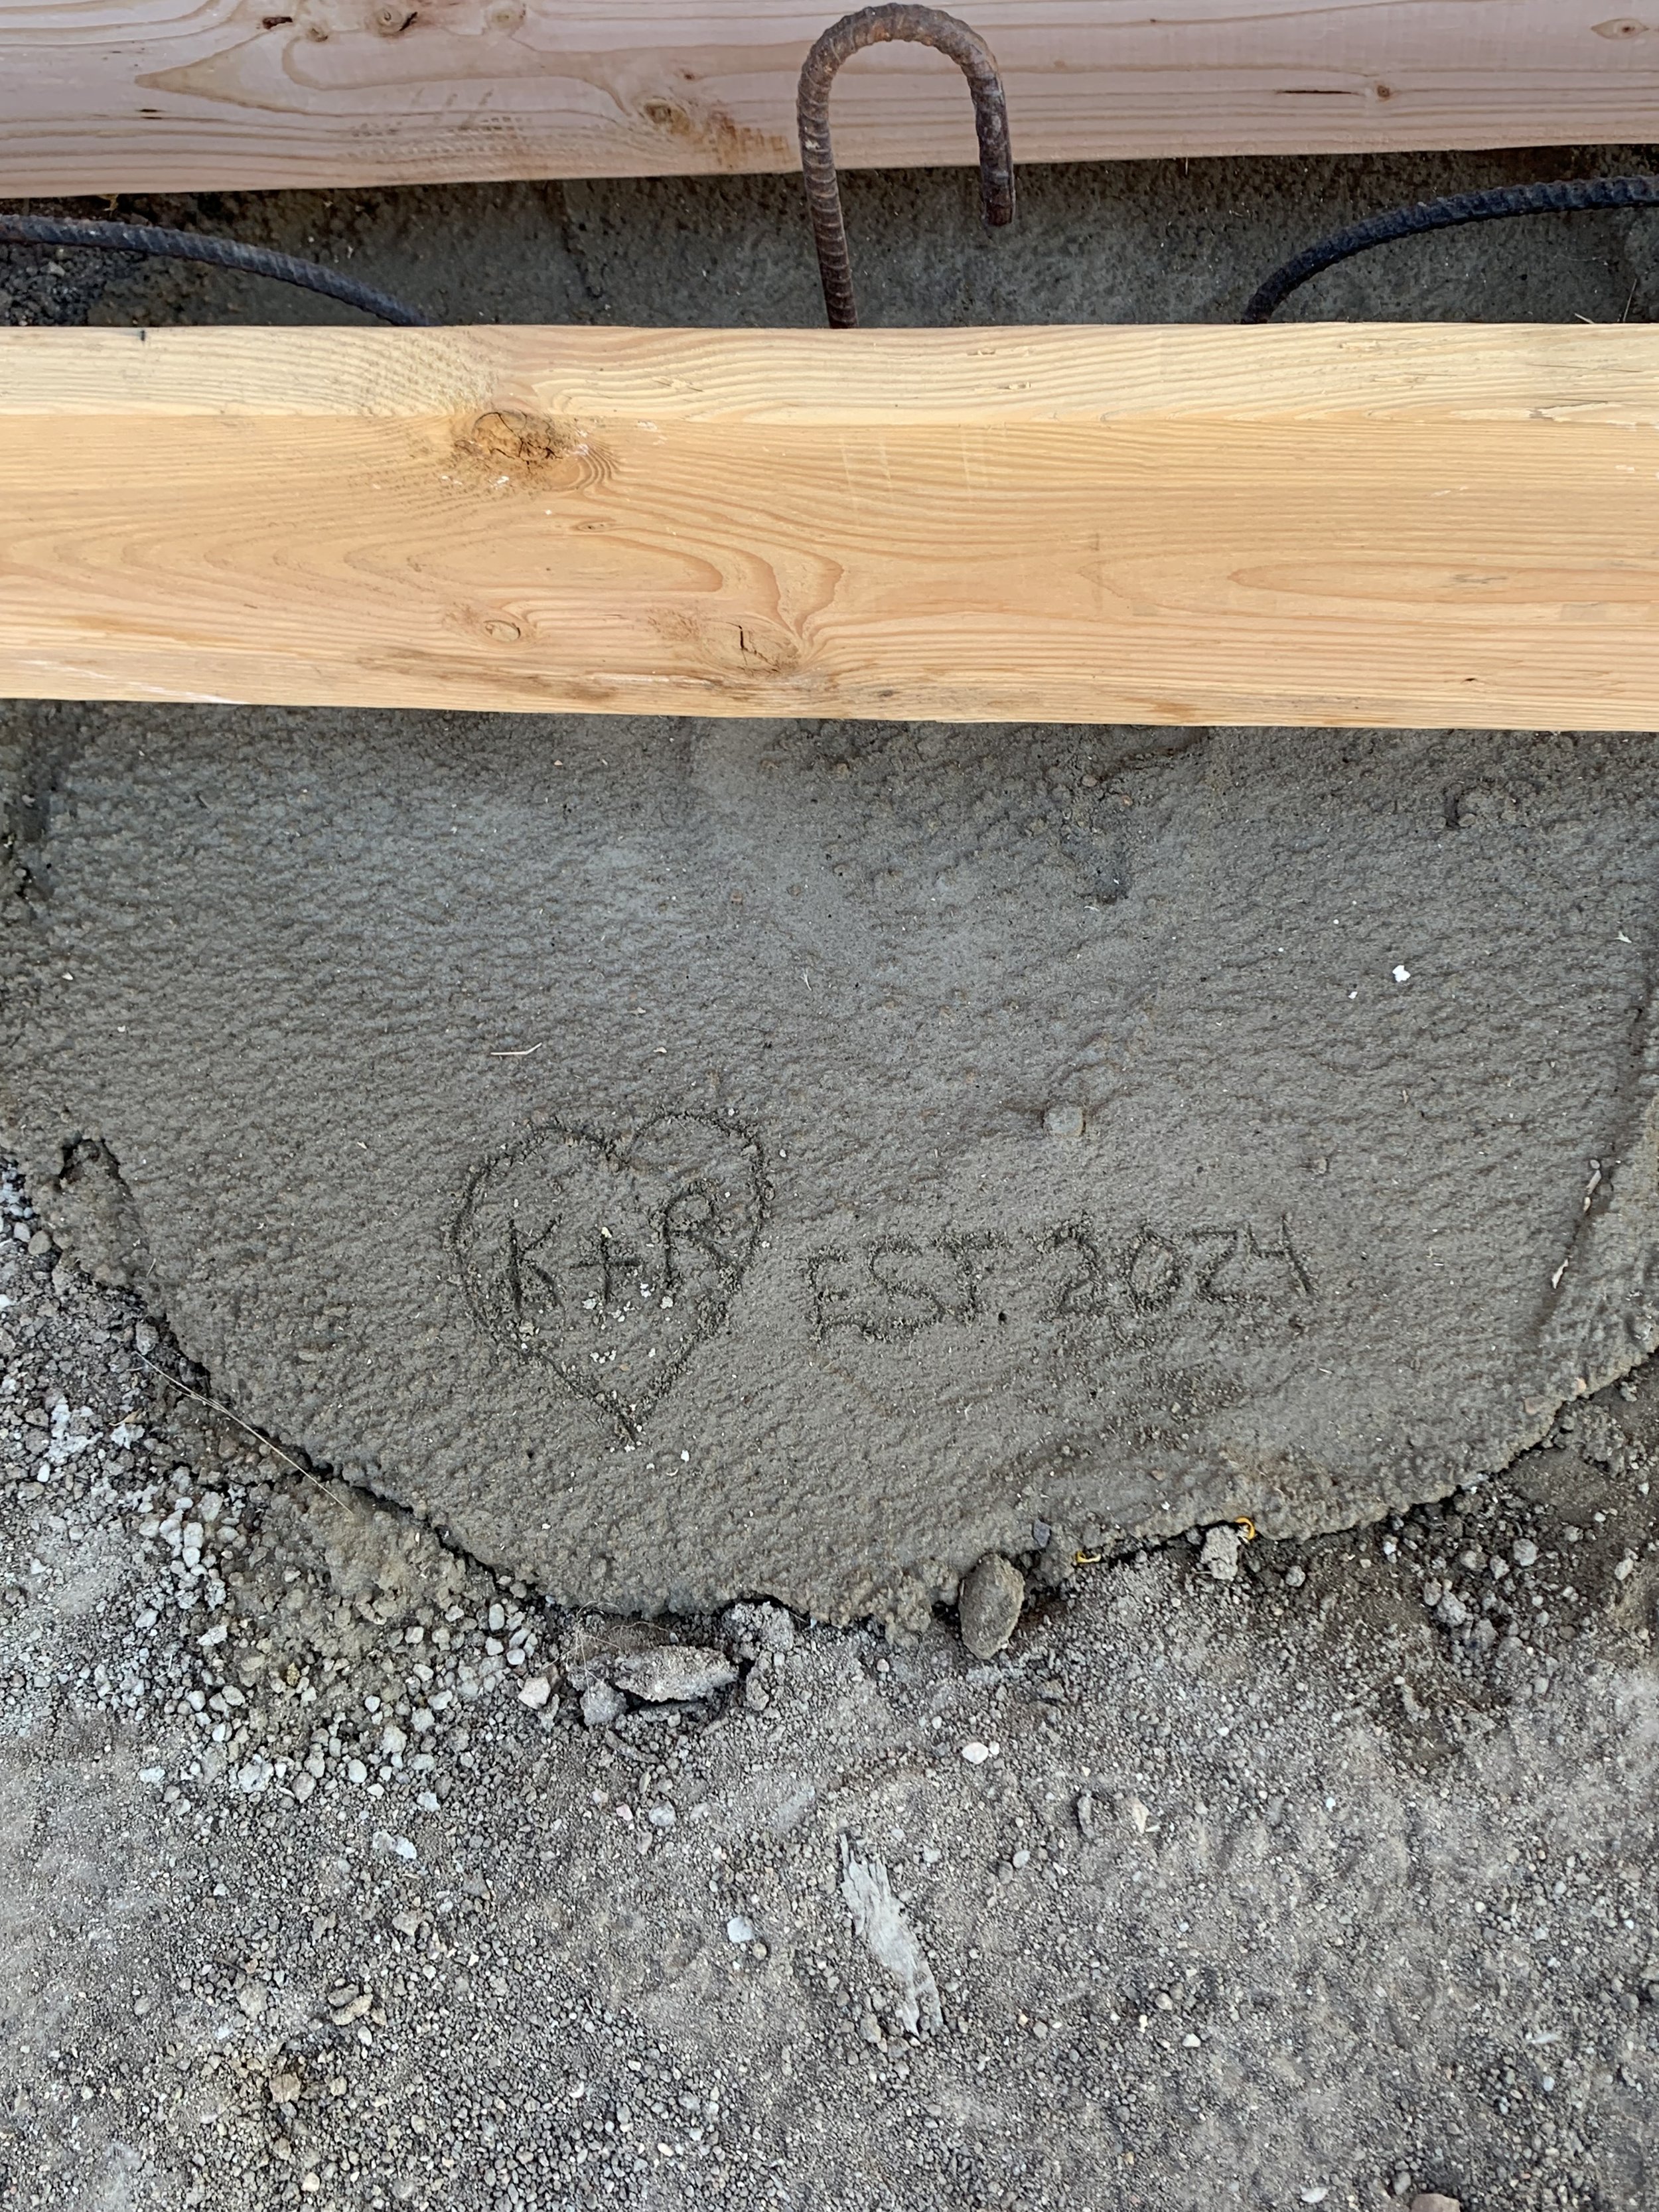
I couldn't resist personalizing our concrete. Maybe someday future generations will find it!

Next we start building the footings on which we'll attach the retaining wall.
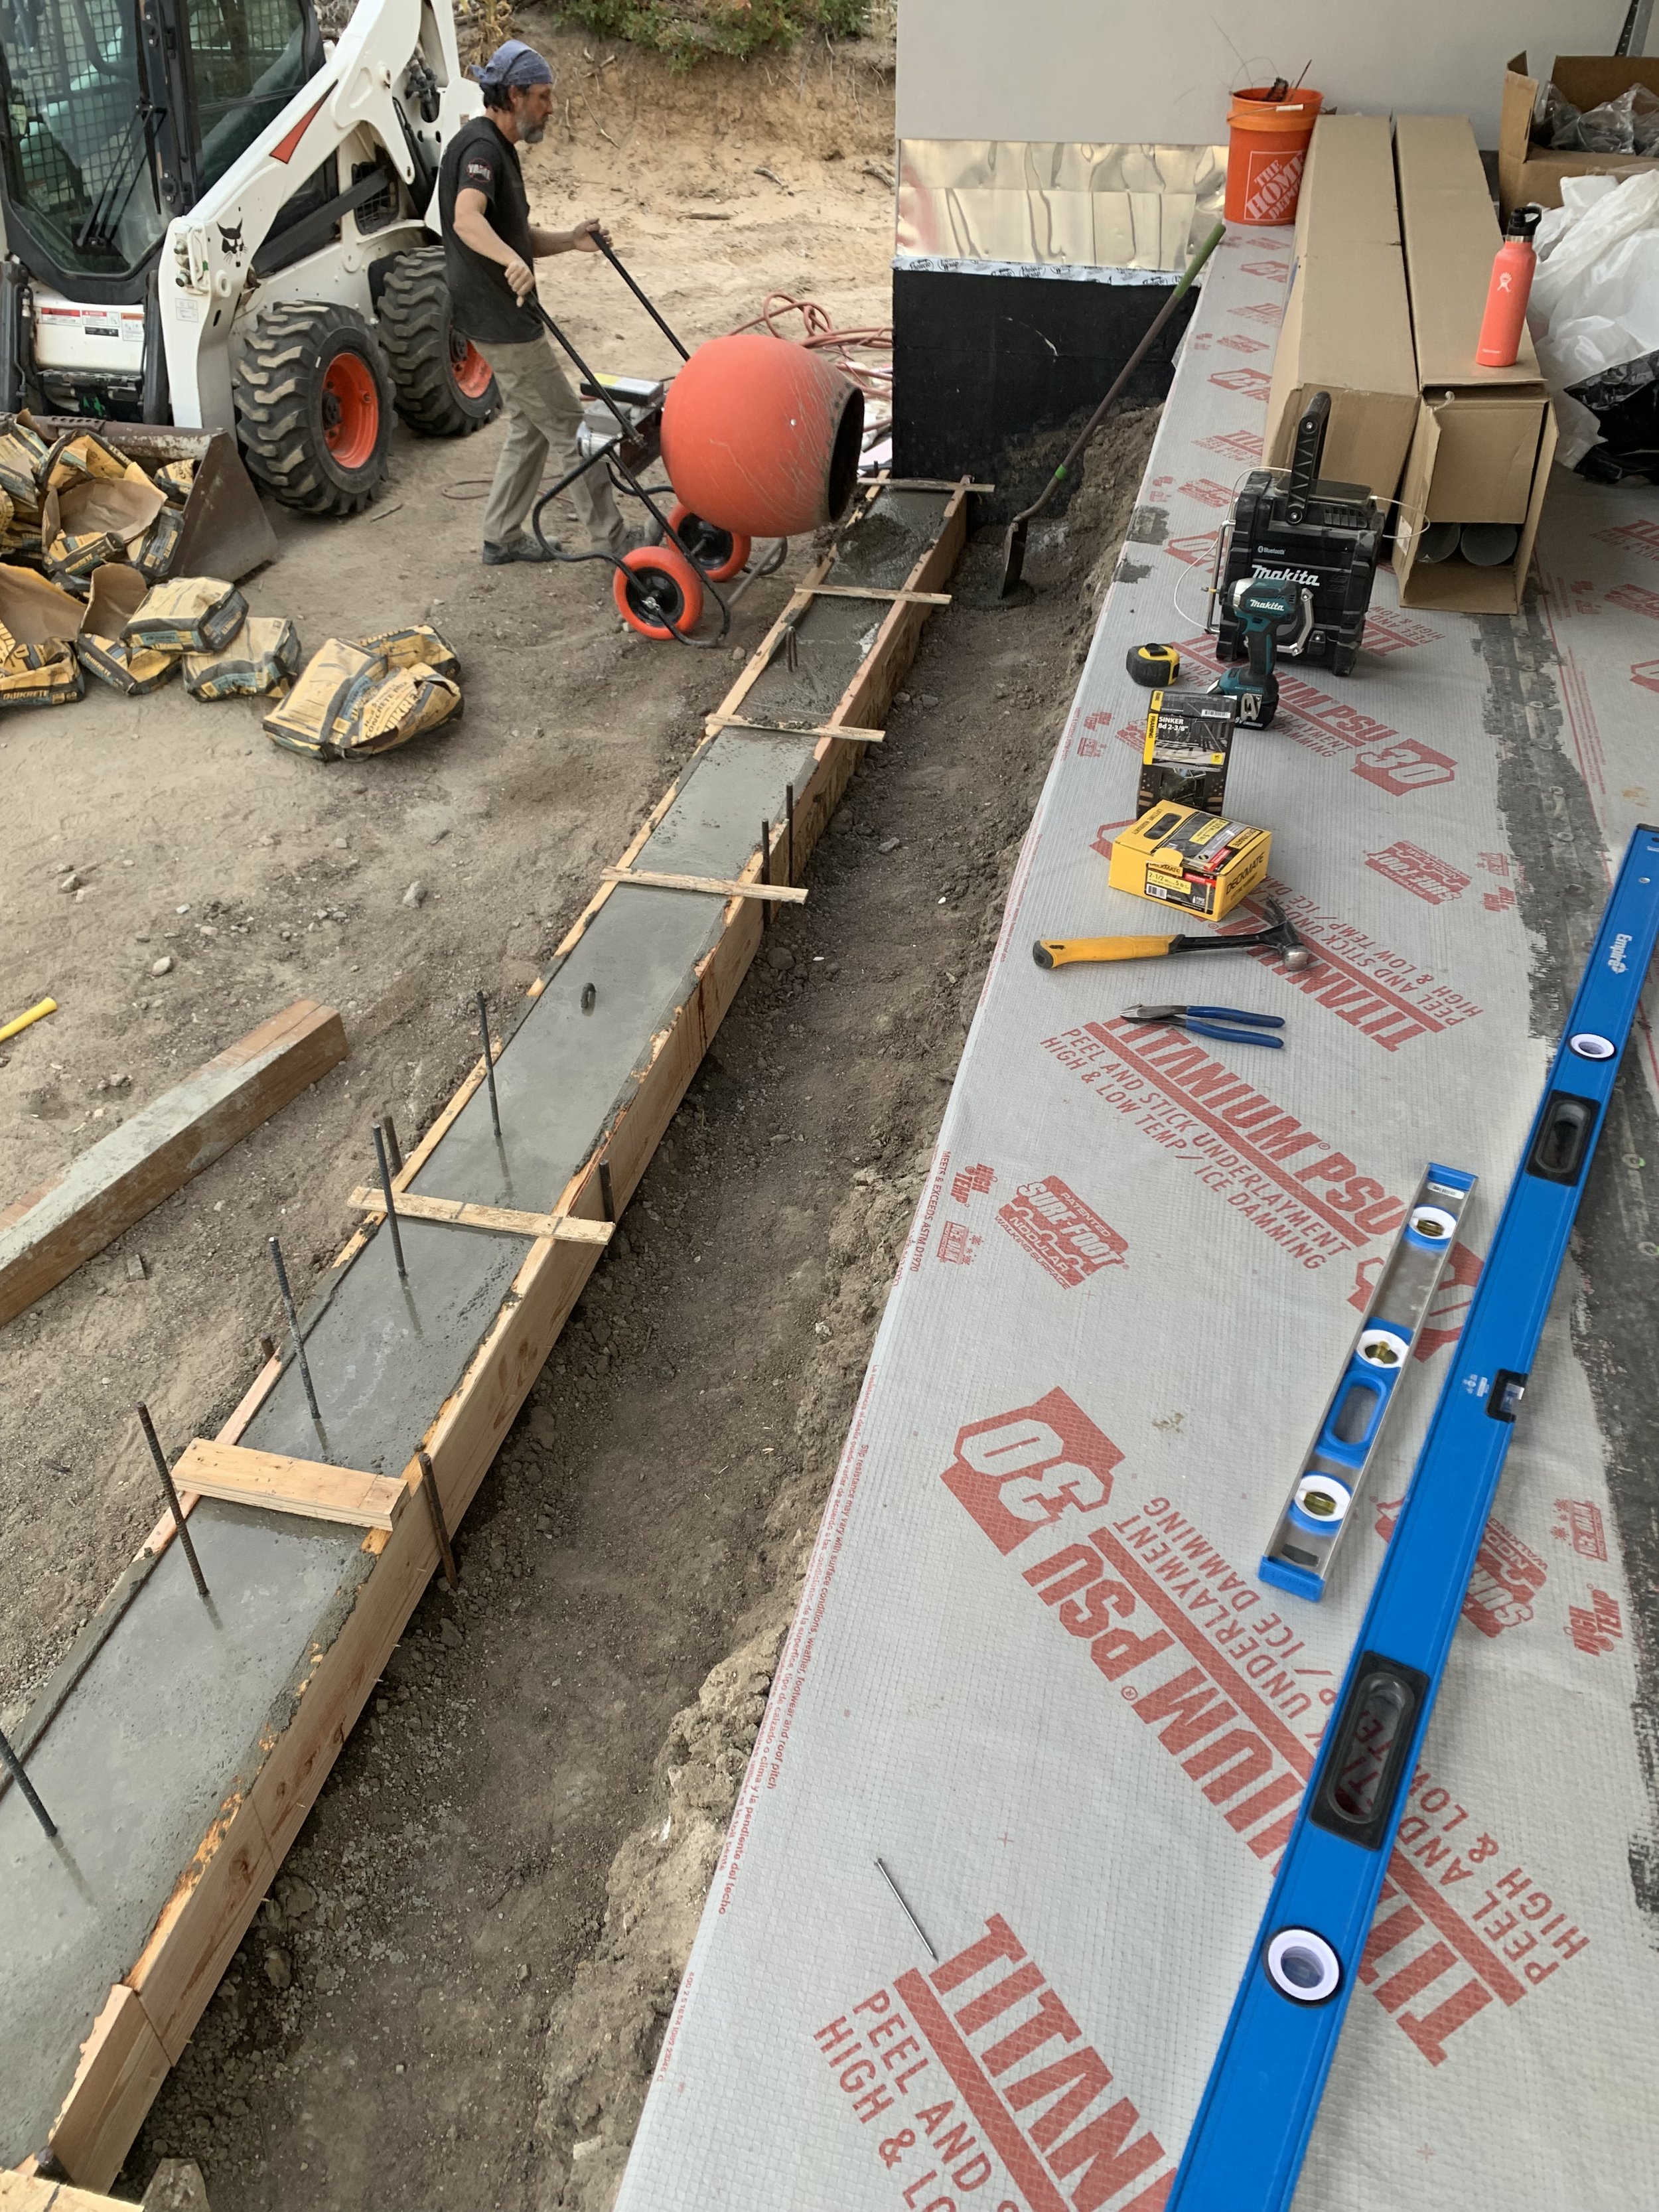
Time to start mixing more concrete!! Oh goodie!
Another 2,000 pounds mixed and poured!

Added all the remaining rebar as the concrete was setting.

Now it's time to start building the forms for the retaining wall.

Kris worked tirelessly to finish the forms and get supports up so we could be ready for more concrete before the cold weather moved in.

Here's a view from the top of the forms. We will NOT be mixing this batch of concrete by hand.

Here's a view from the back.
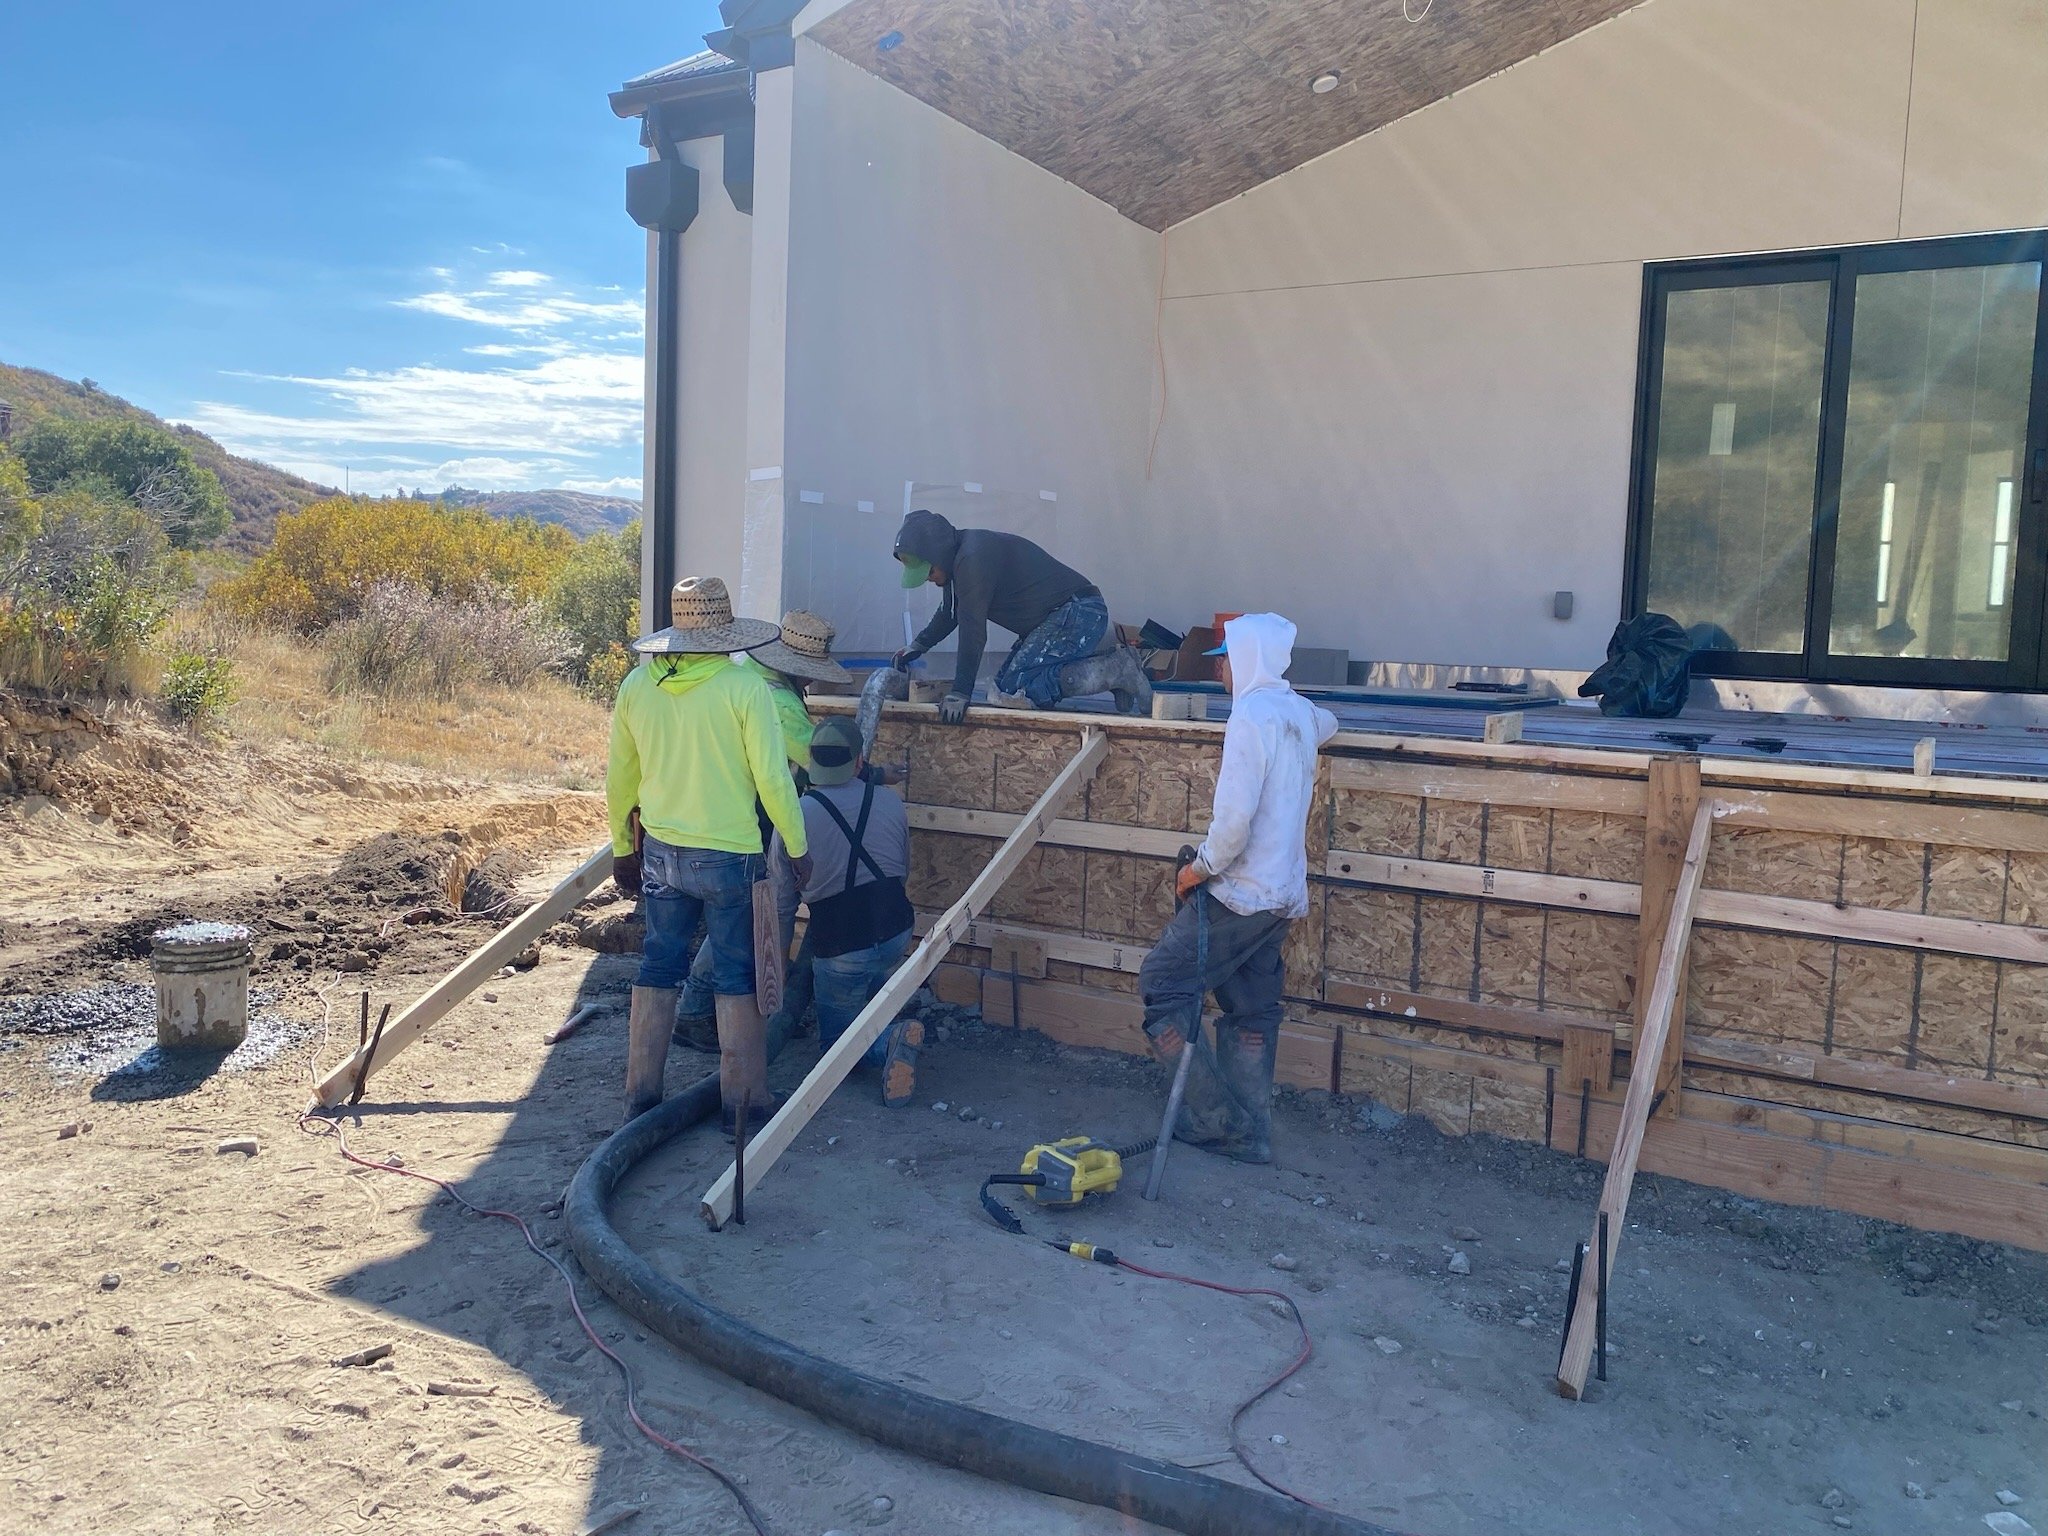
Time to call in the pros!

Concrete pouring begins.

All finished! That was way easier than hand mixing concrete....just a lot more expensive!

The concrete is dry, so it's time to take off the forms and see if it still stands!

Looks great!

The next step is backfilling behind the wall.
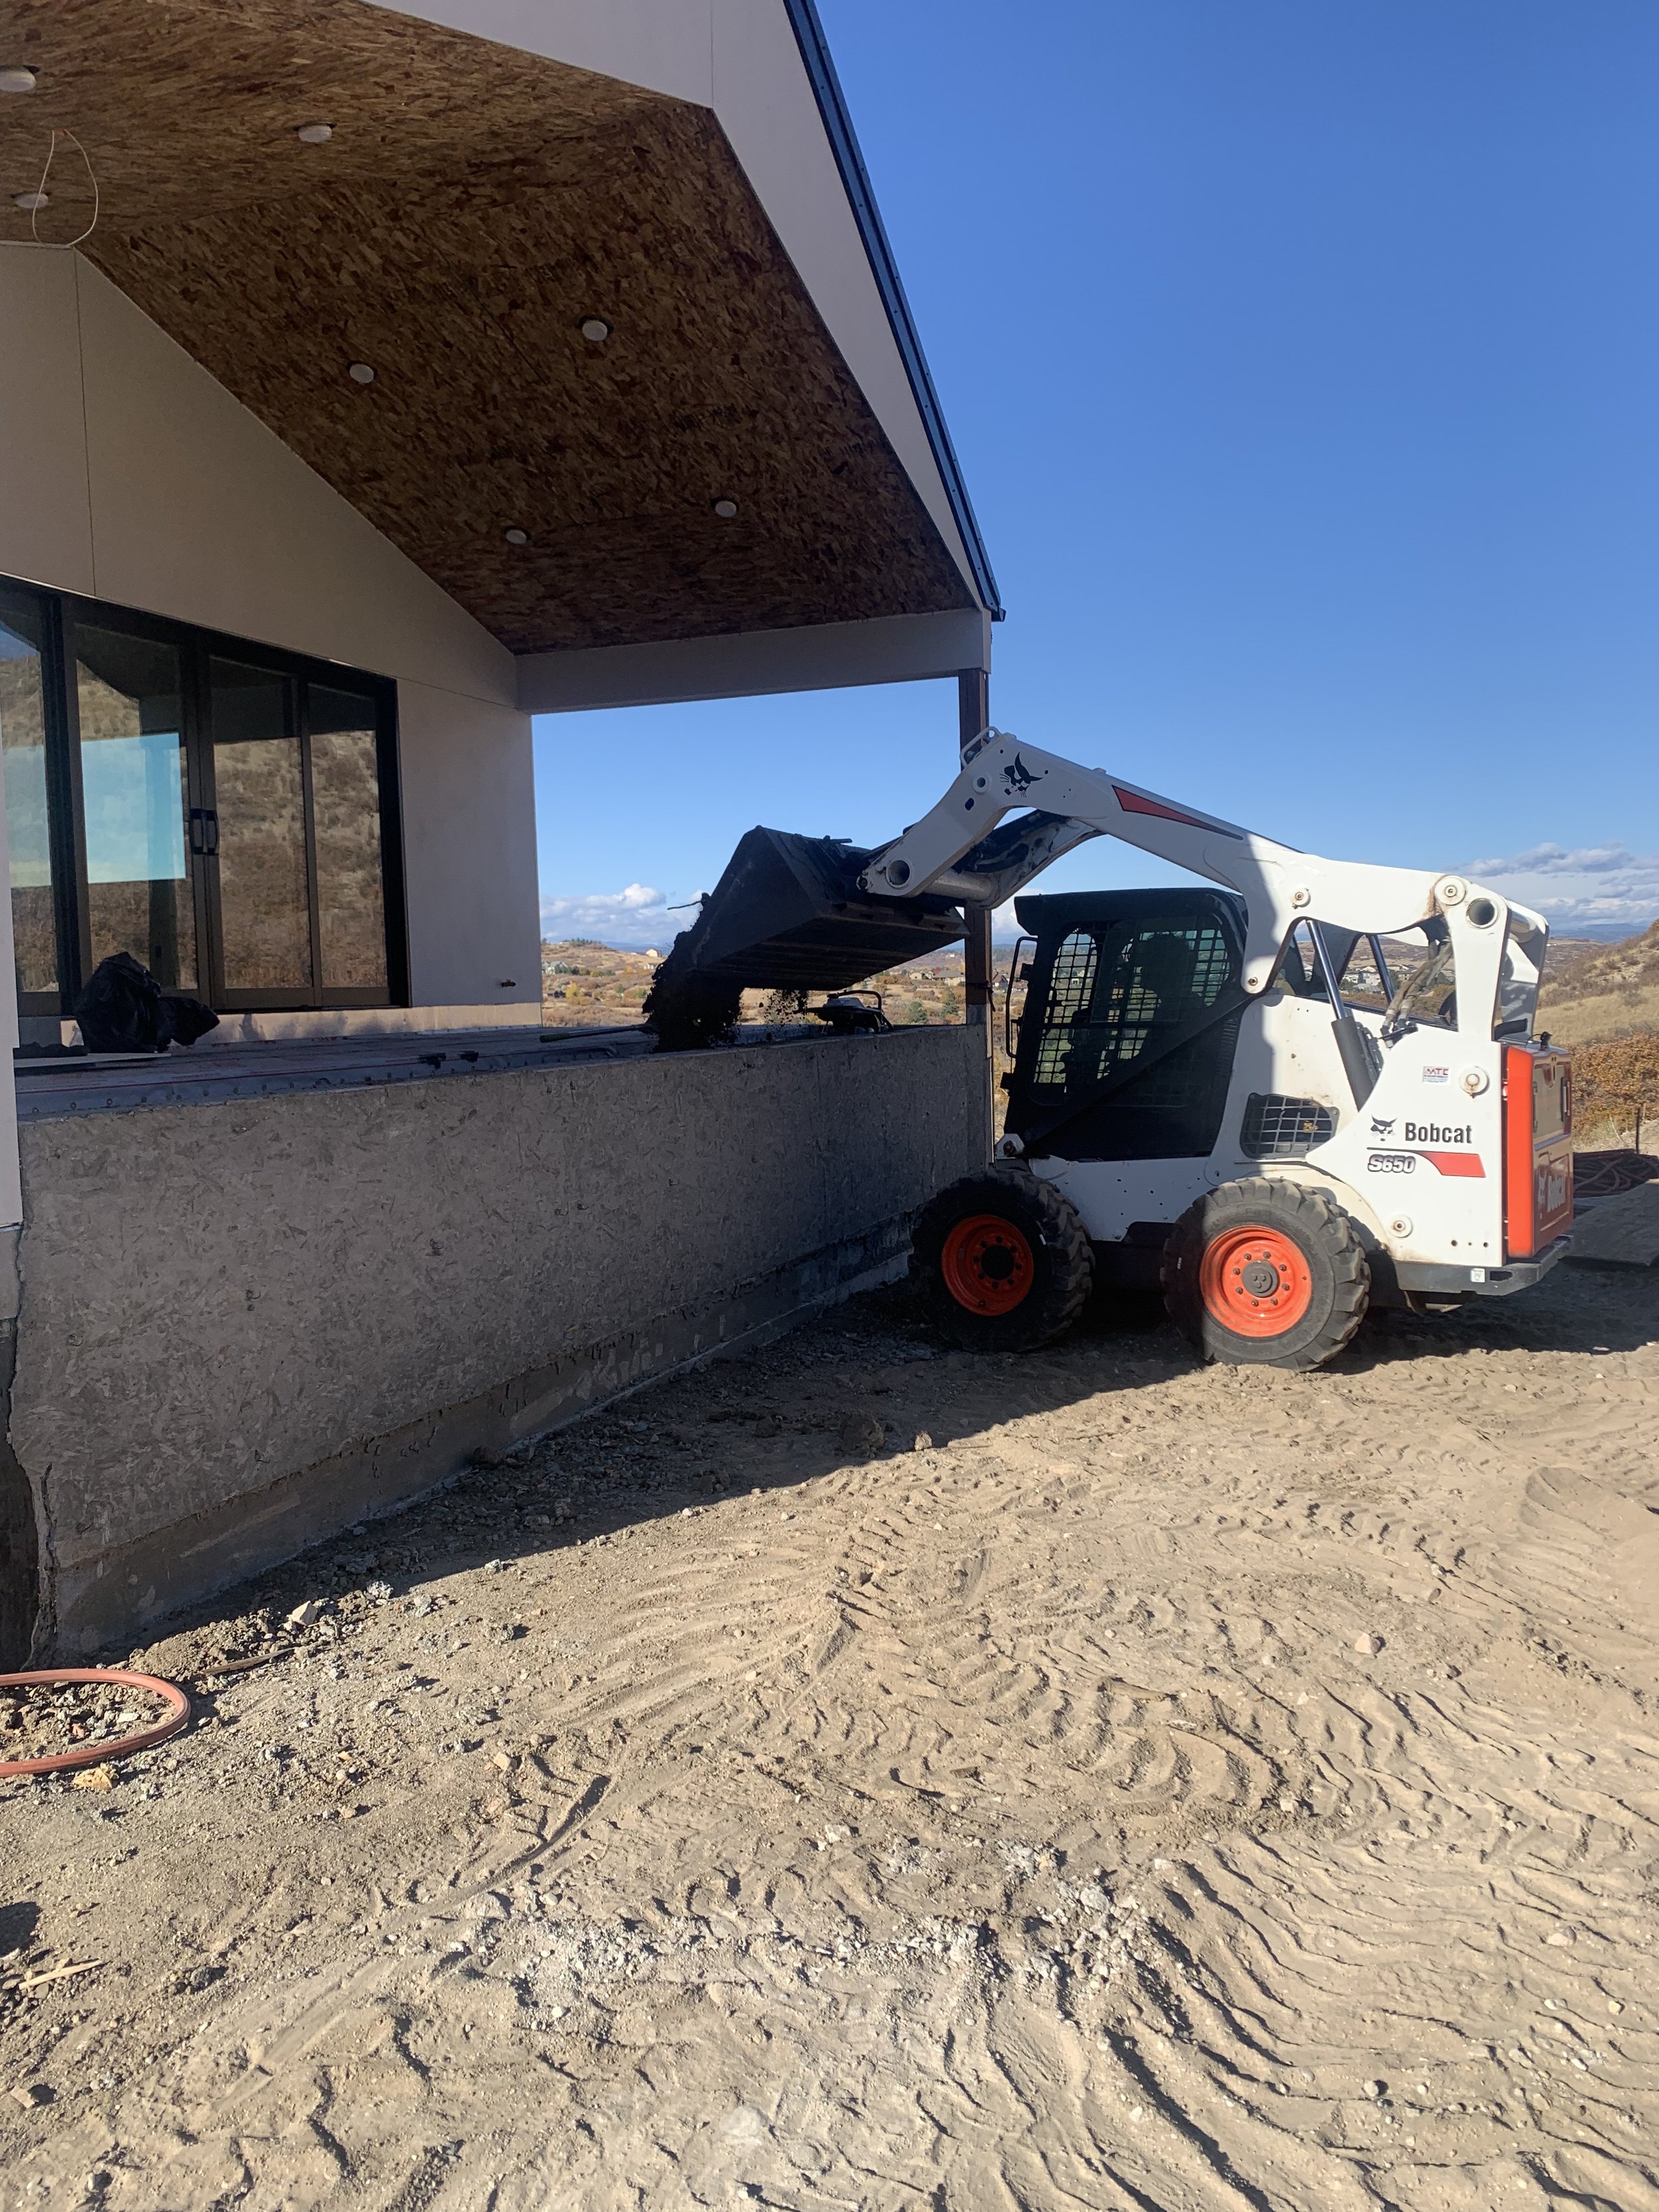
Add a layer of dirt...

Take the earth compactor after it...

Repeat until it's full!

Now we roll on a layer of waterproofing, just to be sure no water gets through! Structural engineers will have to do an inspection before we can go to the final stage.

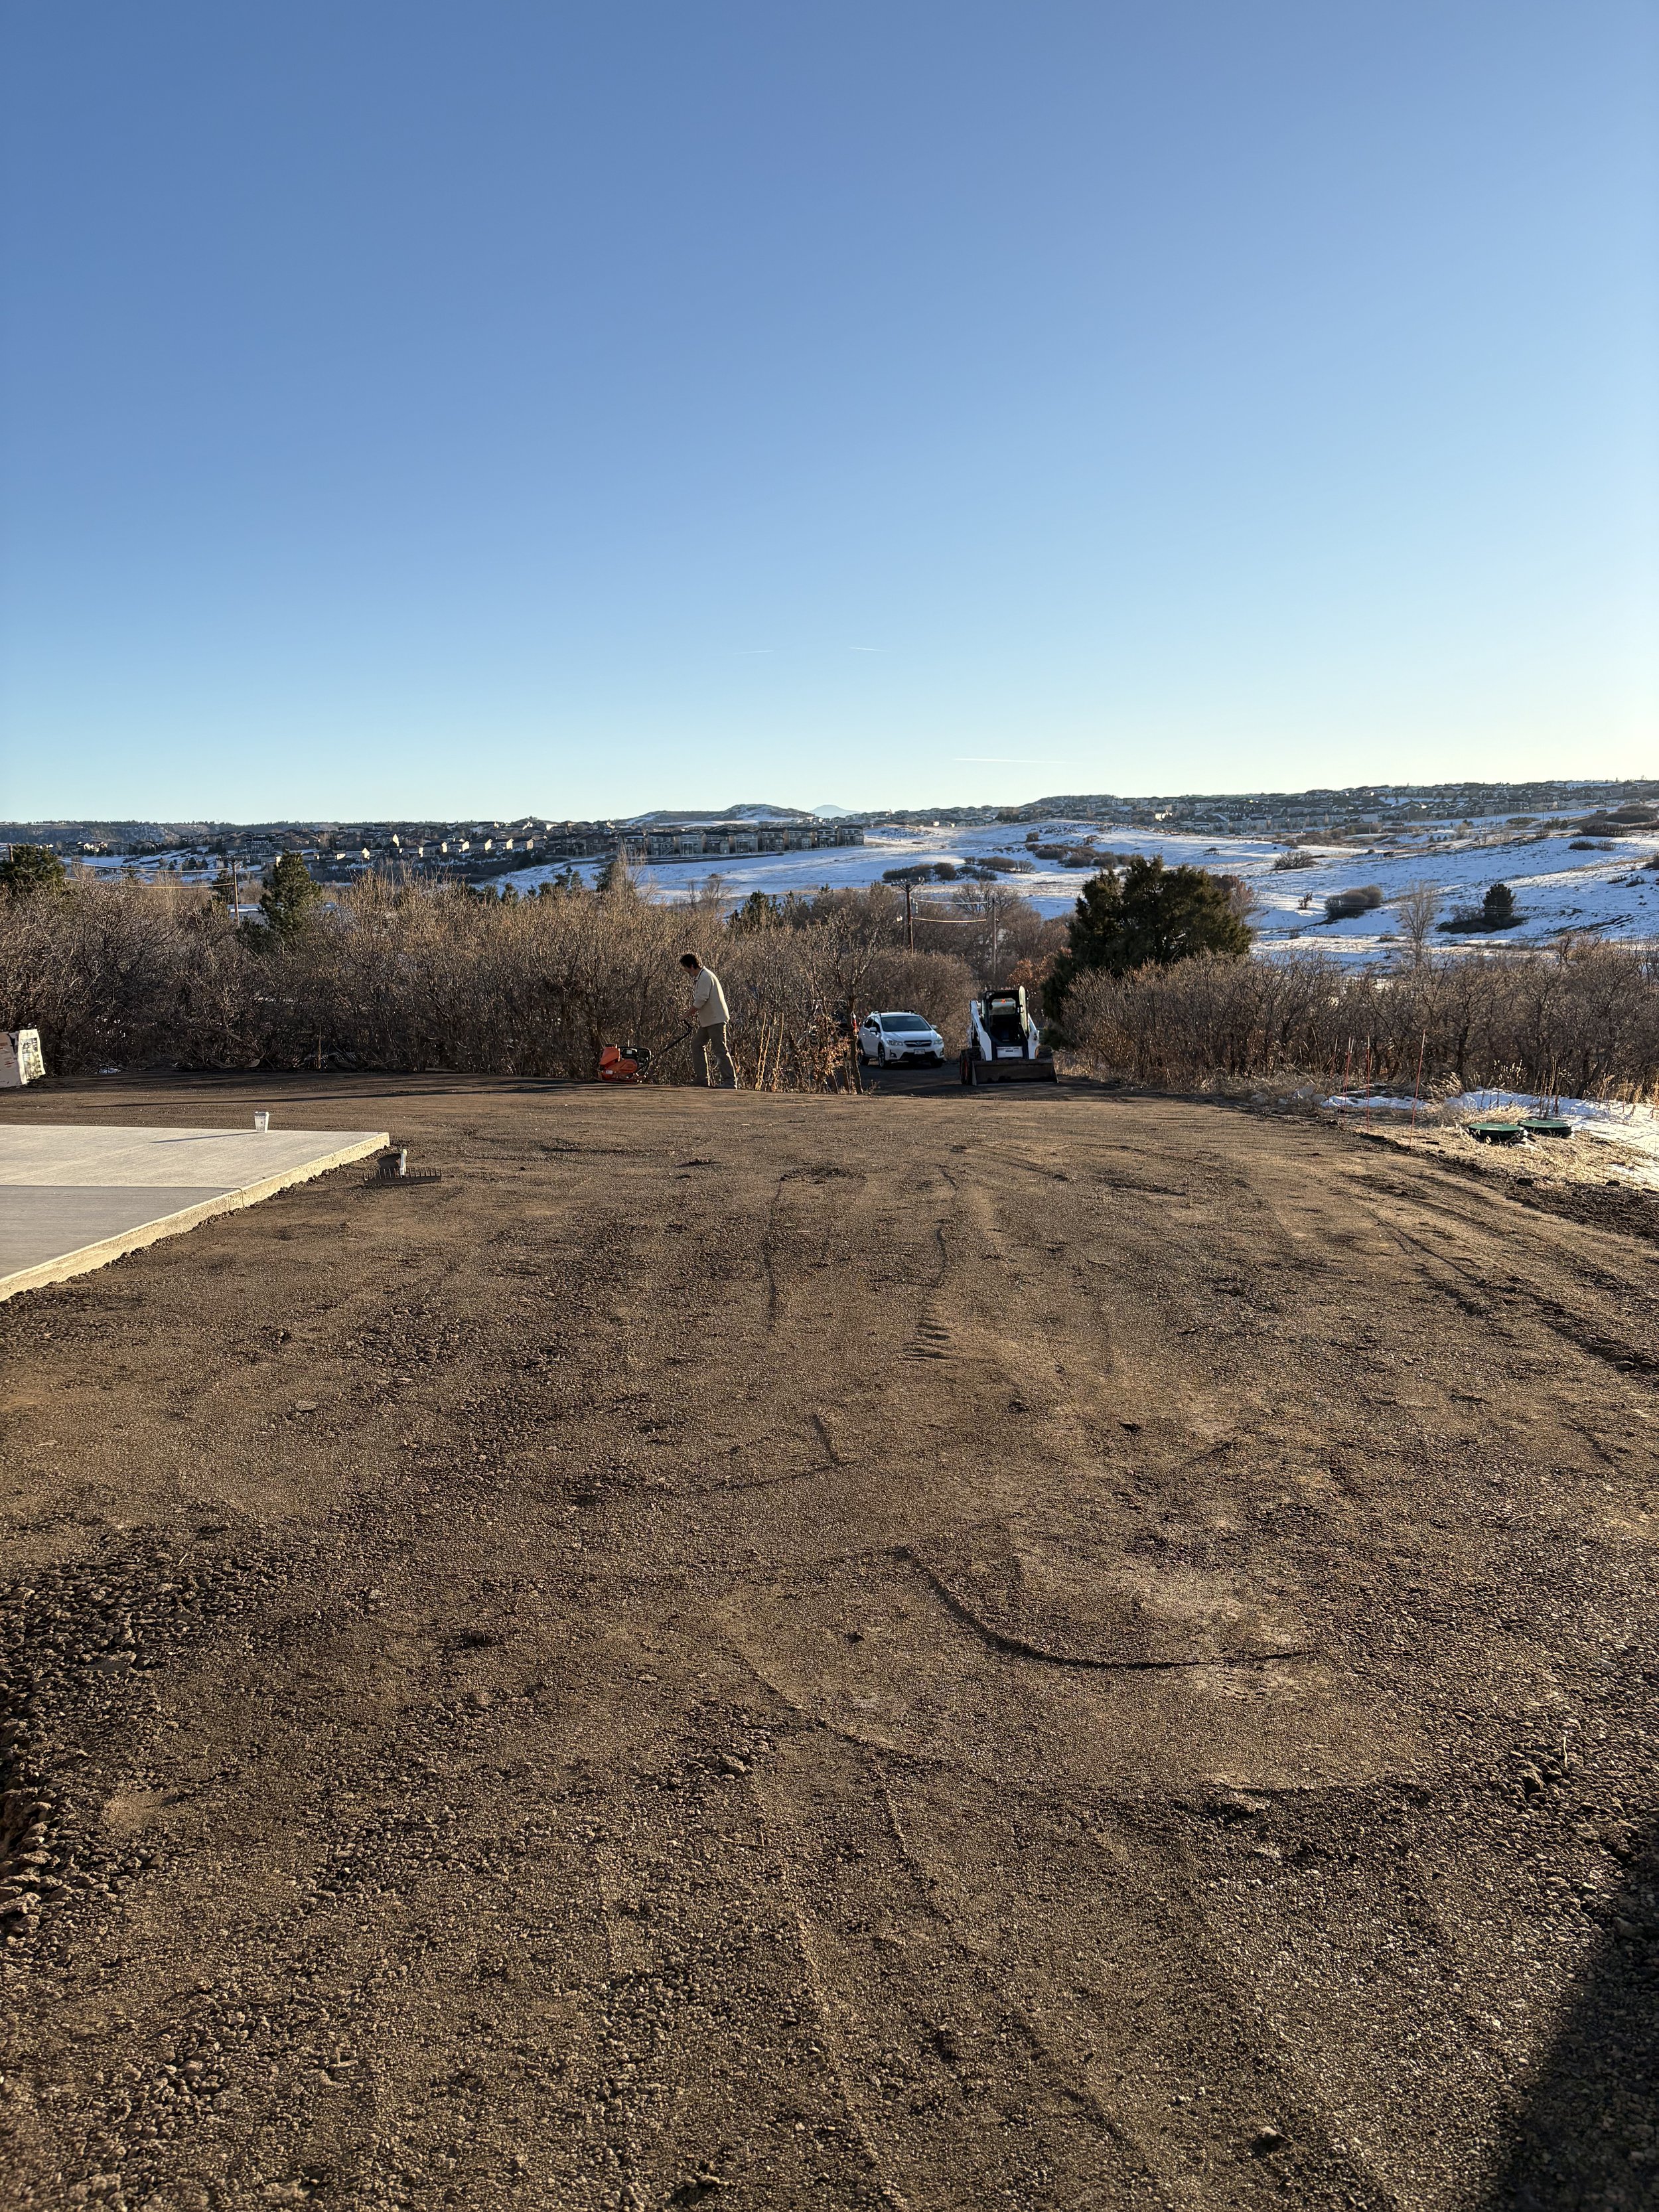
Now we move on to the driveway.

All the things you don't think about when you start to build a house. Things like, wrapping your house in plastic so the concrete workers don't splatter on your new stucco!

The workers arrive and start to frame in the driveway.

At least this time WE don't have to compact the dirt. It's so nice to hire a few jobs here and there.

Framing is about done!

Time to pour some concrete!

Haven't seen one of these trucks in a while!

Now the smoothing process begins.

Looks about finished!

All done! Looks great!

A view from the side.

We're so happy with the end result!
Step 15: The Gutters and Snow Stops

Time to control the rainwater to avoid future floods. That means it's gutter time!

Two downspouts required for this section of the roof. LOTS of water drains off here!

Our guests will appreciate this gutter. It's right over the front door!

Coming around to the front of the house now!

This is a super long downspout. Hope we don't ever have to climb up to the top to clean it!
The gutters are complete and awaiting their first test run!

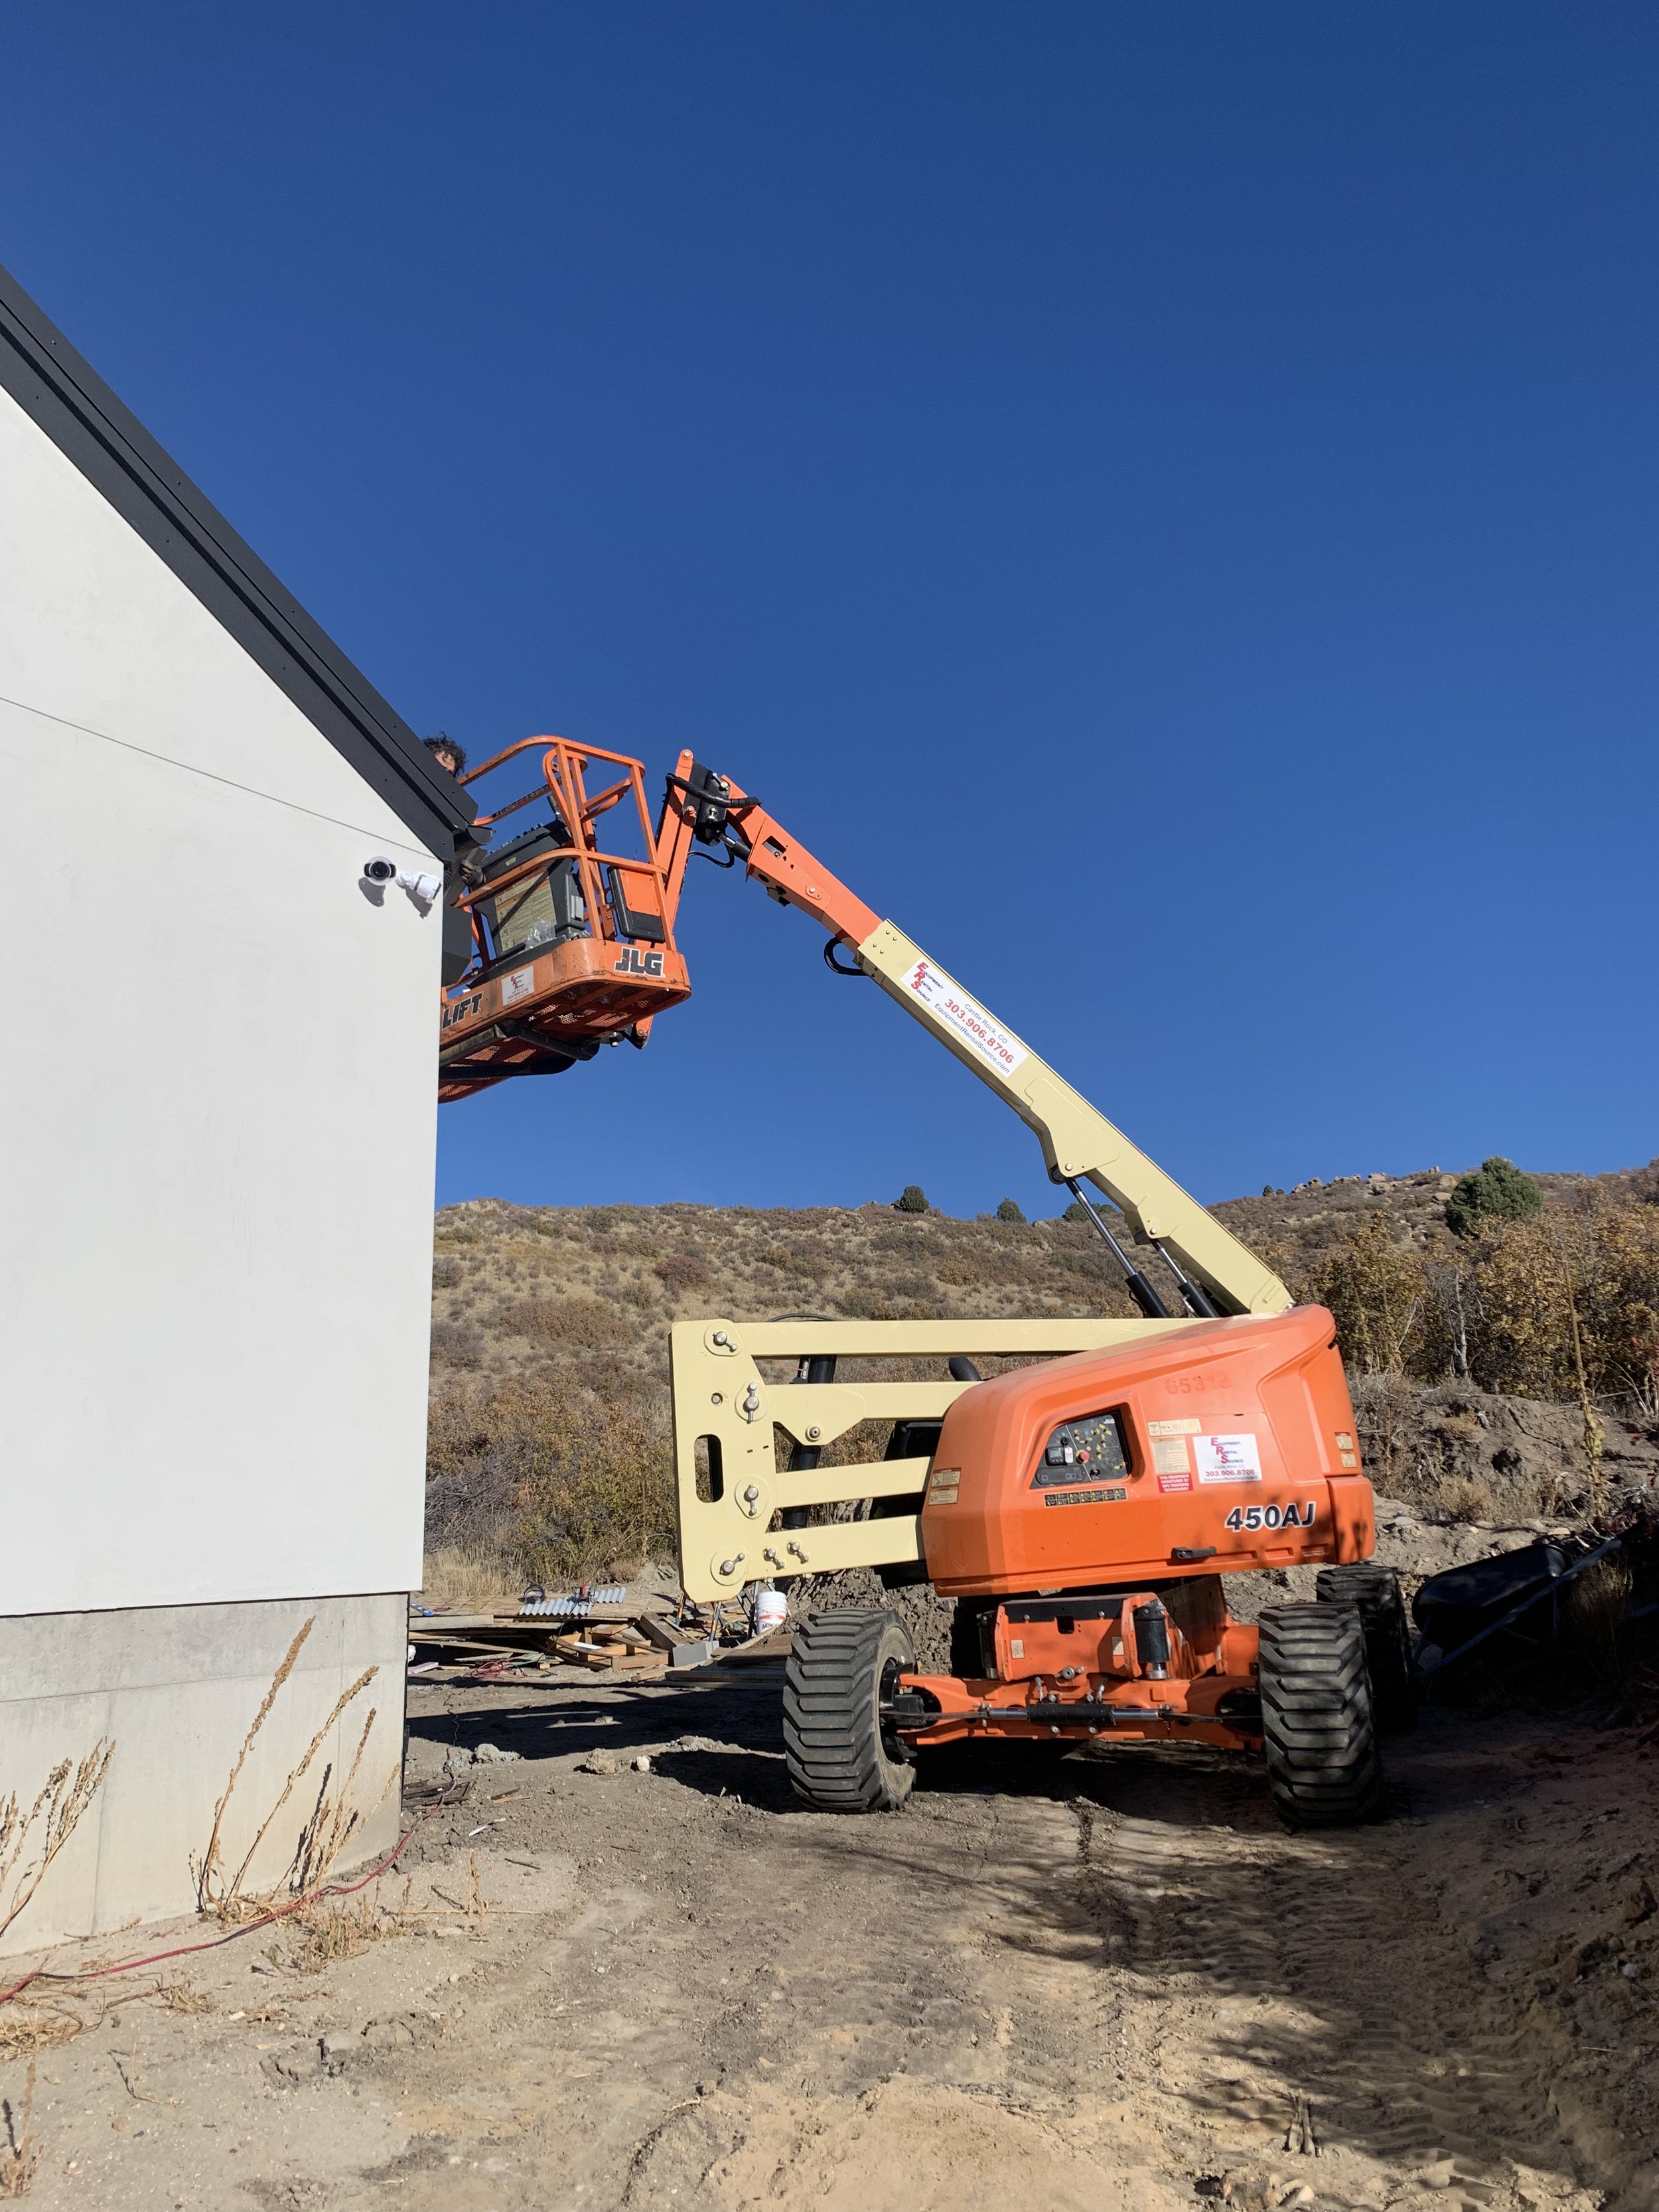
Now the man lift comes out for the tougher part of roof completion...the snow stops!! (Ominous music plays here)
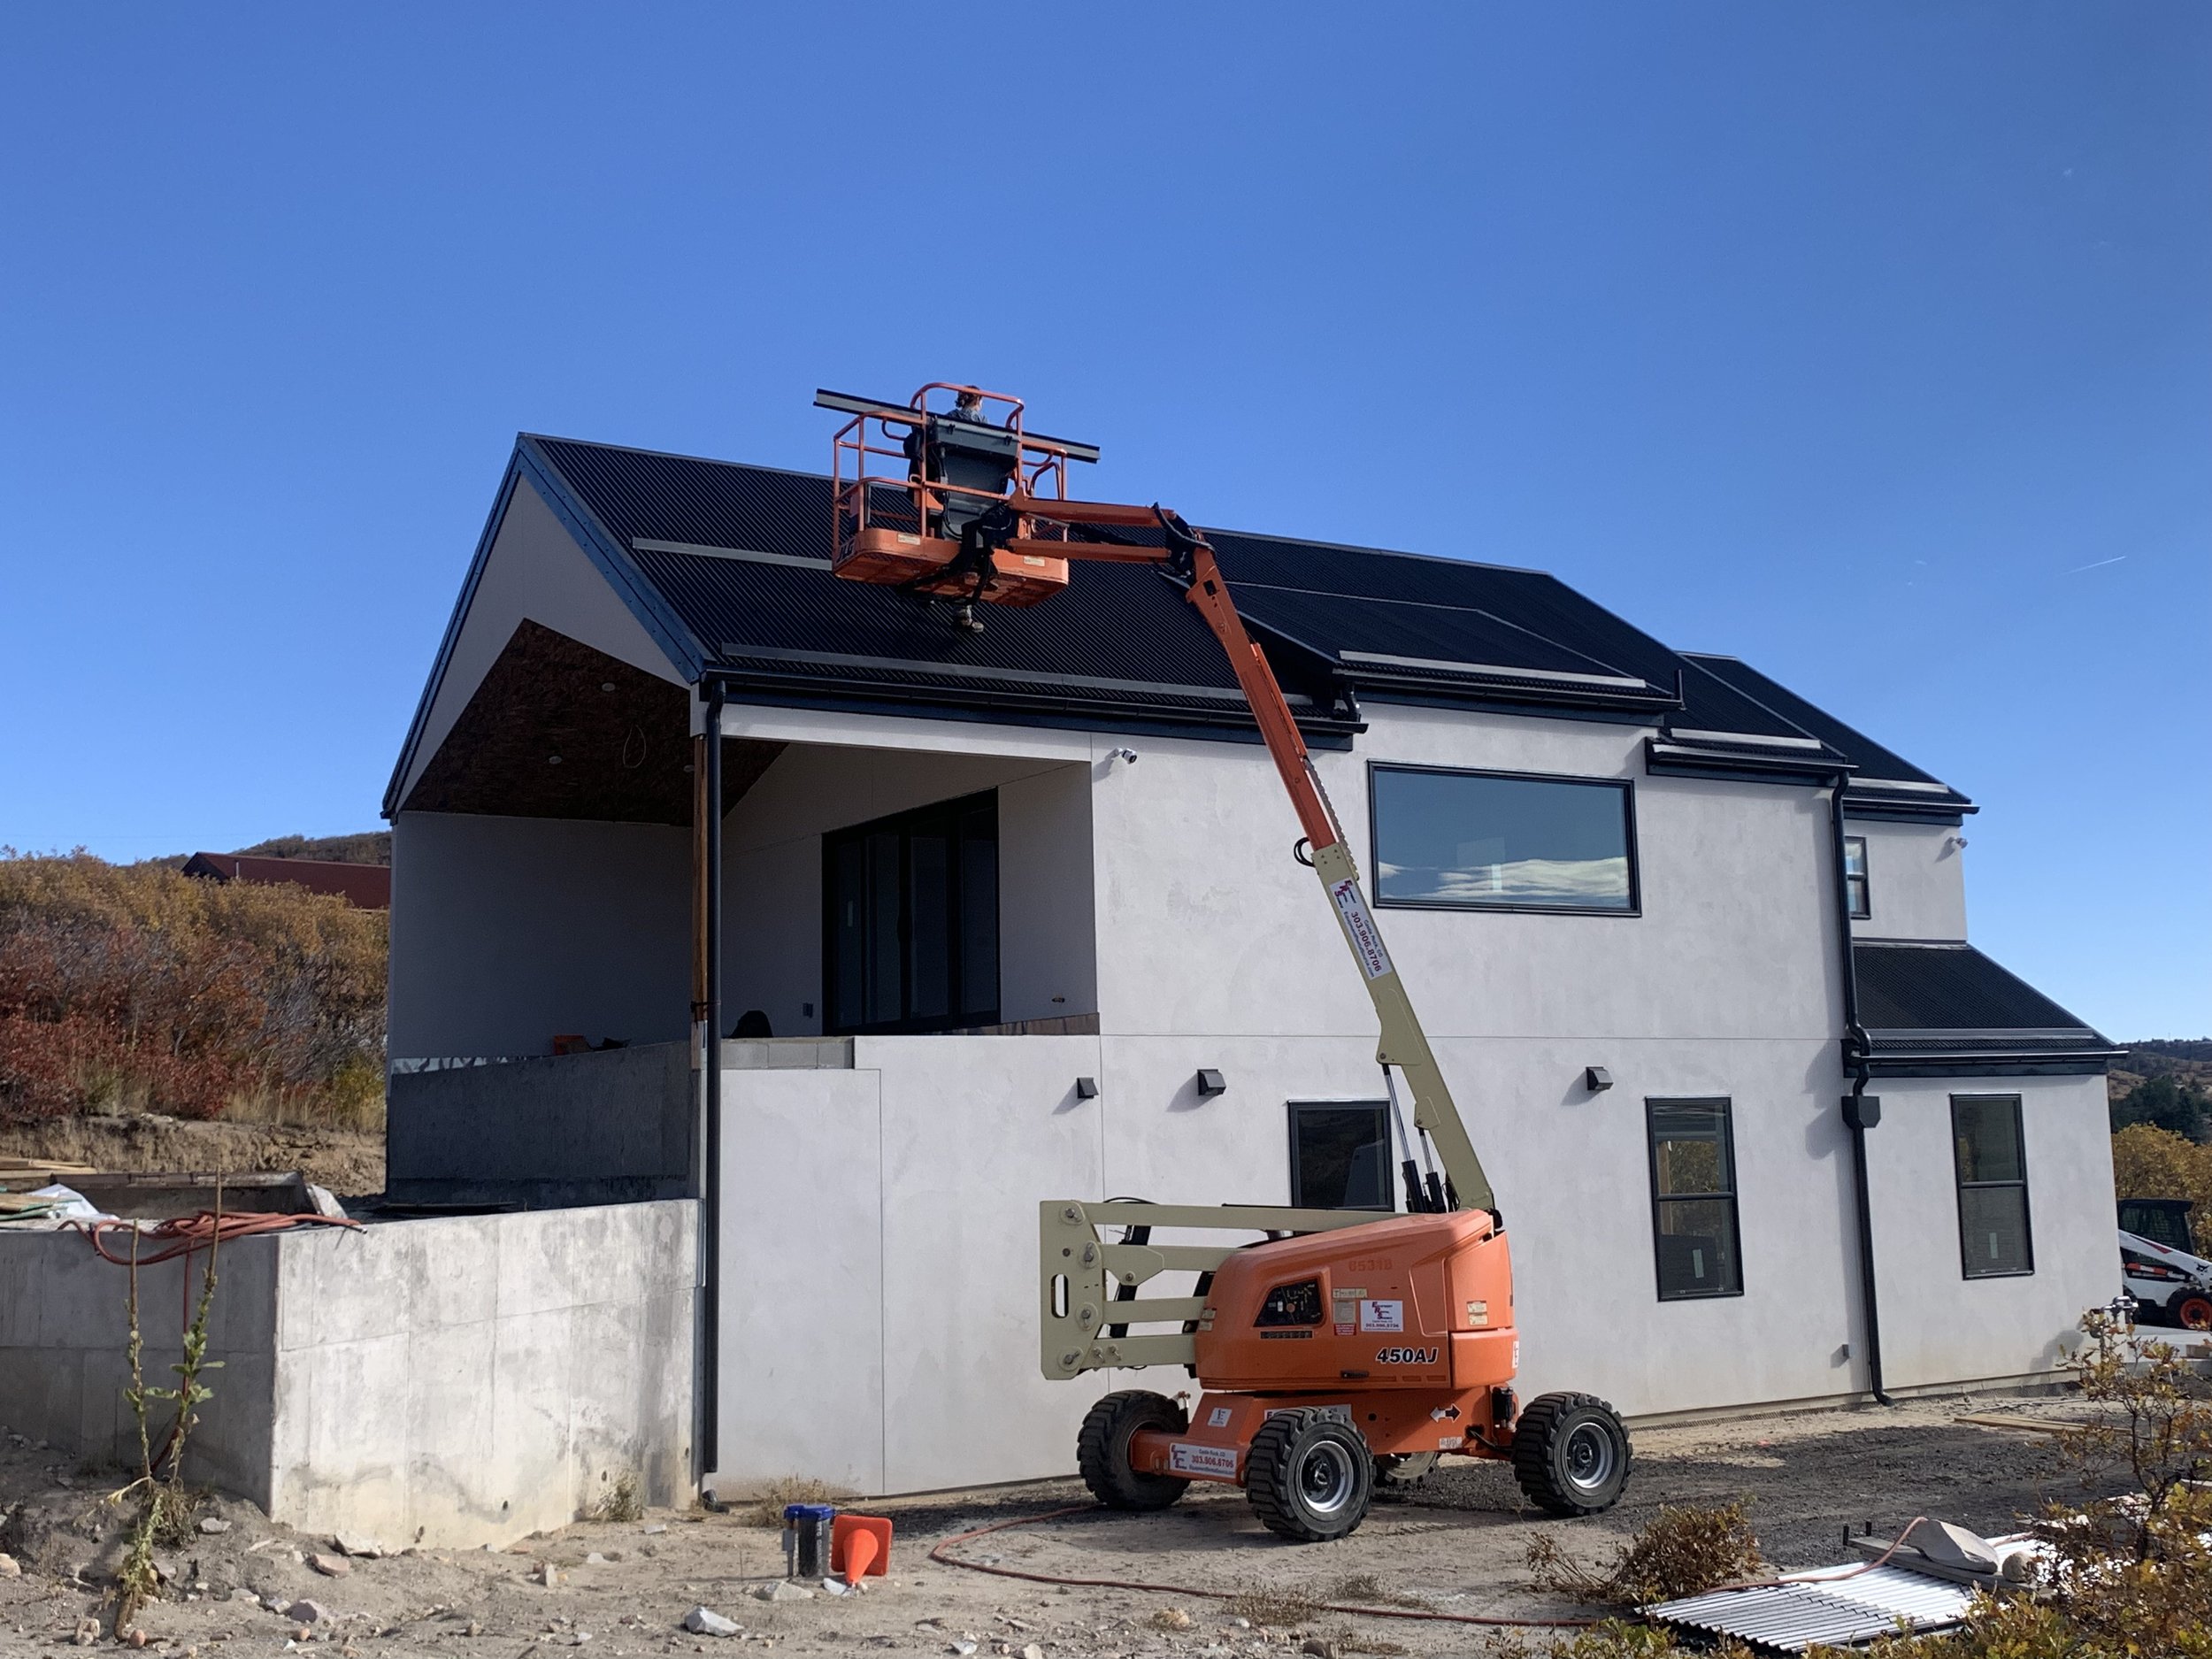
This seems a bit sketchy.

Good thing we have a snow stop model in the lift! Our niece Ruth is Kris' assistant today!

Watch out for that first step Kris! It's a doozy!

They worked til sundown.

One final daredevil move before they wrap up for the night. Eek!
Kris looks super excited. He just LOVES this roof so much!

The last of the "easy" sections. Now on to the brutal portions of the roof.
Making our way to the back of the house.

One sketchy section done!

I'm in the man lift and you can see where Kris had to hang out for this side. We couldn't quite finish because it got too dark.

Day 3 started at sunrise! There were a couple scary slips and falls stopped by the safety strap. It was a terrifying portion to watch!
The final portion was completed with less than a few minutes left on our man lift rental.

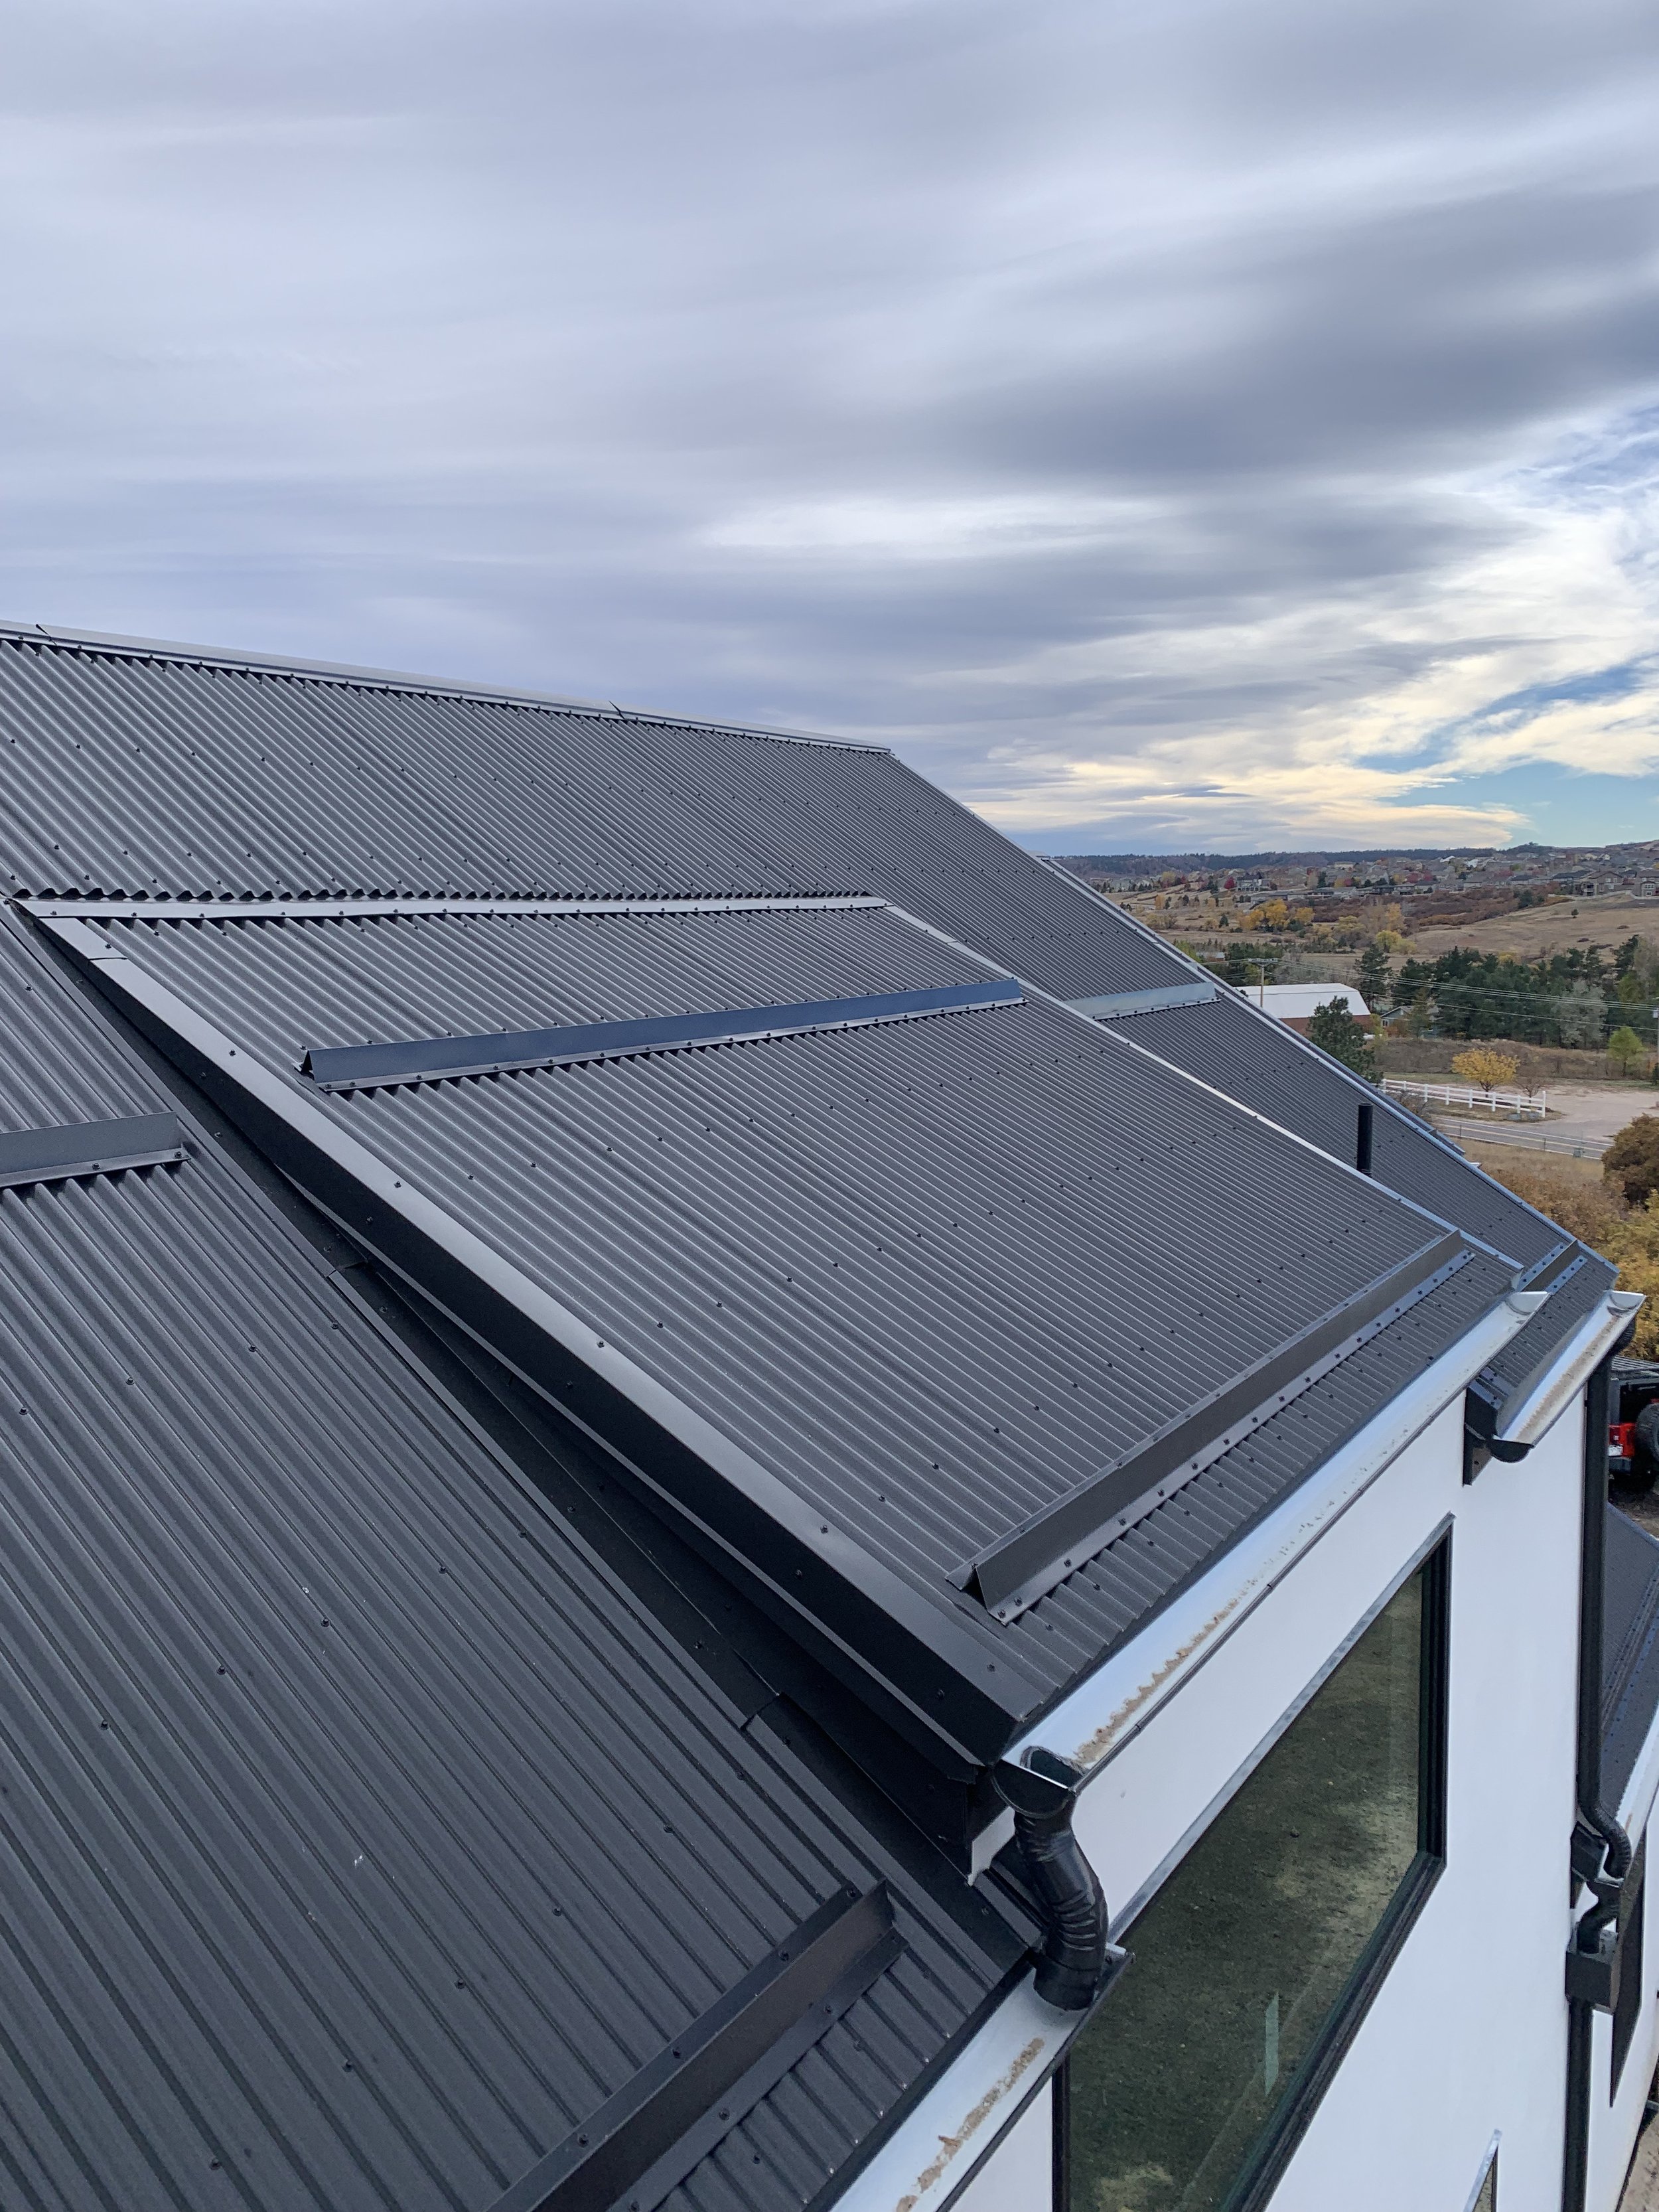
Here's the finished product!

1 week later we put those snow stops to the test with 3 FEET of snow!!

No avalanches off the roof yet!
Step 16: Sidewalk and Driveway Refinement

Time to start on the finishing touches. We begin with the sidewalk! Layer 1 is gravel.

A fine sand layer allows us to fine tune the leveling process, then the pavers start to go down.

The entryway starts to take shape!

The side walkway pavers go in.

Here you can see the entire walkway and entry! Don't worry, a real front door will be appearing soon!

It's all coming together!

A closer look at our beautiful pavers.
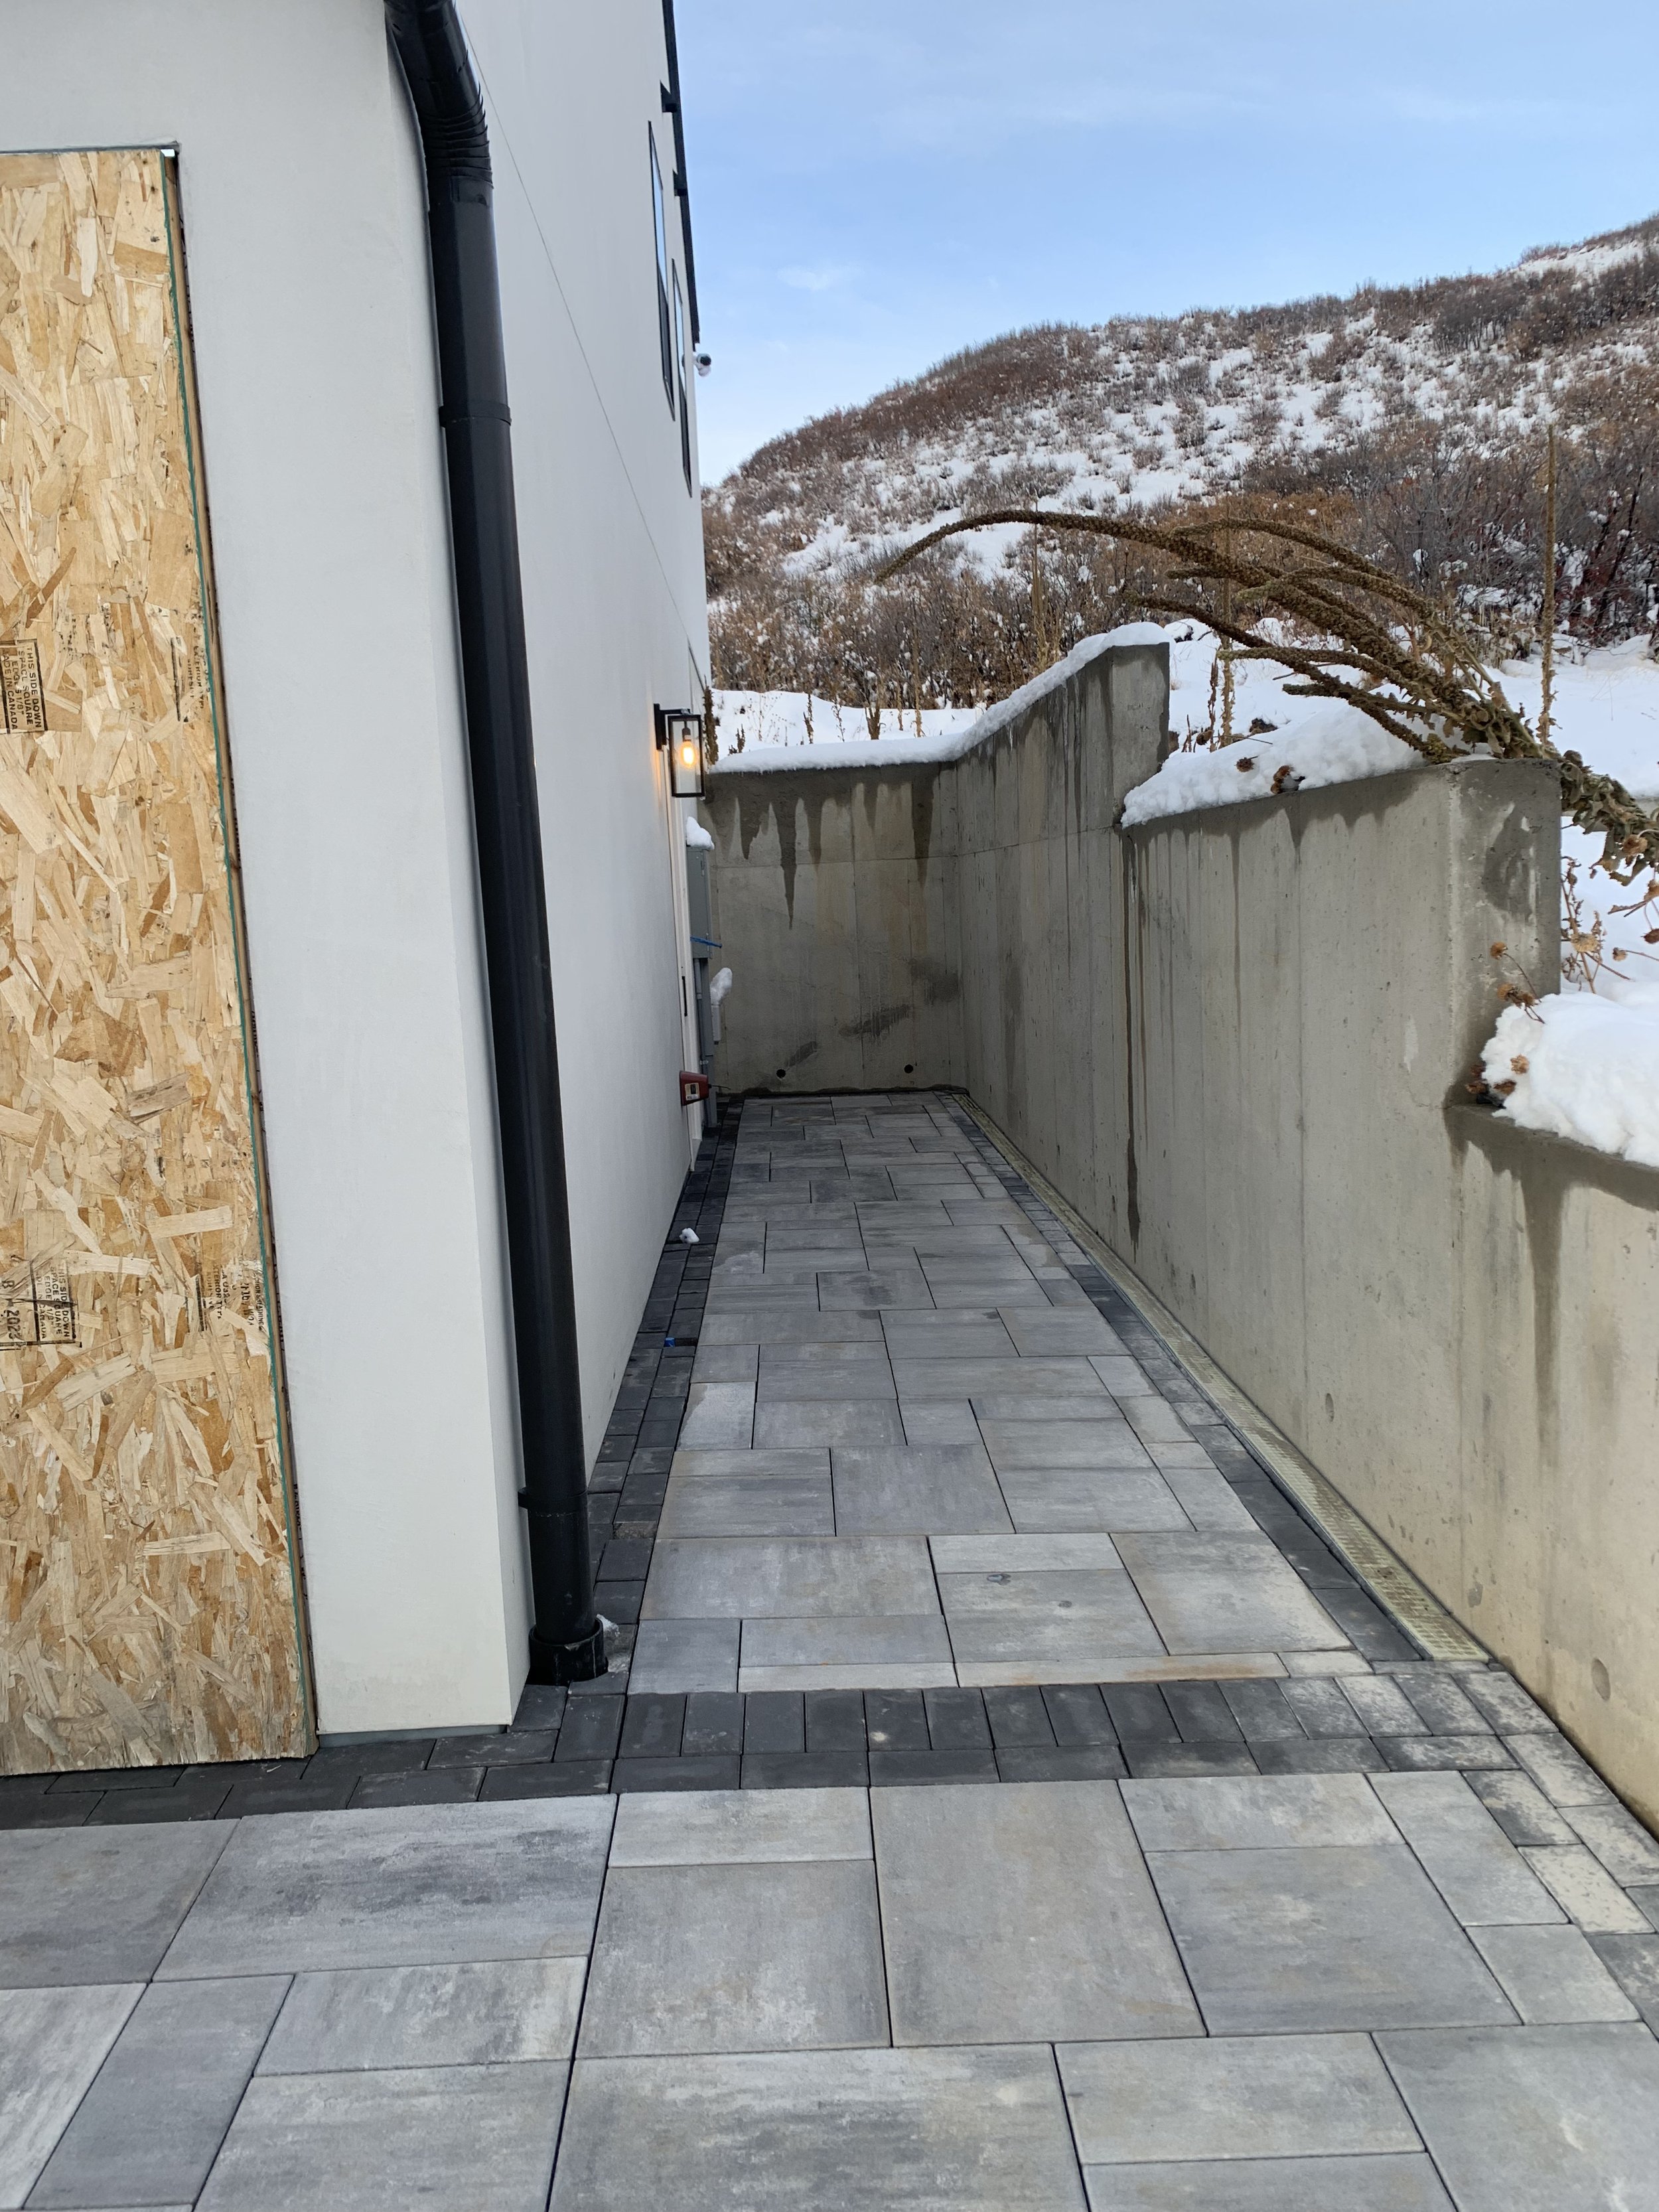
The sidewalk is complete!

The last few pavers were installed just in time. As you can see here, the seasons changed overnight!

Winter arrives with a vengeance!

Kris is making a neighborhood sledding hill I think!
In true Colorado style, the snow melted and the warm weather returned! Now we quickly work on the outdoor stuff before the snow flies again. Kris is digging drainage trenches for our new gutters!

A good way to build some muscle?

All in a days work.
Trench #2 starts to take shape.

Kris finishes in the twilight hours!

Time to seal the driveway! You'd think that rolling a driveway would be easy, but keeping up with Kris' speed was tough!

Now Kris finishes grading the driveway!
Our driveway looks huge!

It's quite satisfying to watch. Kind of like the perfect vacuum lines on the carpet!
Admiring the finished product. So neat and tidy!
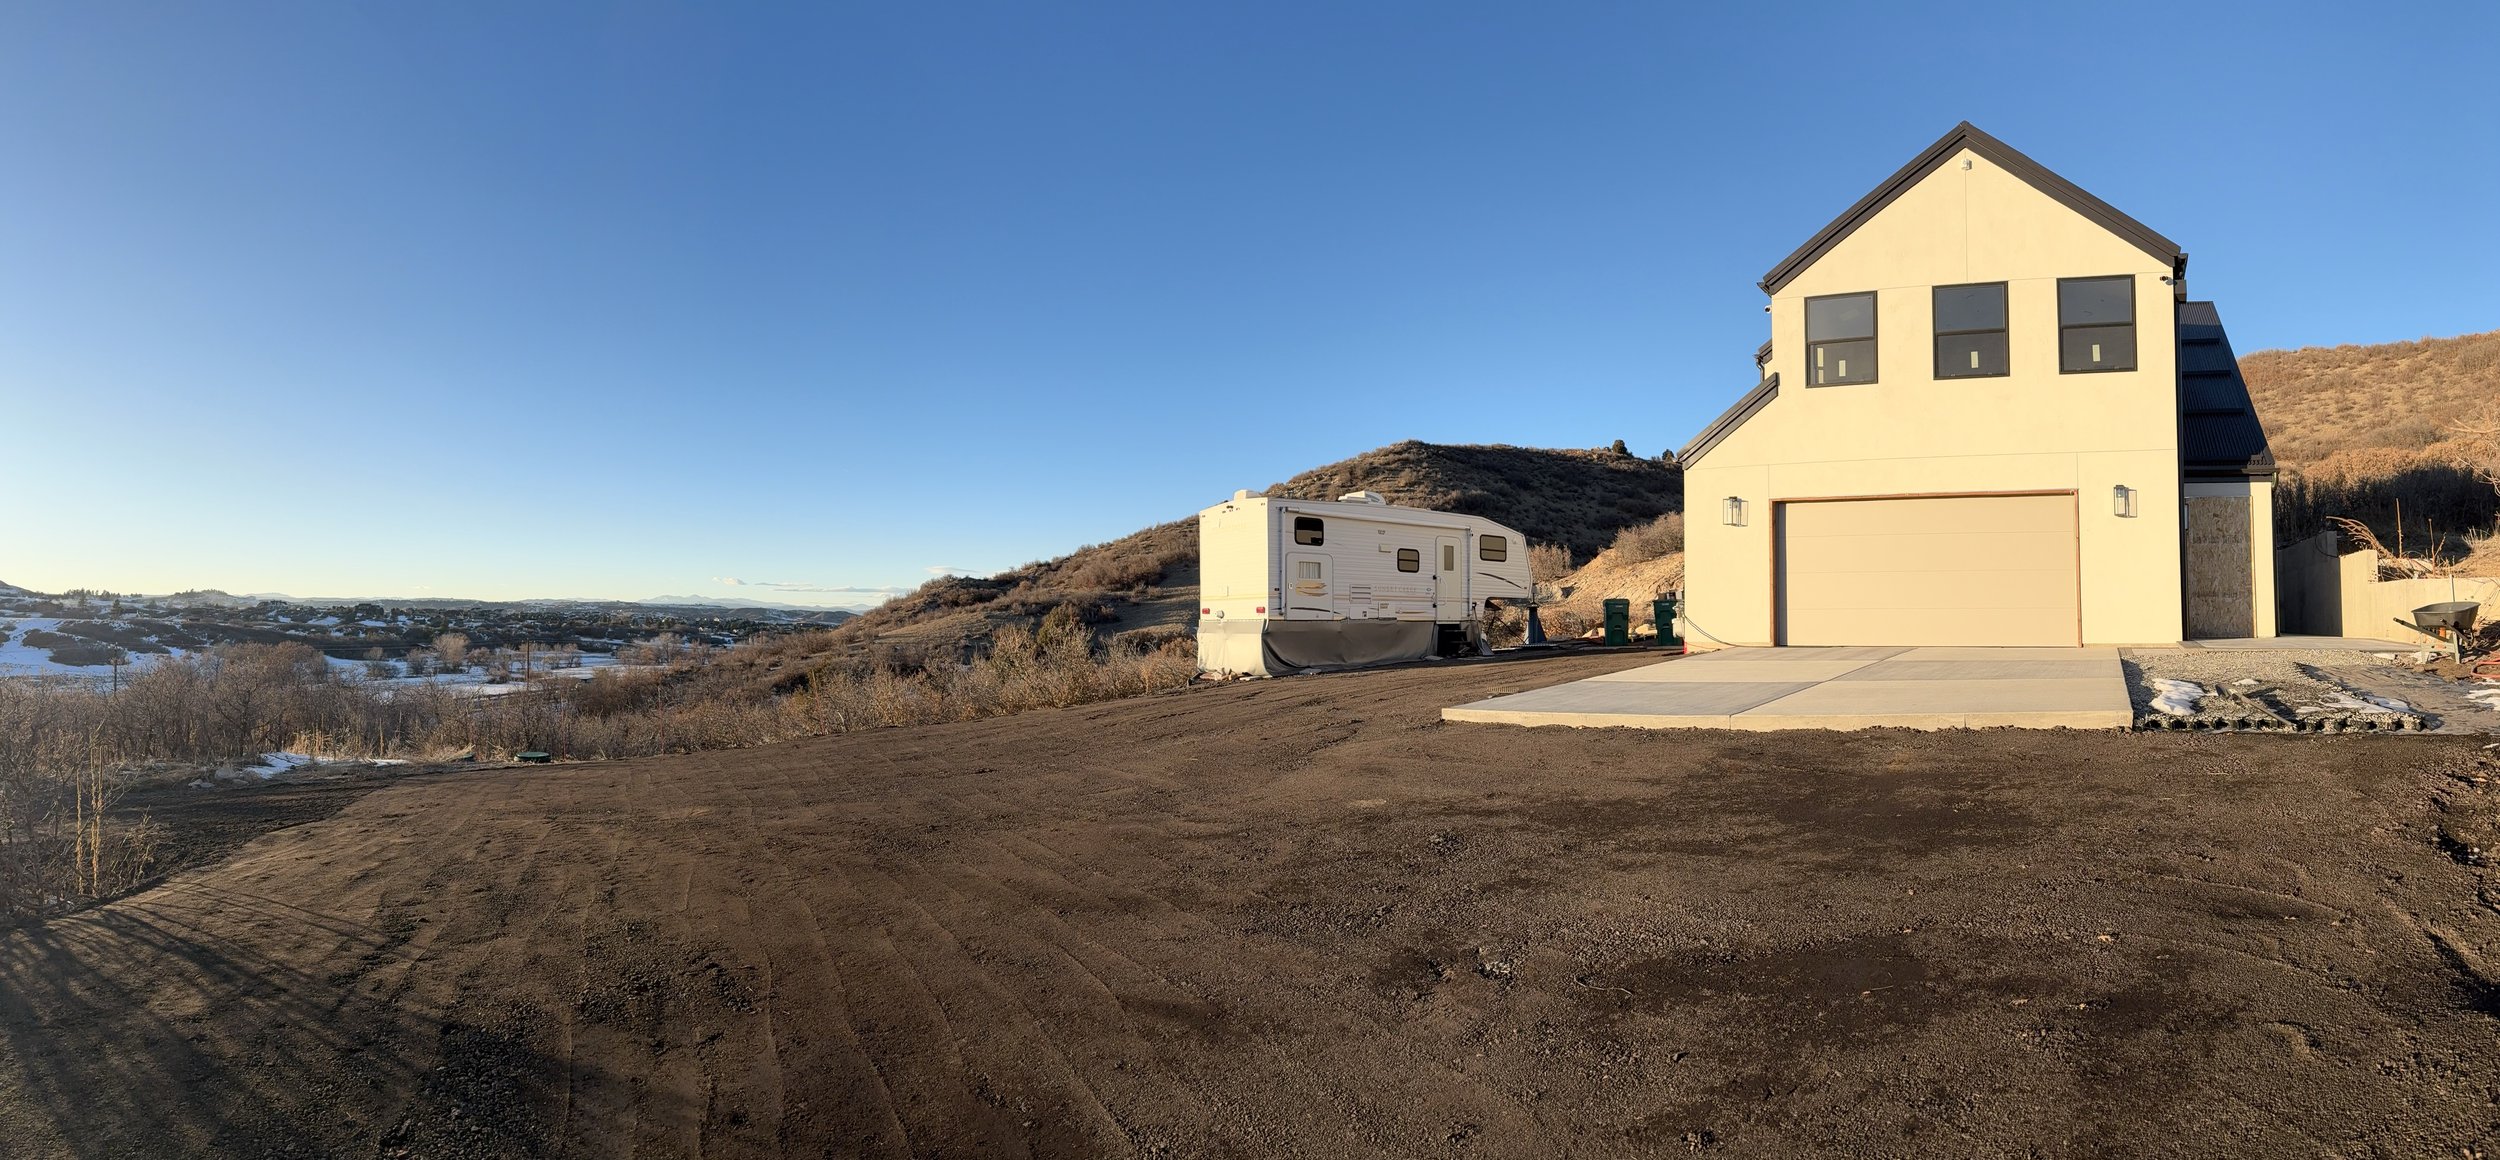
It's looking like you could live here! But we're stuck in the little trailer across the driveway a little bit longer!
Step 17: Finishing the Guest Quarters and Pilates Studio
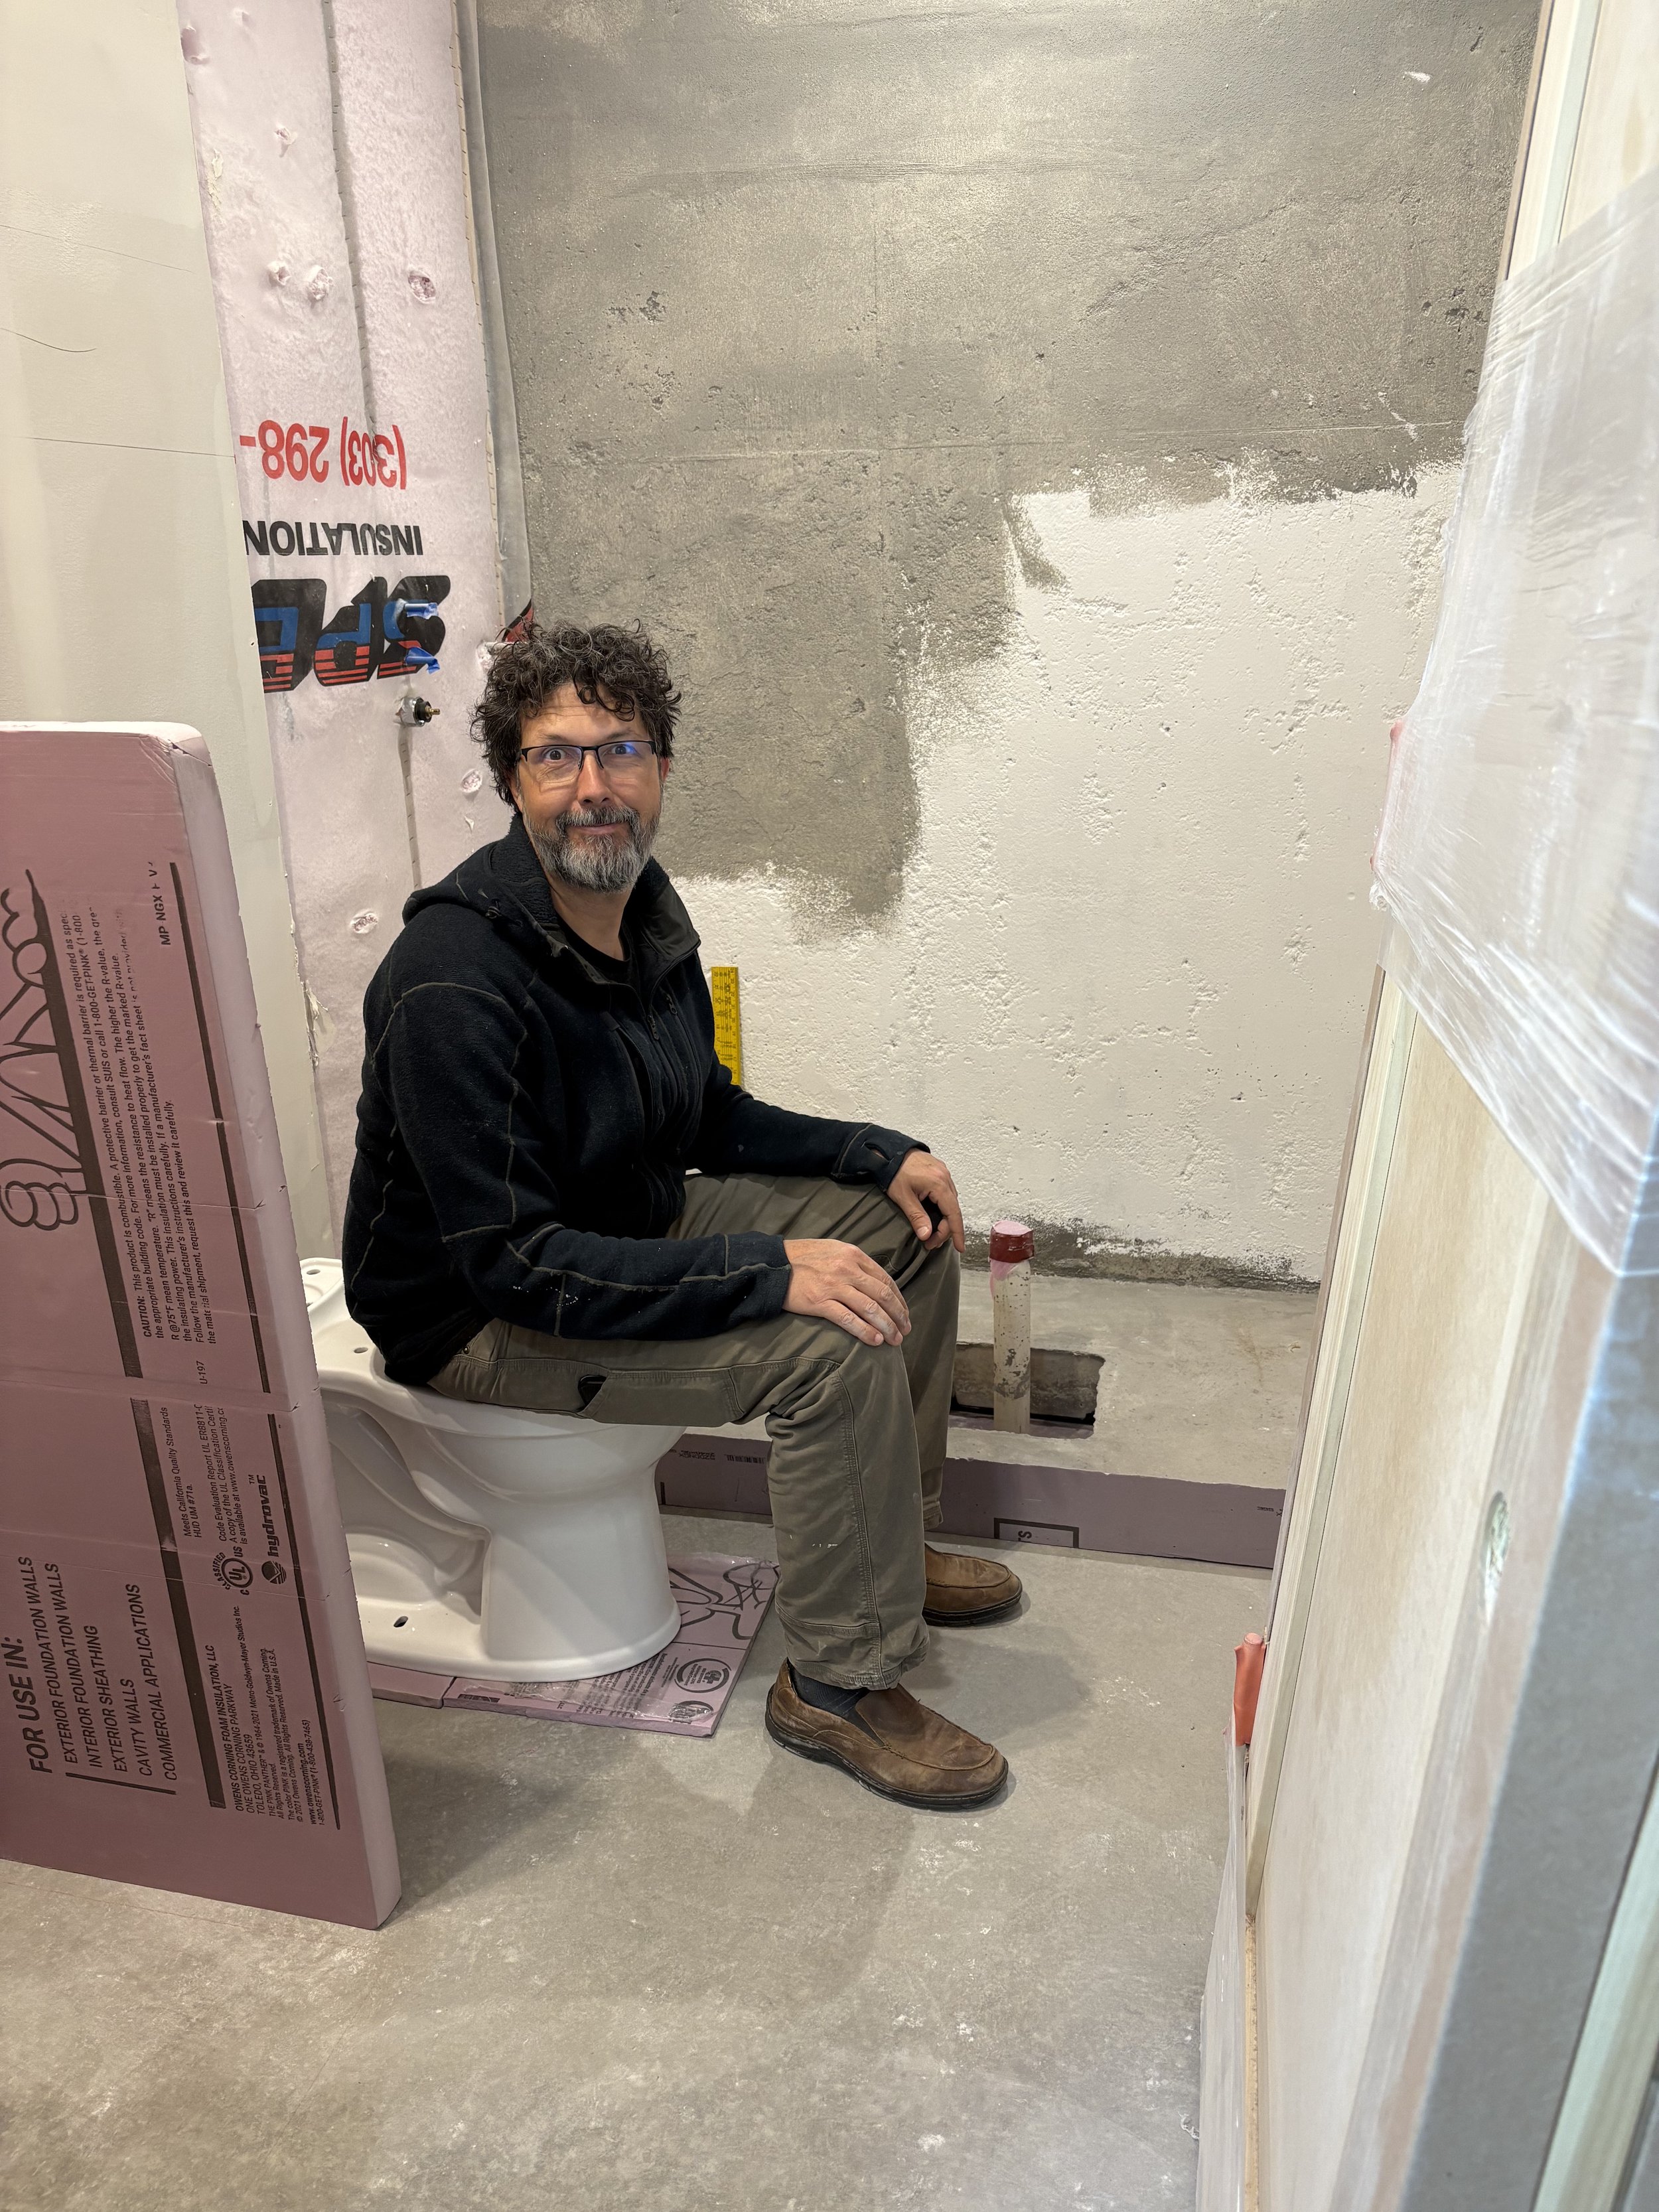
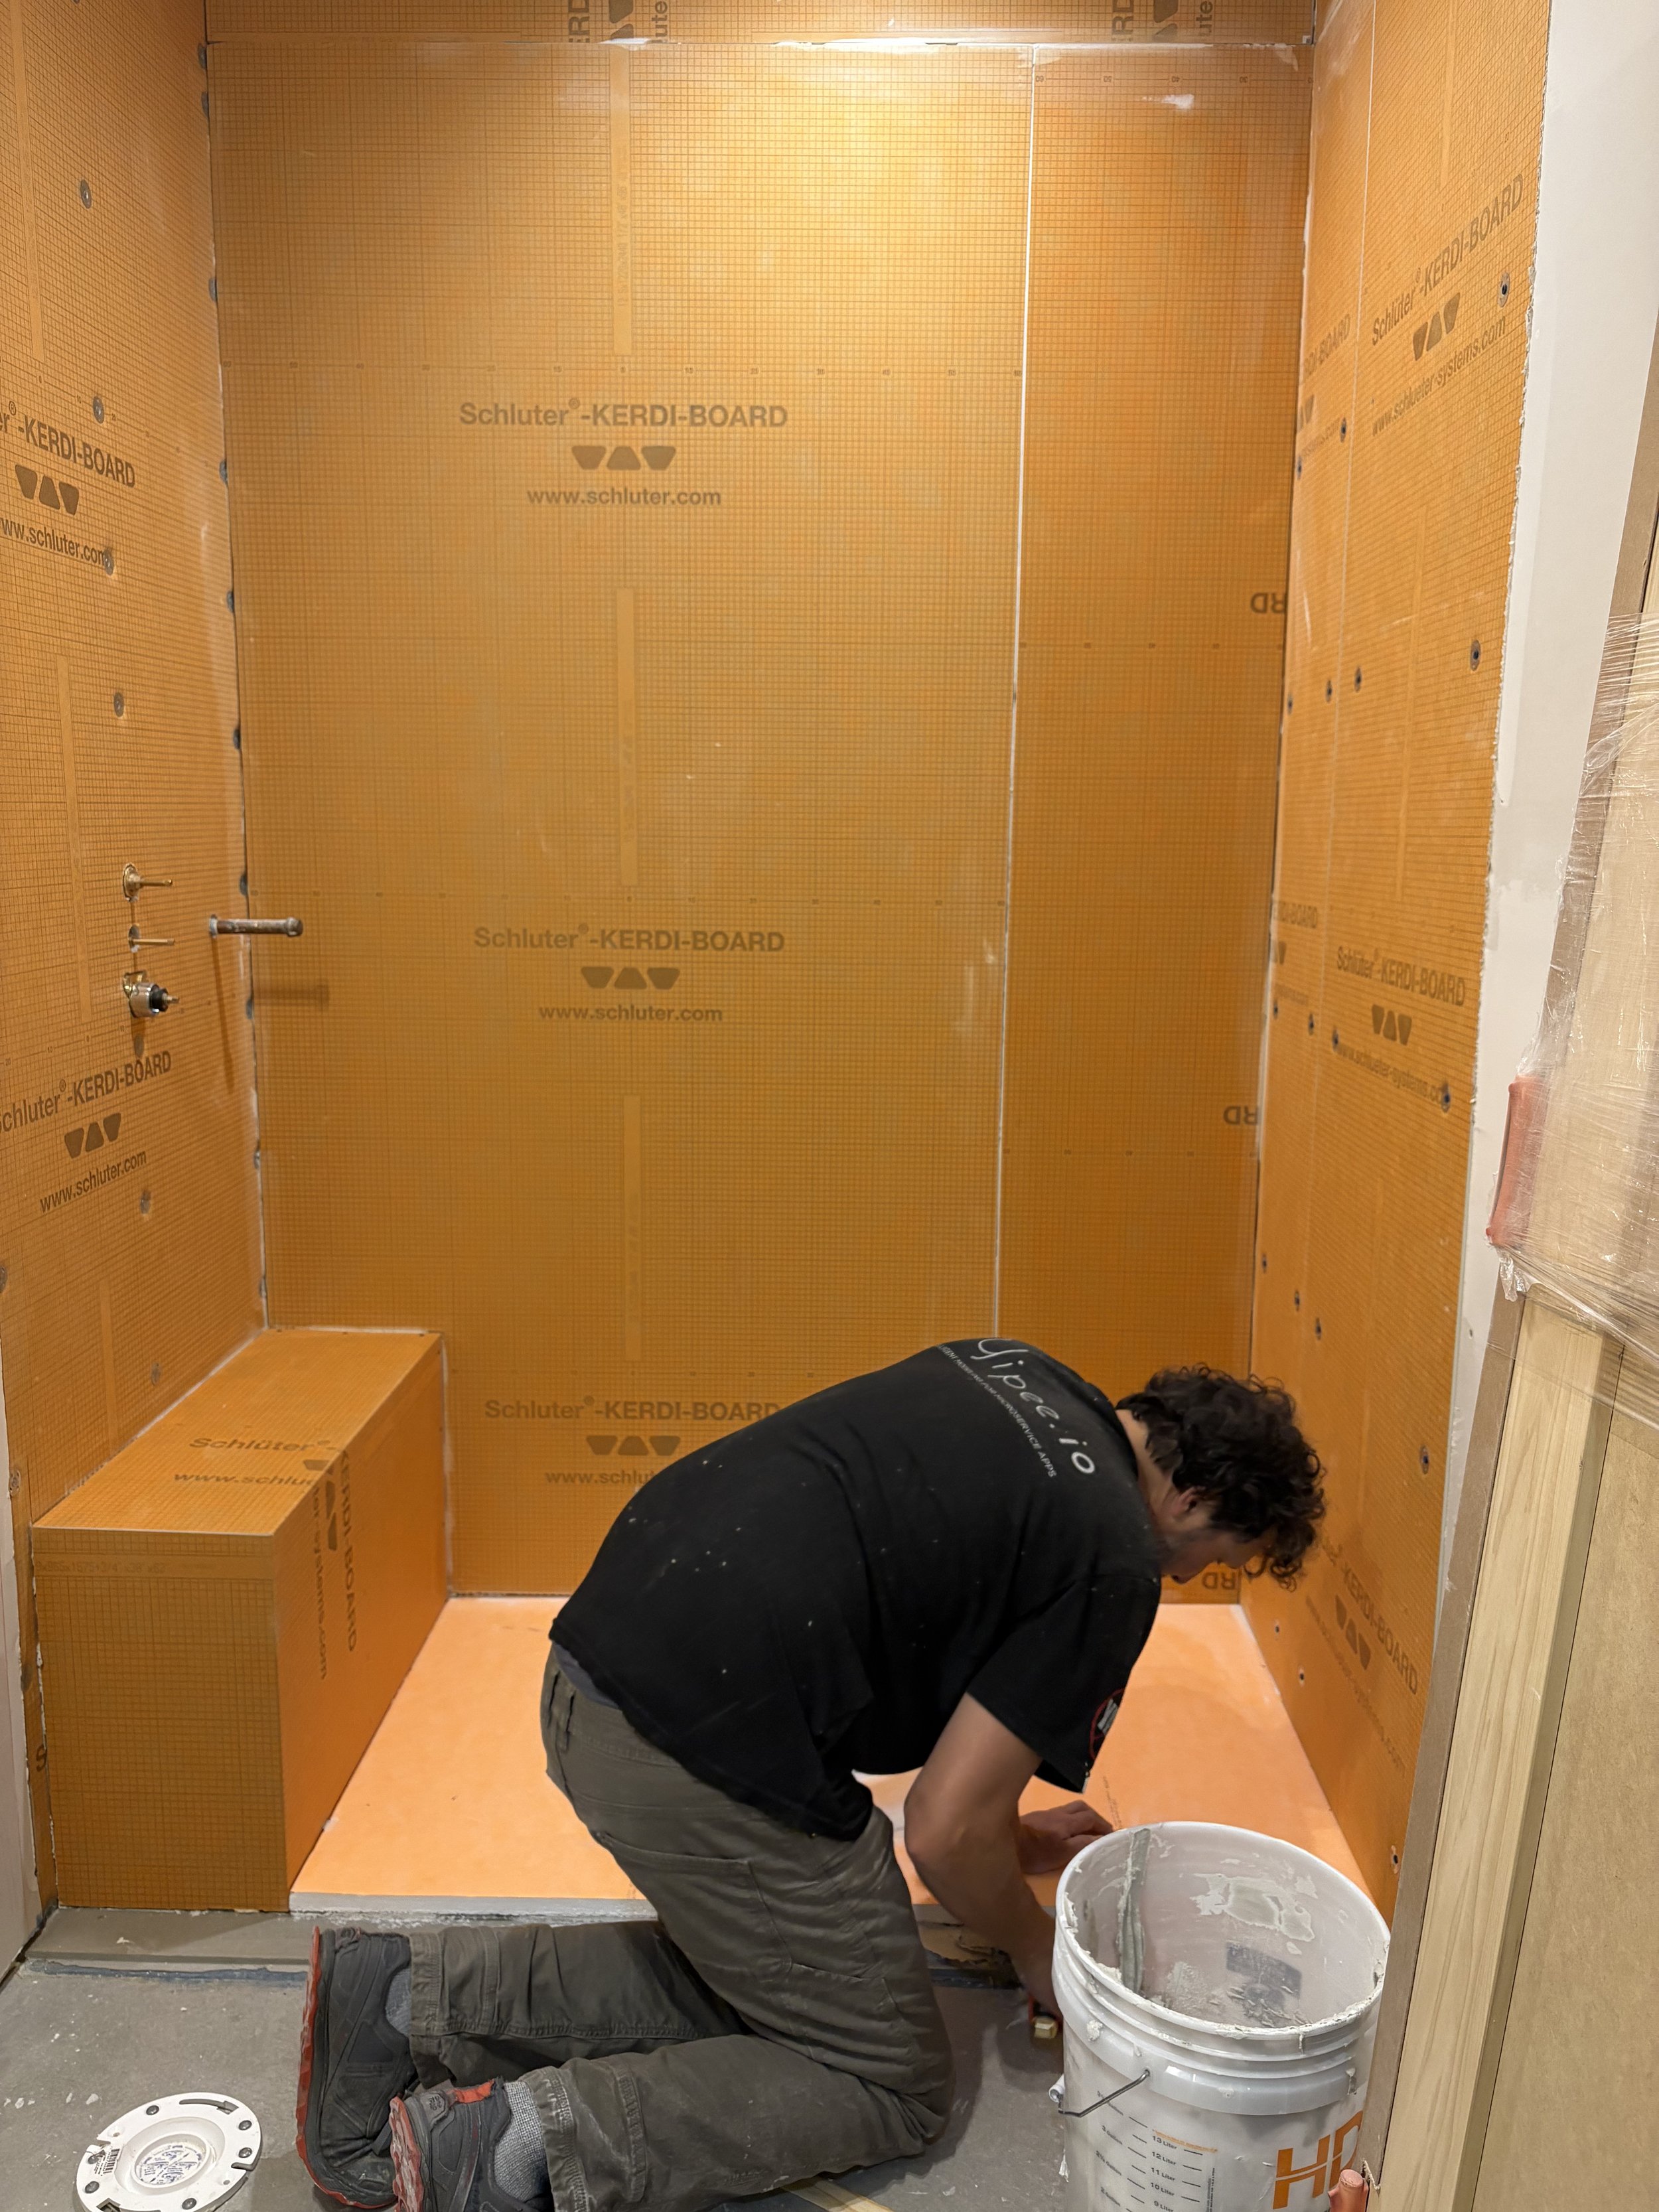
We'll start with the guest bathroom! Kris is ready to go! Ummm...let me rephrase that. Kris is ready to begin!
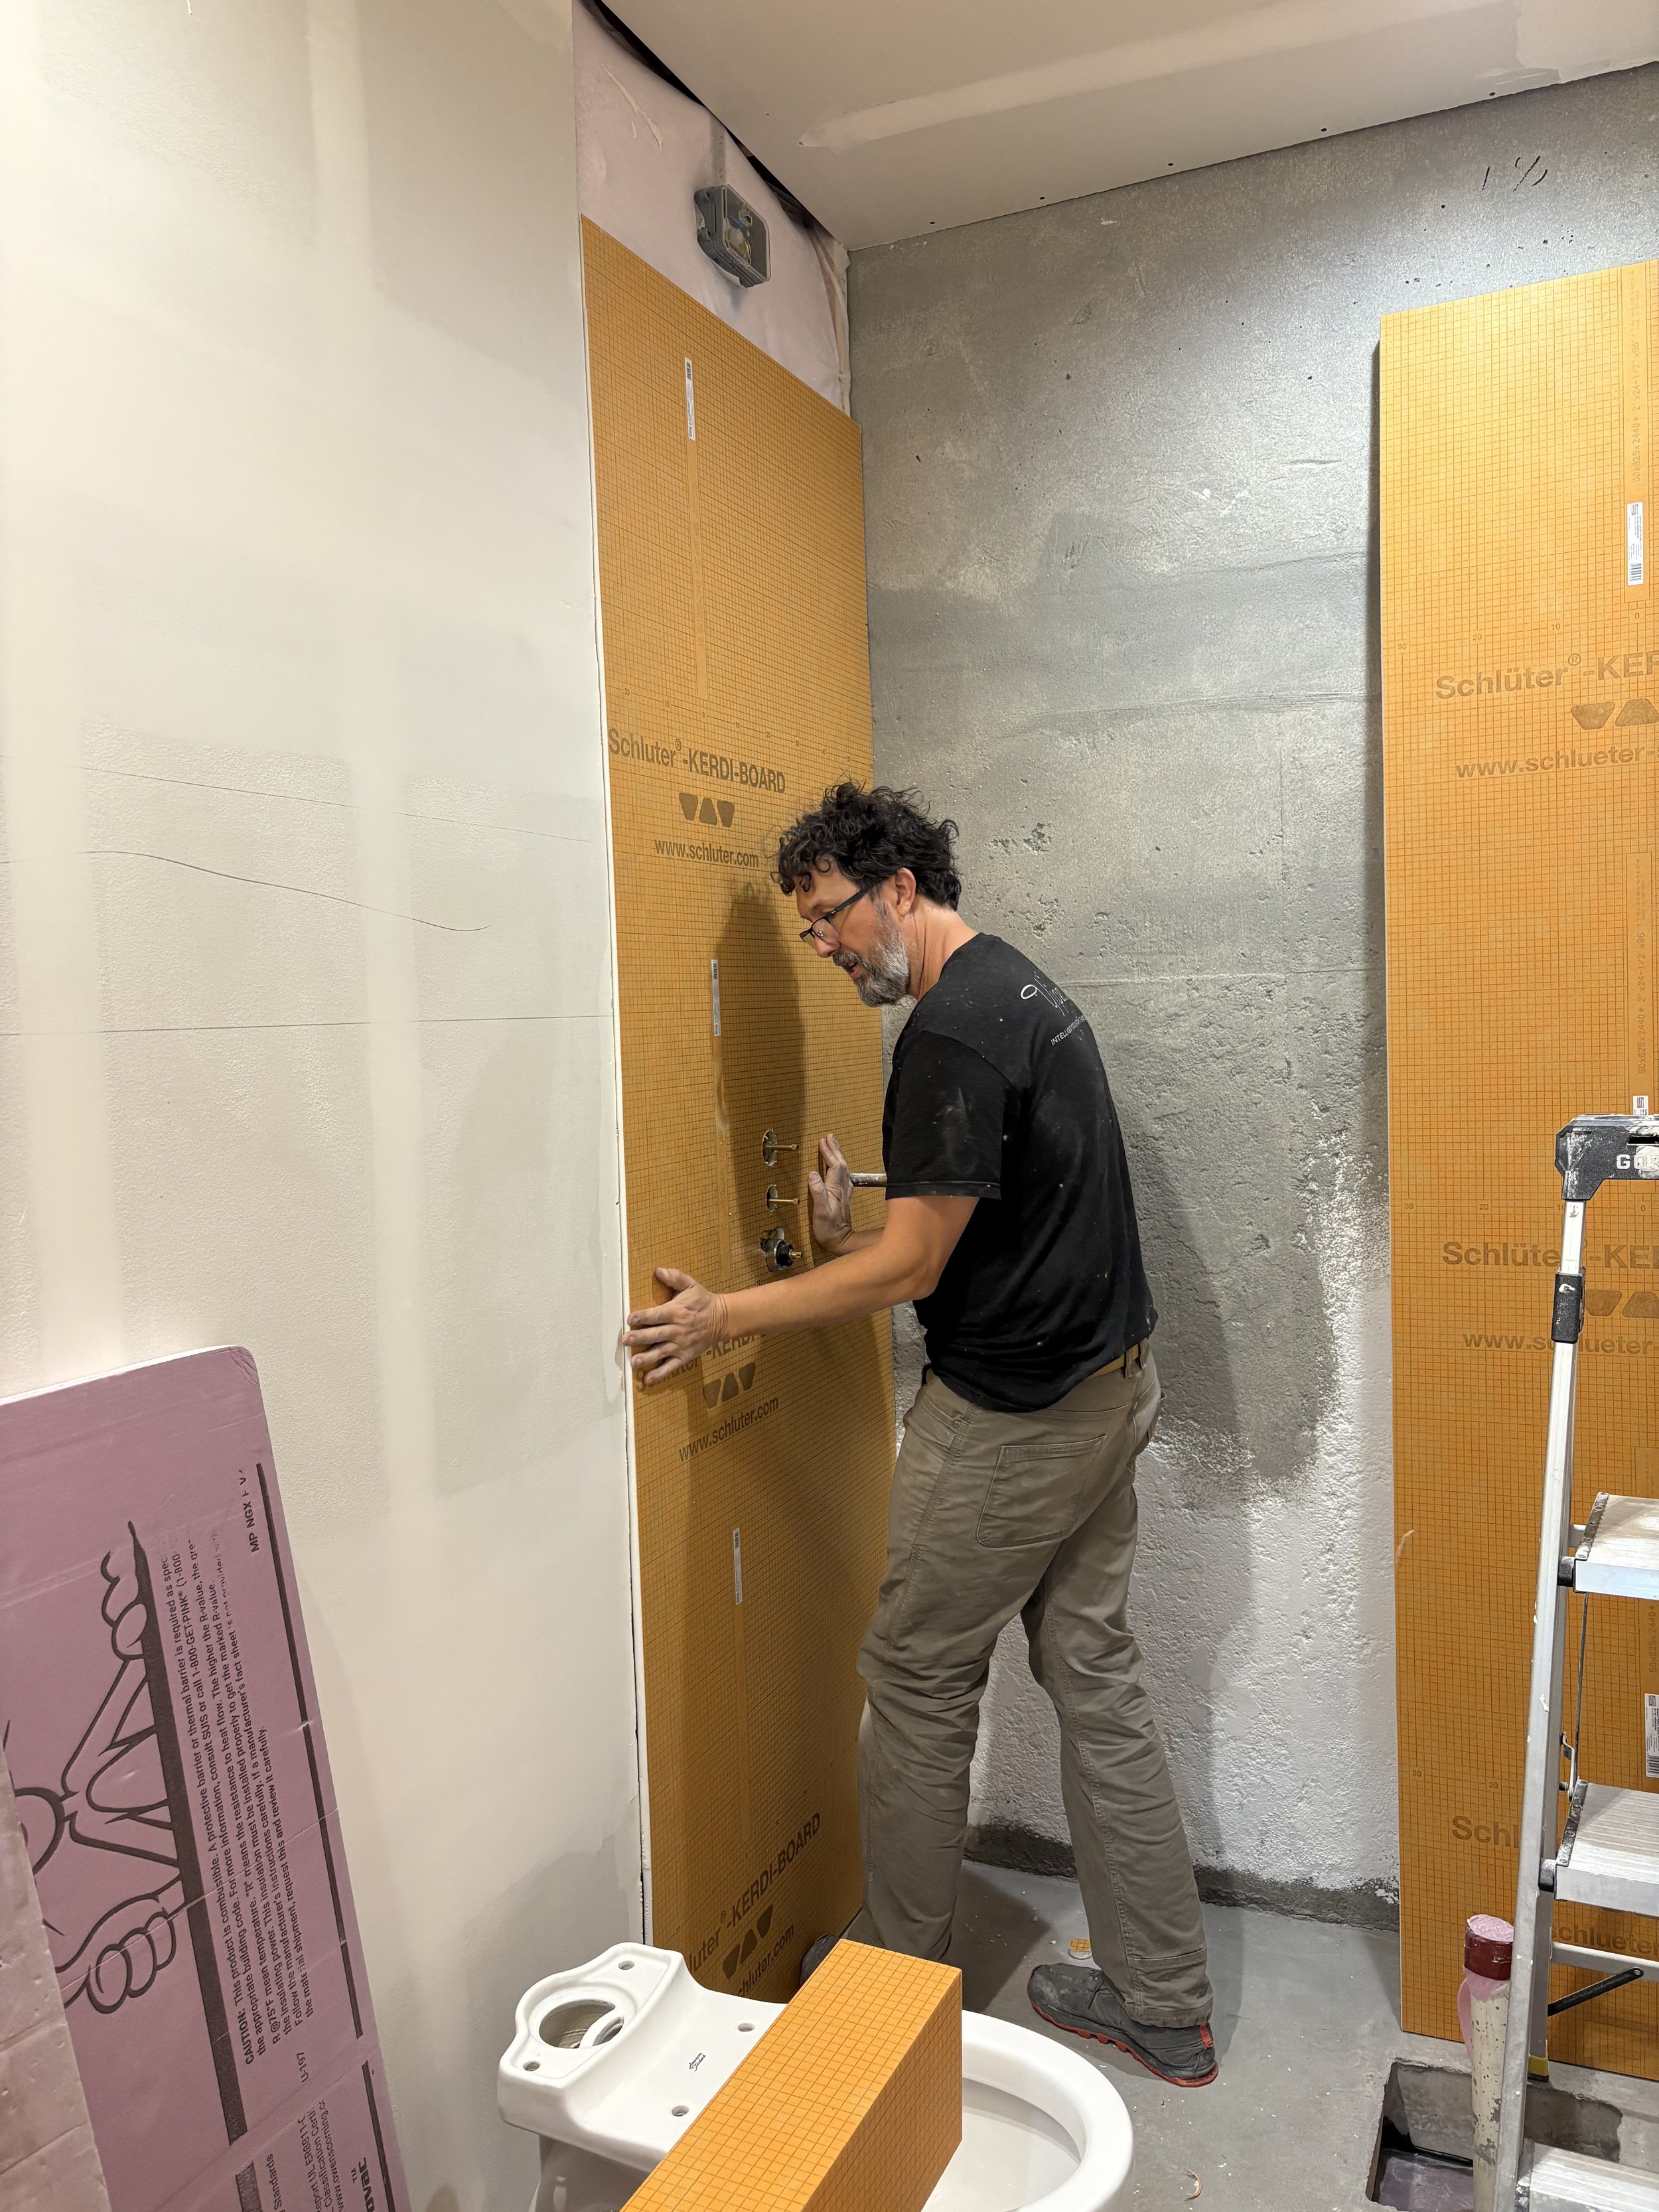
We're planning a pretty unique shower system for our guests. Kris would say that "unique," when it comes to me, means really difficult! Ha! All the walls start with a backer board for waterproofing and for future tile work.
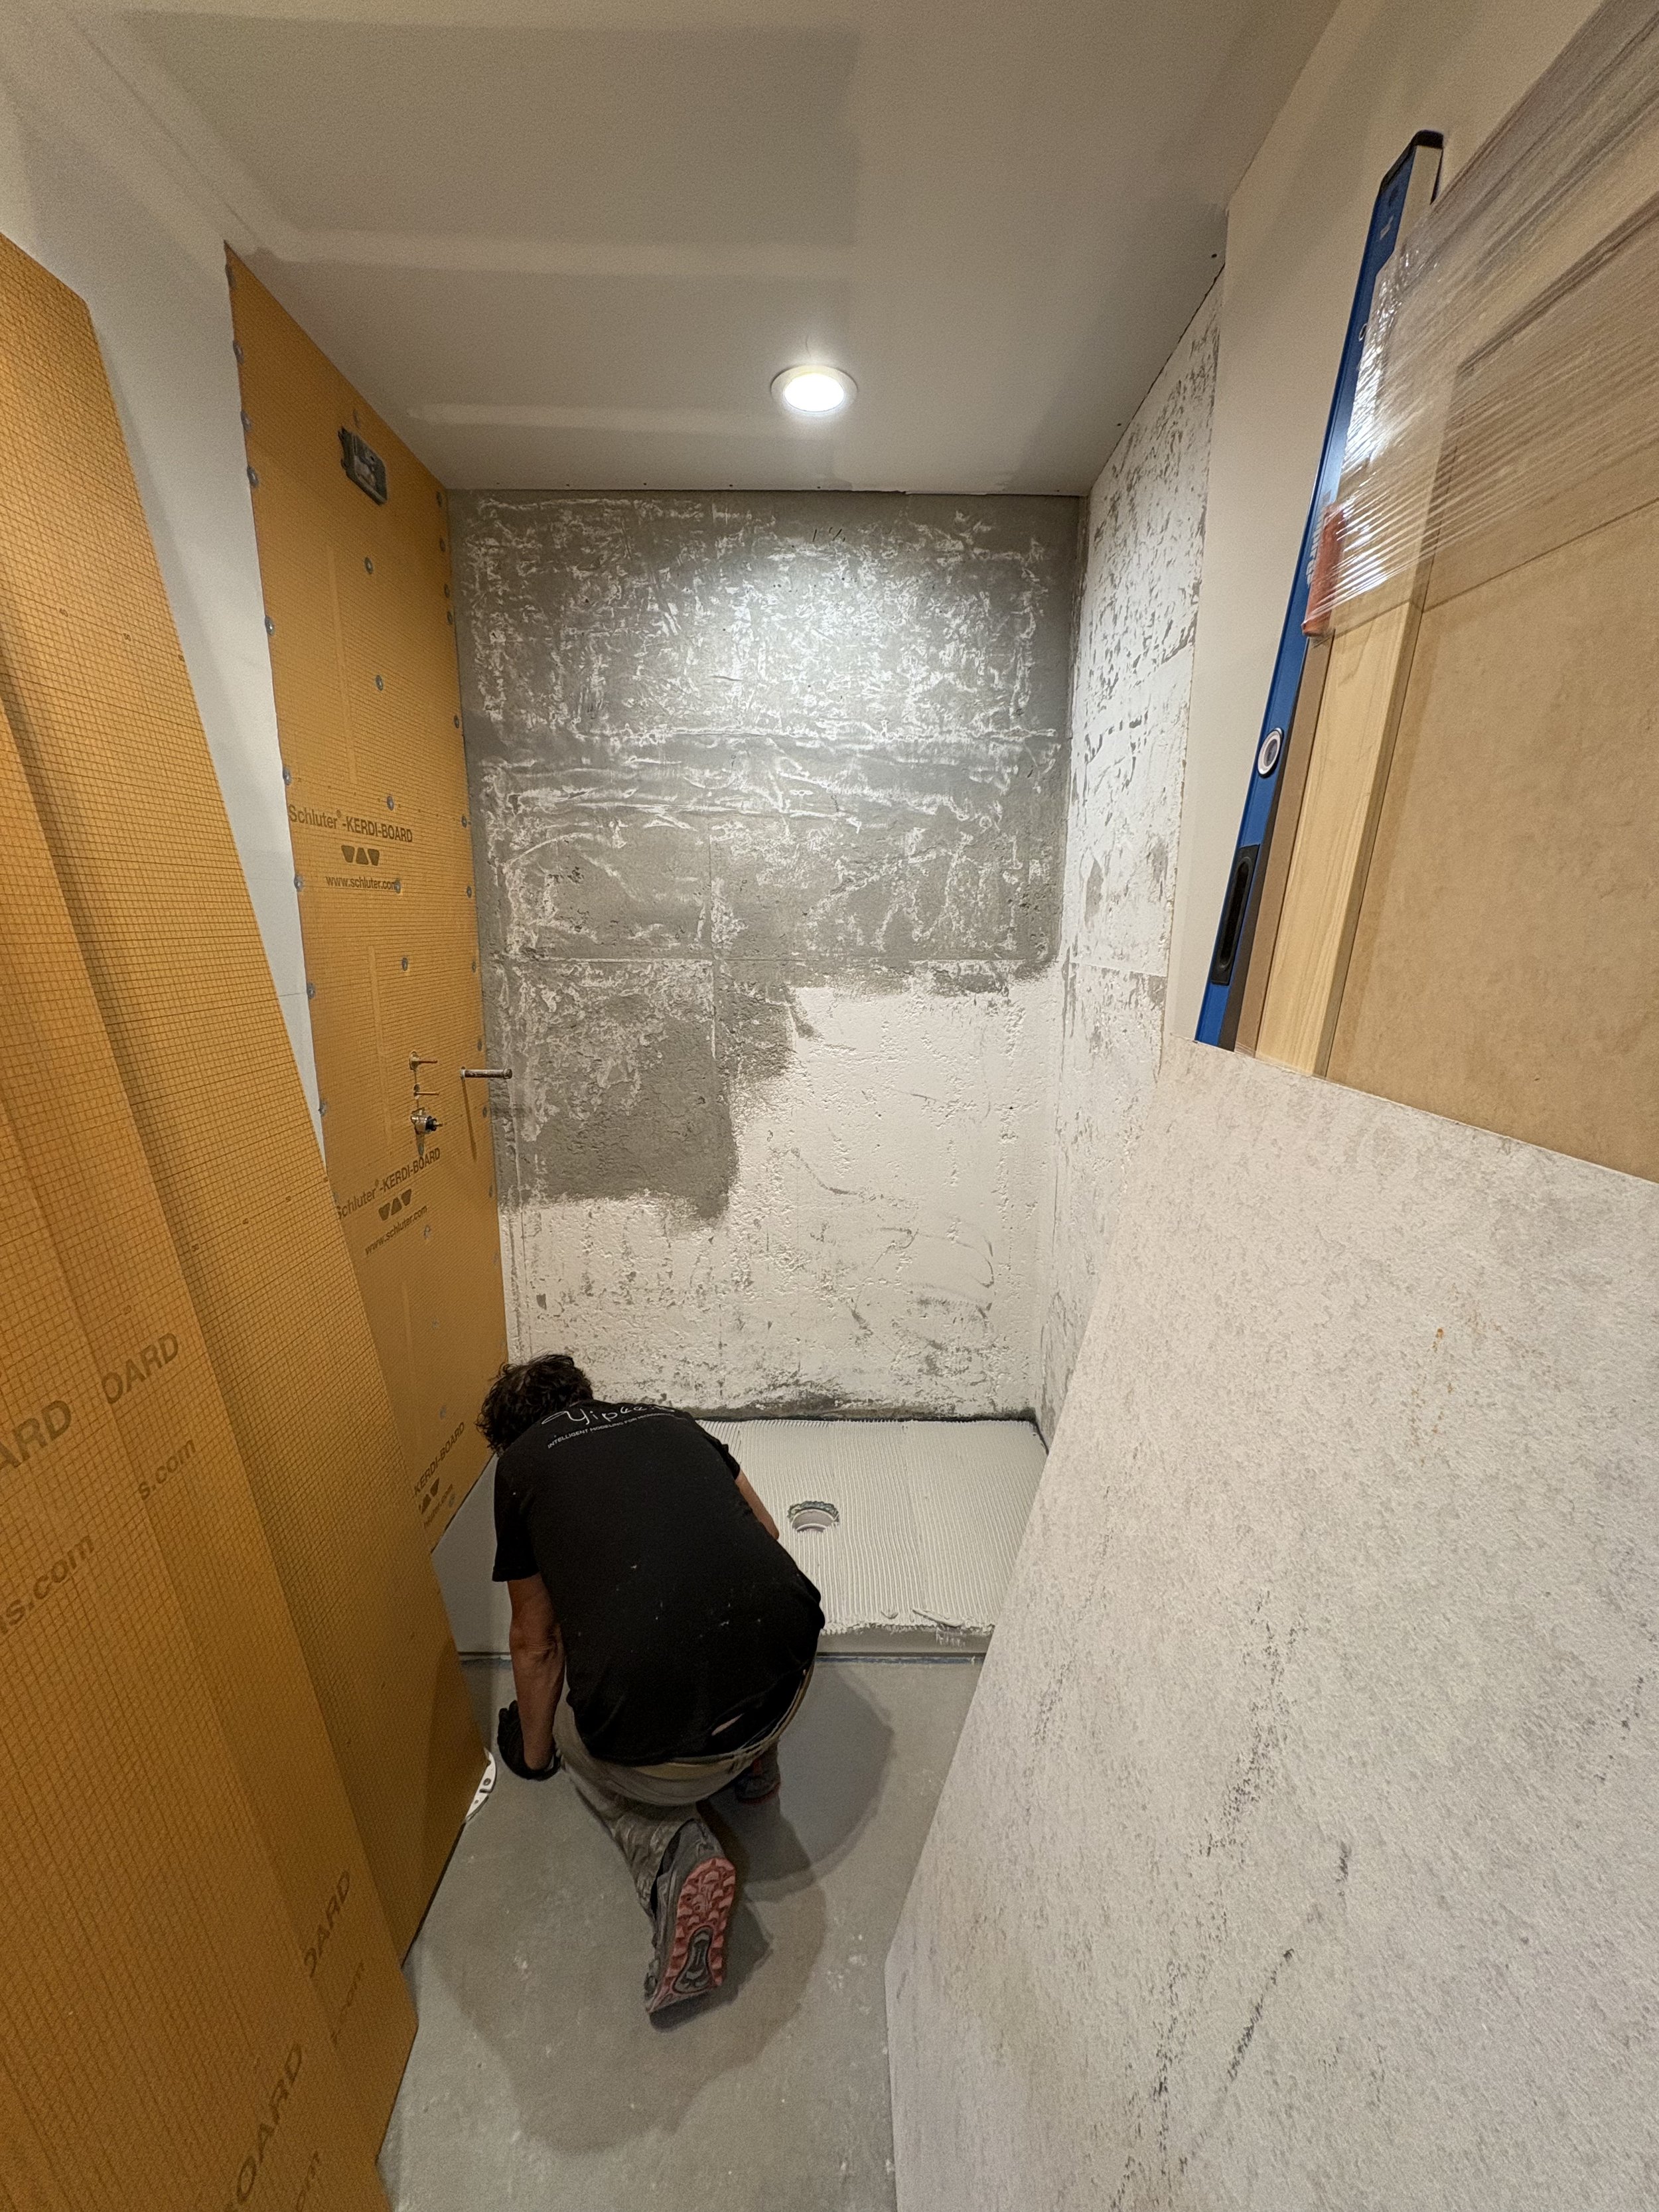
The shower floor gets prepped and leveled.

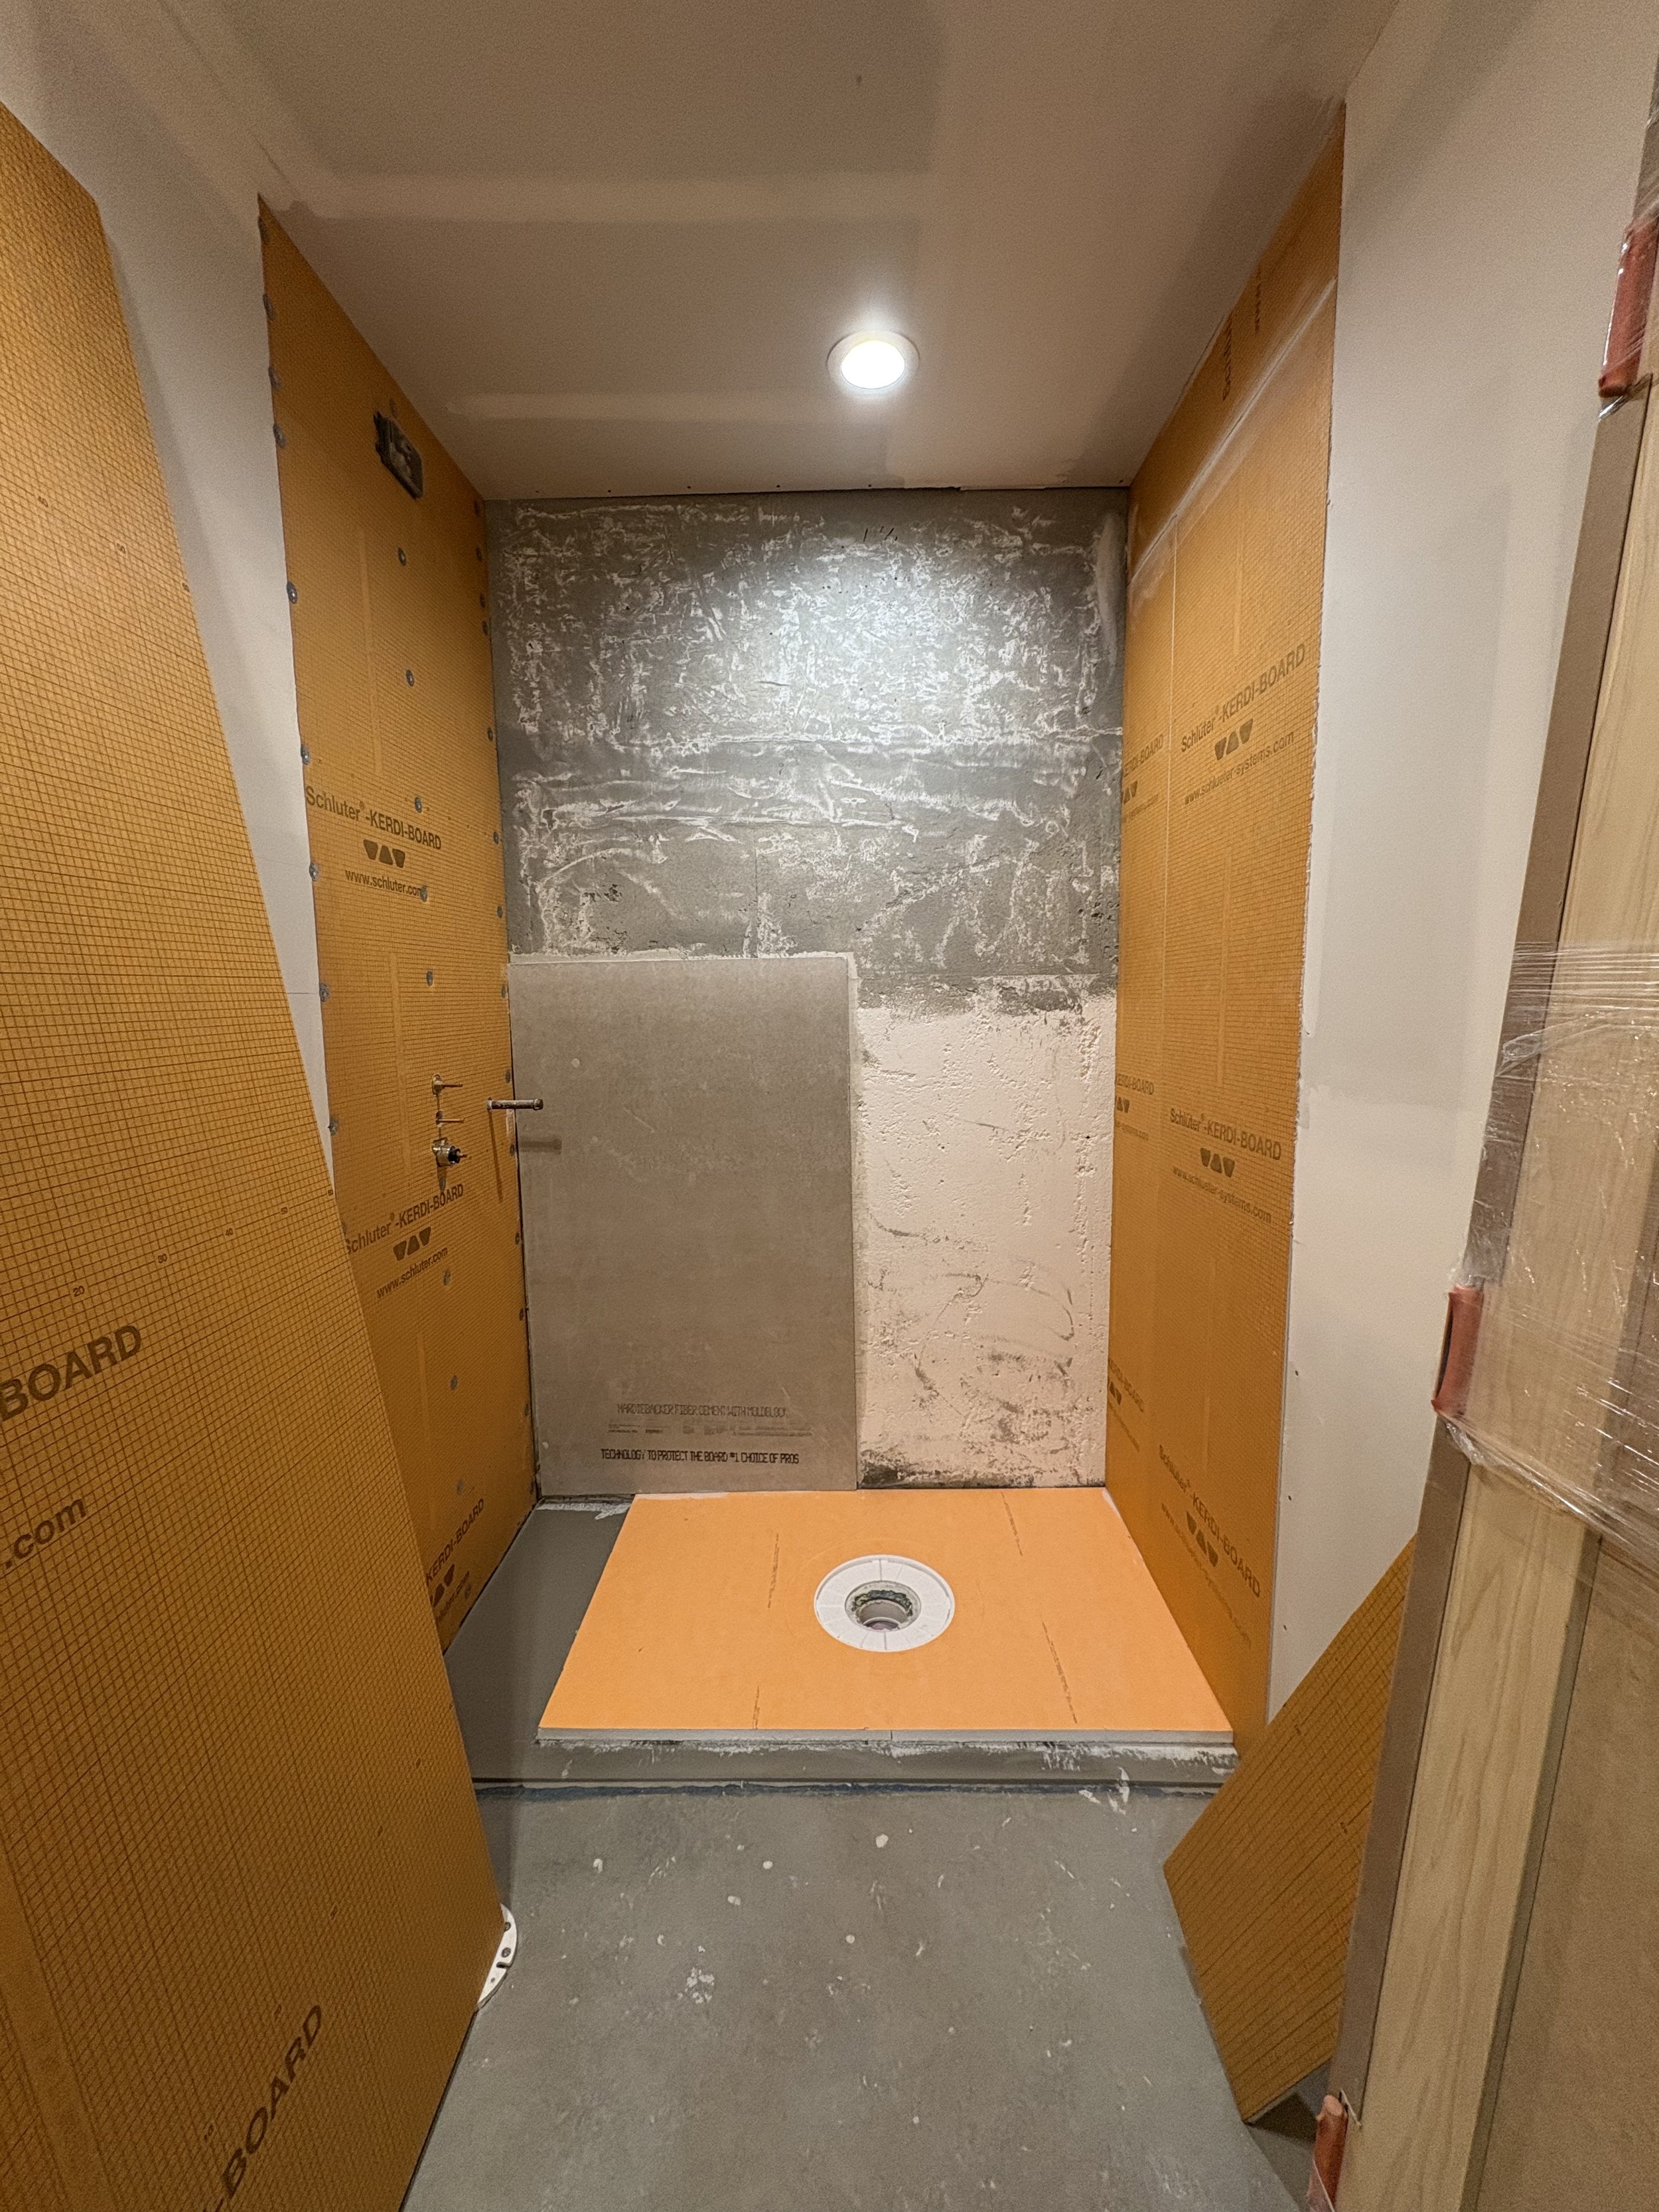
Then we add the floor base!

Good enough to dance on, Kris?
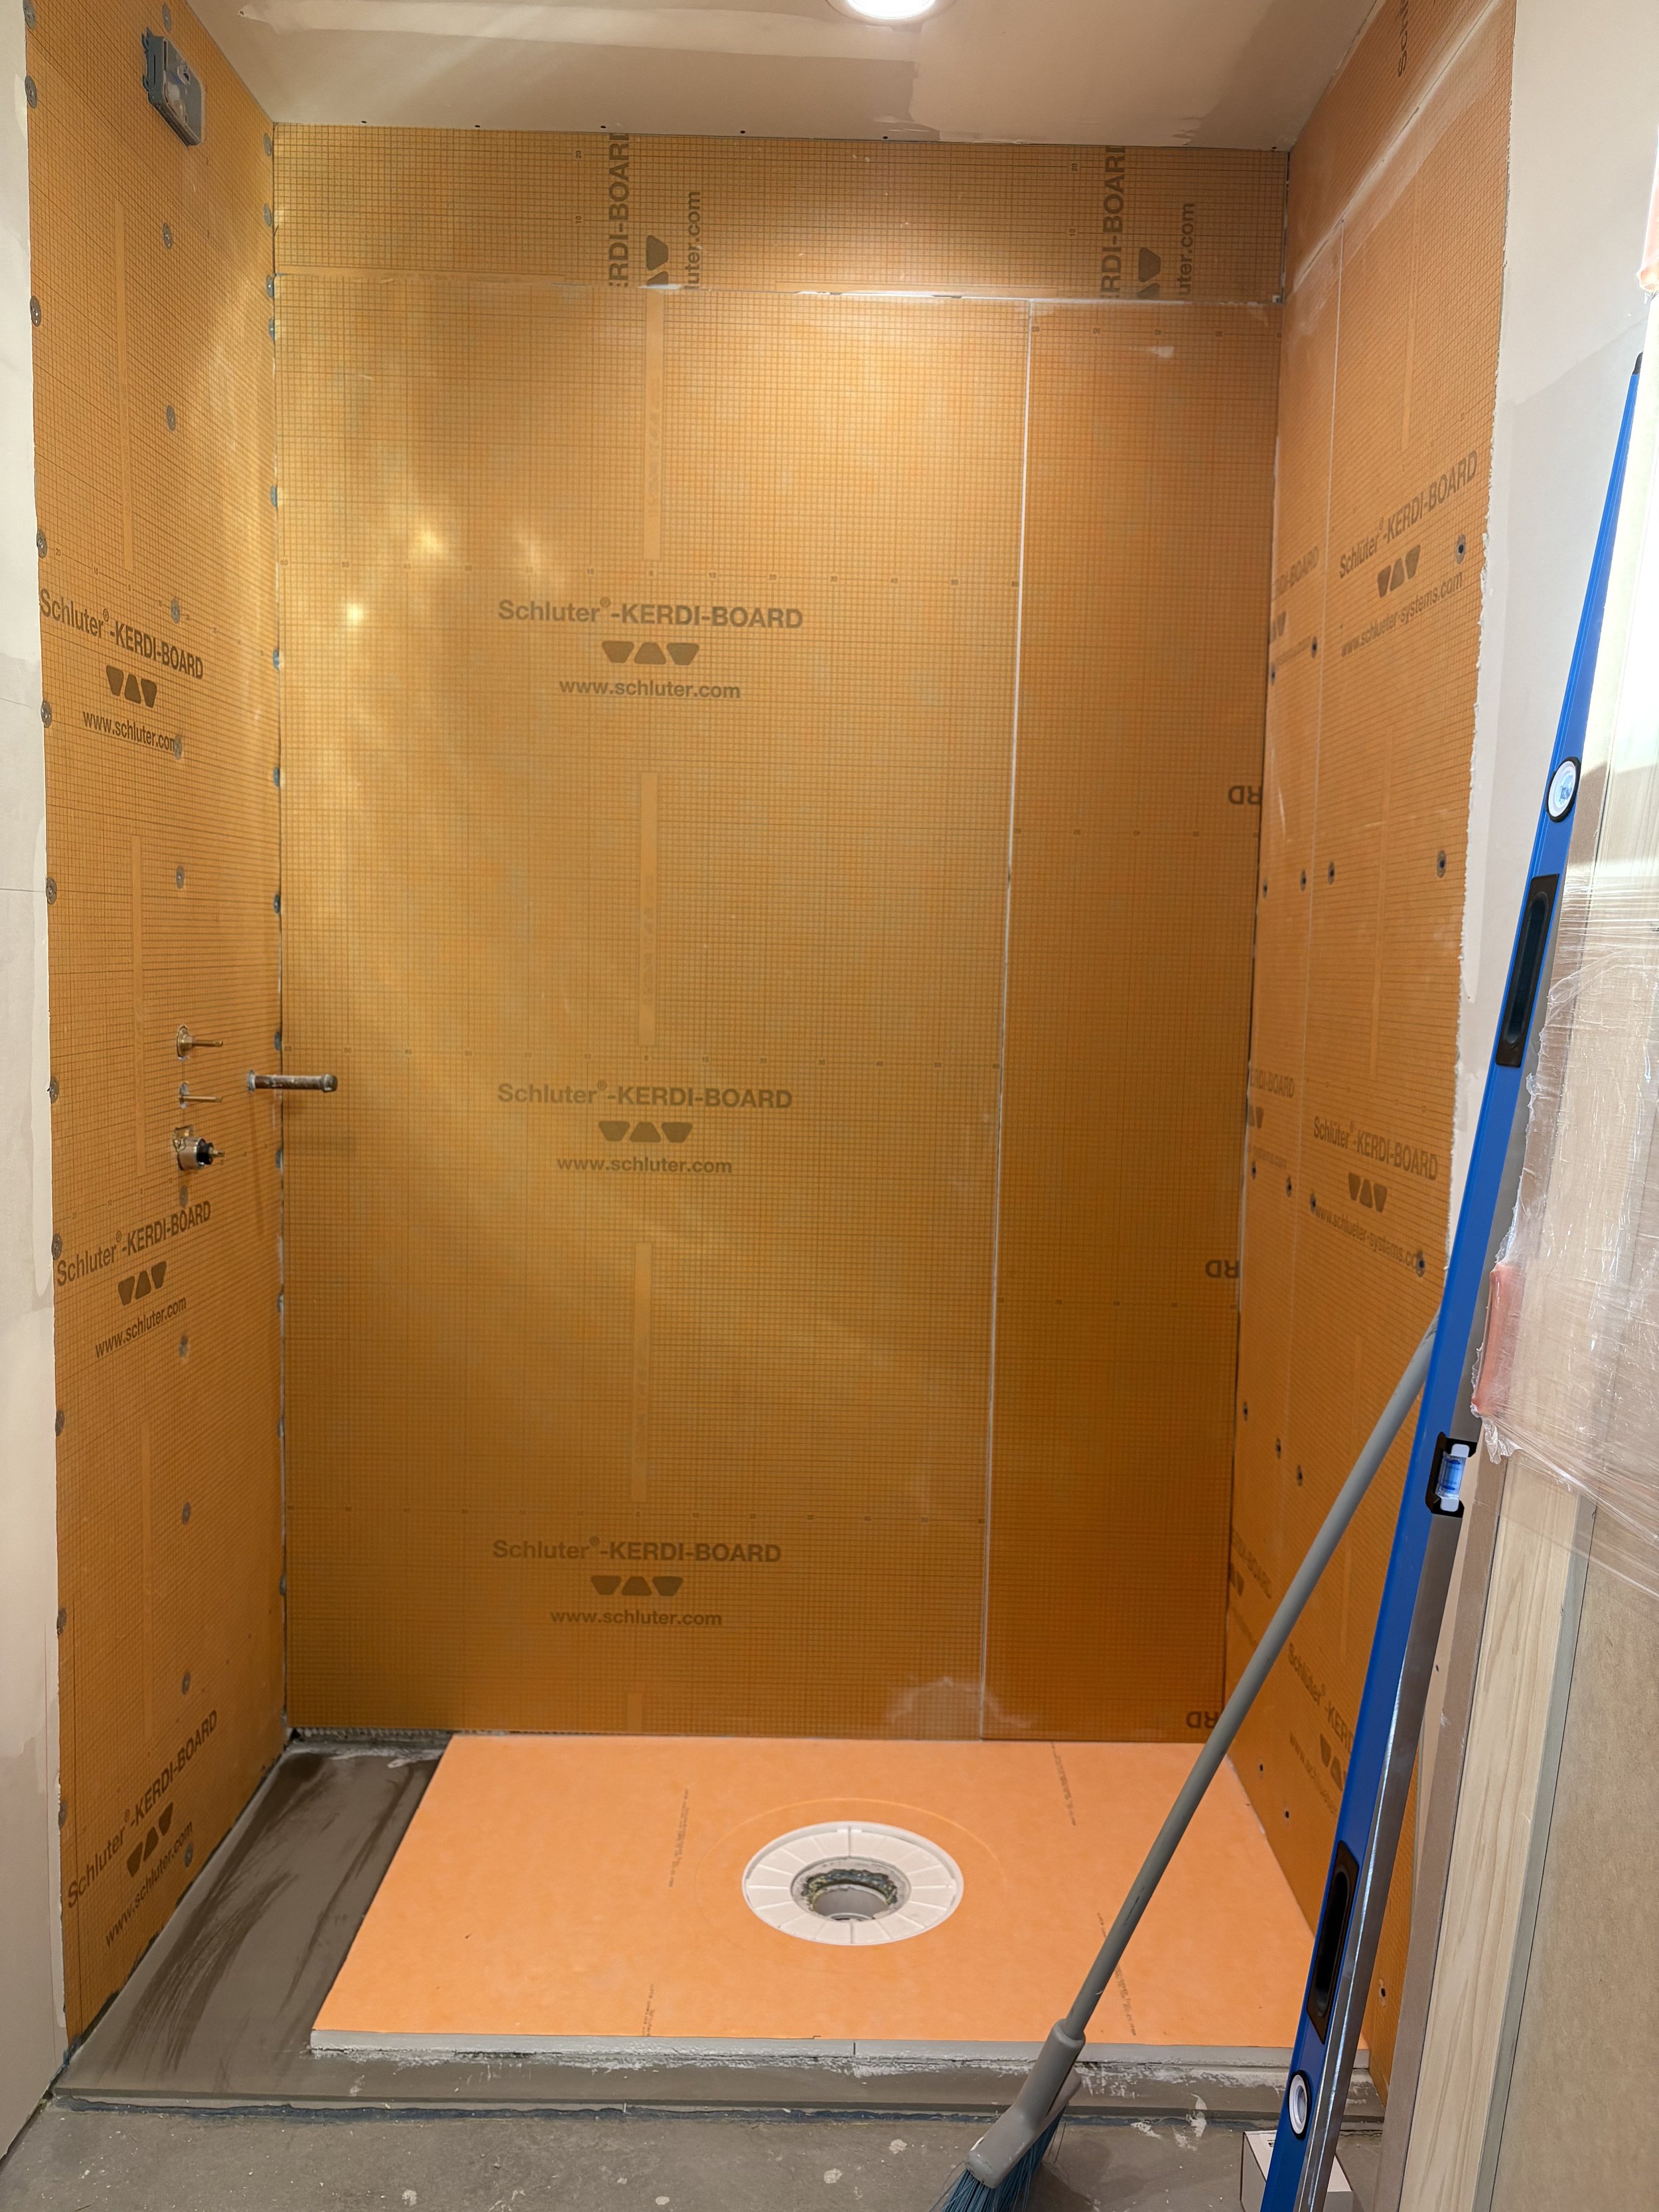
Wall #2 is up!
Kris preps for the back shower wall.
Ta-da!!

Now the drain is installed.

Looking good! The walls, floor and drain are completed!

Mixing mortar is hard work. This stuff is crazy thick!
The shower bench is installed and now Kris builds the shower curb and partial wall.
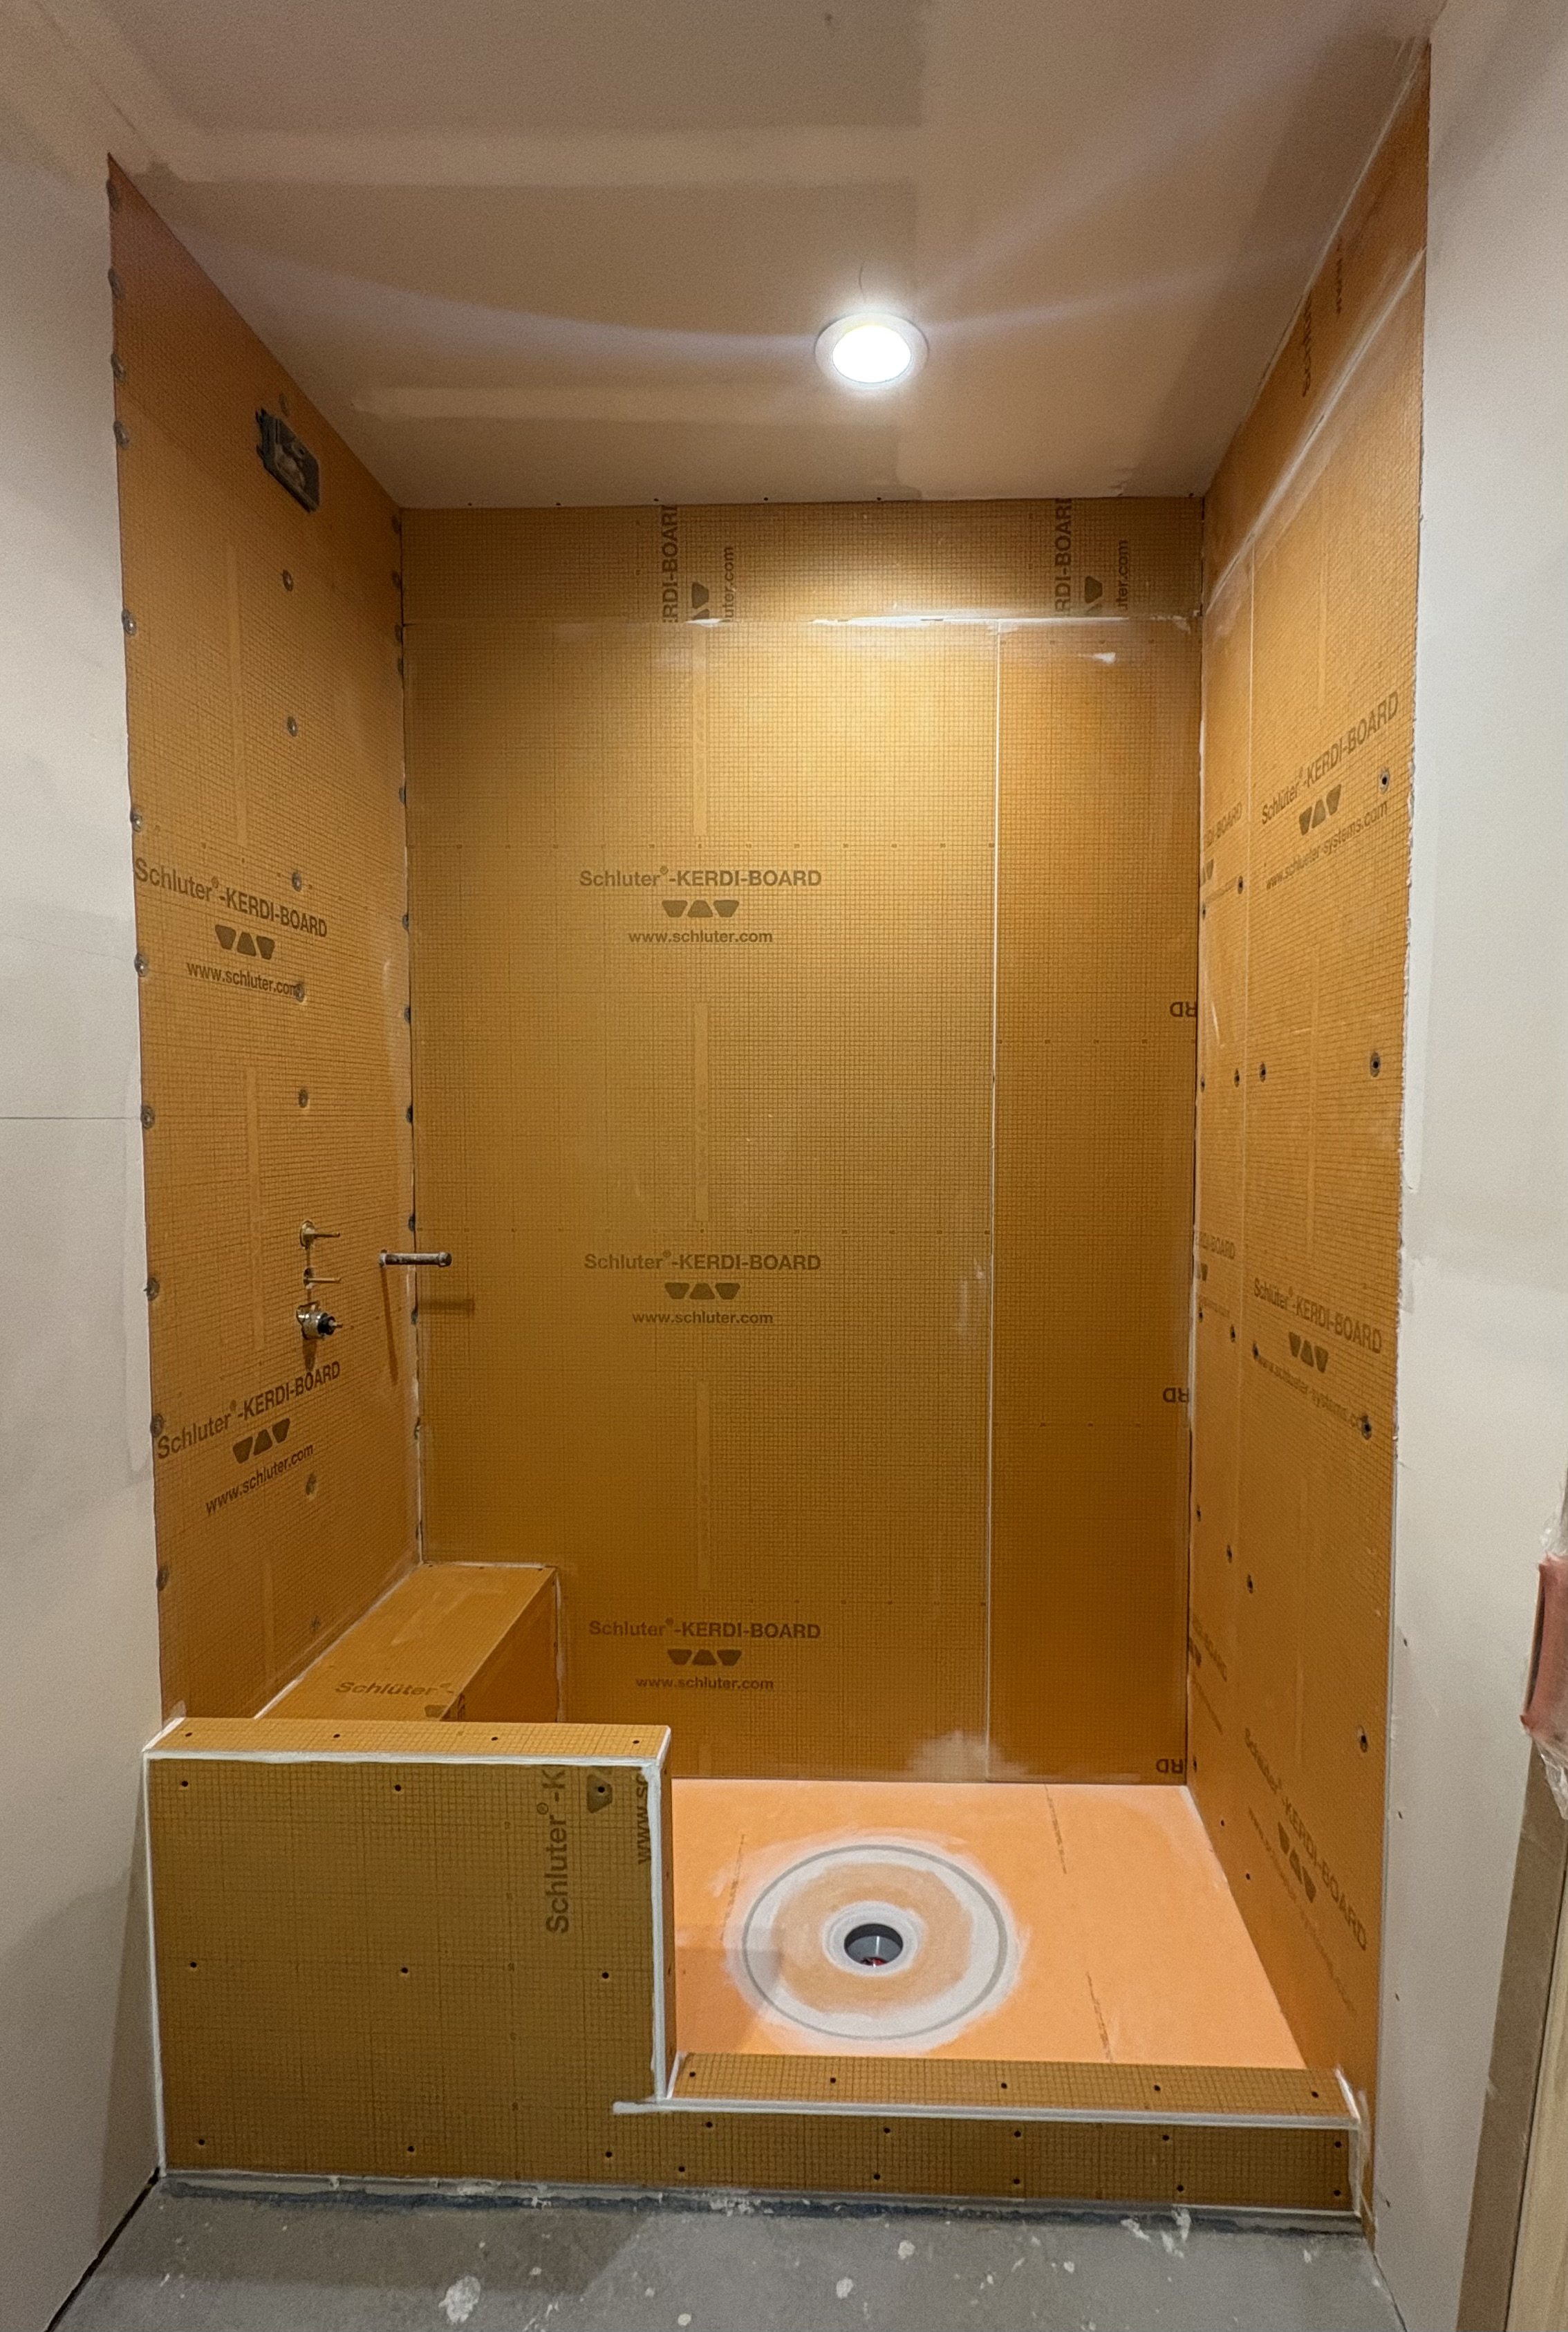
The finished curb and wall! It's looking like a shower now, right?

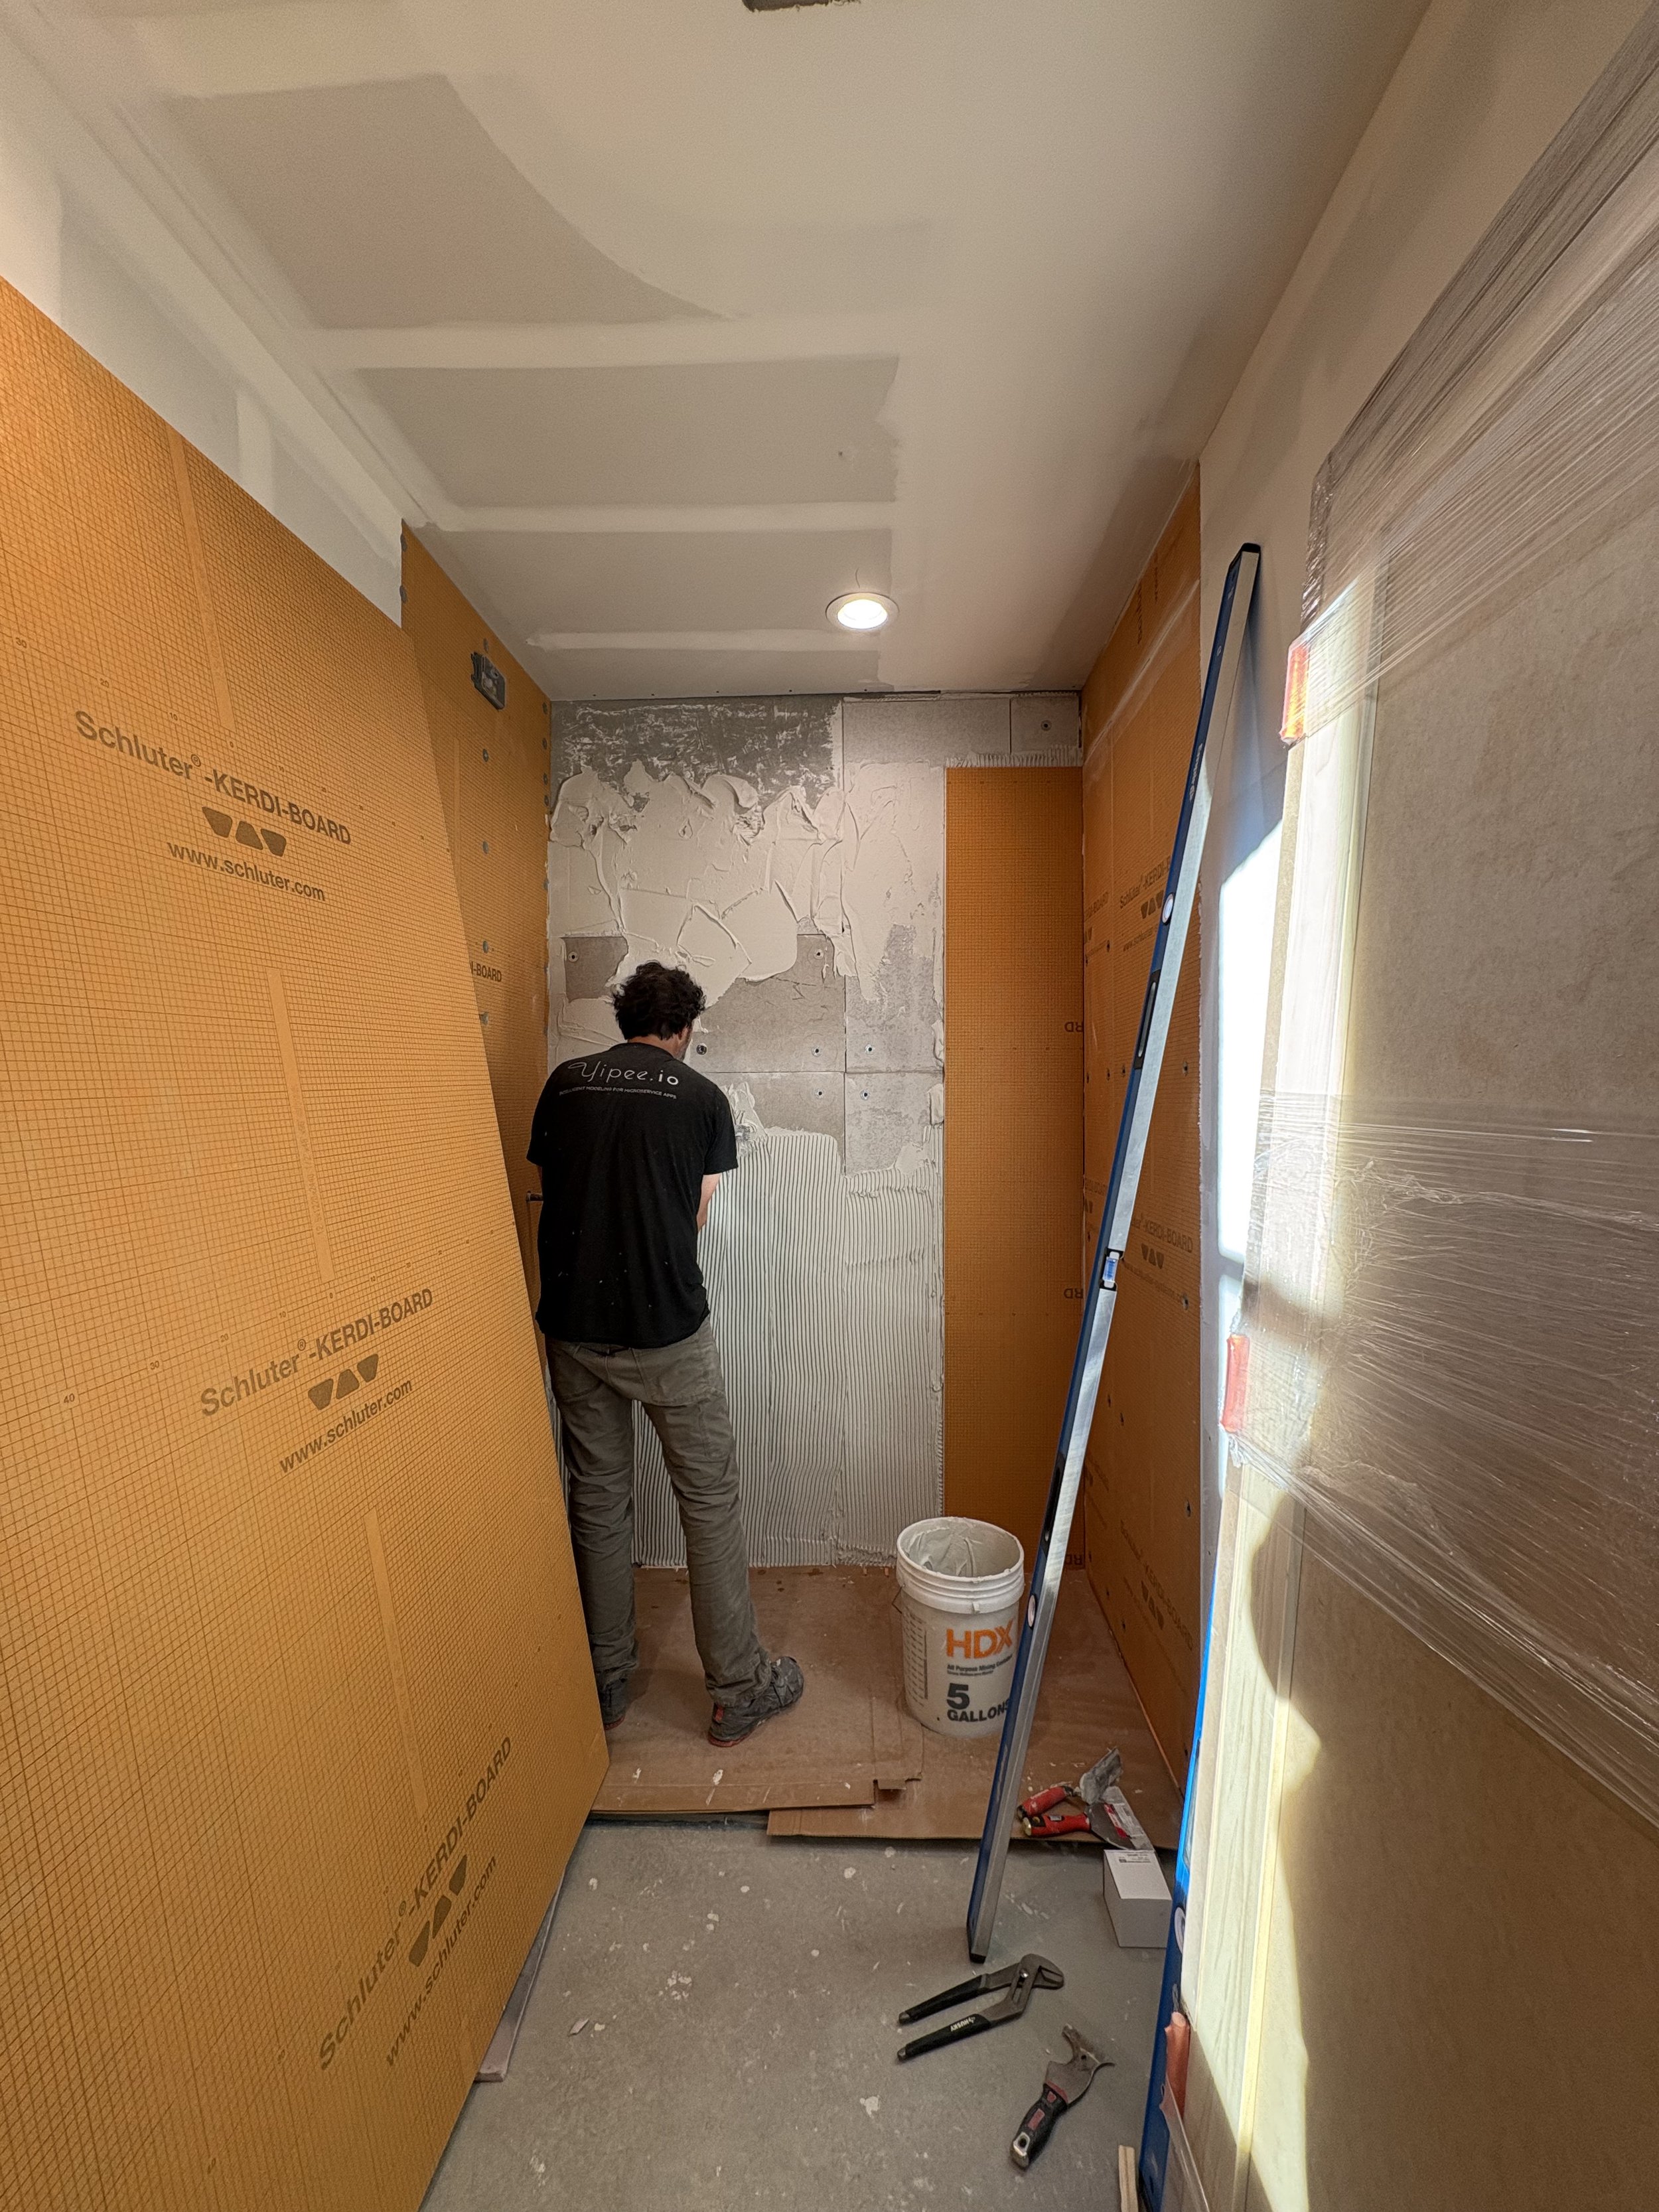
This part was so tedious! Patching every screw hole and seam so water doesn't find it's way out!
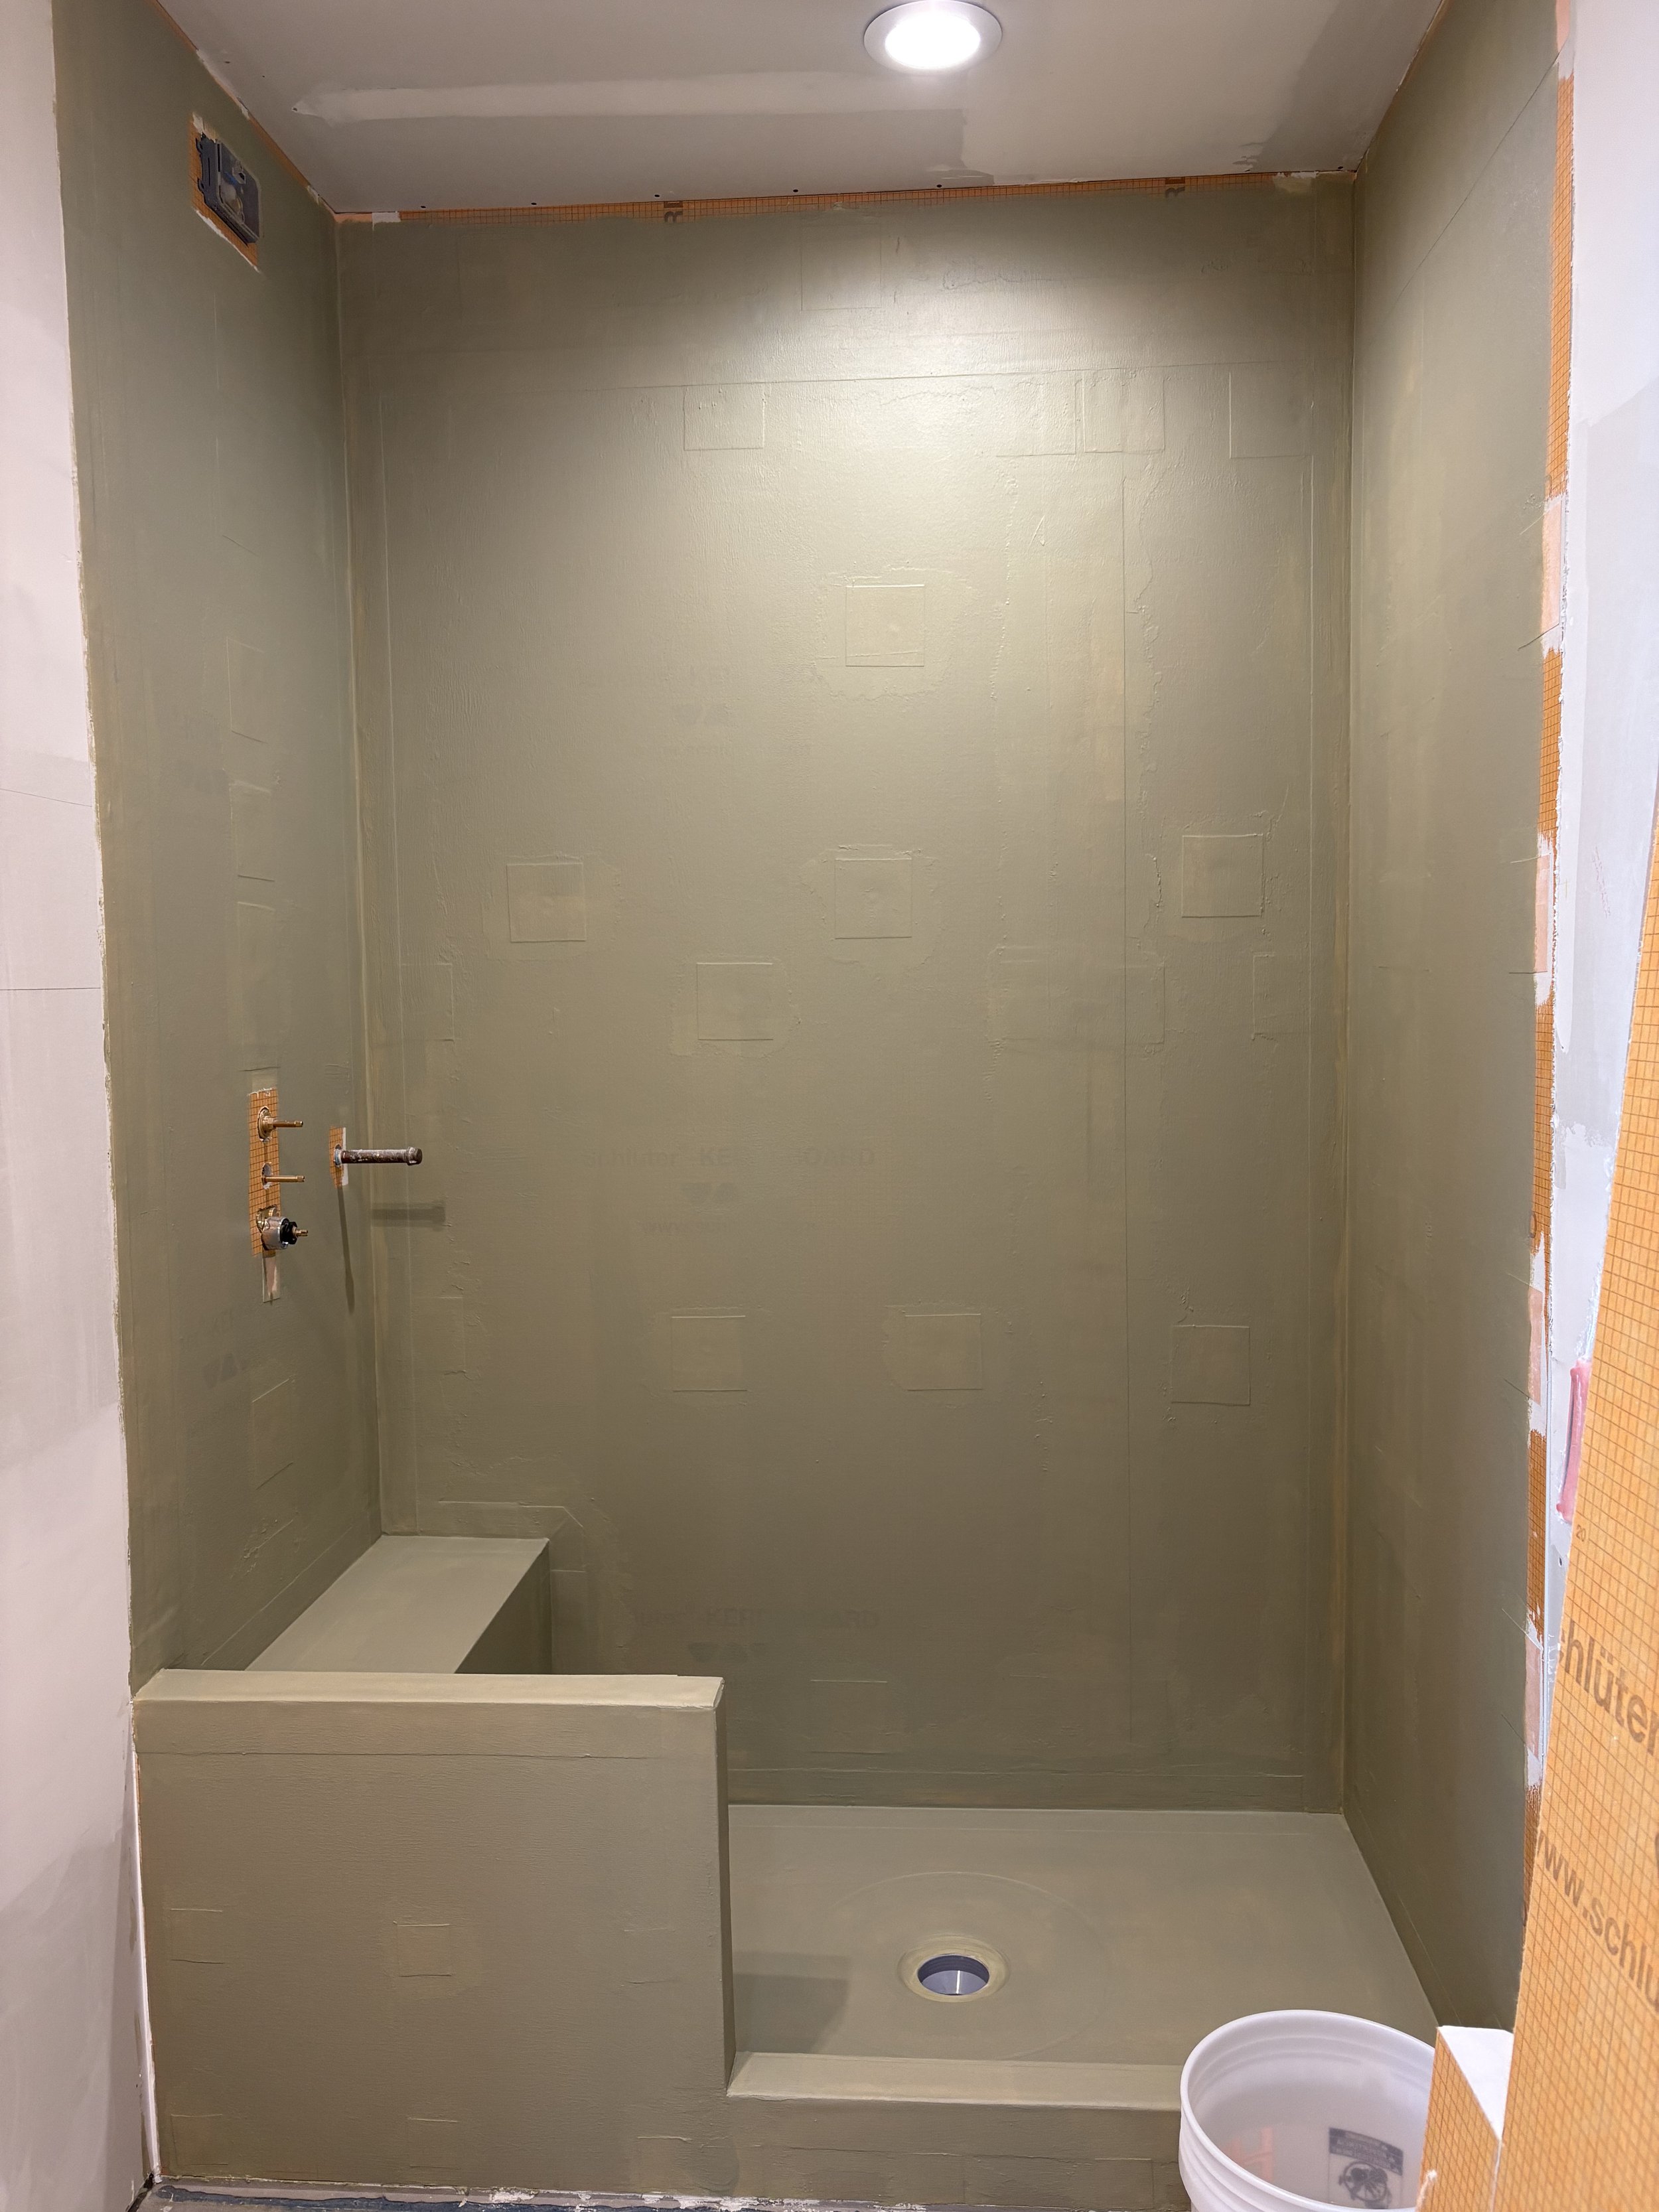
Last but not least, painting everything with yet another layer of water barrier! The shower is officially ready for tile.
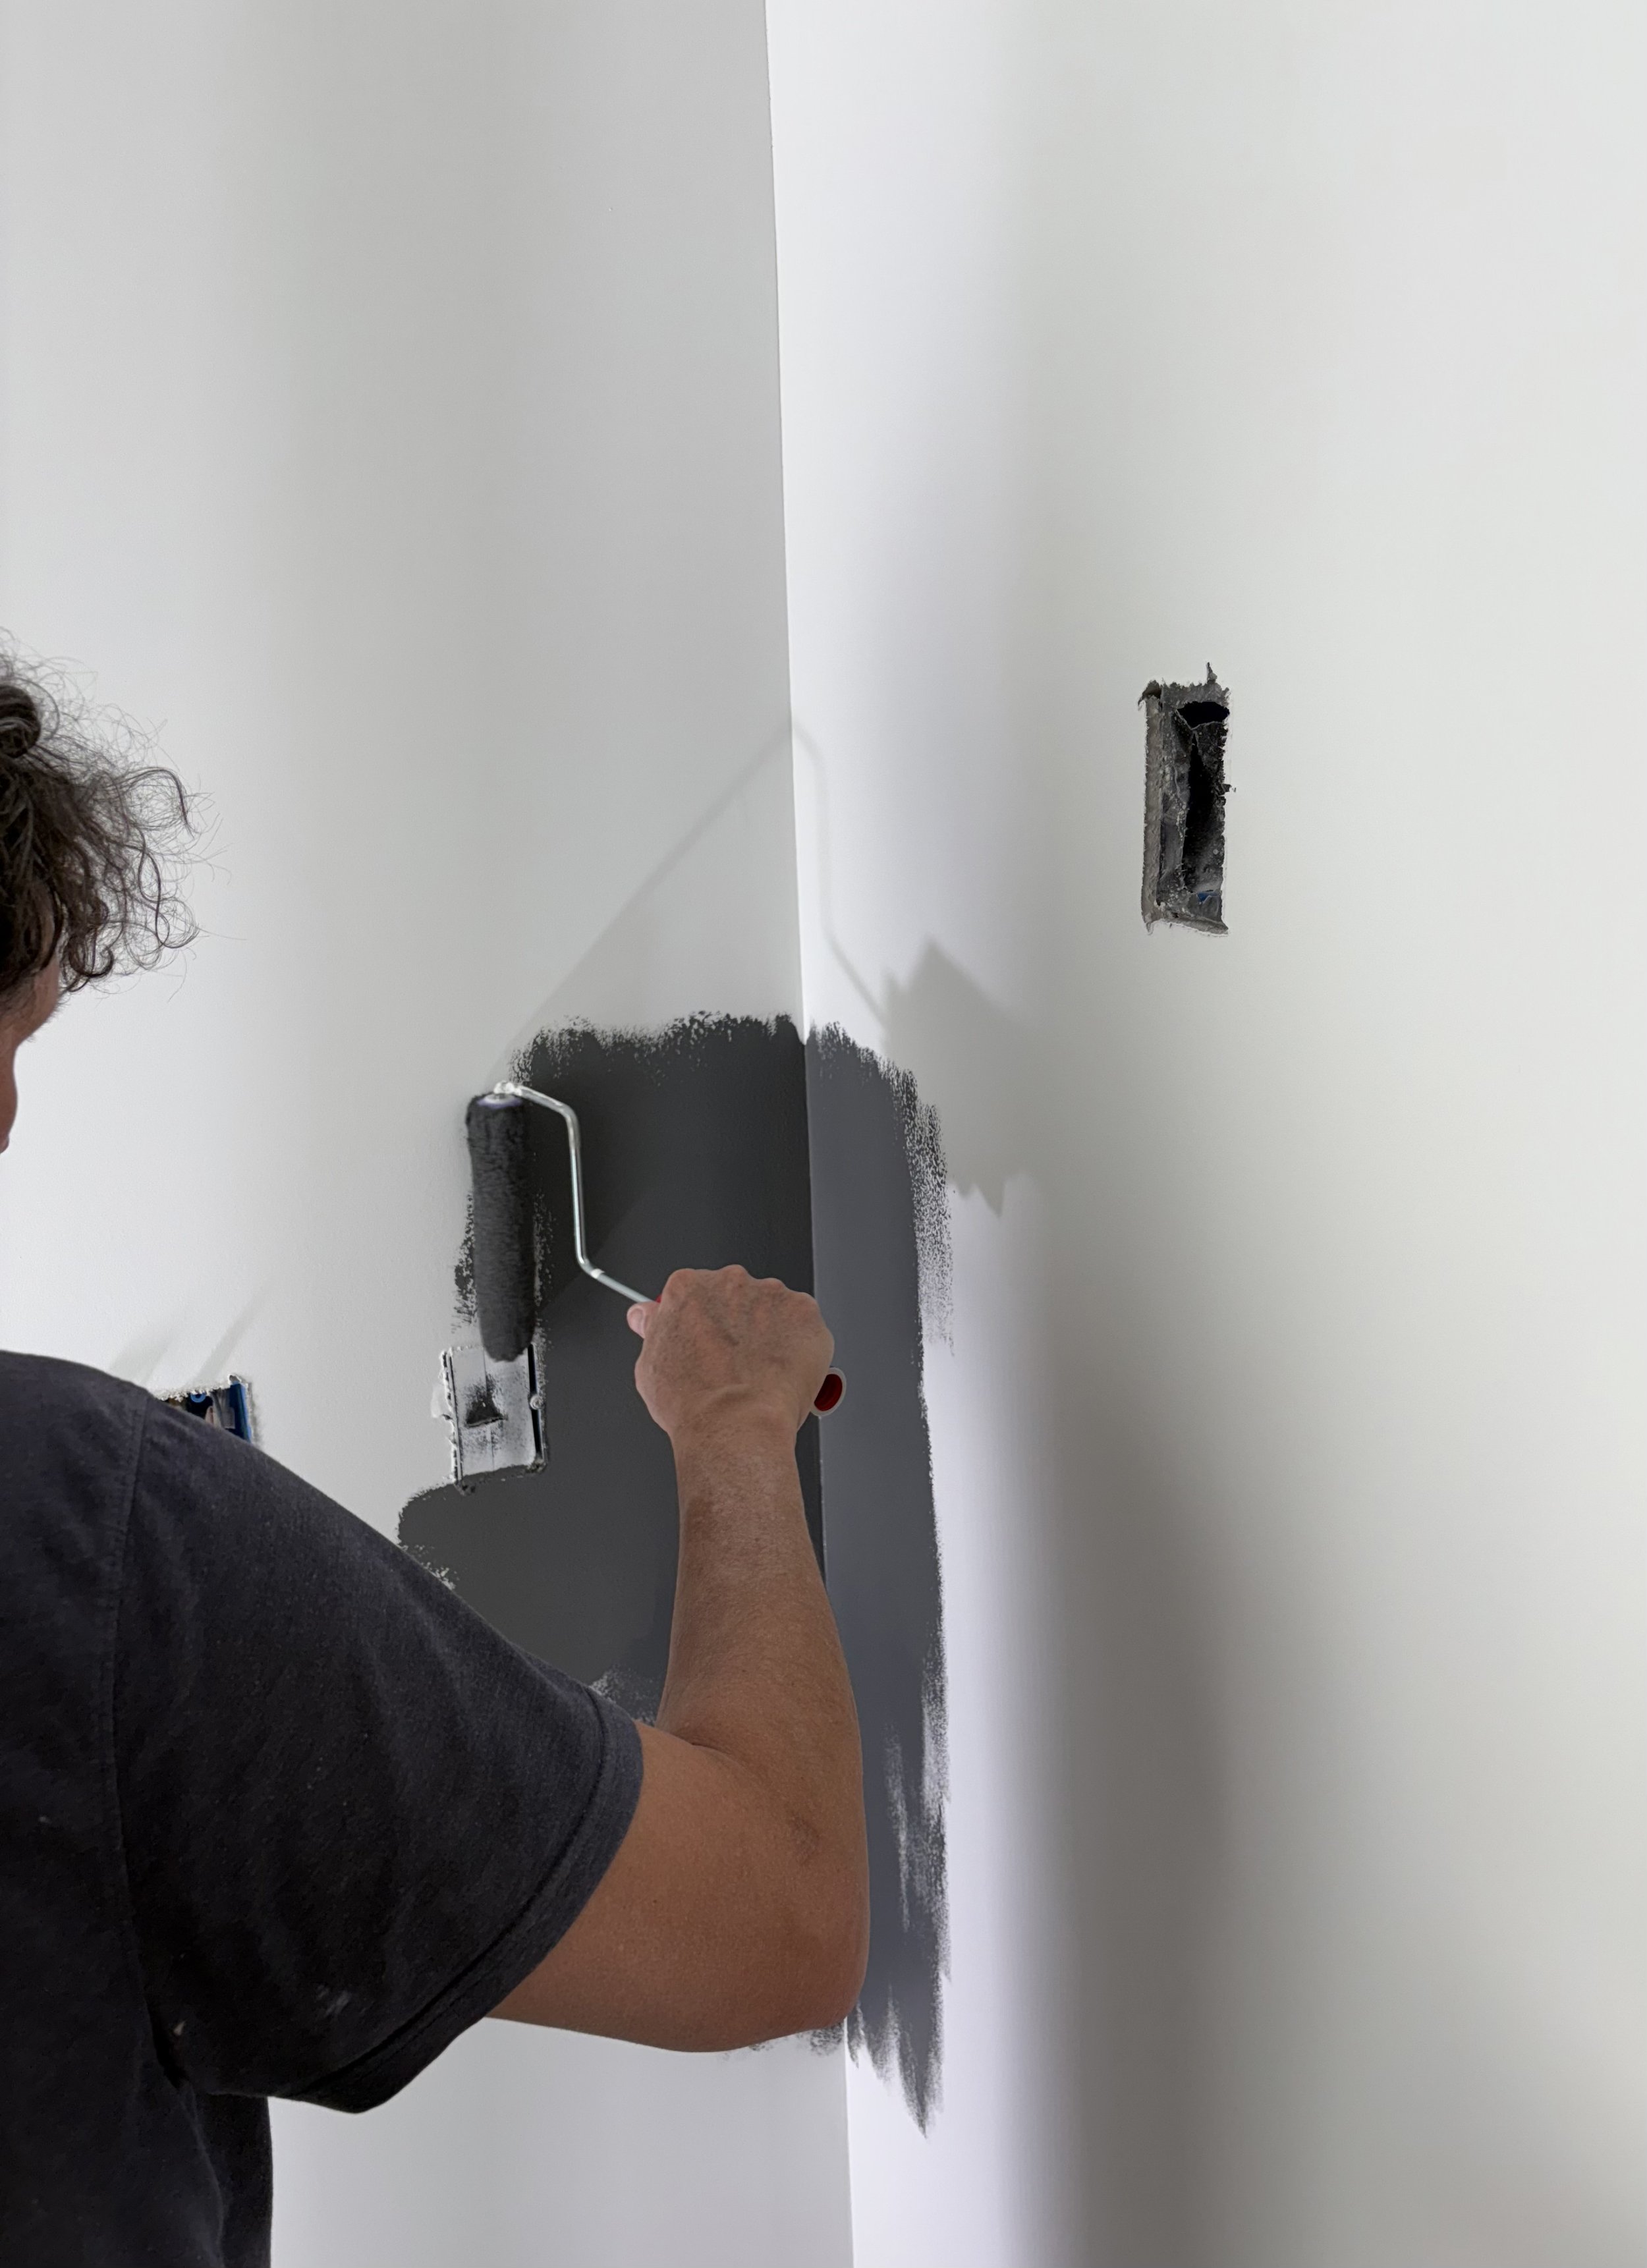
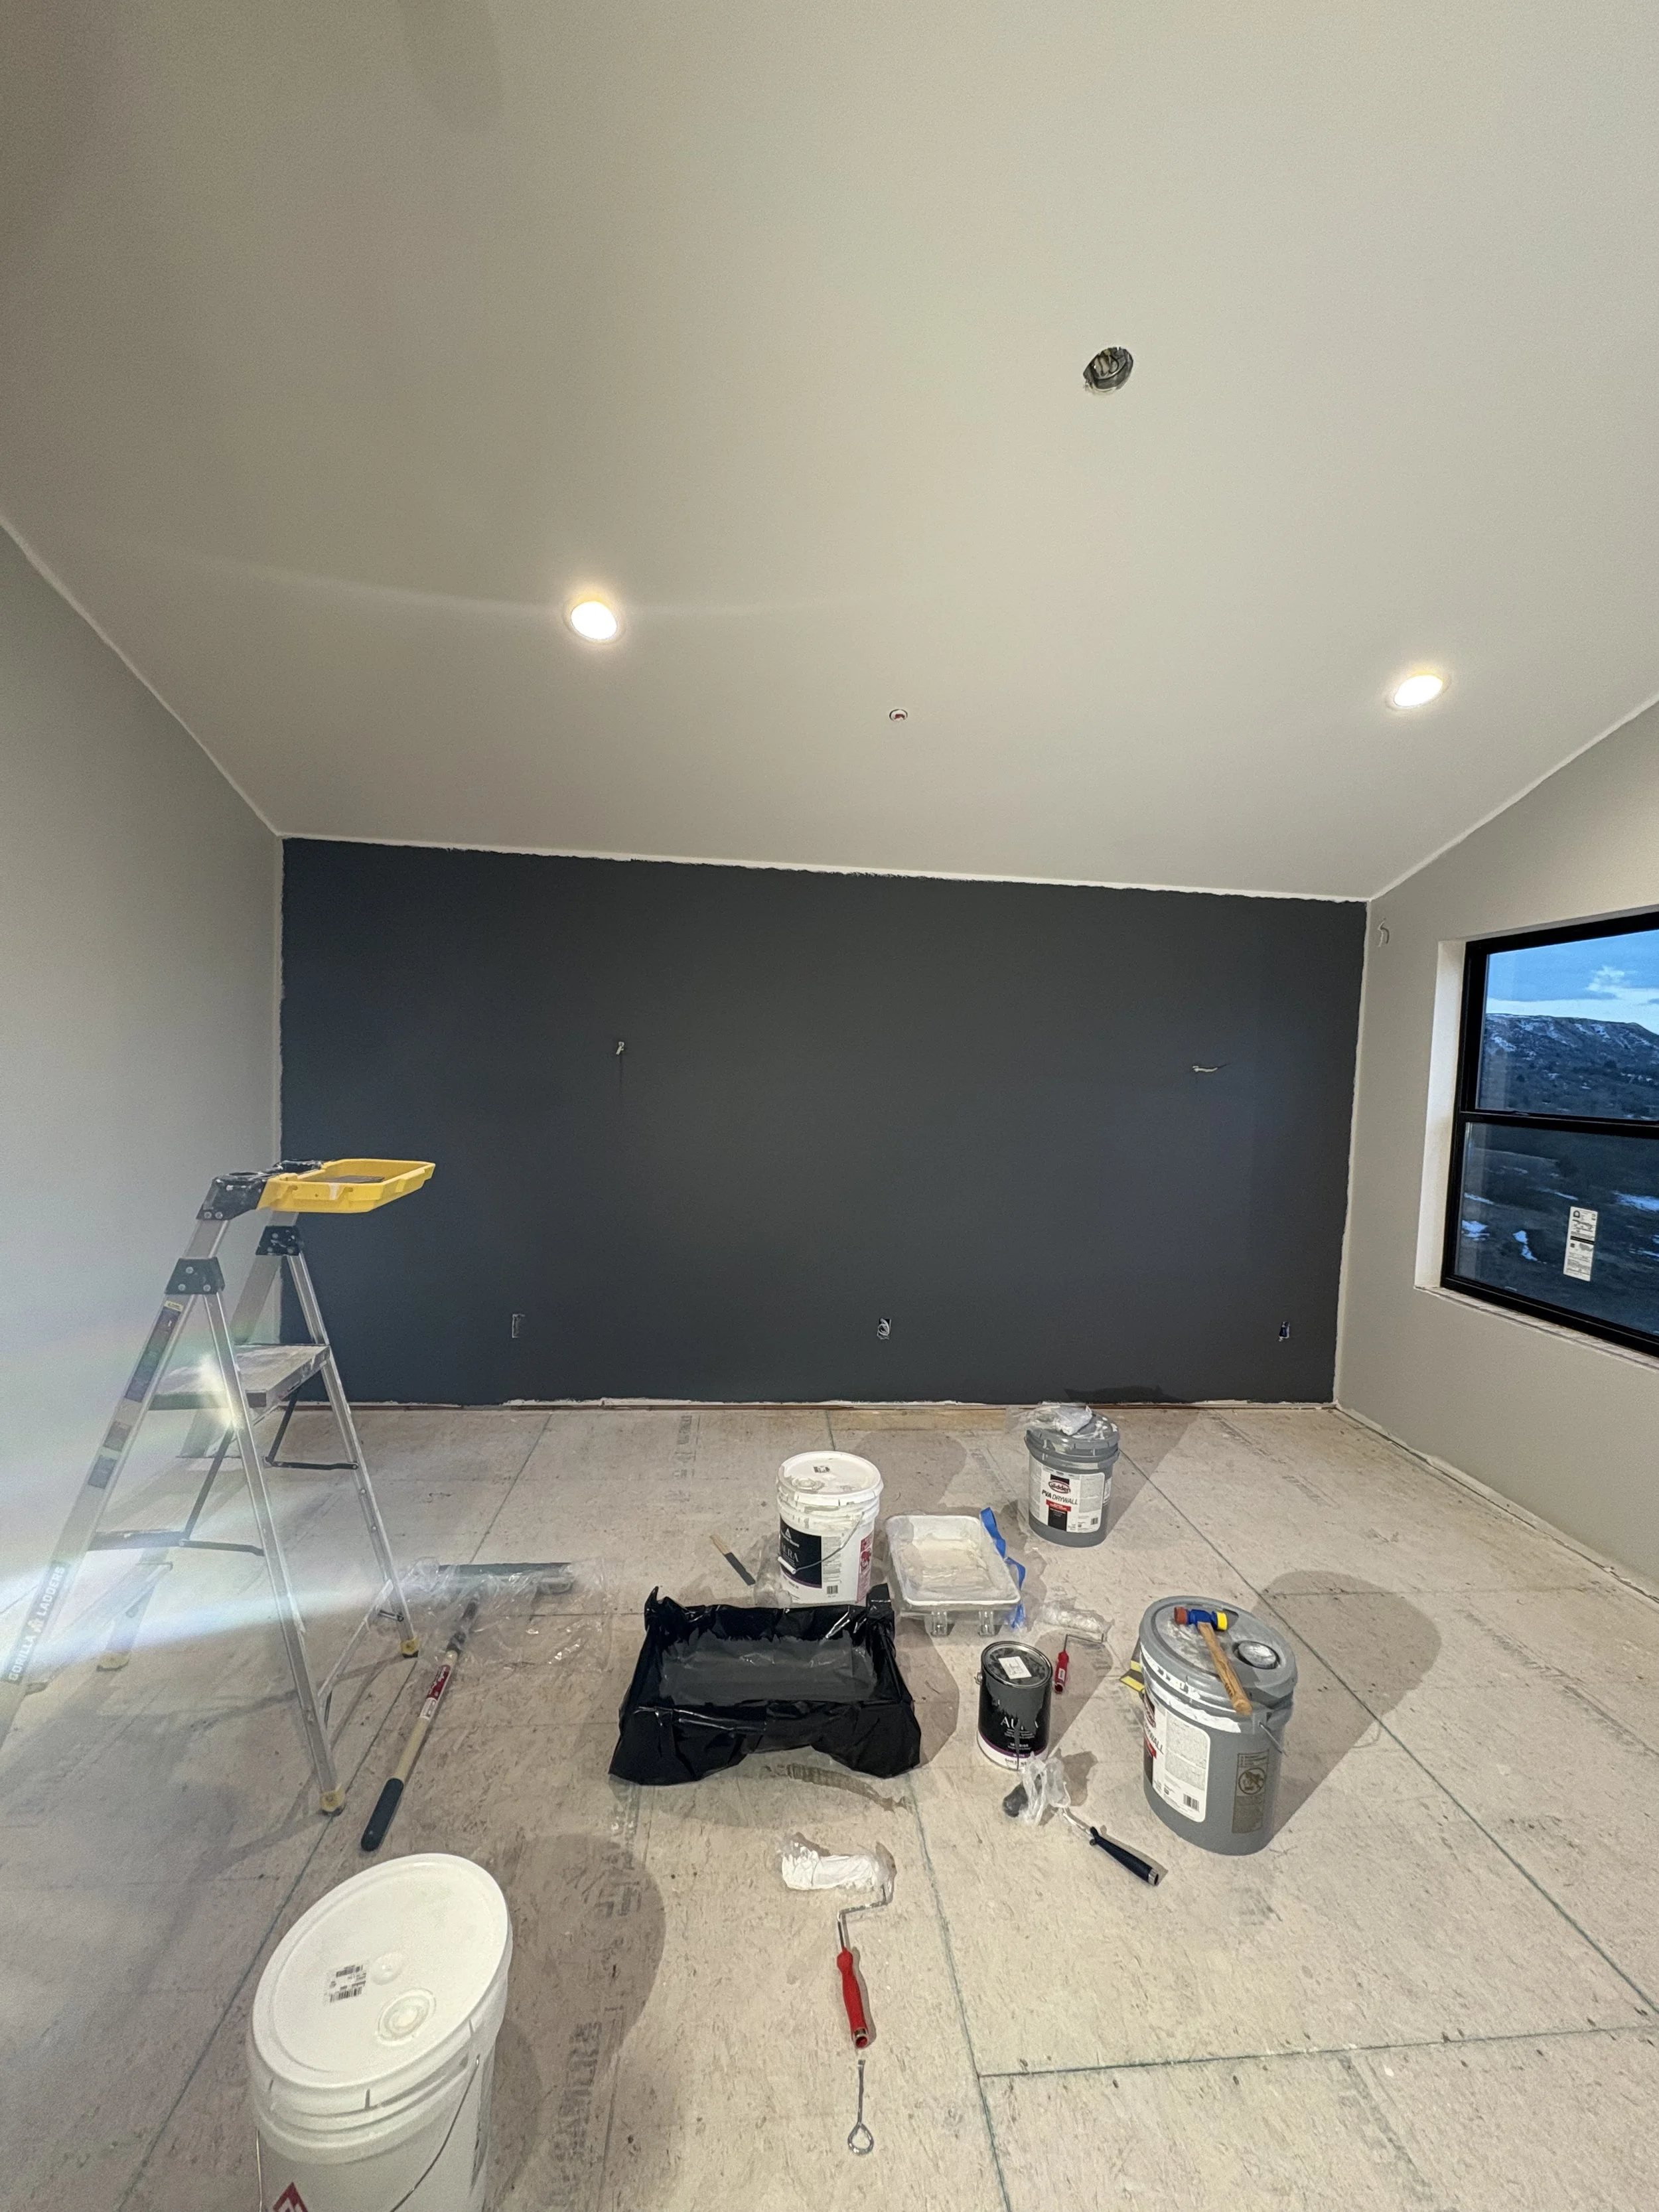
Painting the bathroom walls is next. Kris had a bit of concern when he saw what color I picked for the guest bath.

I assured him the color was not too bold for my bold decorating ideas! So, Texas Storm went up on the walls!

The green shower isn't part of my decorating idea, so be patient! I promise it'll all come together in the end.
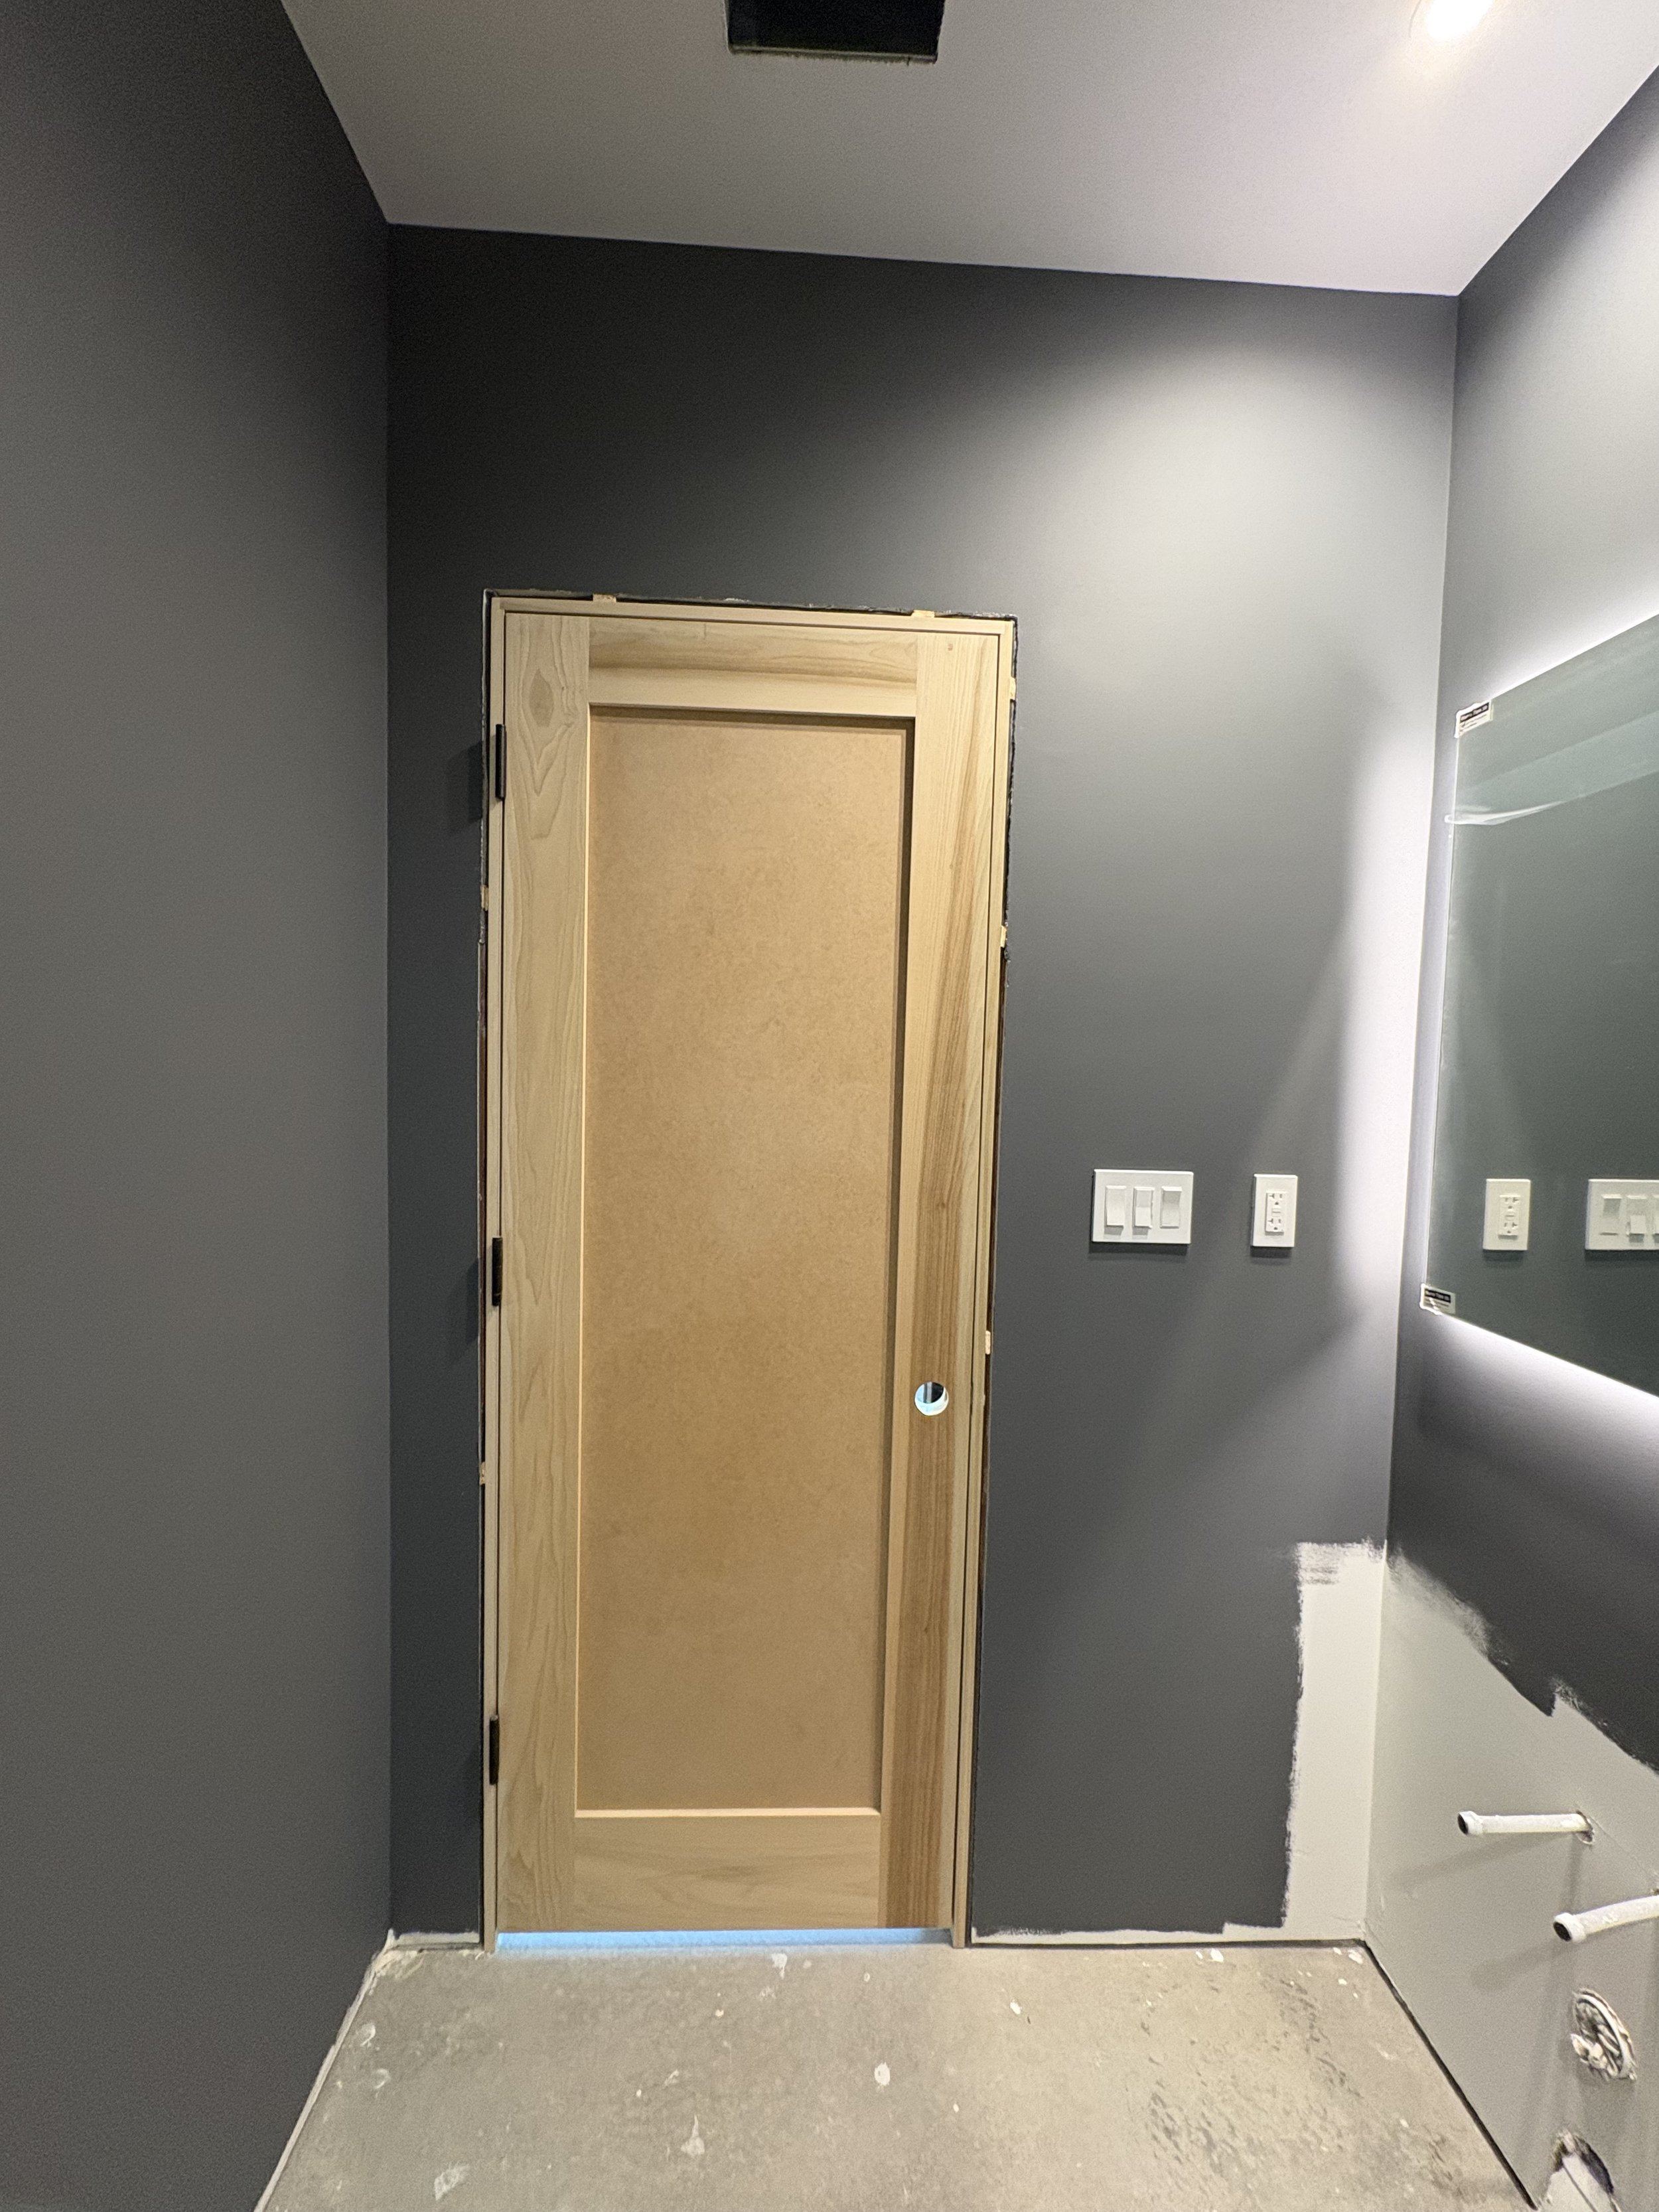
The bathroom door is installed.

Here's a view of the door from outside the bathroom.
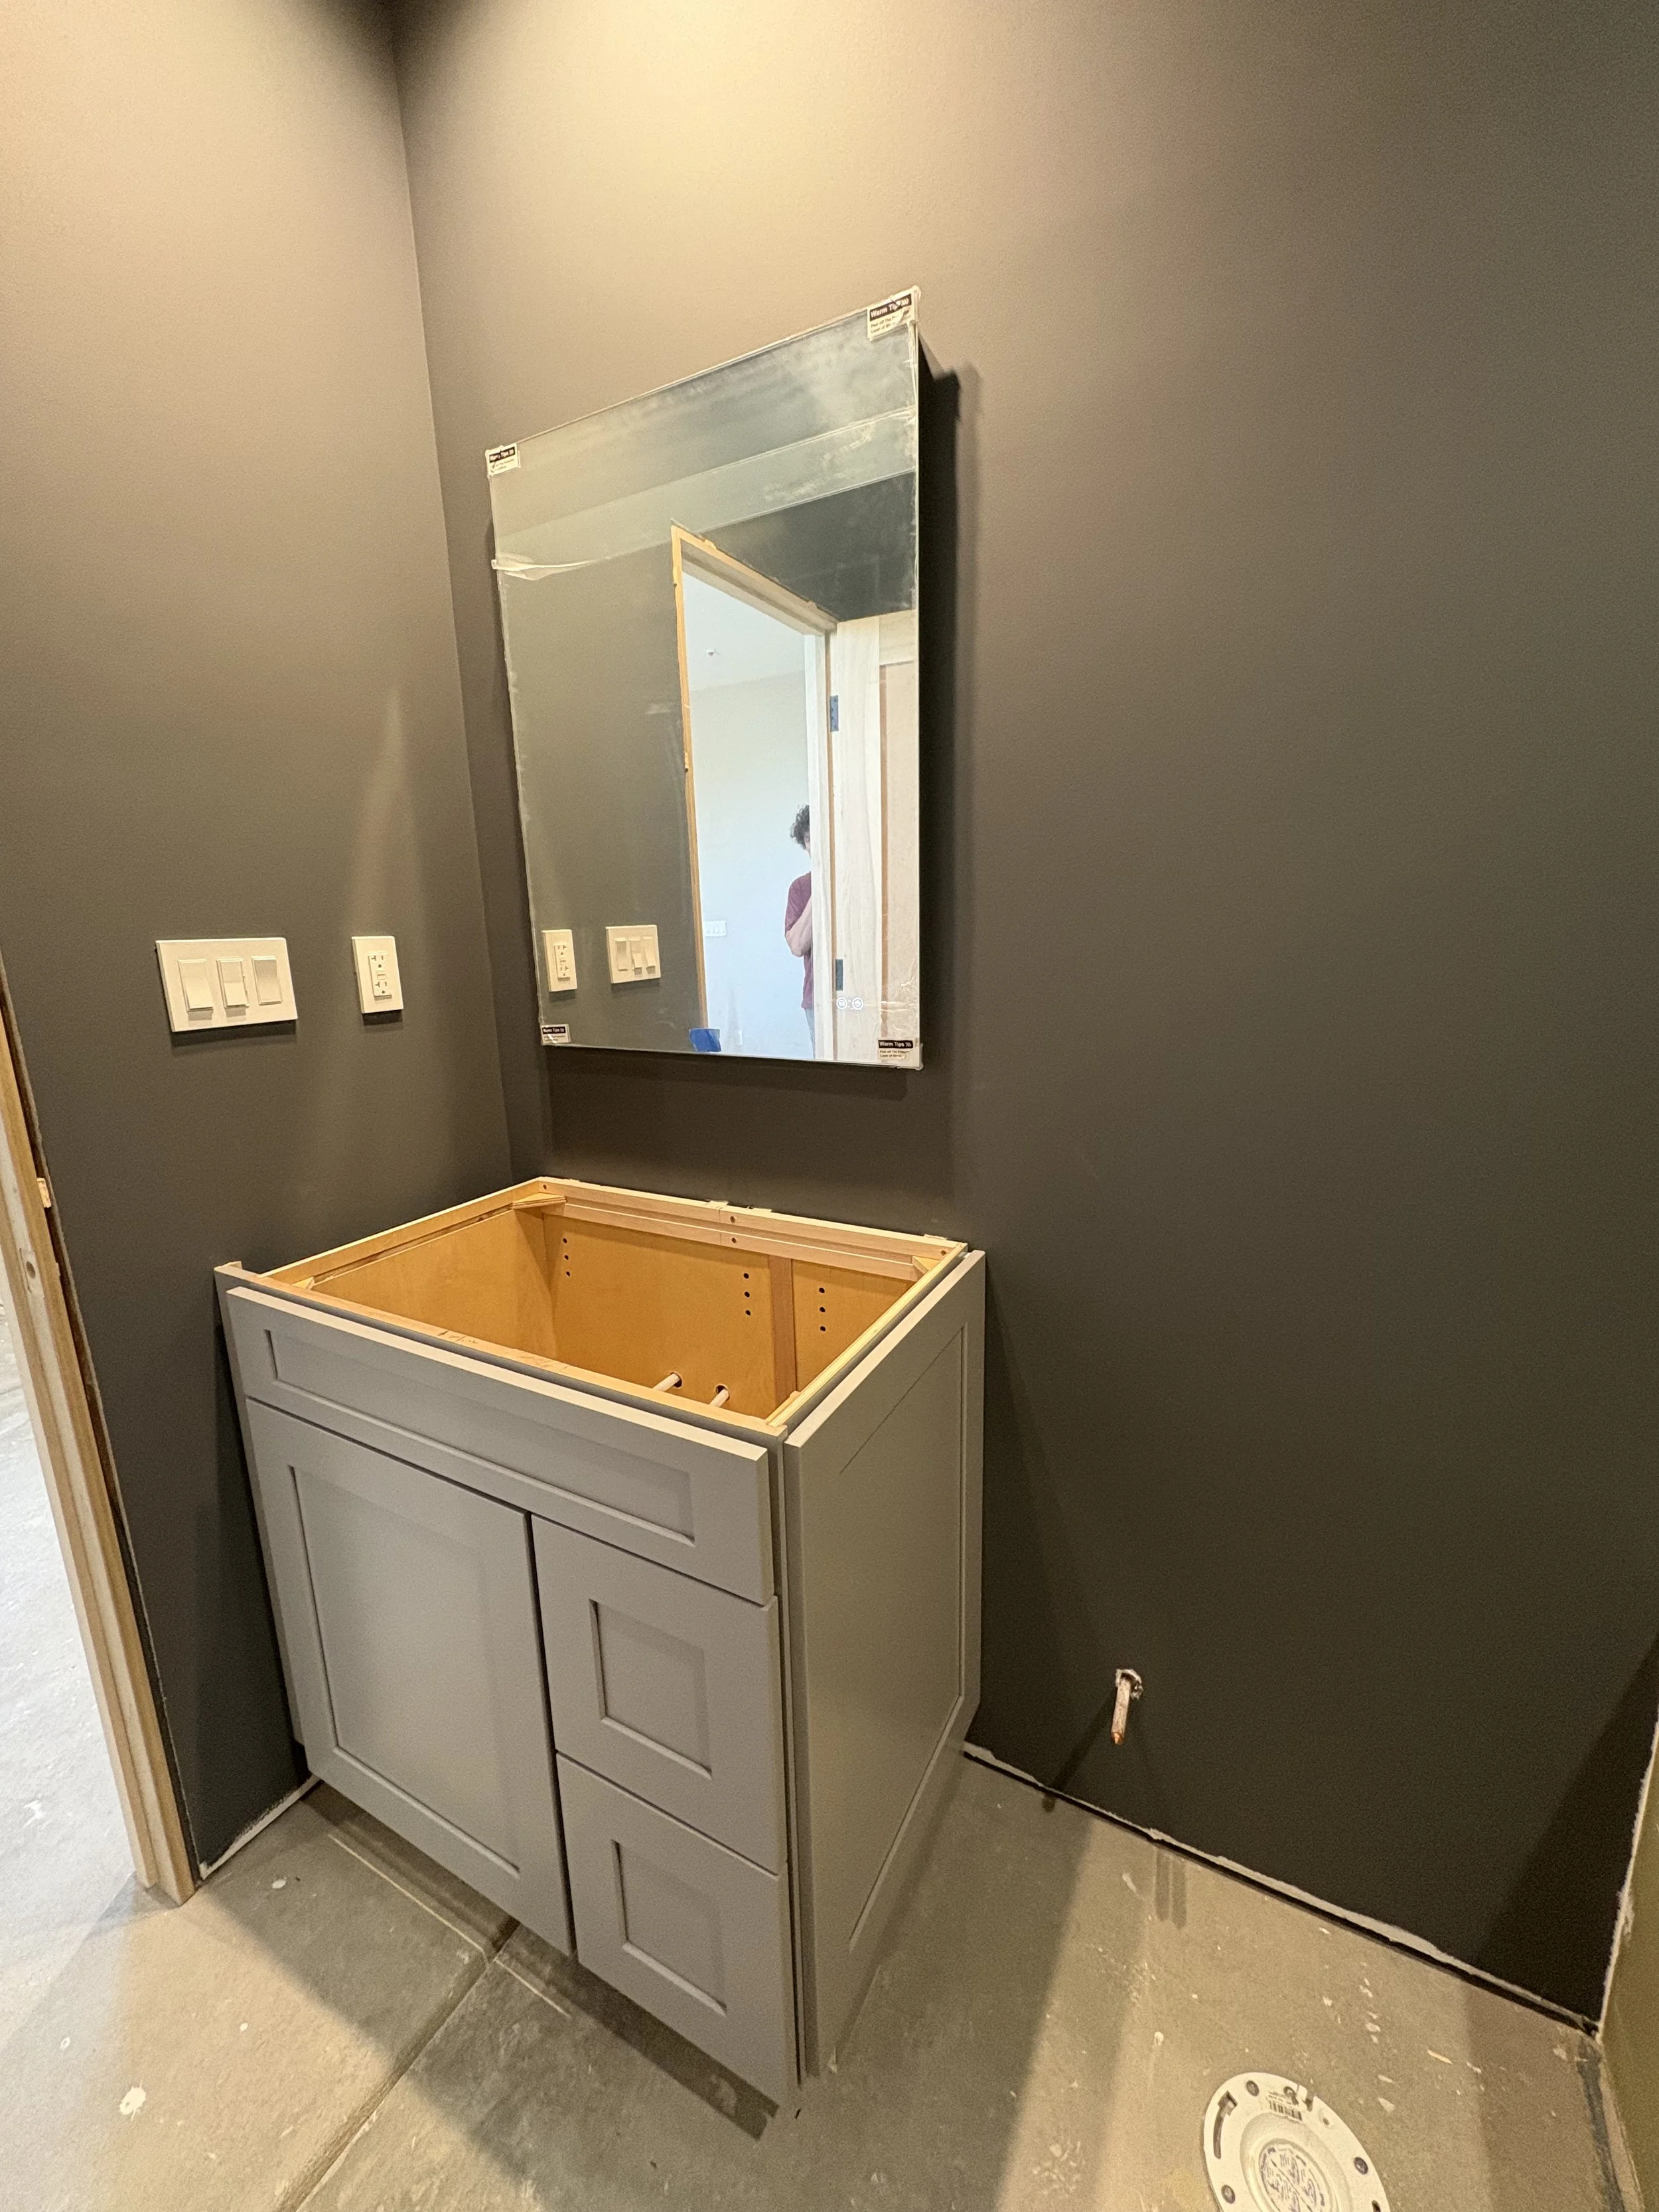
The guest bath cabinet and mirror are installed.

The sink and countertop go in next!
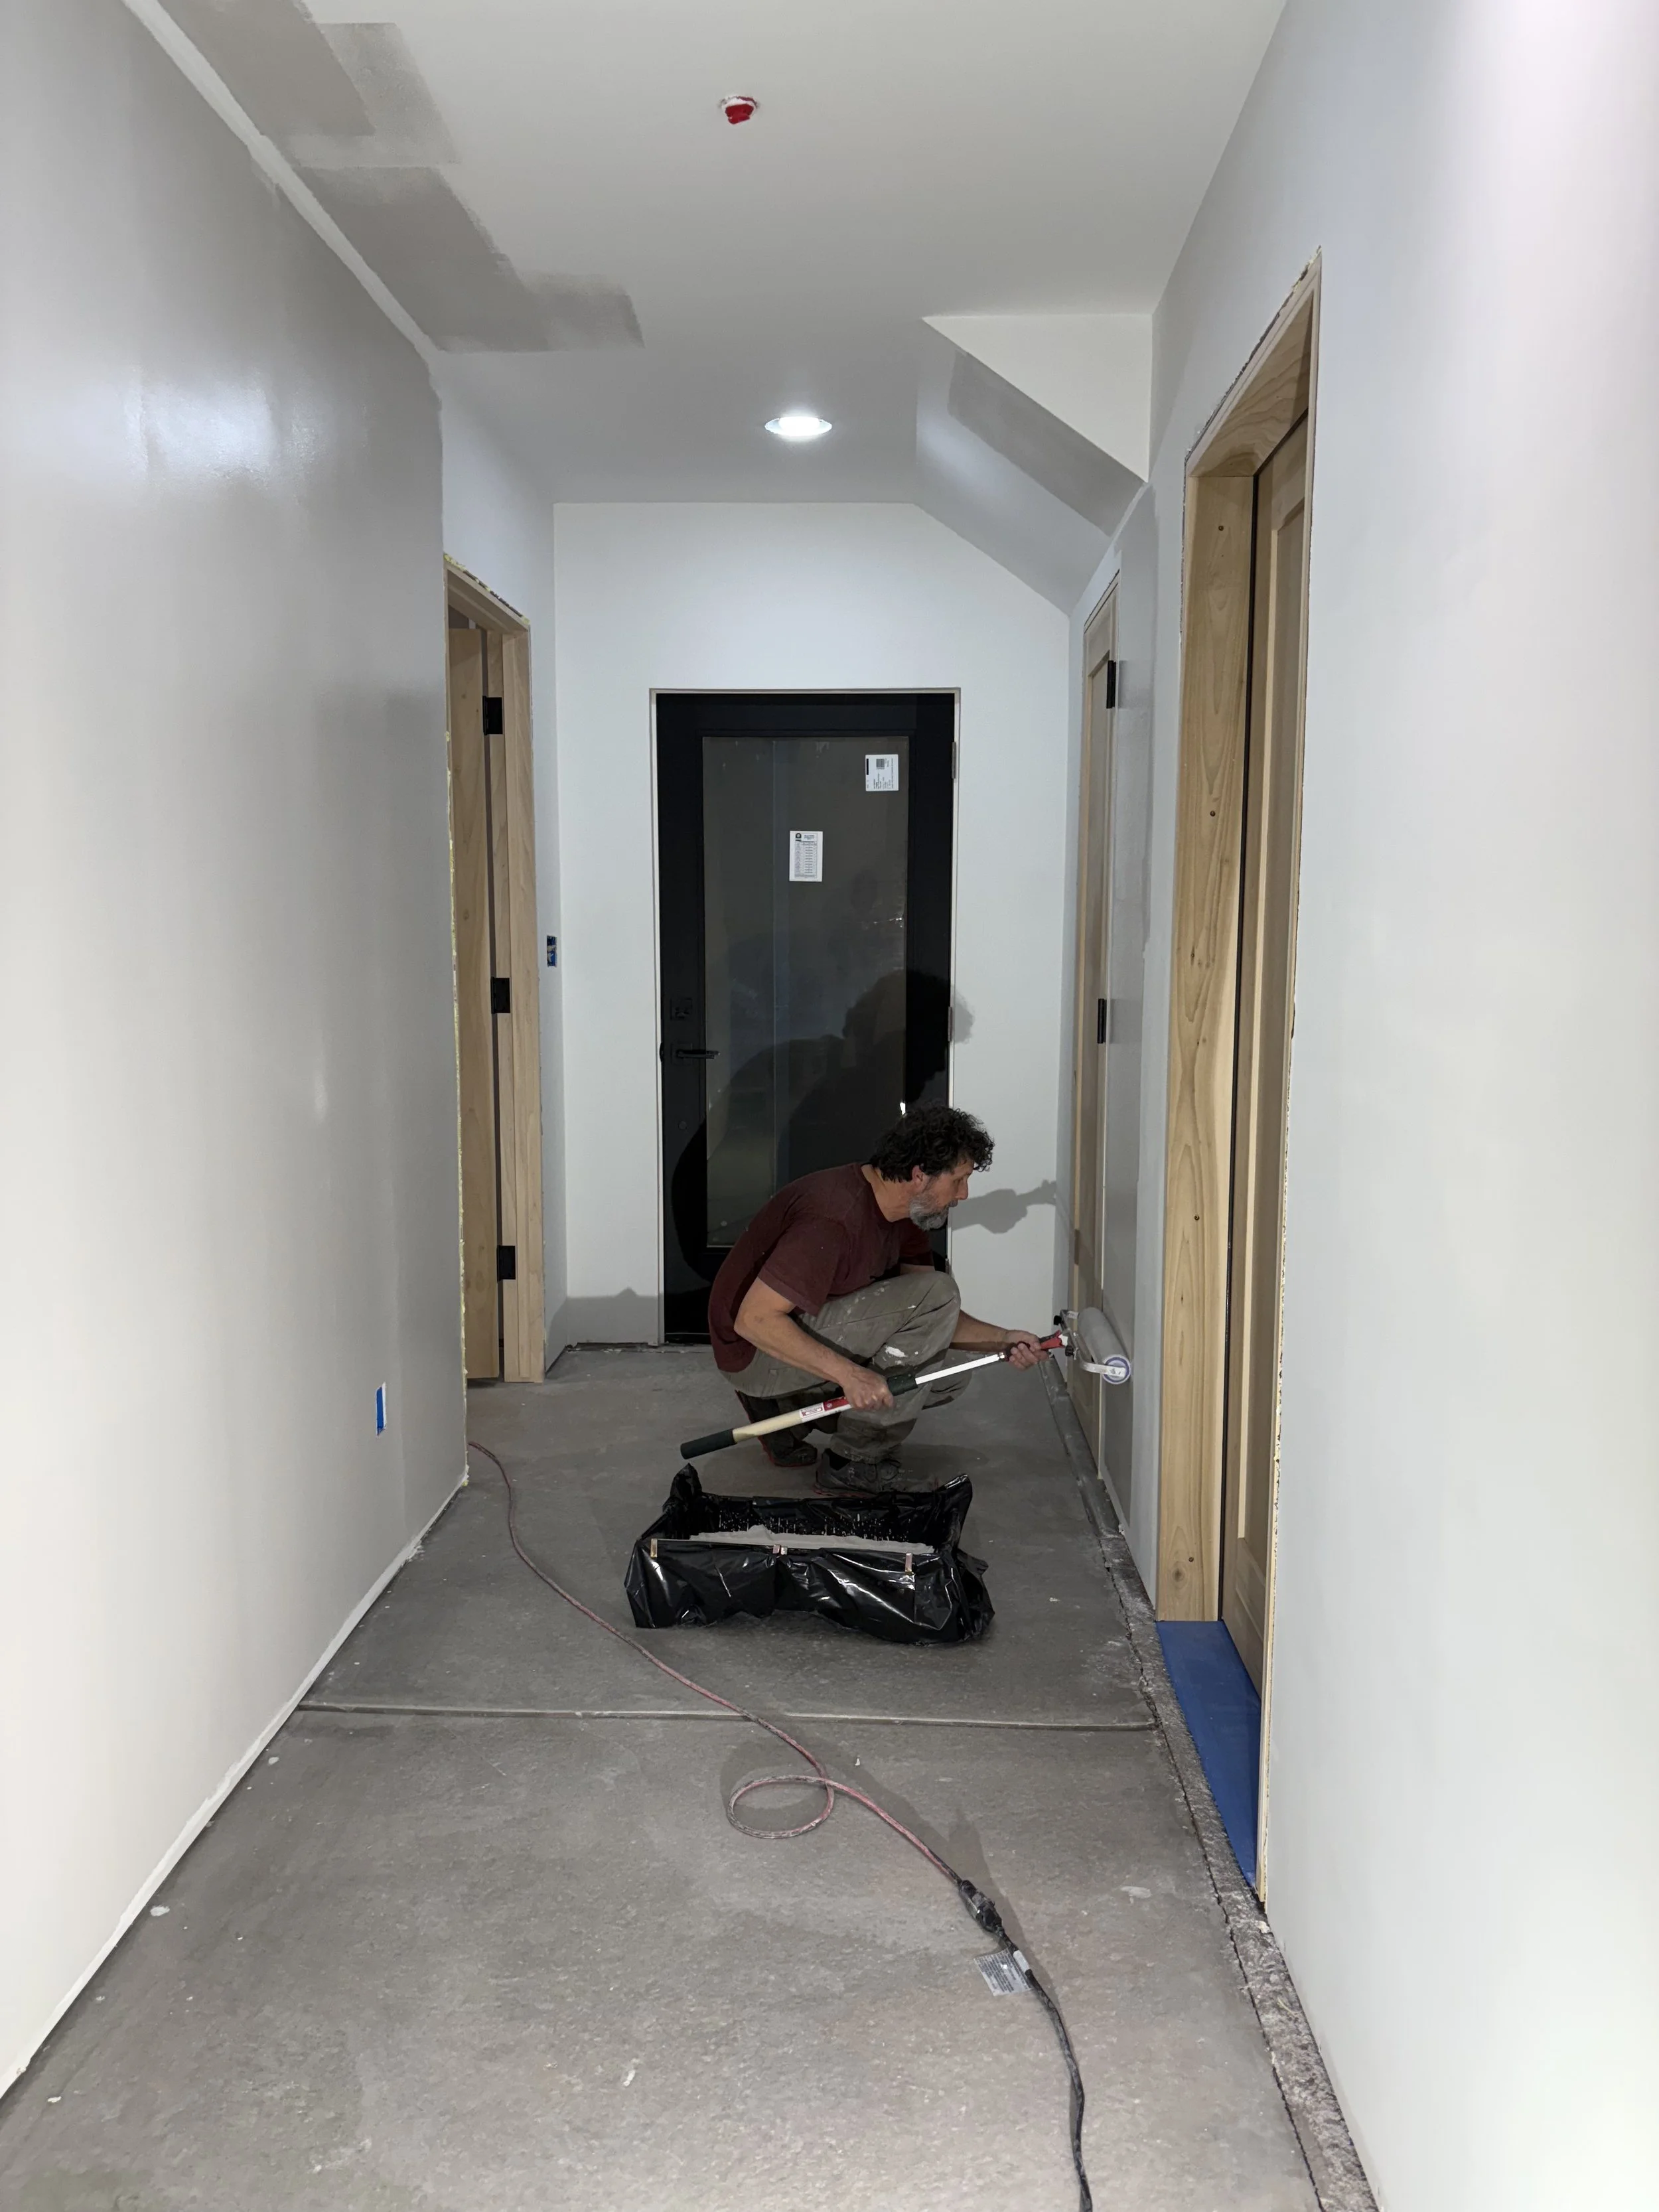
Moving right in to painting the guest room/Pilates studio. Here's the main entry and hallway.
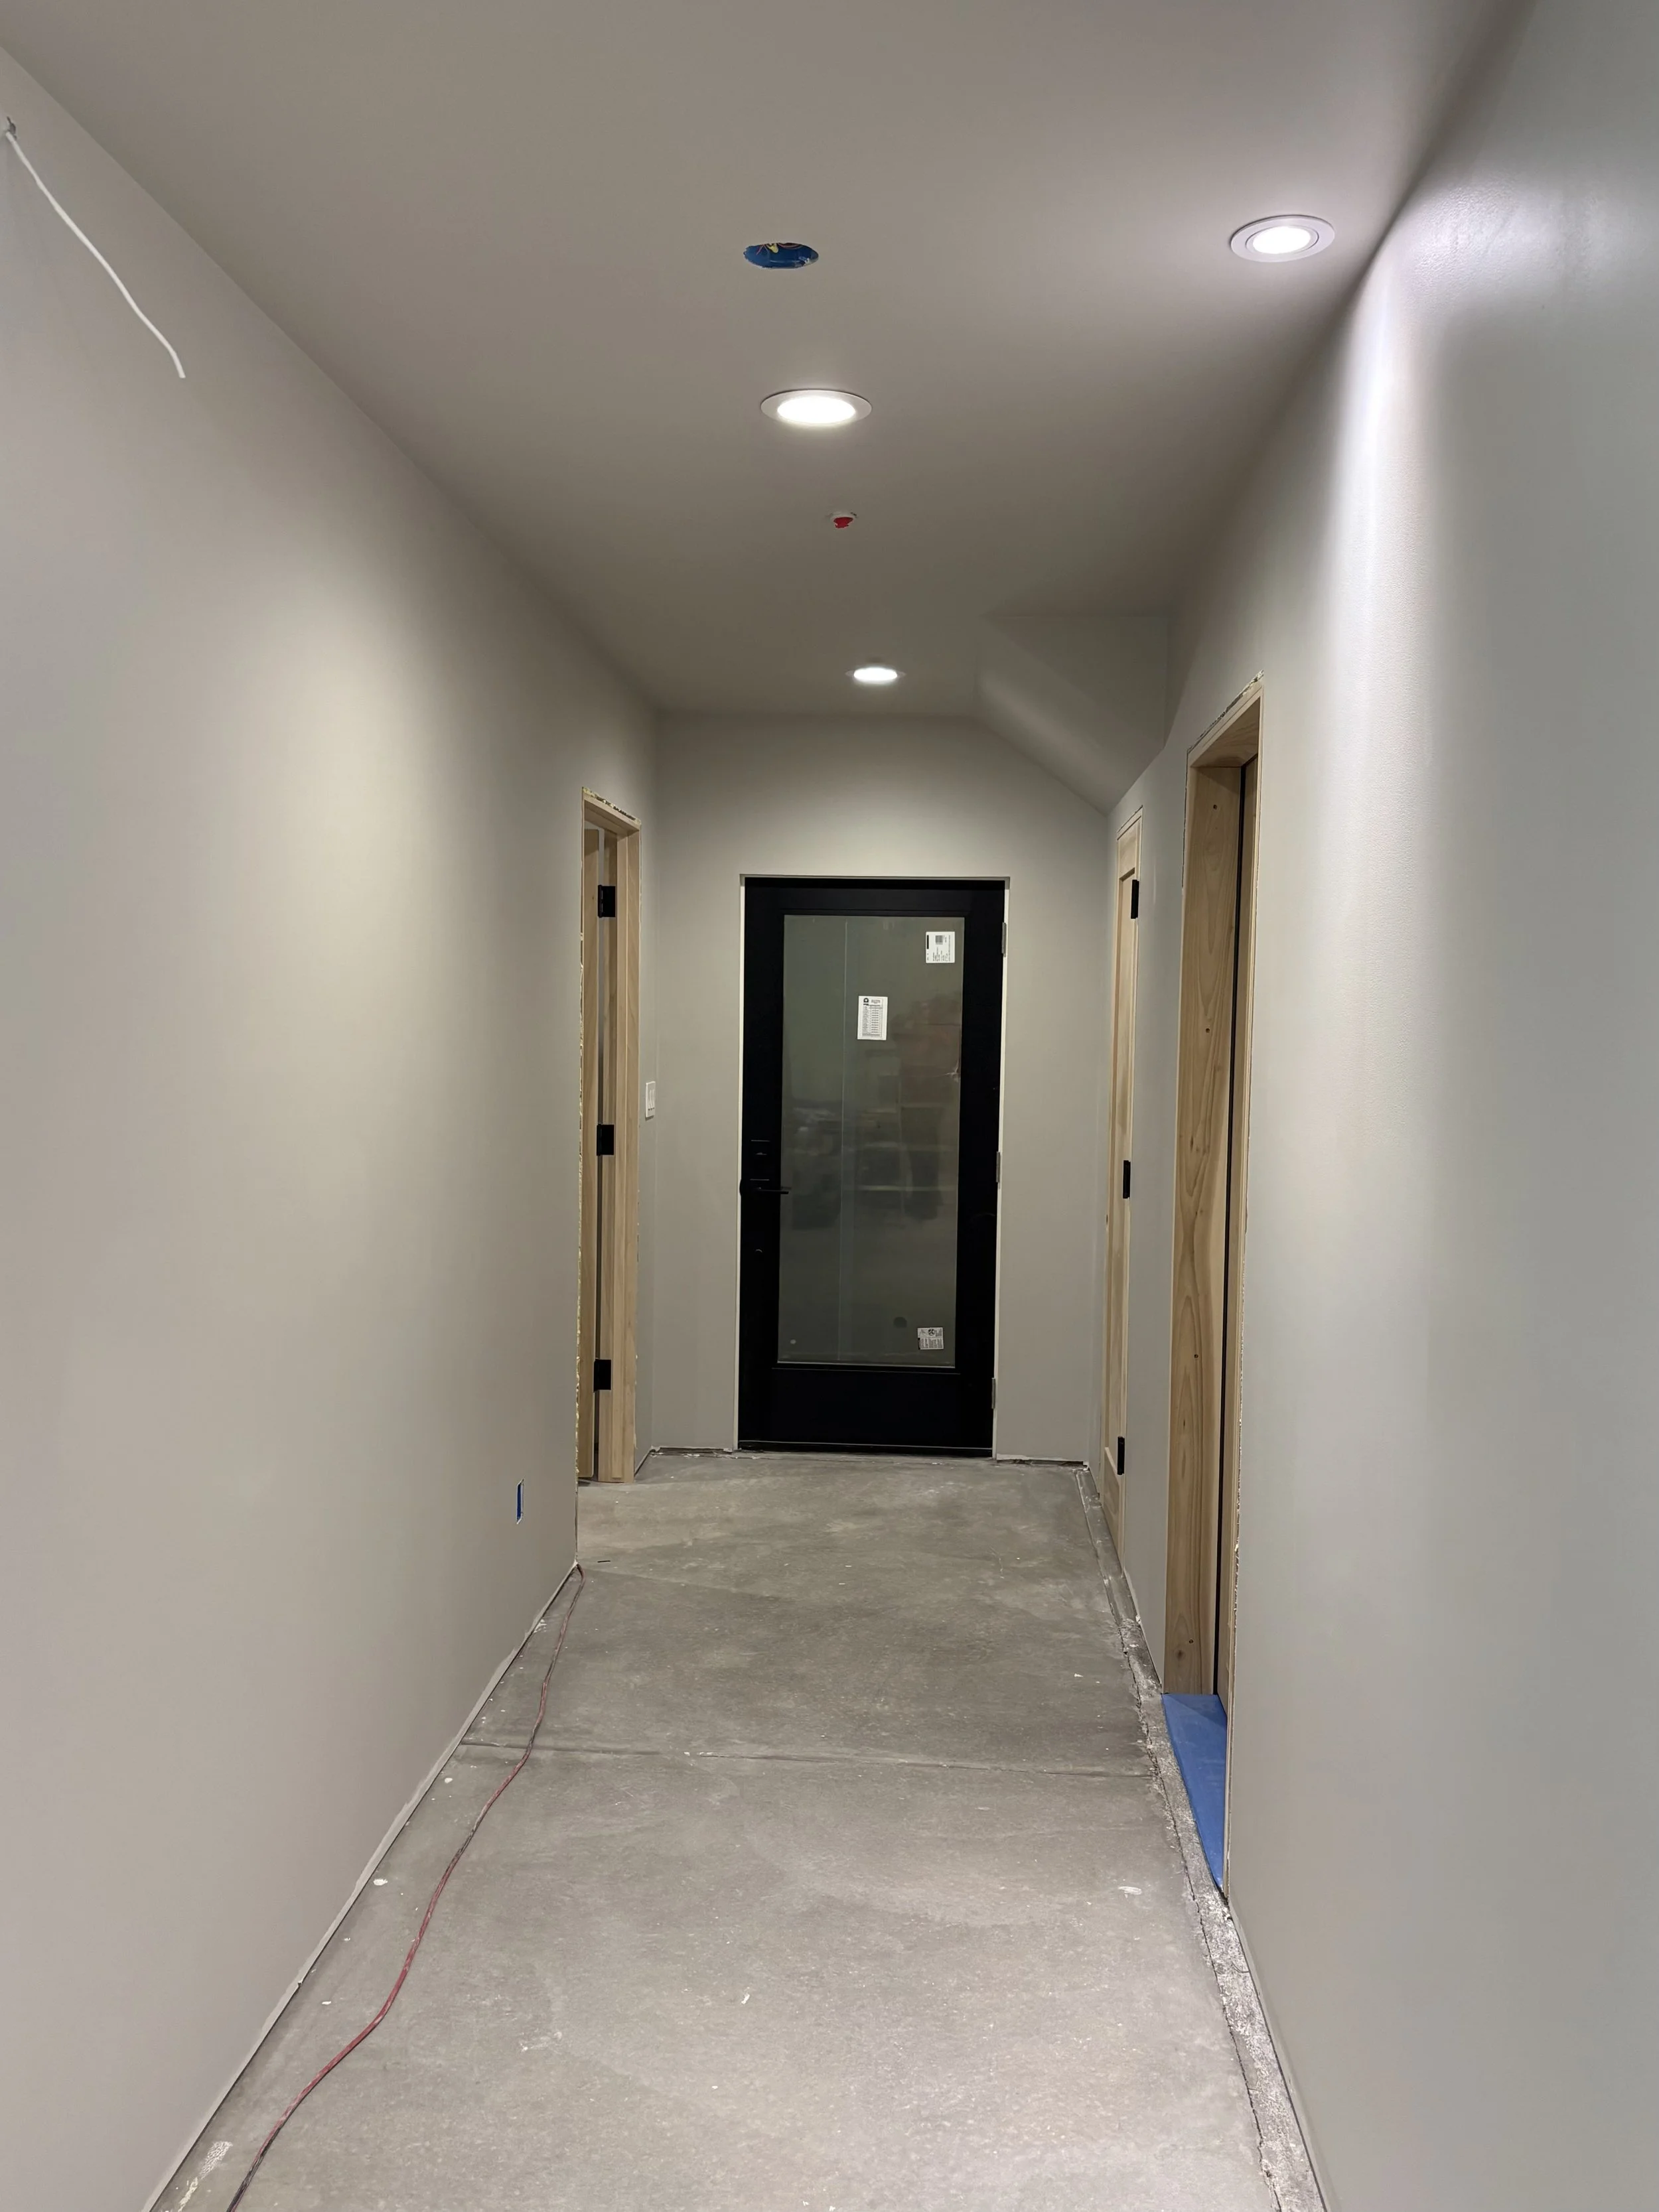
Painting complete!
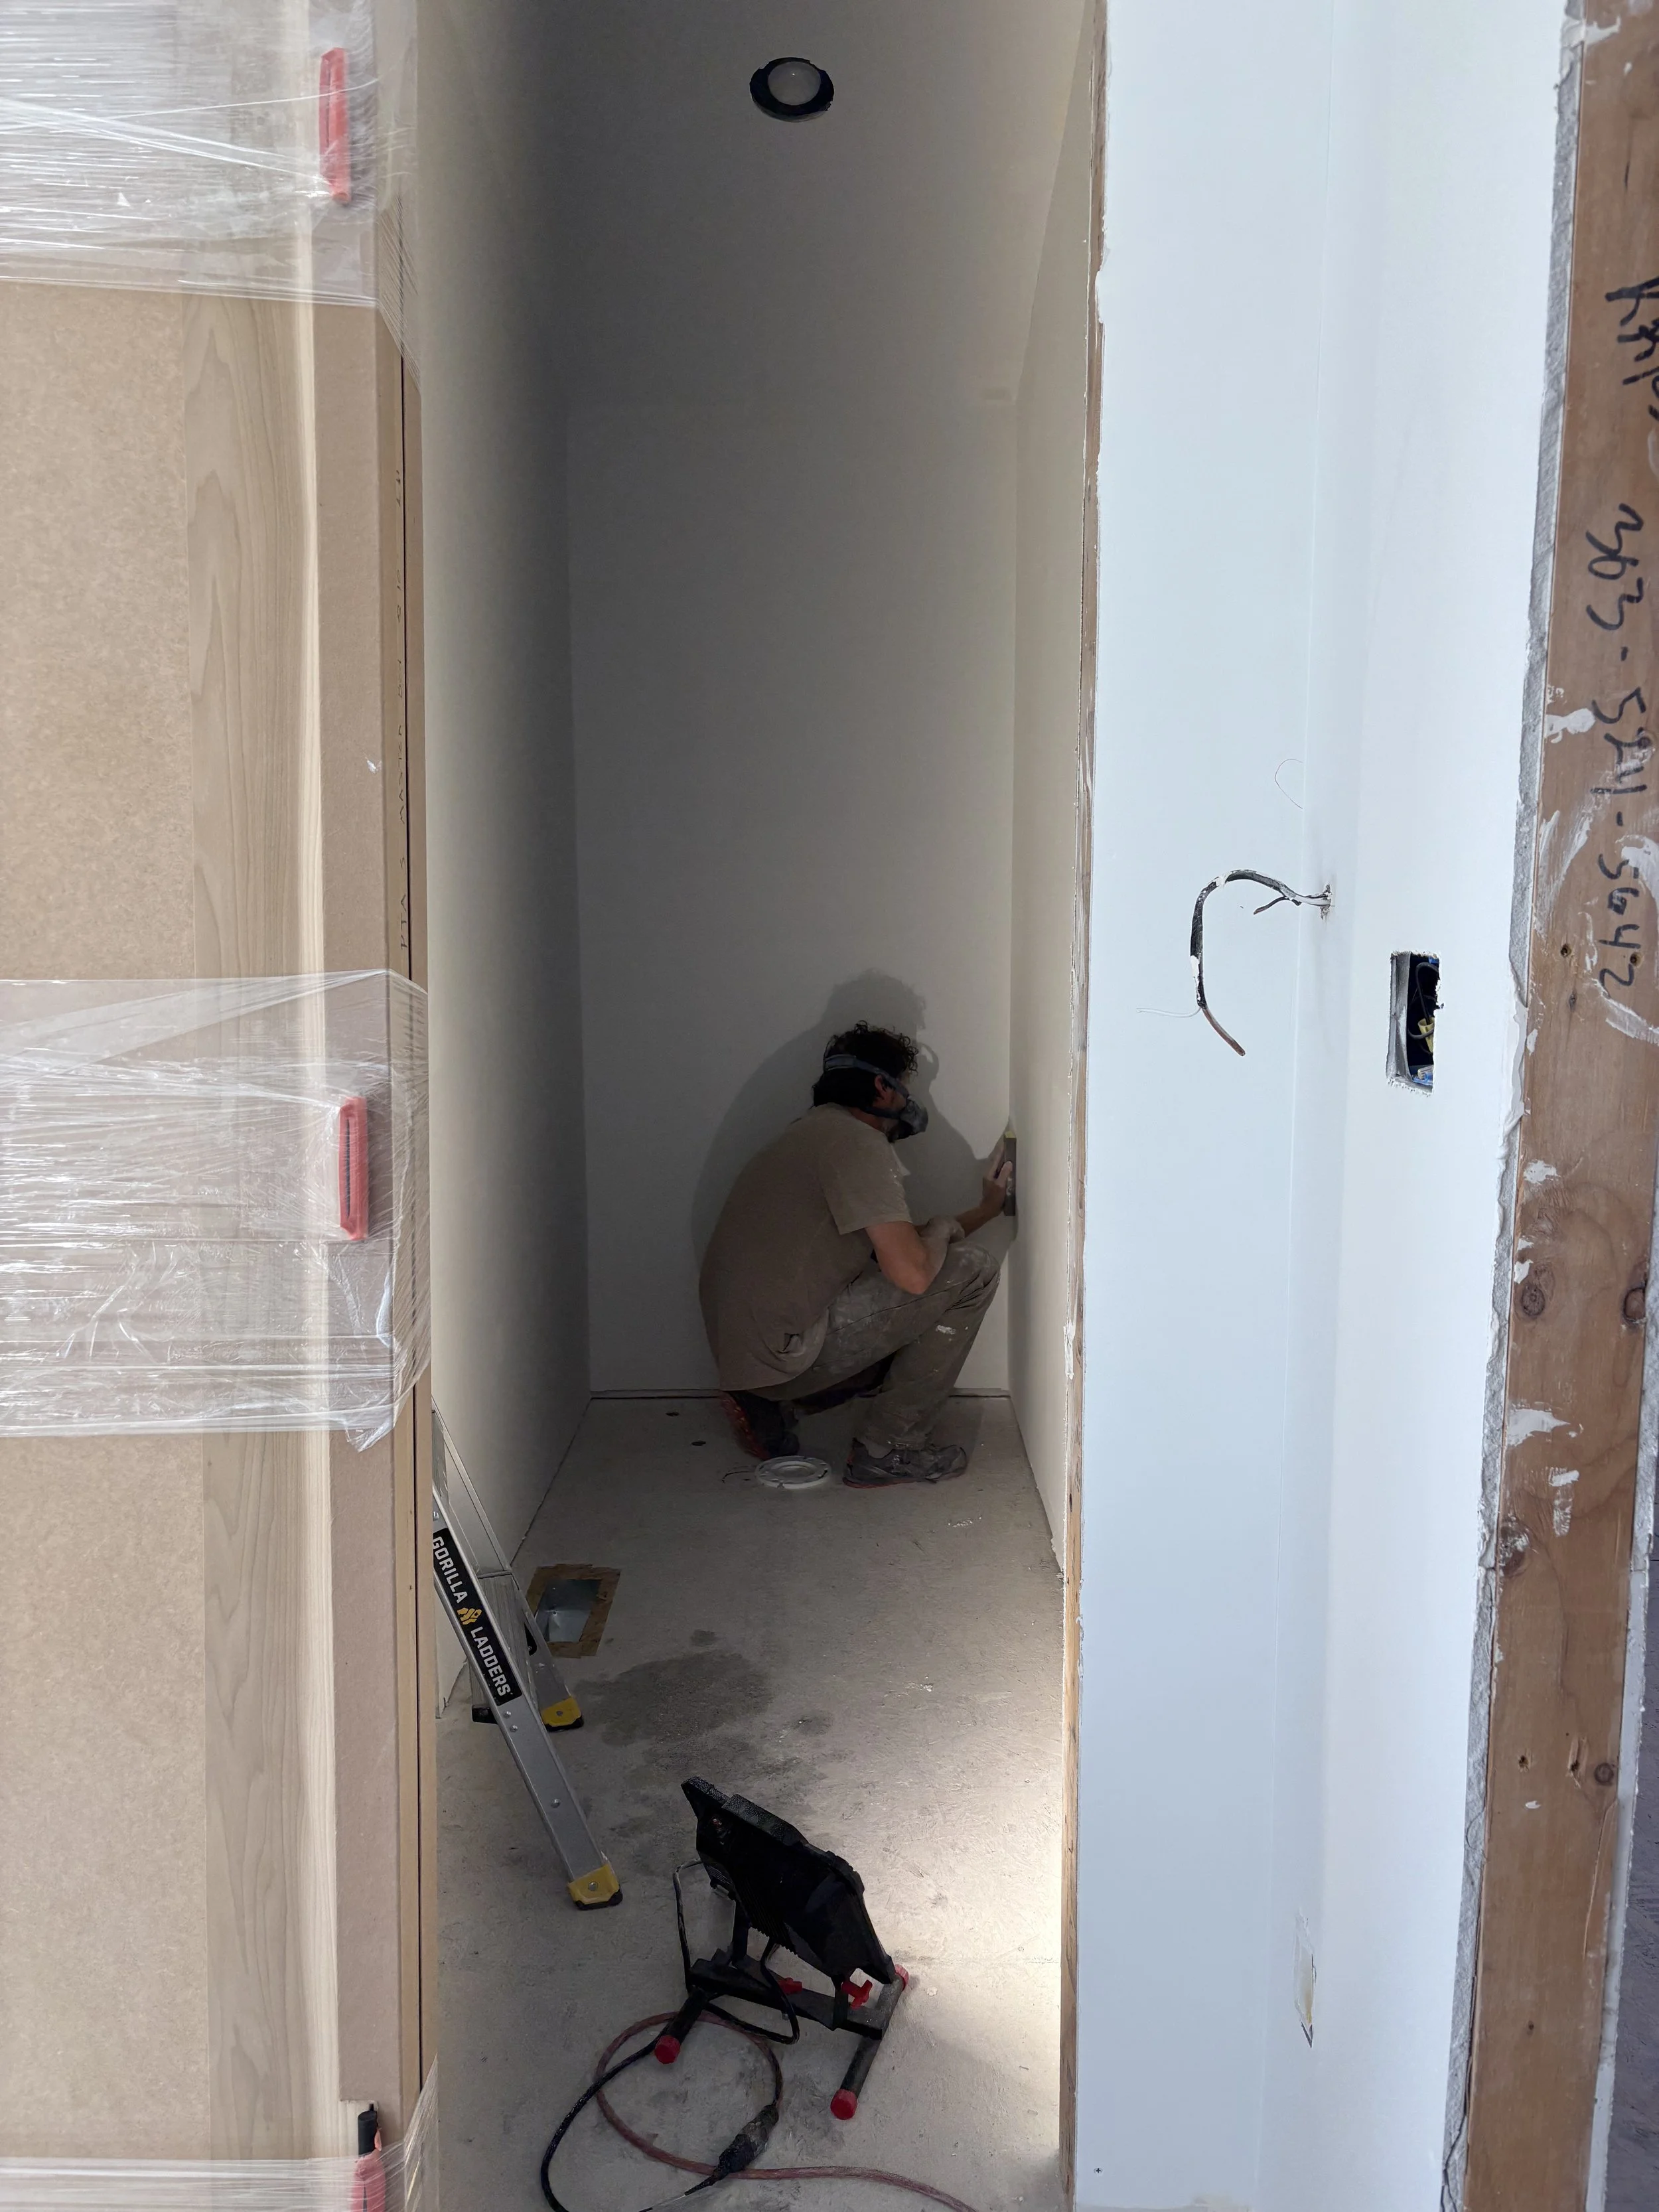
Kris' favorite part of the drywall was doing the final sand. Especially up on the ceiling!
When we start painting the main room, we bring in recruits! Our niece stopped by to say hi and we put her straight to work!
A majority of the paint is completed before bedtime. Just the ceiling edge left and this room will be complete!
Step 18: Finishing the Master Bedroom and Bathroom
More paint! We start priming the master bedroom. Kris specifically said not to make streaks in the paint....I don't see any streaks, do you?
We paint the feature wall a nice bold color!
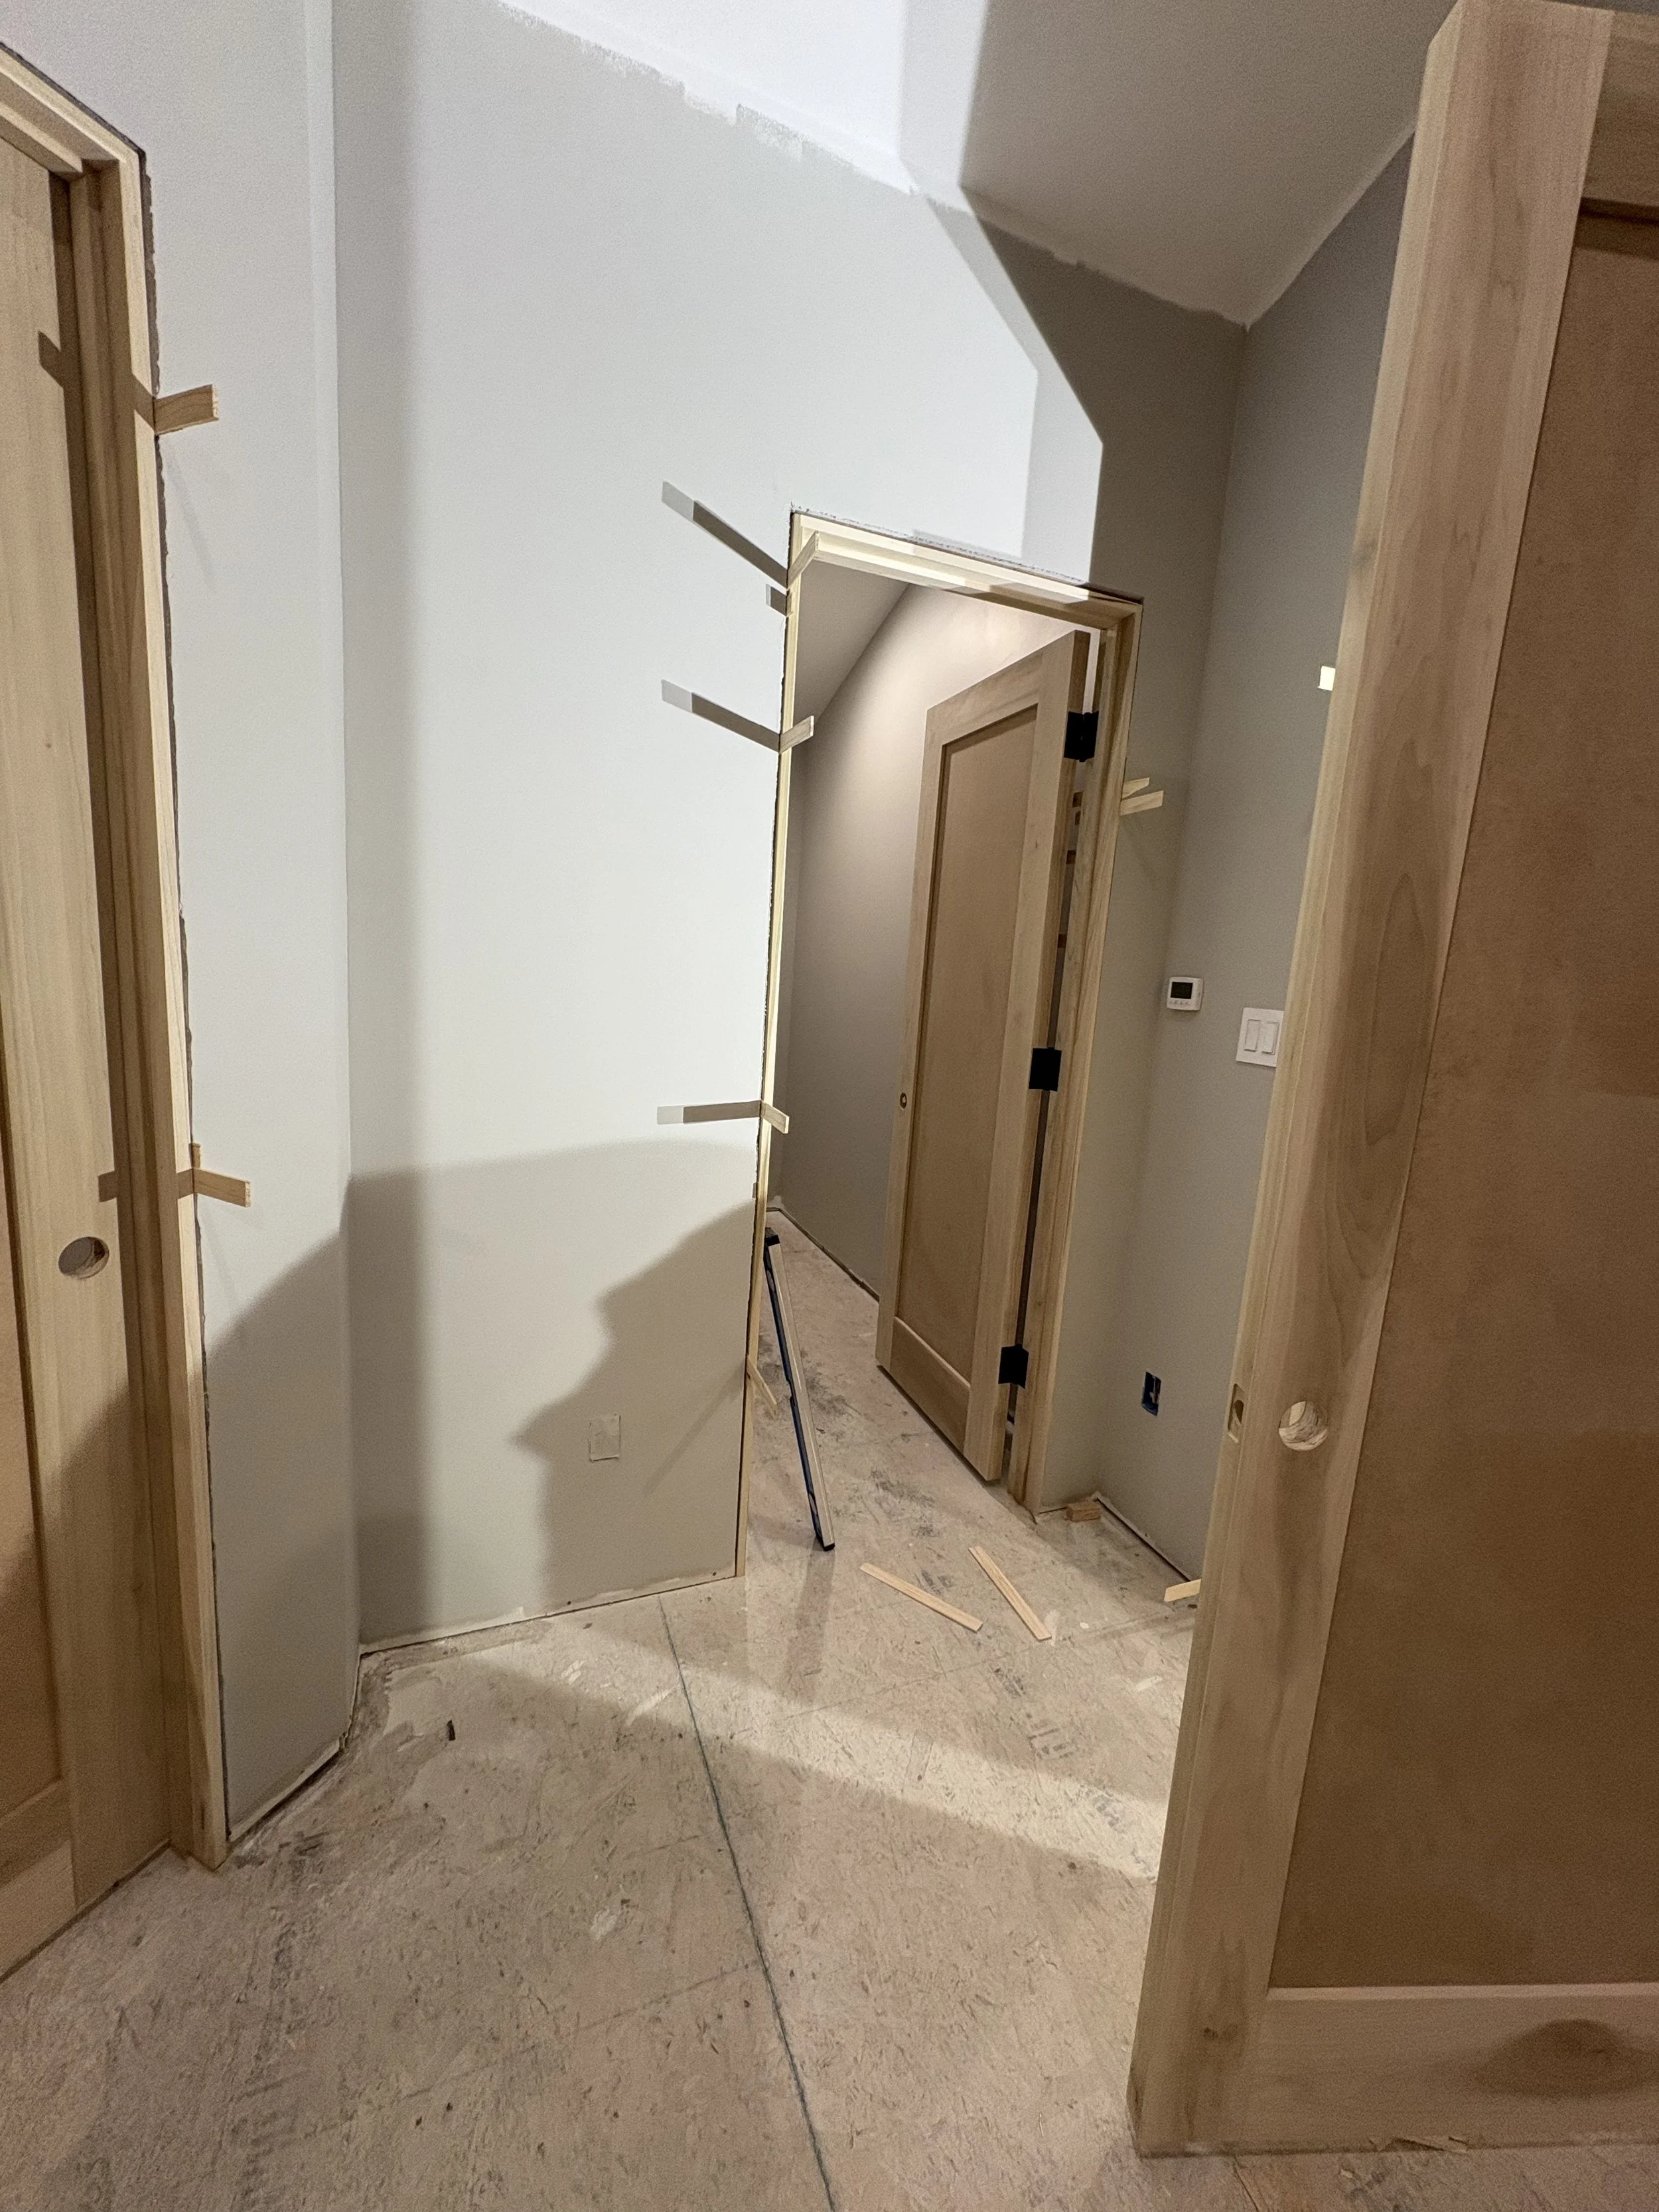
Before the final paint goes up, we get all the doors installed.
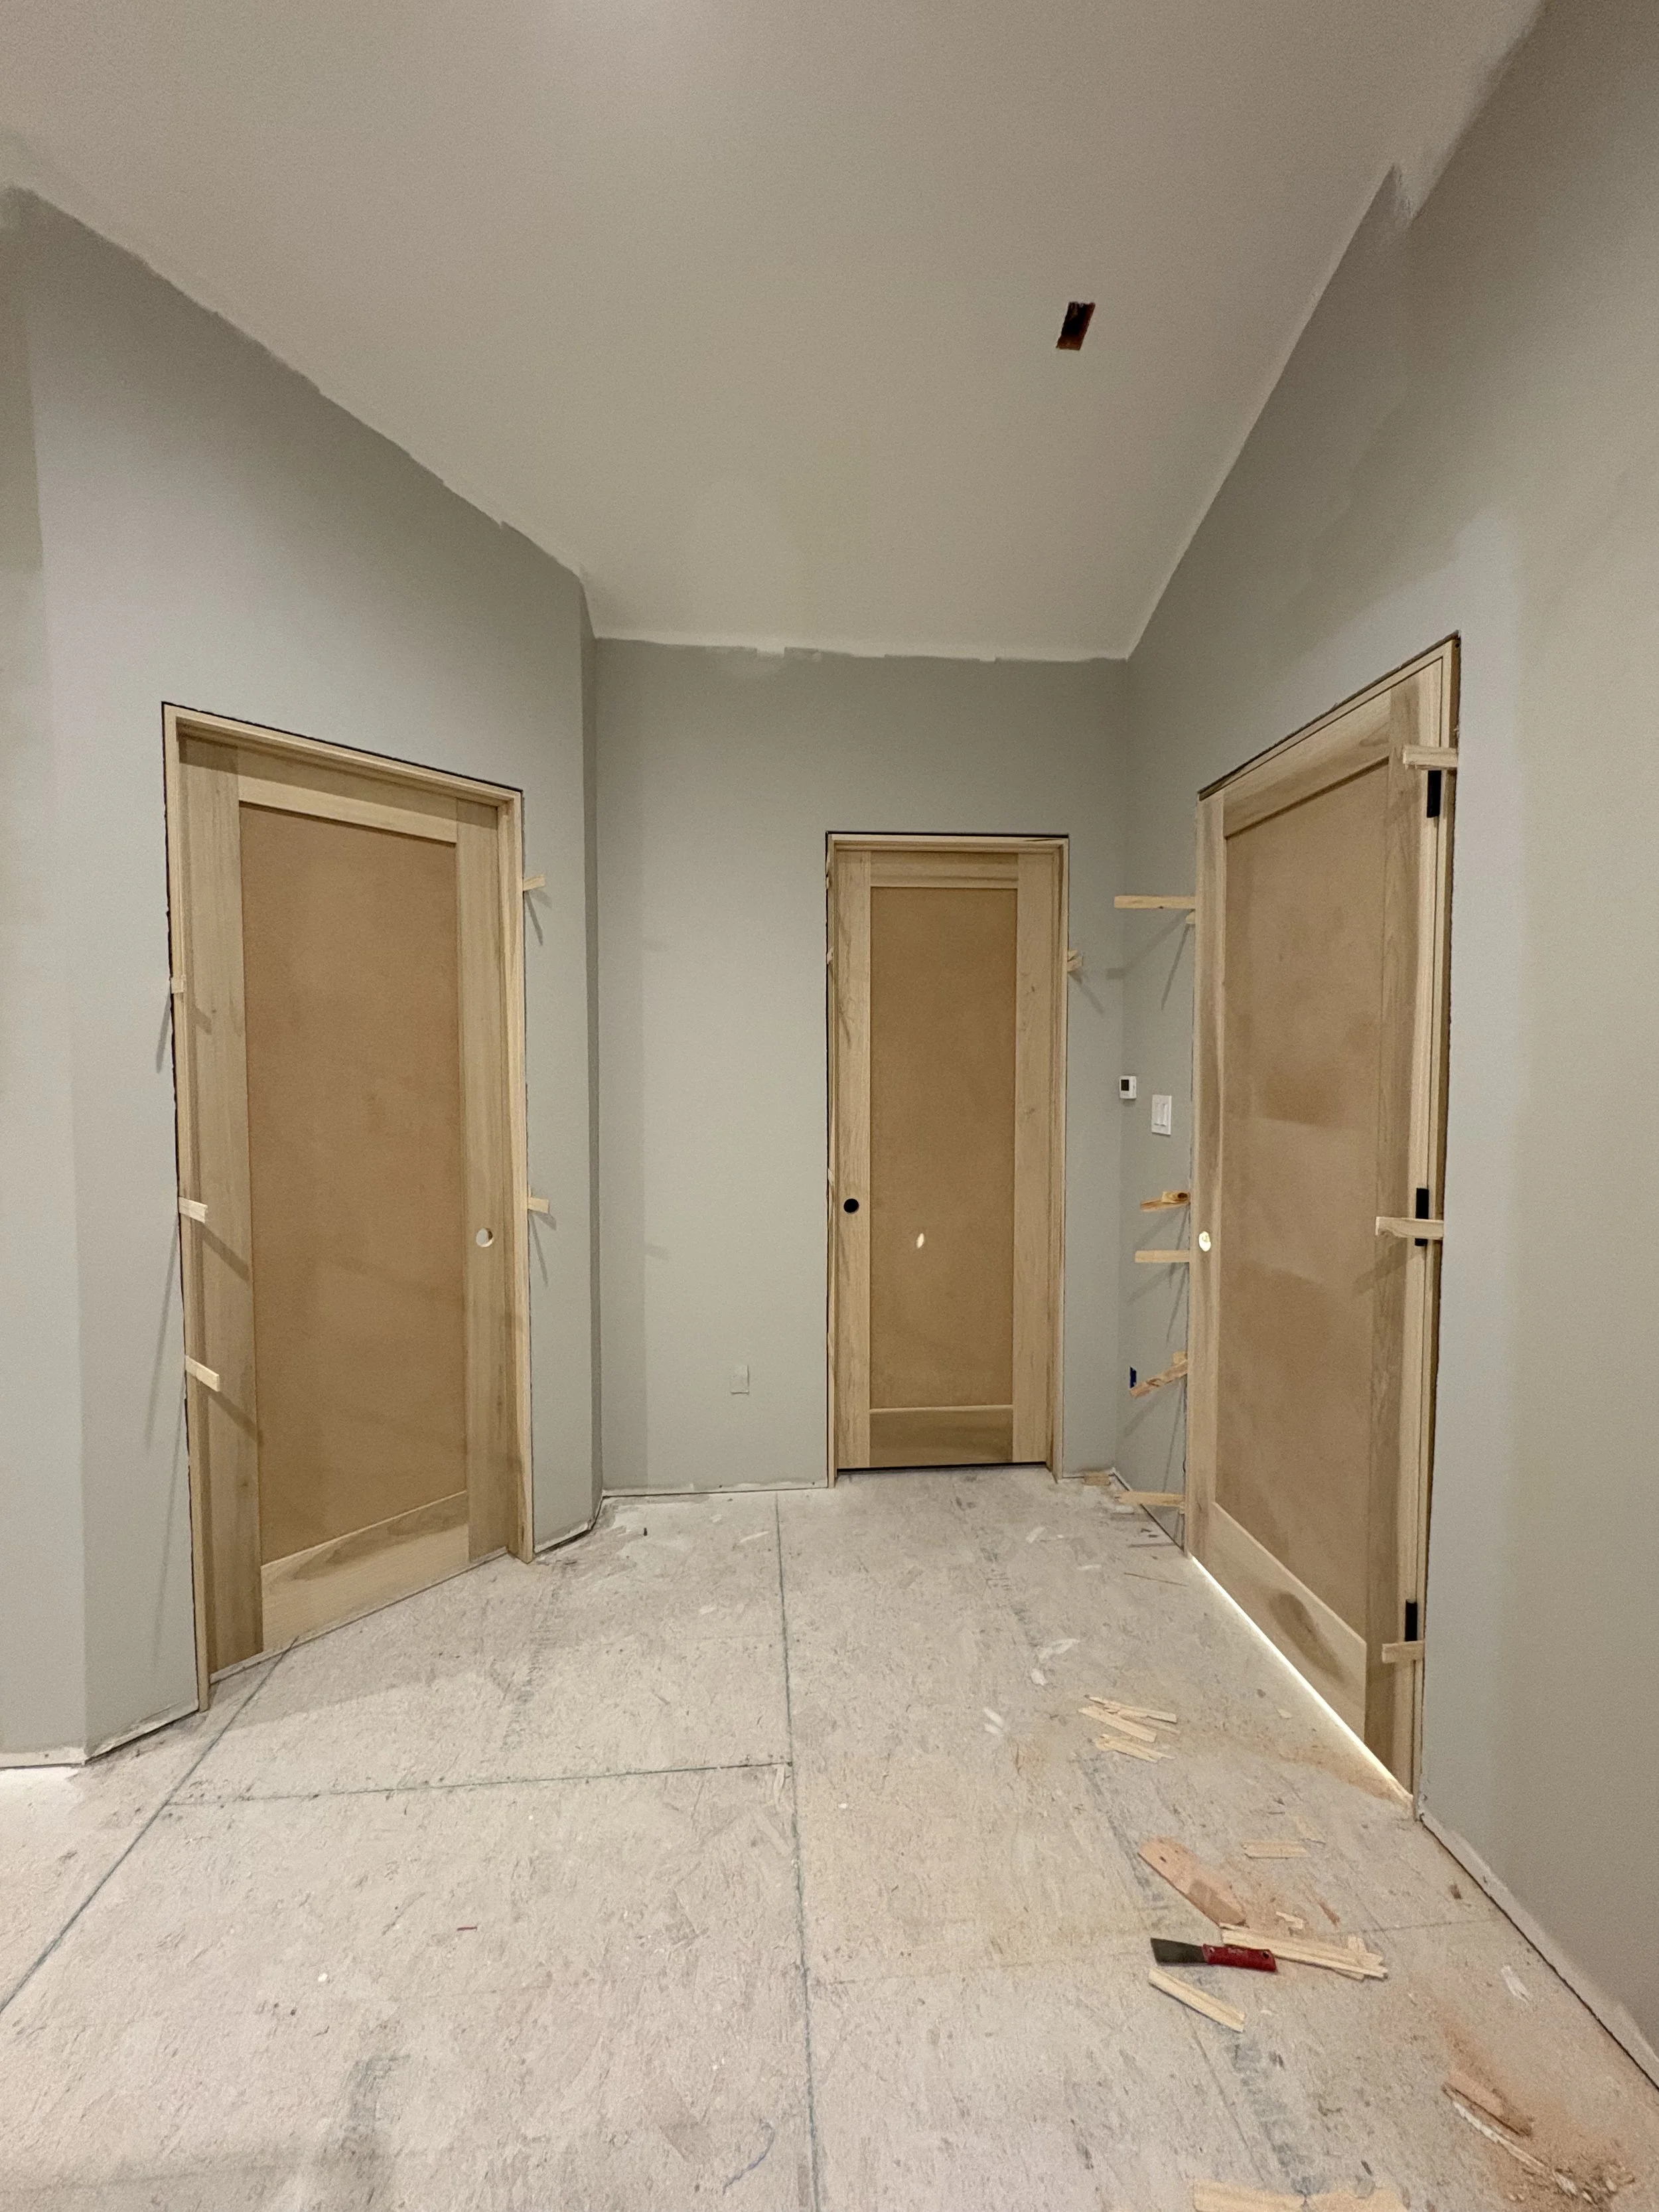
Can you guess which door goes to which space?
Moving right along into the bathroom This room will definitely need some work. The drywall people did a terrible job, so Kris once again gets the sanding gear out.
This is the "wave" wall! You'll find out why later on.
A bit of a tiny space, but here's a view back out into the master bedroom.
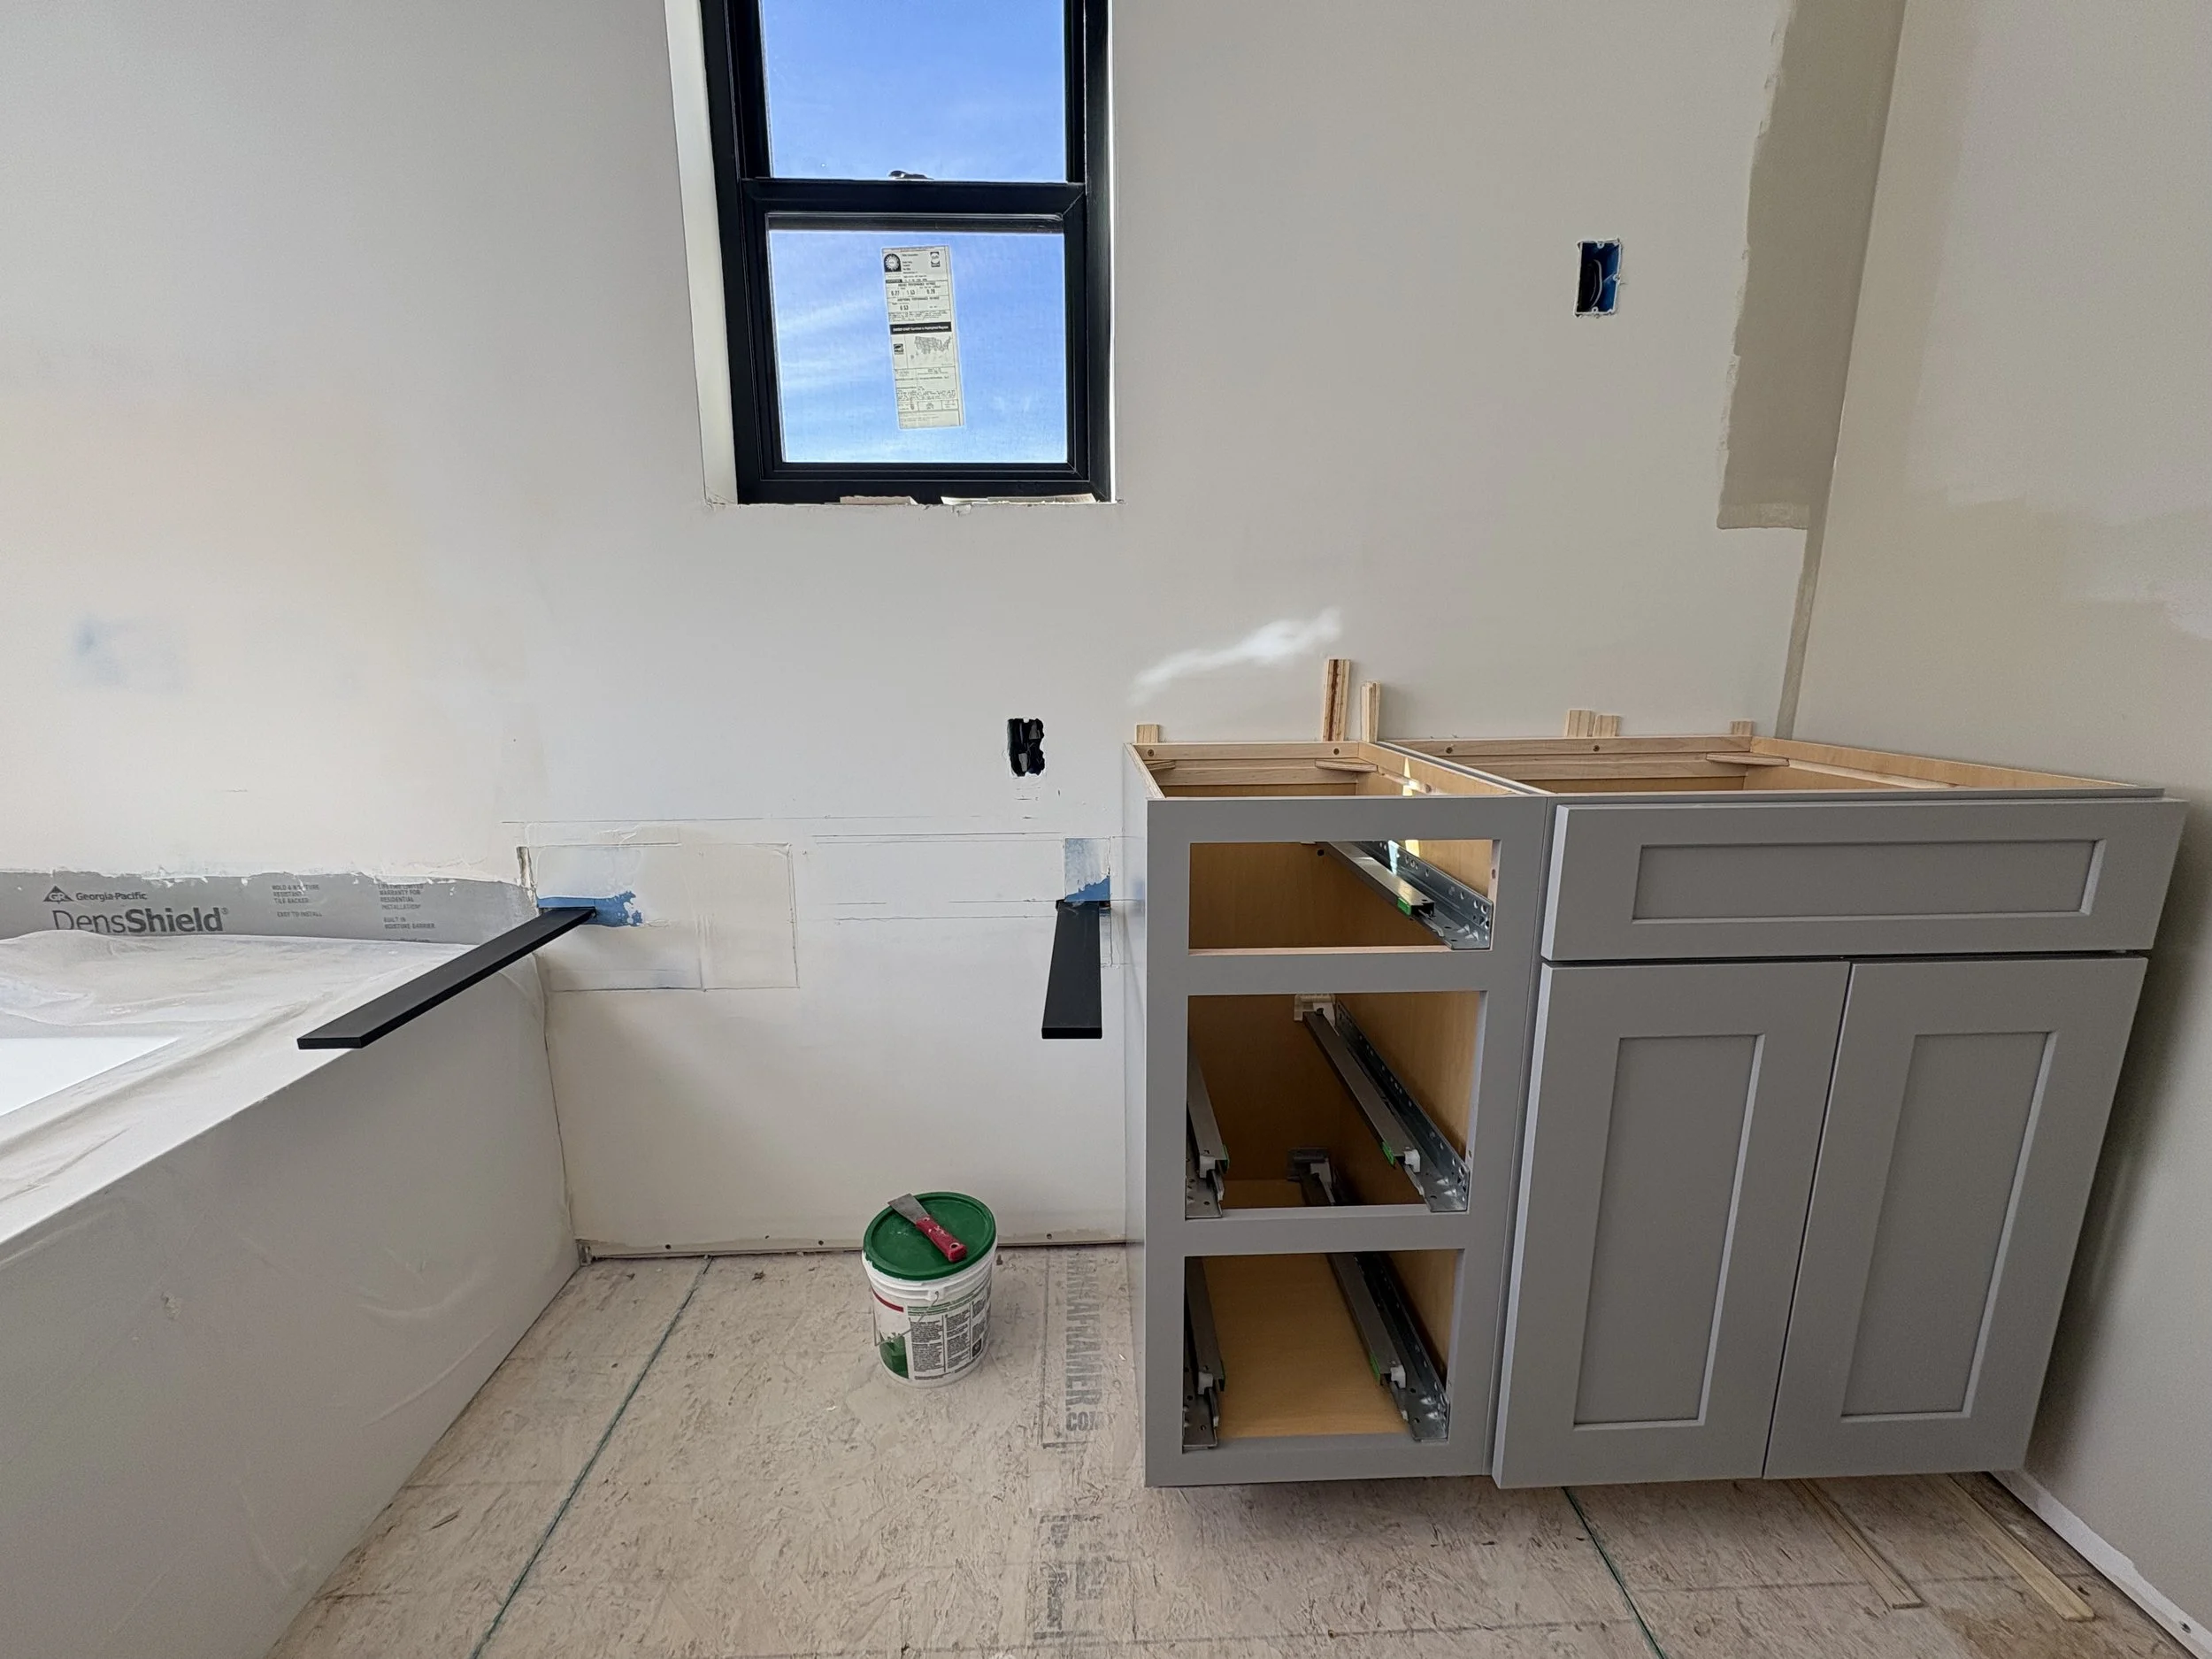
Cabinet 1 is installed.
The makeup drawer is installed. This will be a nice counter for morning beautification!
Here's a wide angle view to try and get a feel for the space.
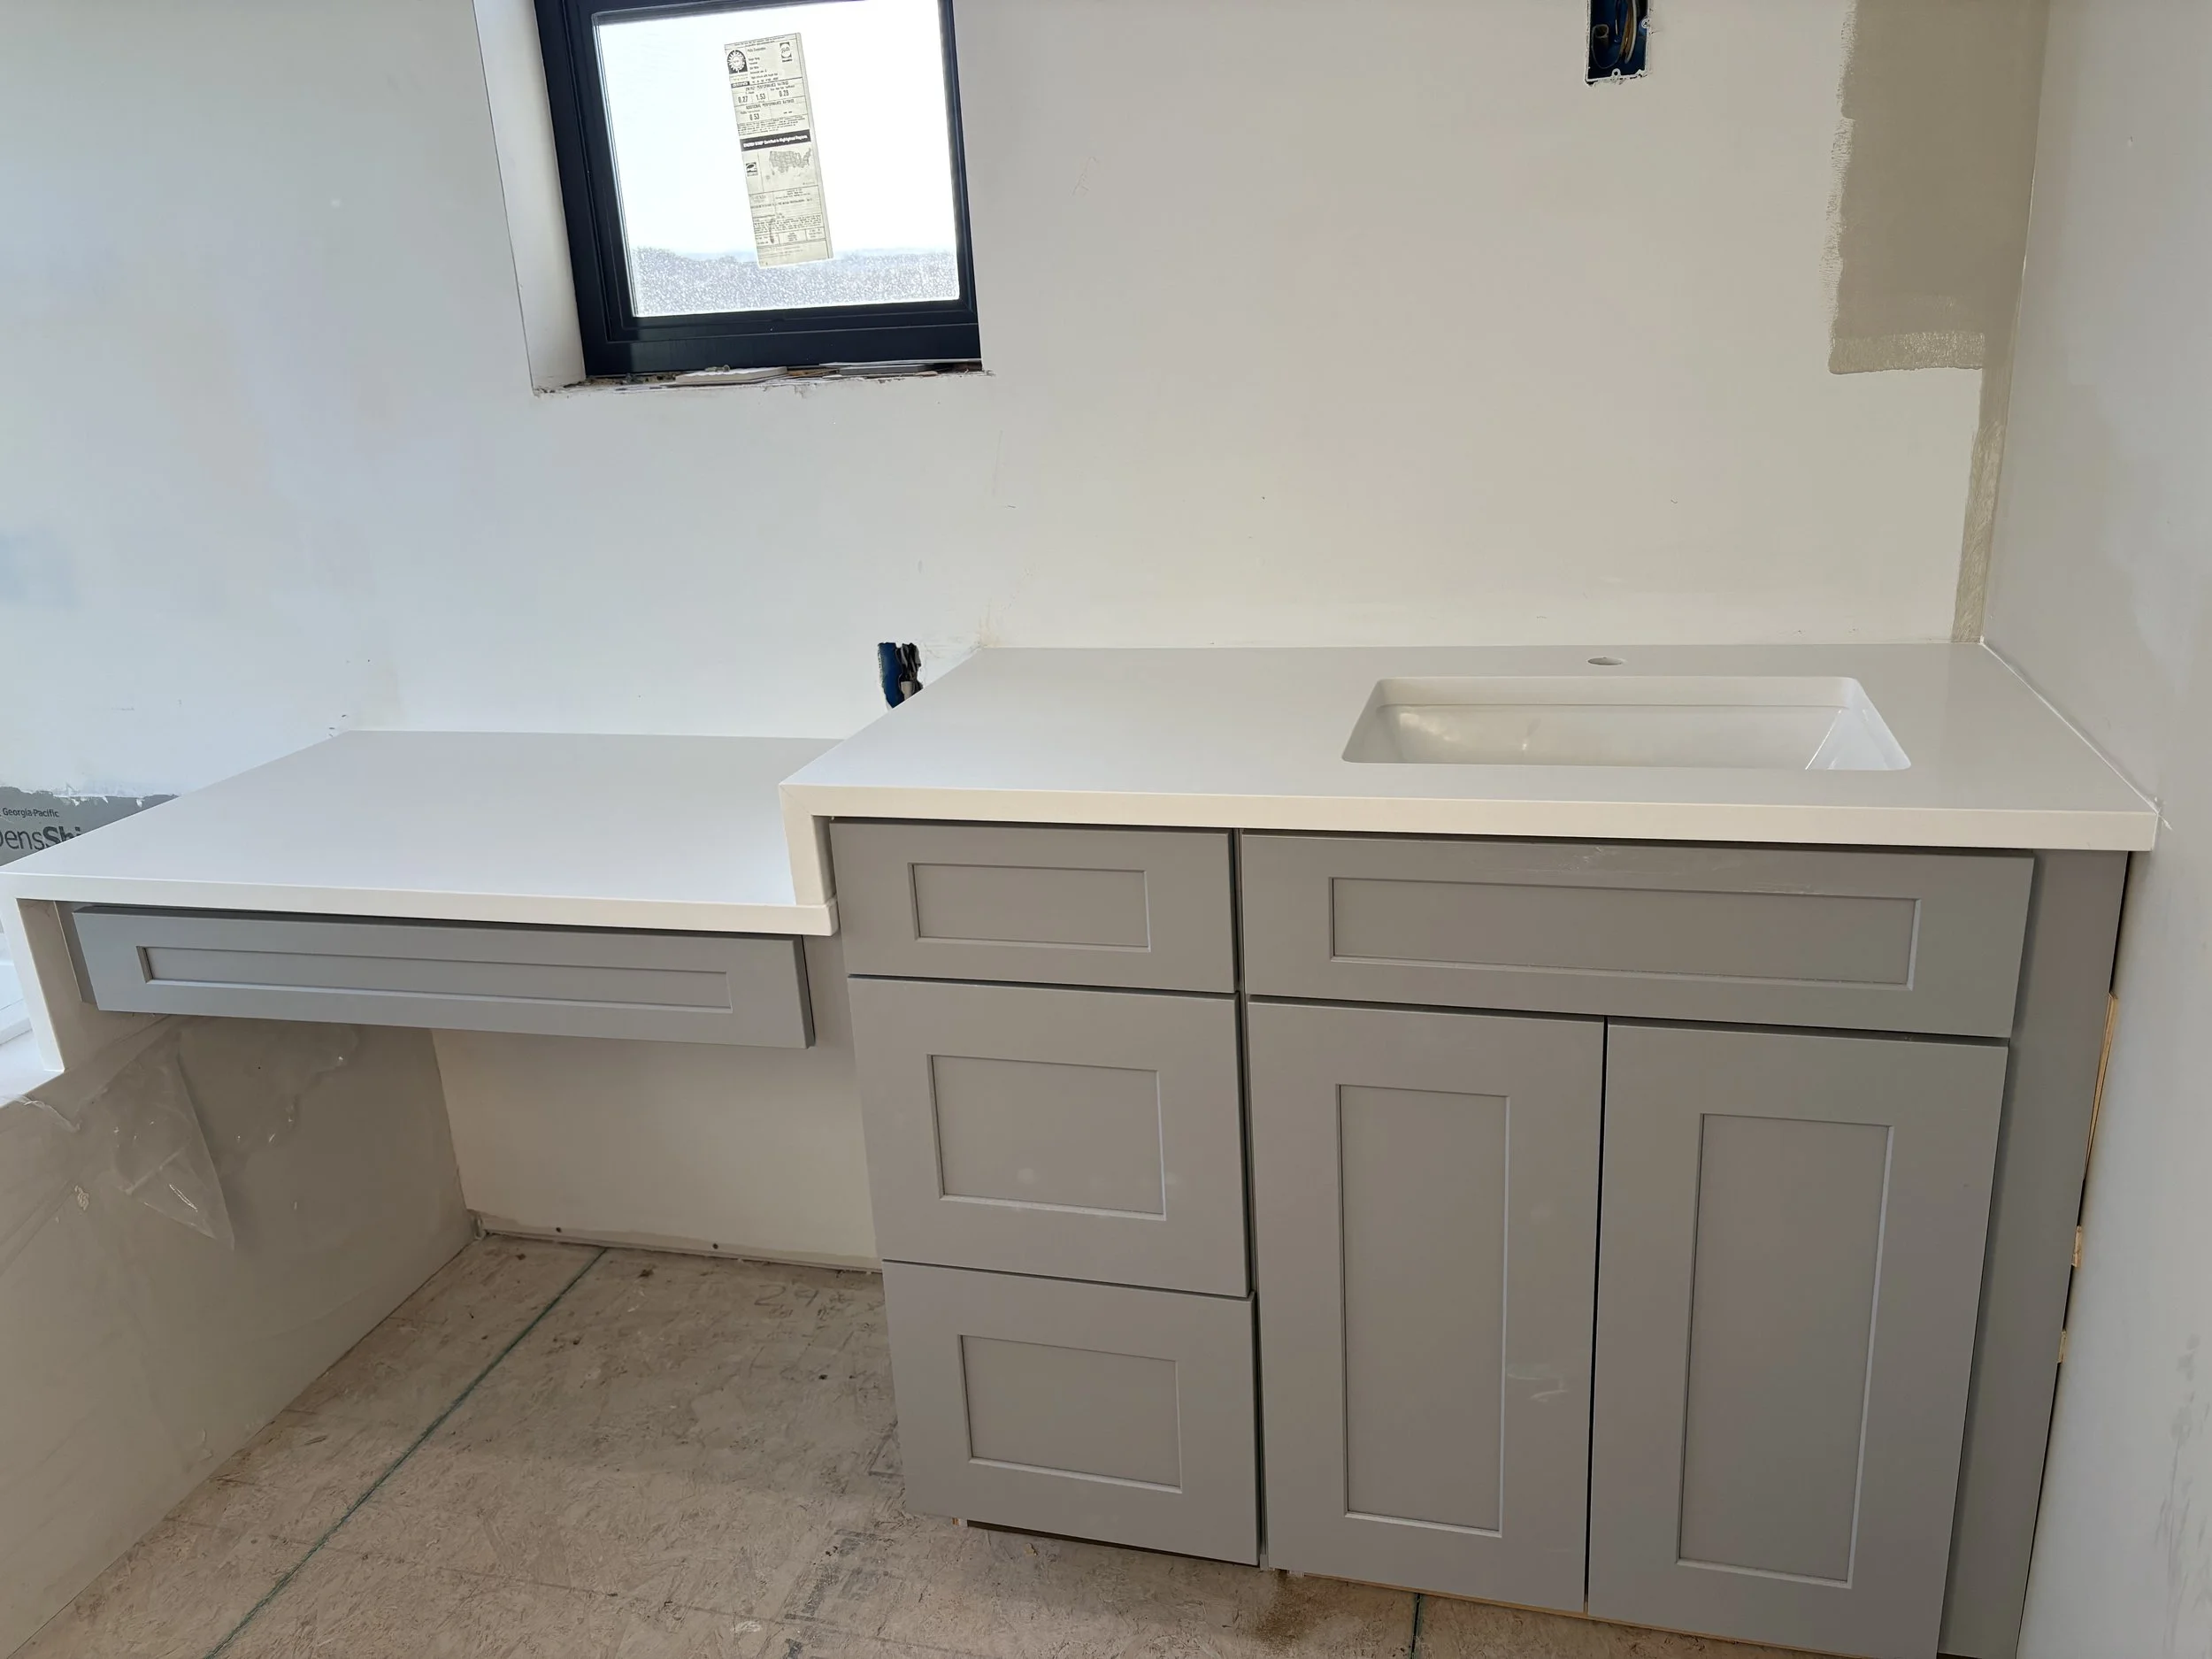
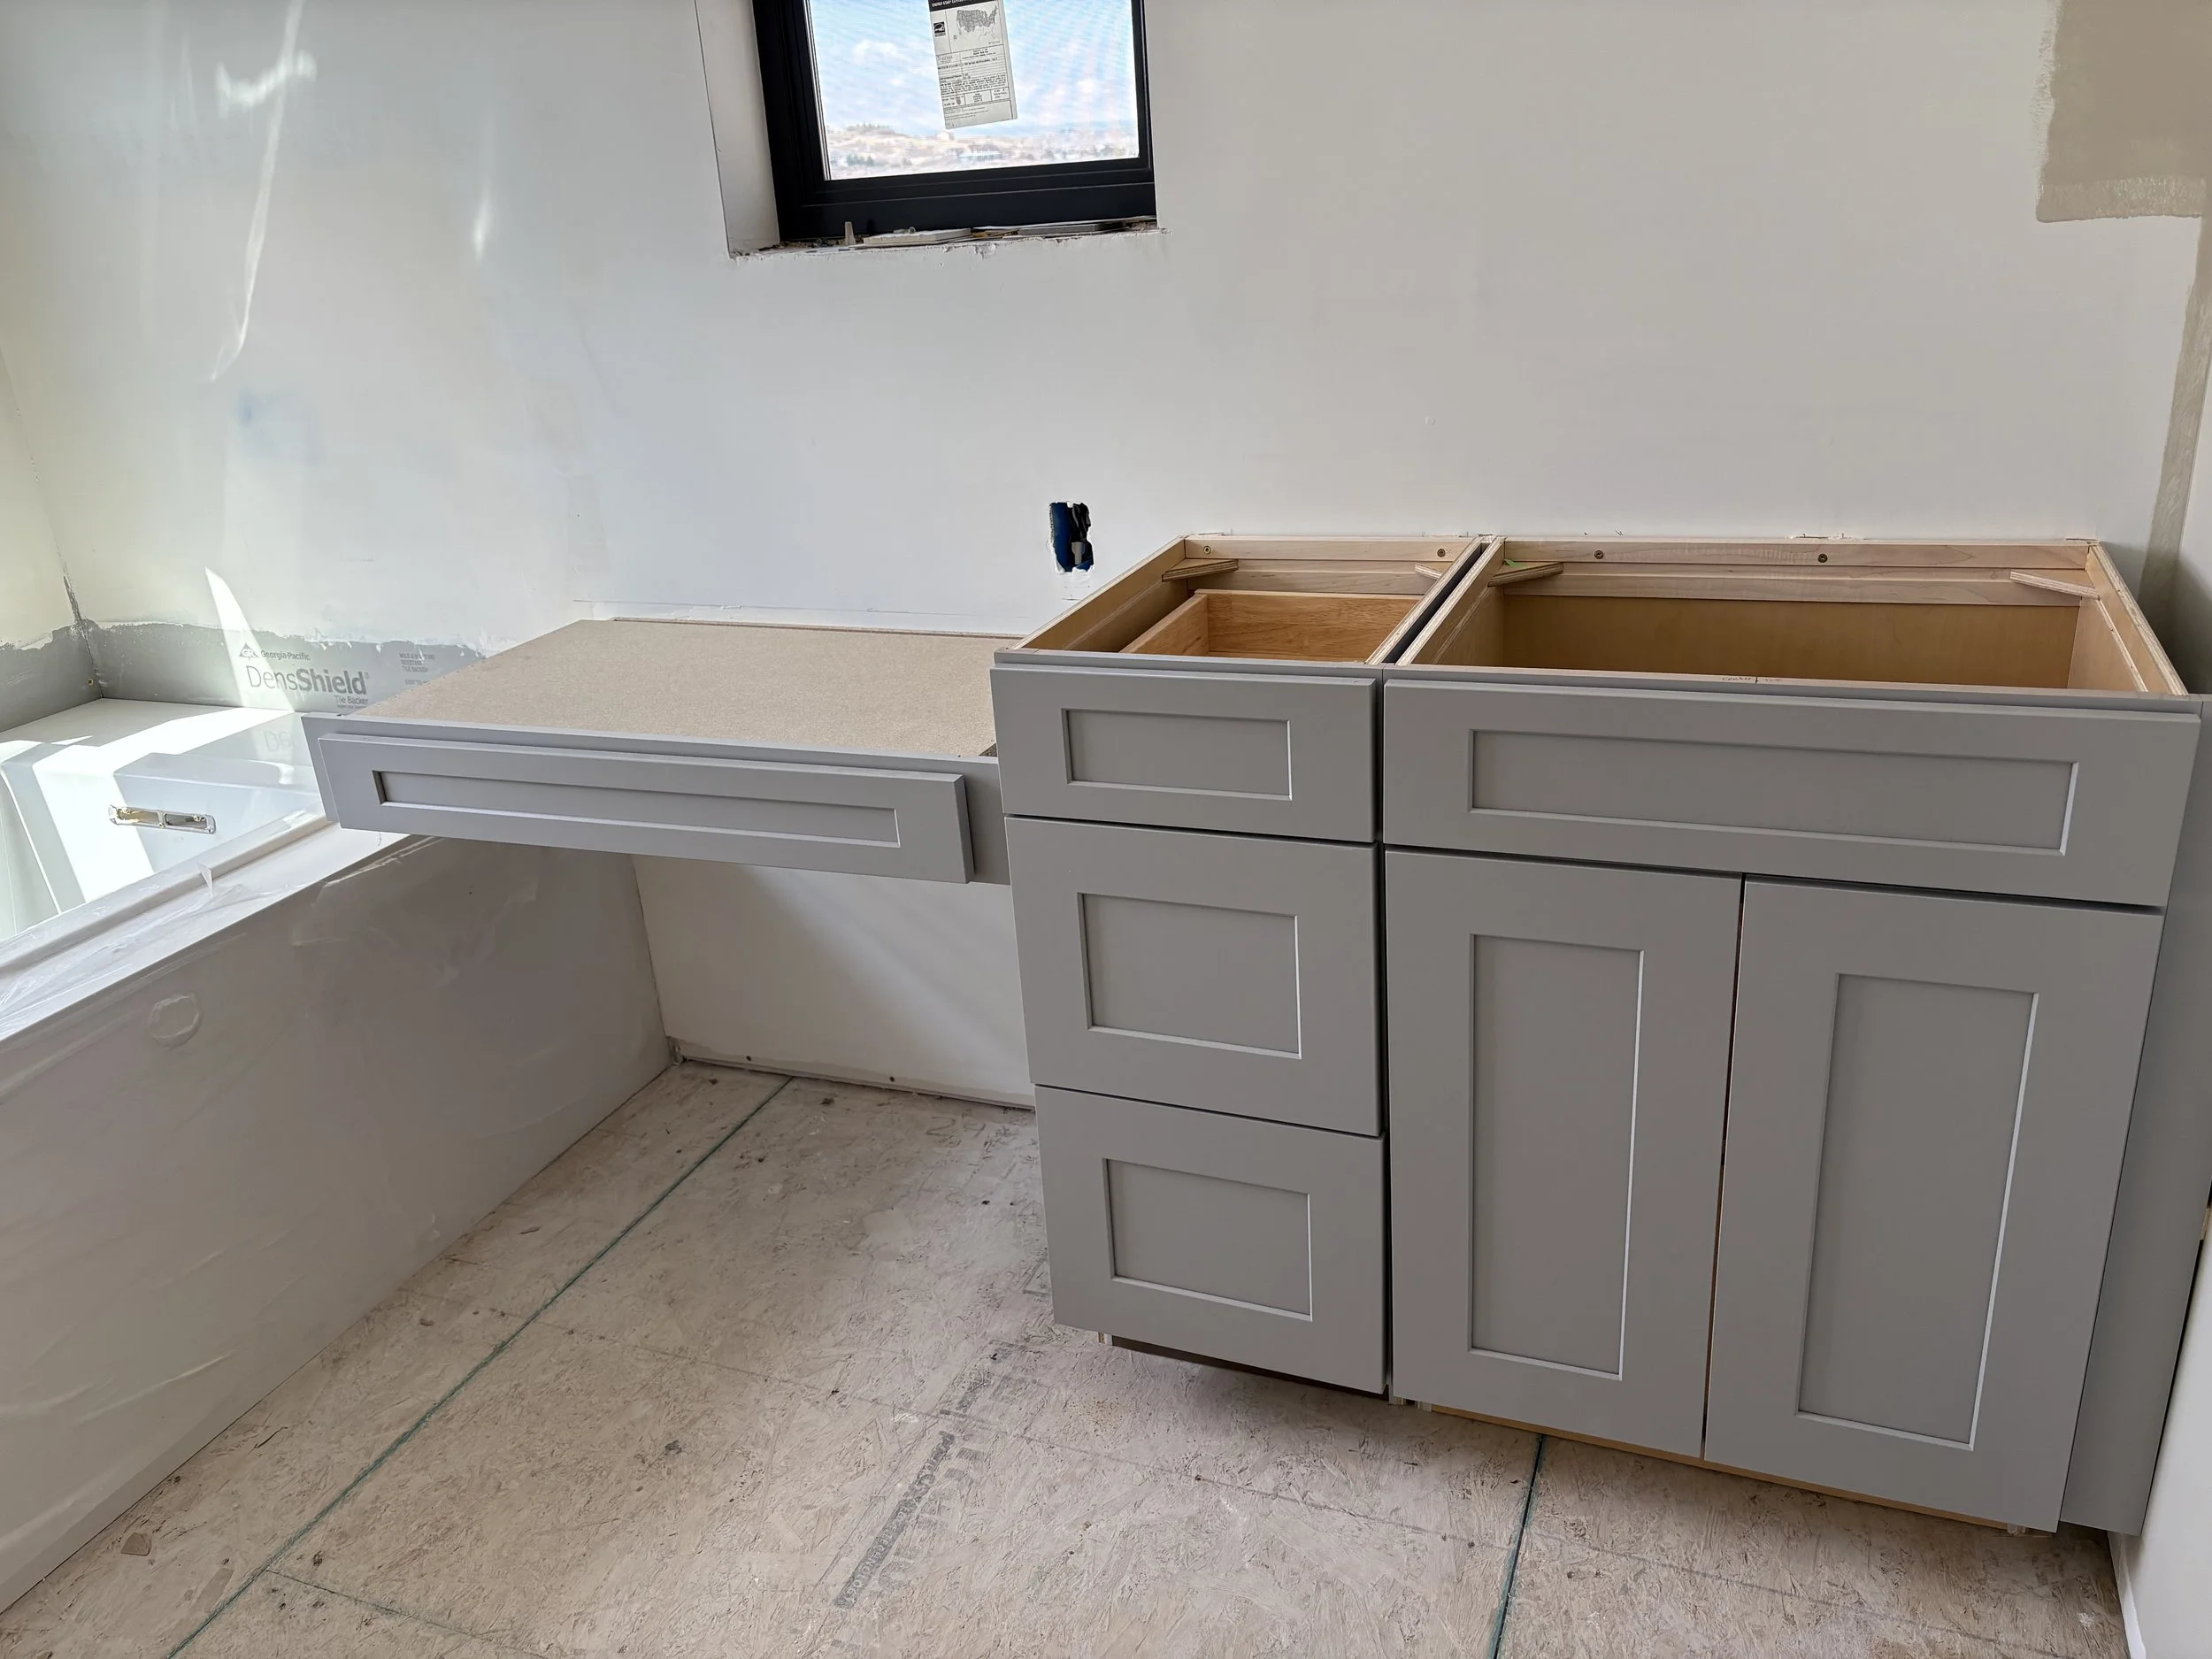
The sink and countertops are installed.
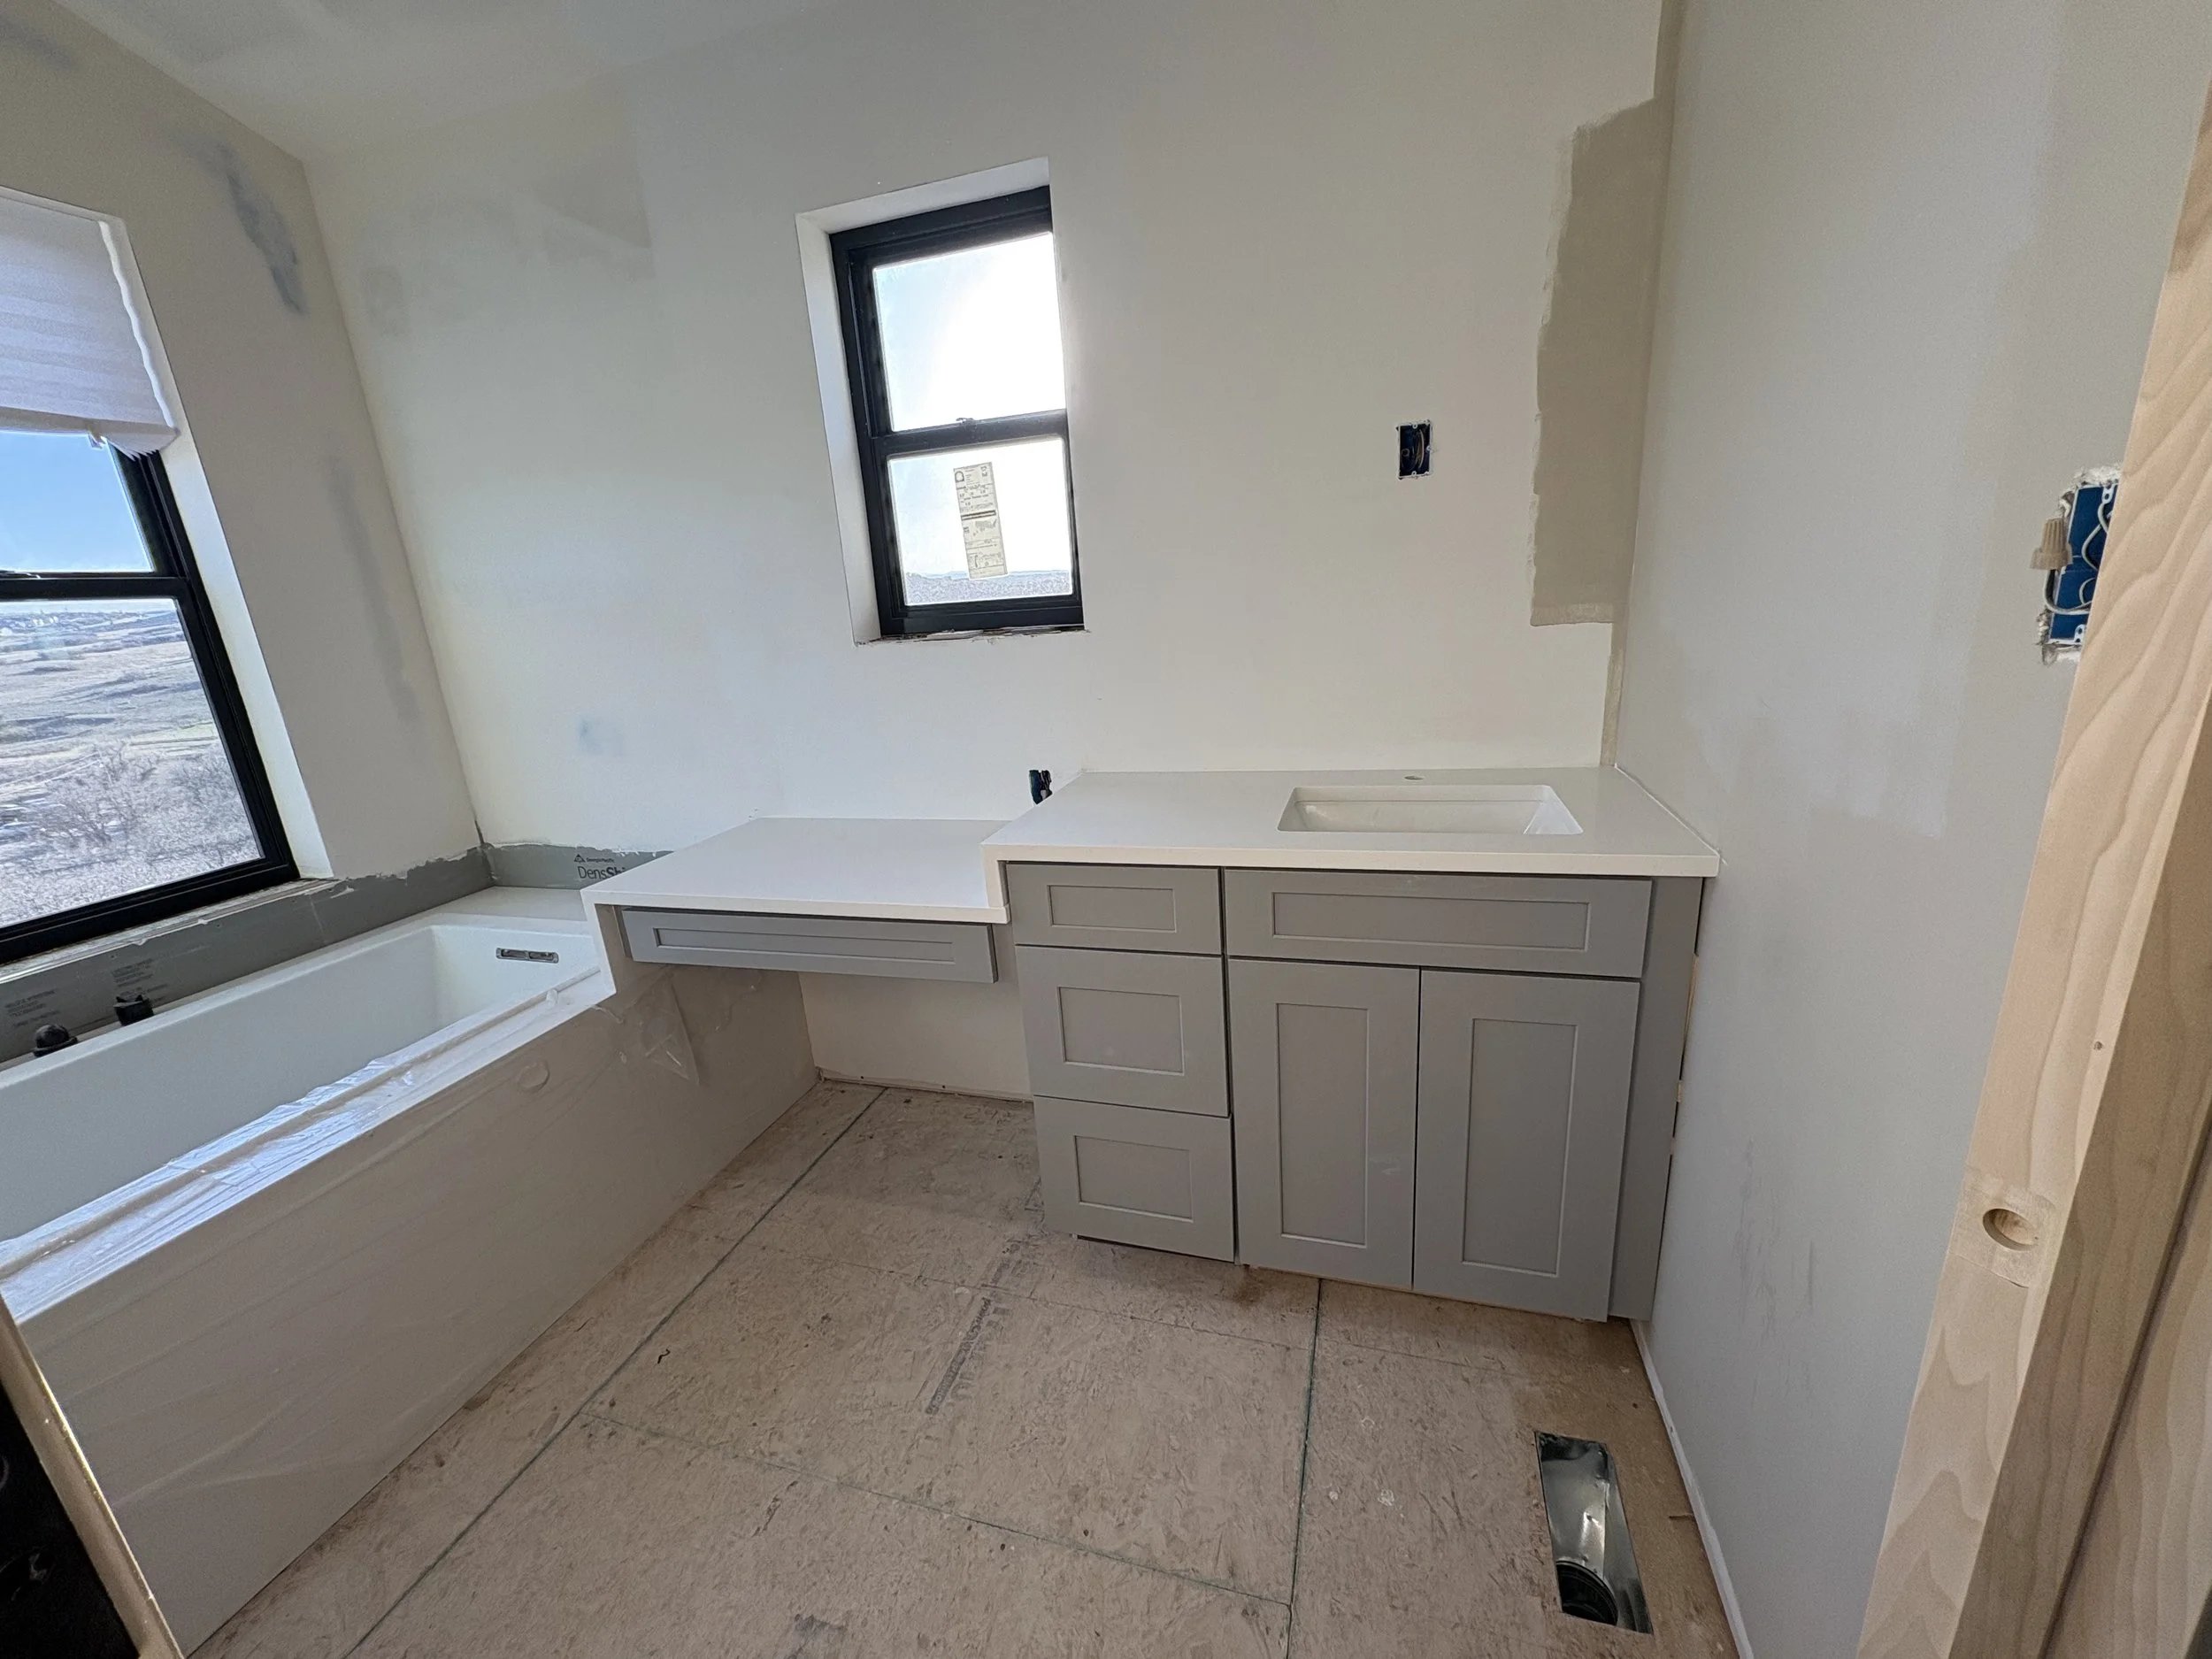
Here's a better view of the waterfall countertops.

Sink faucet is installed and water is turned on!
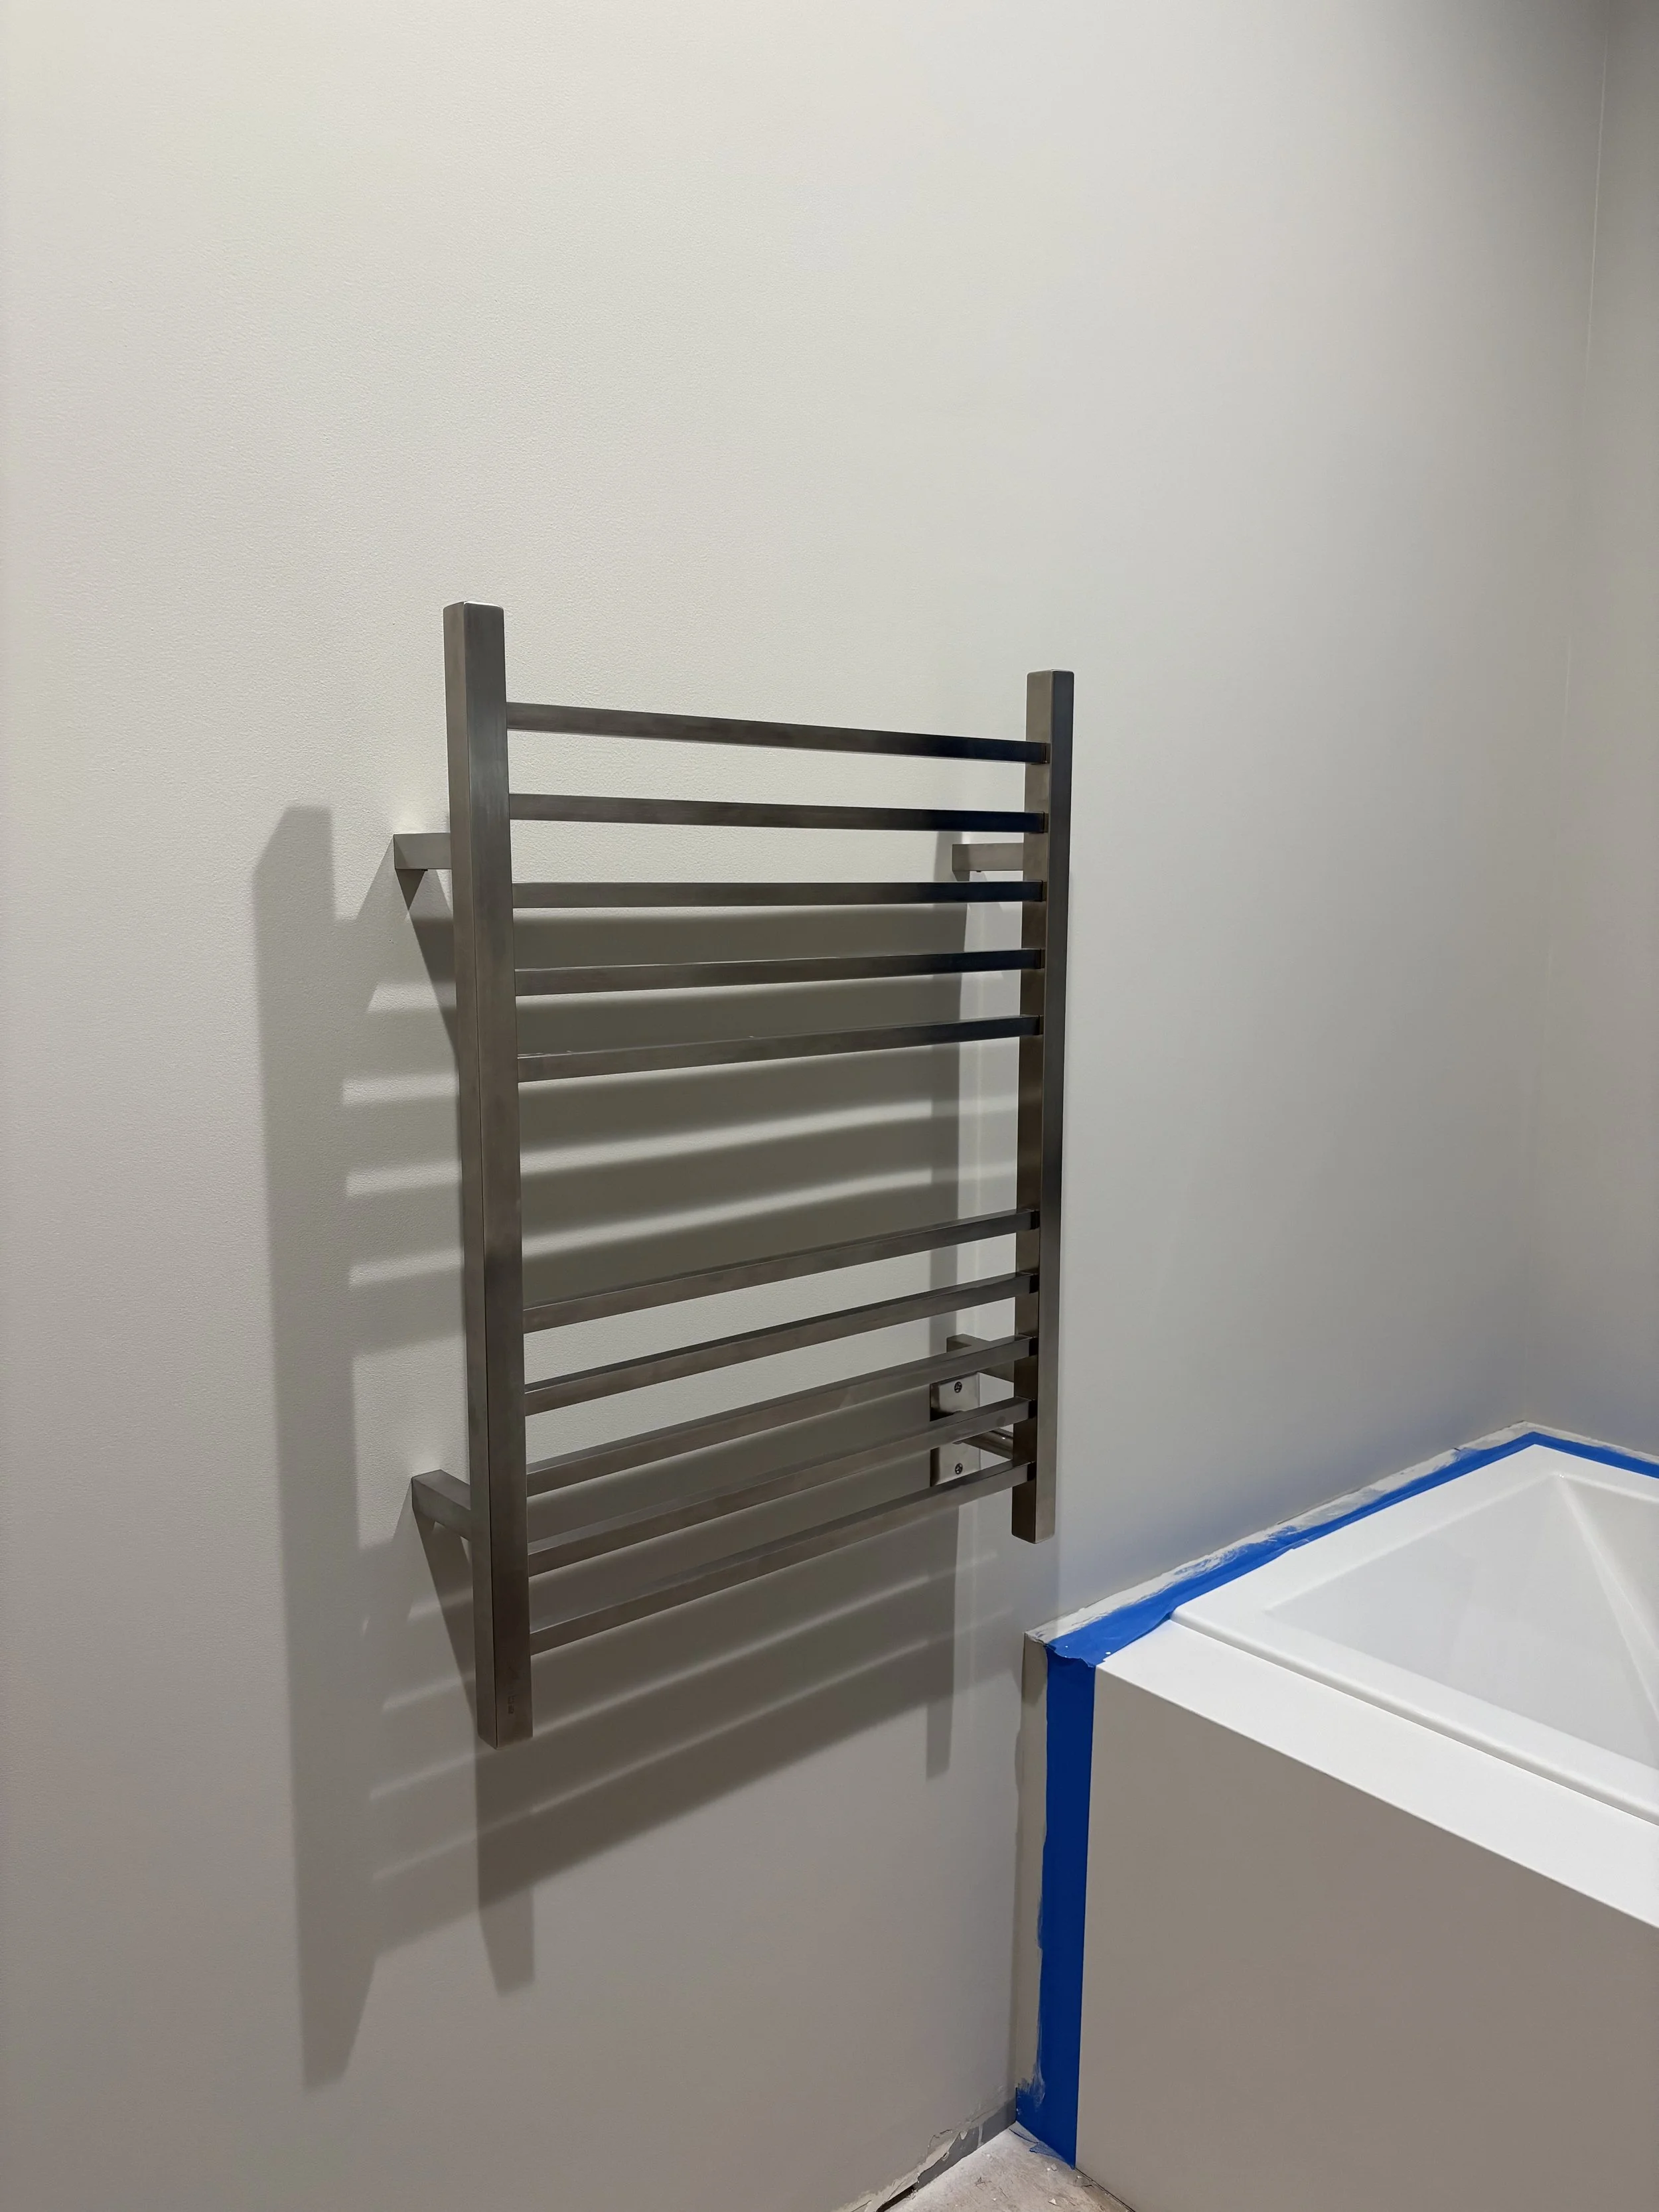
The long awaited heated towel rack! Yes, its a luxury, but we deserve it, right?
The master bath is nearing completion!
Now the powder bath. Tight quarters, but it just needs to be wide enough for a toilet, right?!
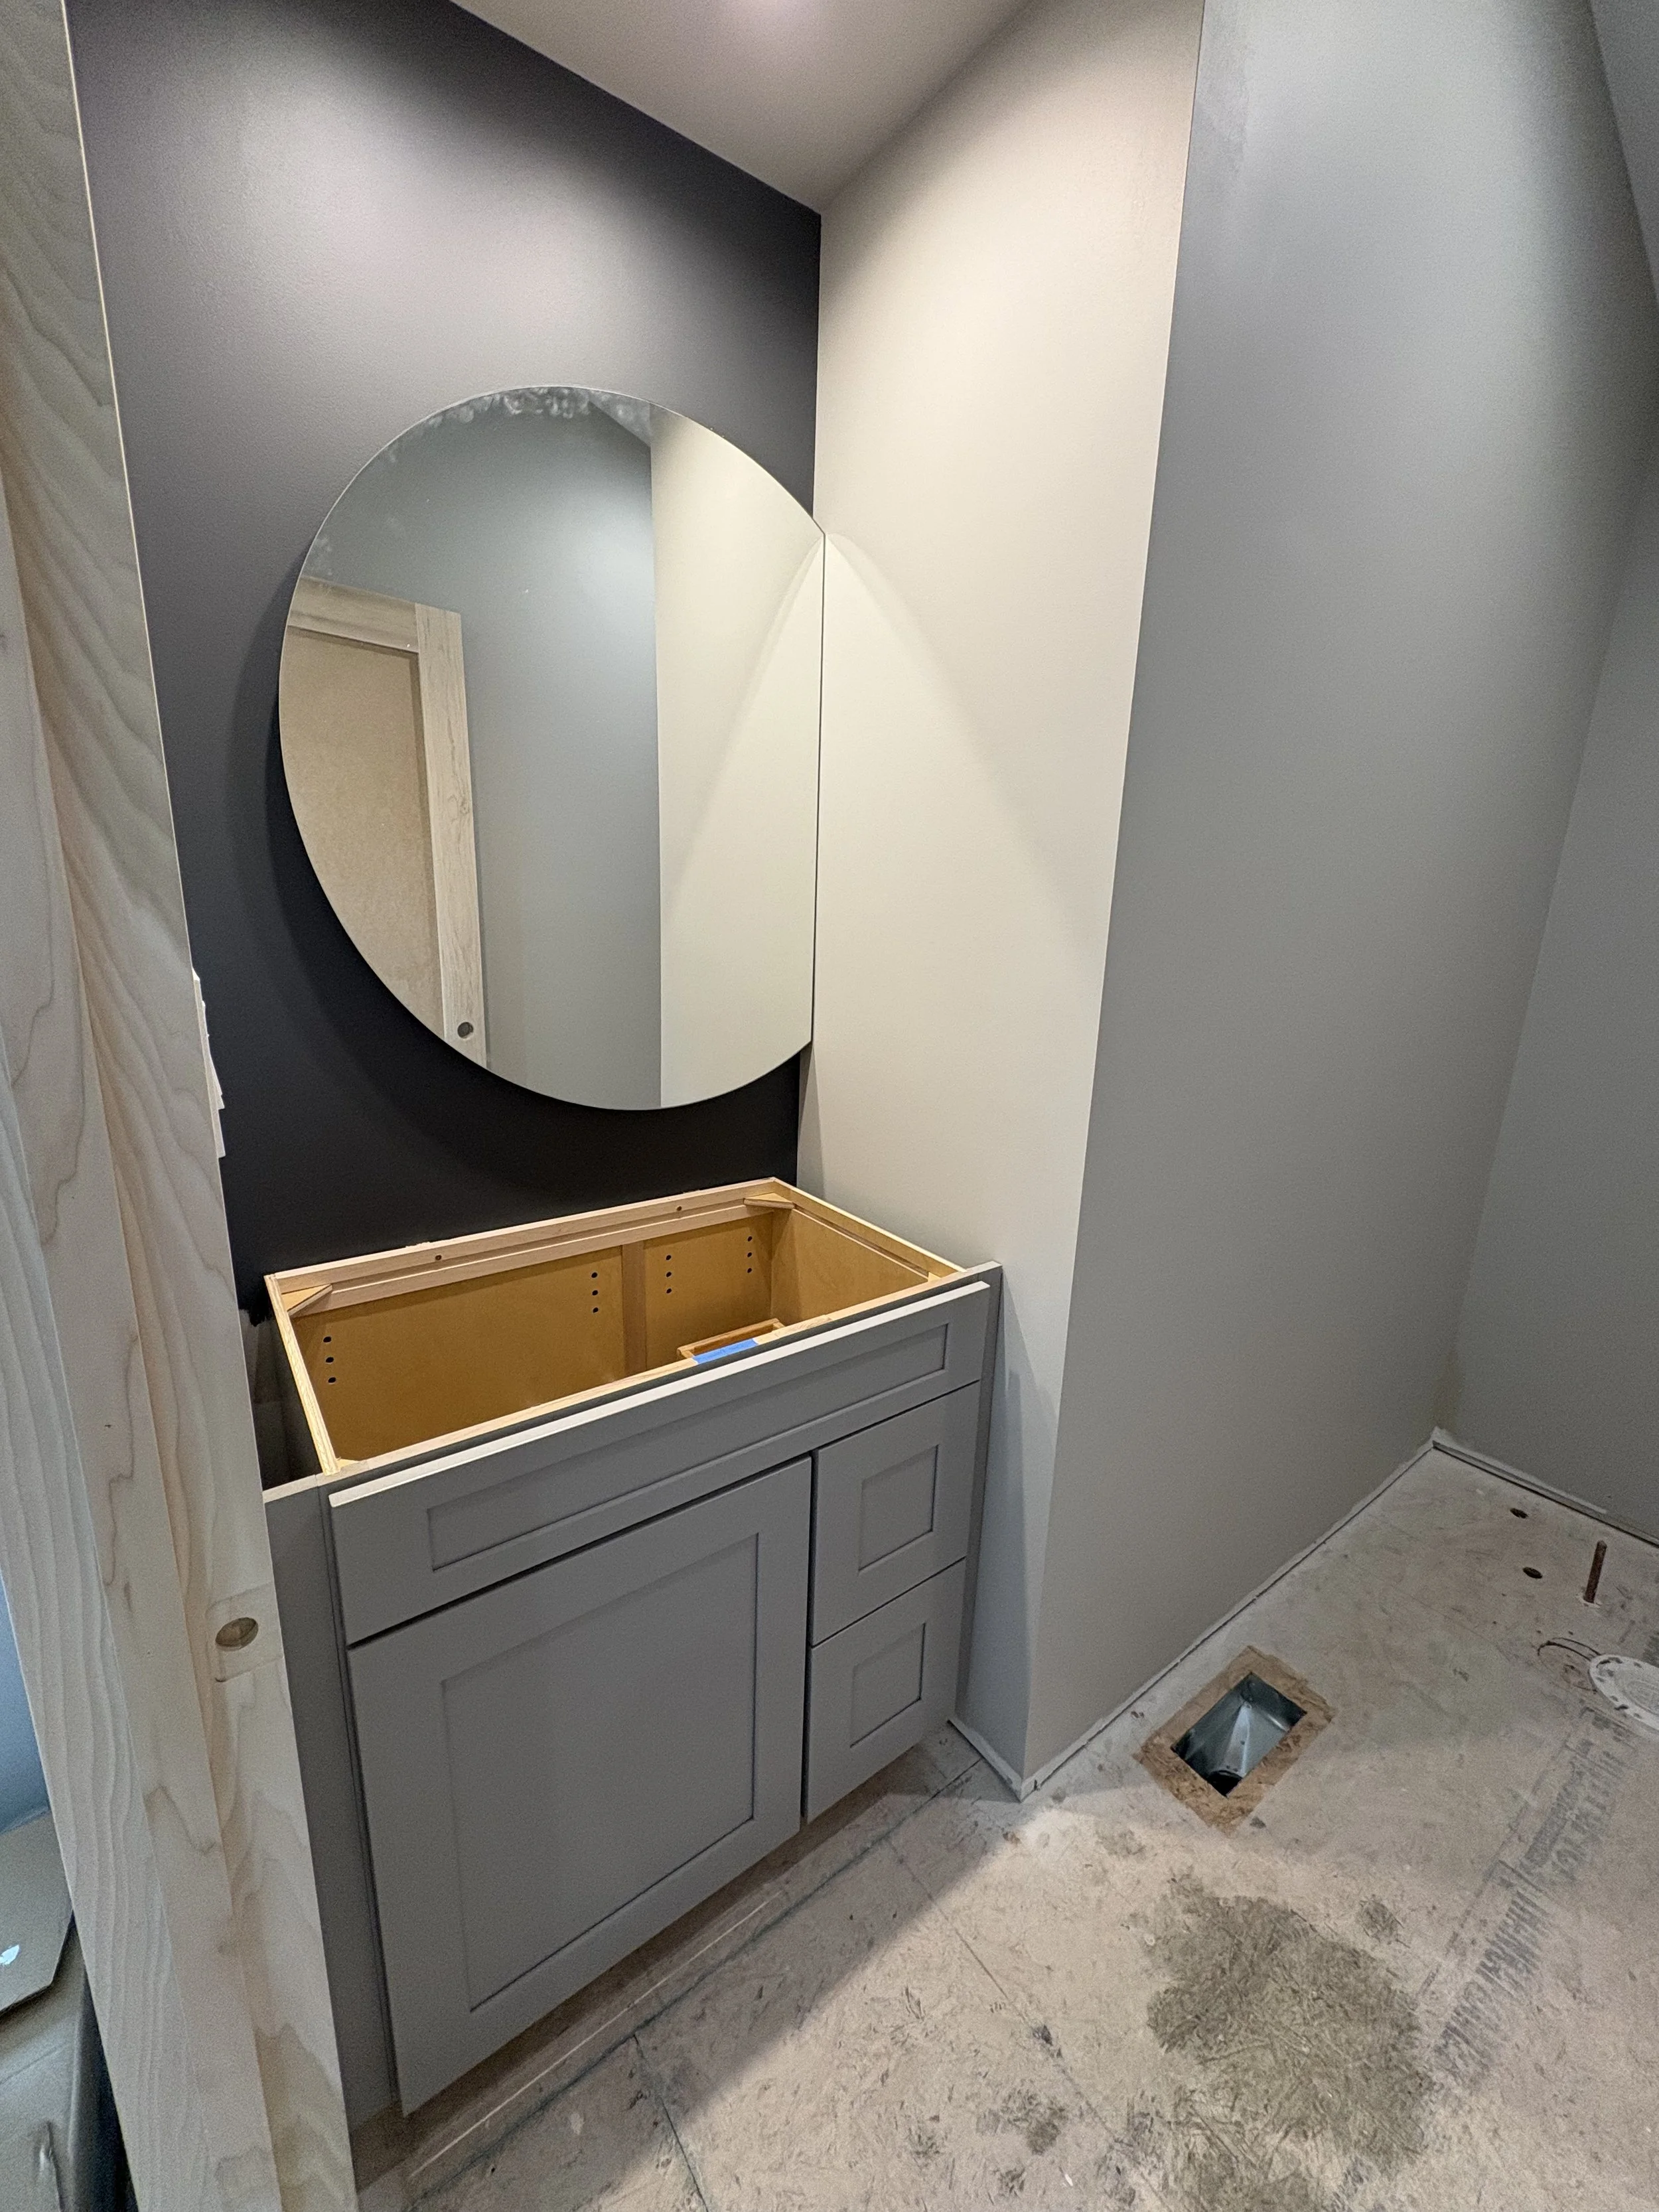
Getting the cabinet and mirror up in the powder bath makes it seem a bit more spacious!
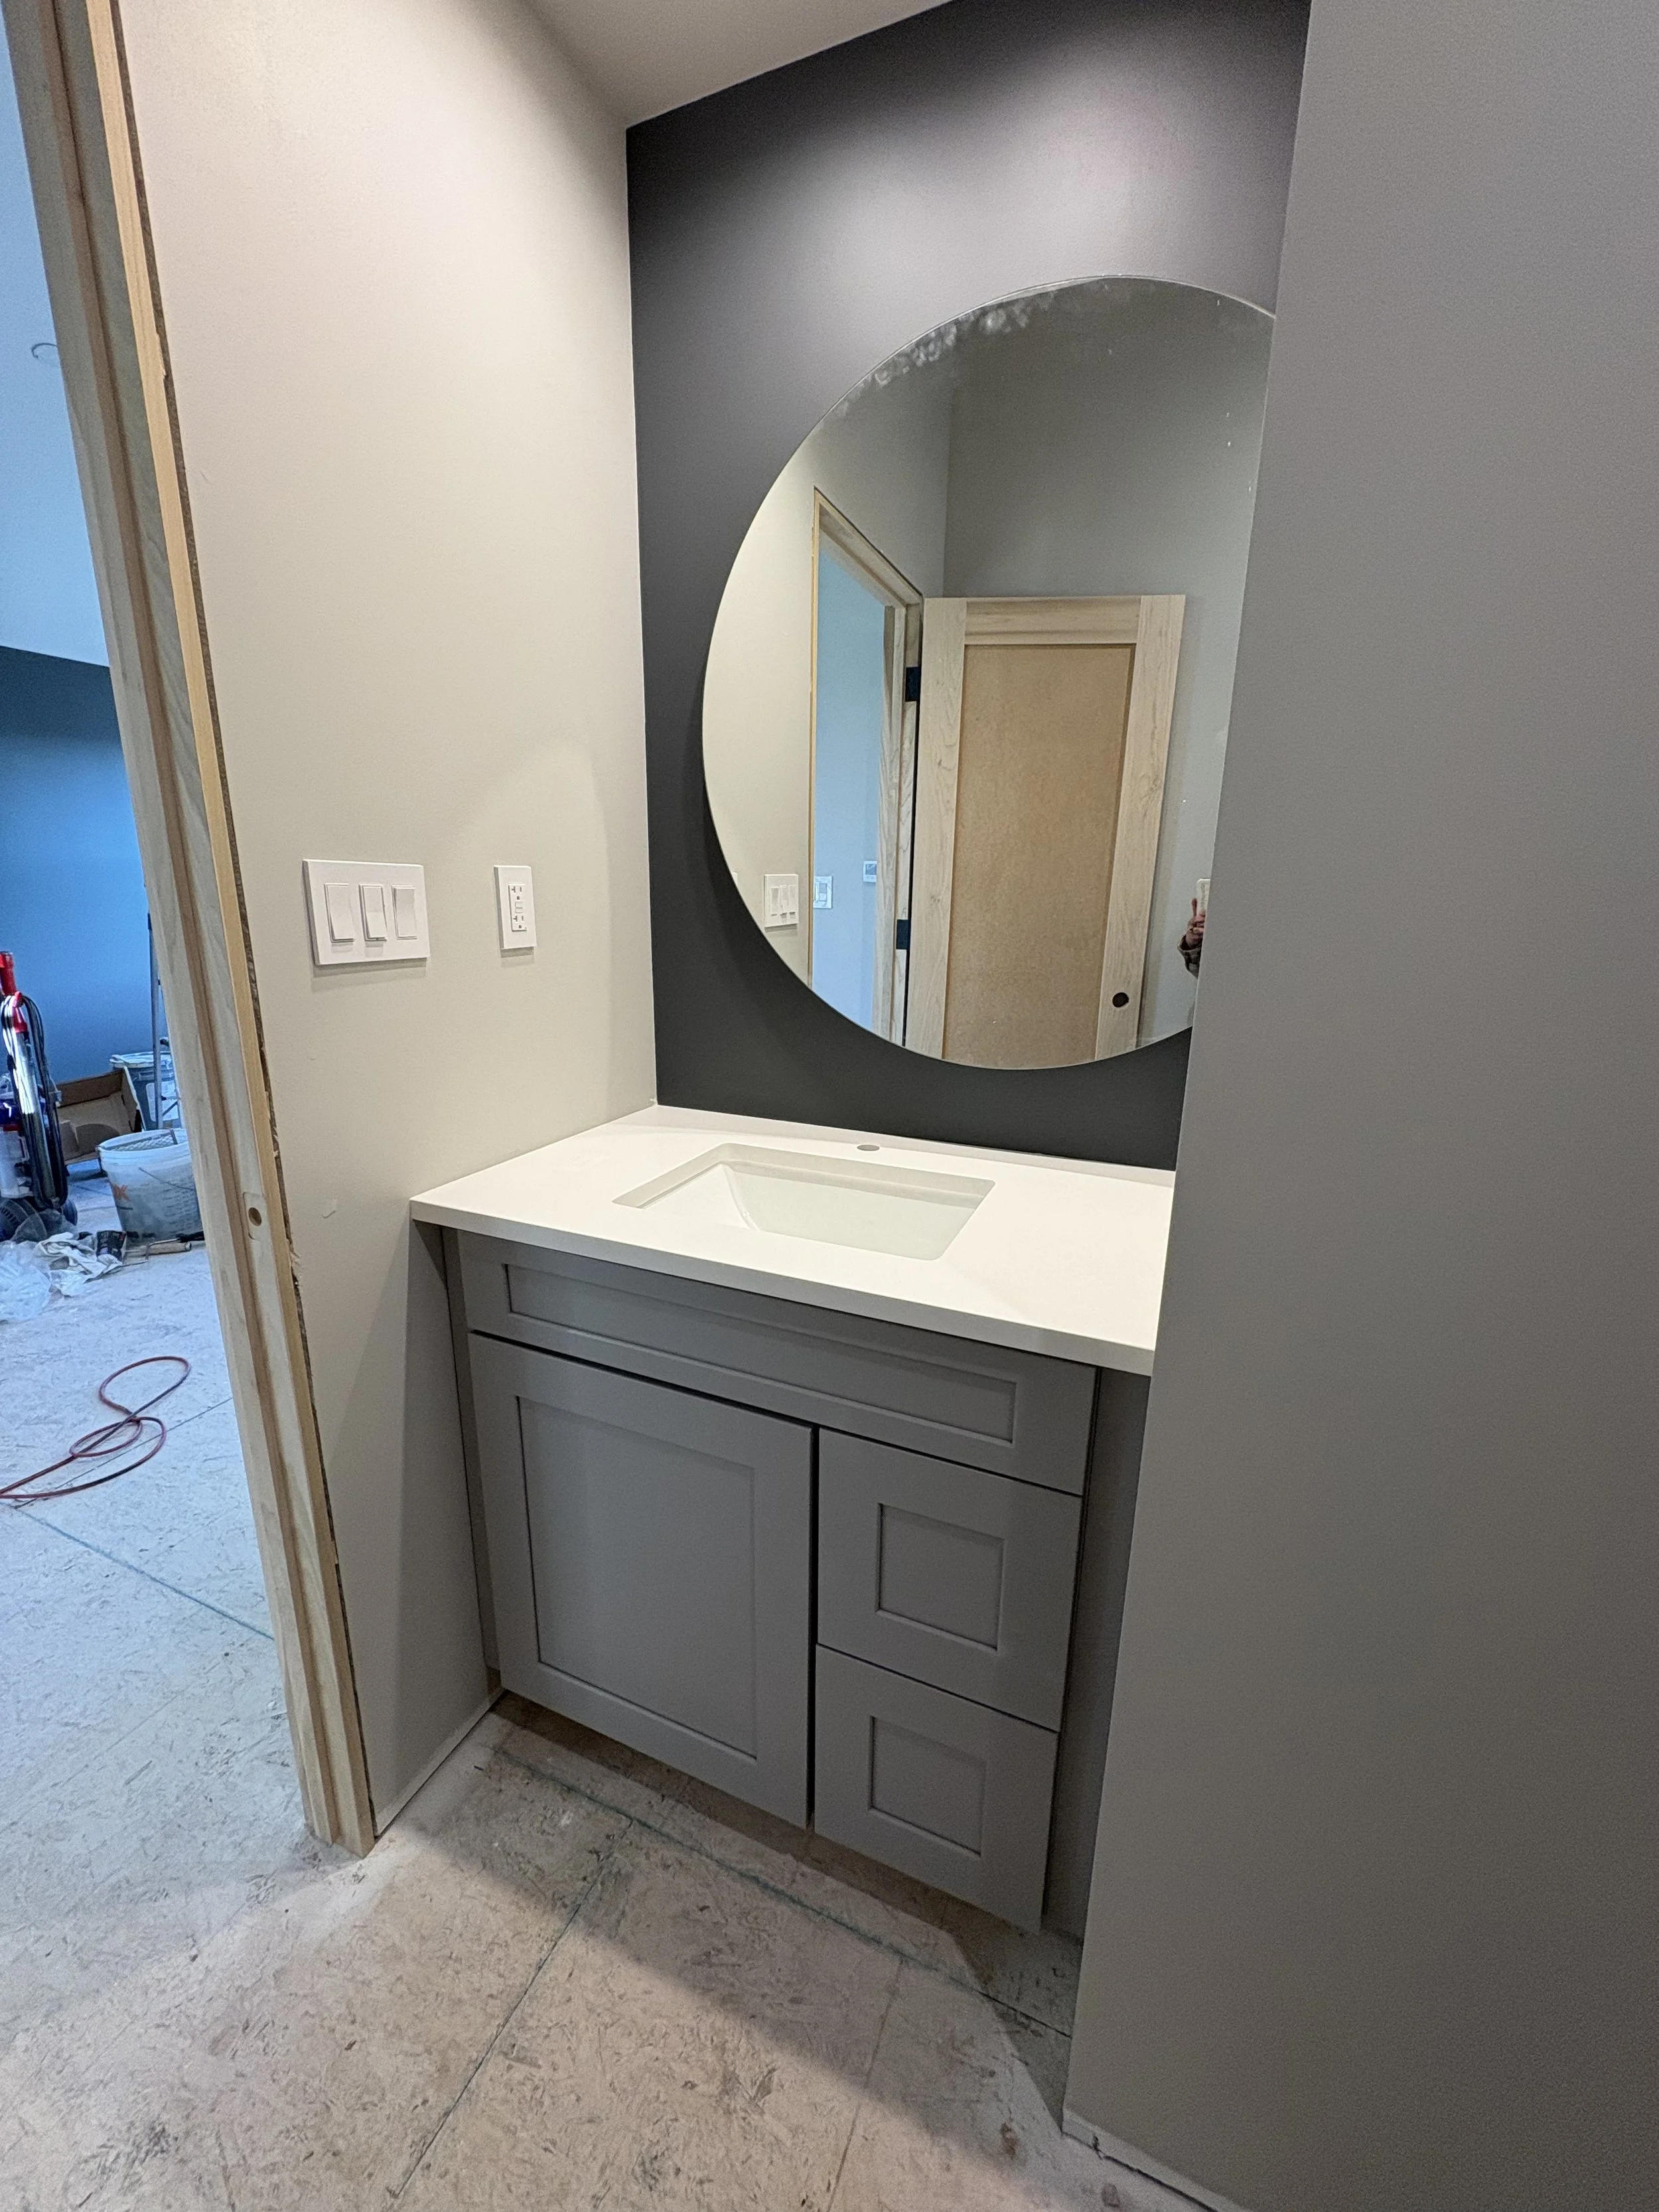
The counter top and sink are installed next.
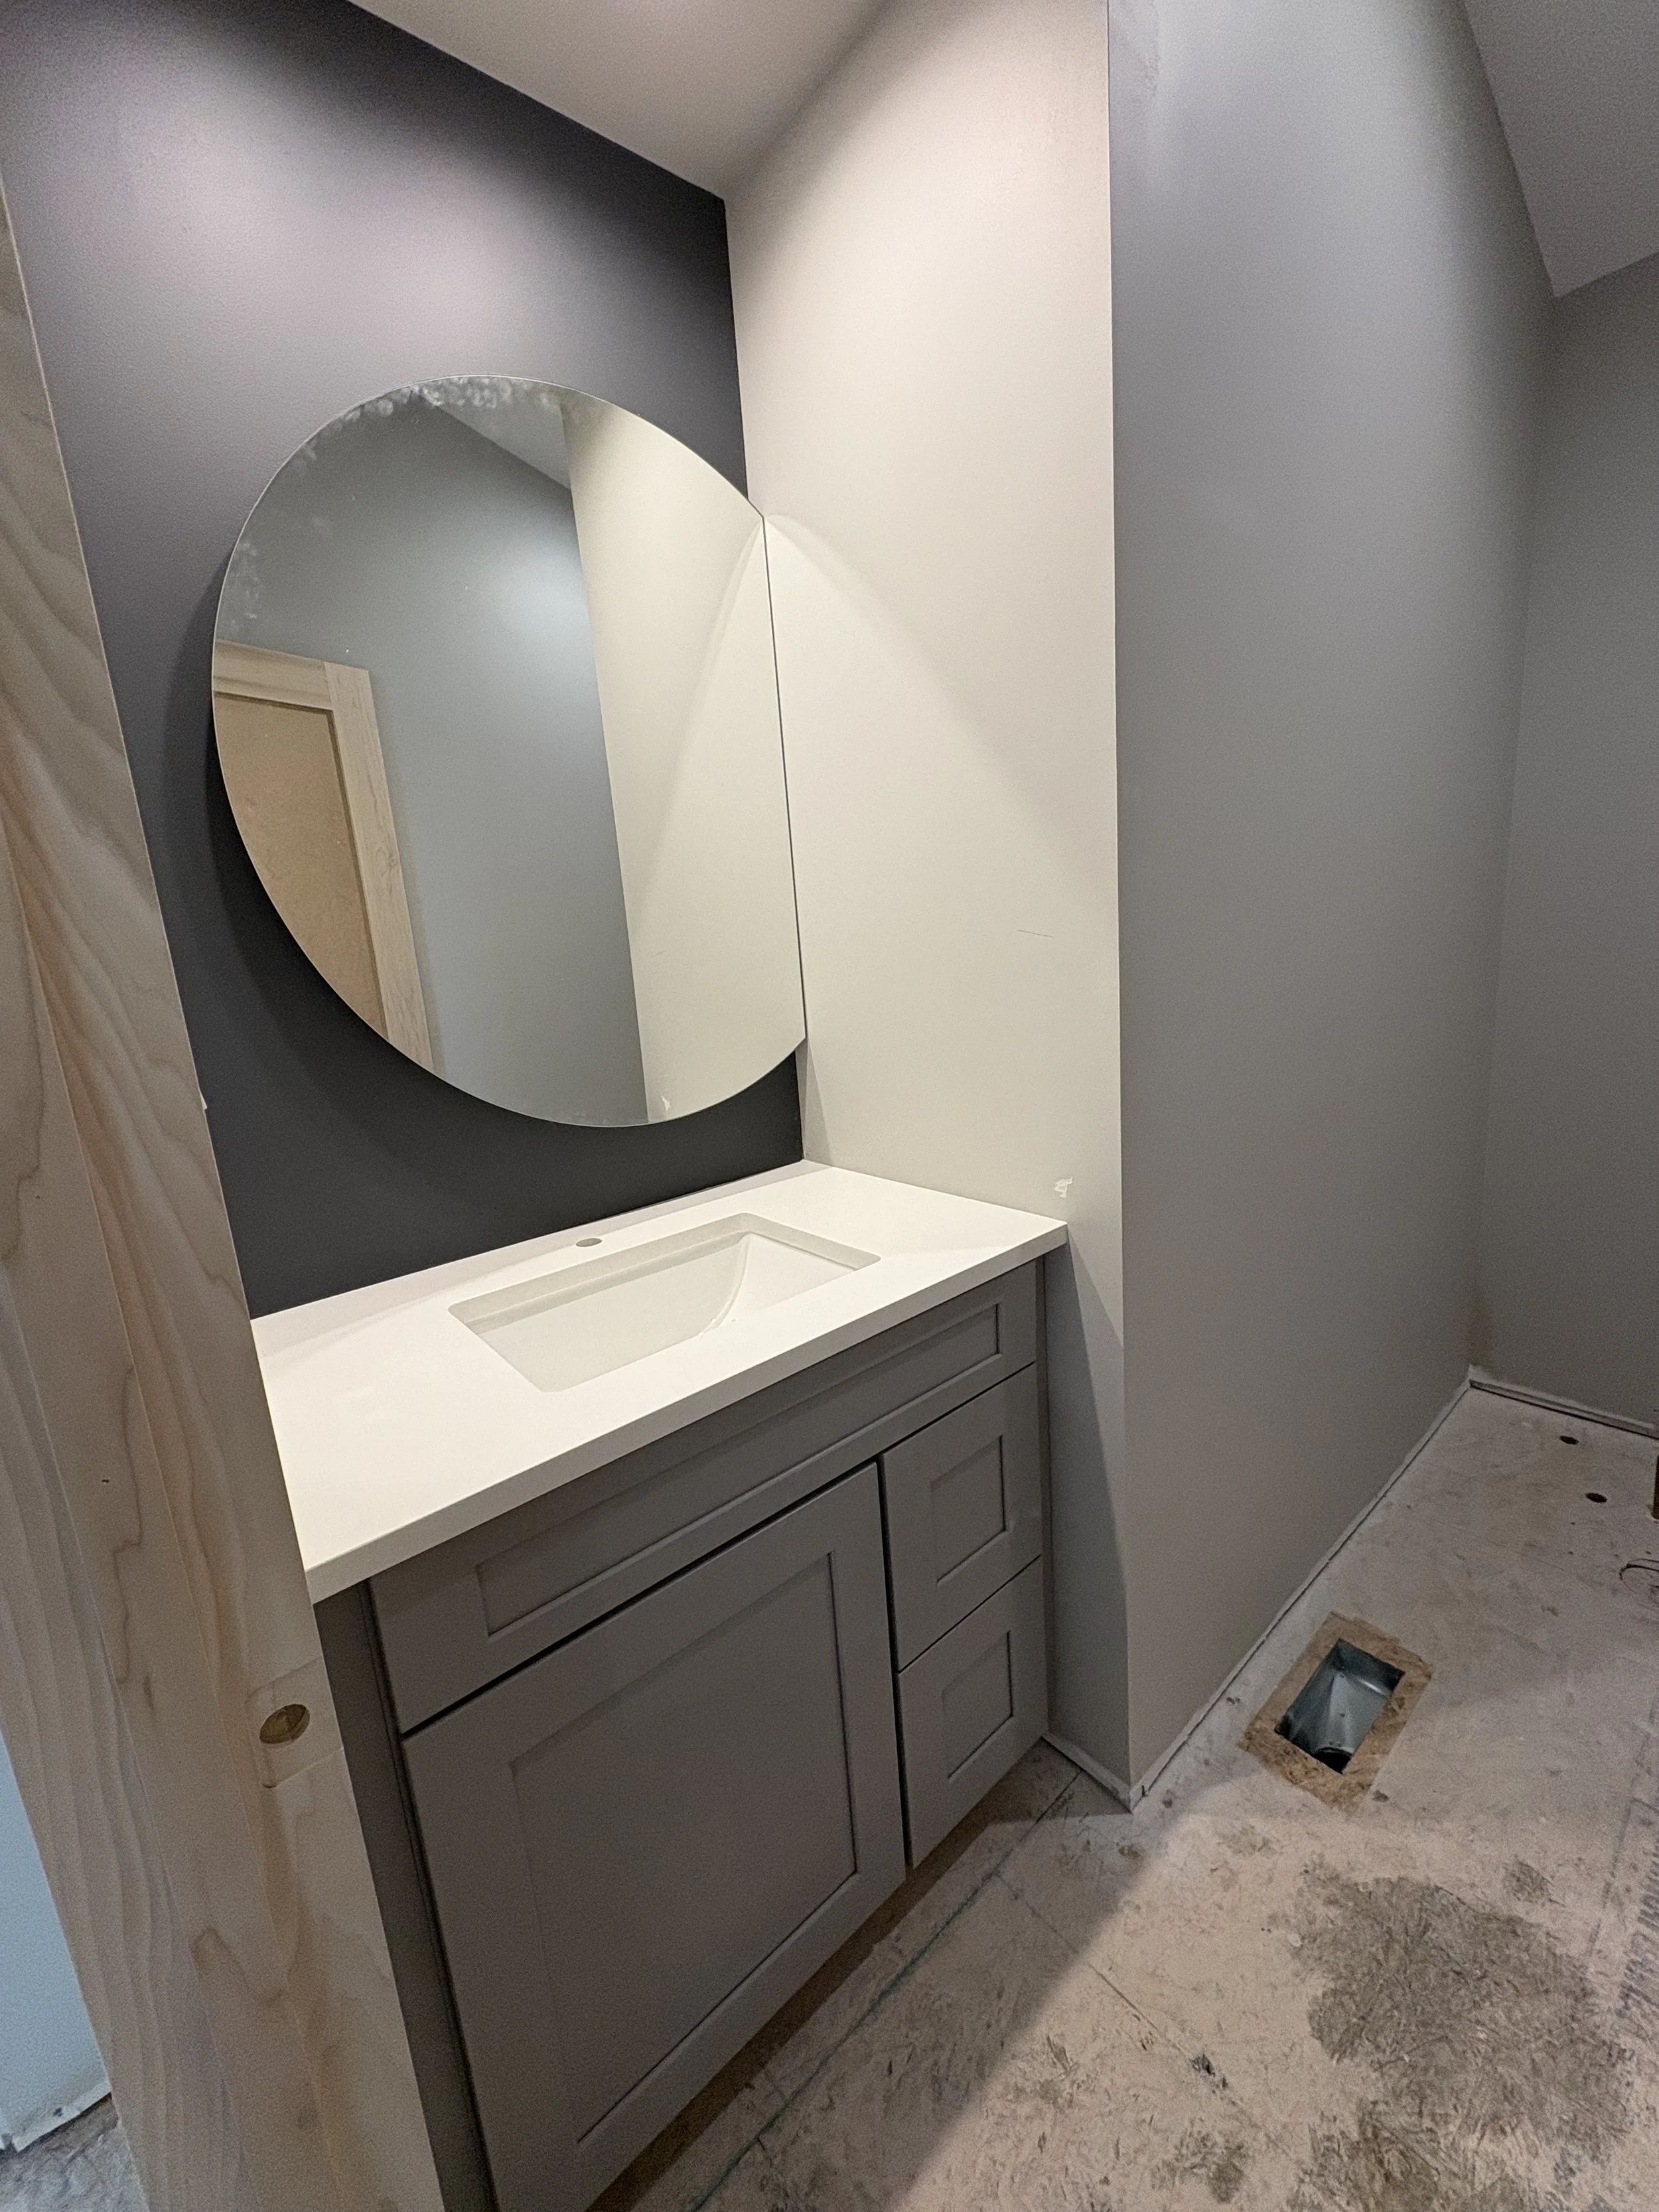
A view going in to the powder bath.
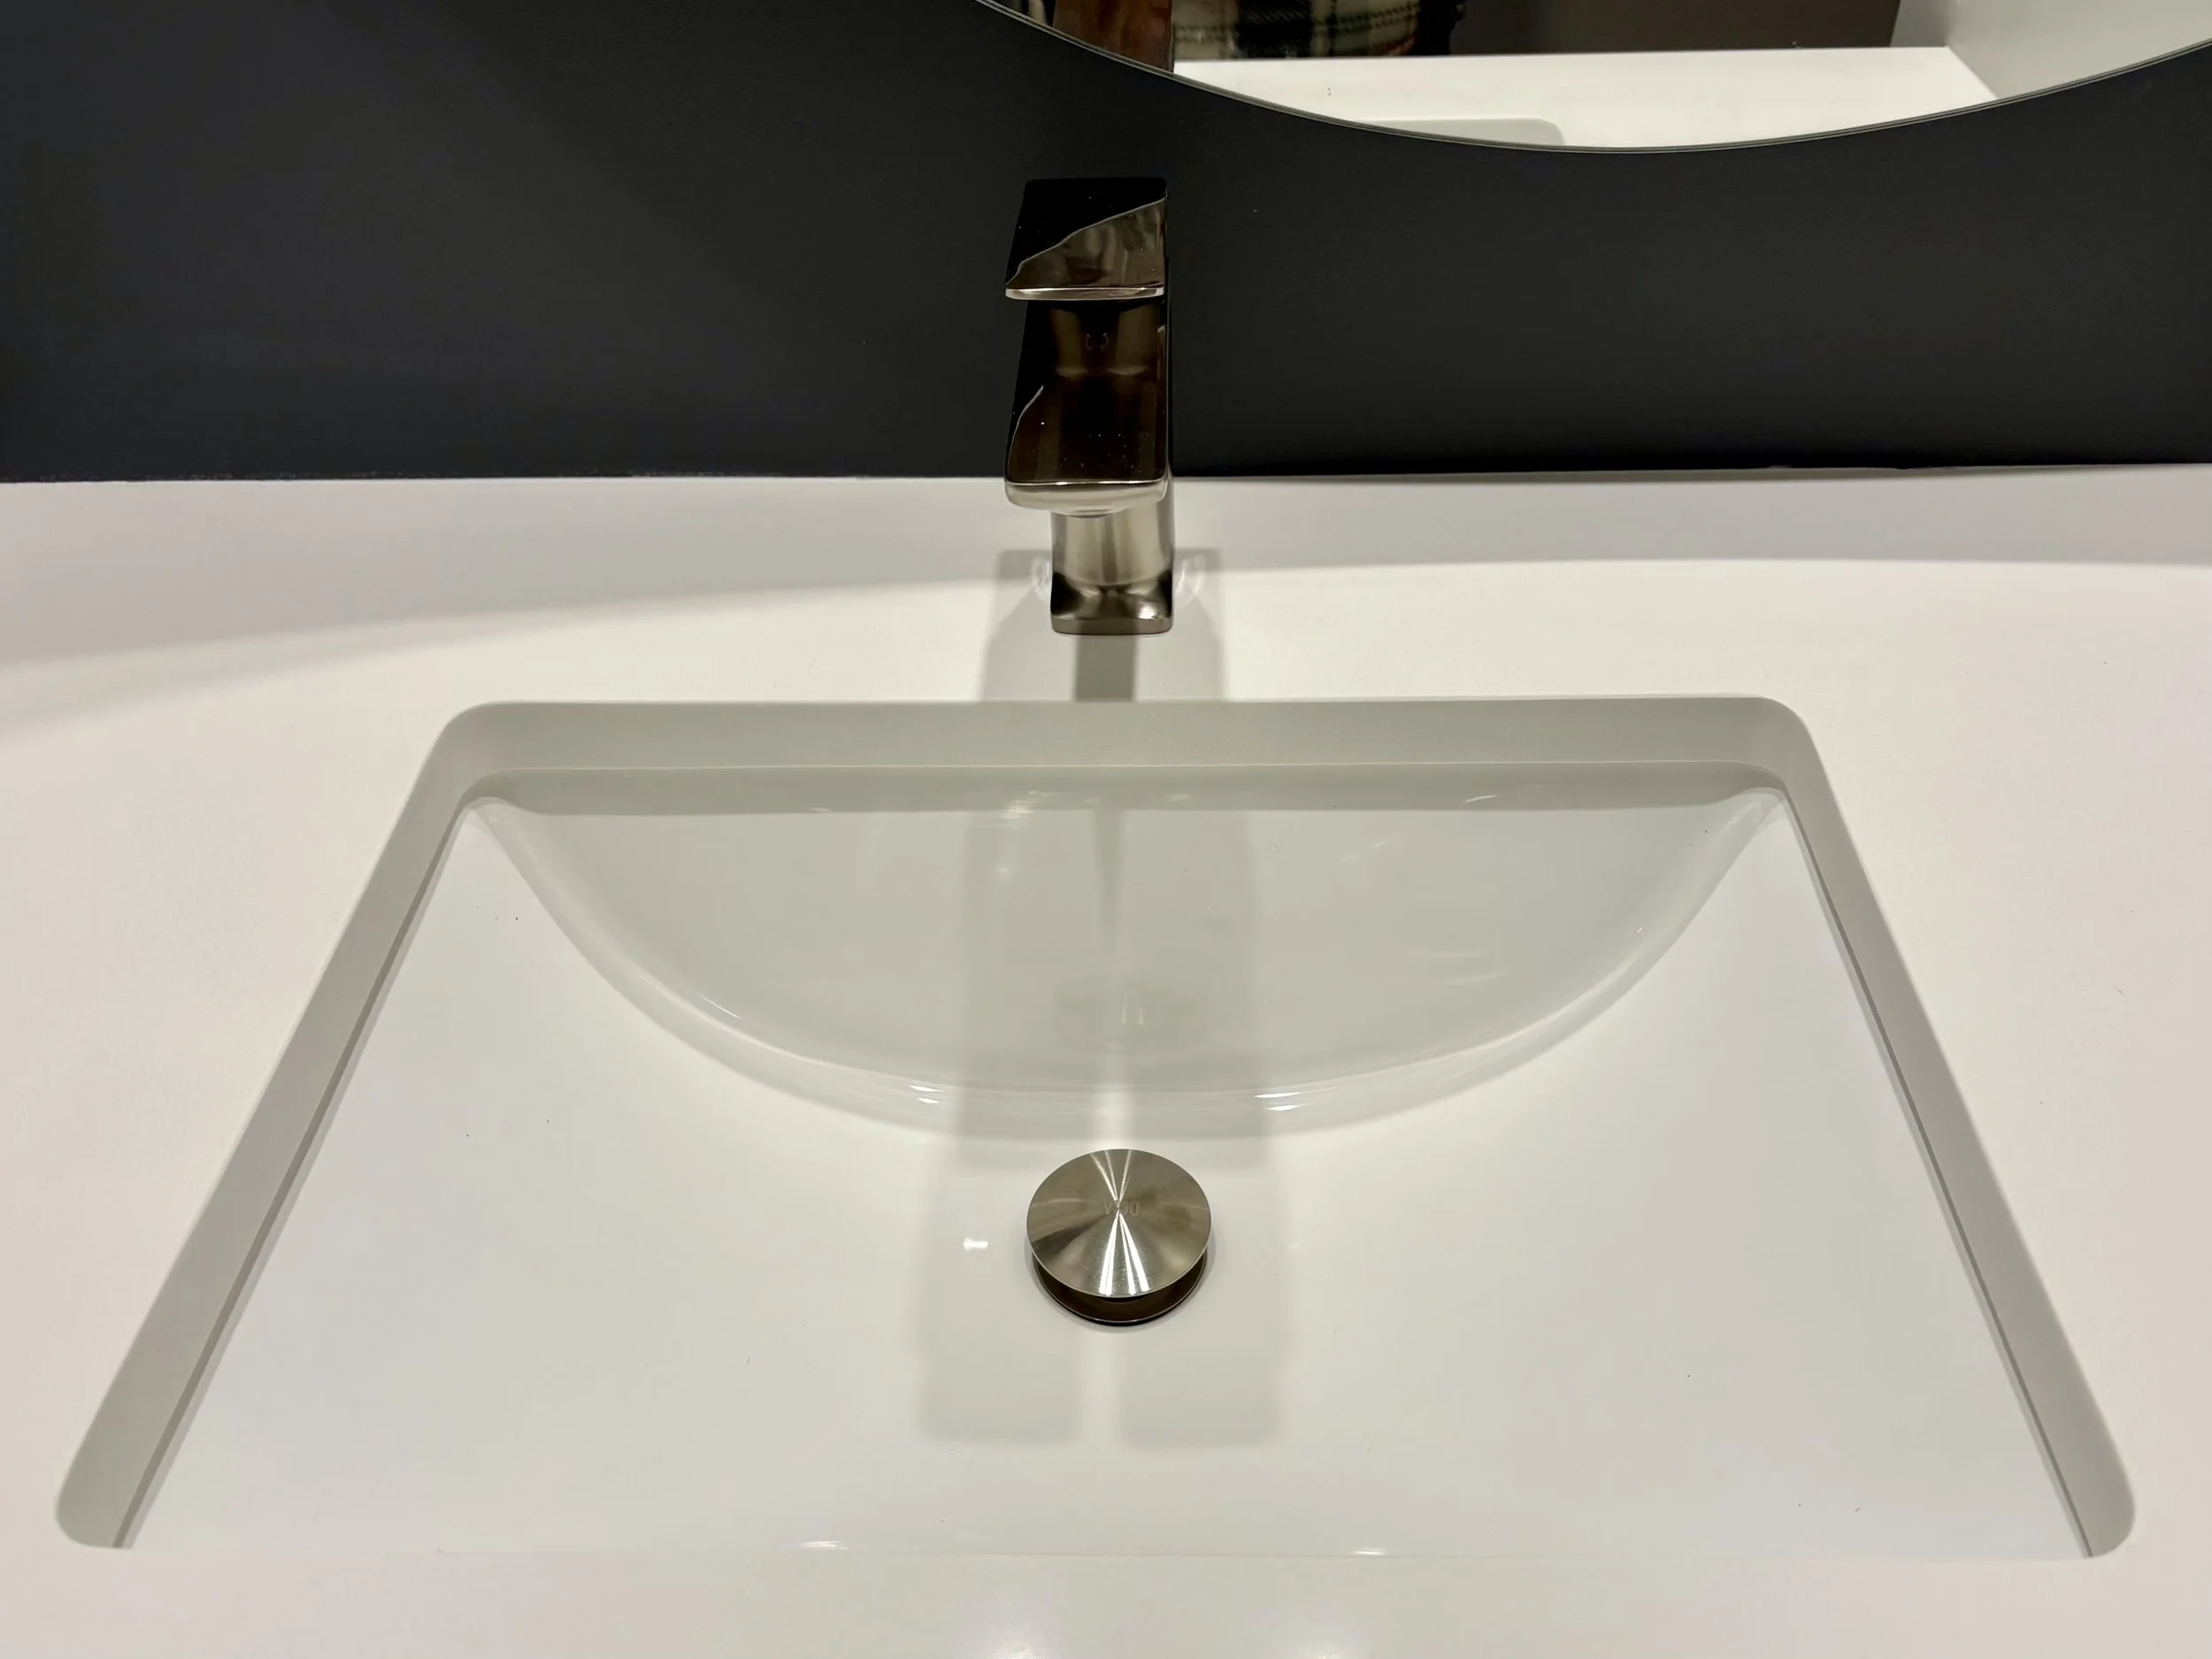
The sink faucet is installed and water is turned on!
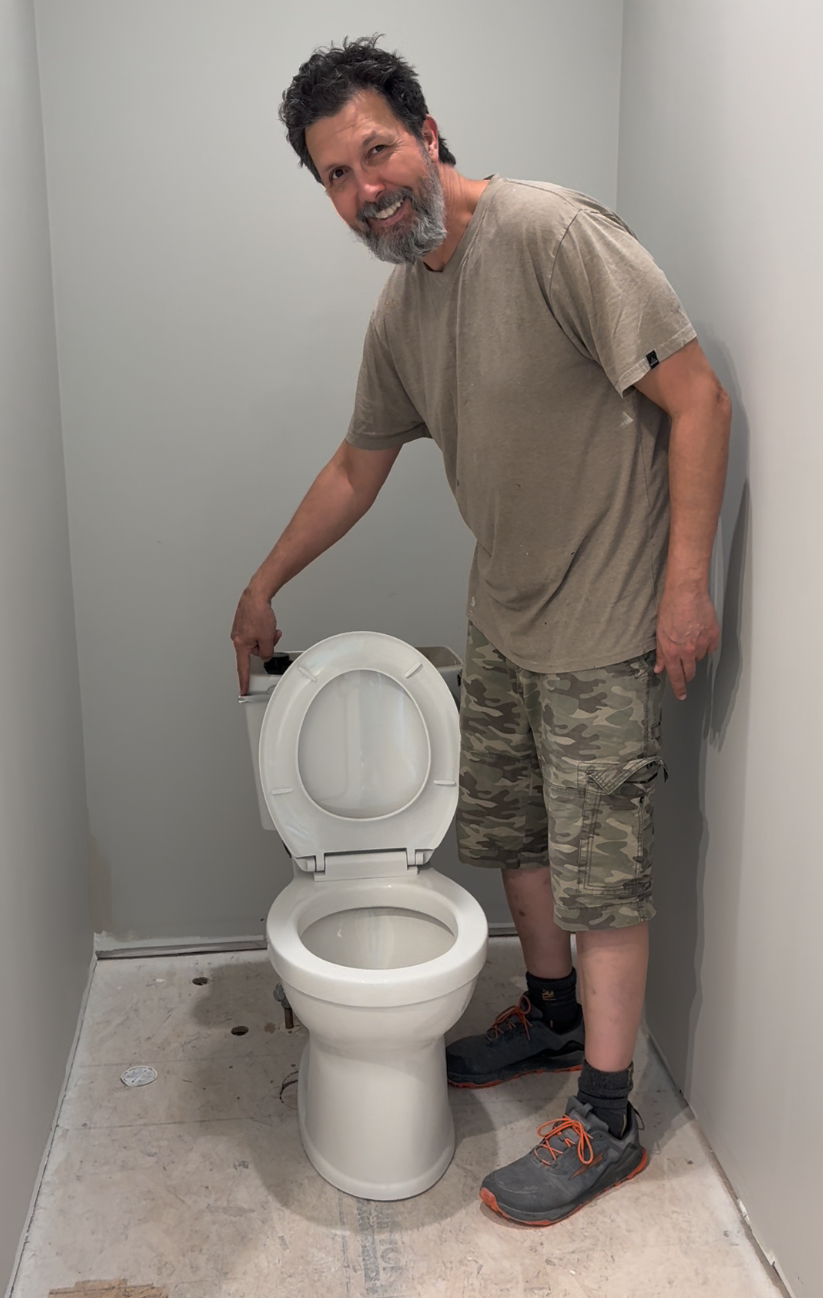
...and most importantly, the toilet is installed and actually hooked up!
Step 19: Finishing the Main Living Space
Last but not least, the biggest area to tackle in the house. The main living space! Lots of sanding...again.
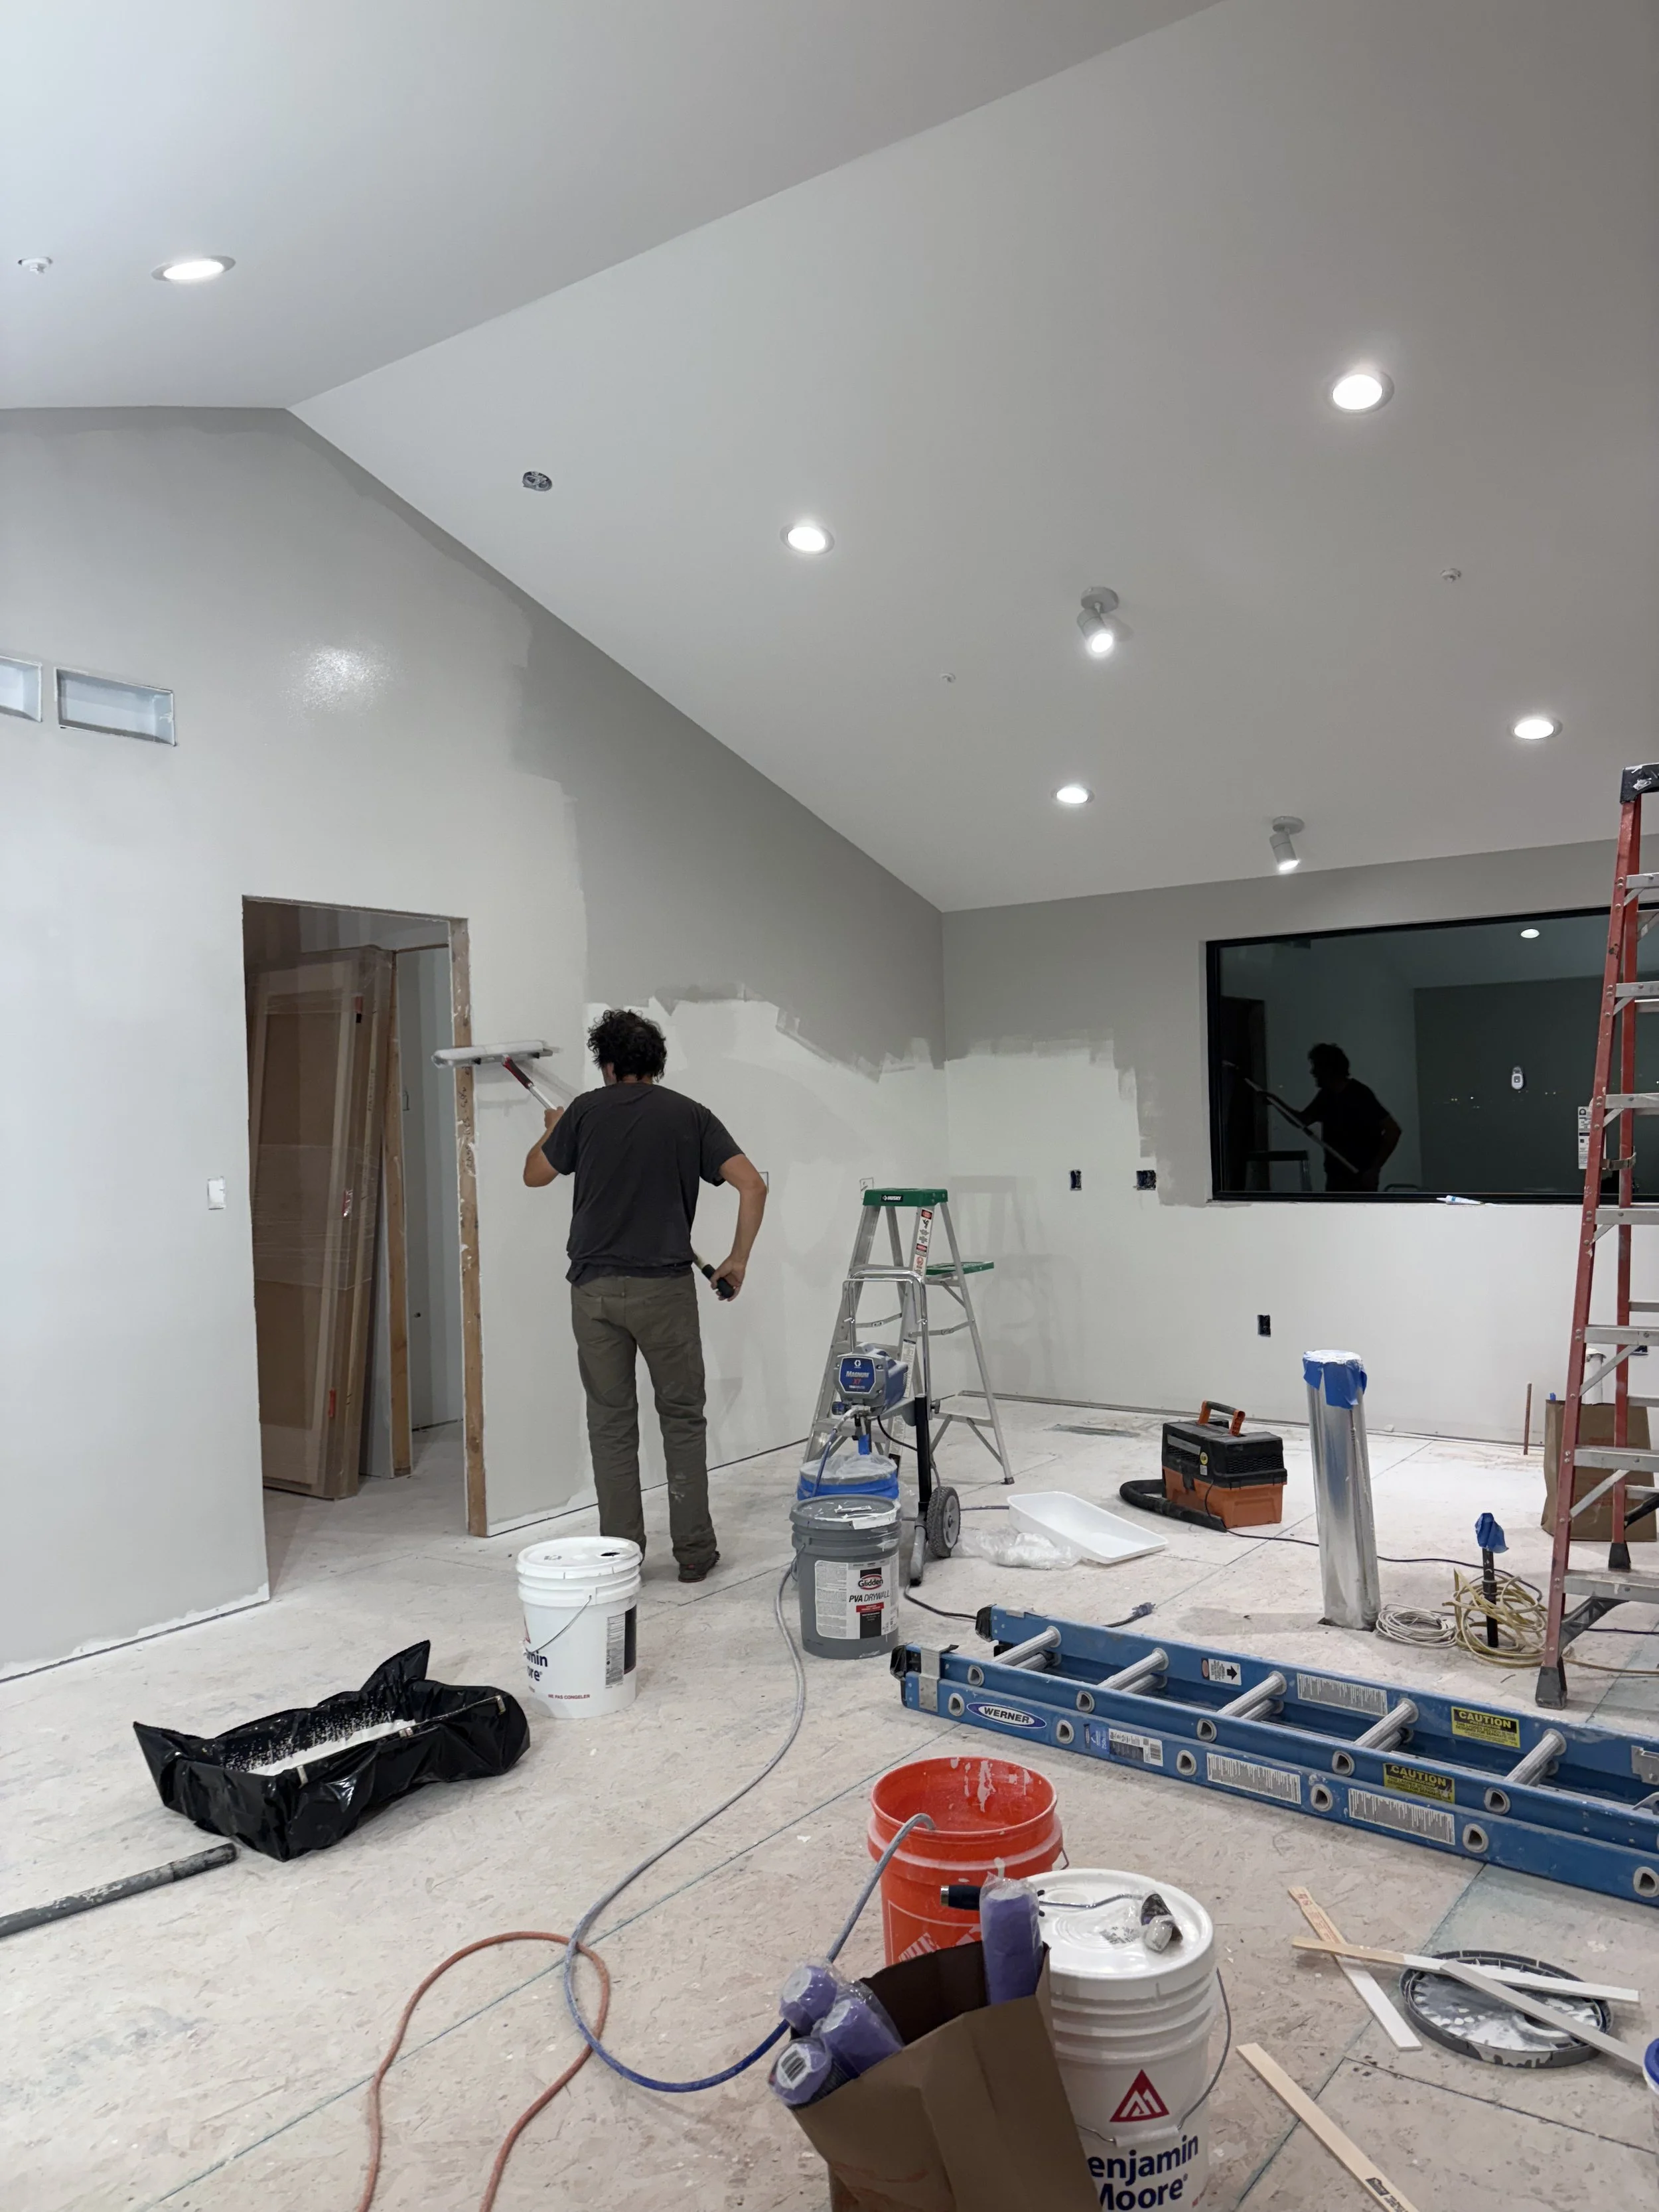
After sanding of course, is painting.
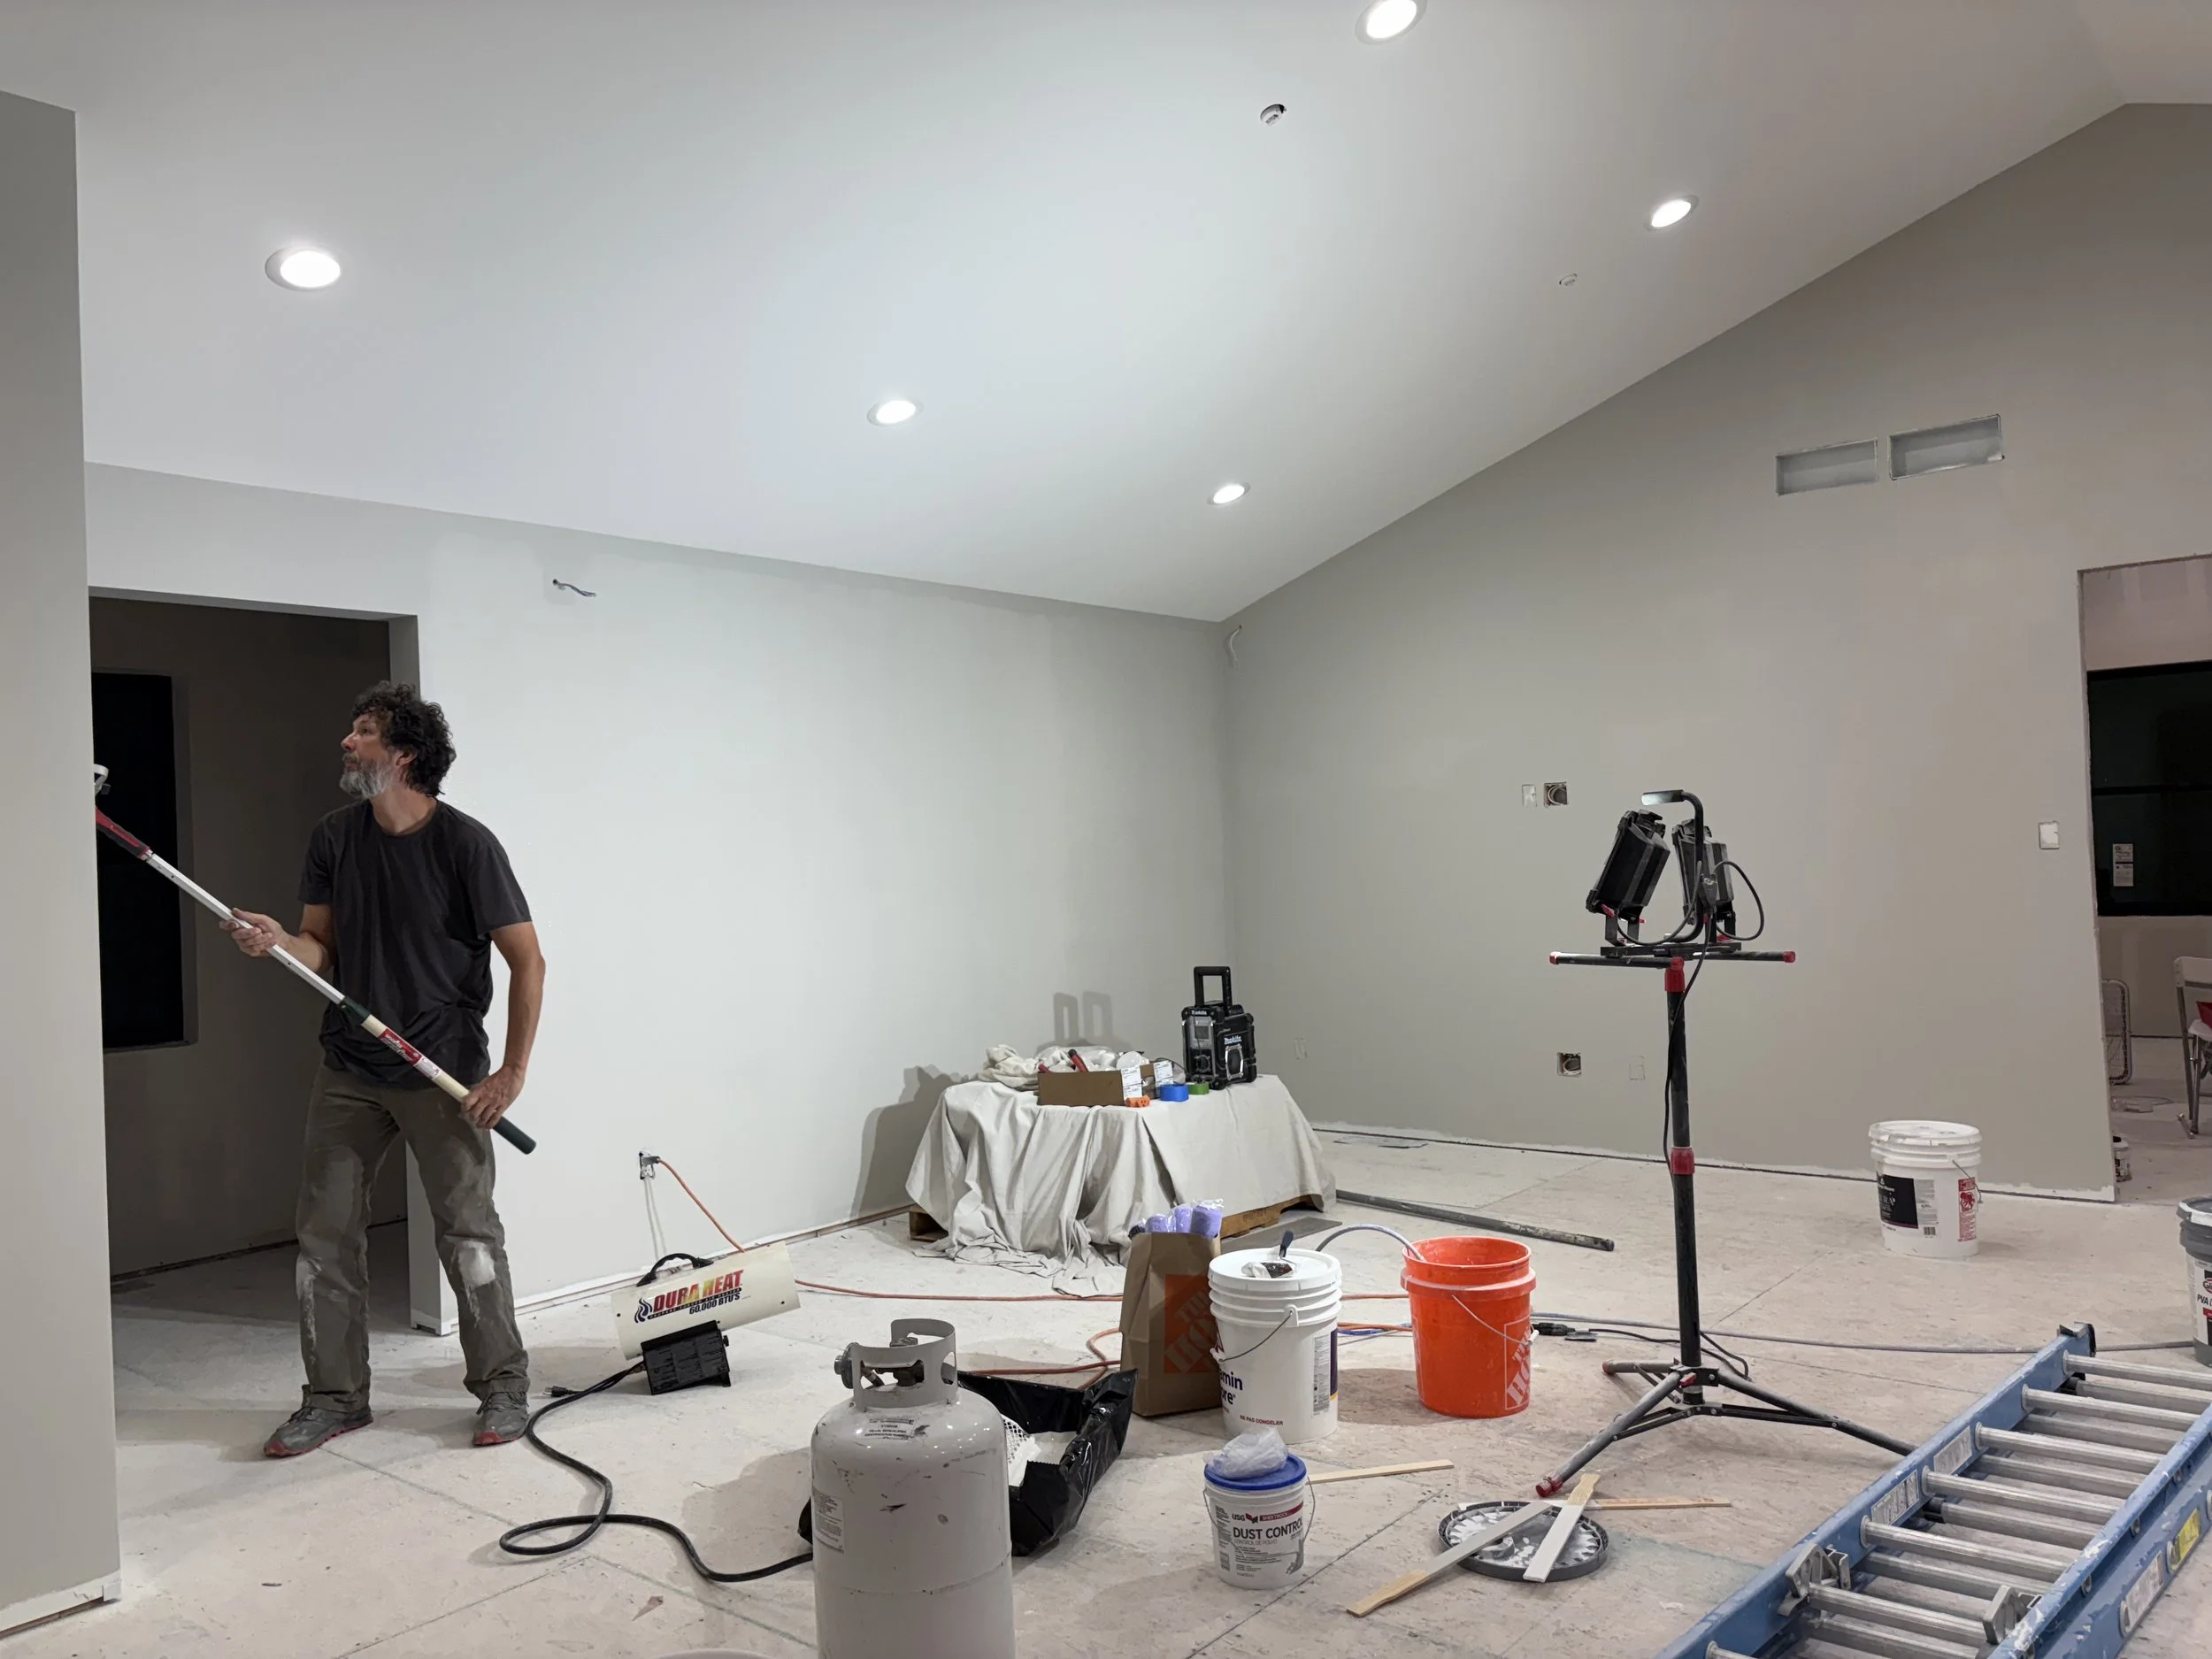
...and more painting!
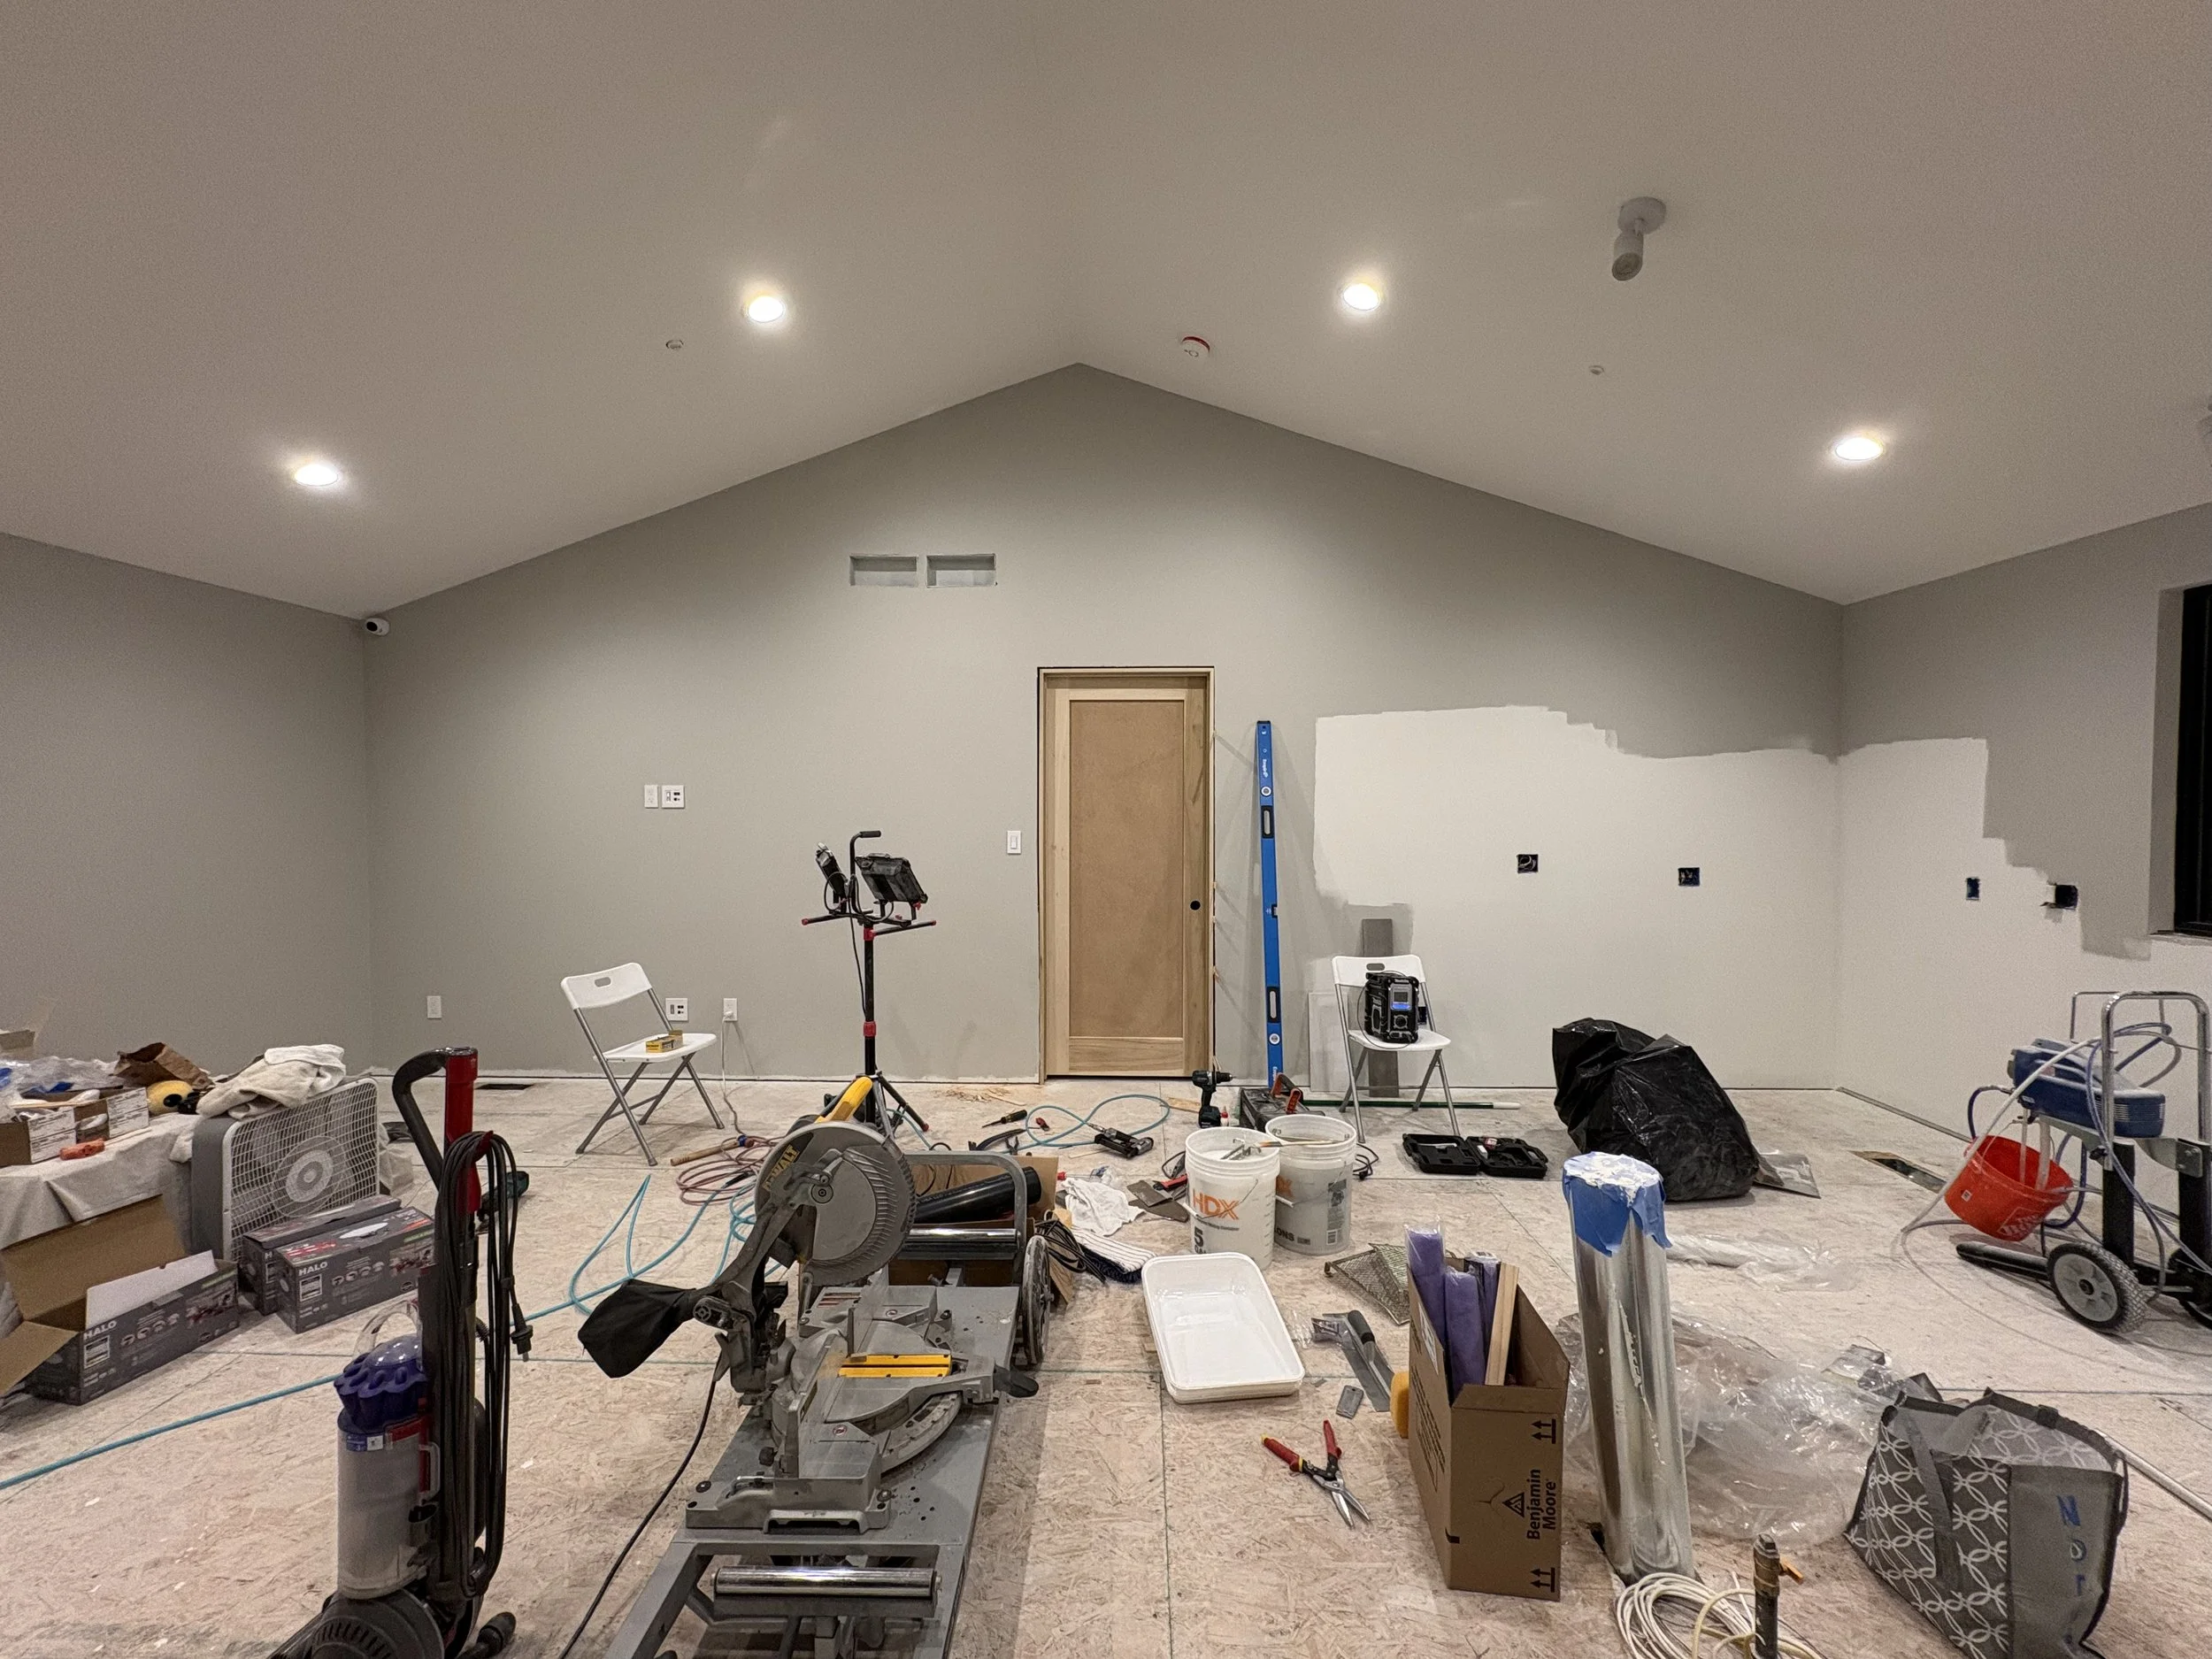
Just a tad messy, but it's starting to look like an actual house!
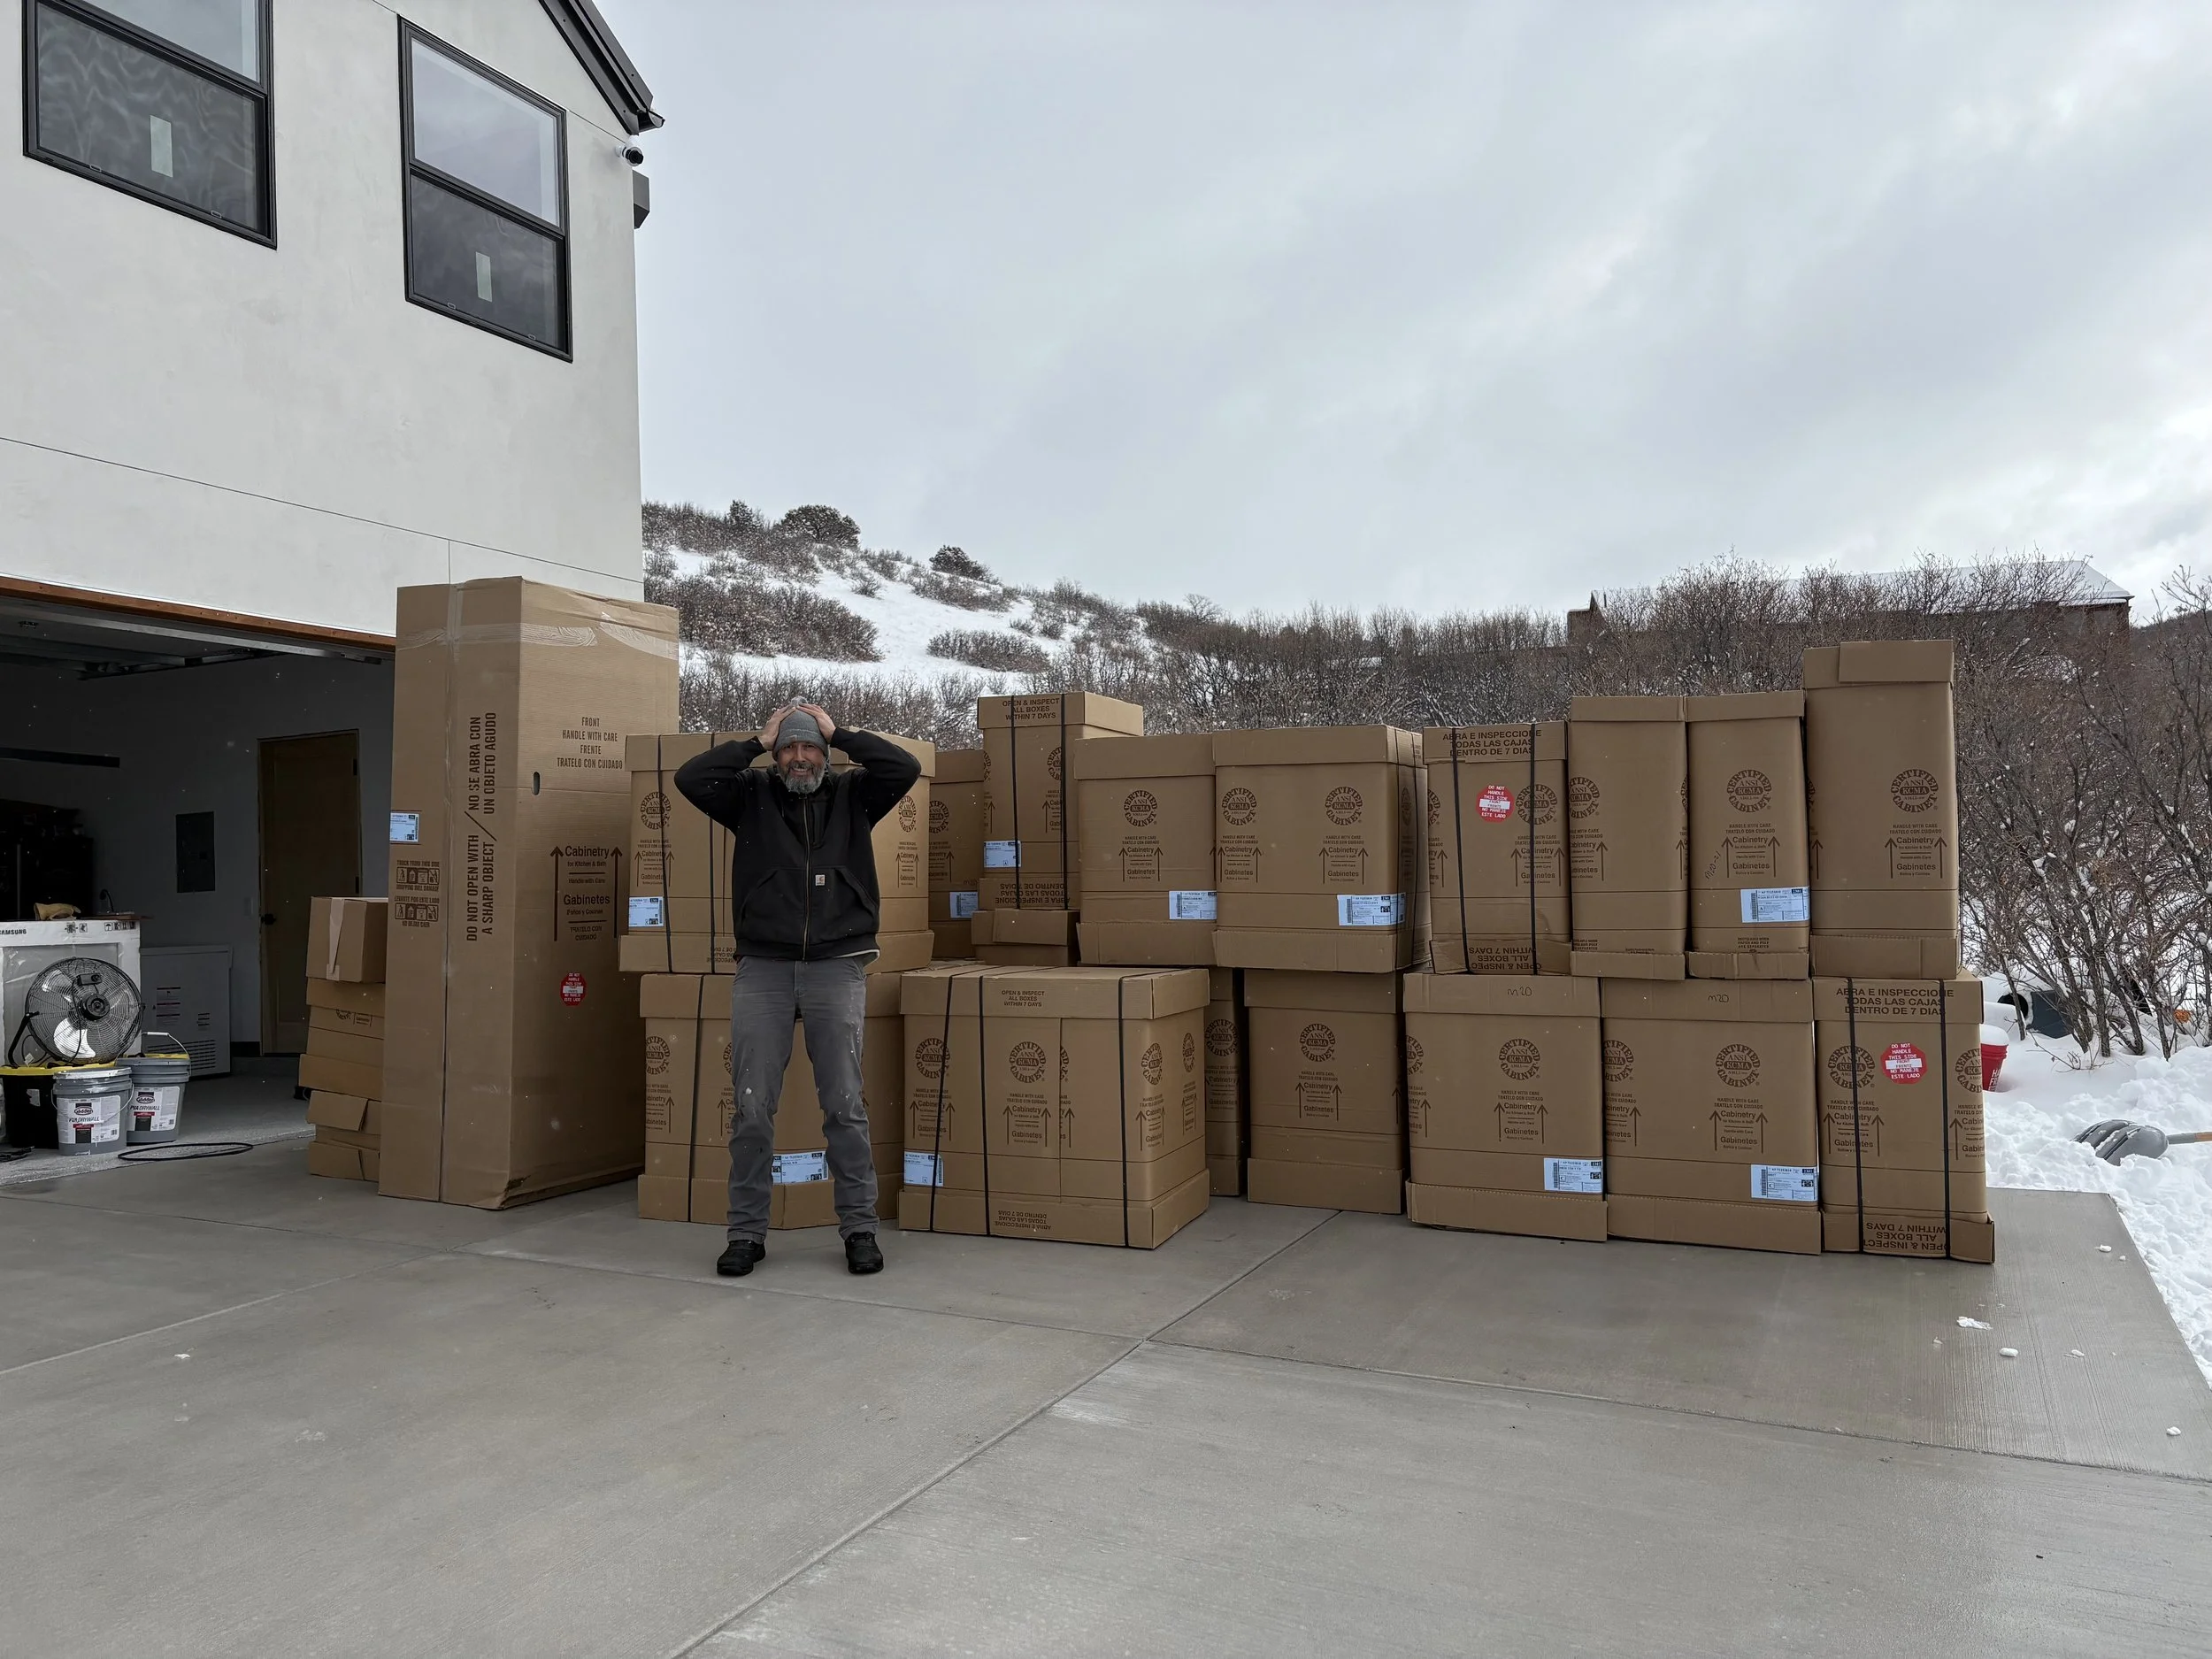
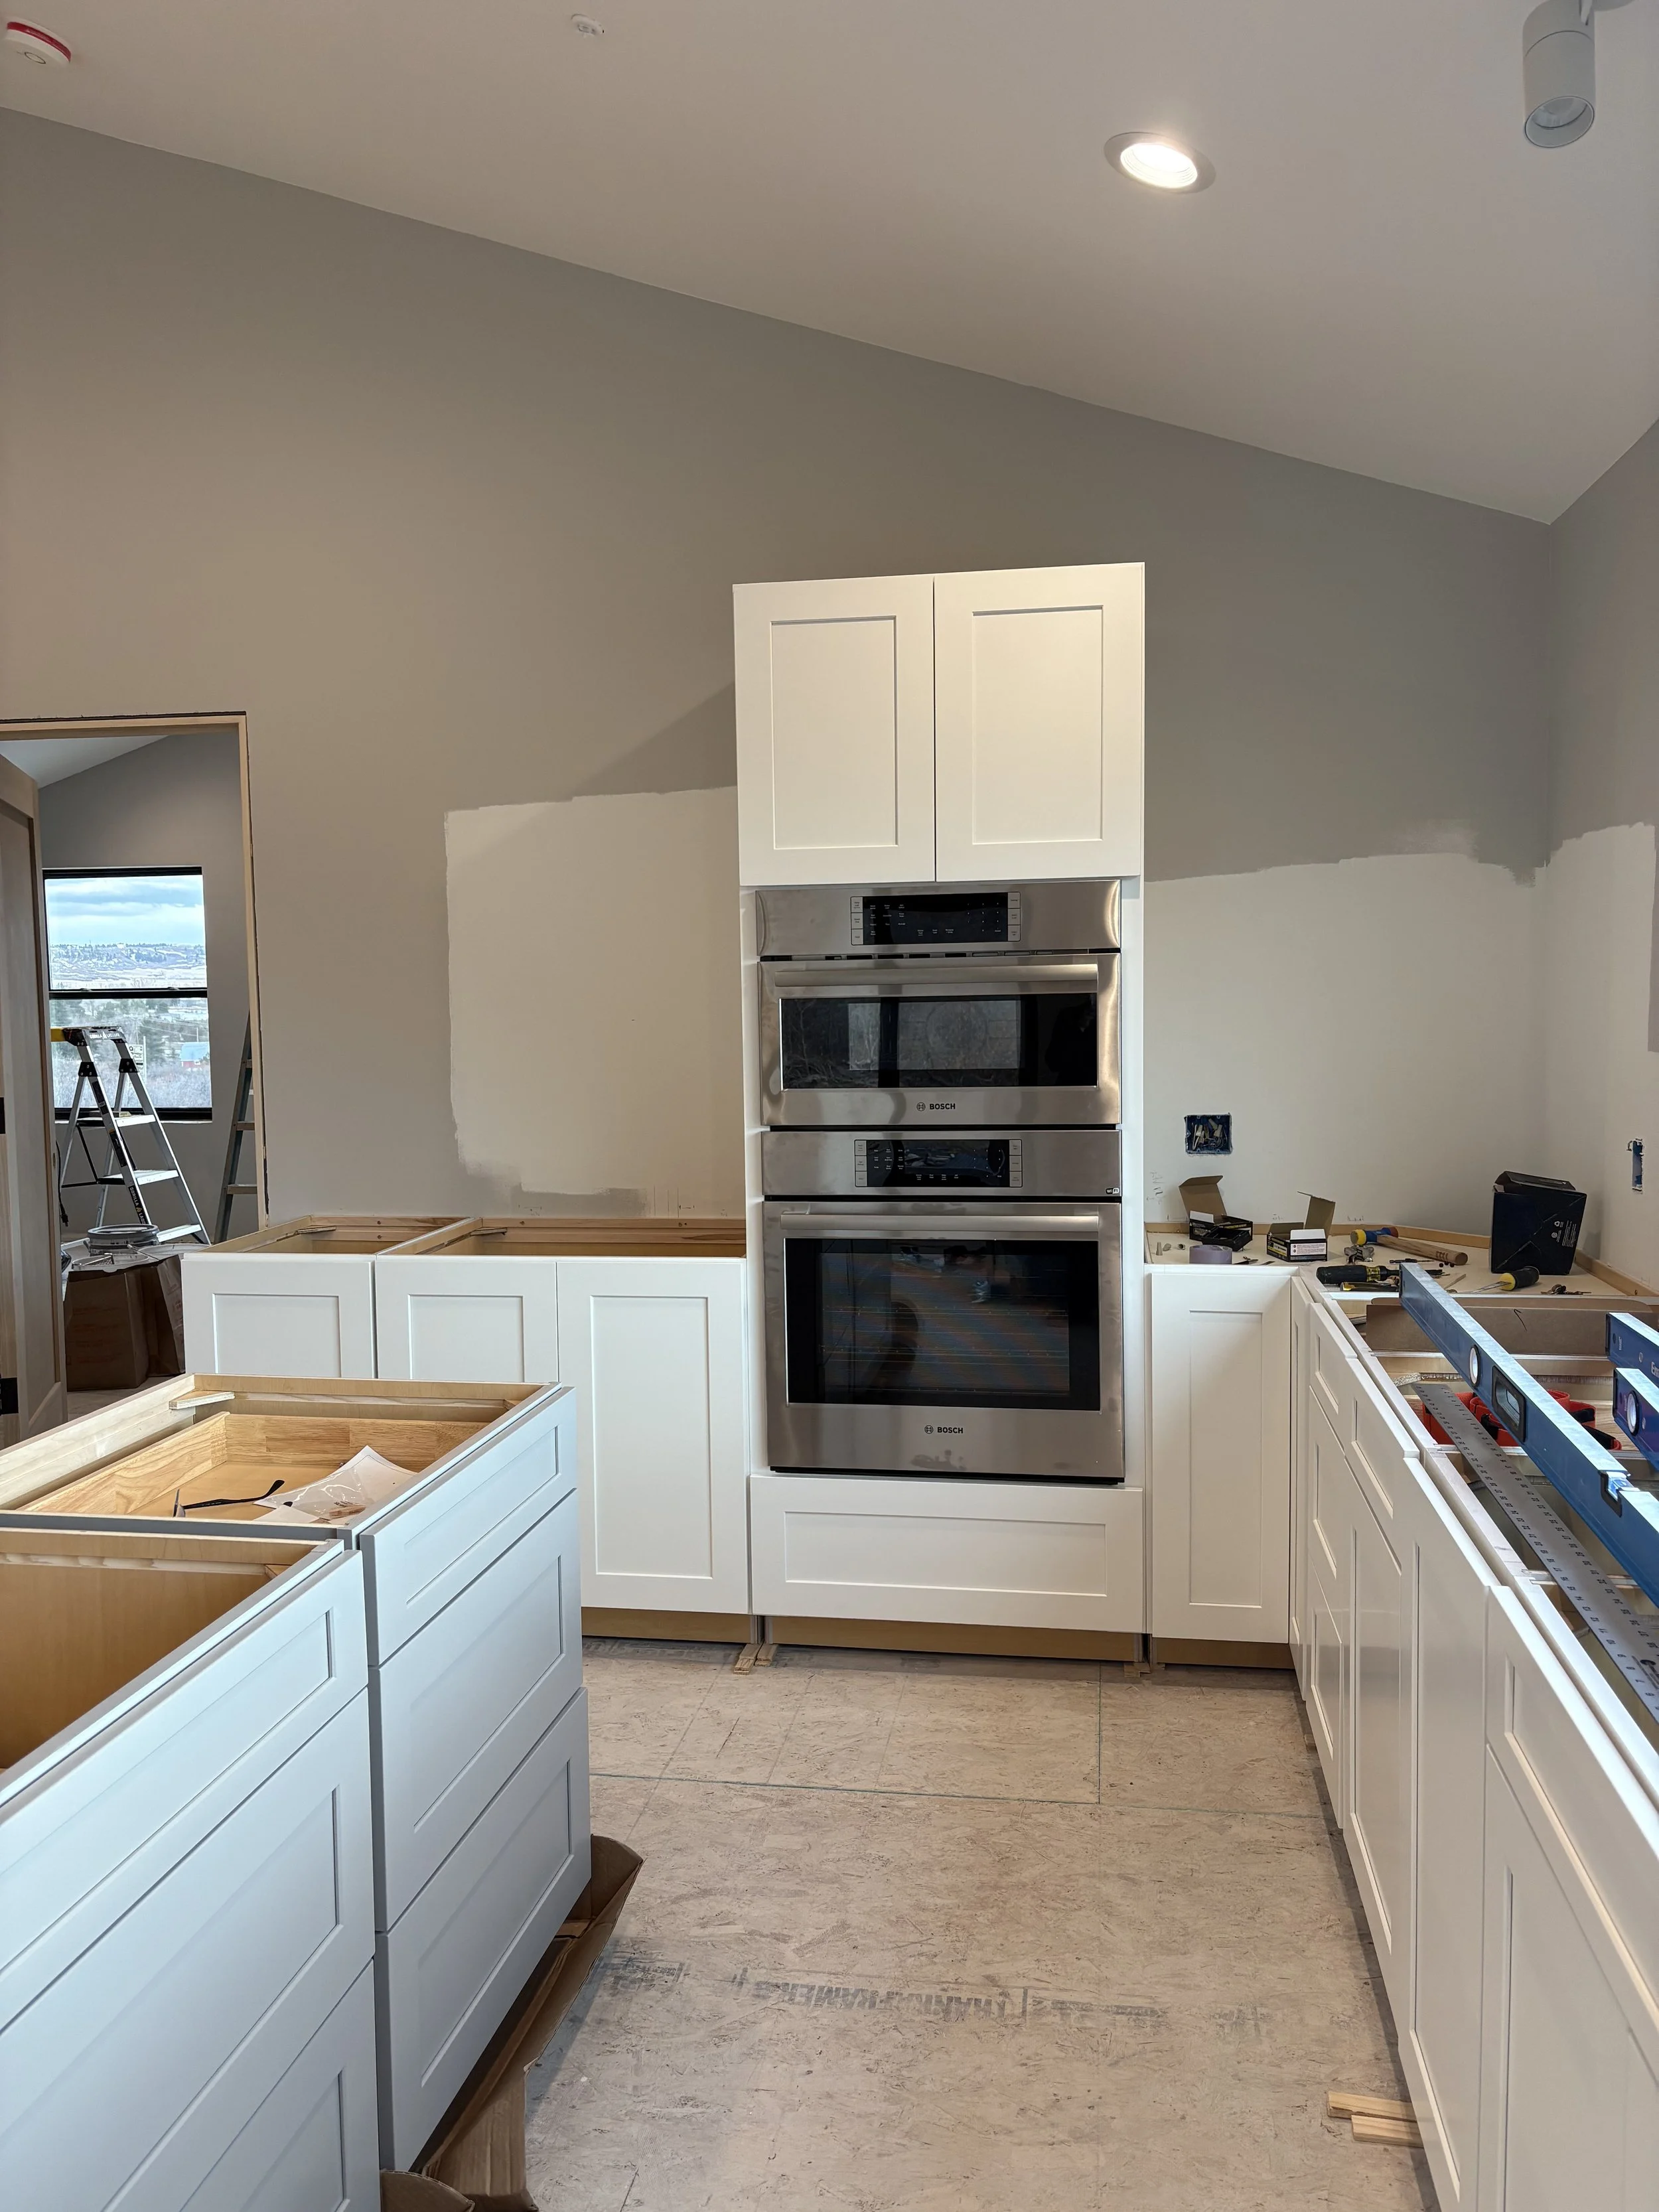
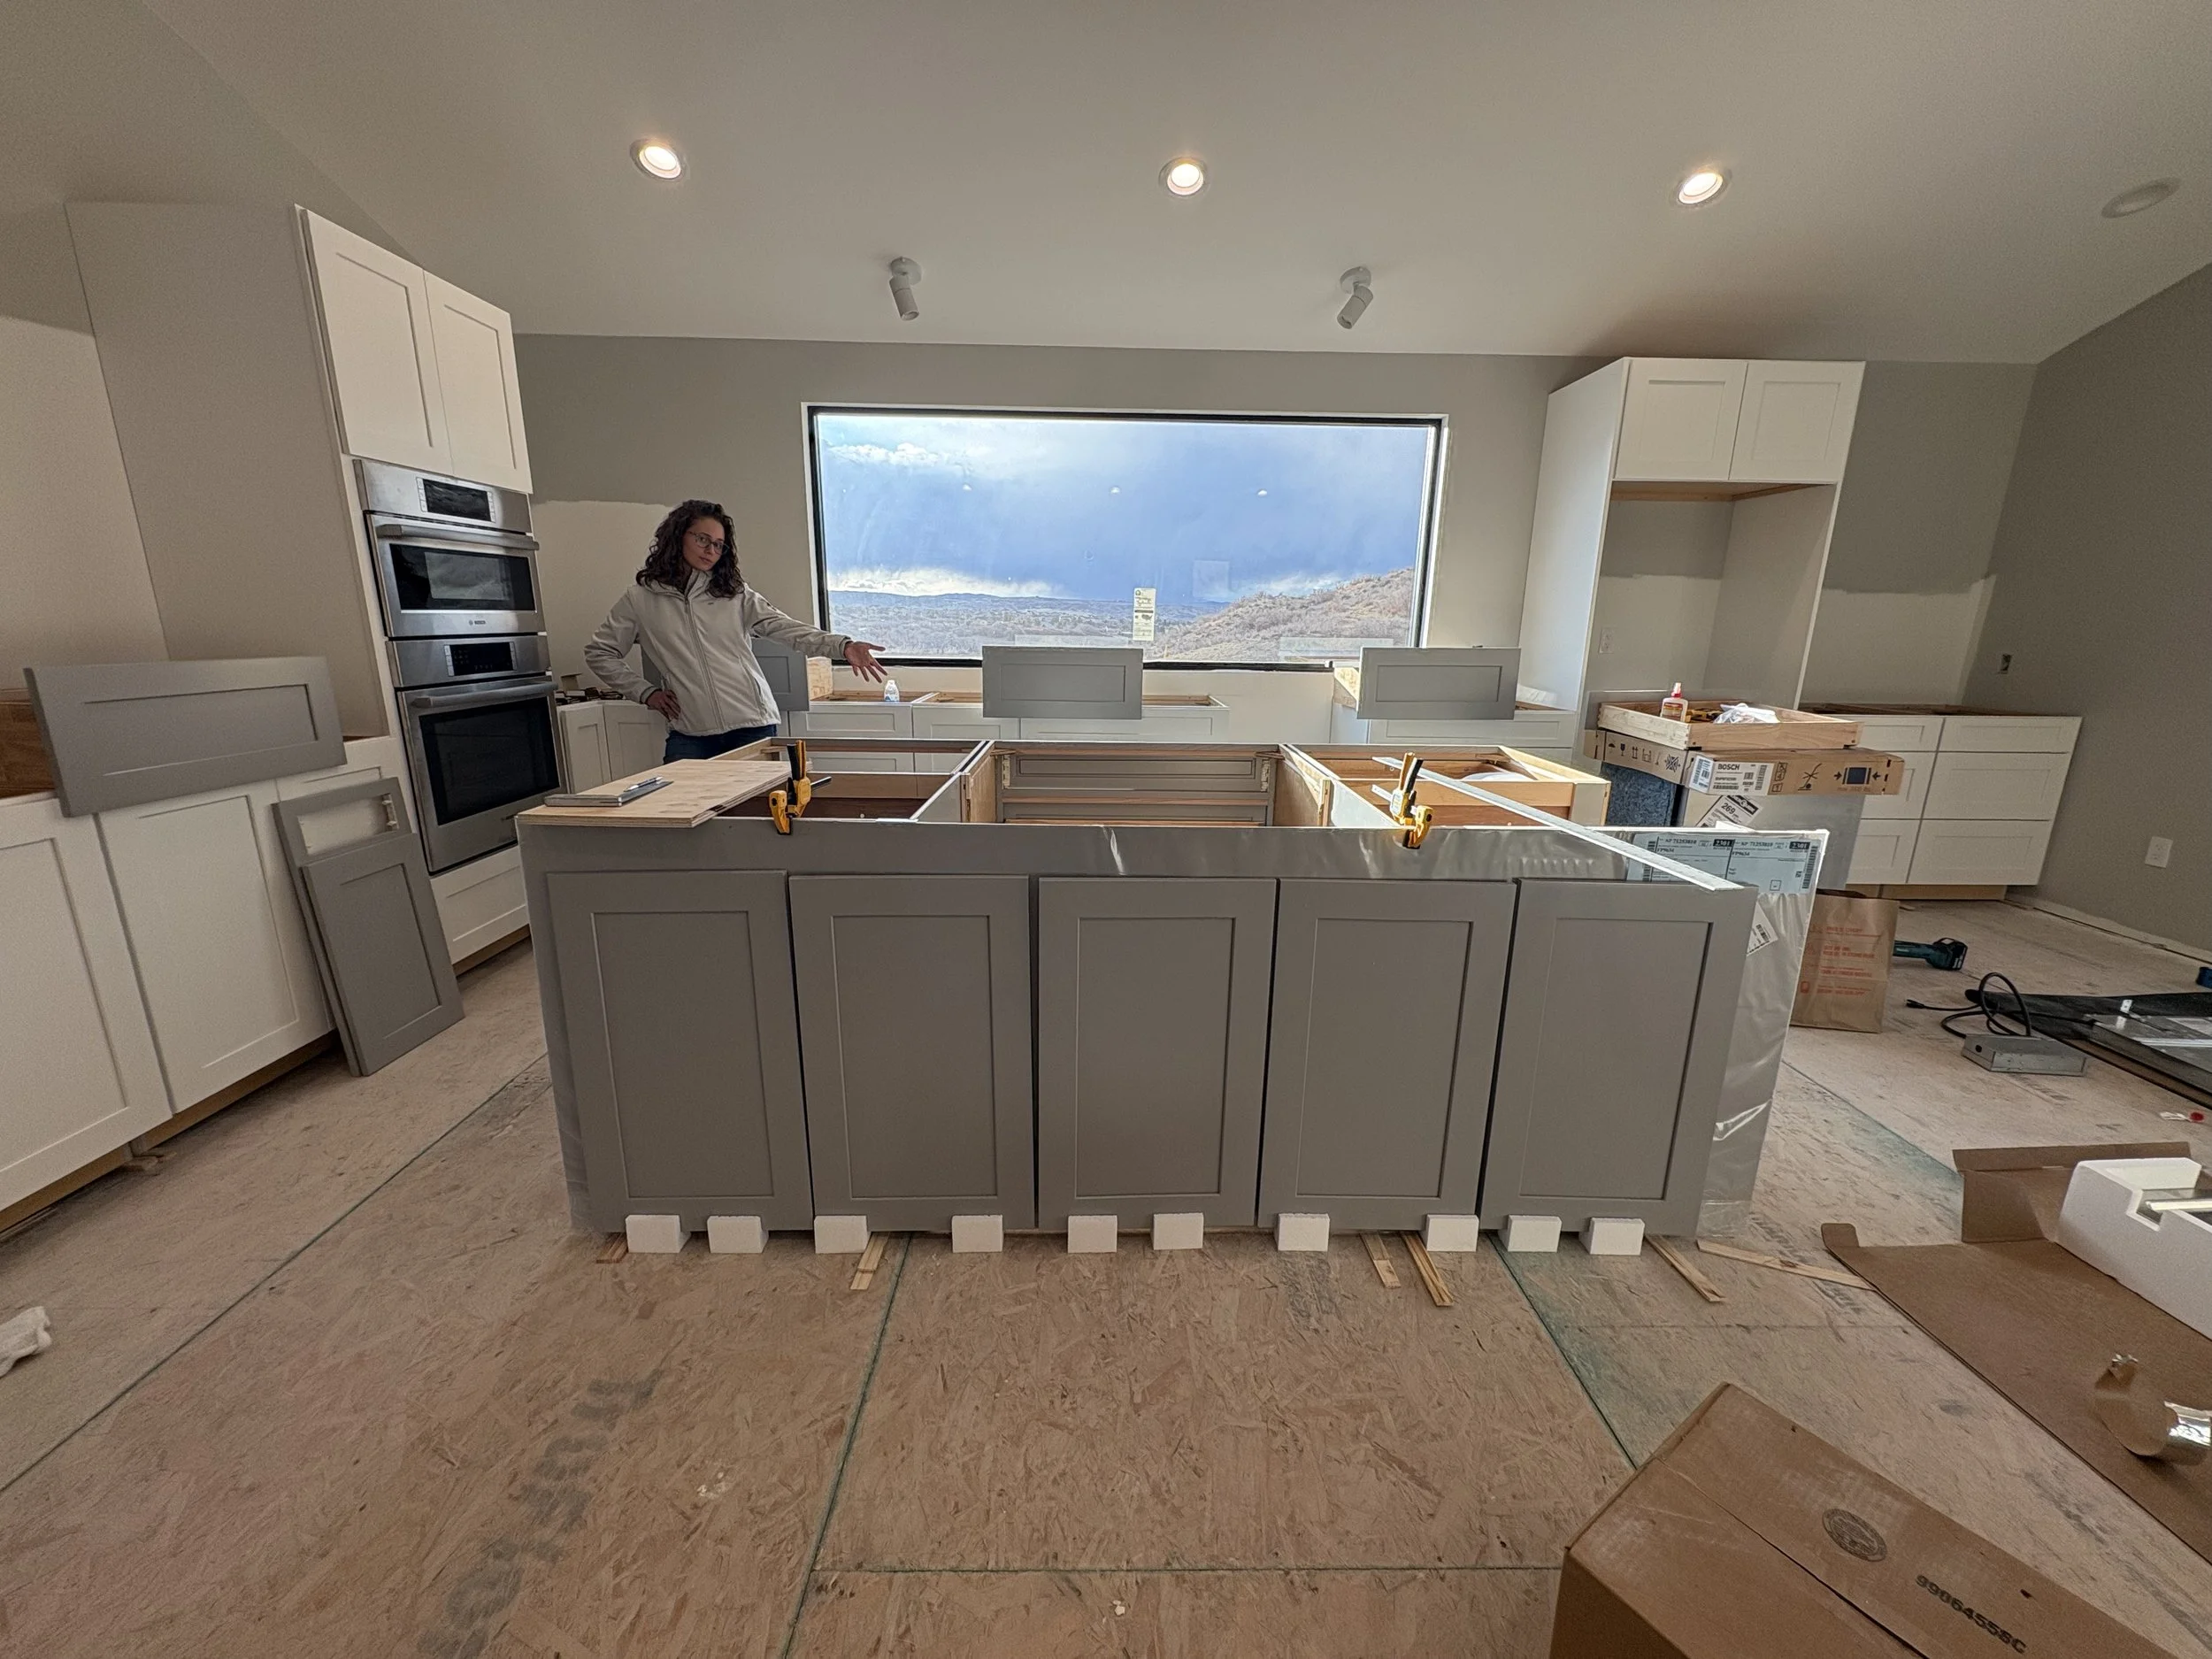
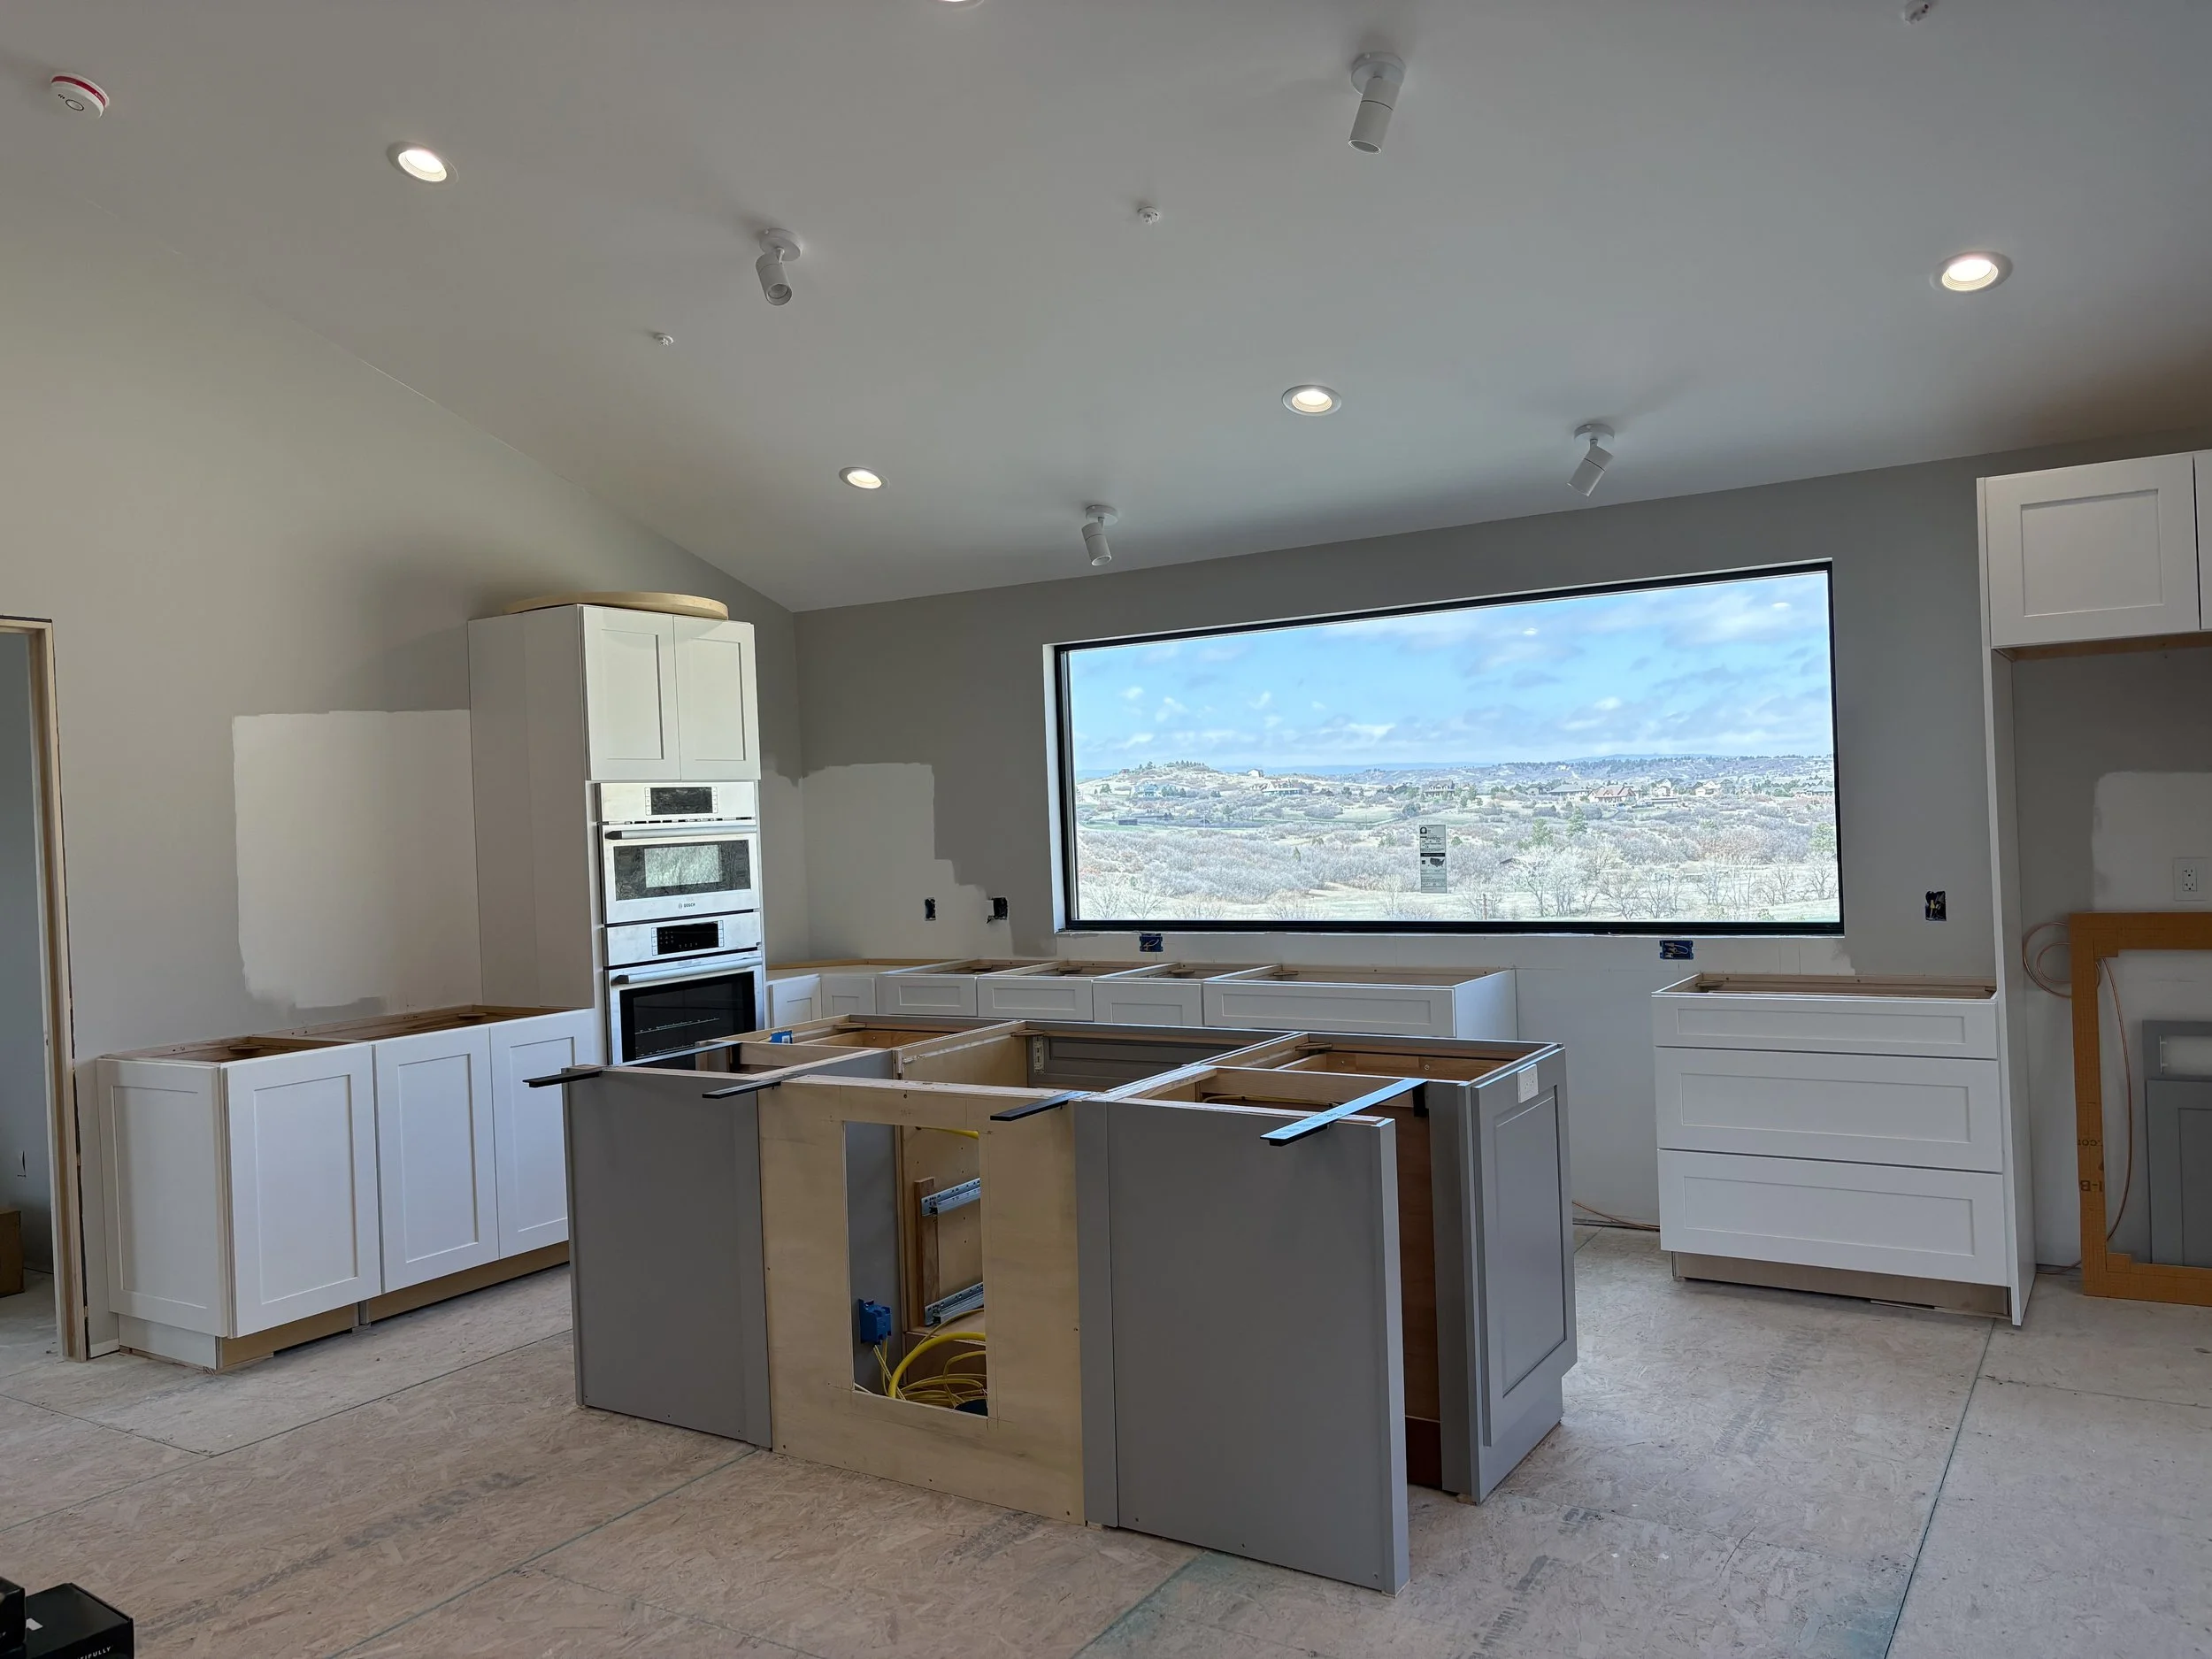
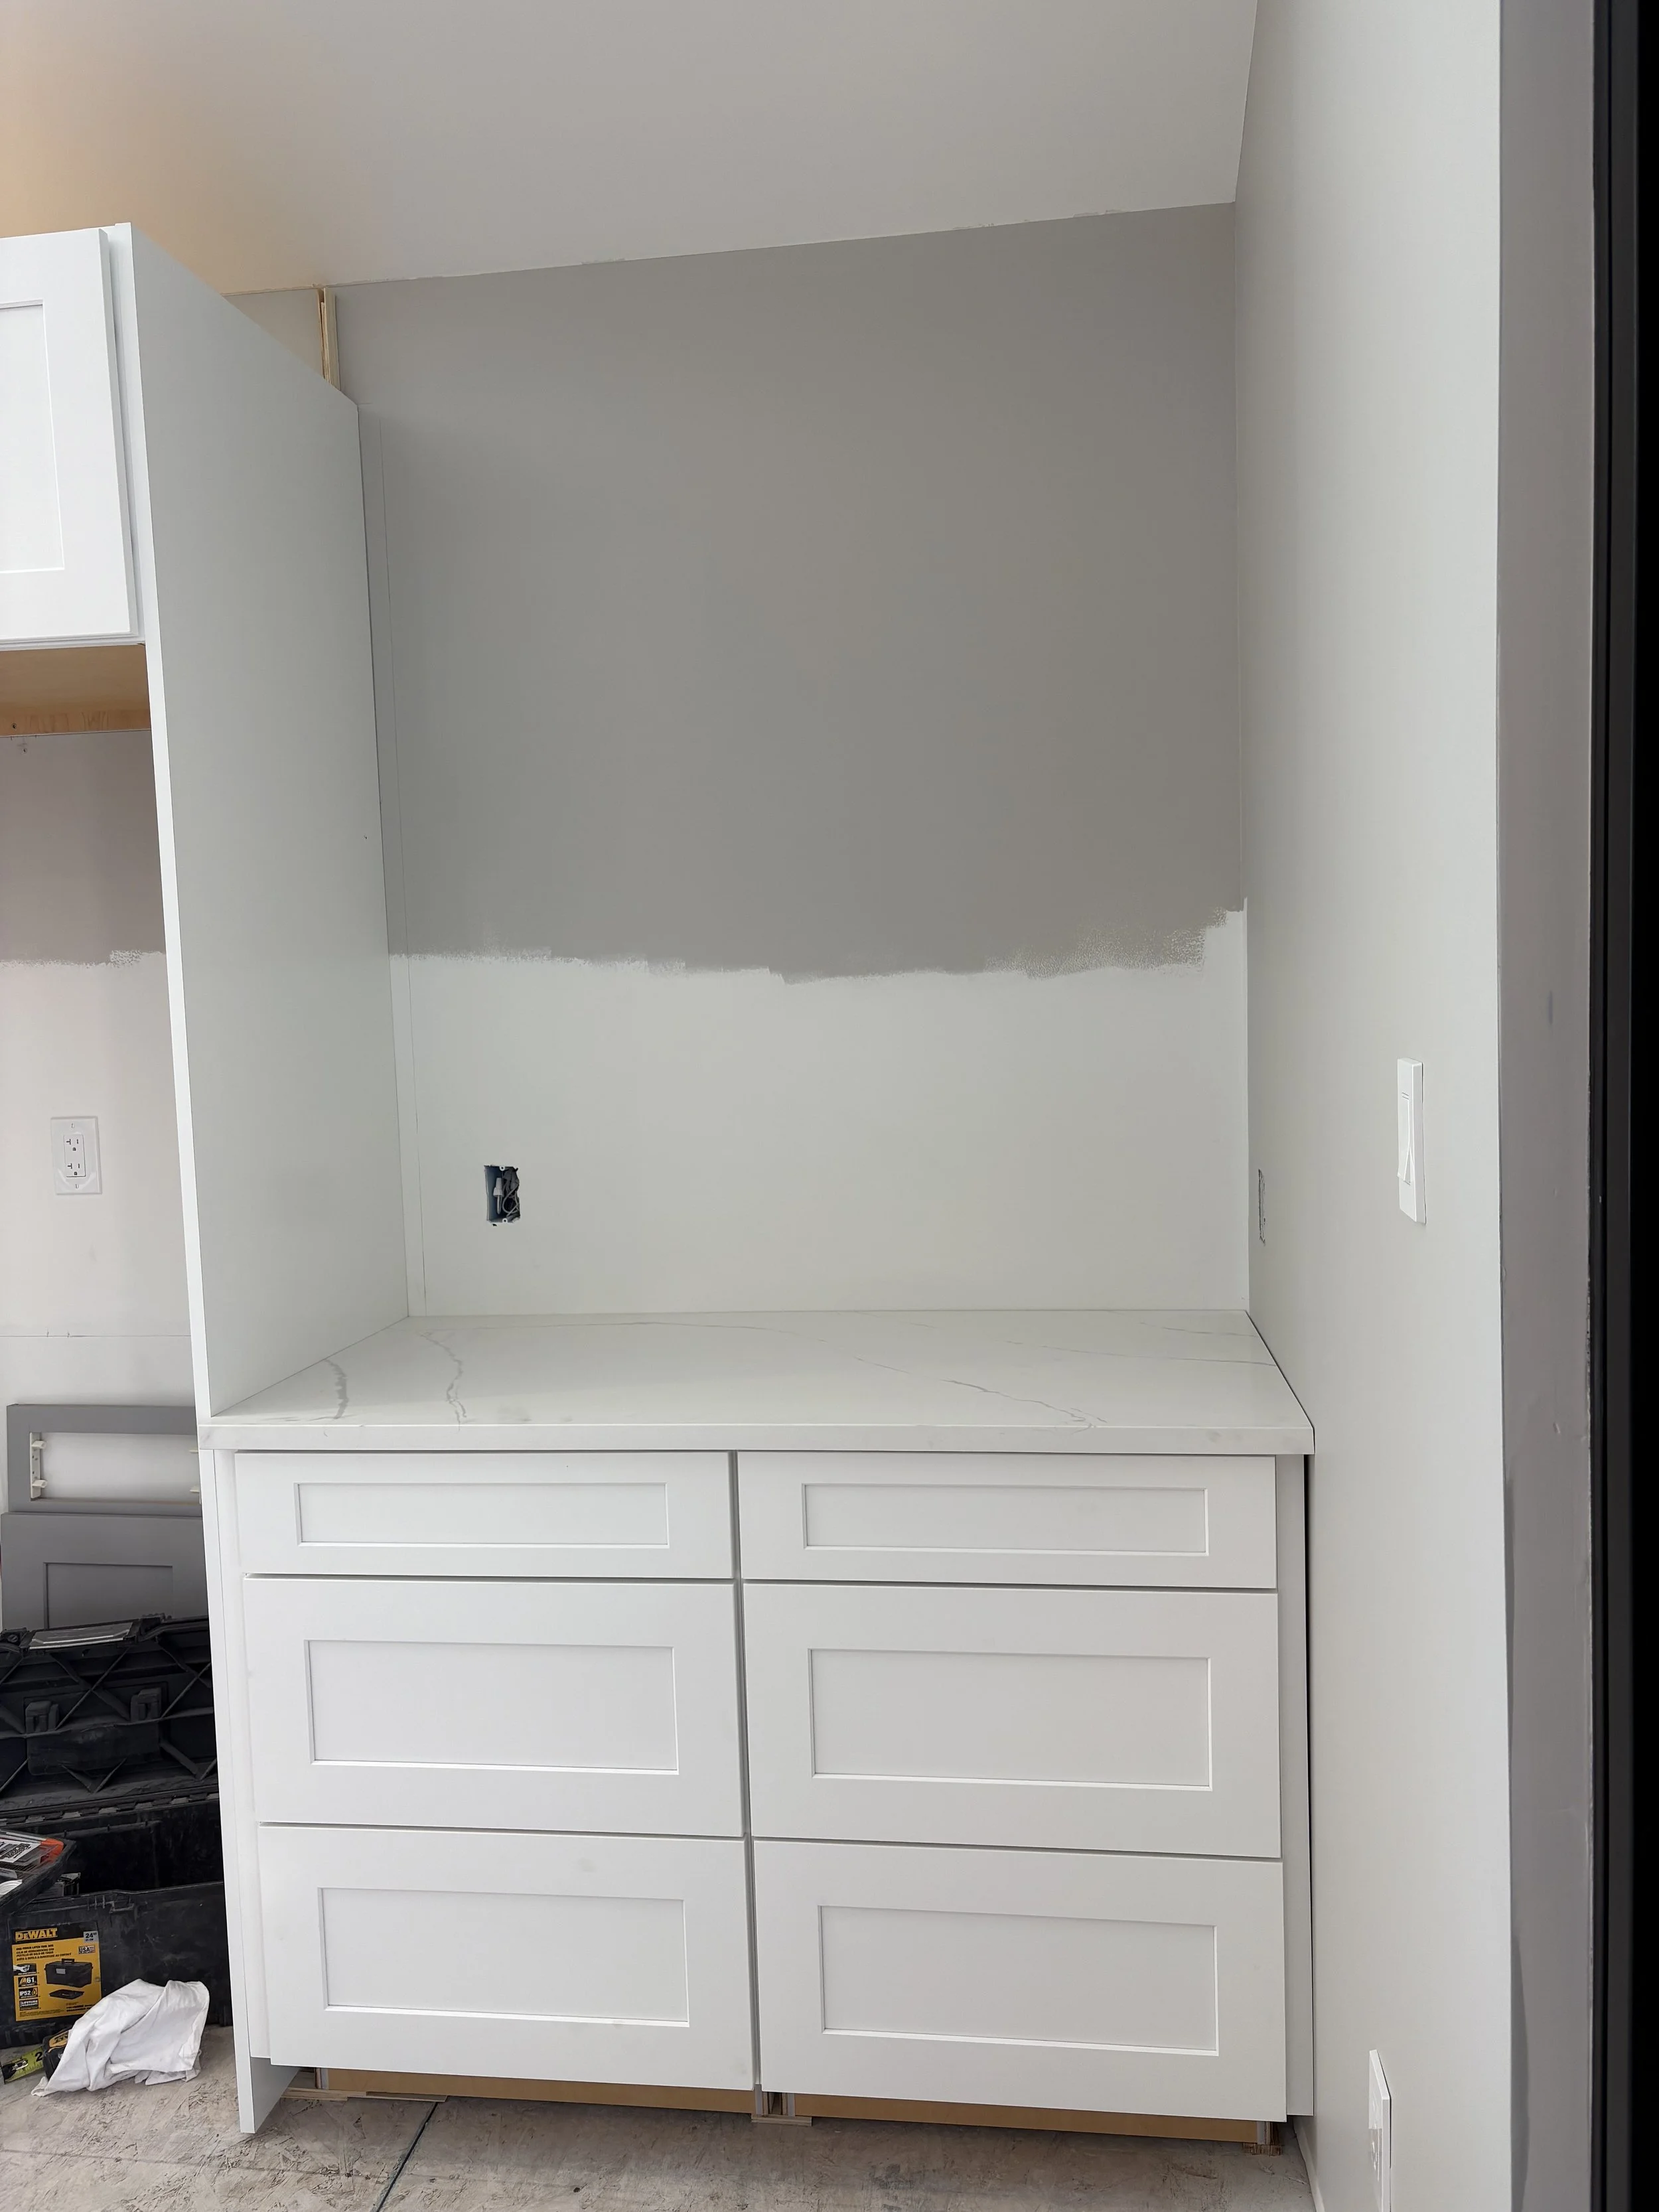
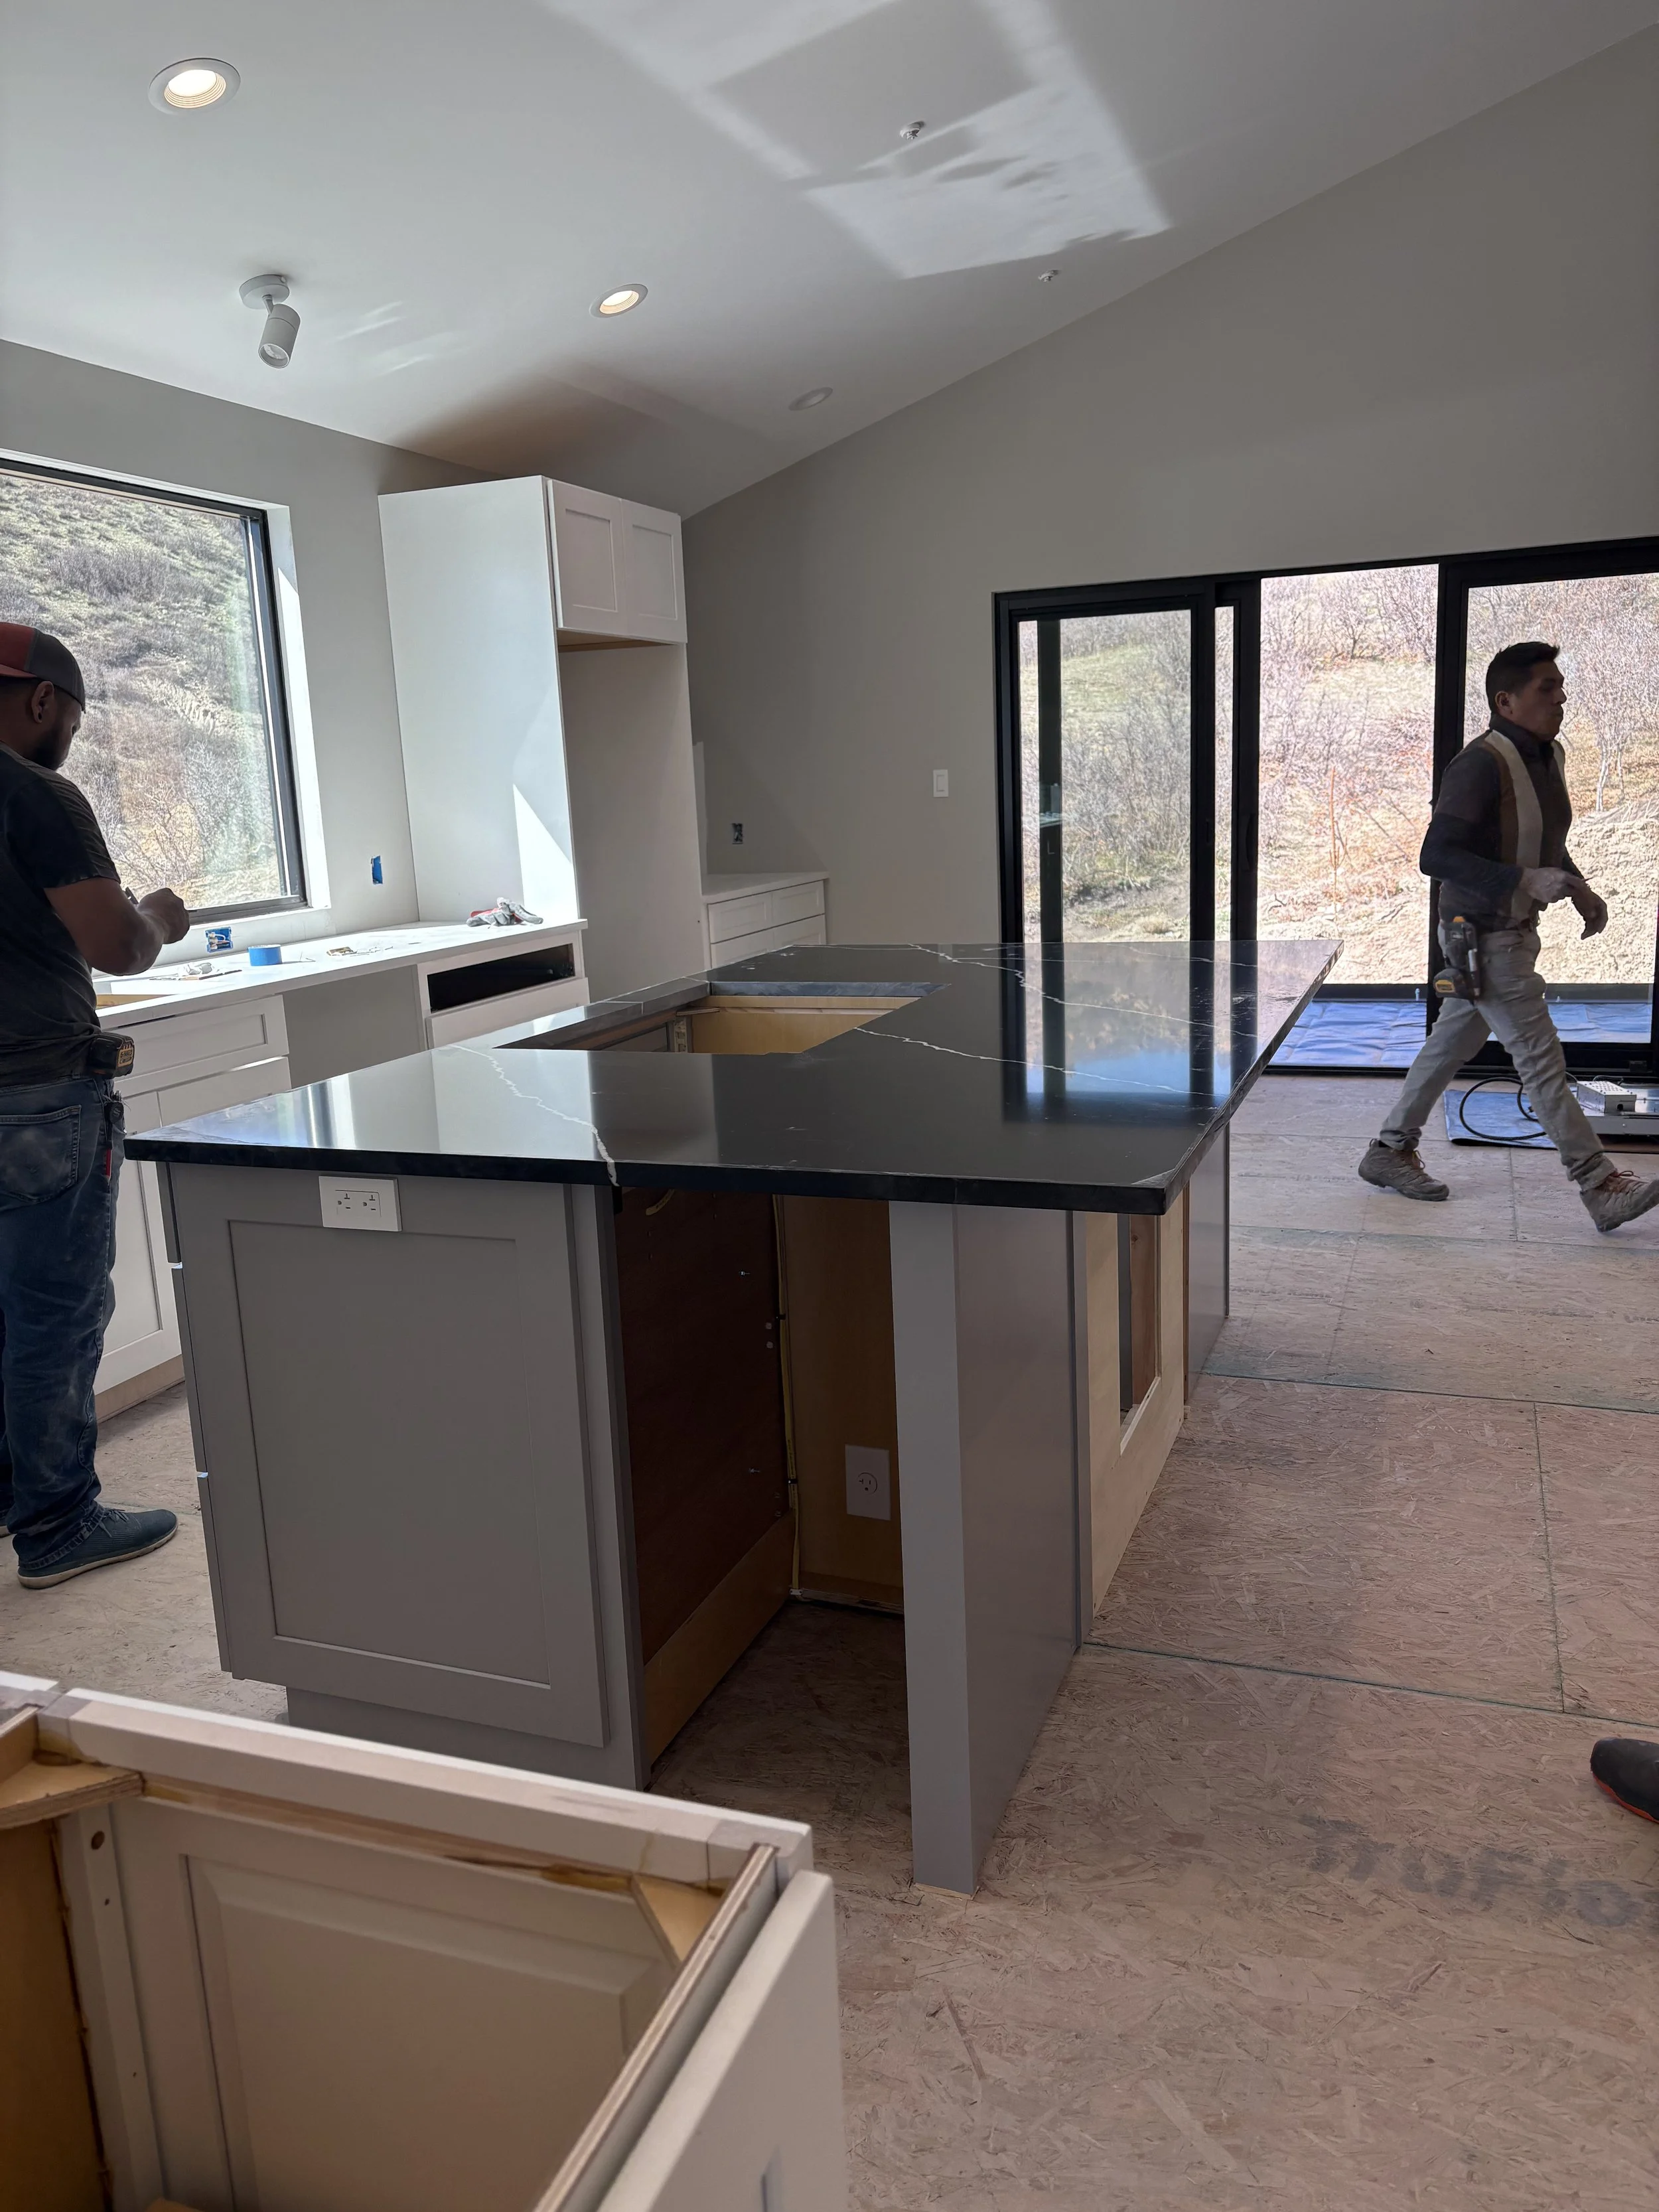
Cabinet Day!! Yikes!! Just a tad overwhelming.
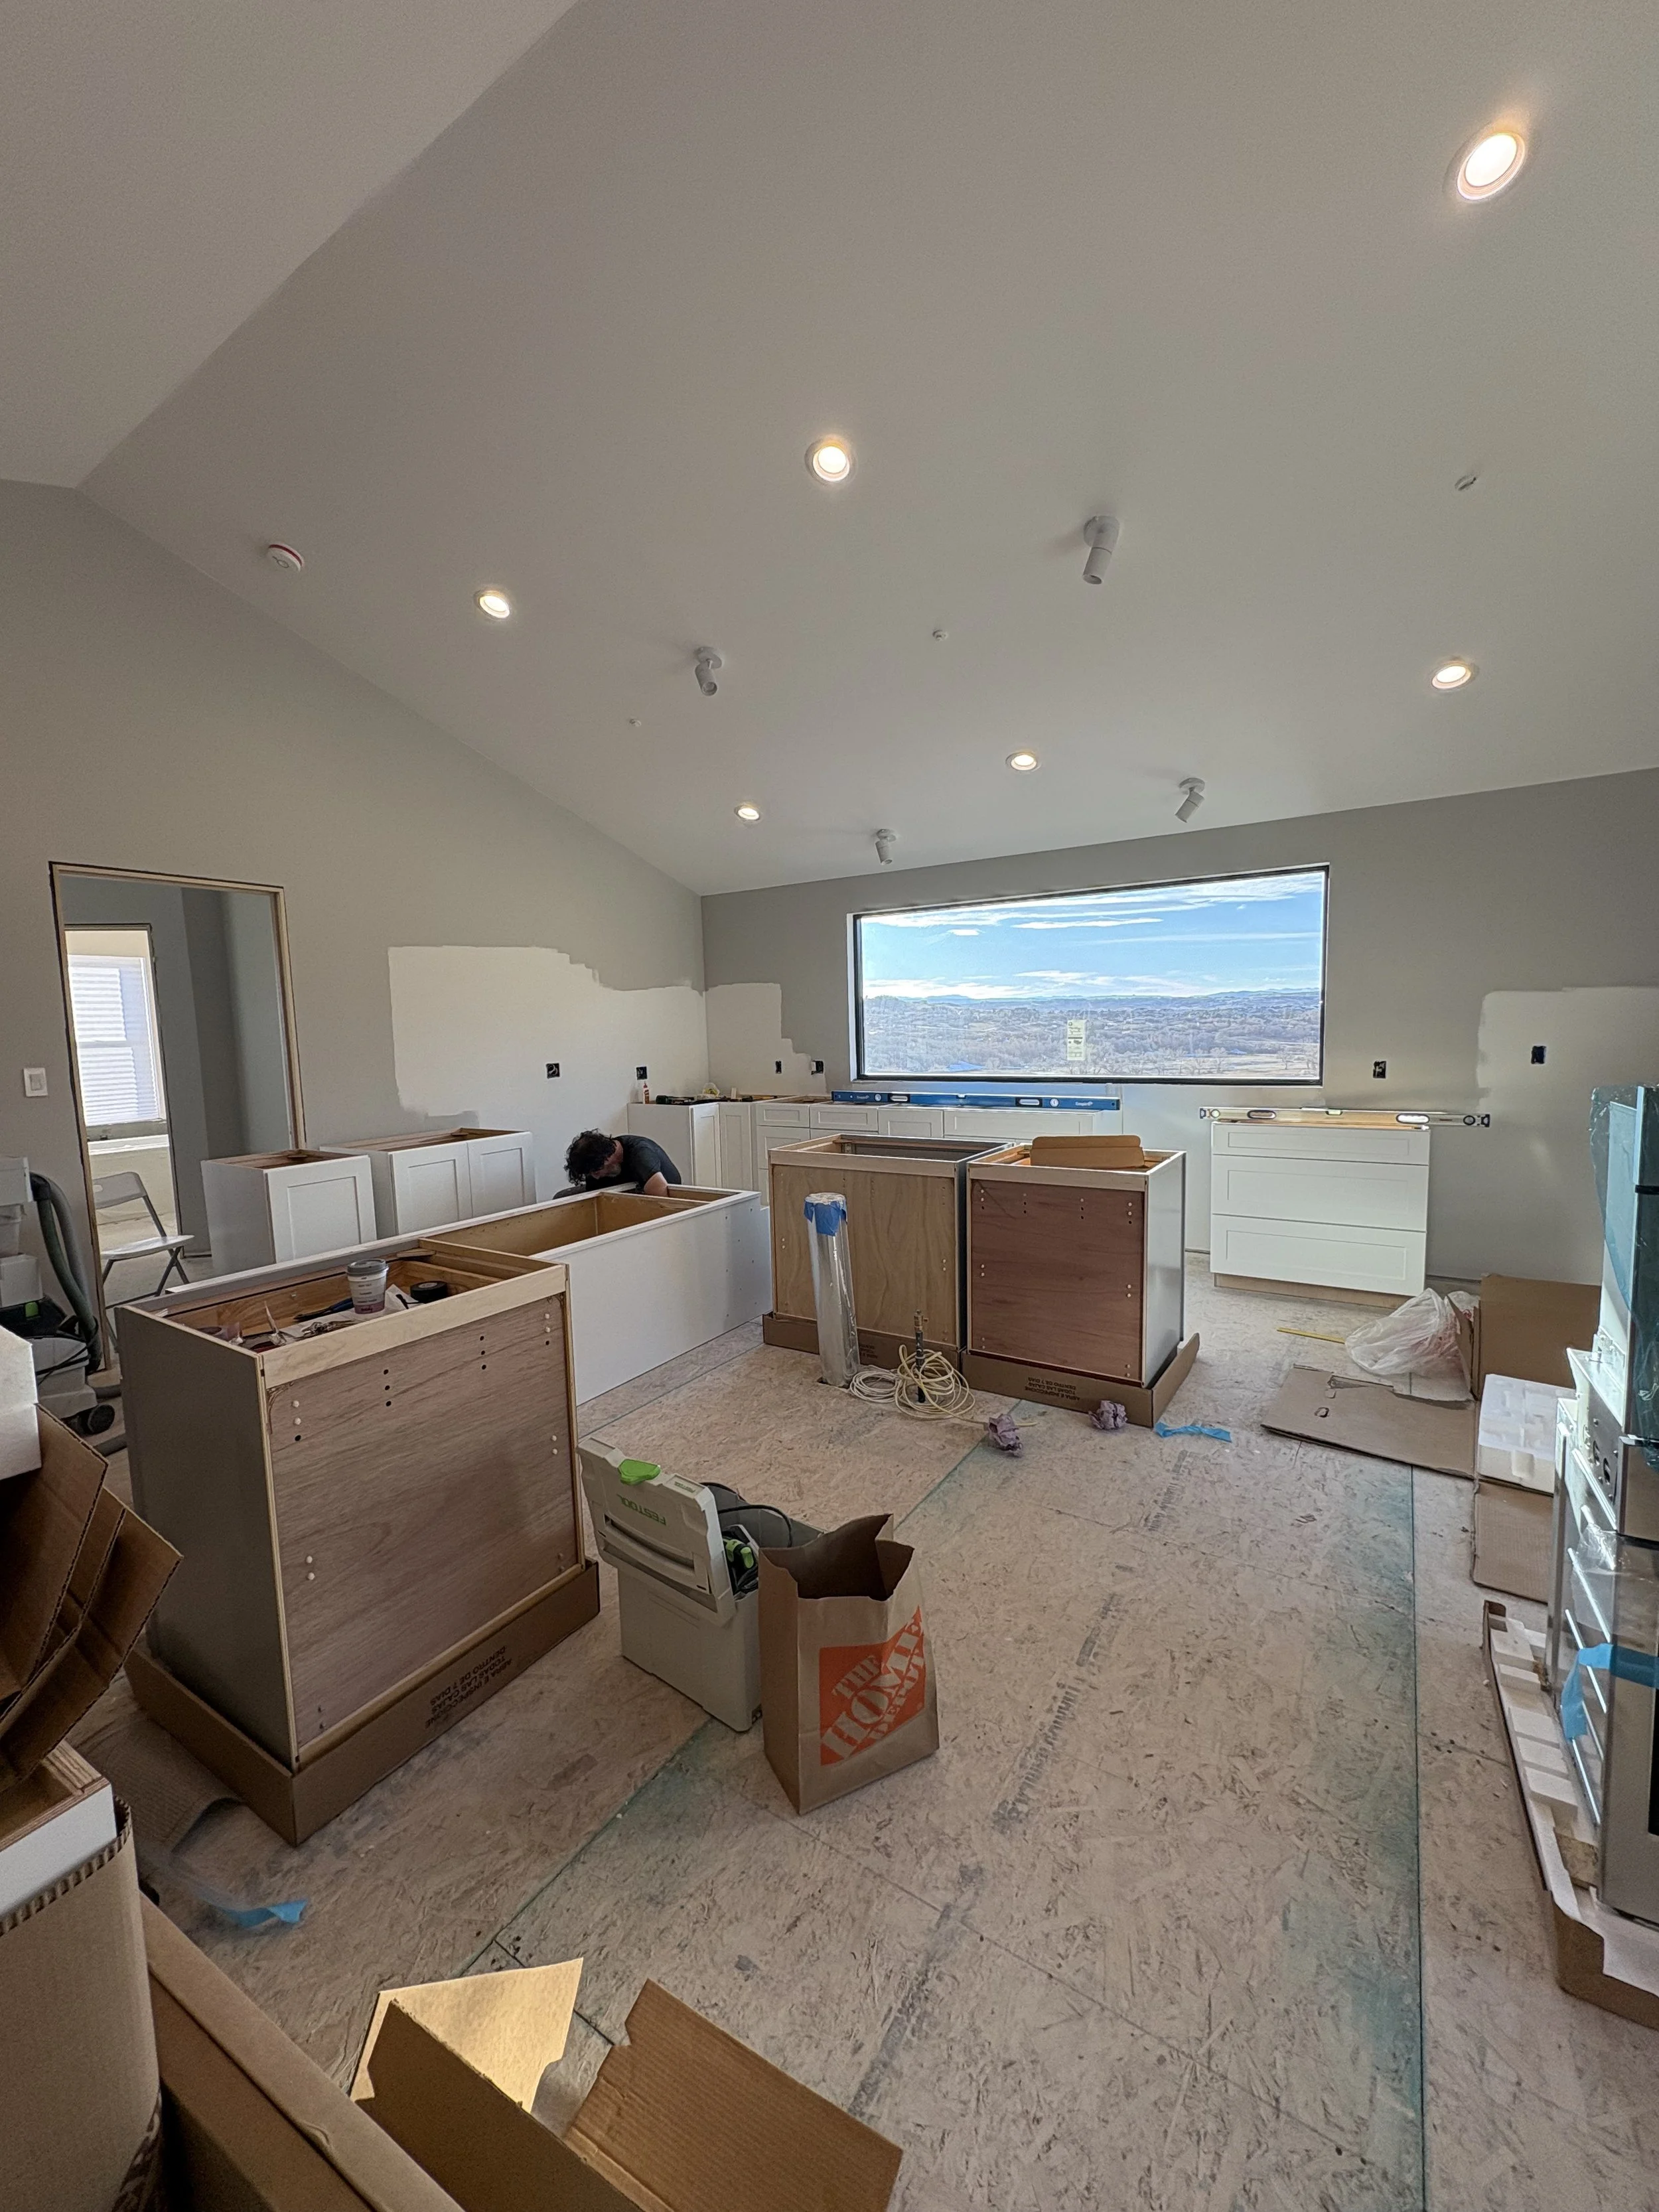
After Kris lugged all the boxes inside, the unboxing began!
One cabinet at a time, the kitchen begins to take shape.
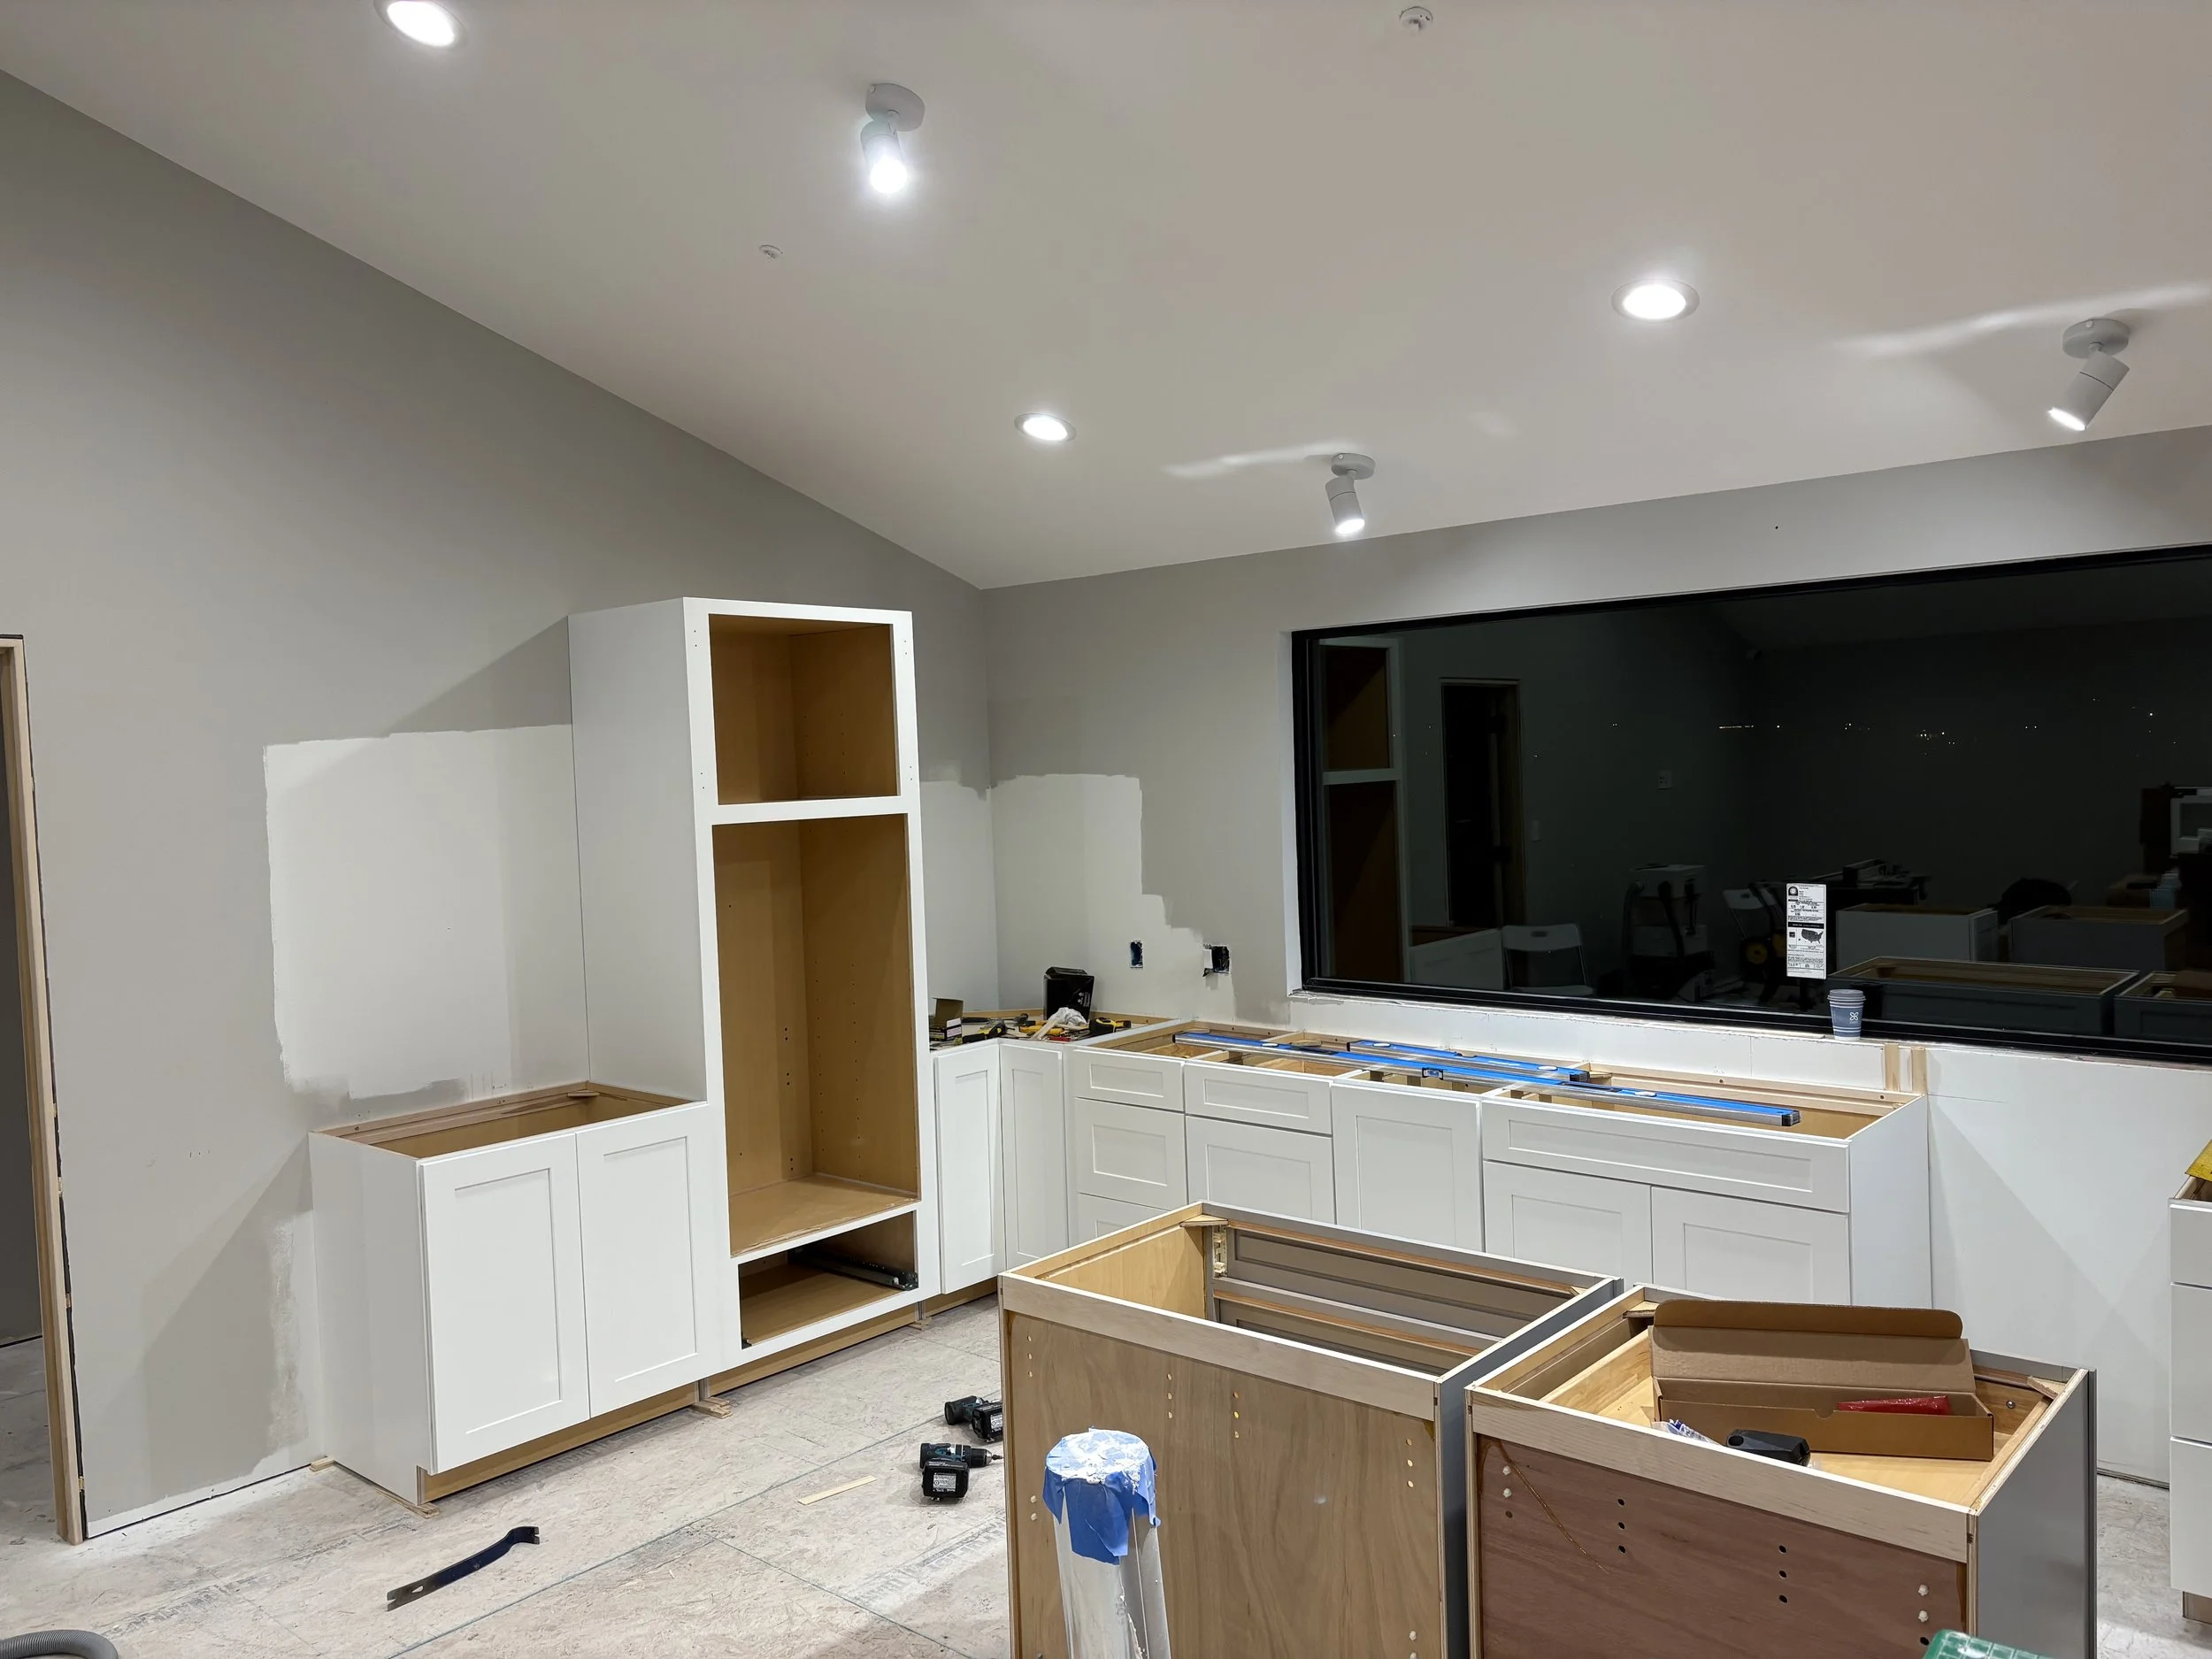
This tall cabinet is for the oven.

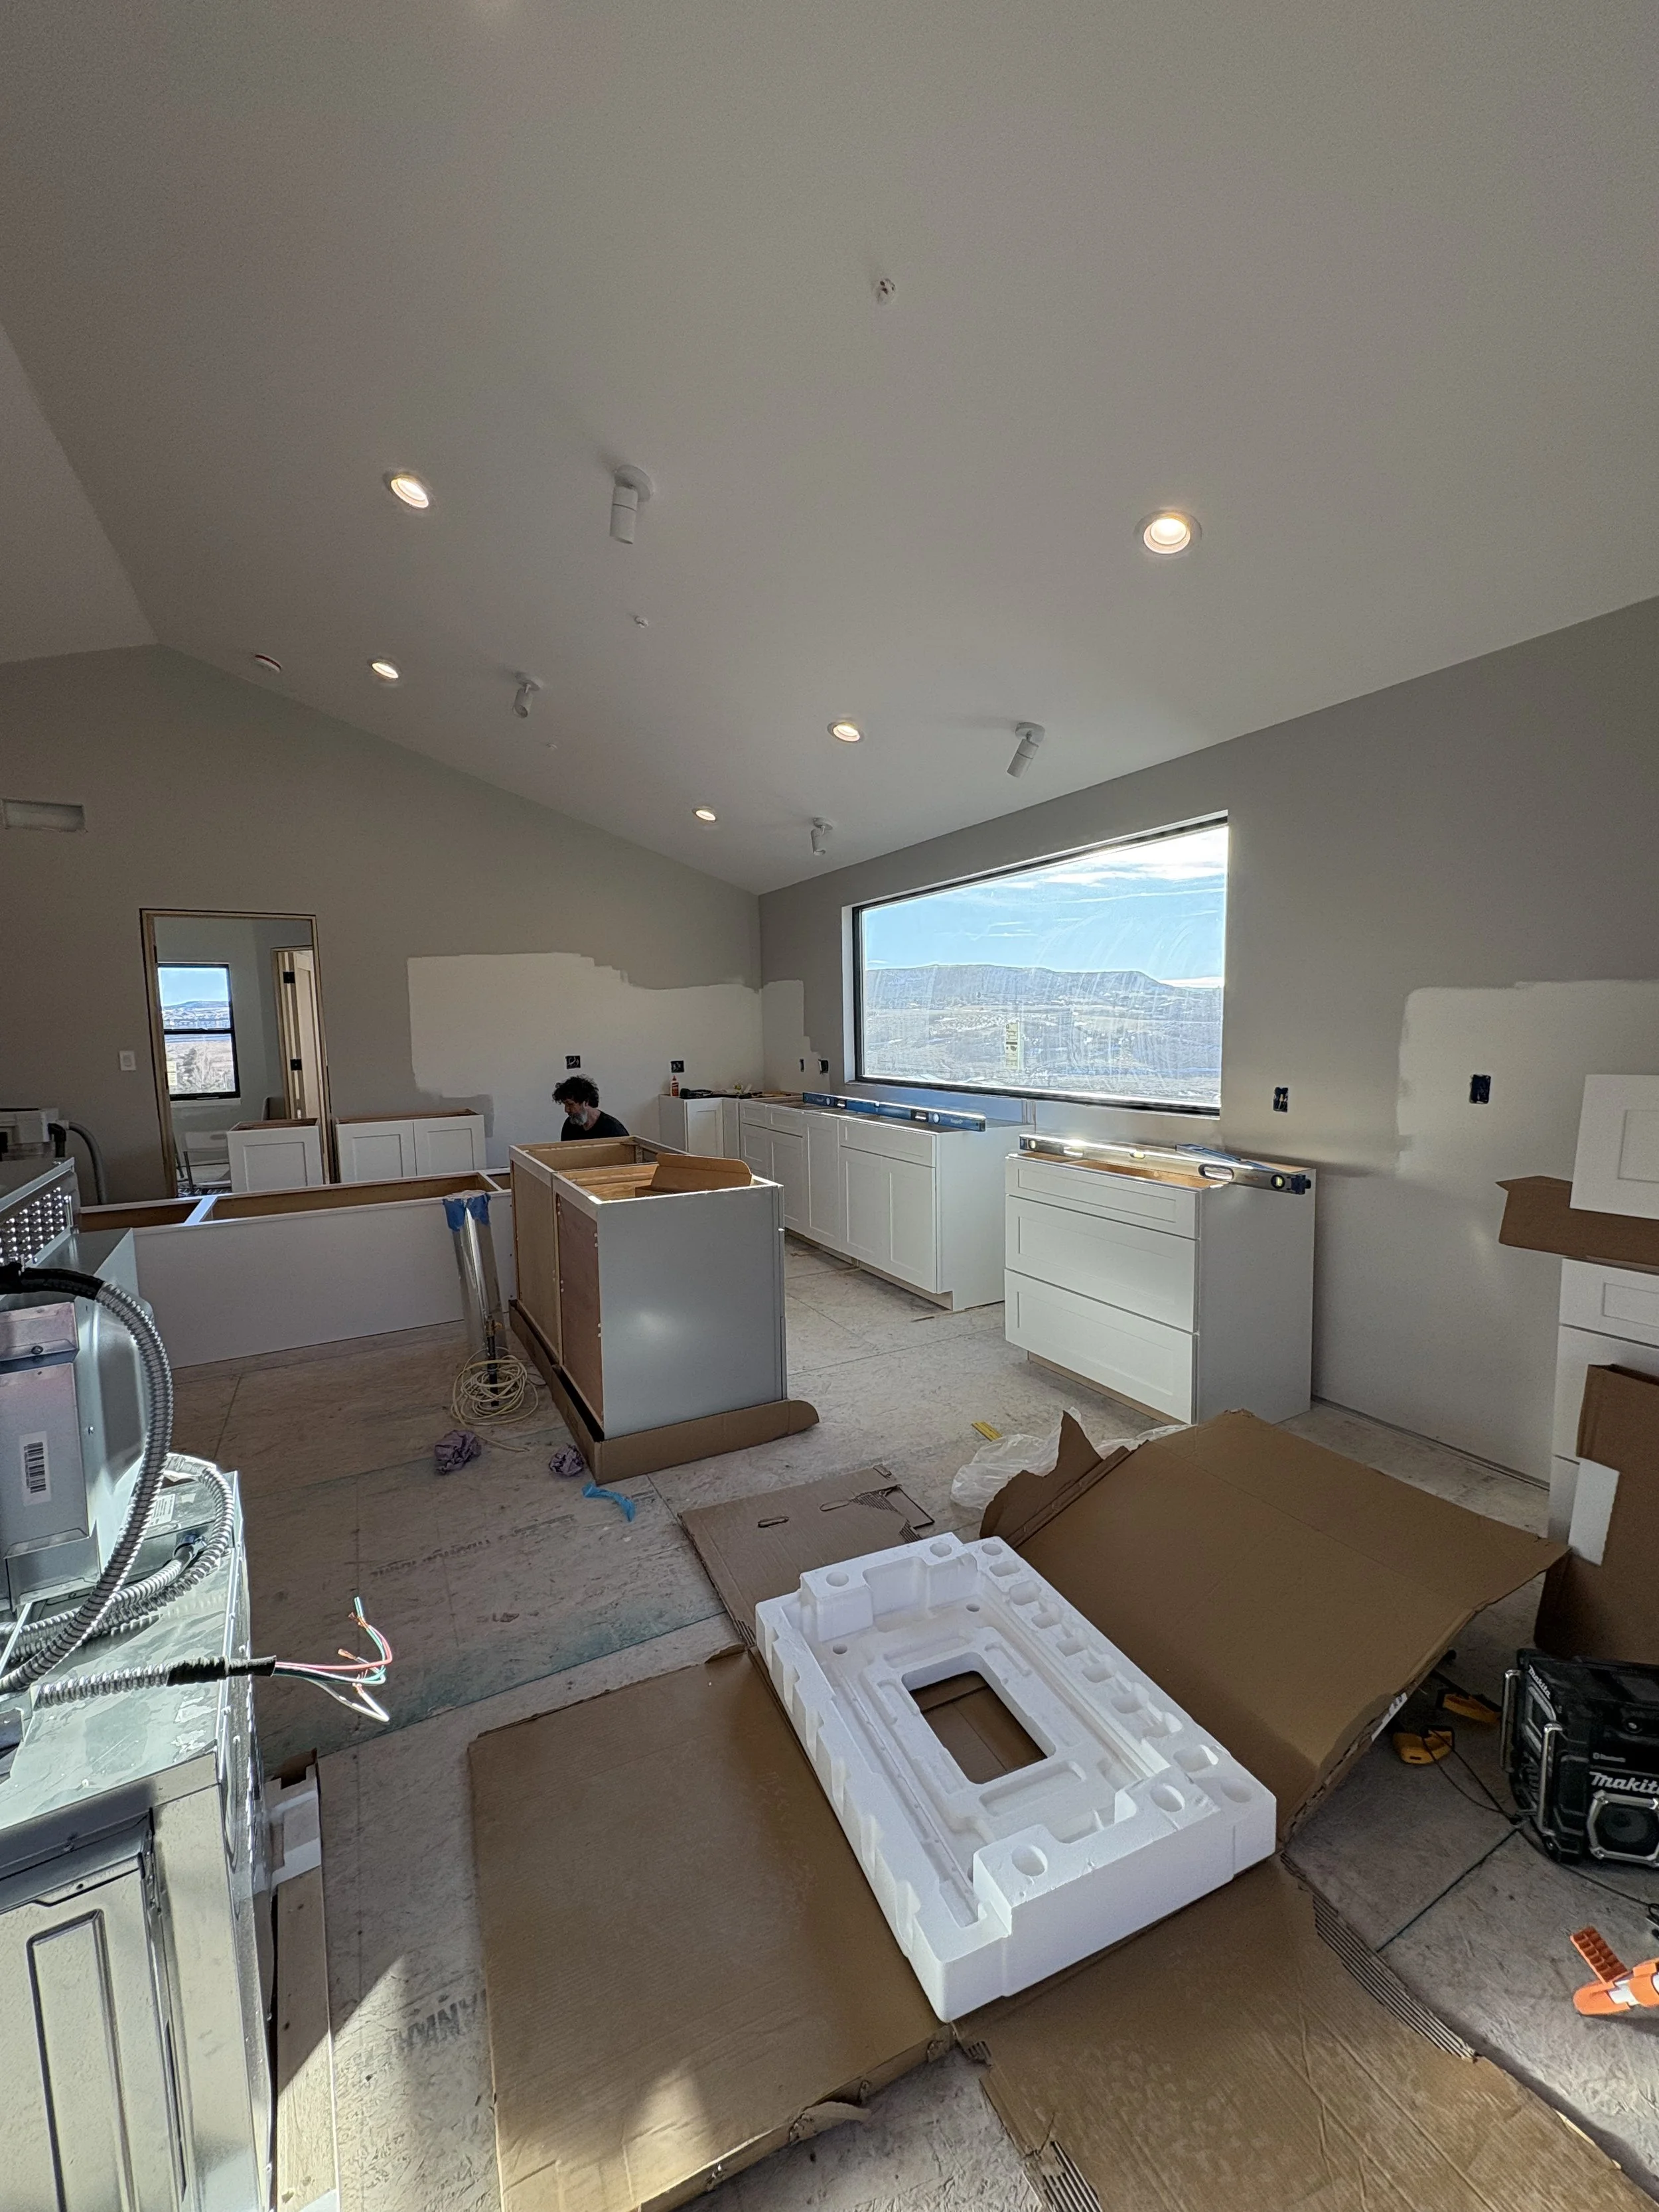
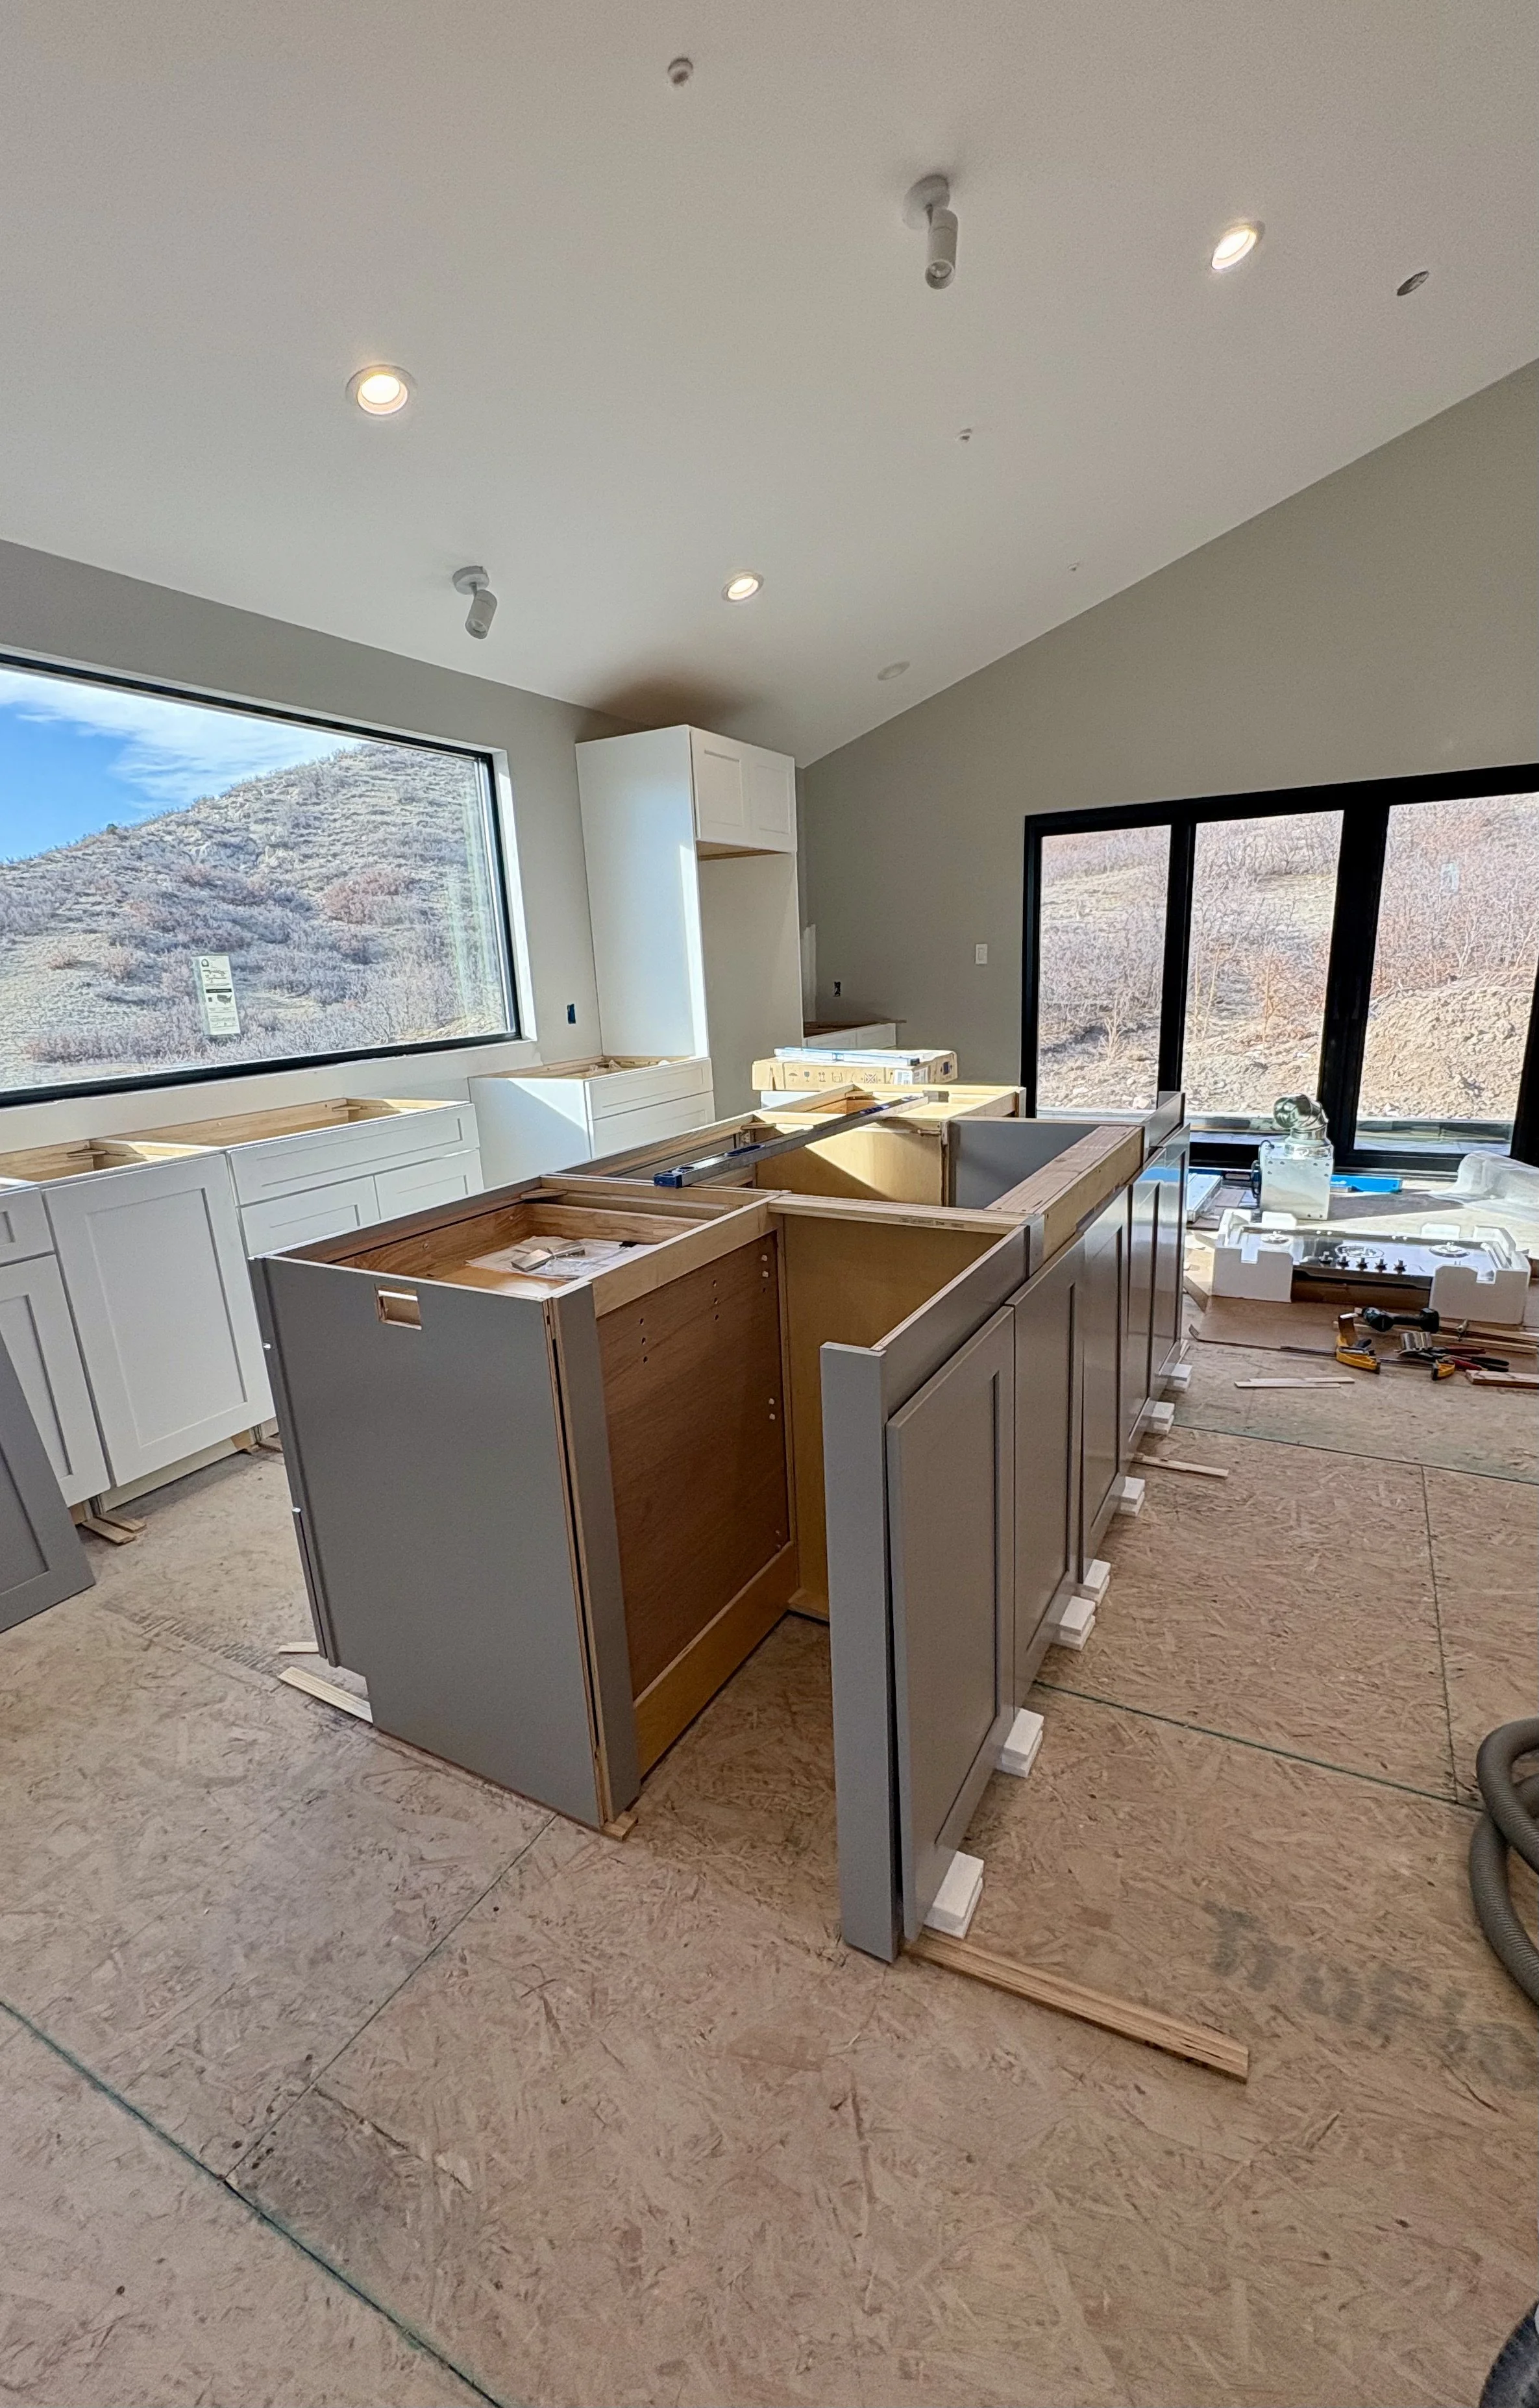
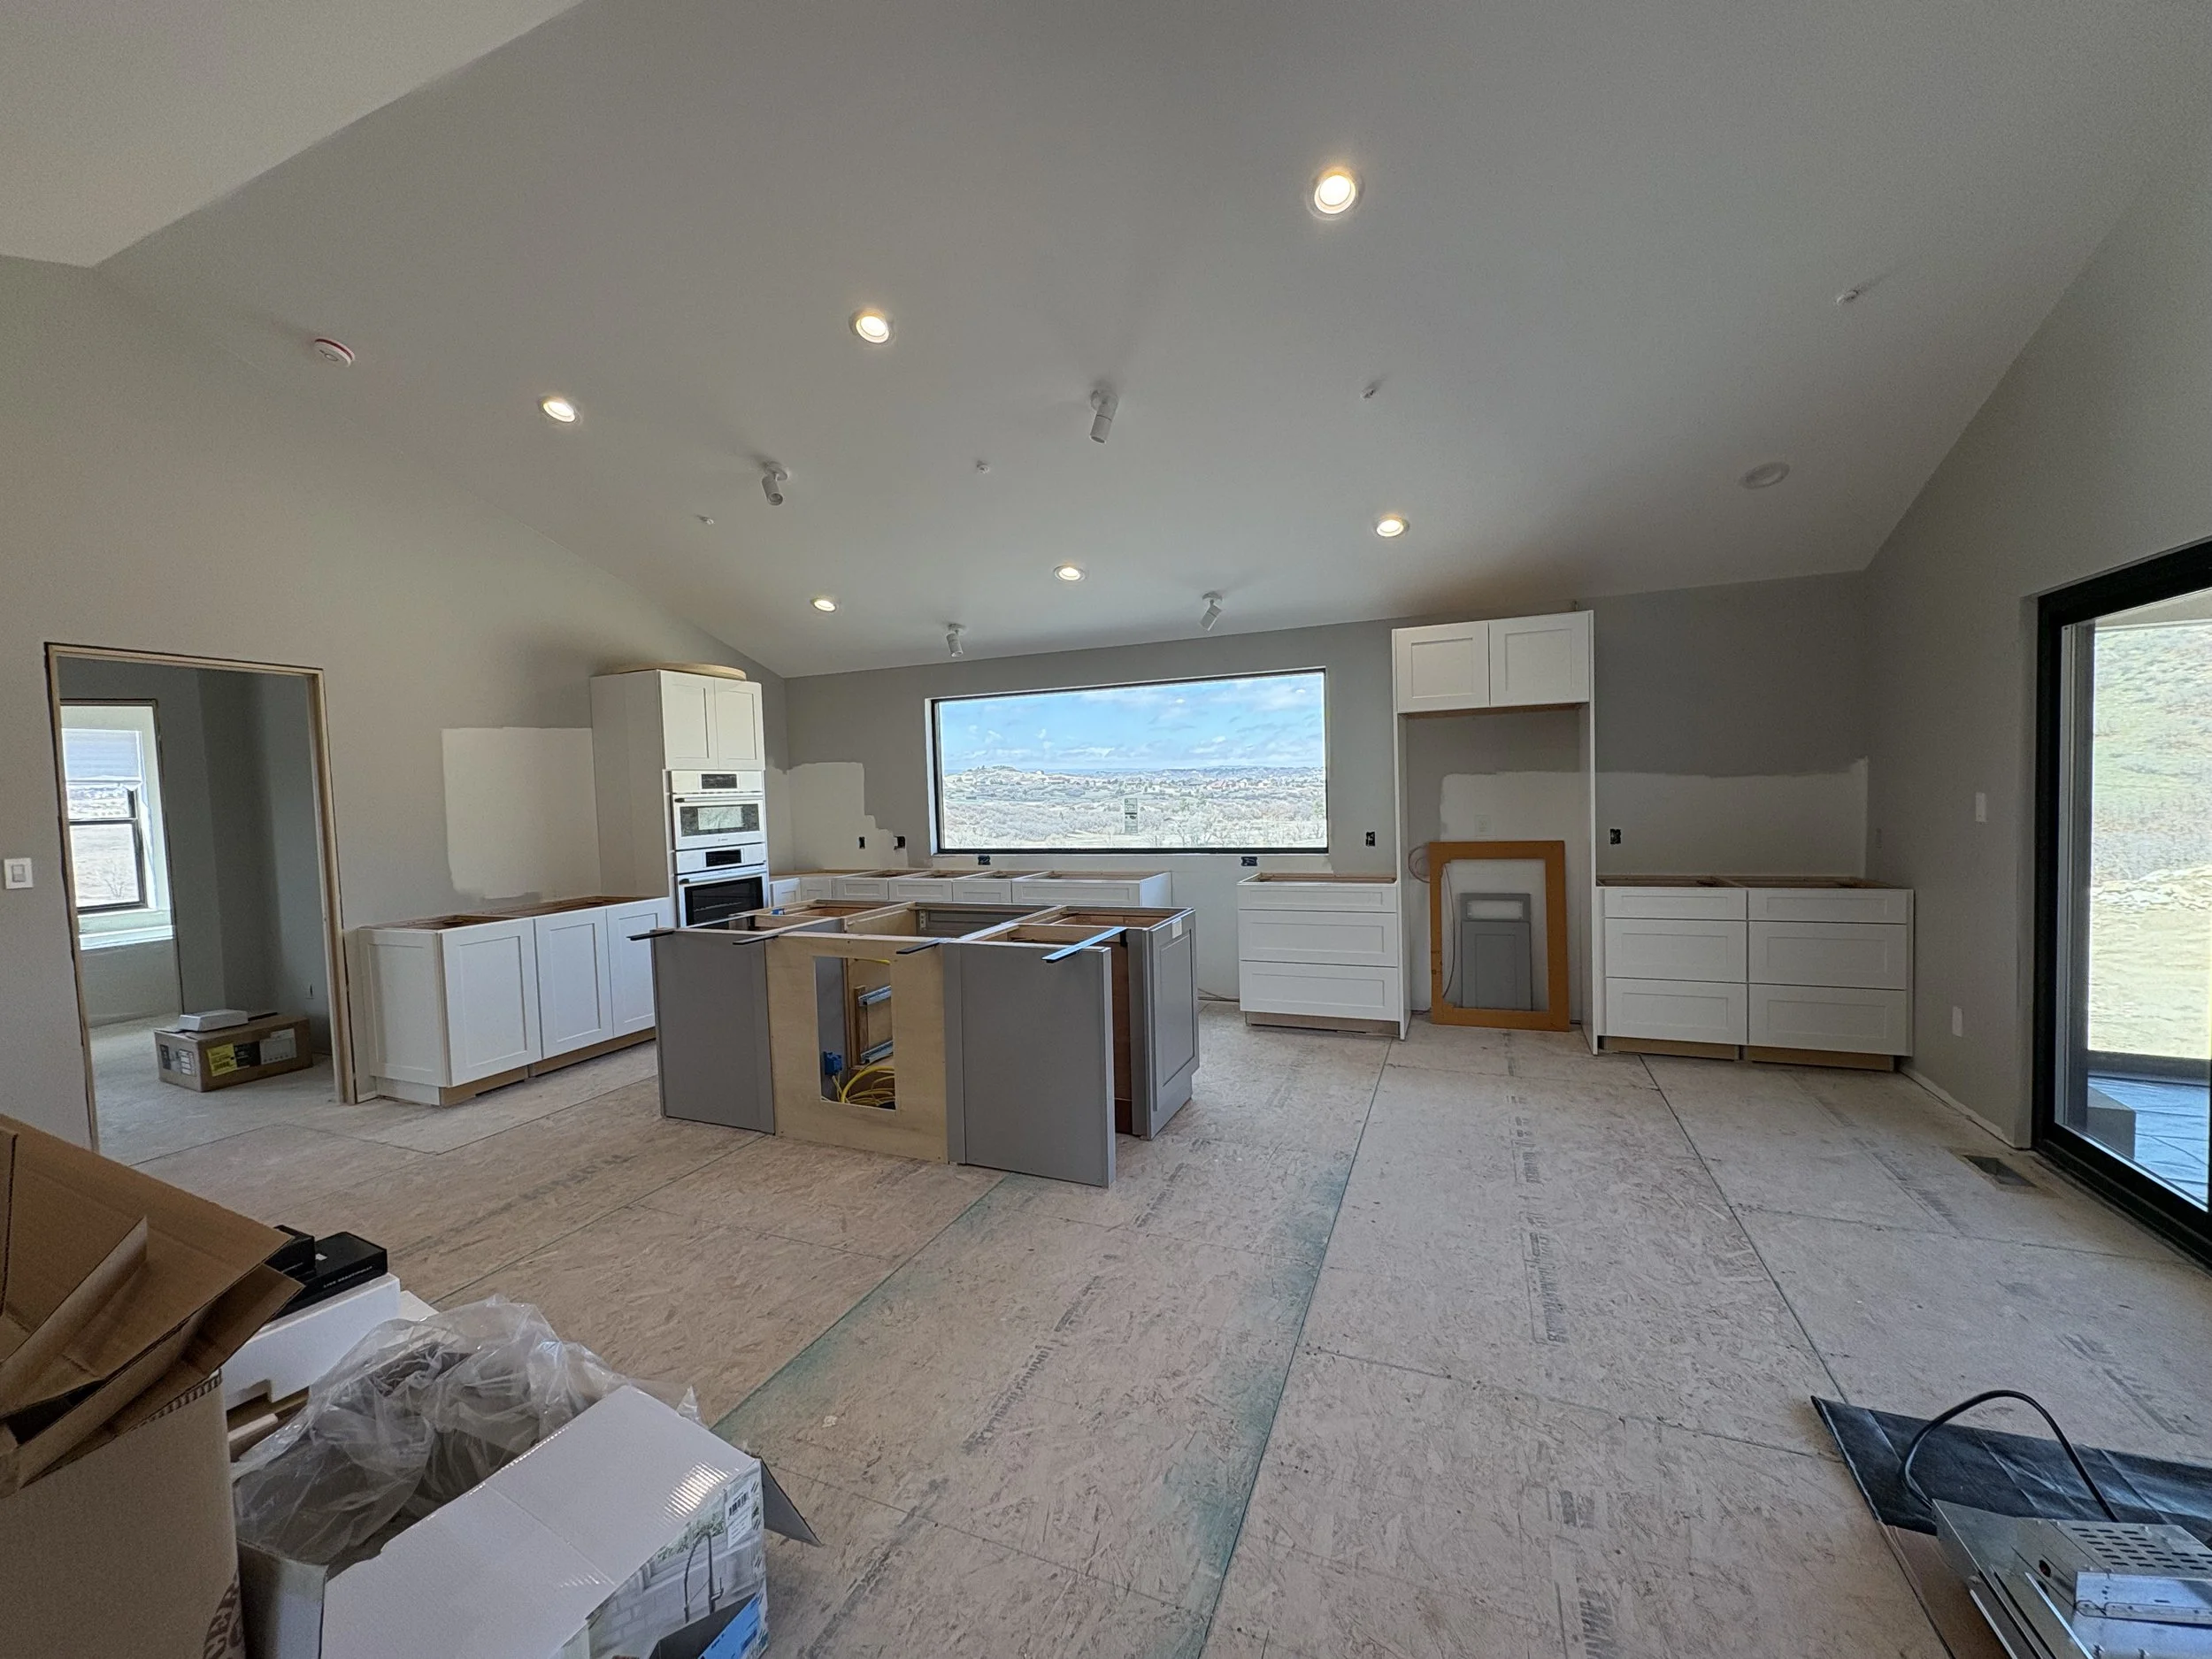
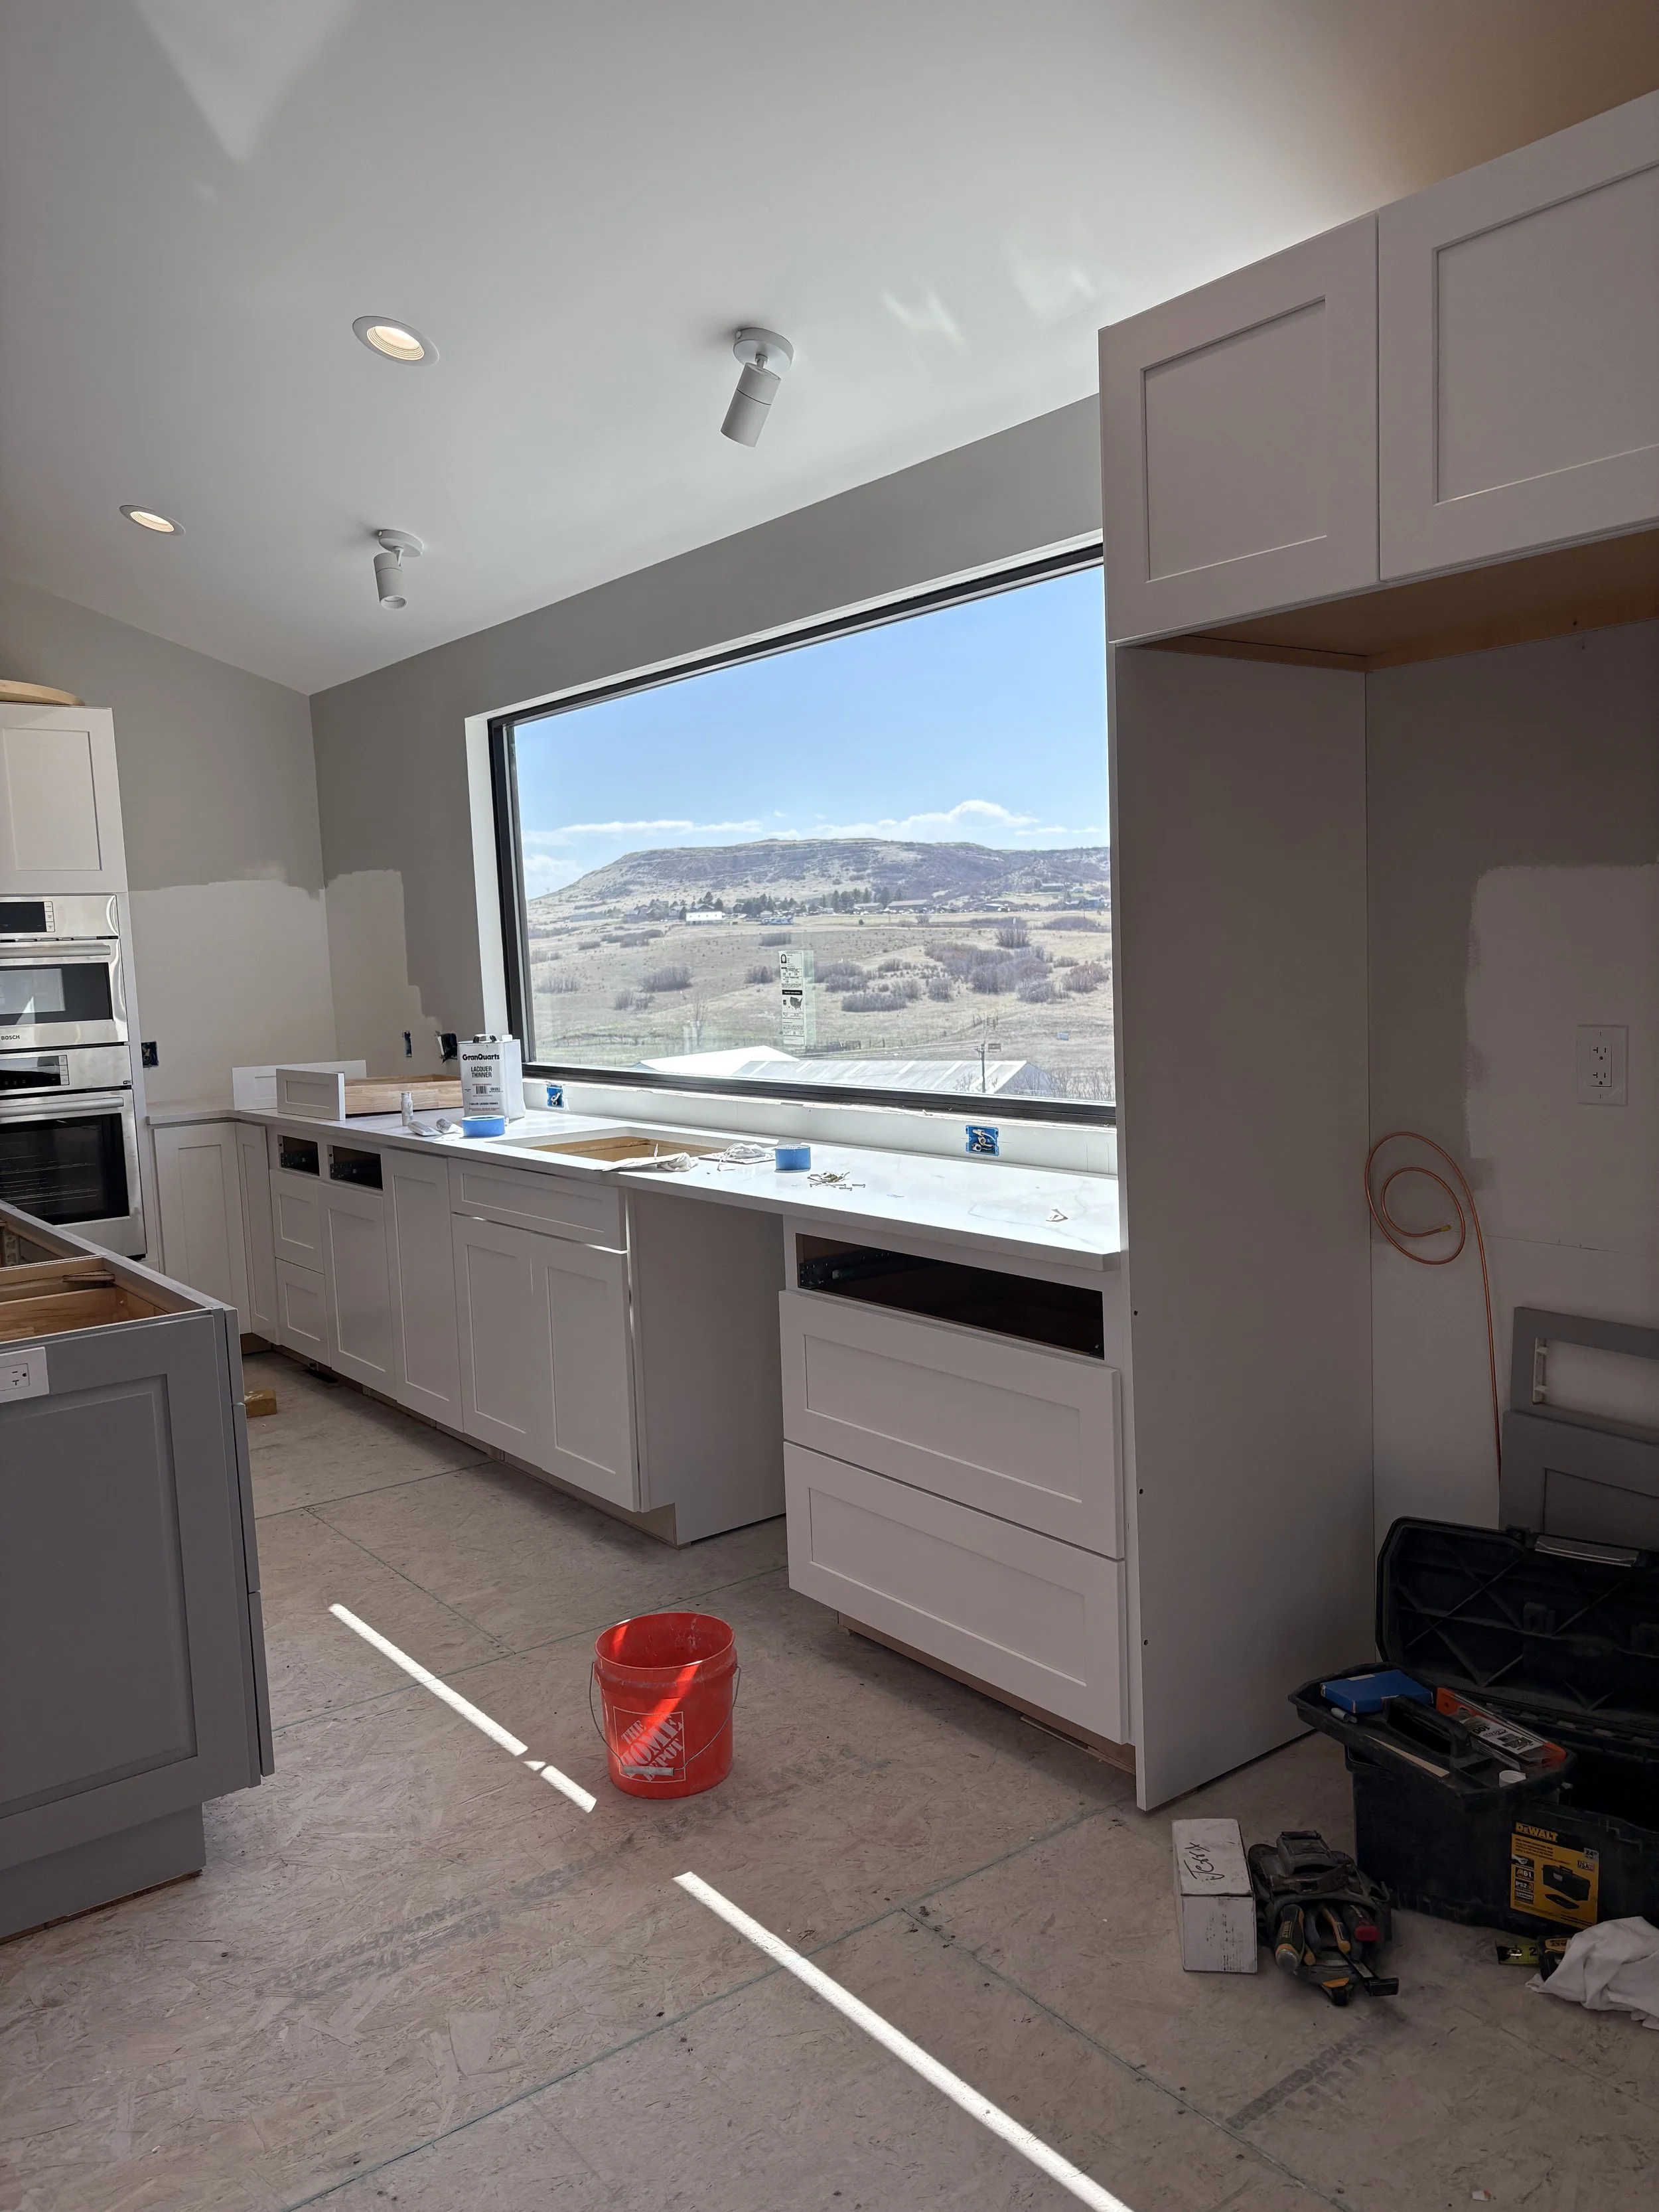
Here's a view of the entire kitchen.
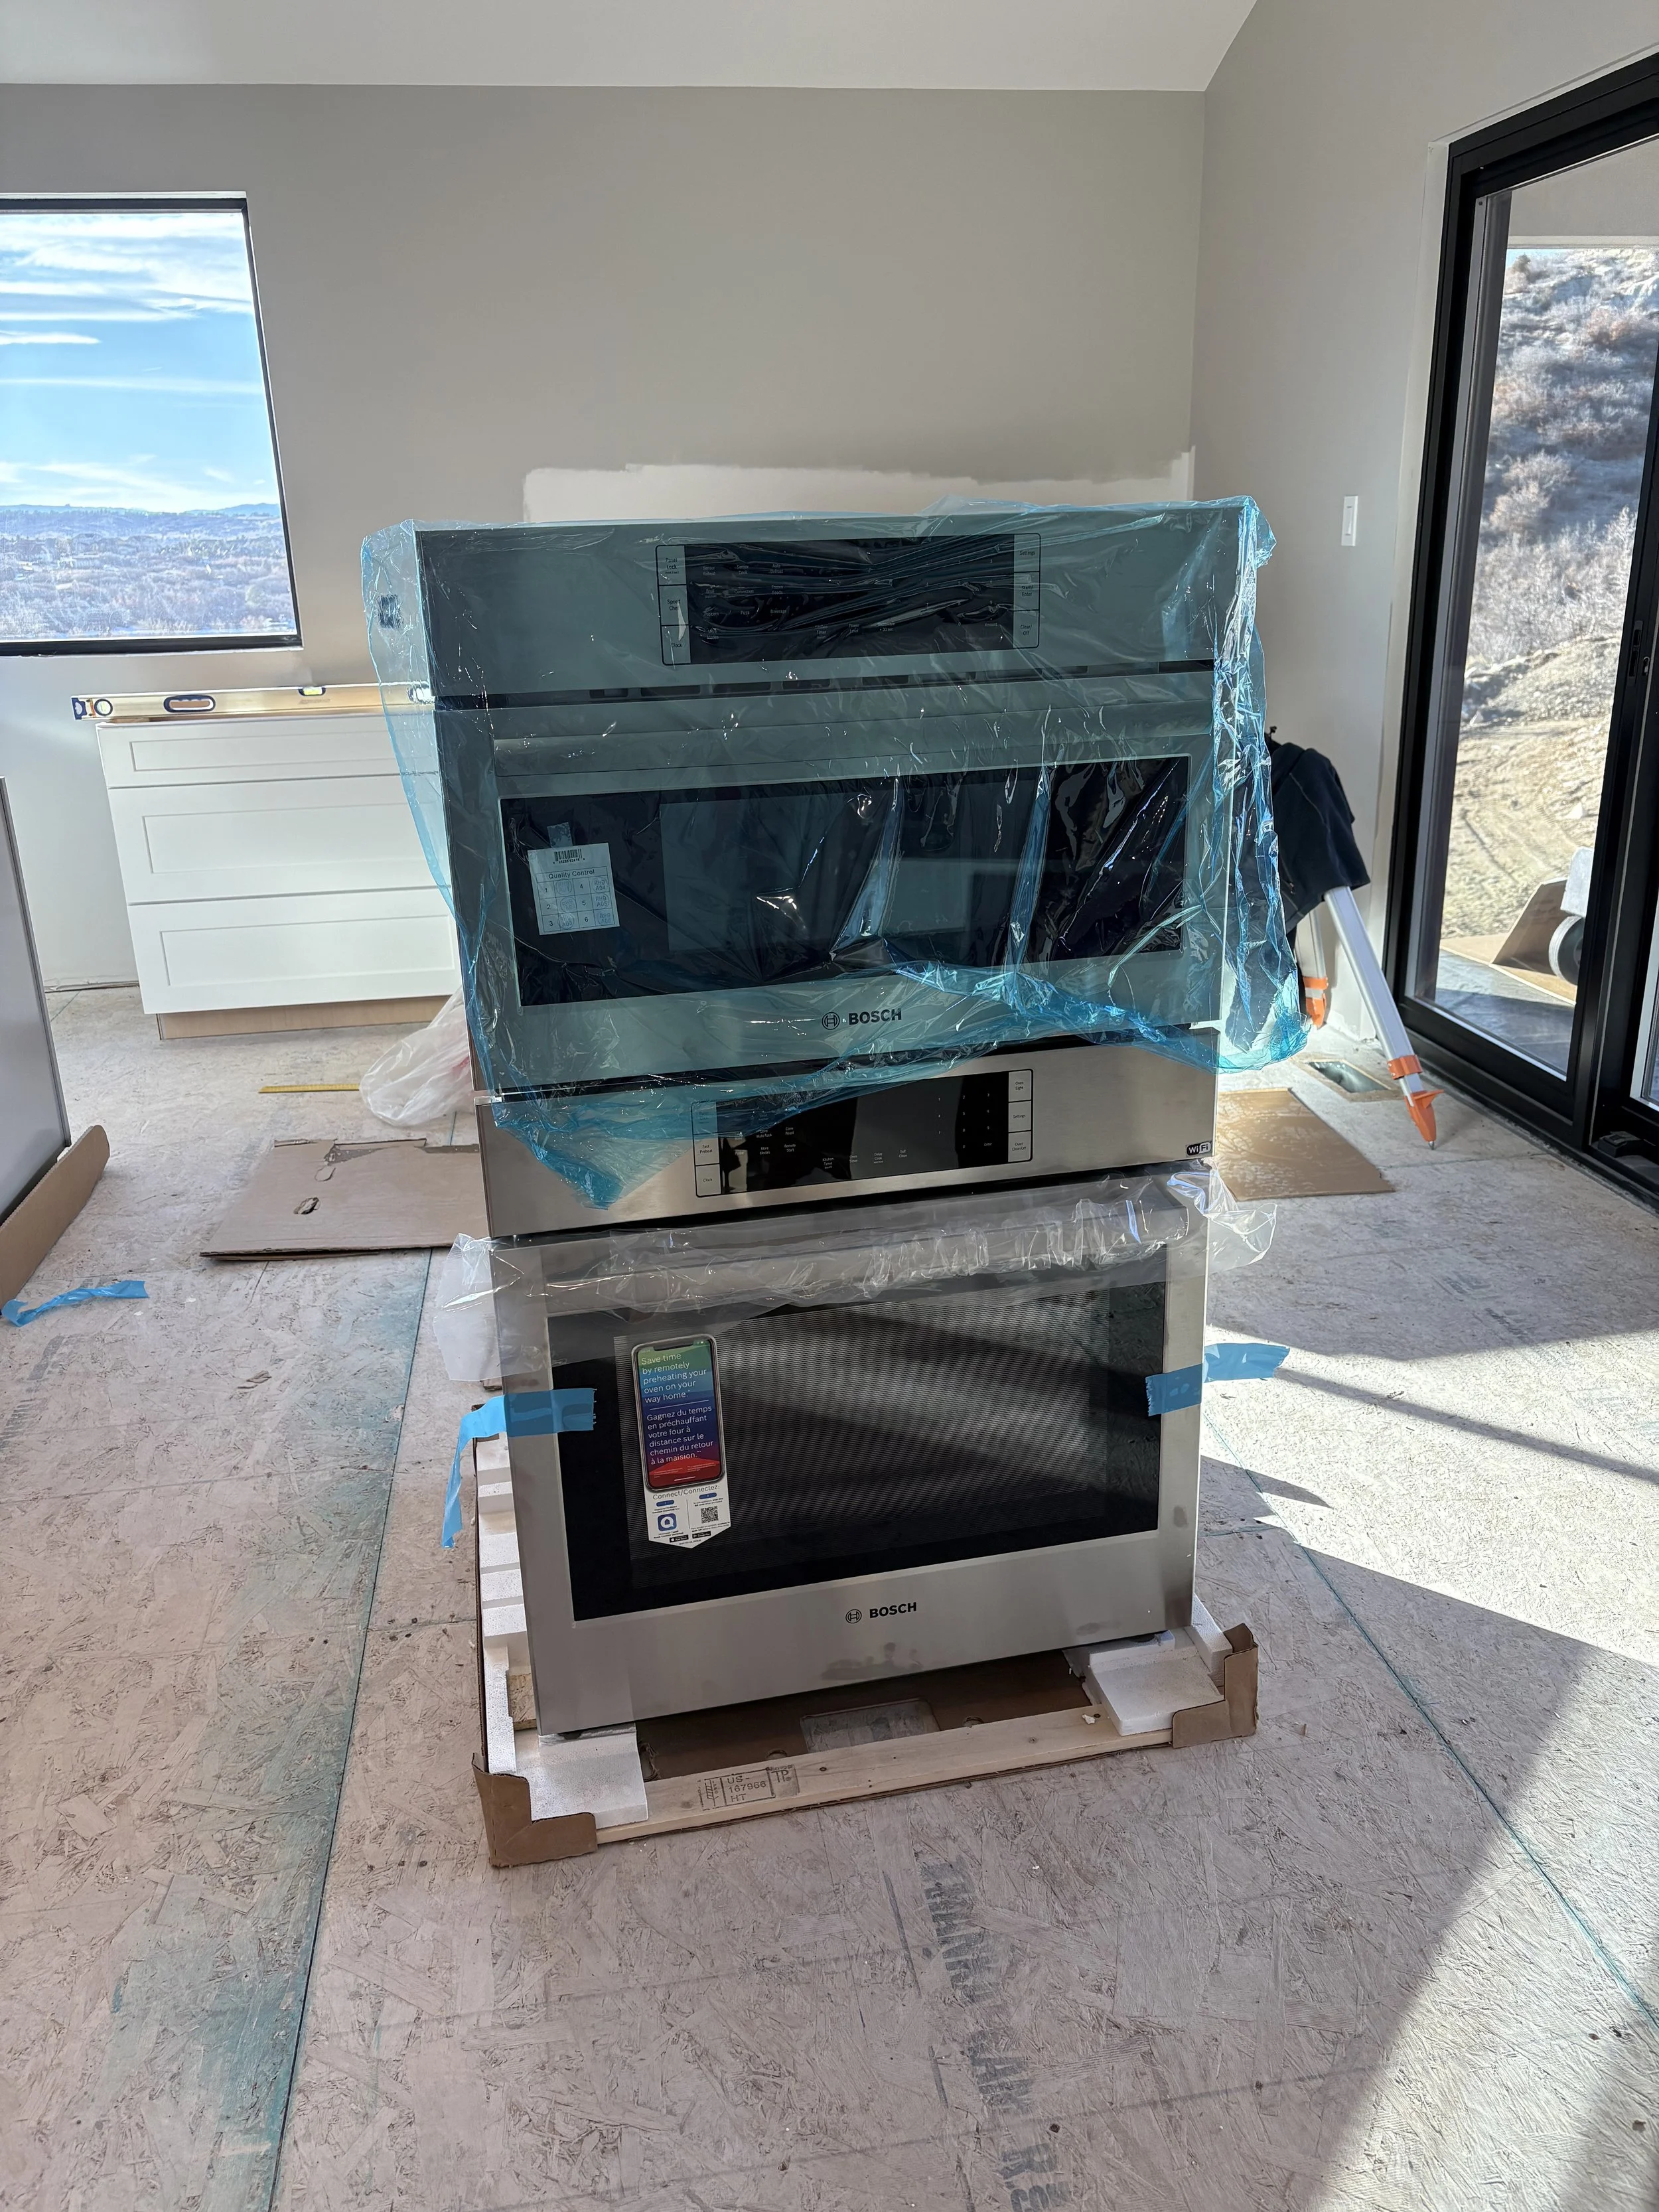
Kris' buddies came by to help get the oven moved in as well as figure out how to install it into the cabinet. Did you know ovens have wifi now??
The oven is installed!
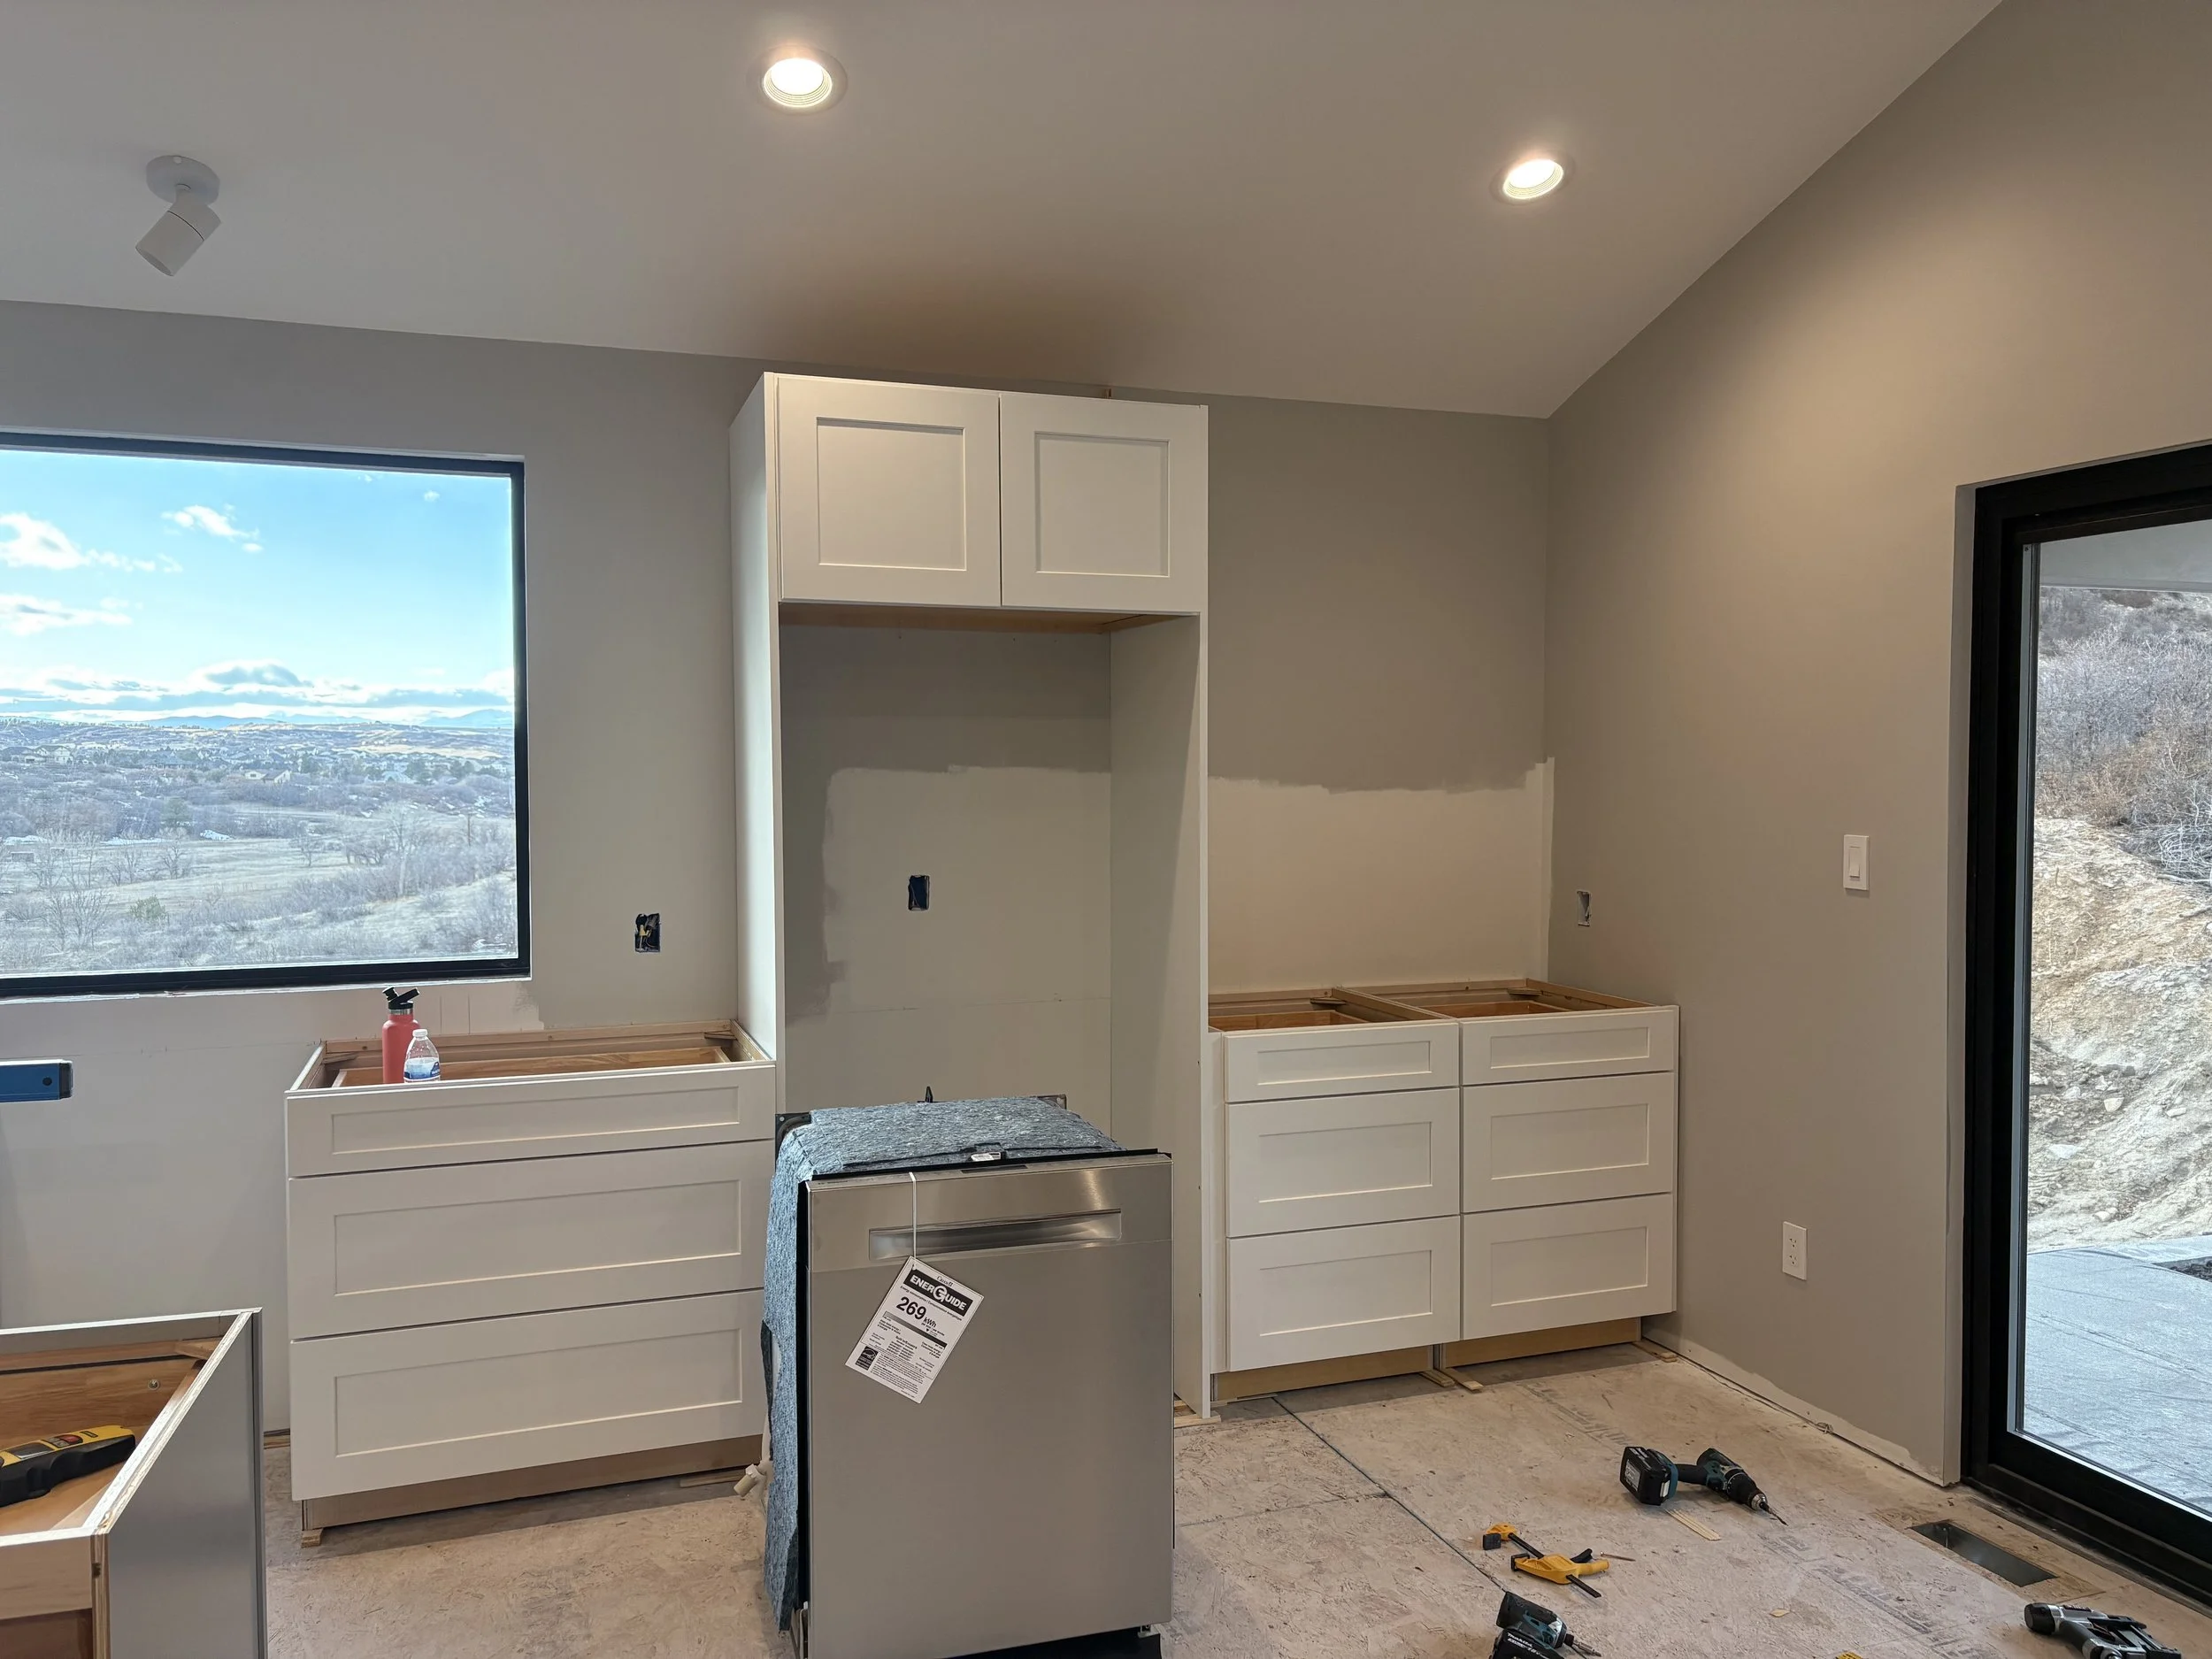
This tall cabinet is for the refrigerator. The dishwasher is brought in to check sizing, but it won't get installed until the floors are finished.
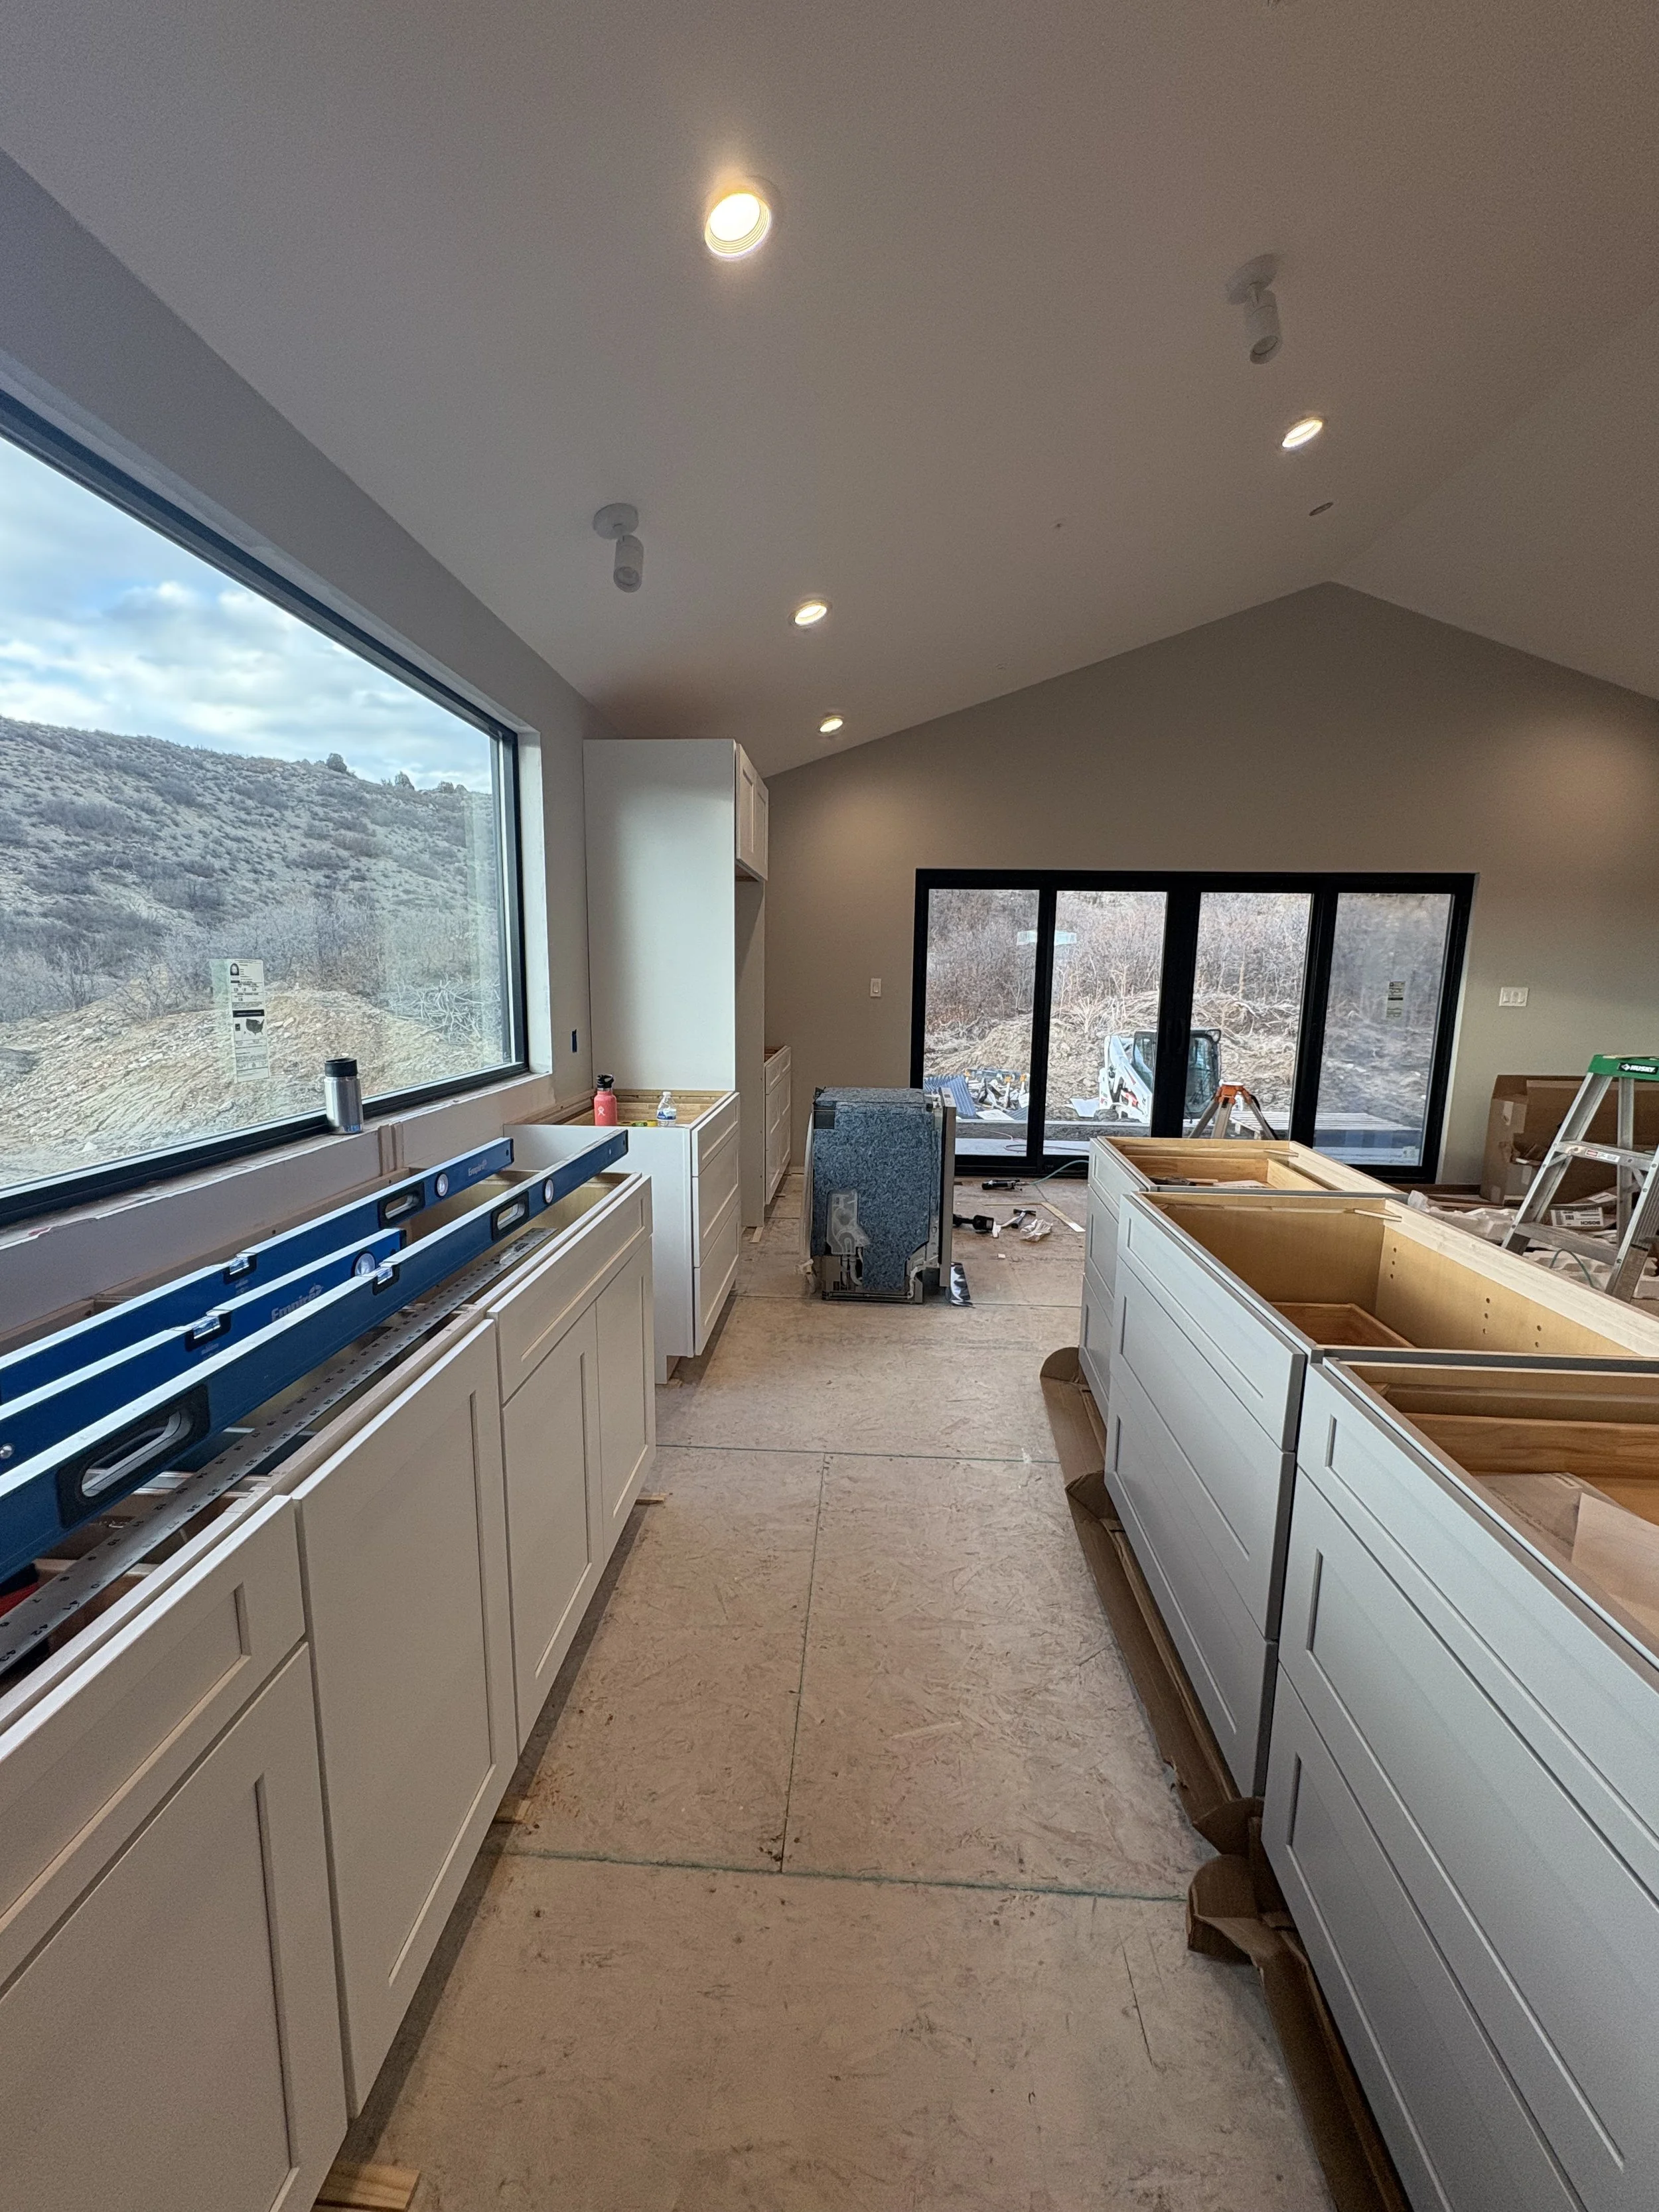
Here's a view from the oven into the main kitchen space.
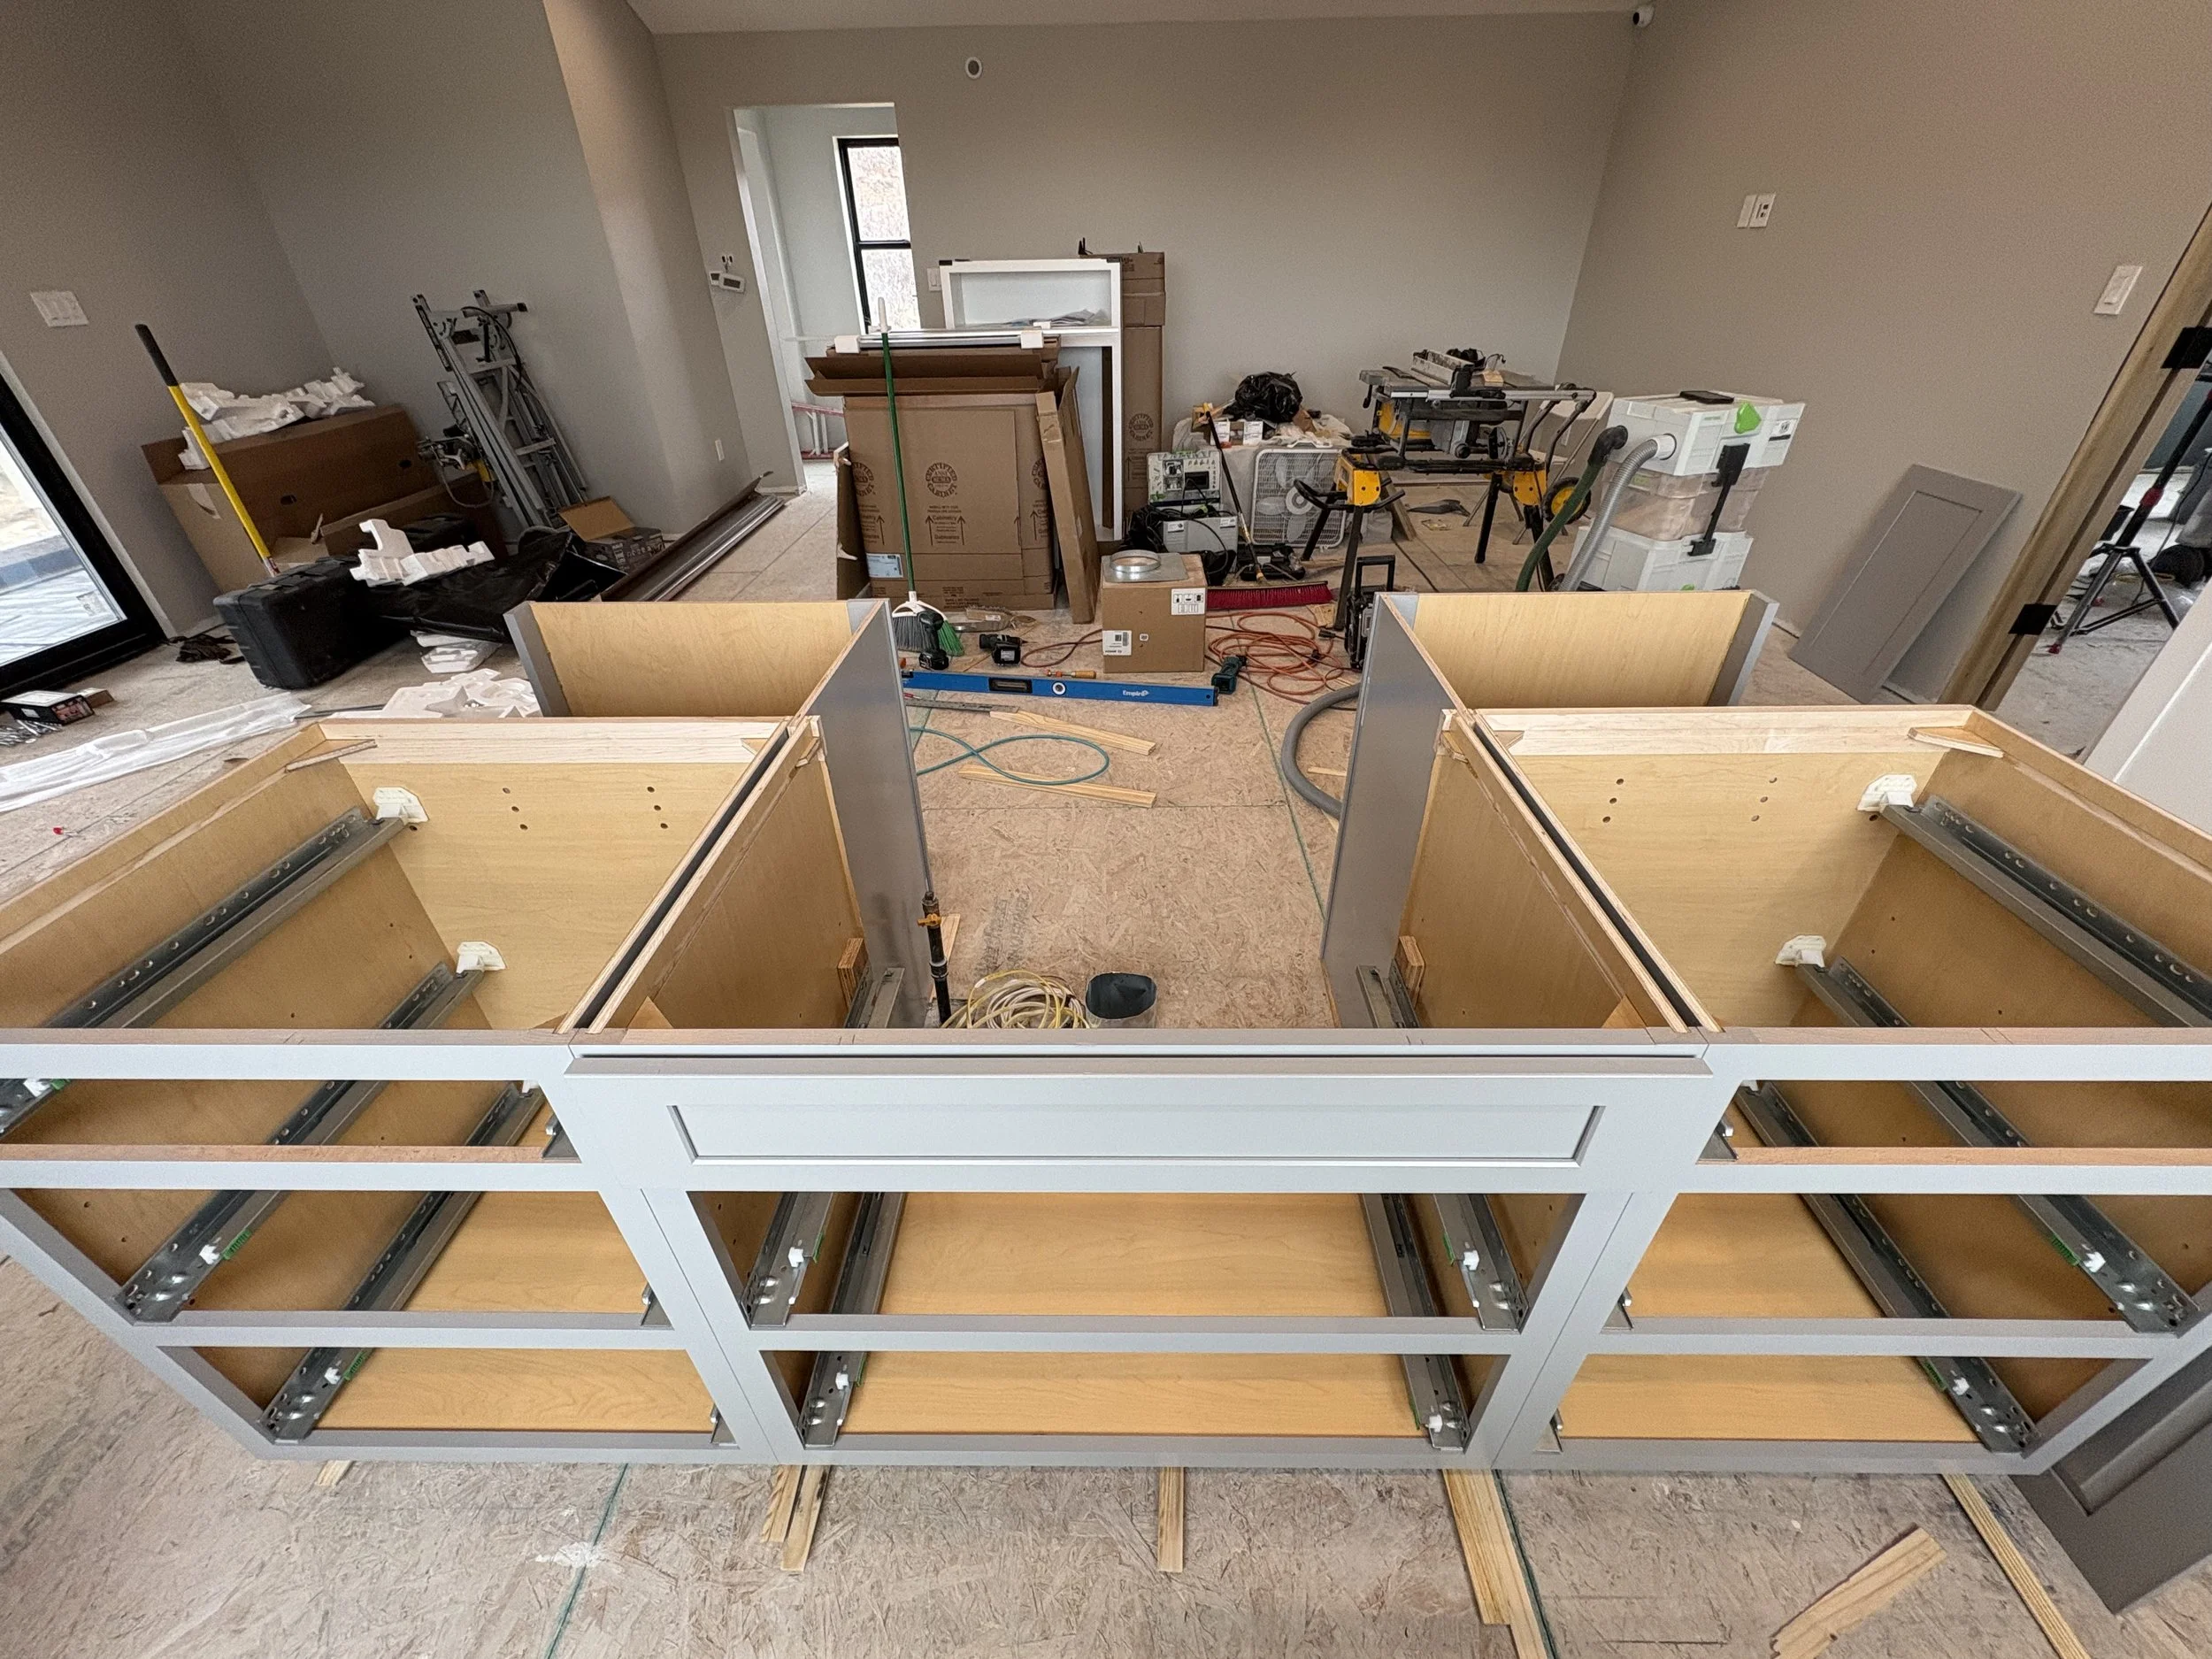
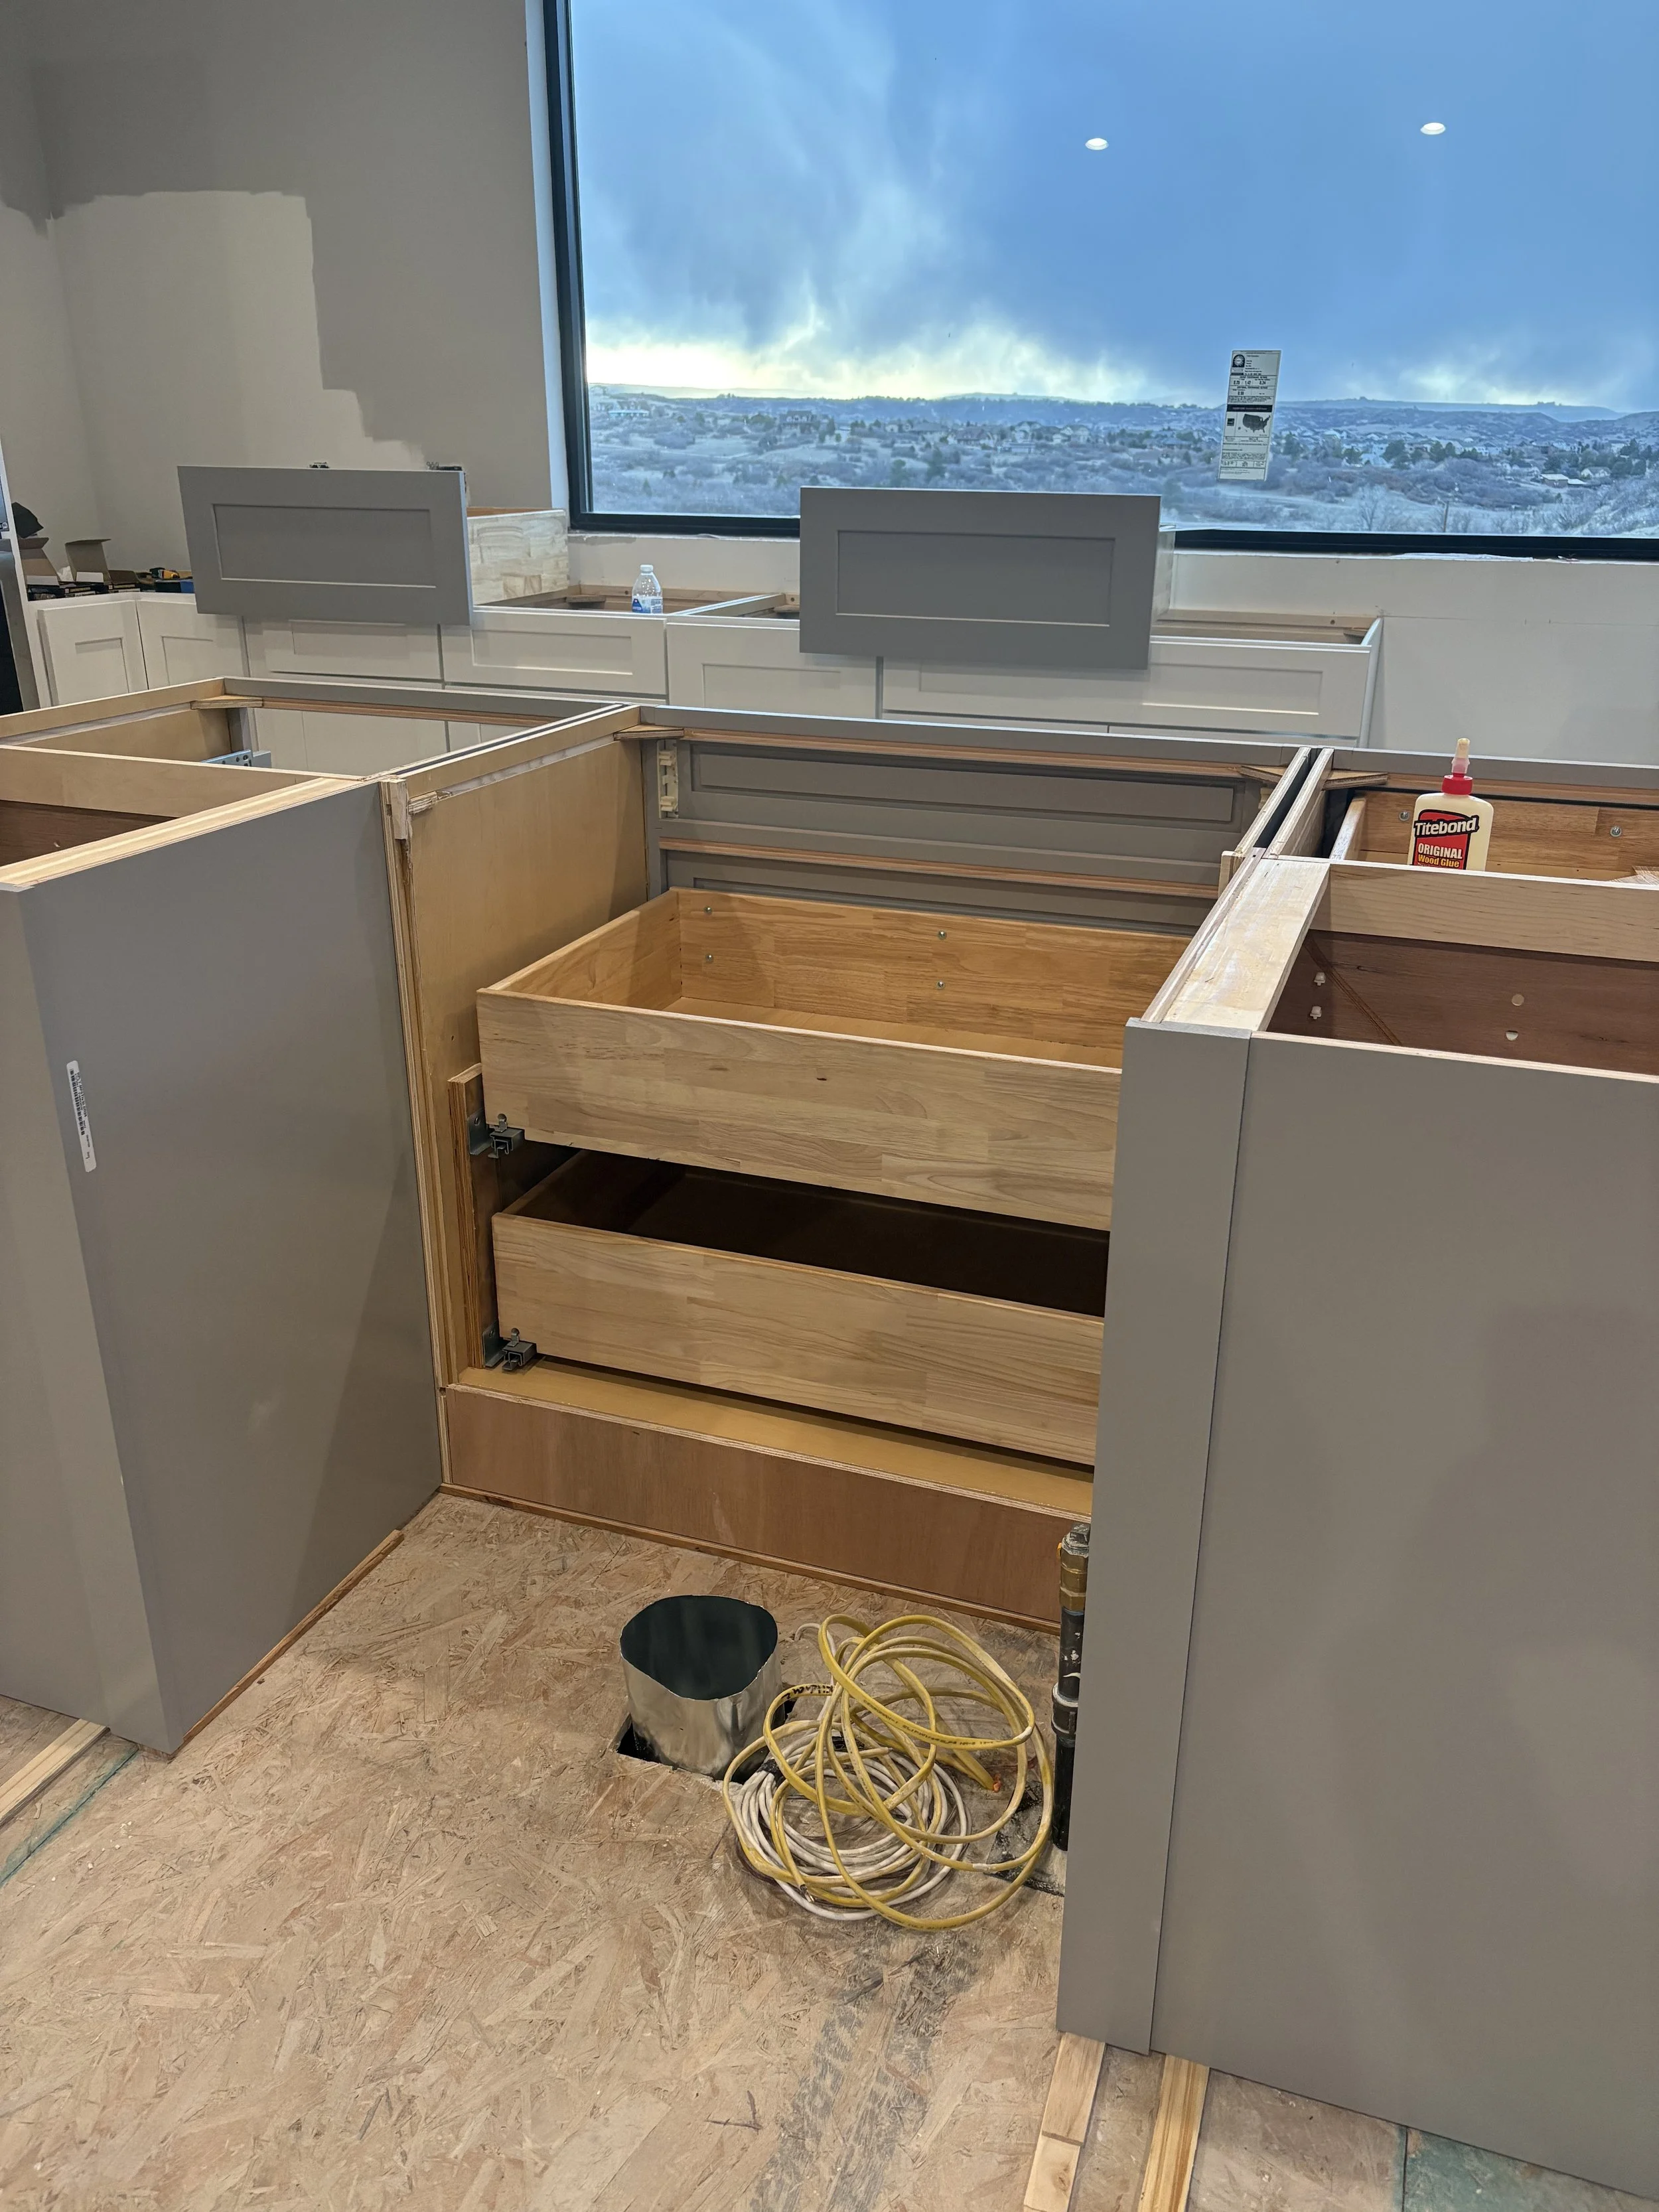
Now for the center island. Yikes was this a beast to assemble! No directions on how to do it either!

Building the back of the island.
It's a showcase showdown! Who will win this beautiful new kitchen??
...and where do these wires go?
Excited to have all these drawers for pots and pans. No more digging through stacks of lids!
This opening in the island is for the beverage fridge. A wine fridge will be on the other side.
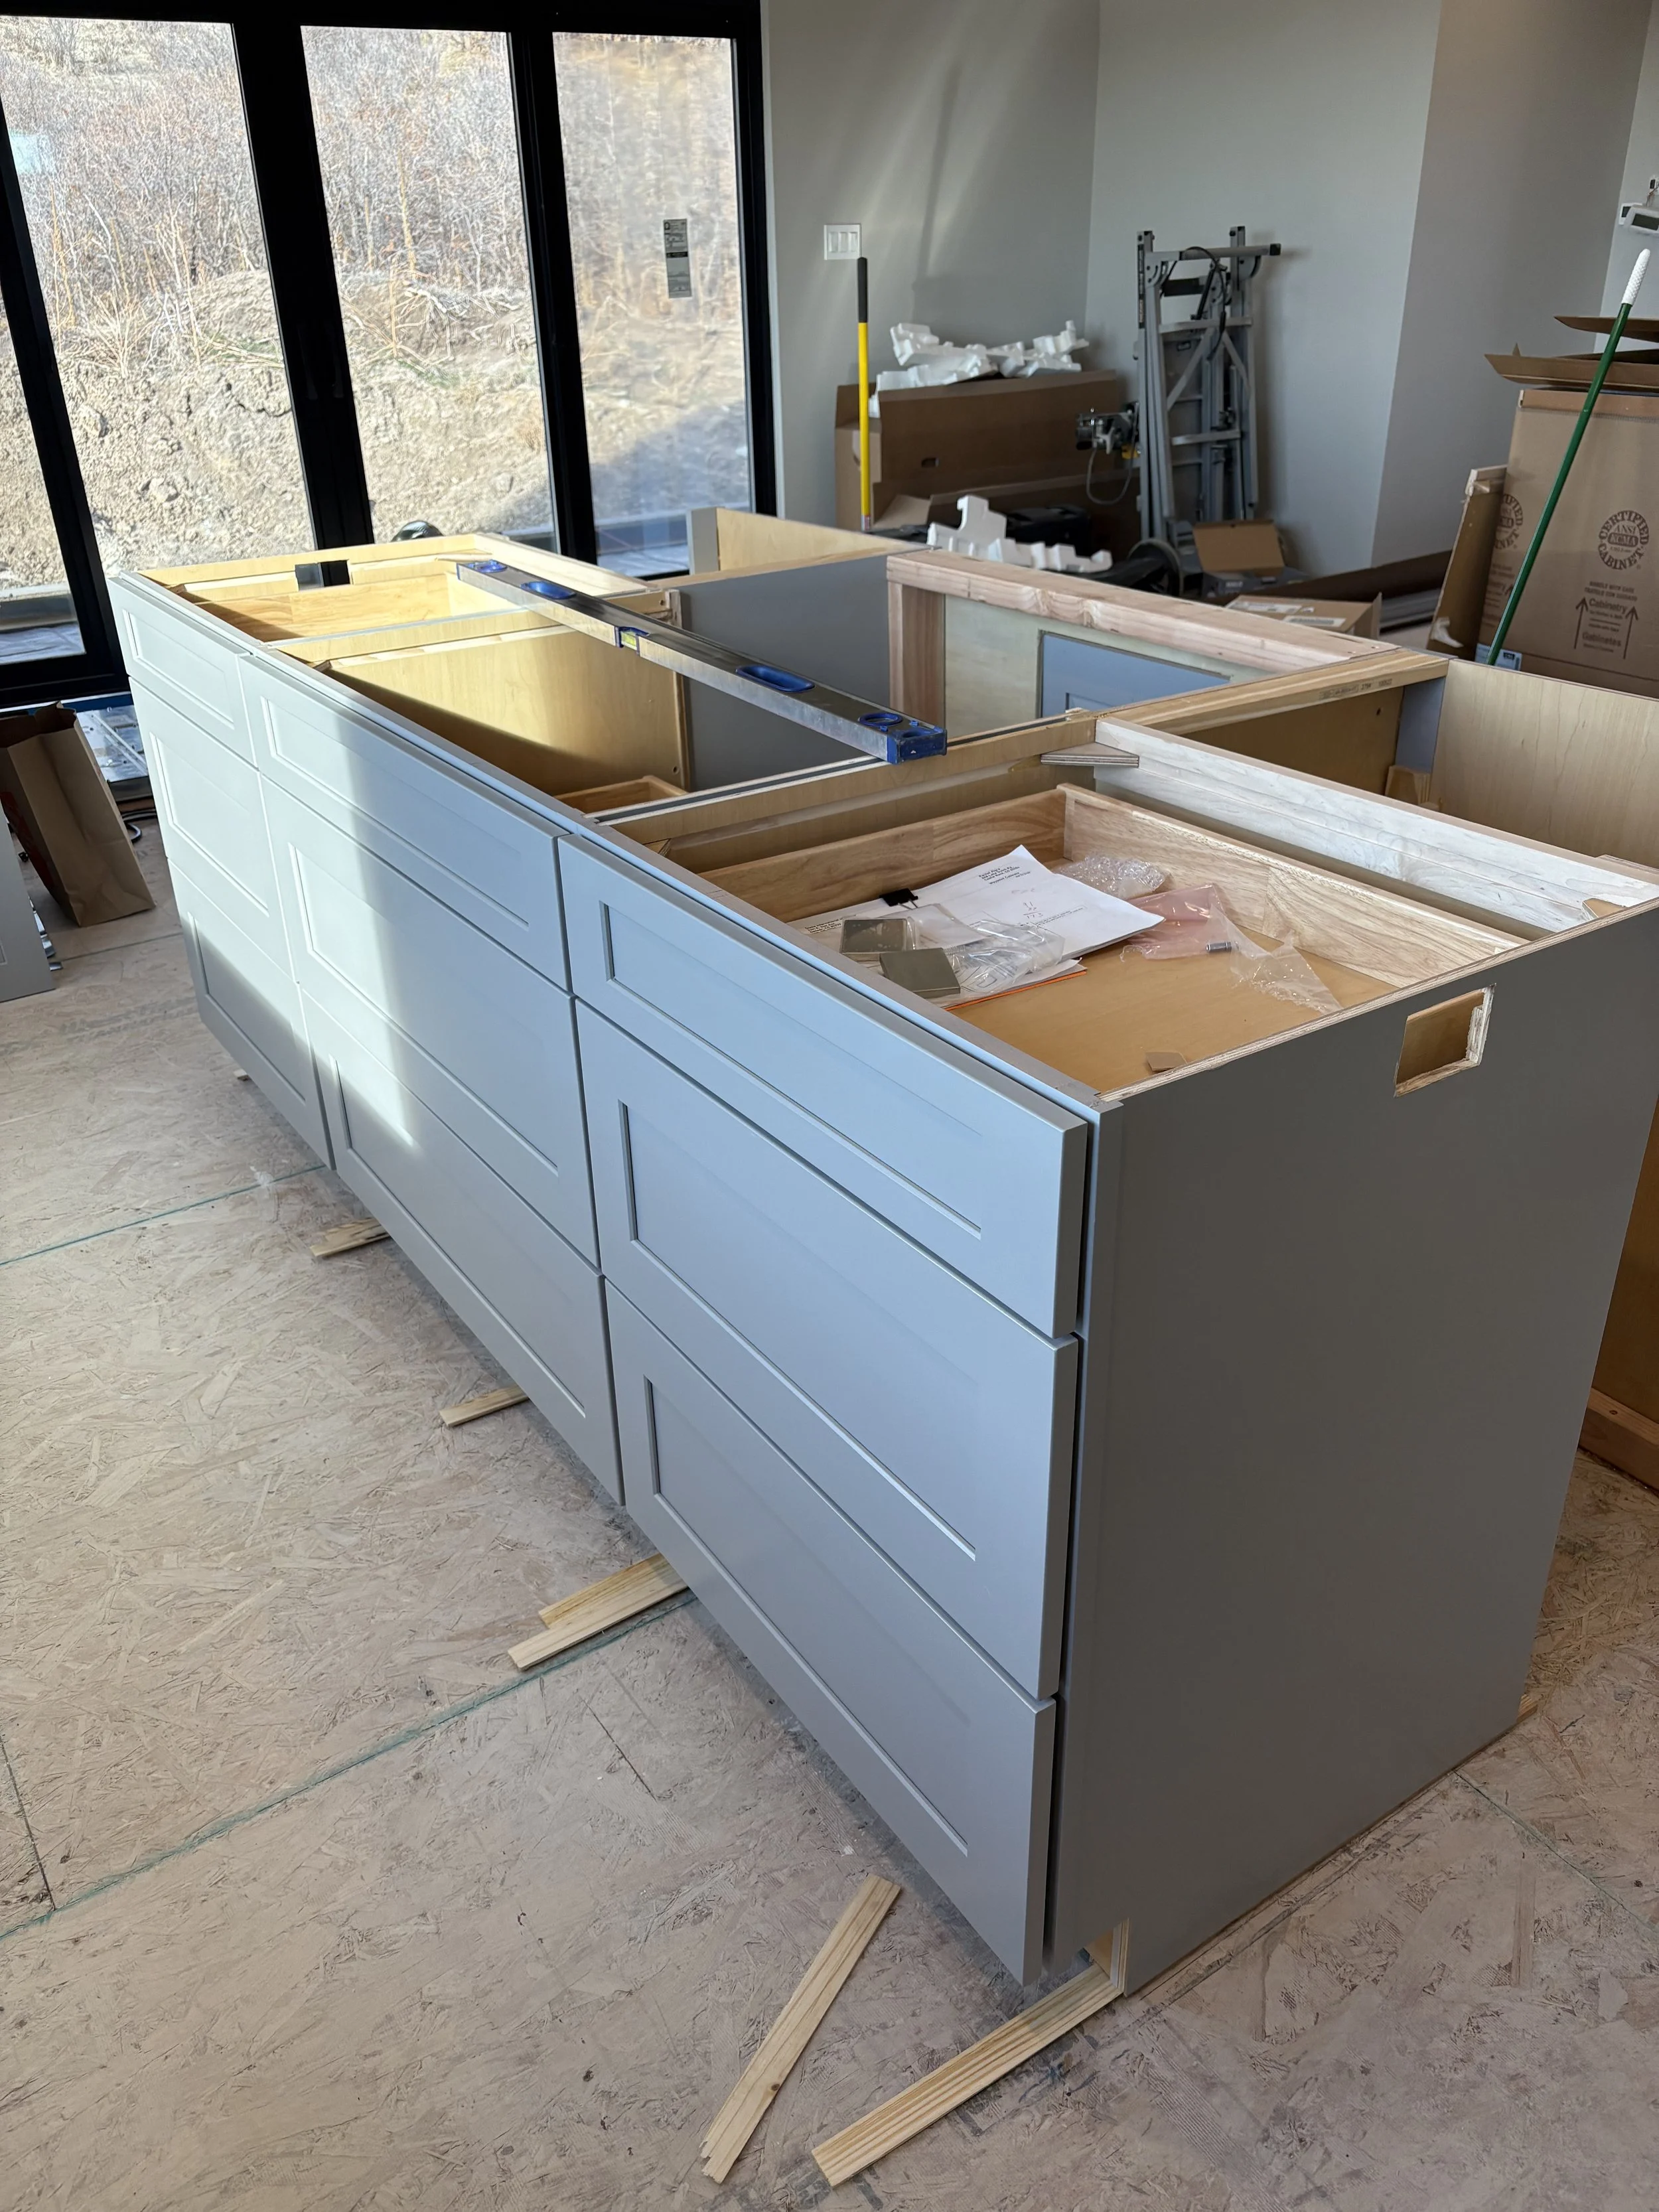
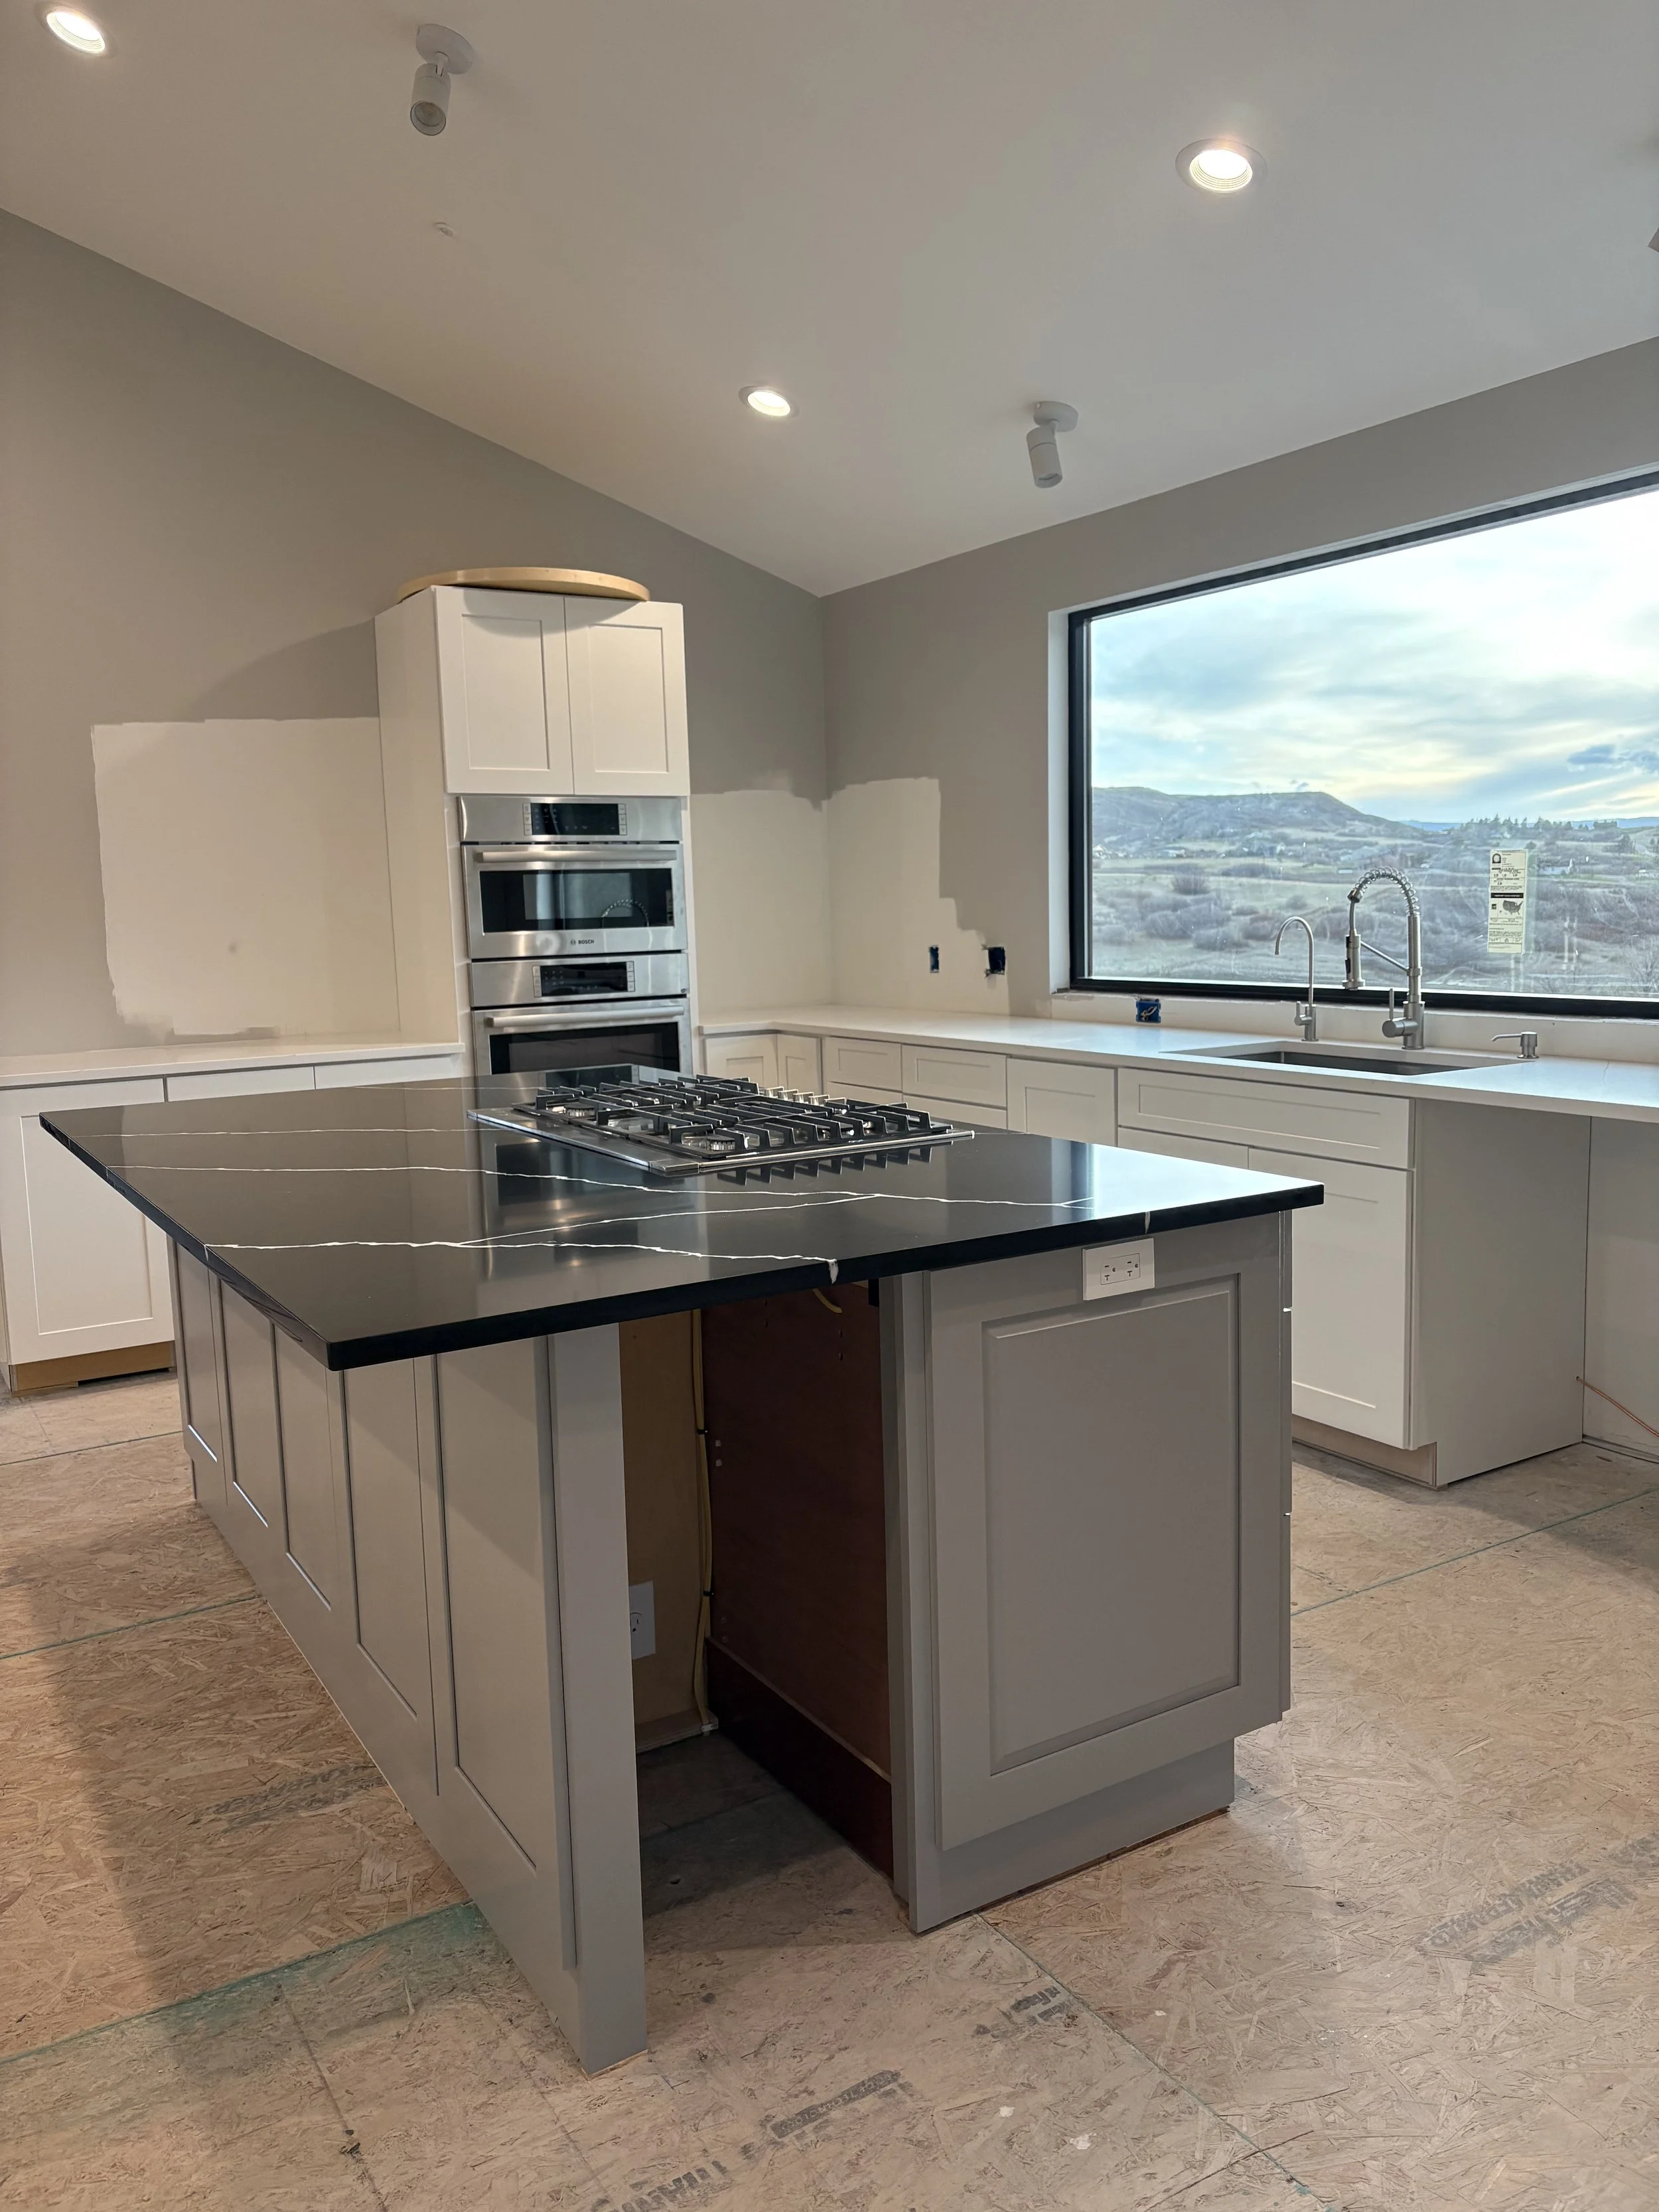
The island is complete for now! The decorative panelling will go in a bit later.
Not too shabby!
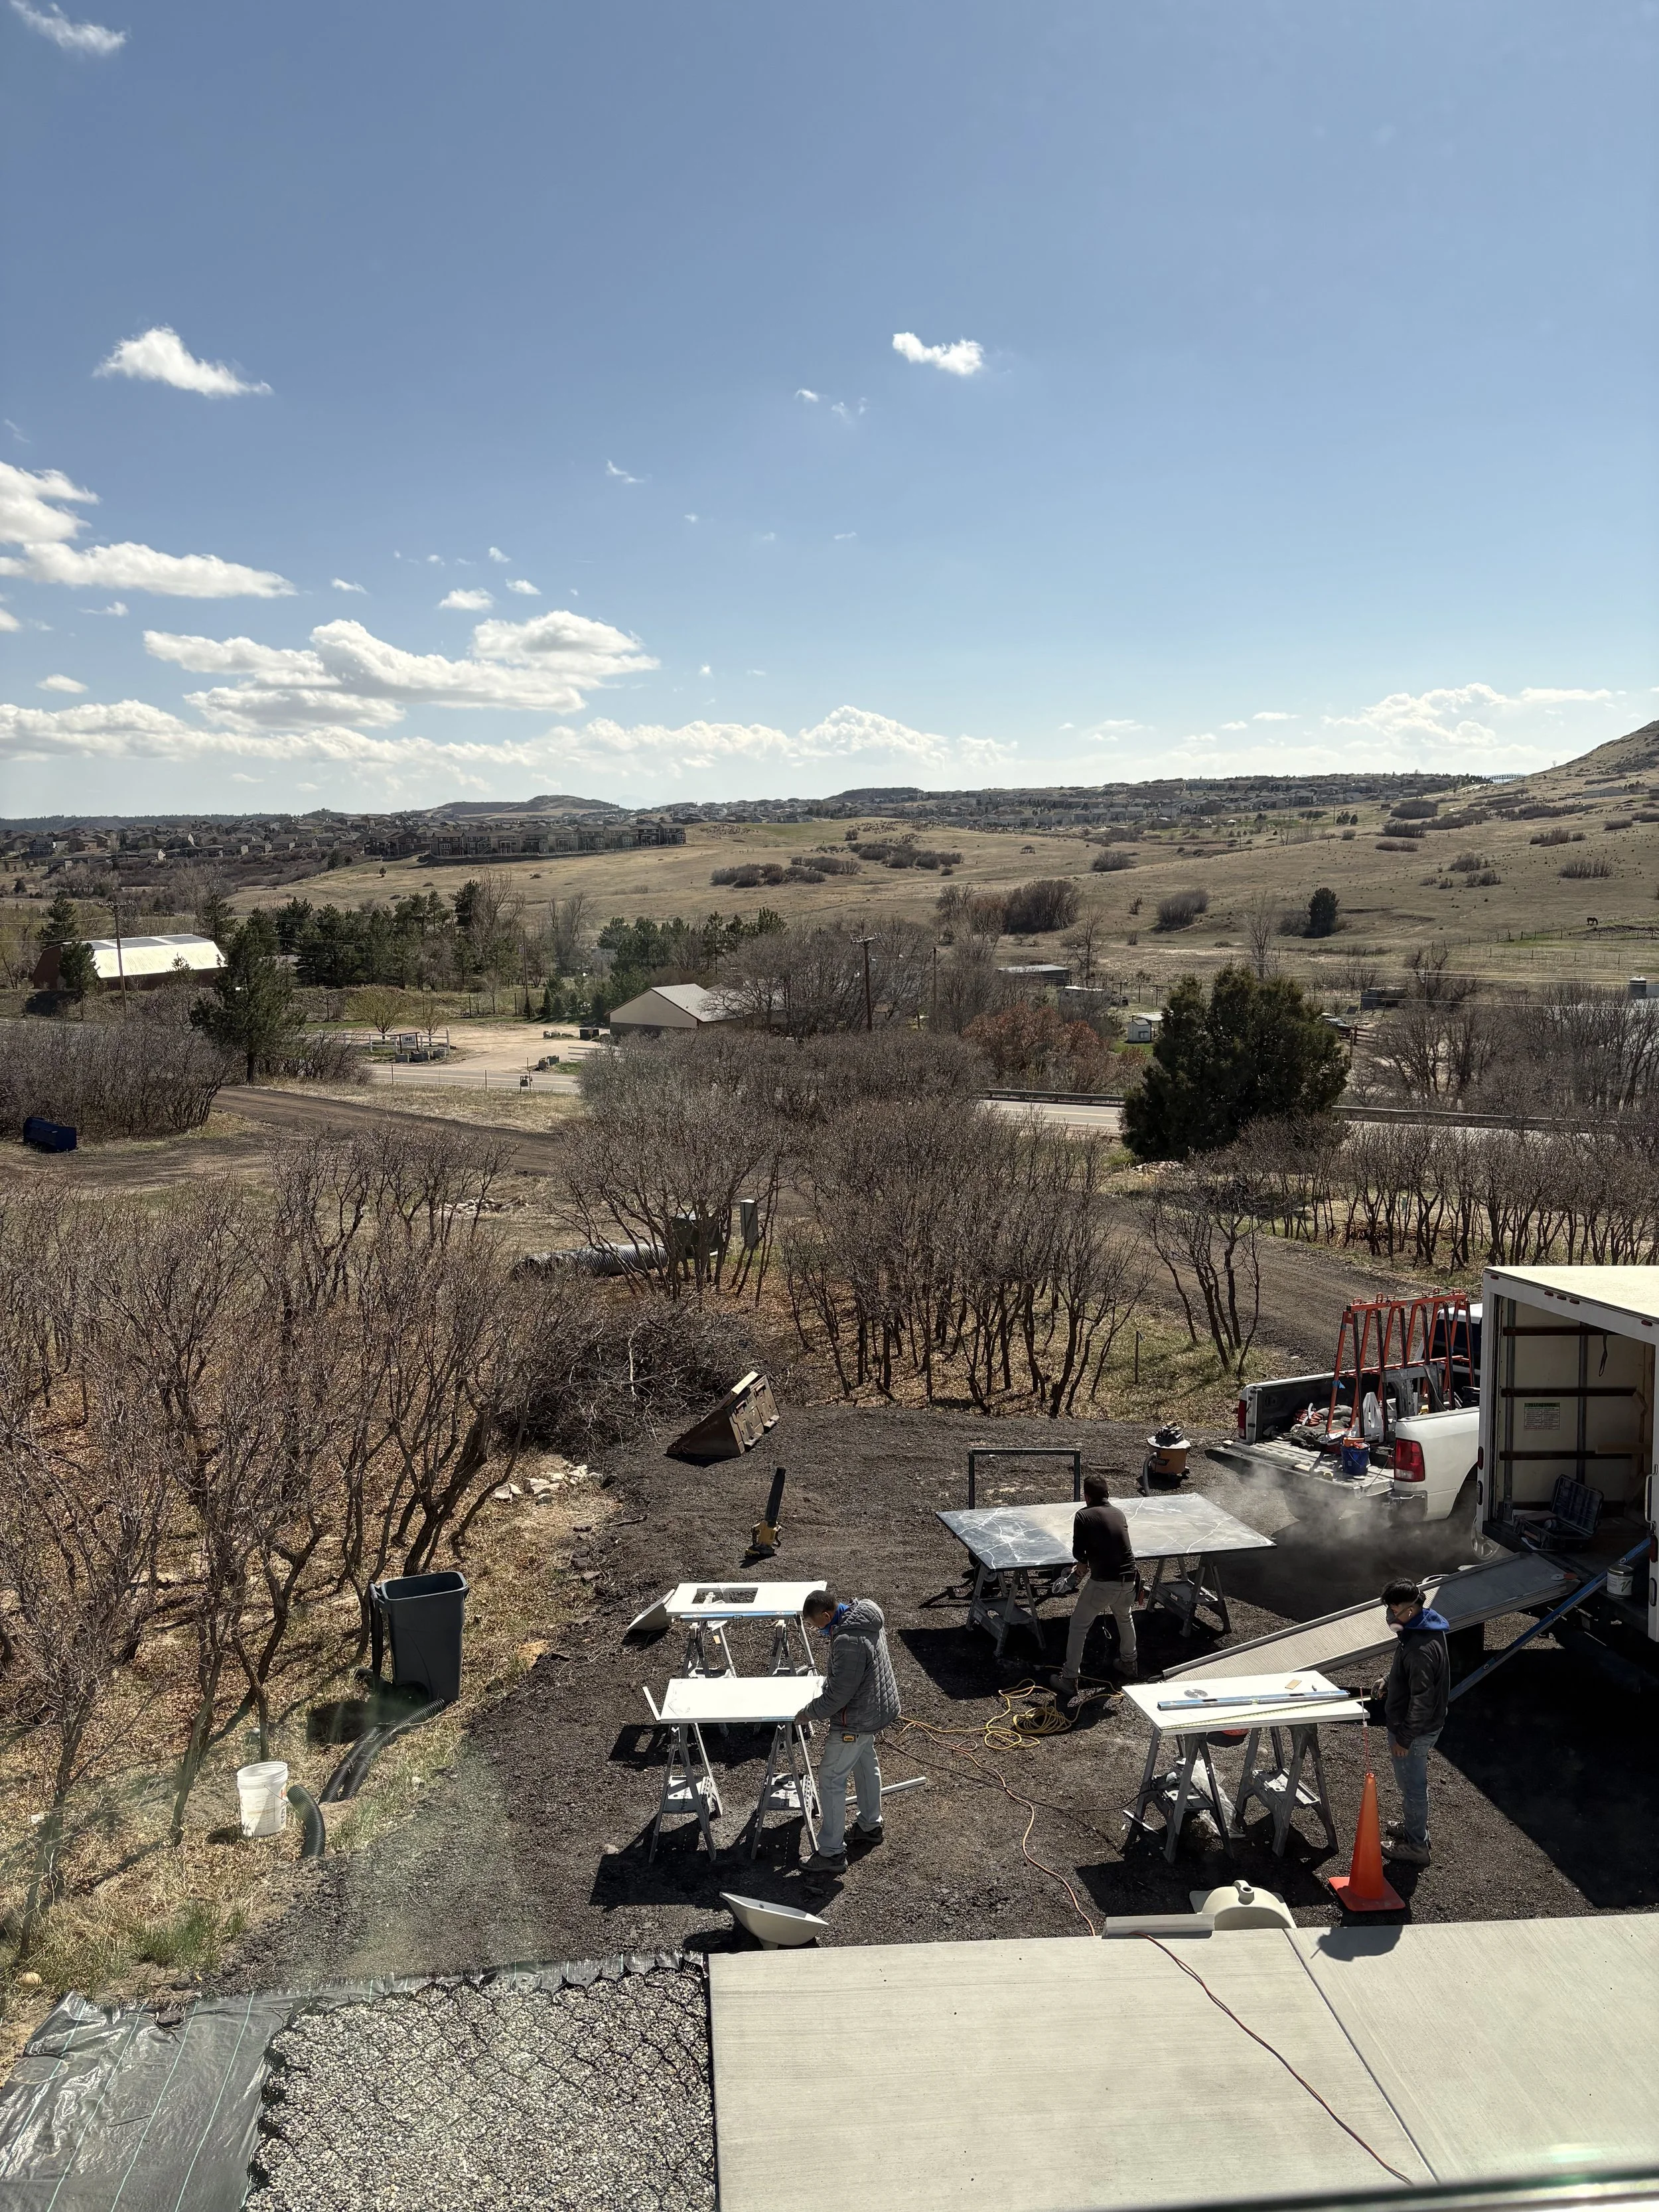
The countertop install crew arrives!
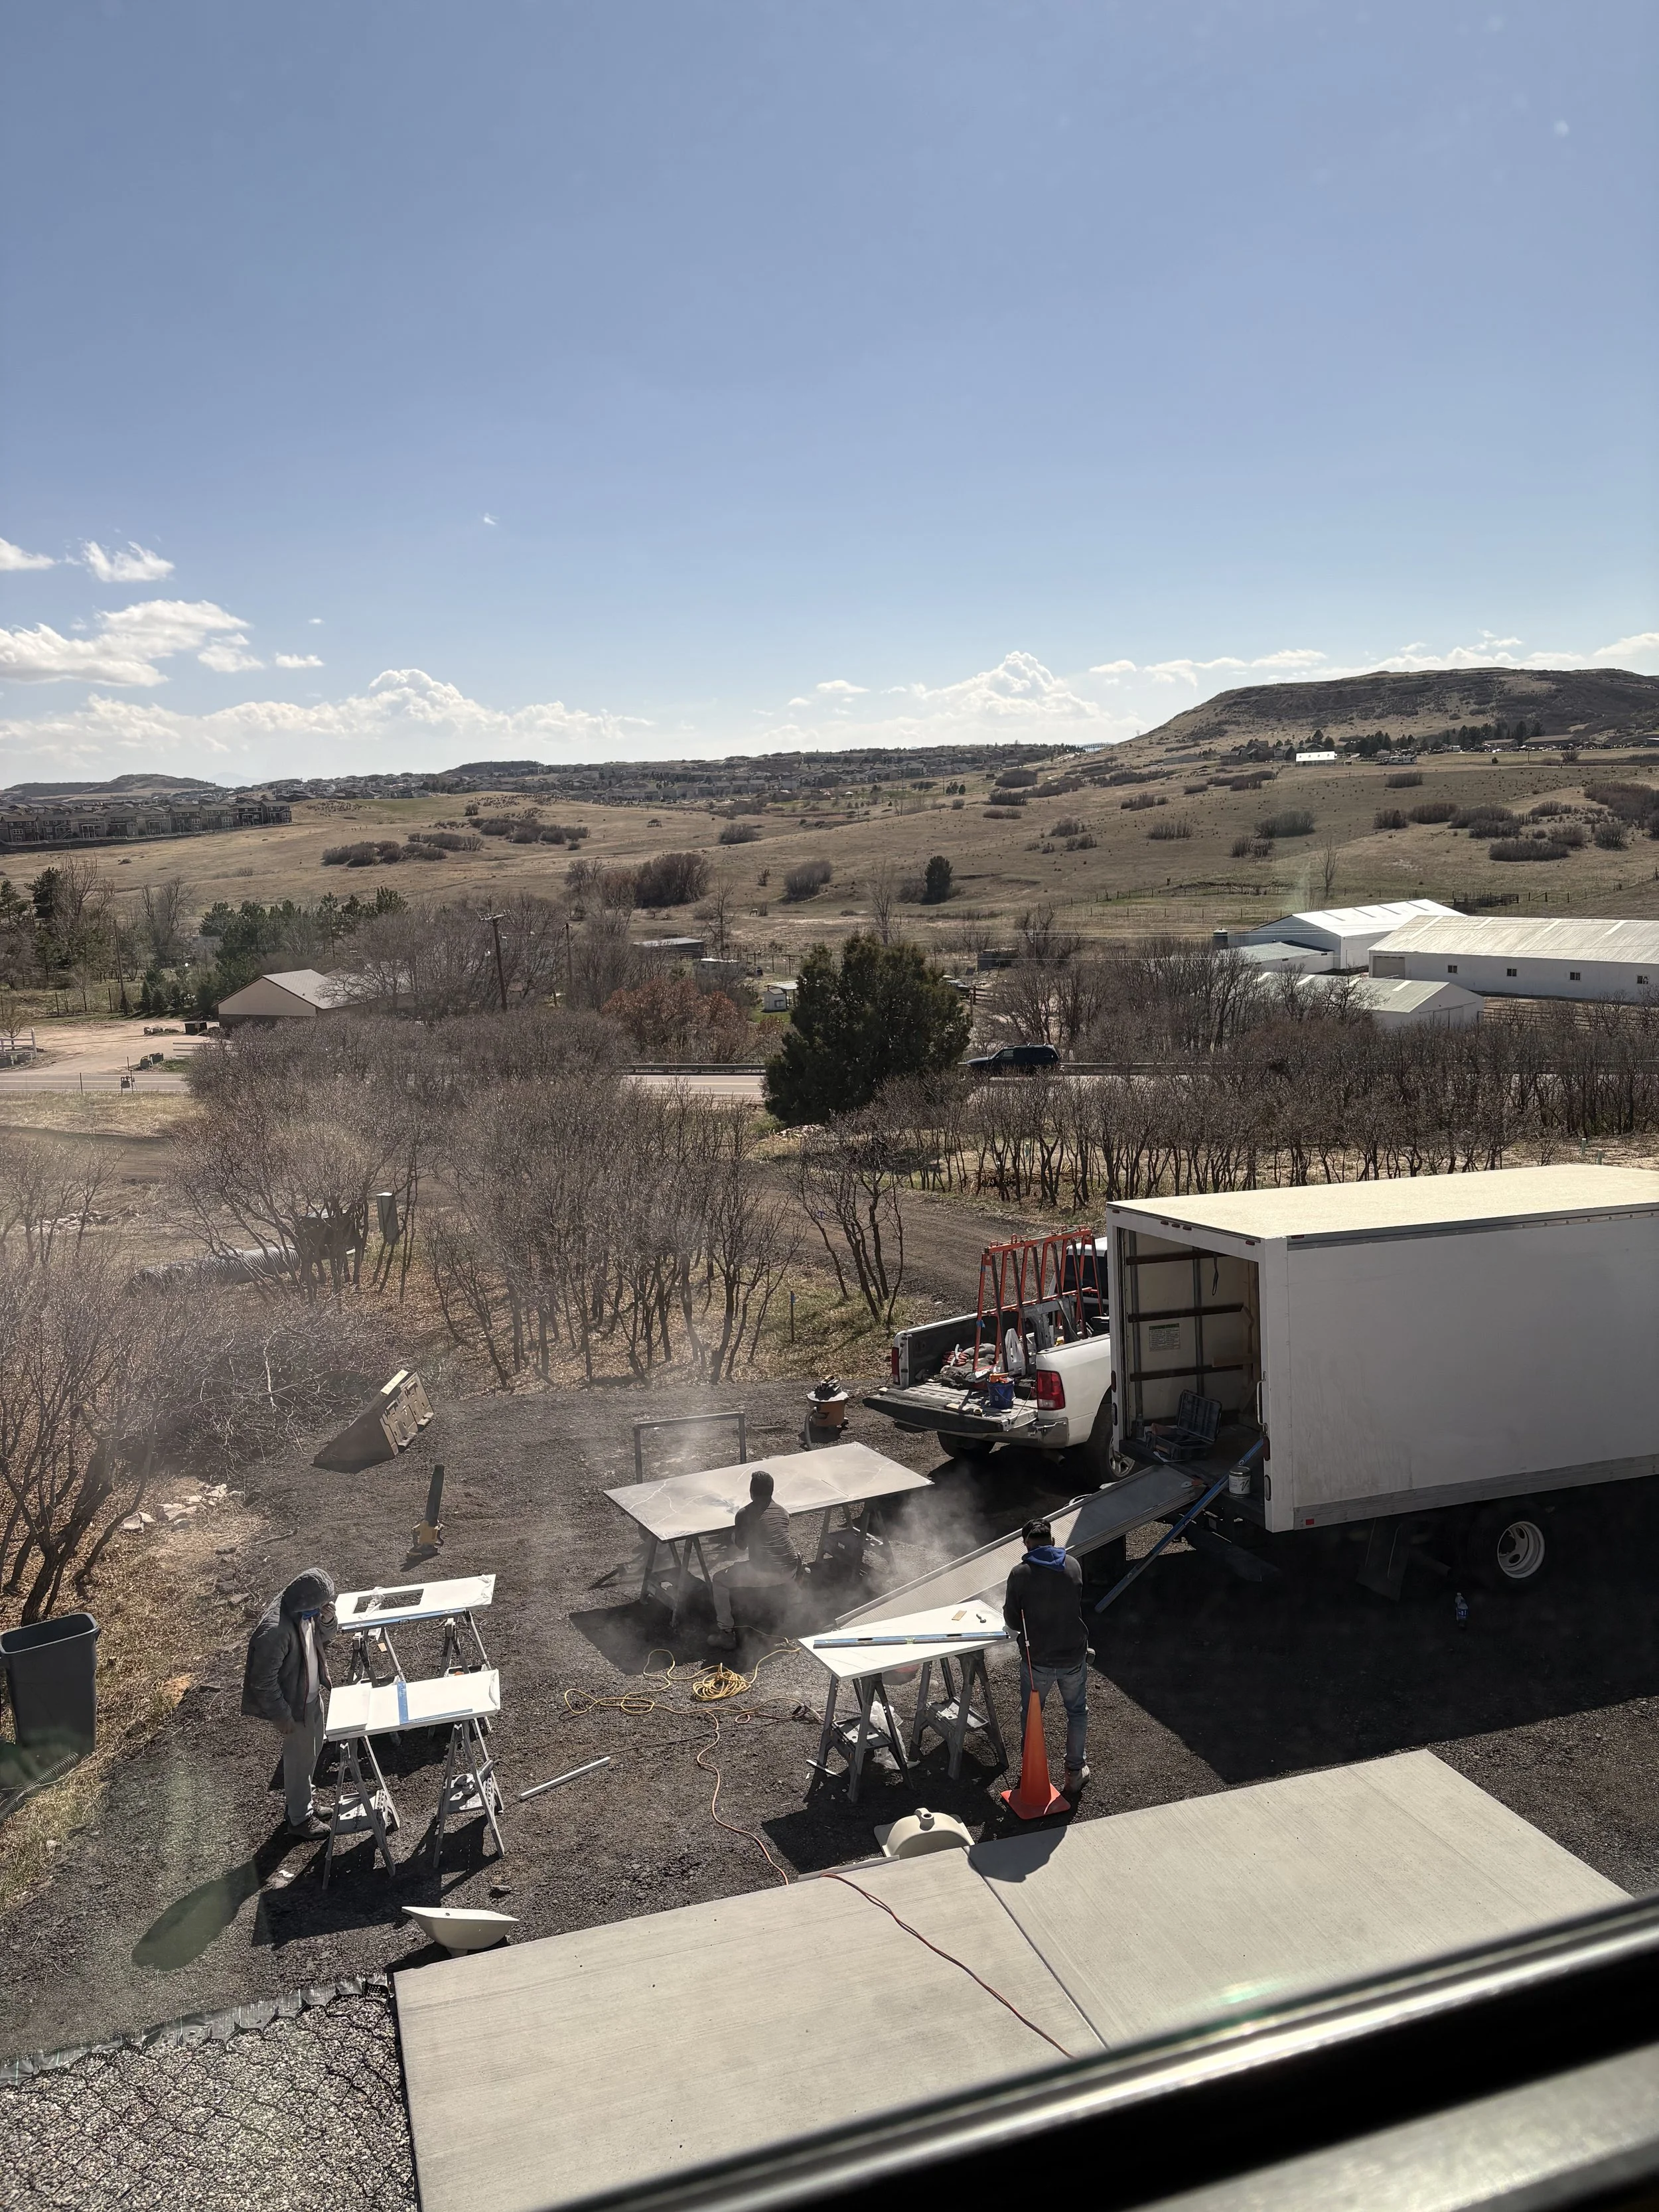
Glad they're cutting the countertops outside because it's a very dusty job.
The bar countertop is installed first! Very exciting!
Next up are the main countertops.
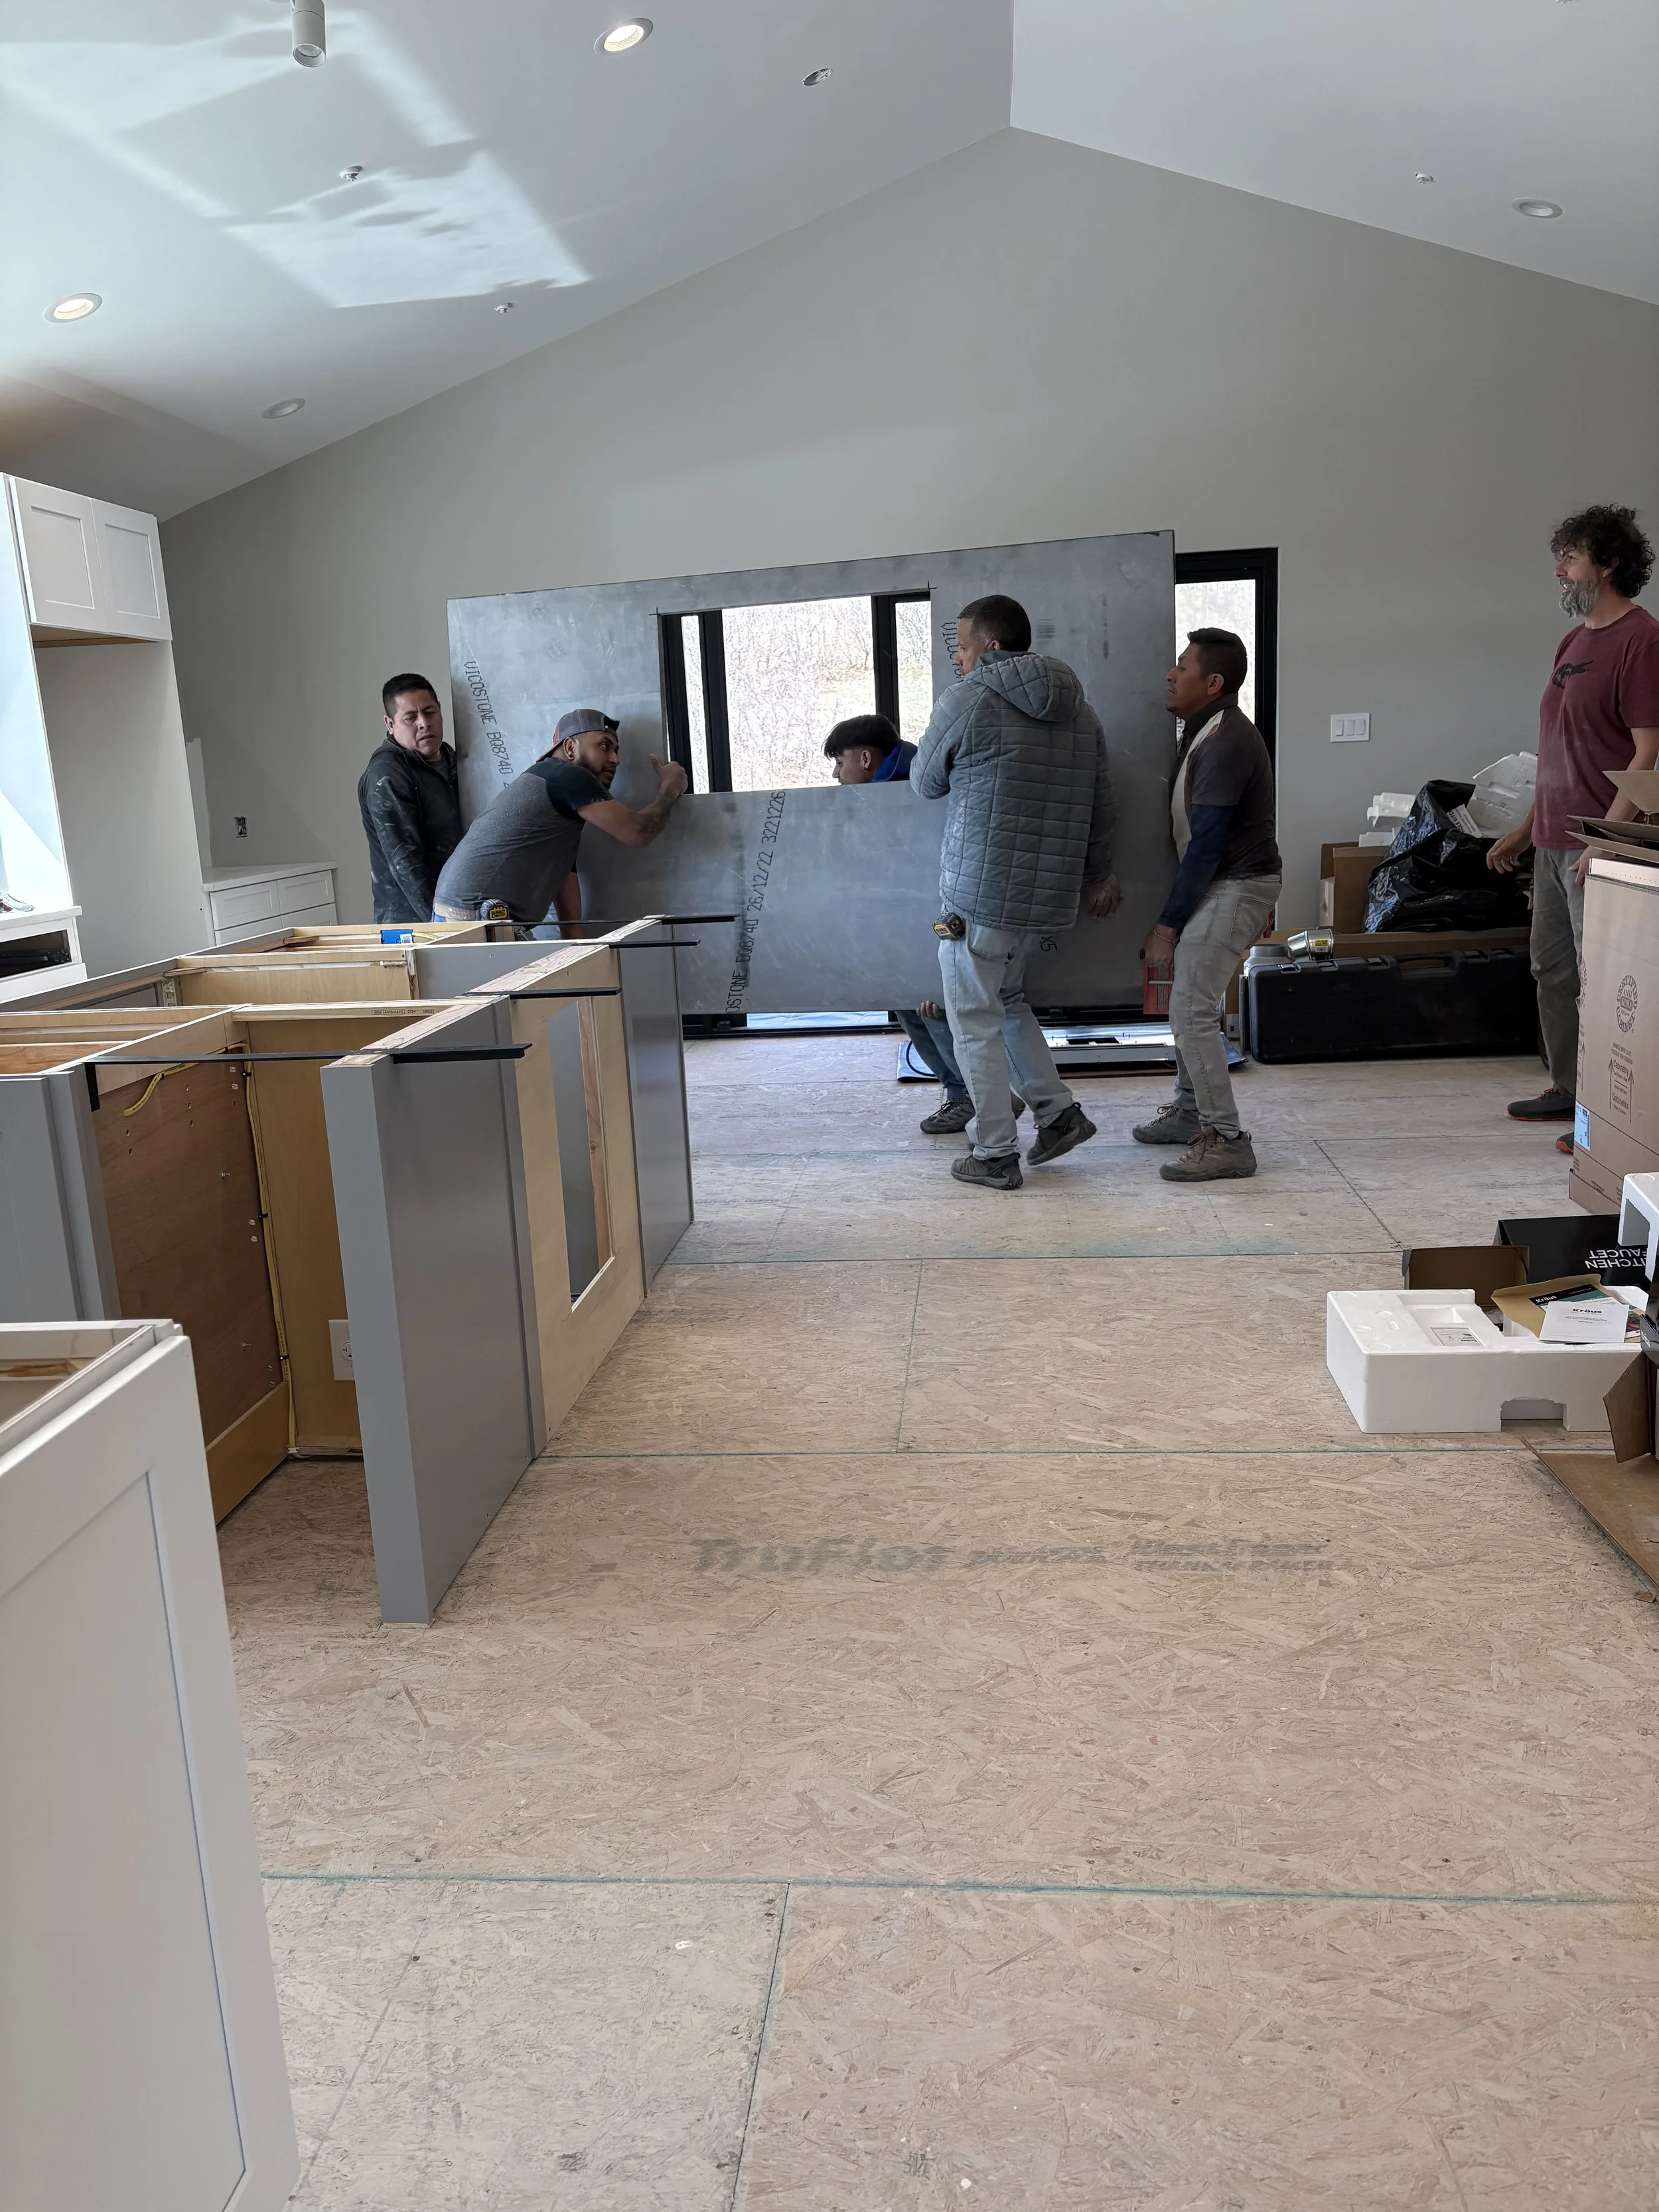
The entire crew is recruited for the center island slab. It was terrifying to hear them struggle up the stairs and through the house carrying this!
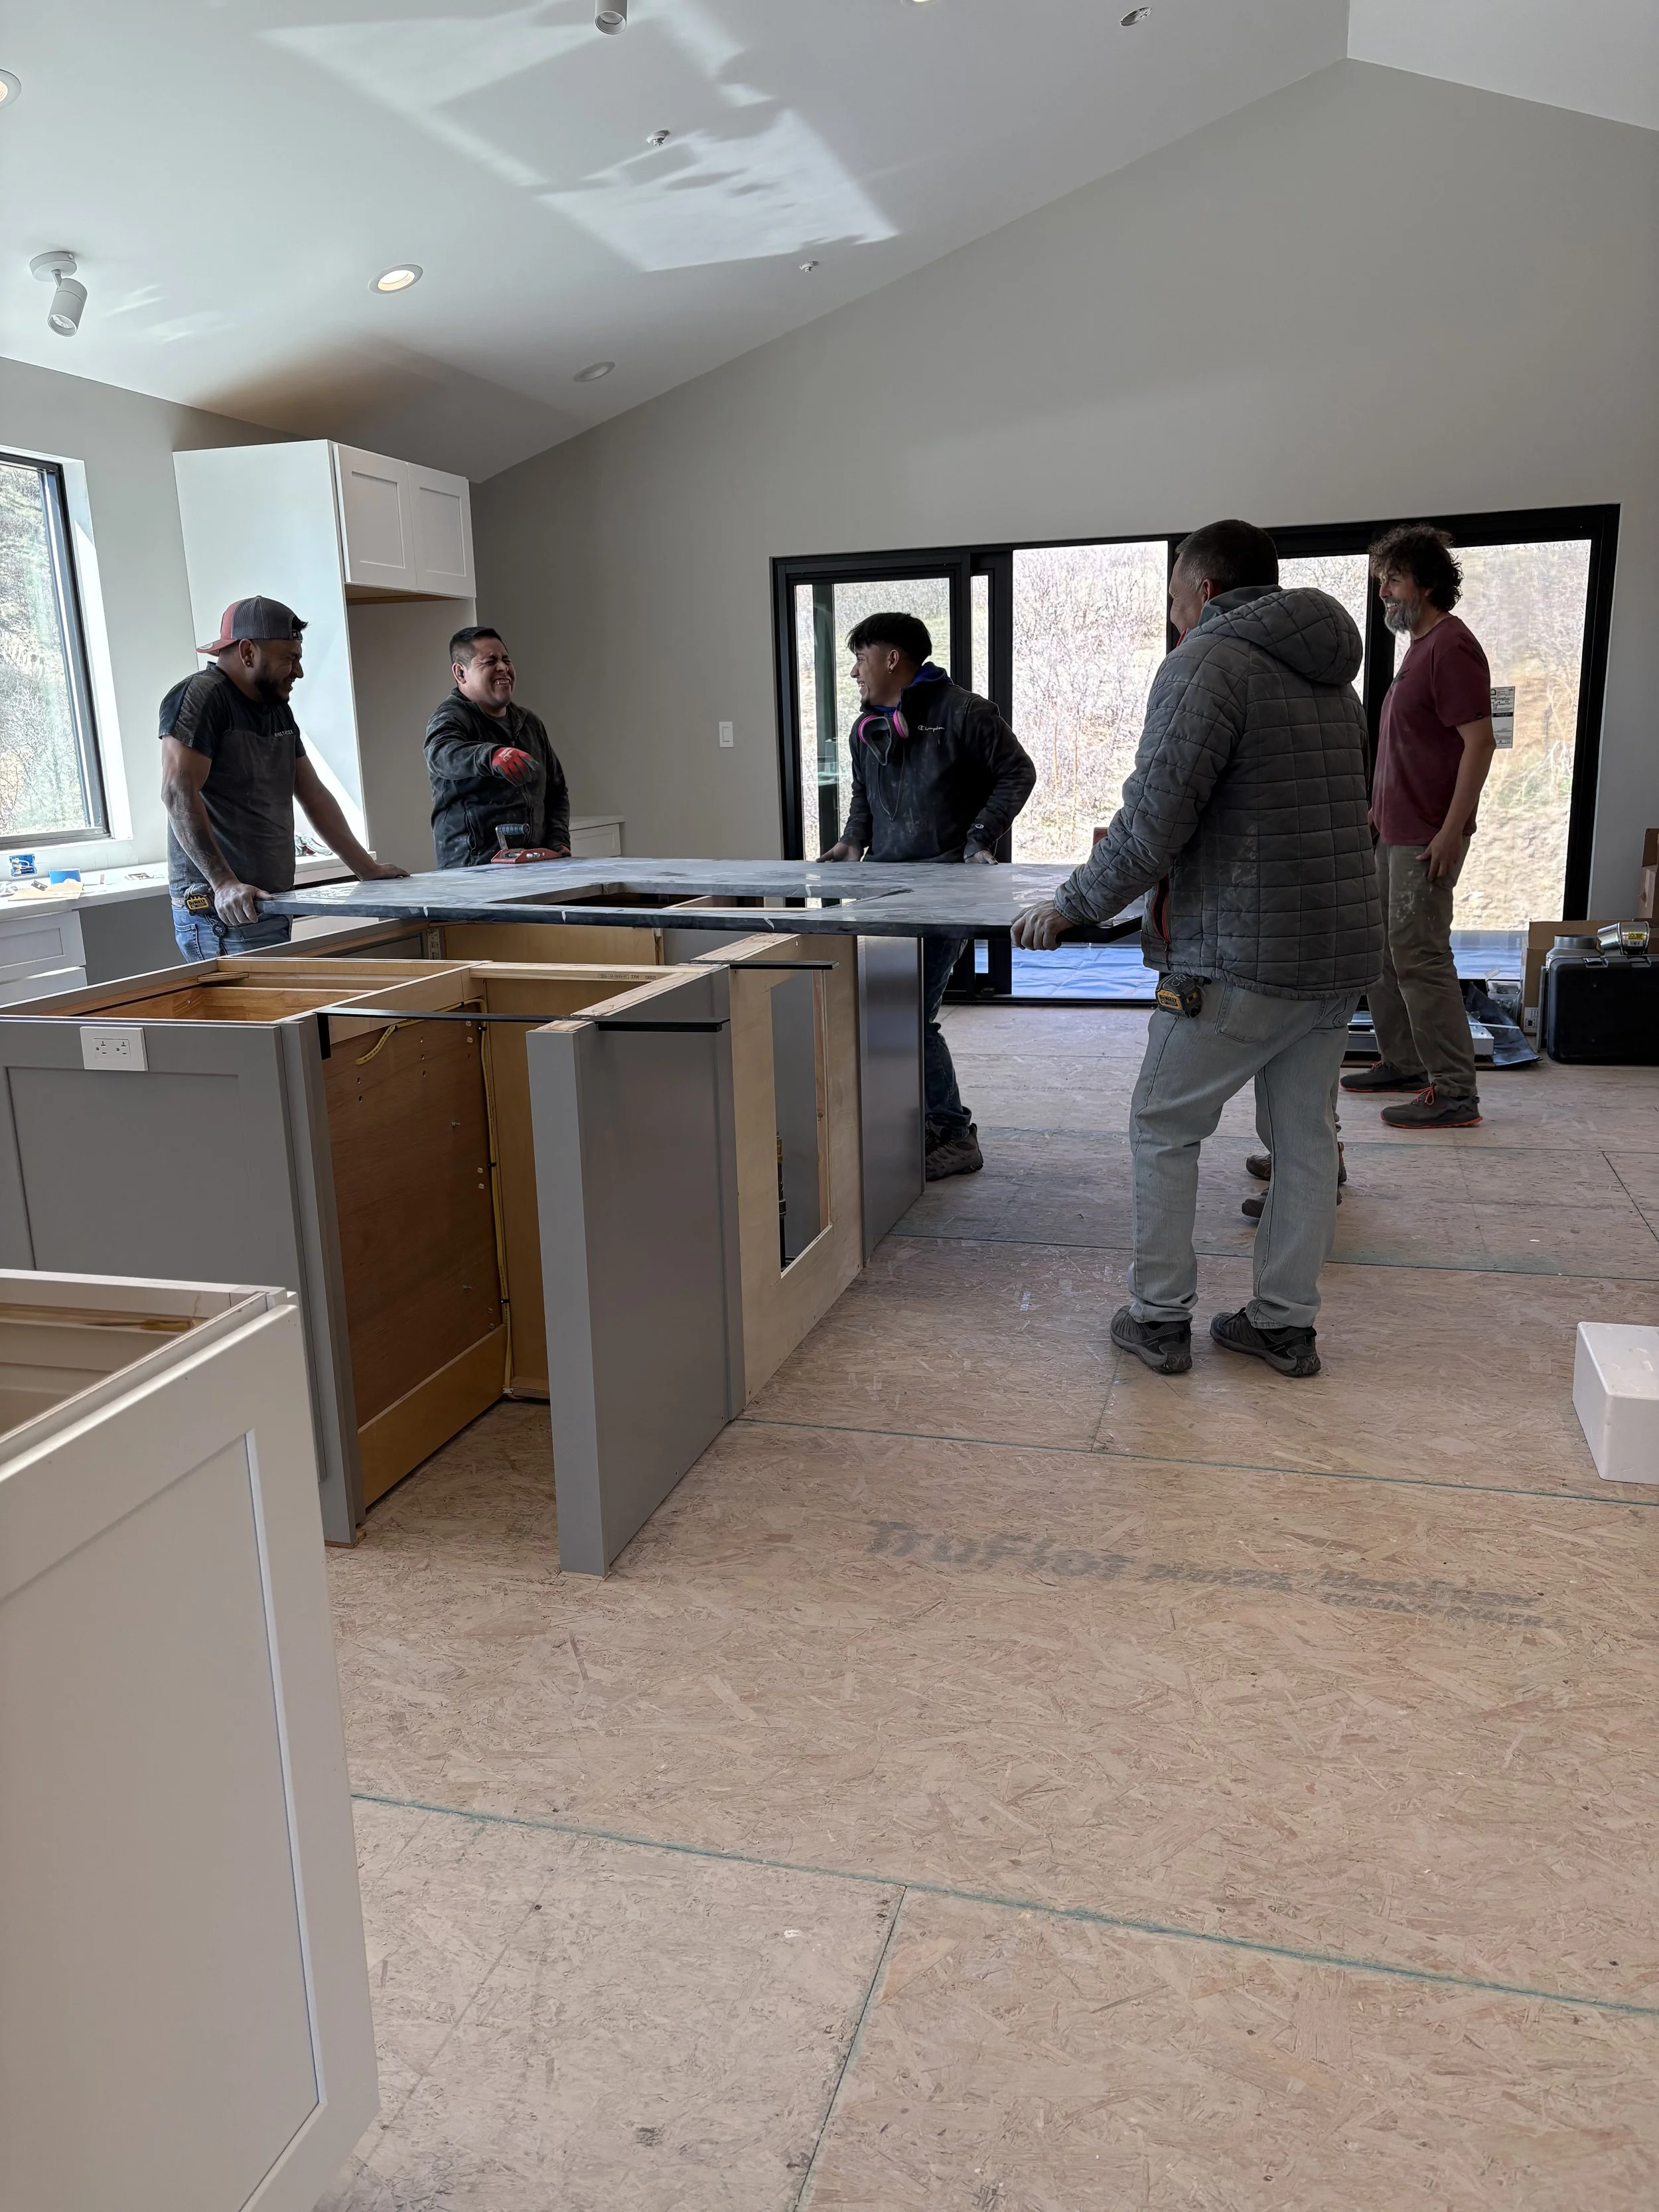
They breathe a sigh of relief when they can at last set it down!
Looks gorgeous!
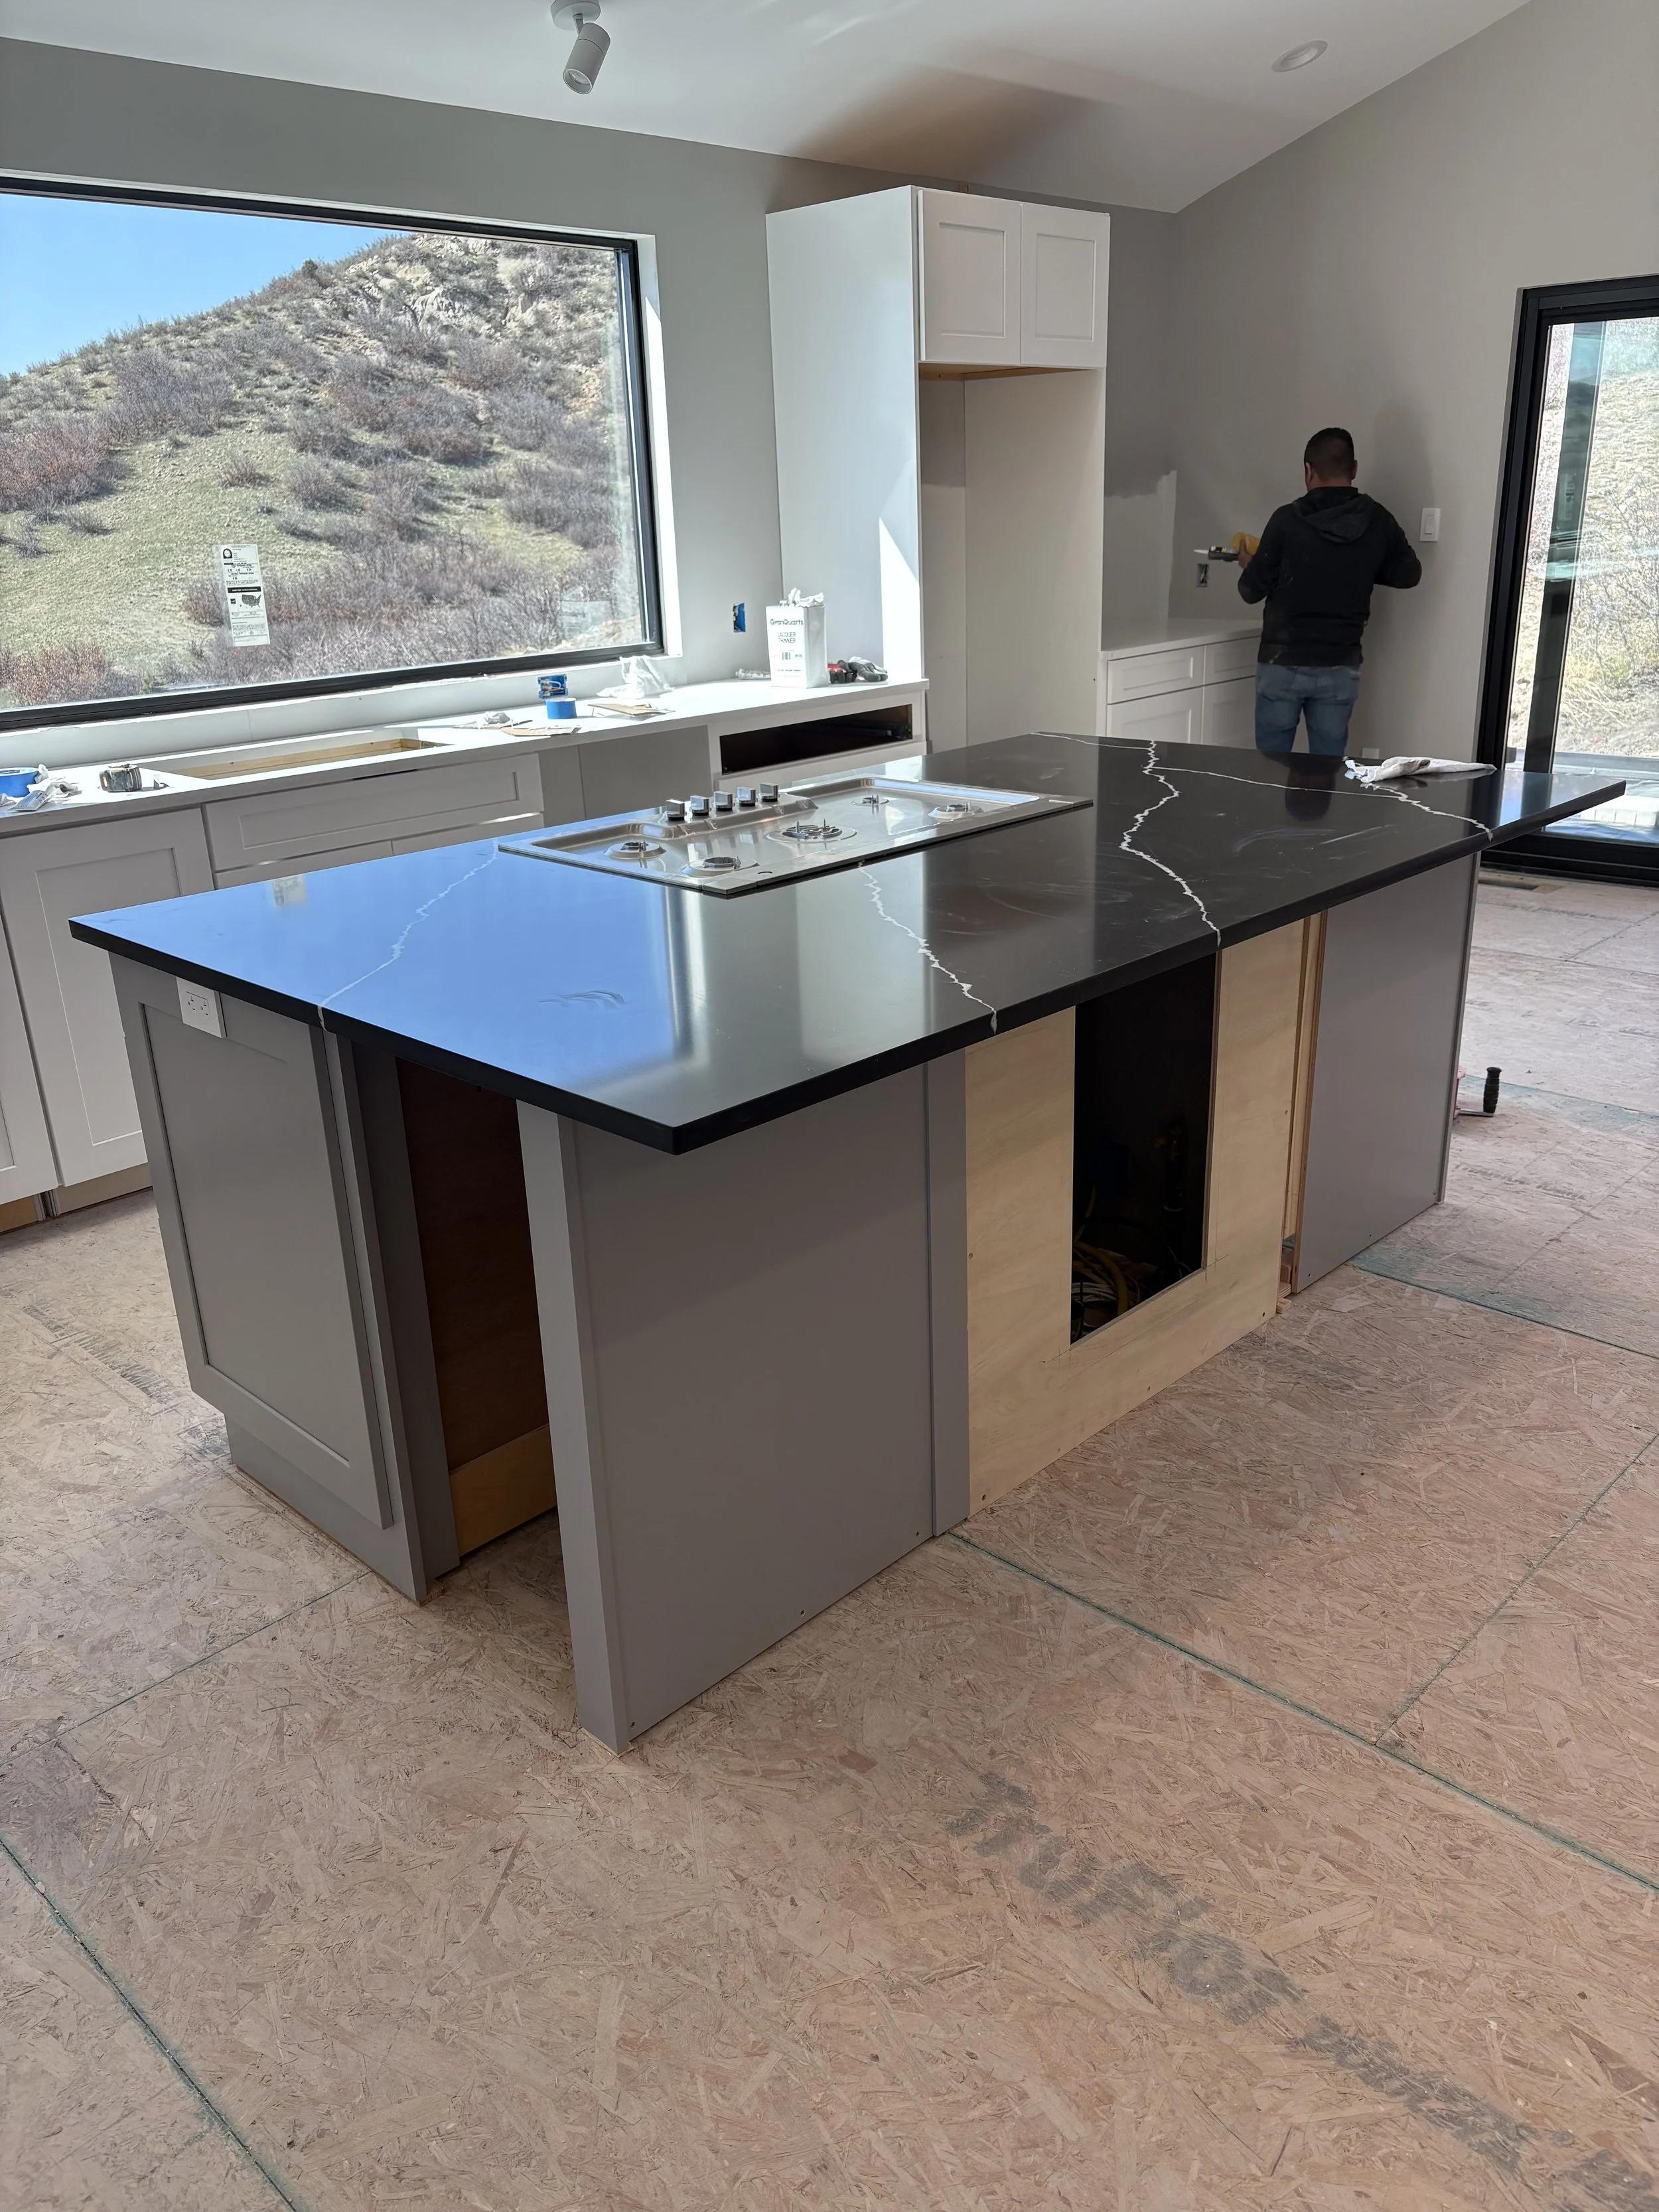
The gas cooktop and downdraft are set into the island.
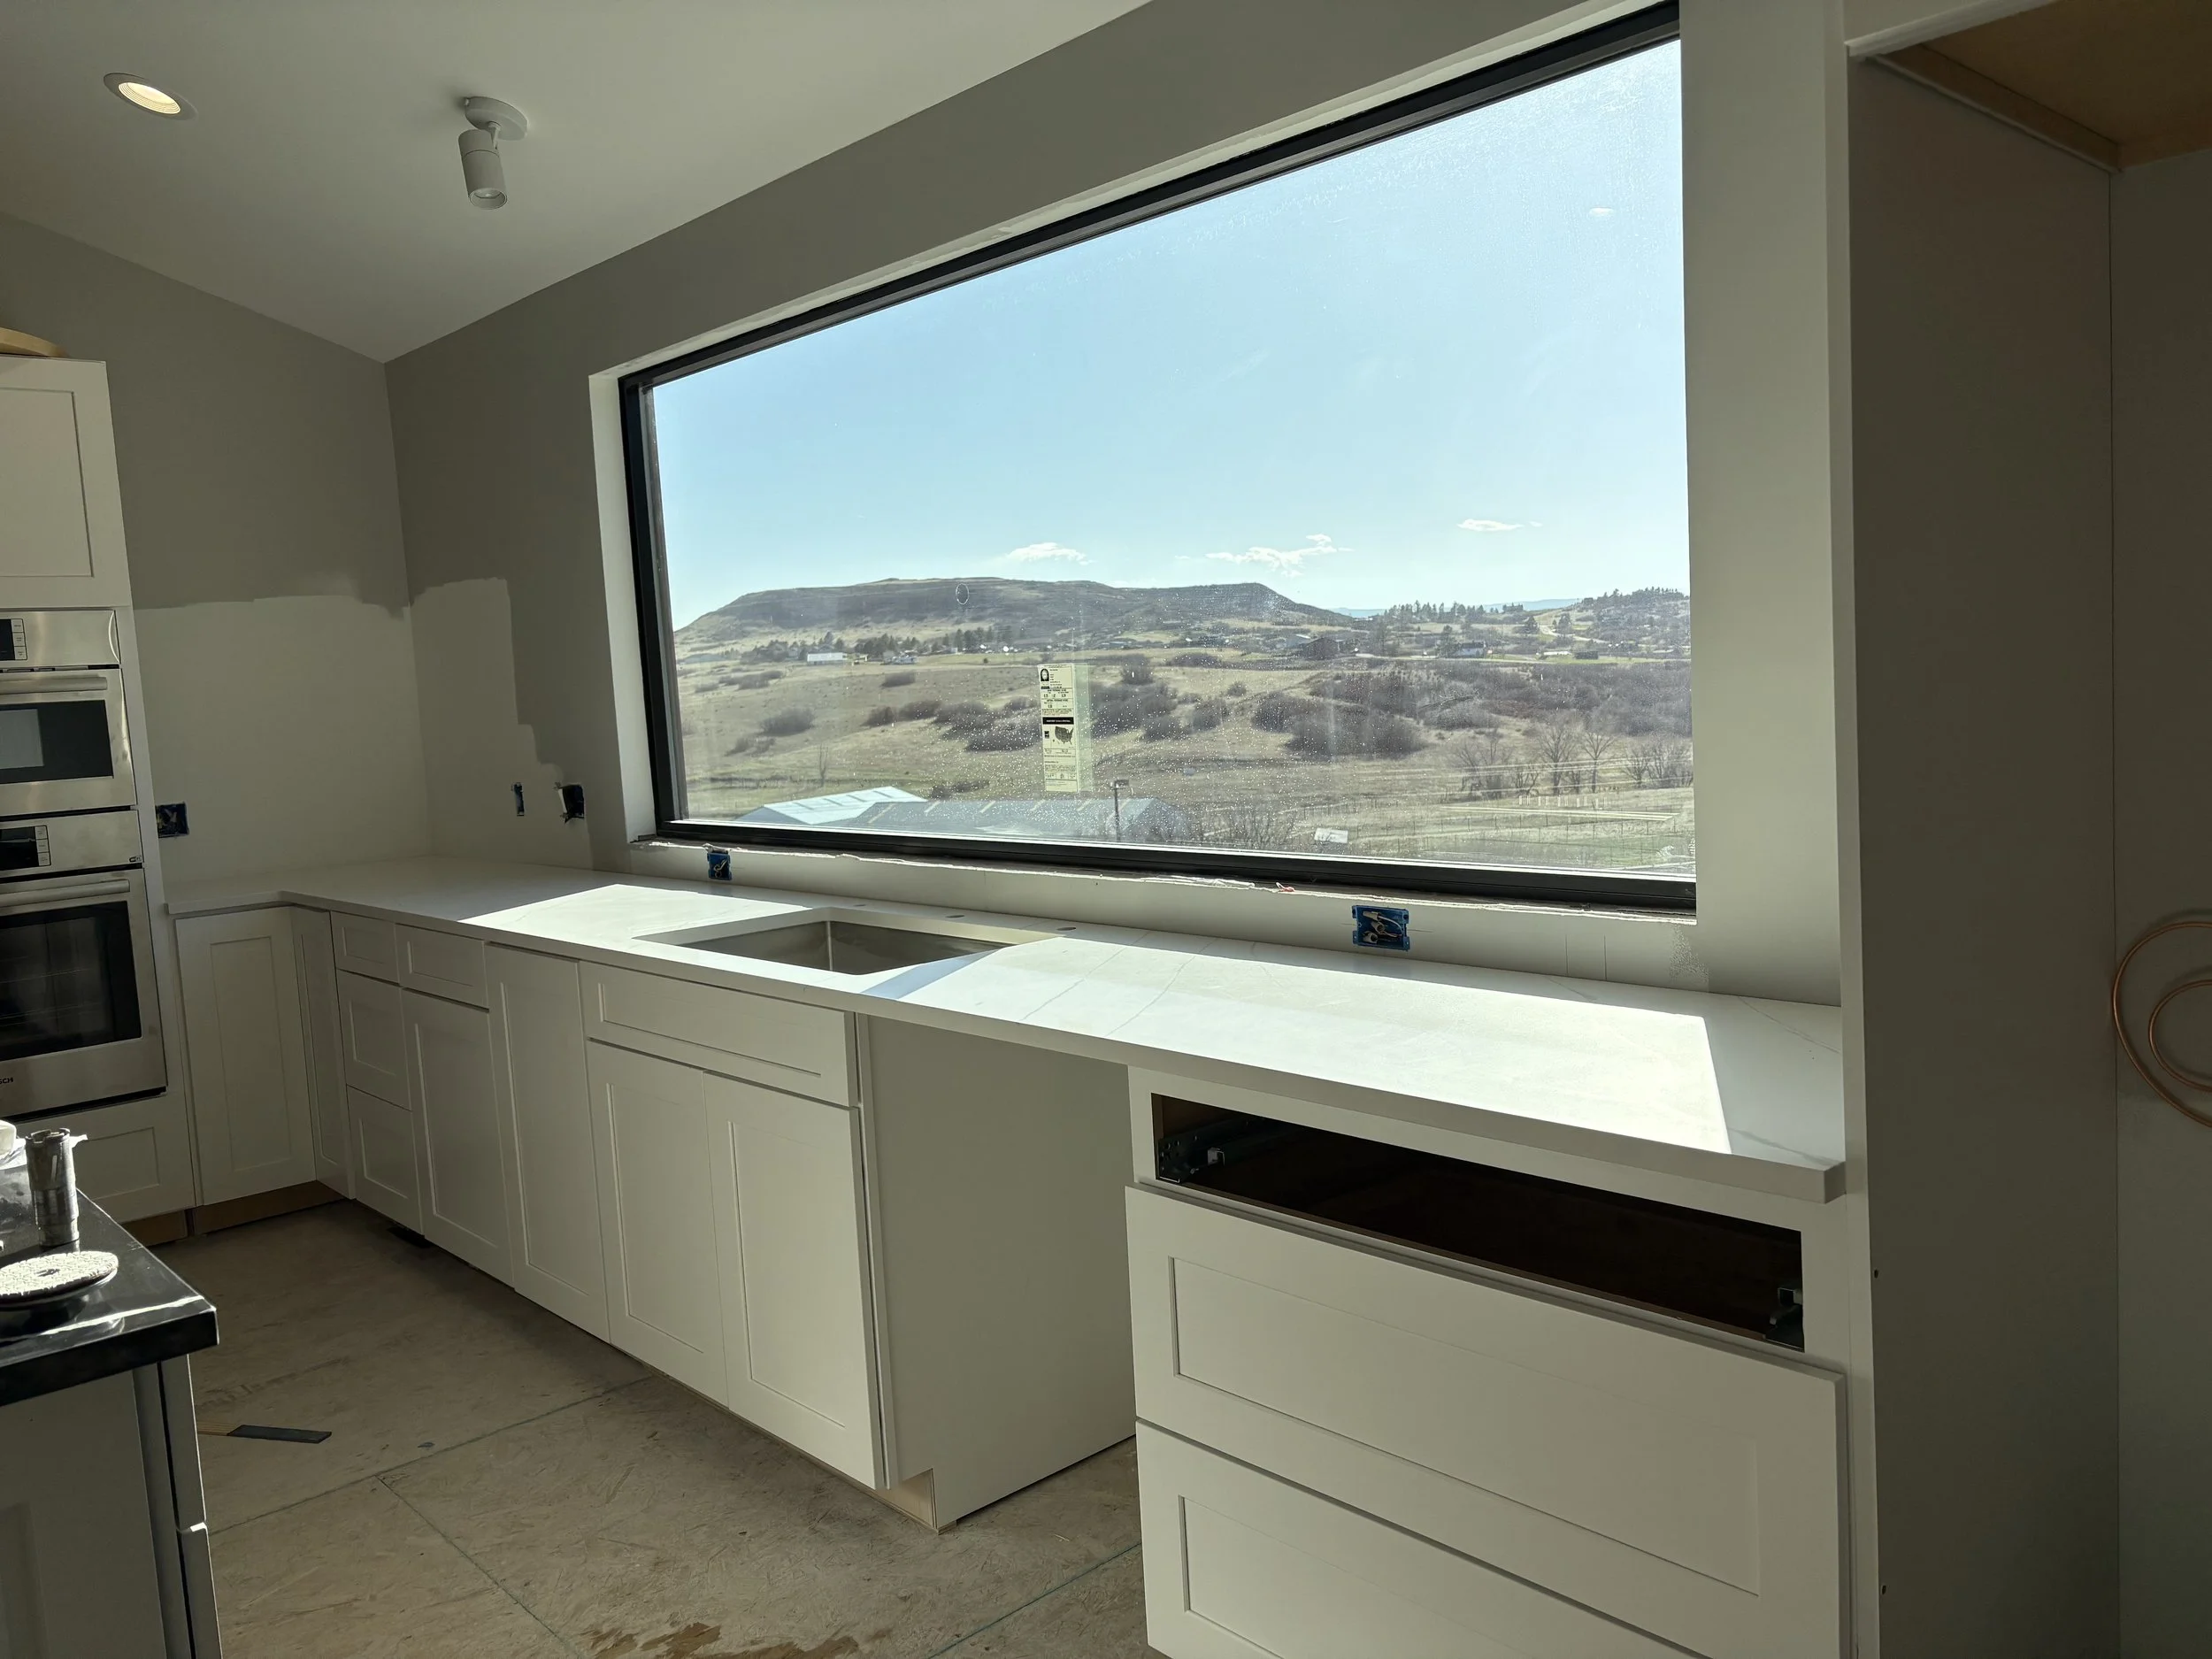
The main countertops are finished!
The installation crew is doing all the finishing caulking and cleanup.
Not gonna mind doing dishes QUITE as much with this view!

Now we figure out how to install the kitchen faucet, soap dispenser and drinking water spigot. Hmmm, this could take a while!

Ta da!!
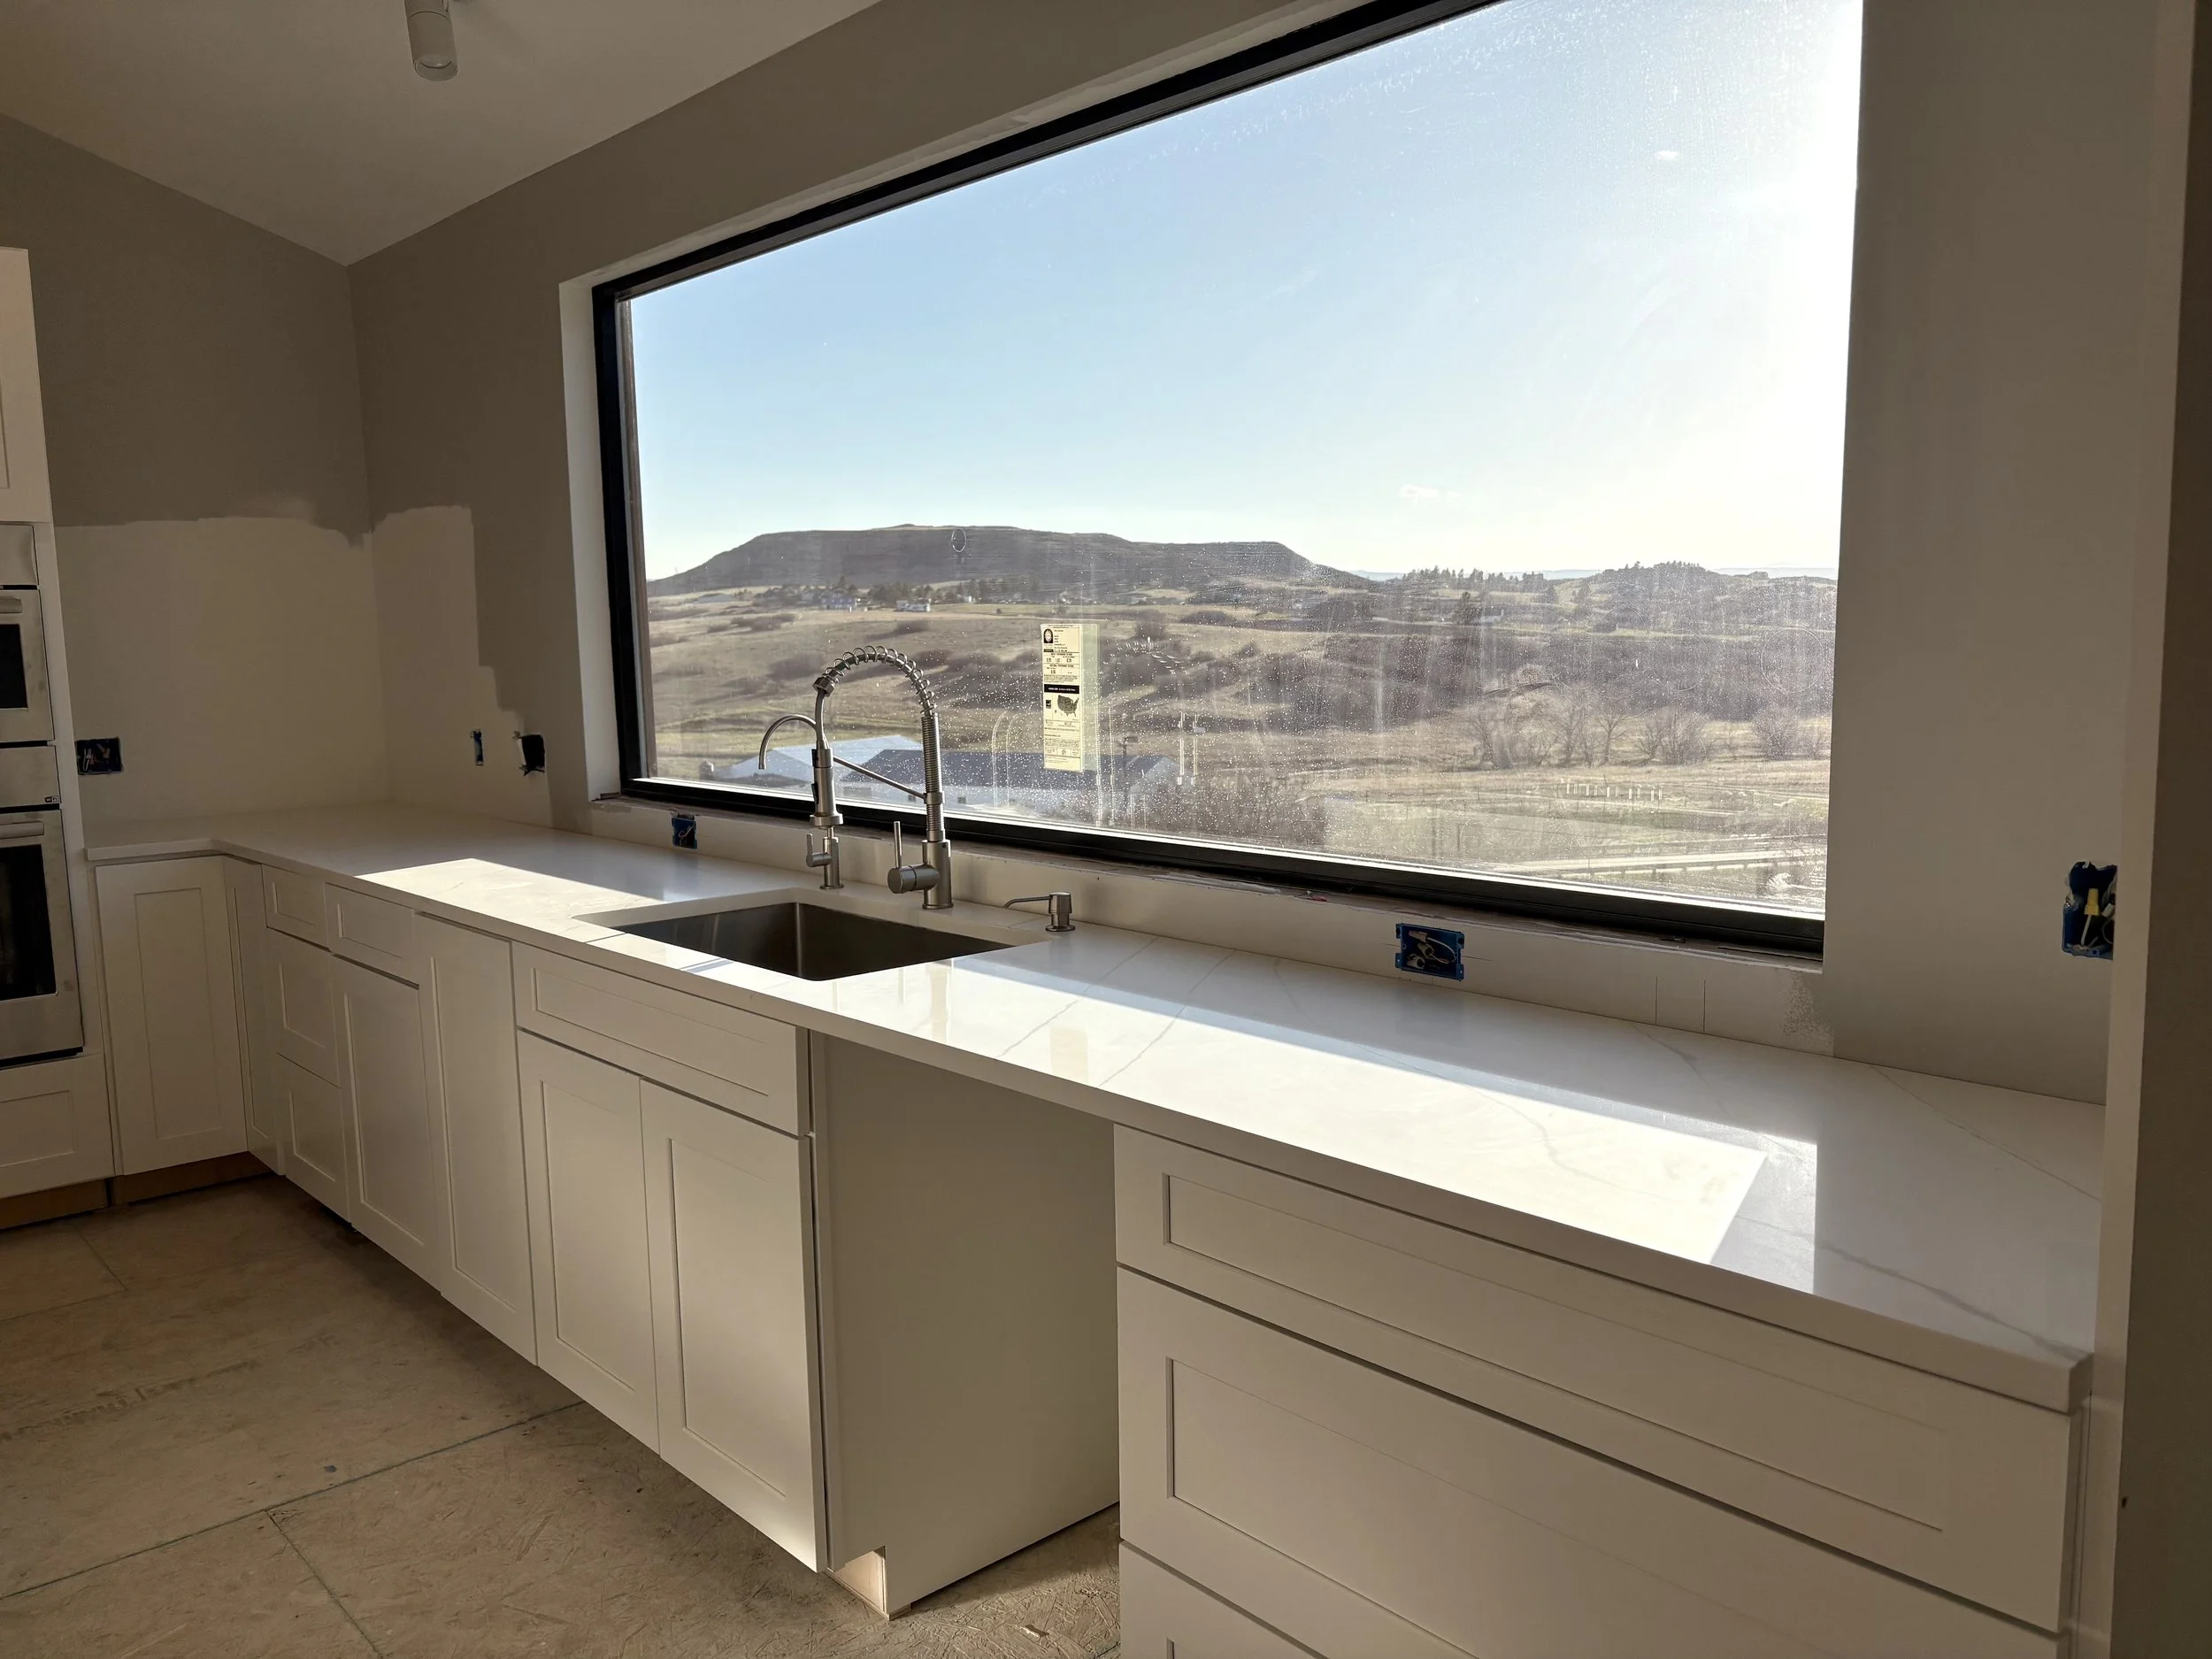
Let's step back and enjoy the view!
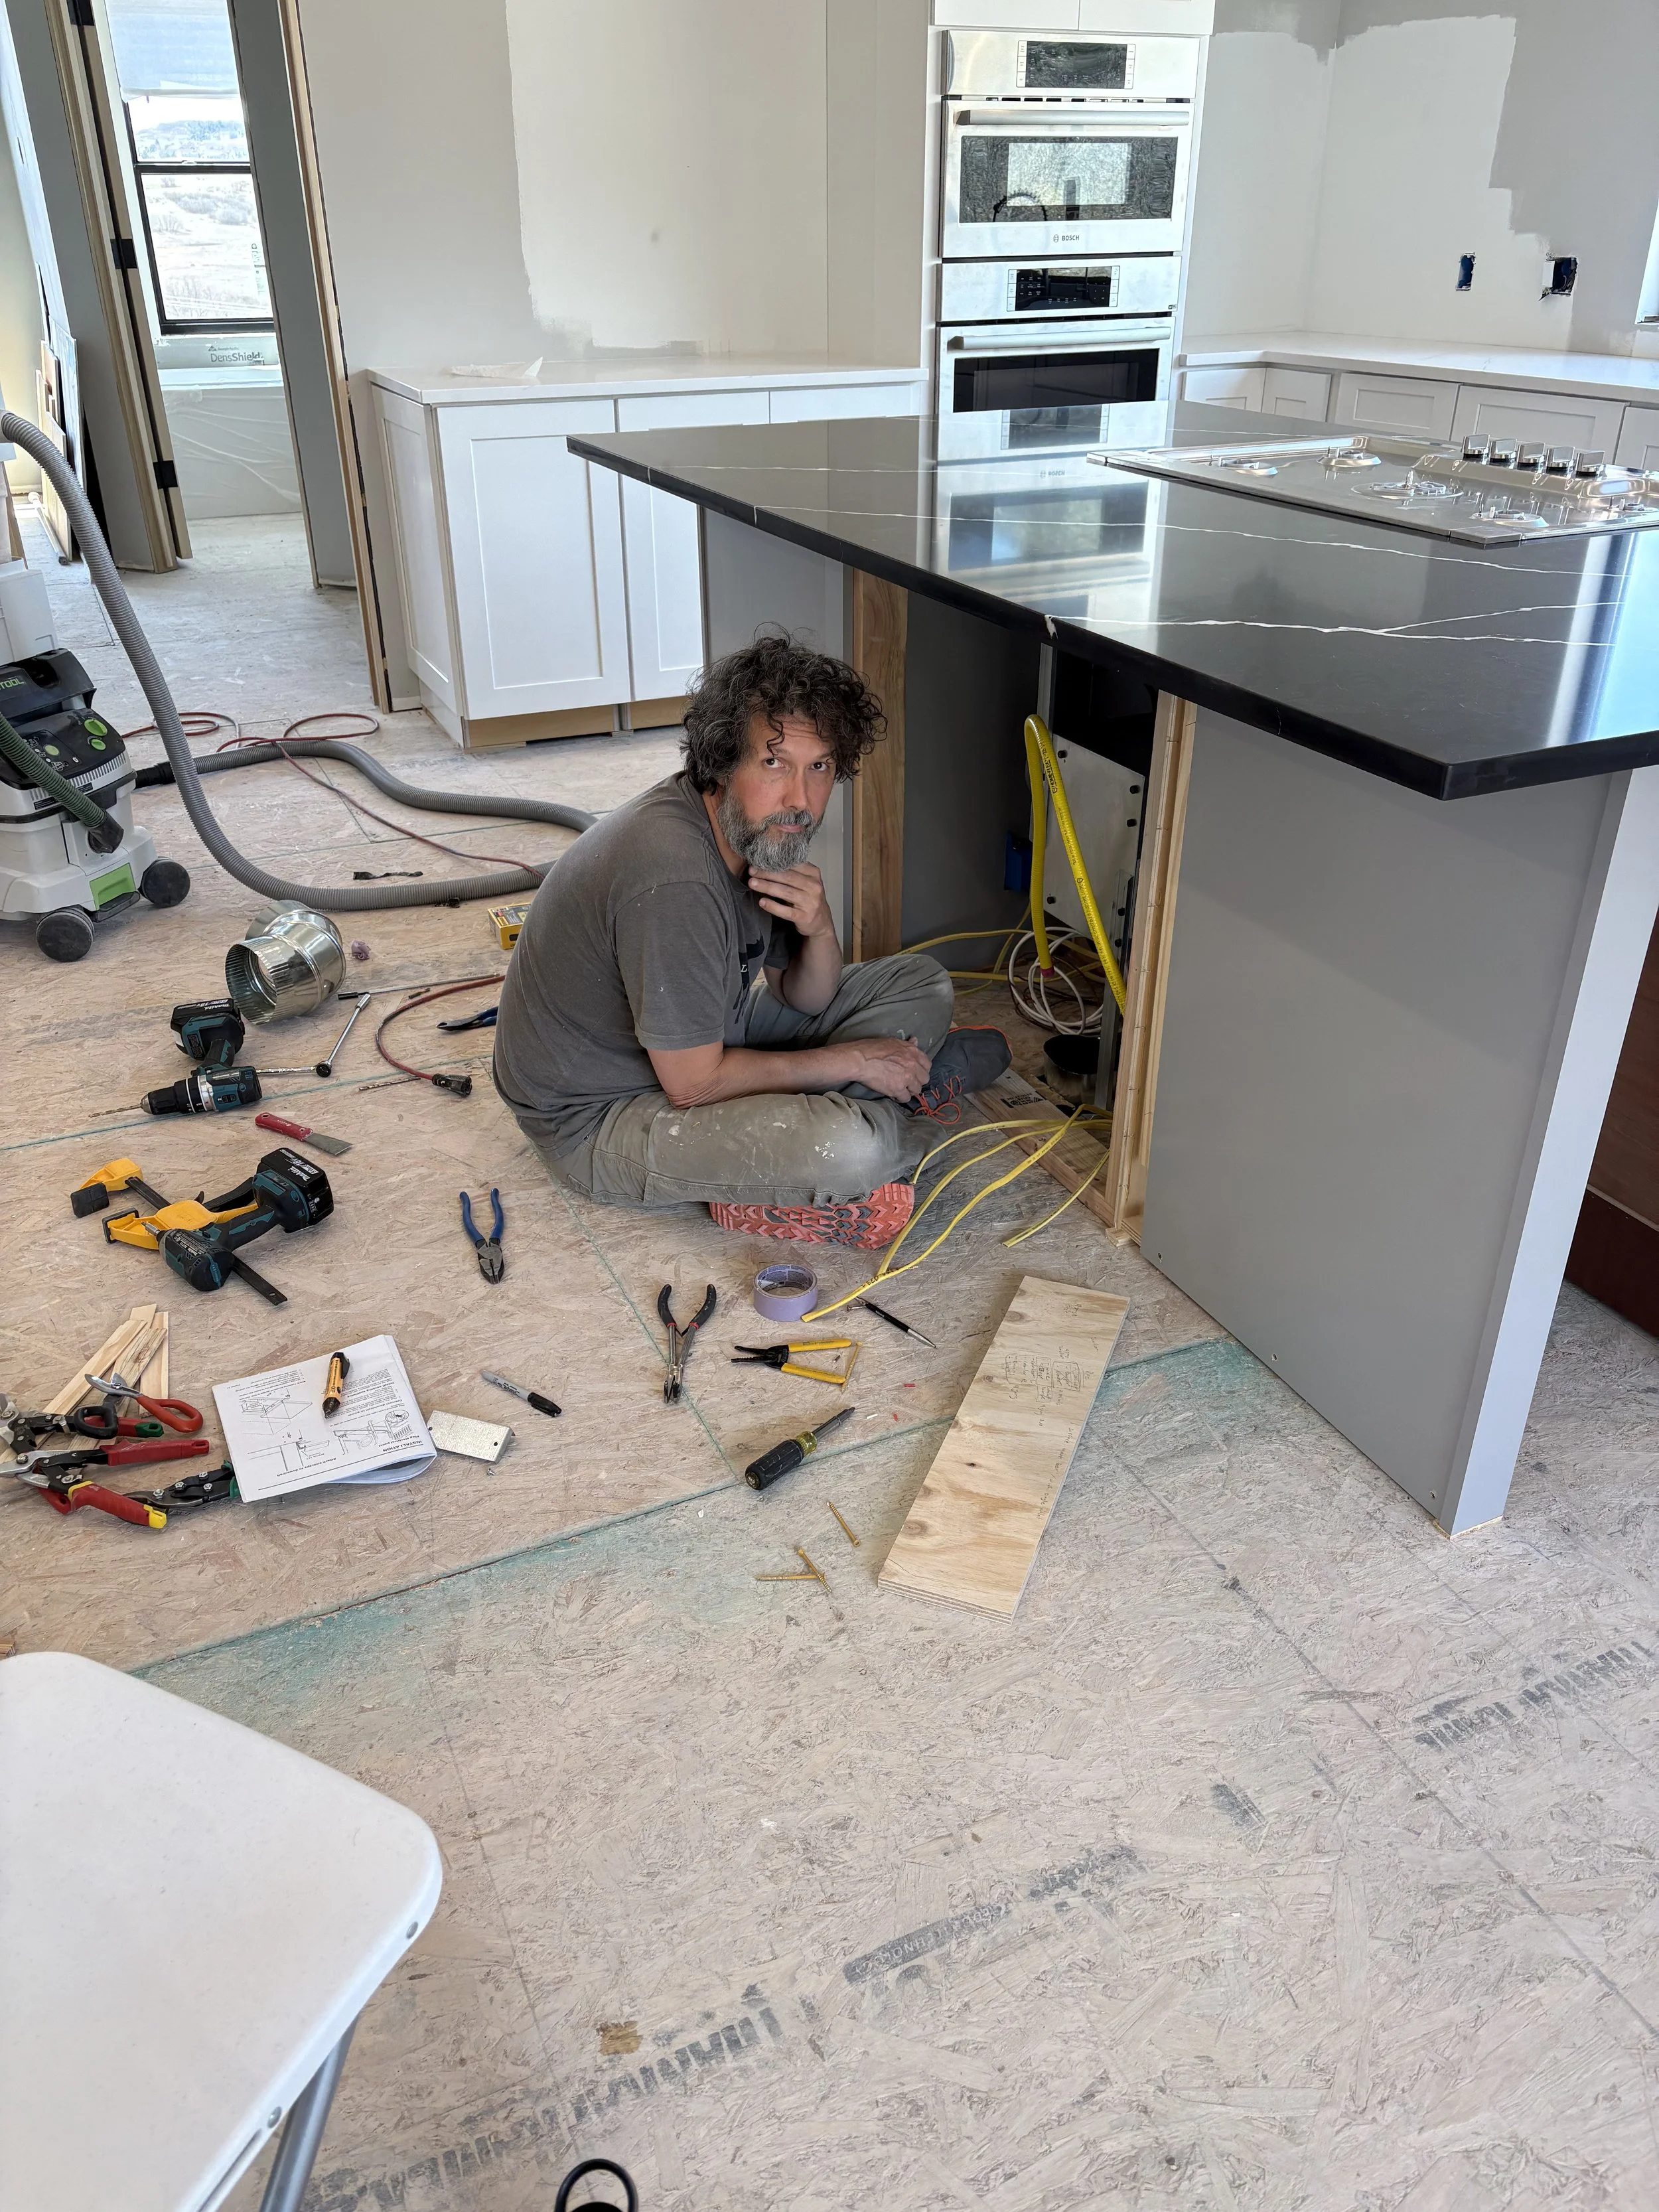
Hooking up the downdraft for the cooktop was quite the nightmare. Doesn't Kris look like he's having so much fun???
Everything is hooked up and ready to test! Cross your fingers!
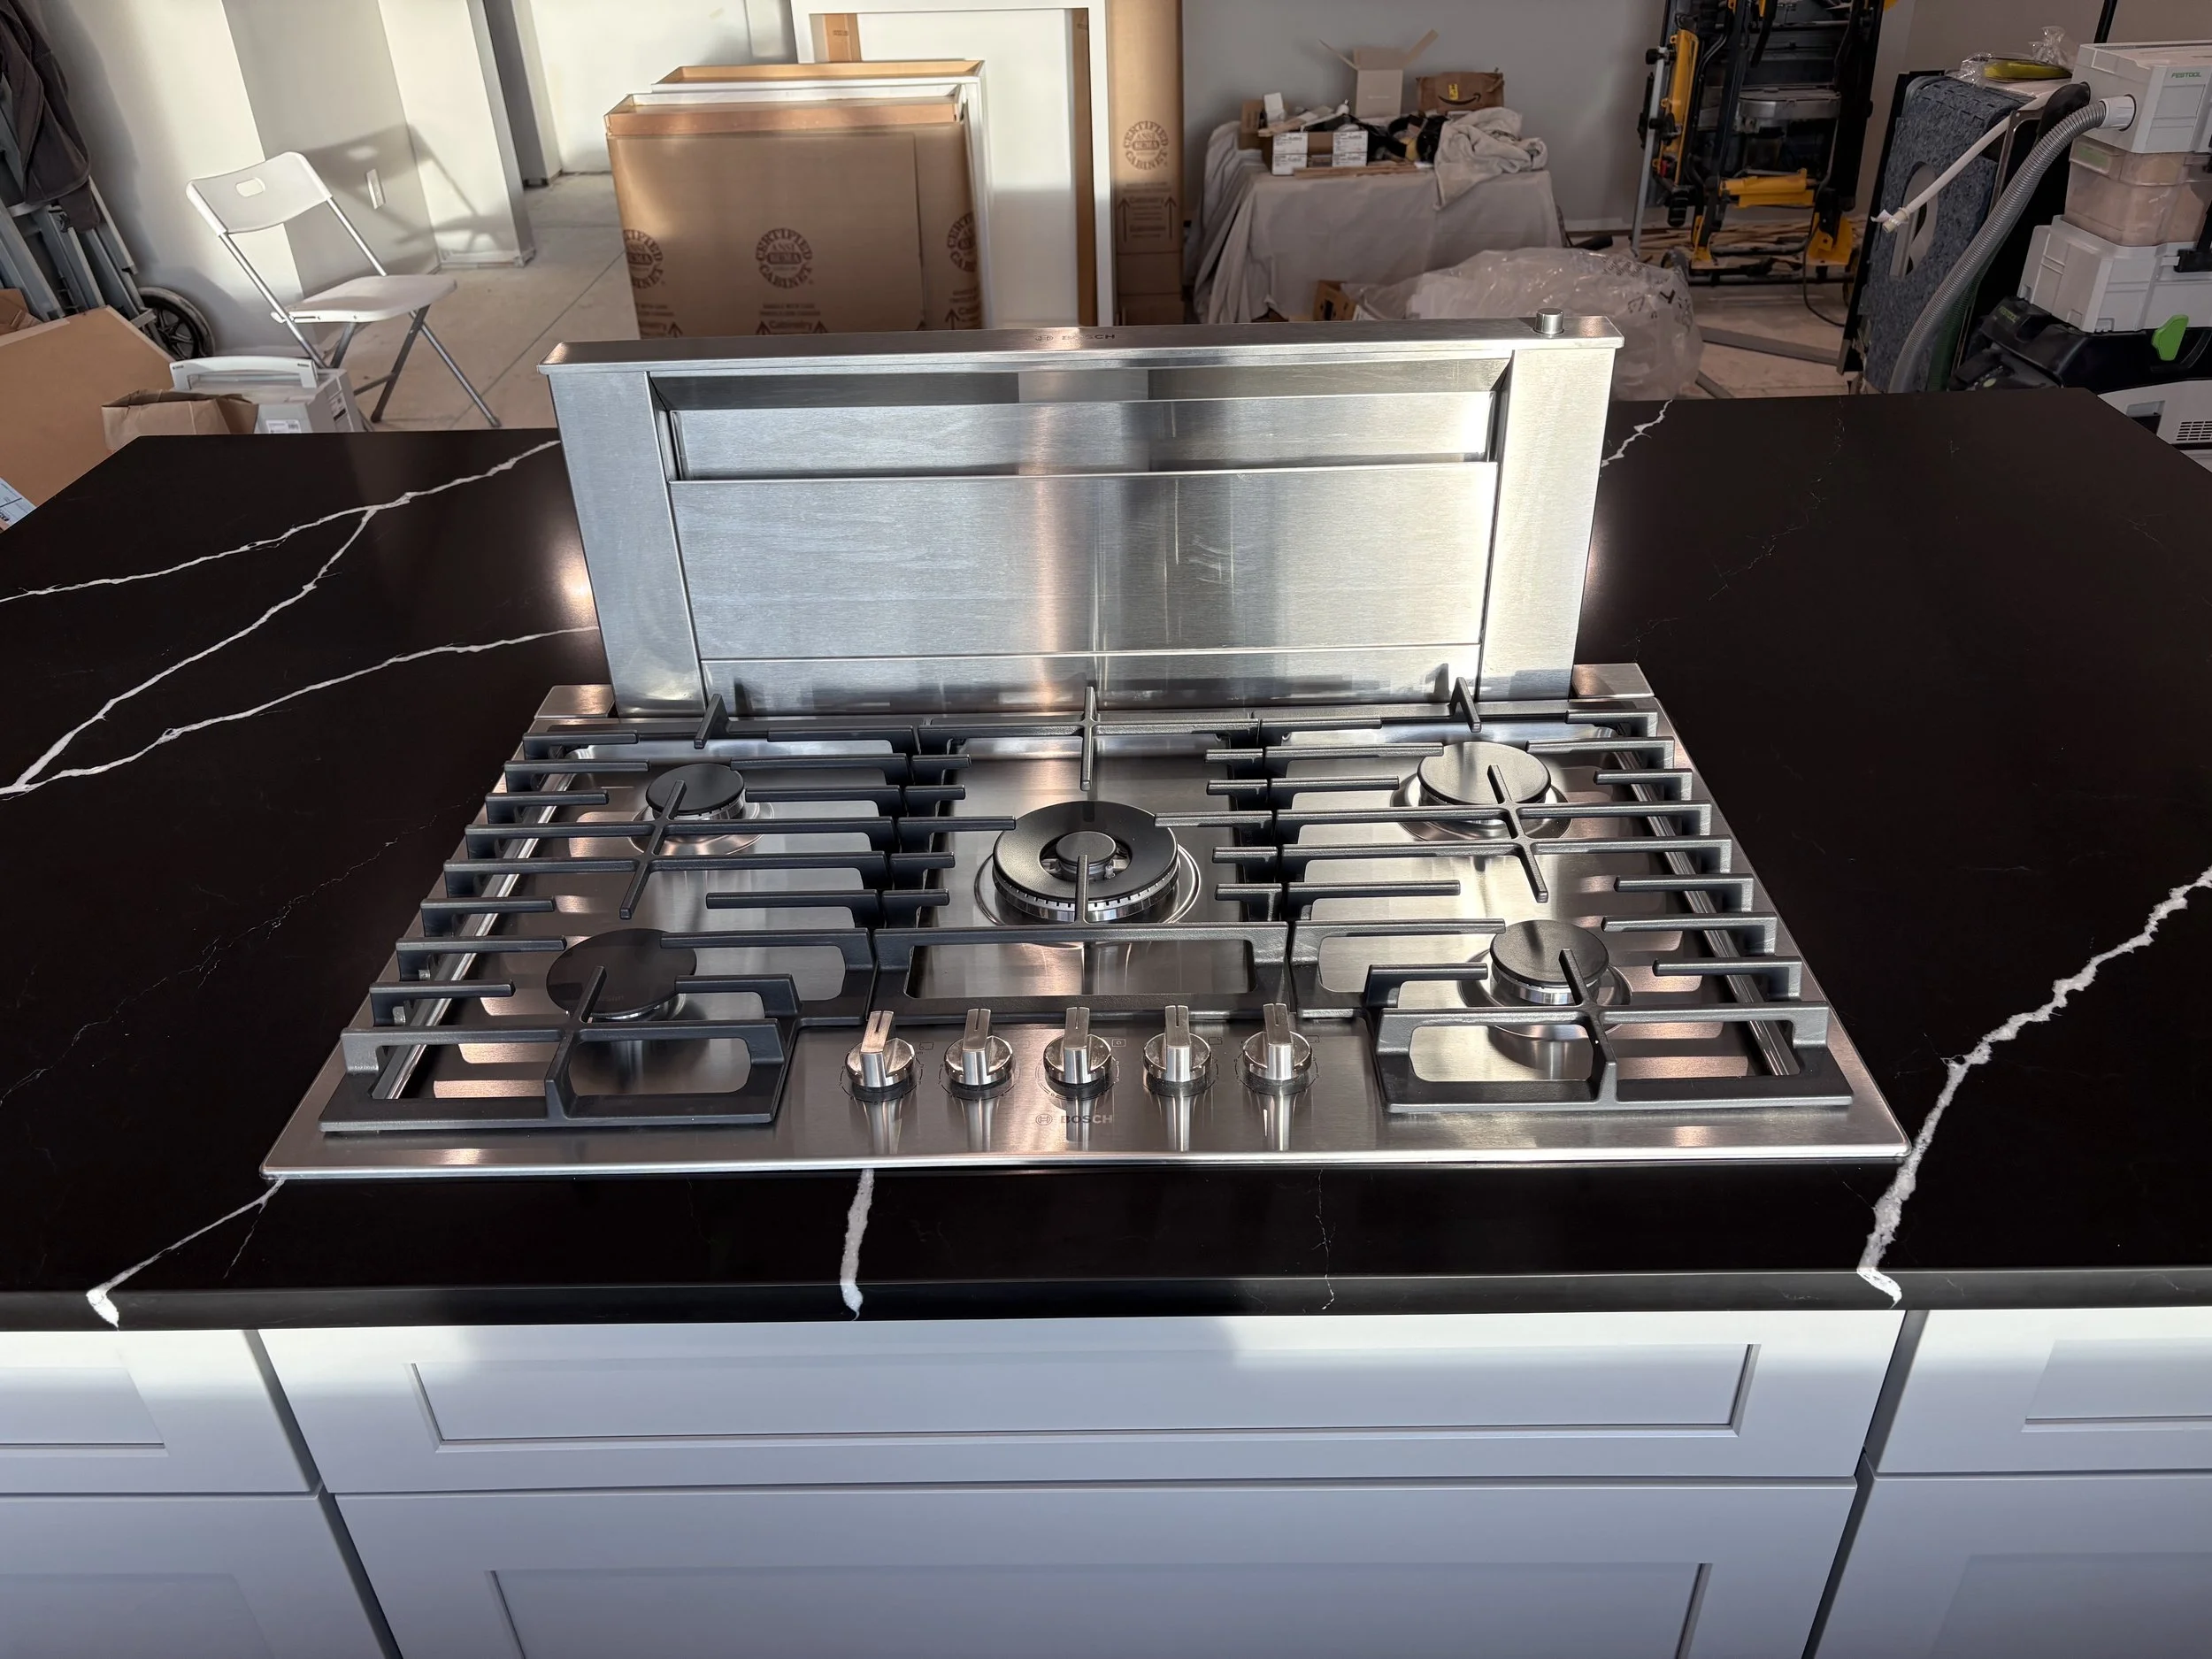
Yay! We can officially use the cooktop and downdraft.
Here are a couple different viewpoints of the island. This side will get the wine fridge.
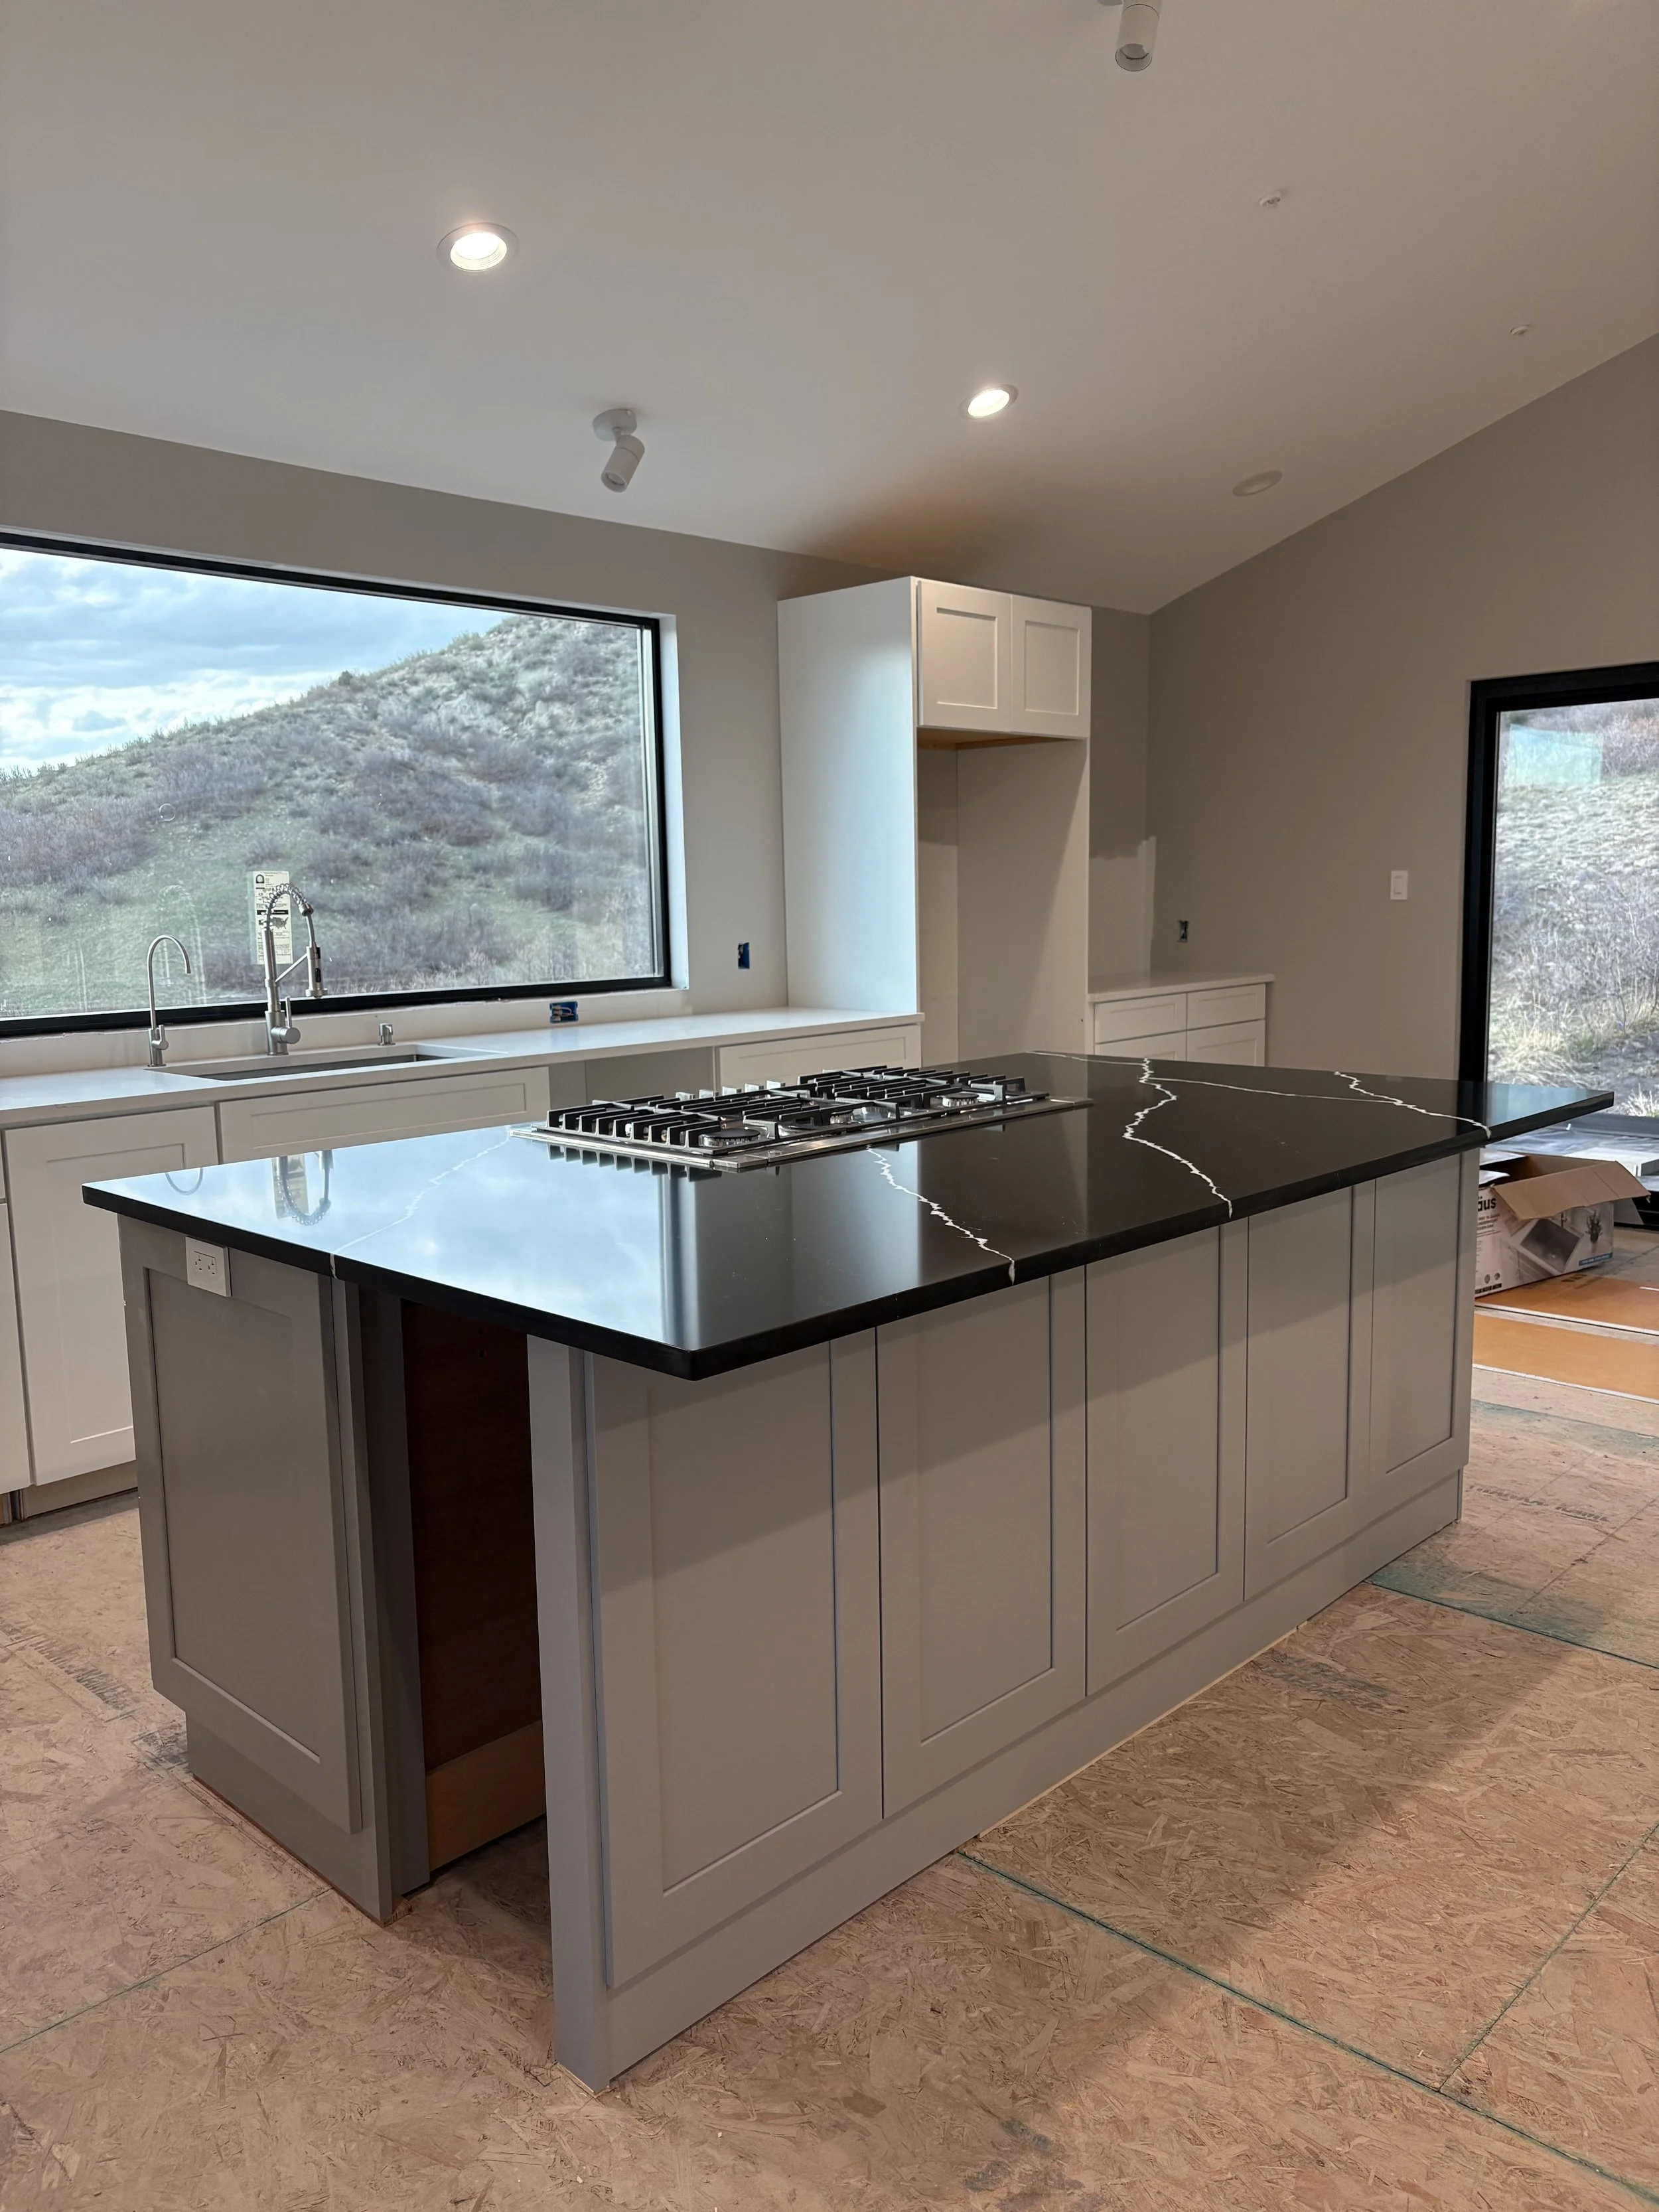
This side of the island gets the beverage fridge.
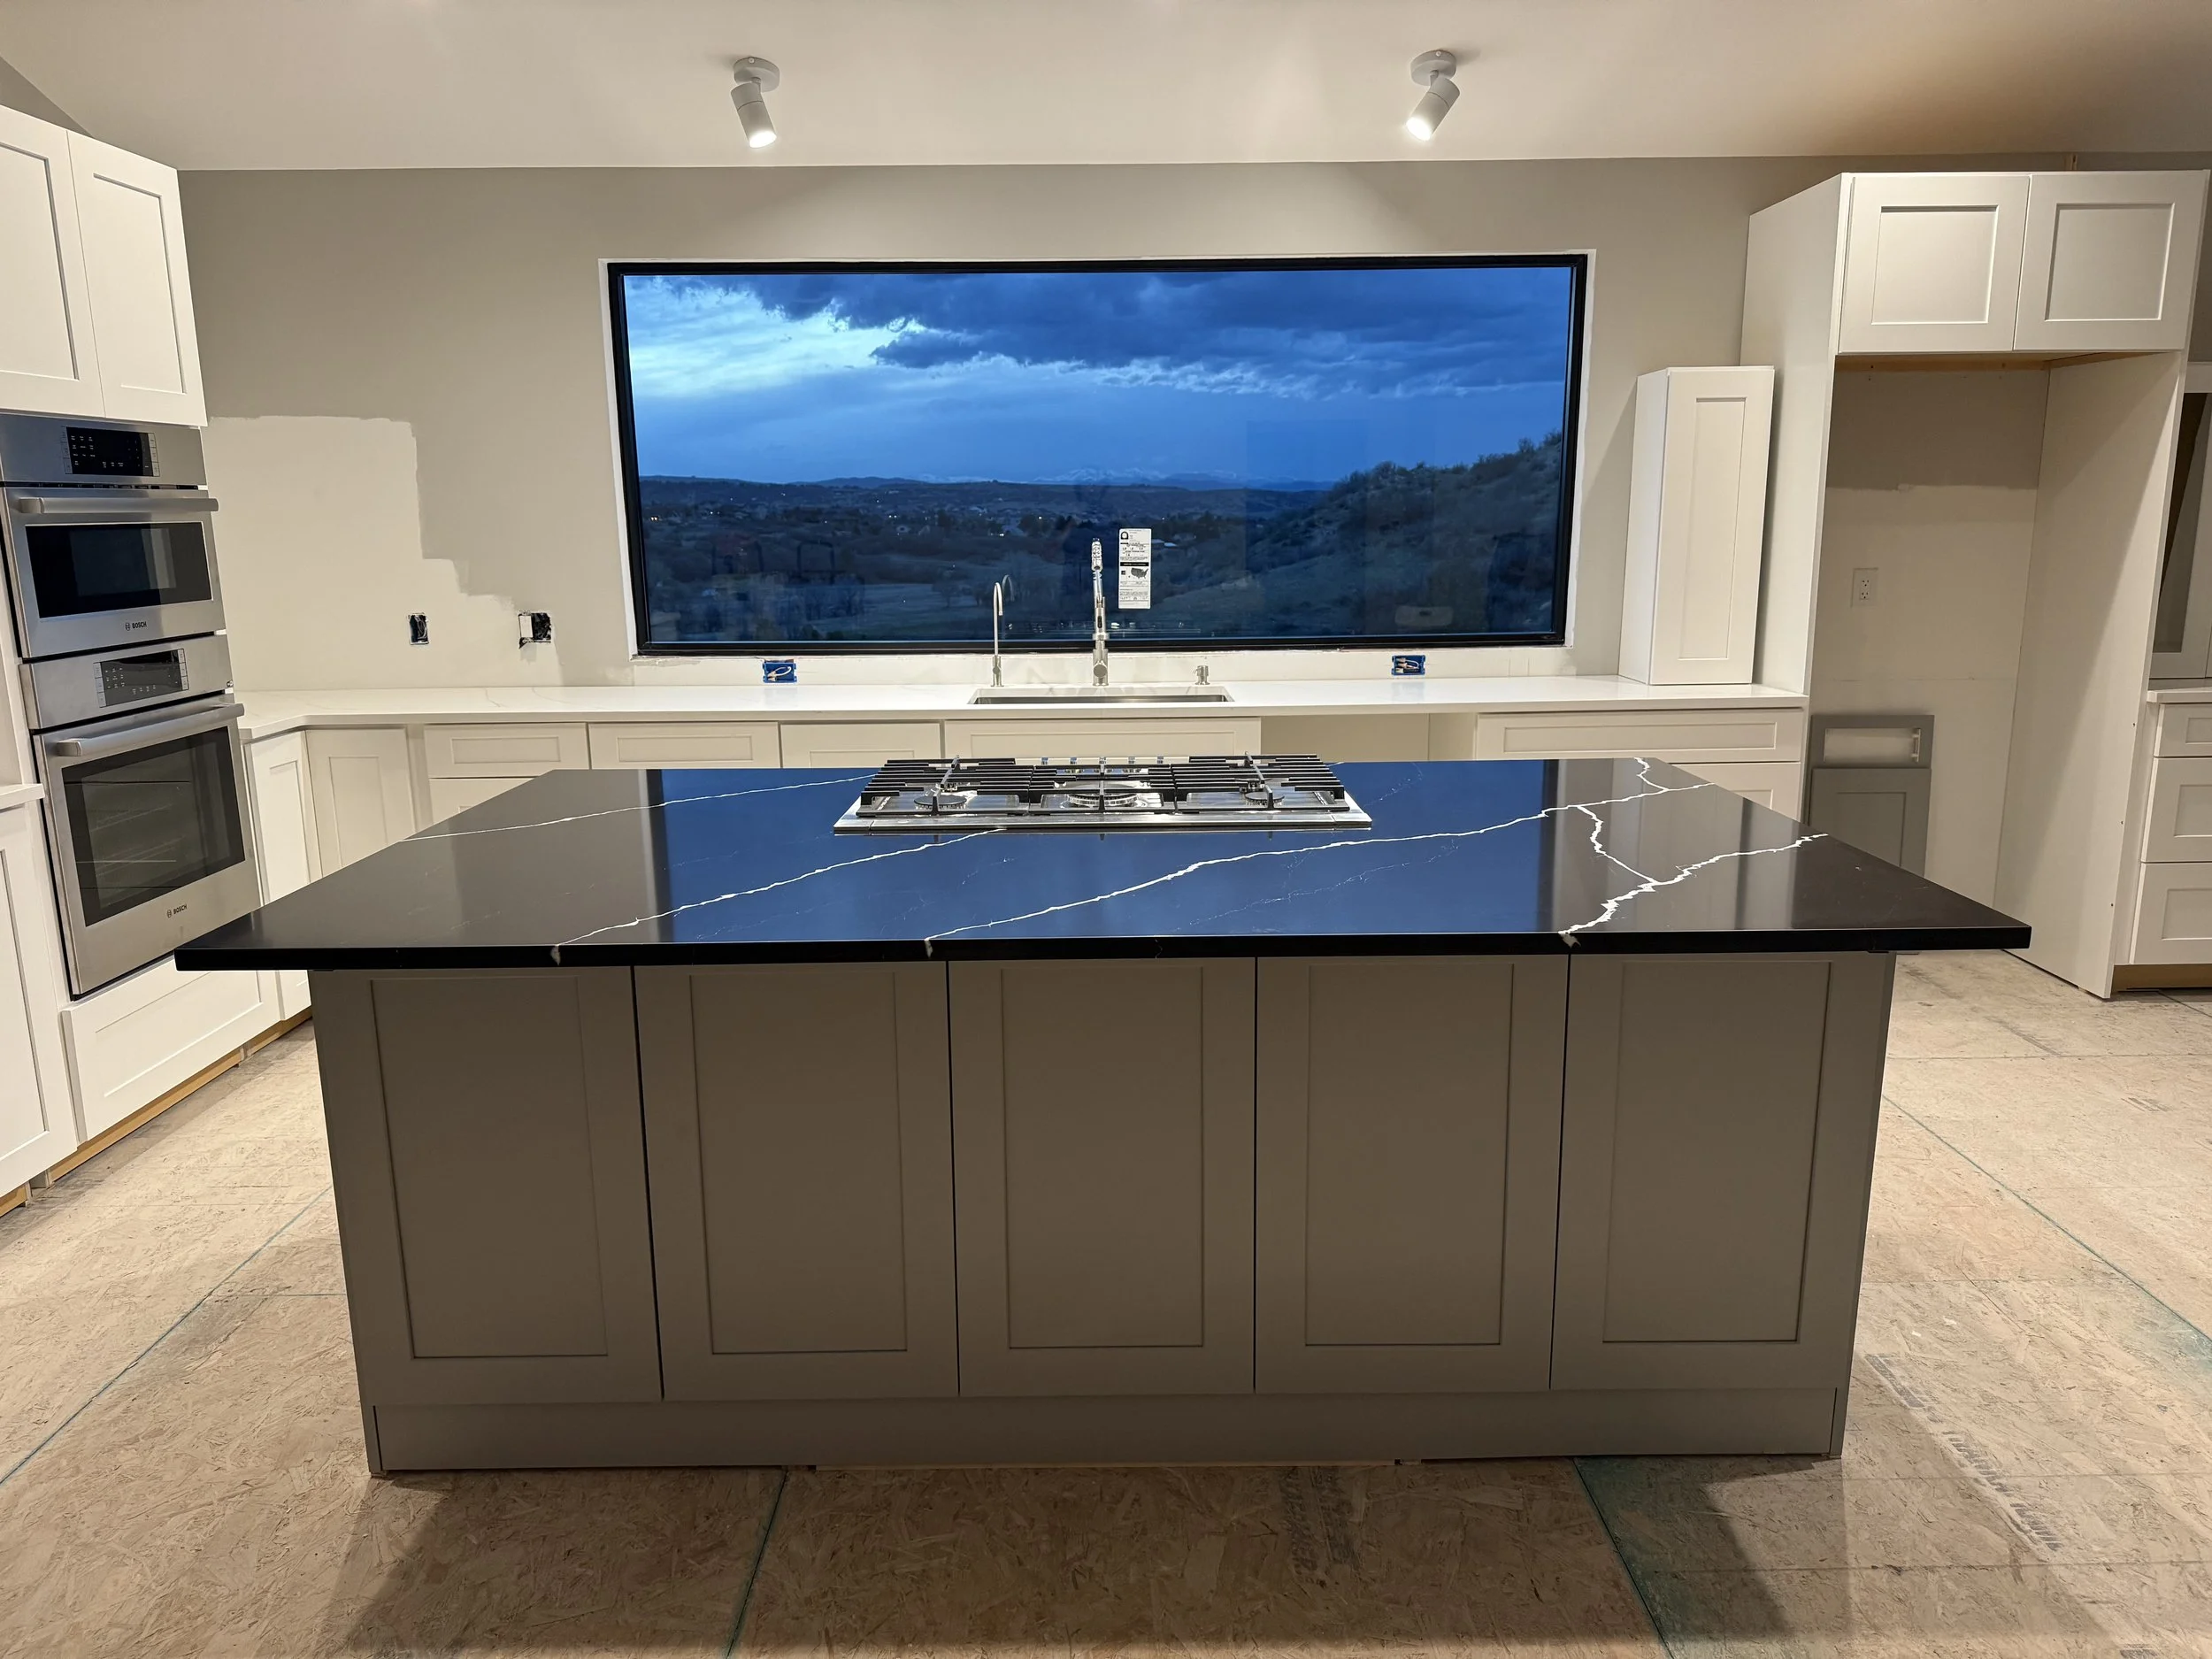
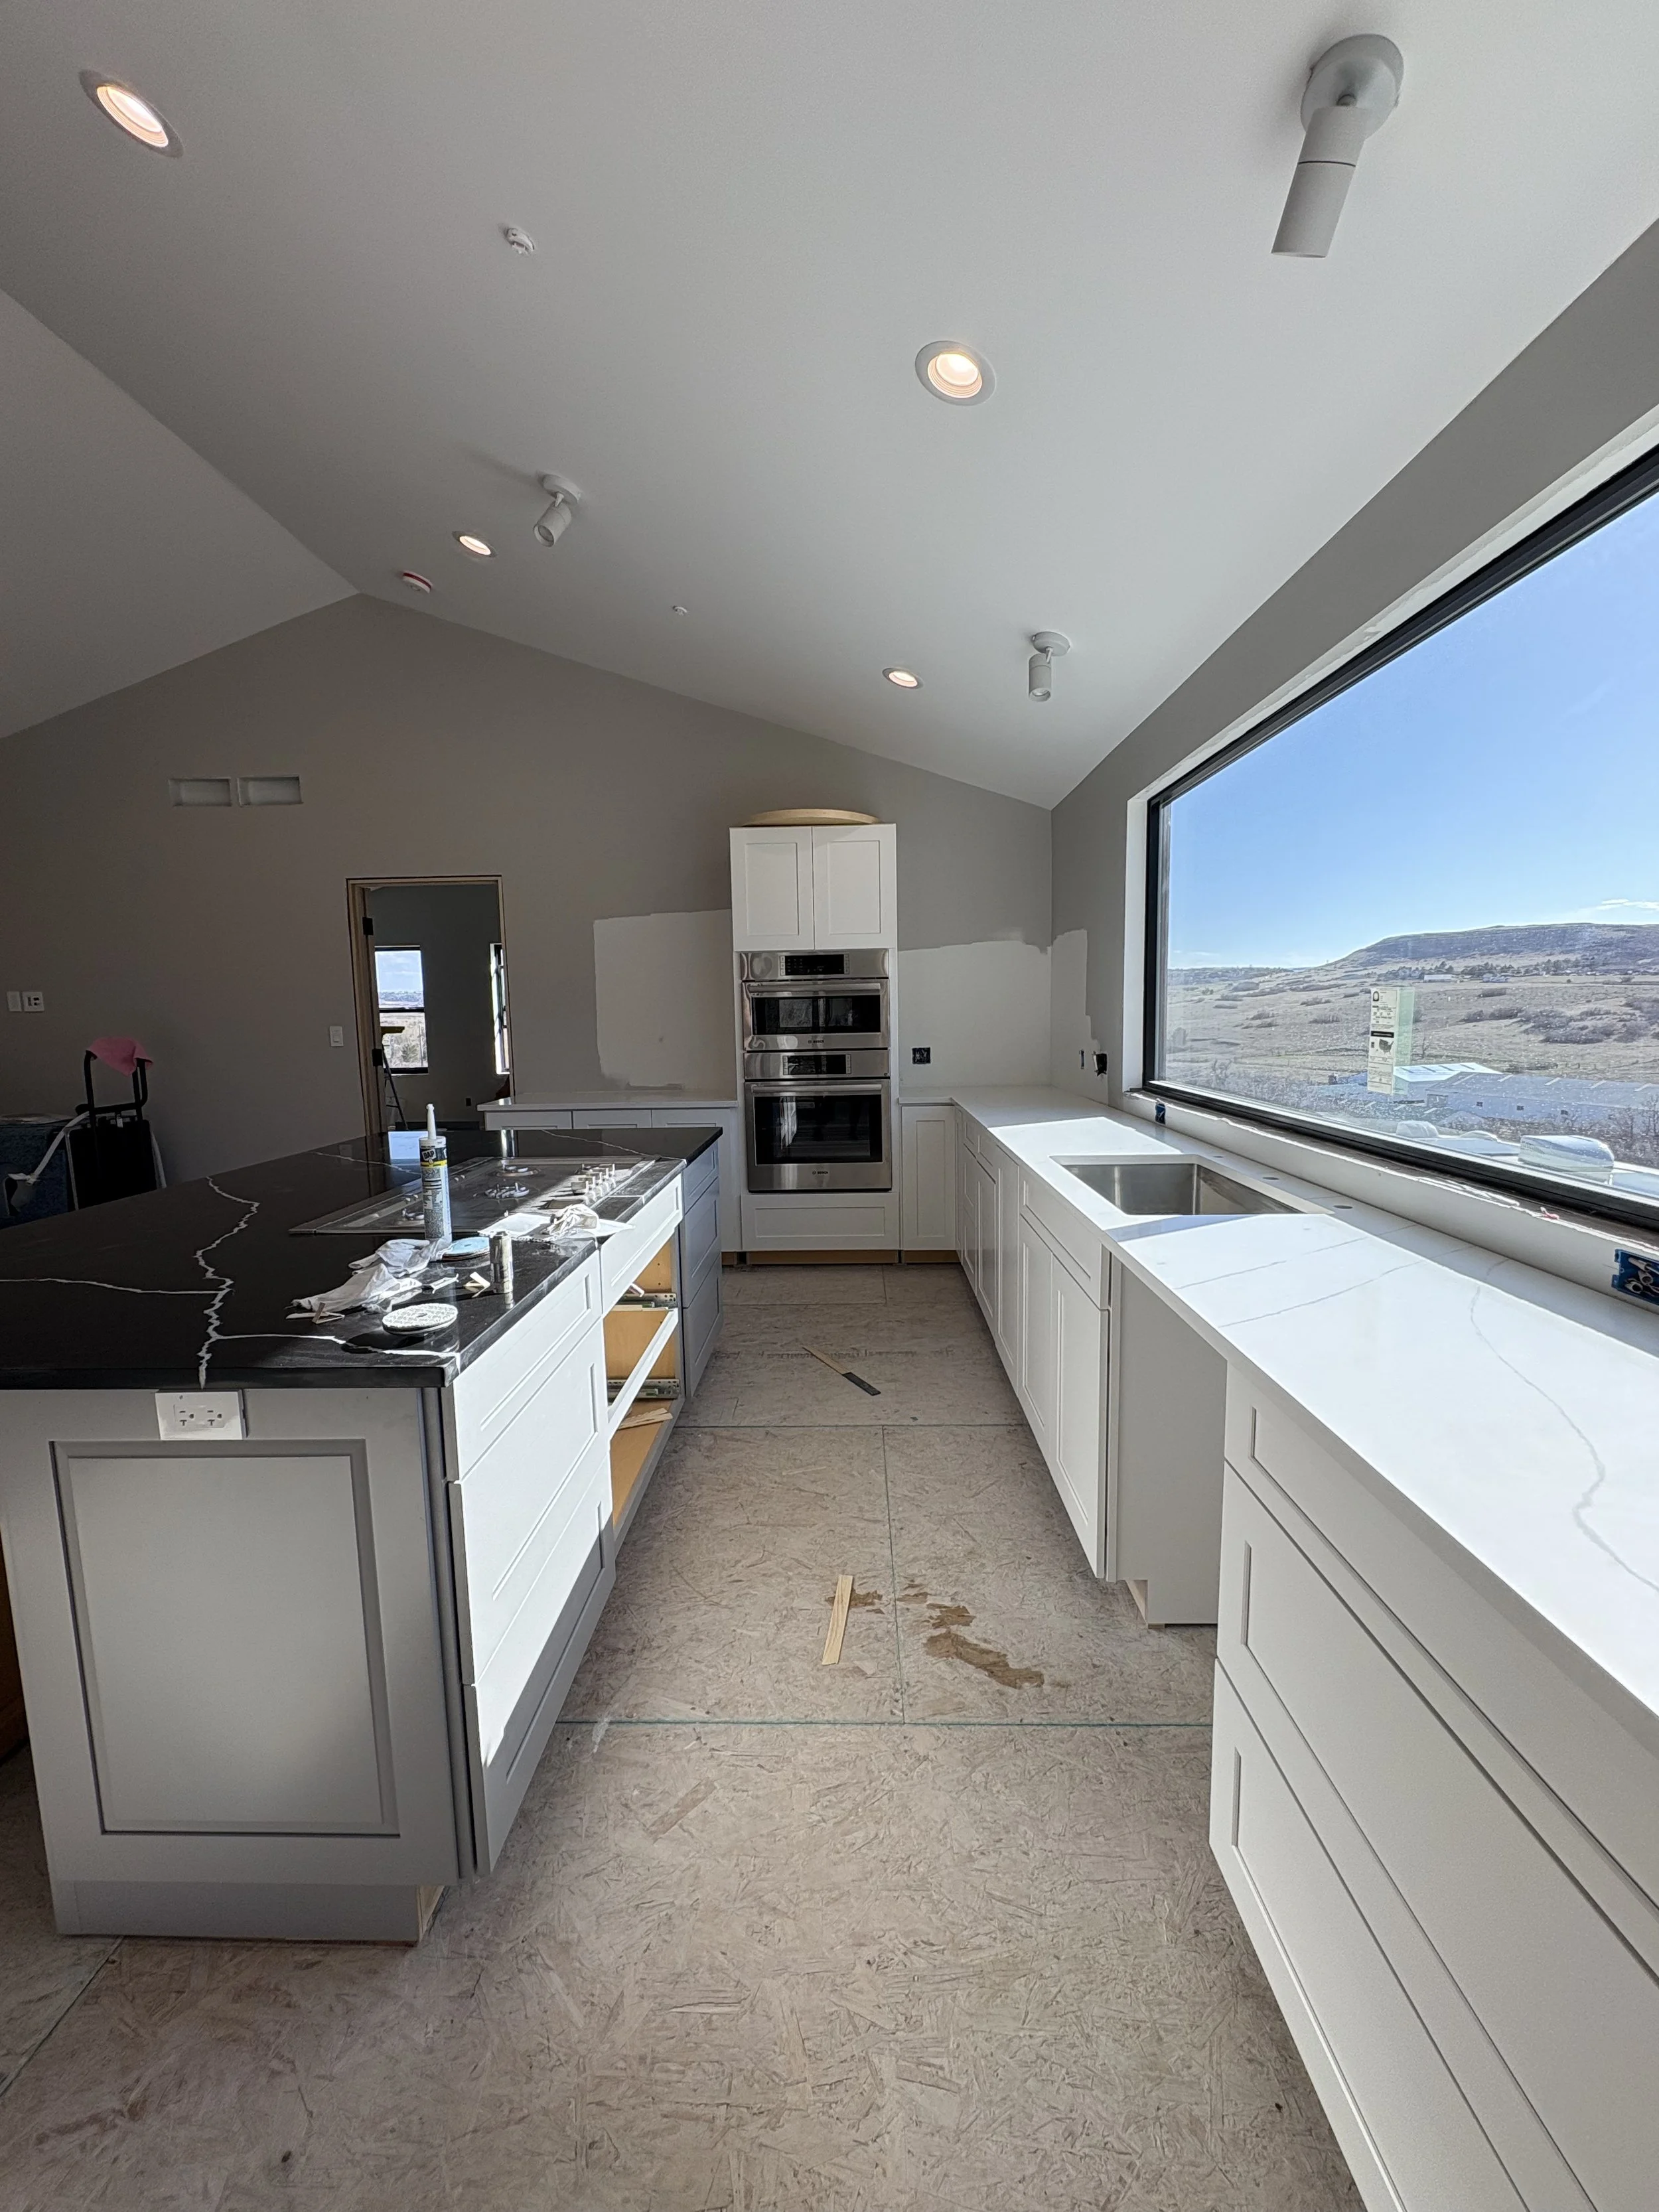
The best view of the island!
The nearly complete kitchen! This was a good day!
Step 20: More Concrete and Roofing
Just when you thought there couldn't be more concrete work, we found another concrete job! Pouring a slab for the air conditioner to sit on. Yay?
How many bags does it take to pour what seems to be a tiny slab? More than you'd think!
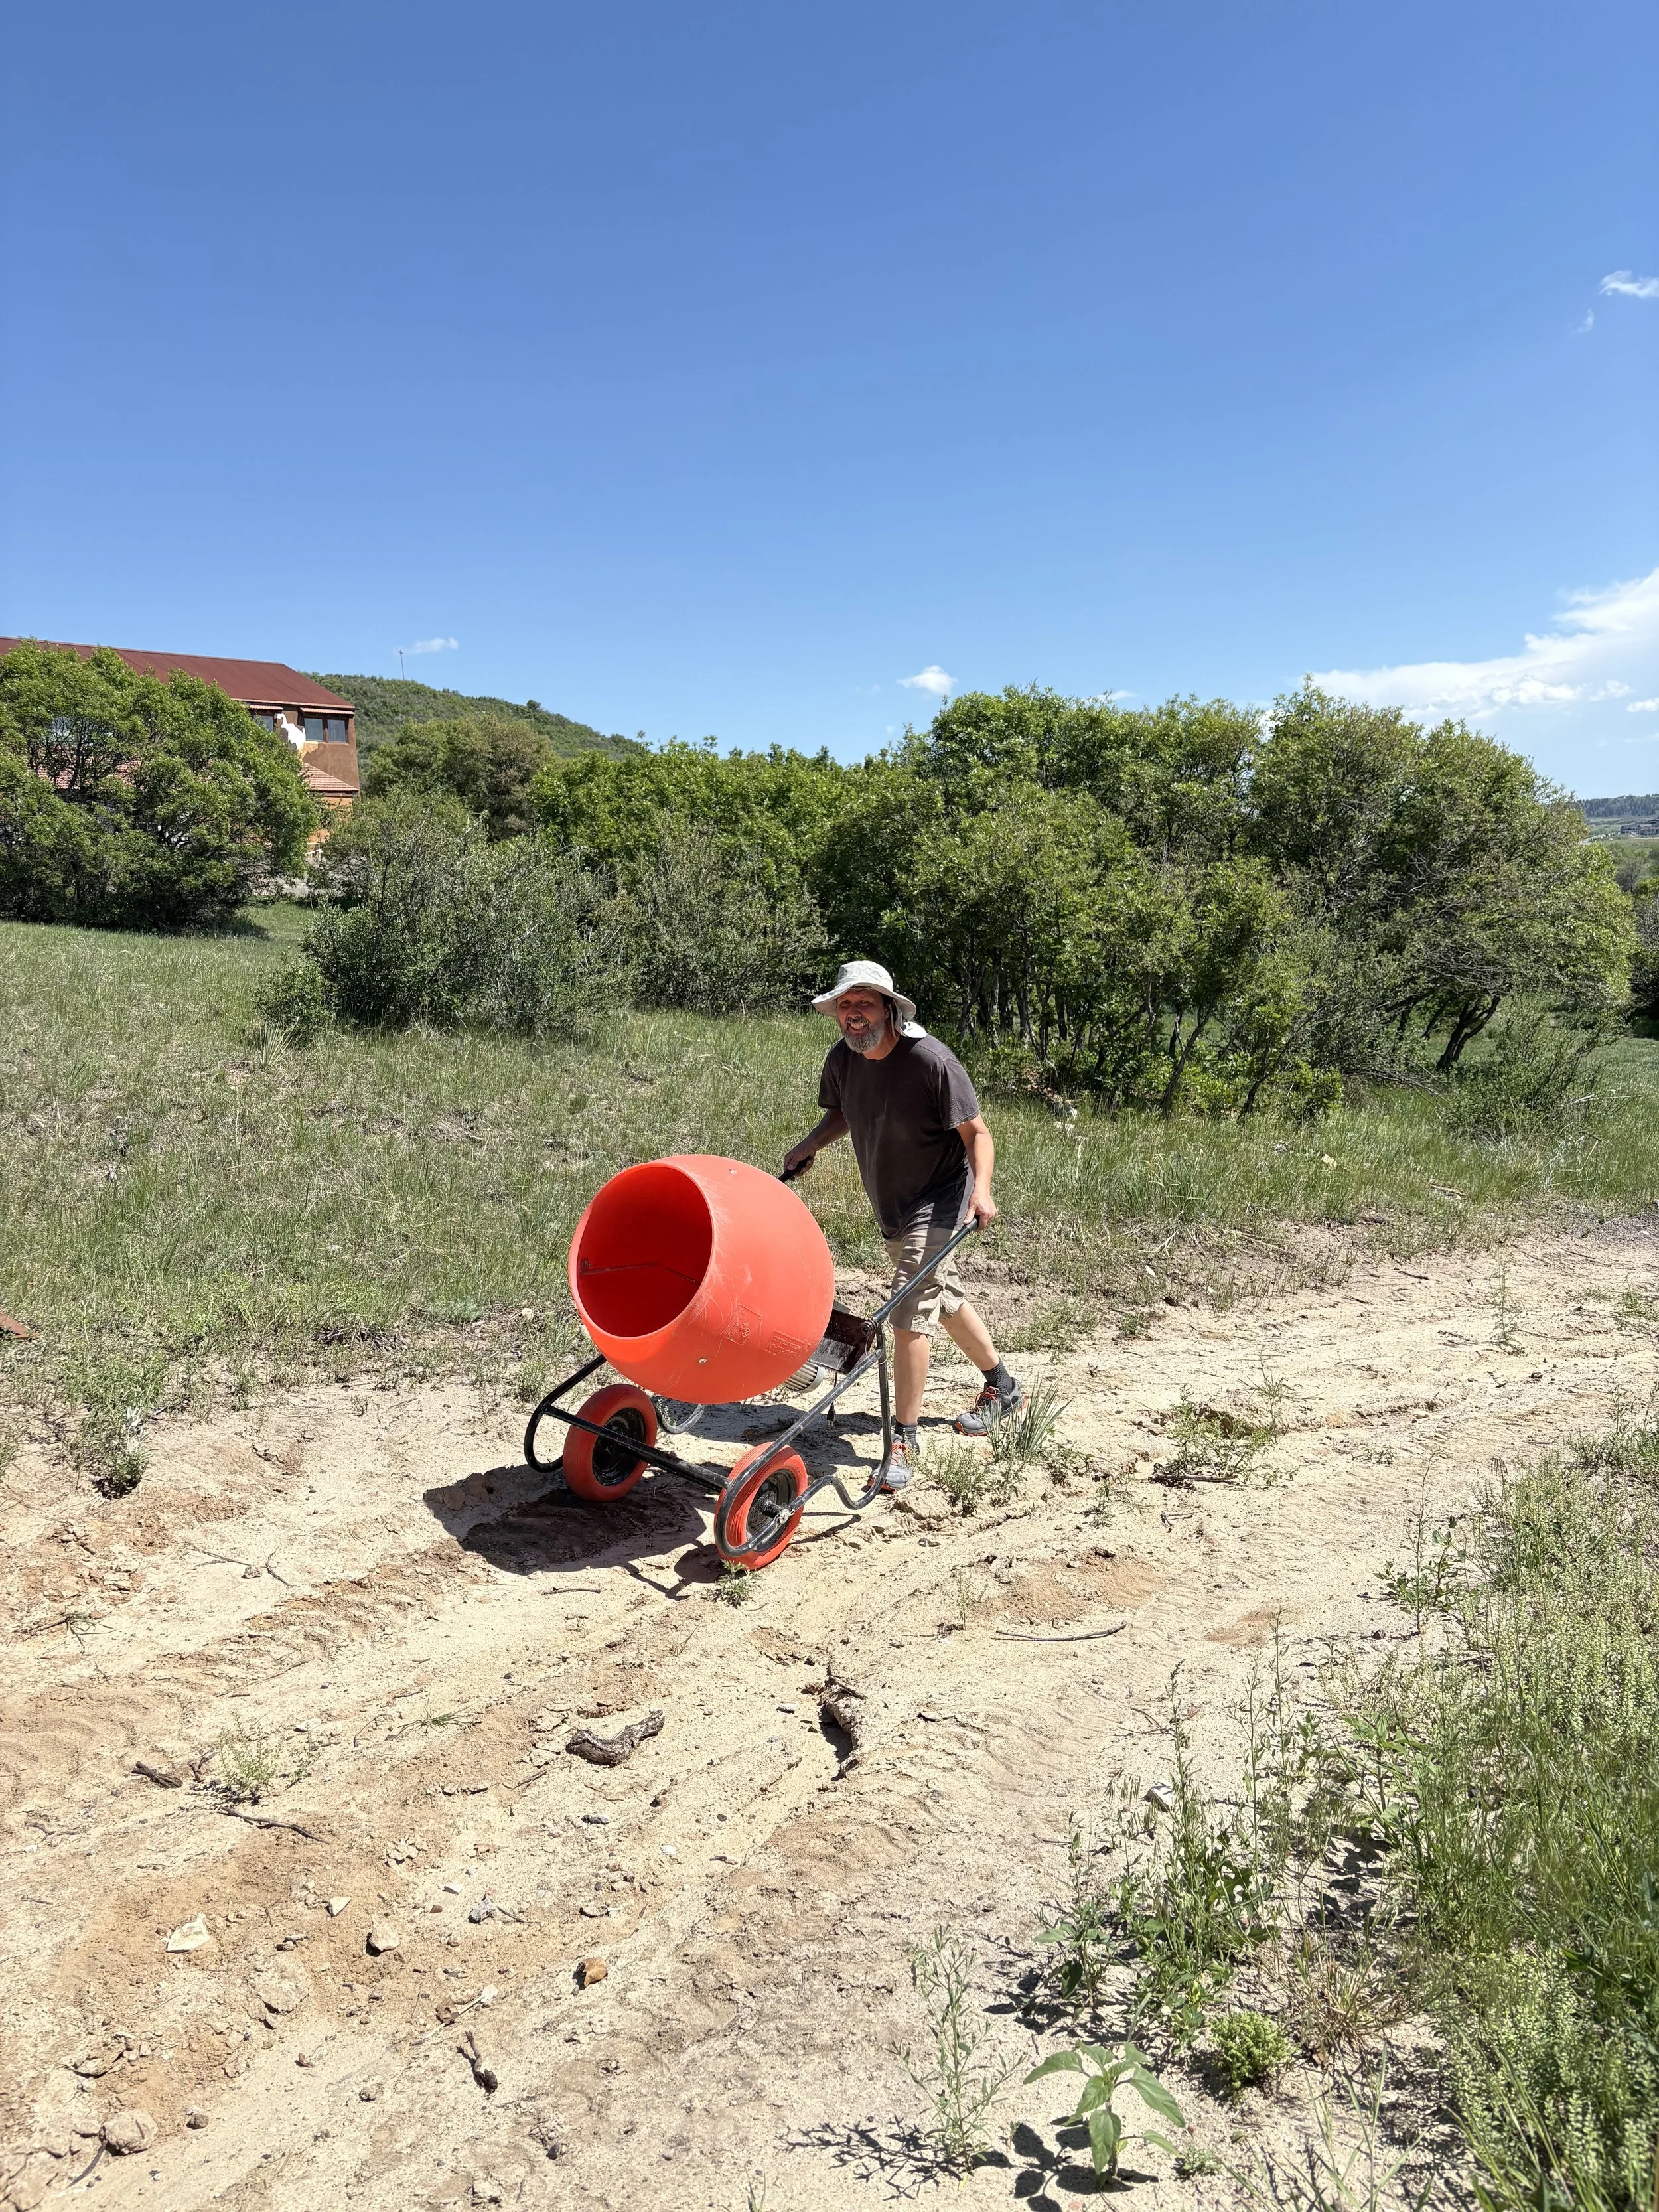
Time to wheel out our handy little pumpkin mixer!
...and we have a volunteer to help!
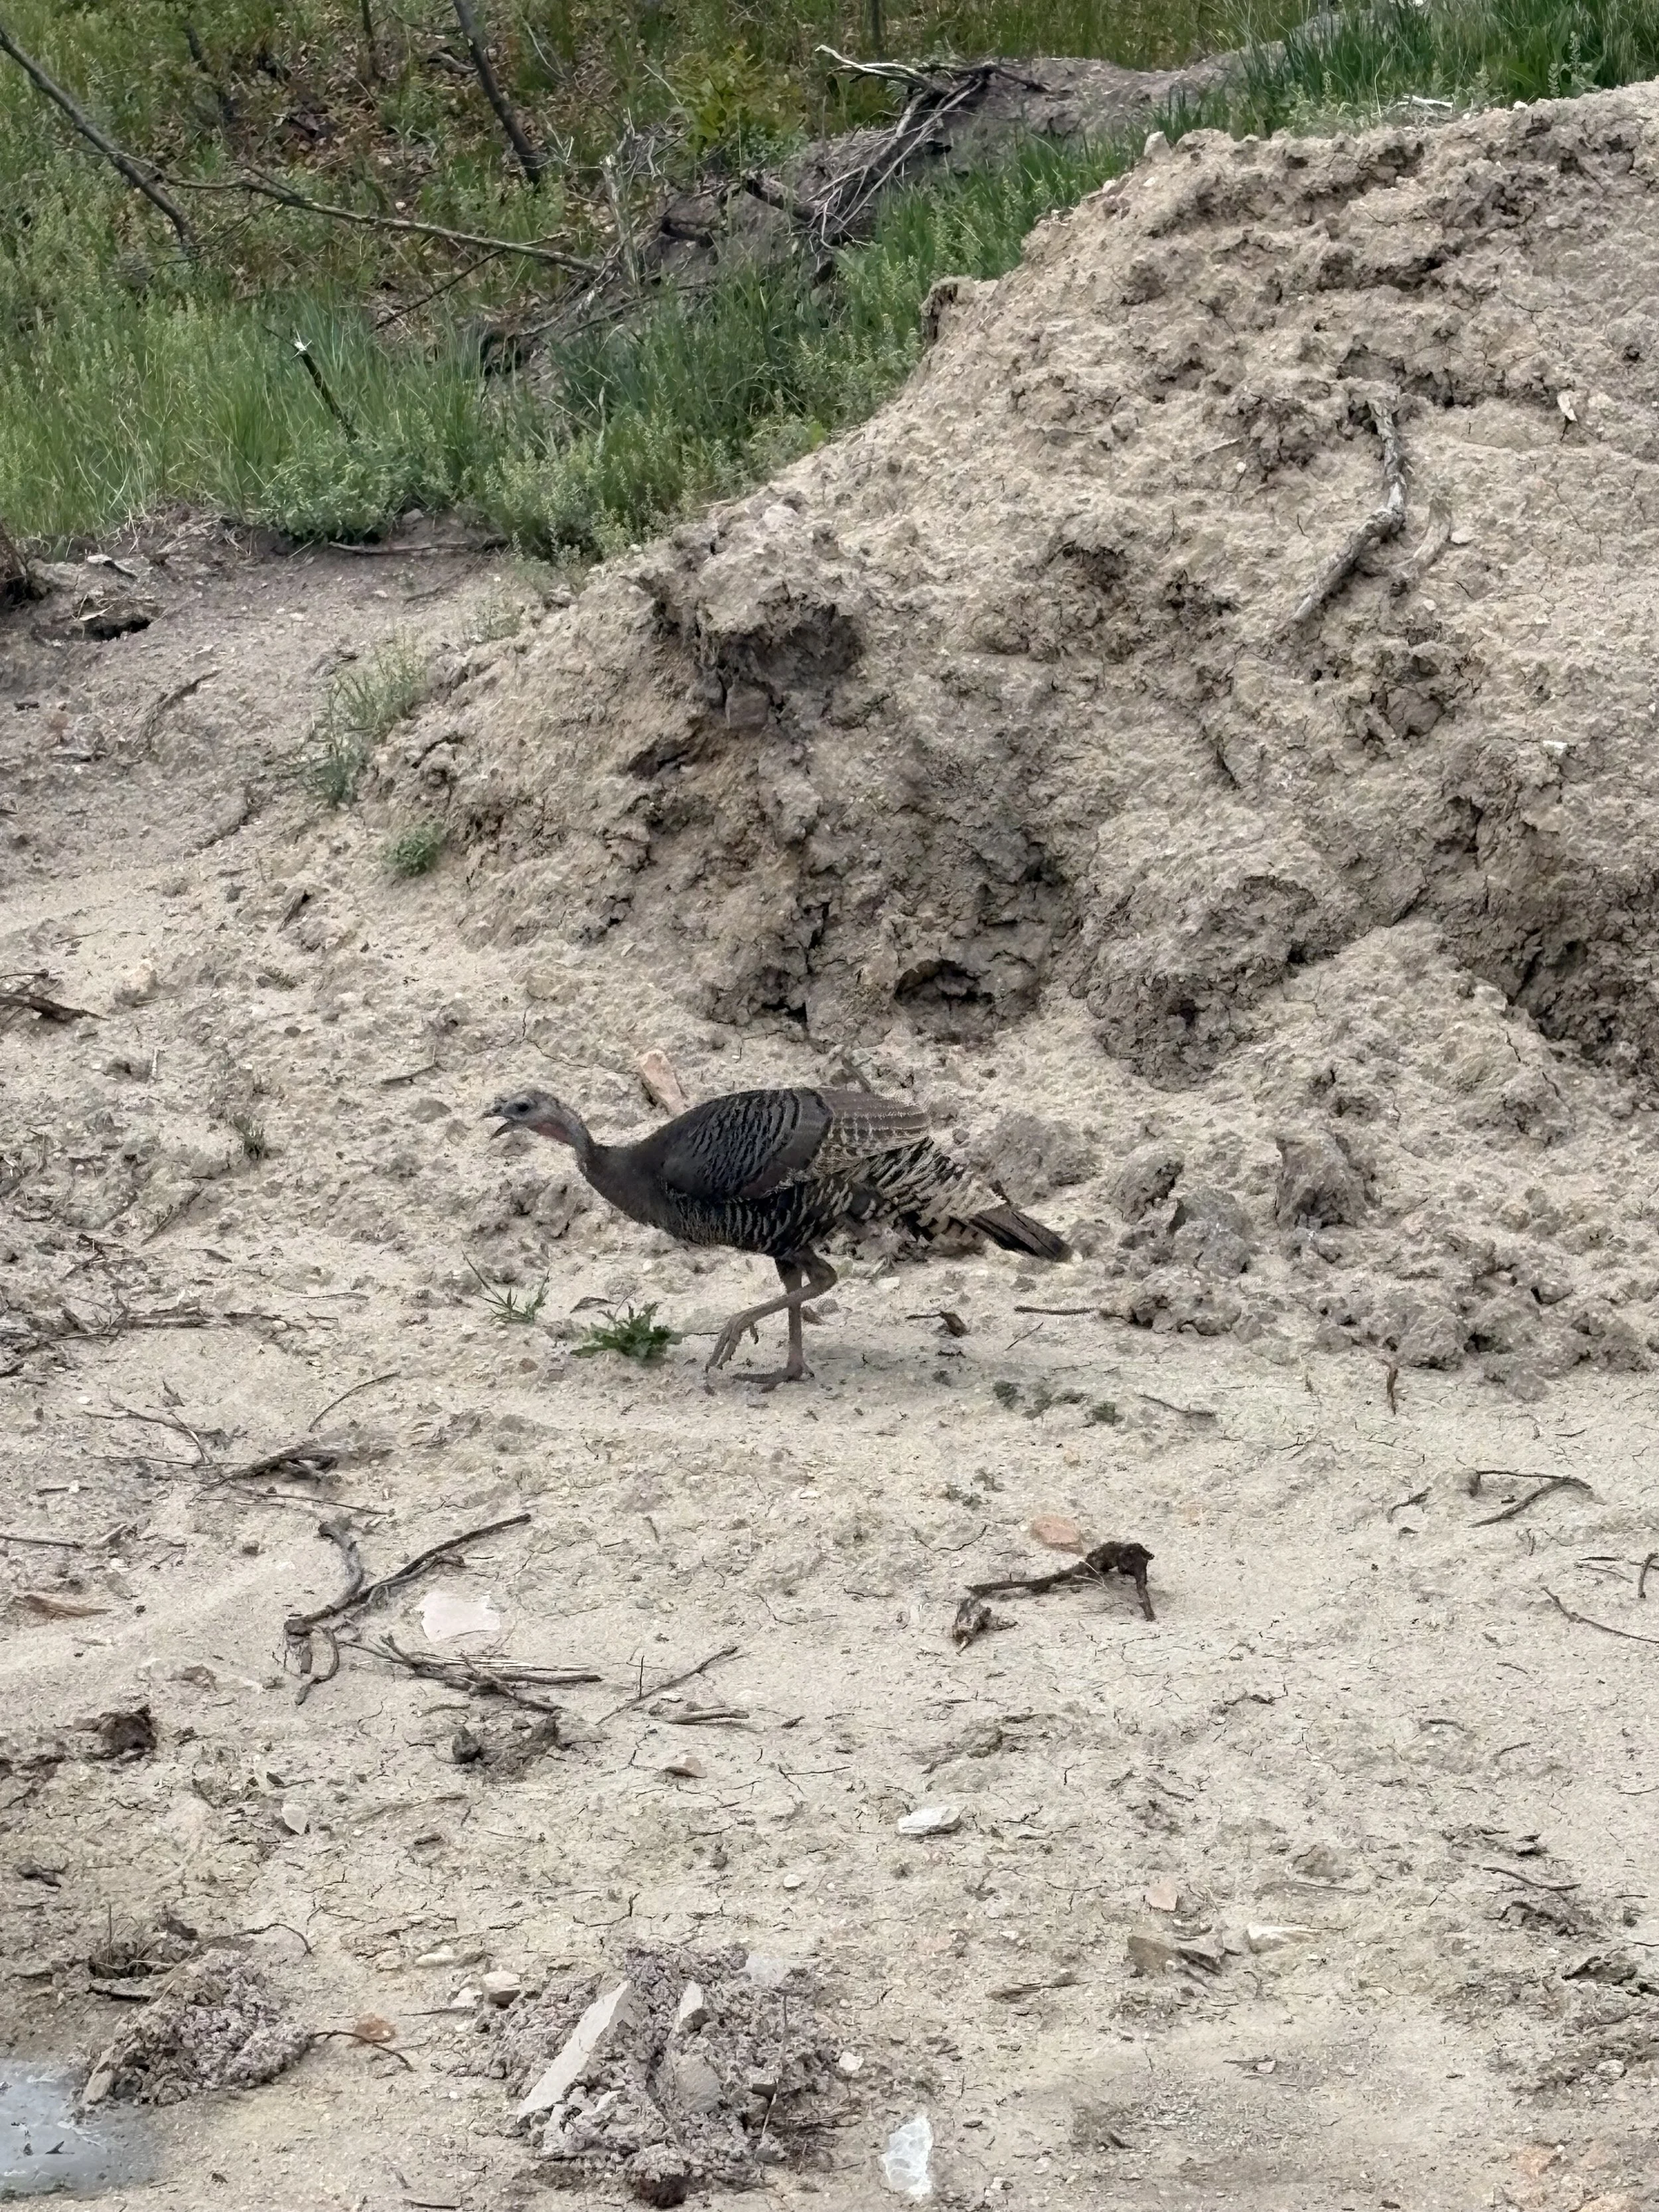
Nope, just Gobbles the turkey checking up on us!
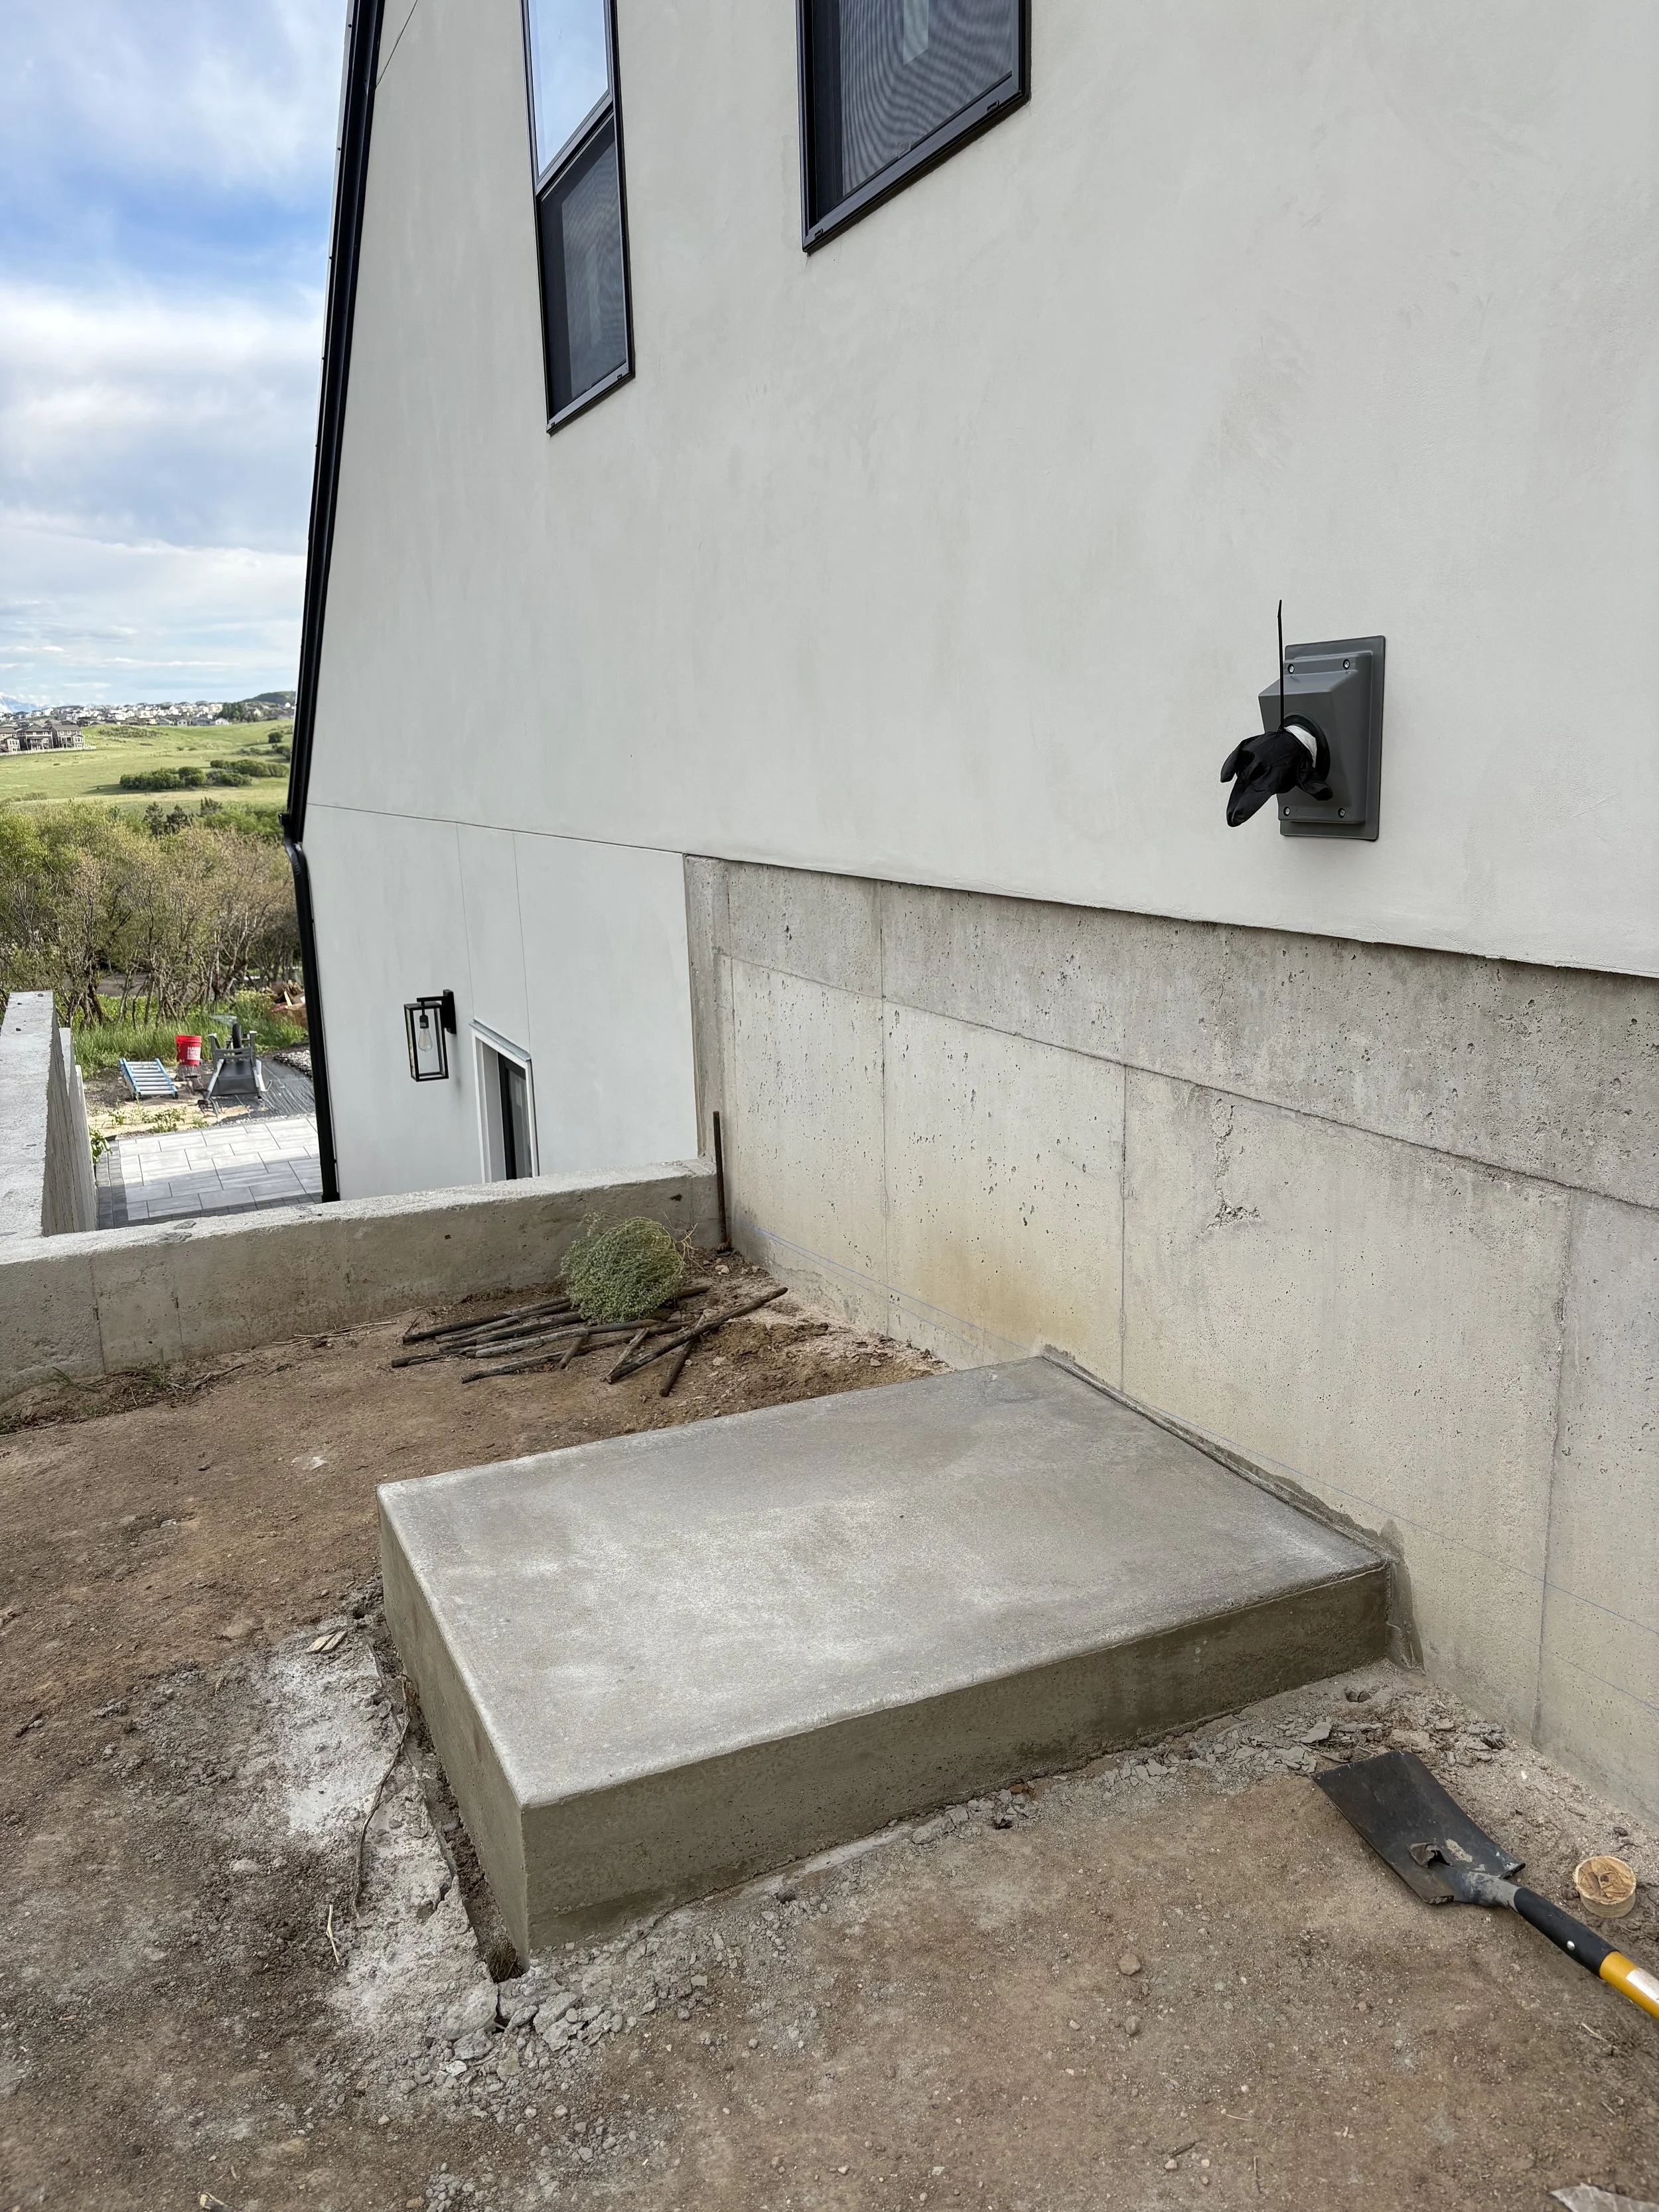
Boy is Kris getting good at pouring concrete! Precision pour!
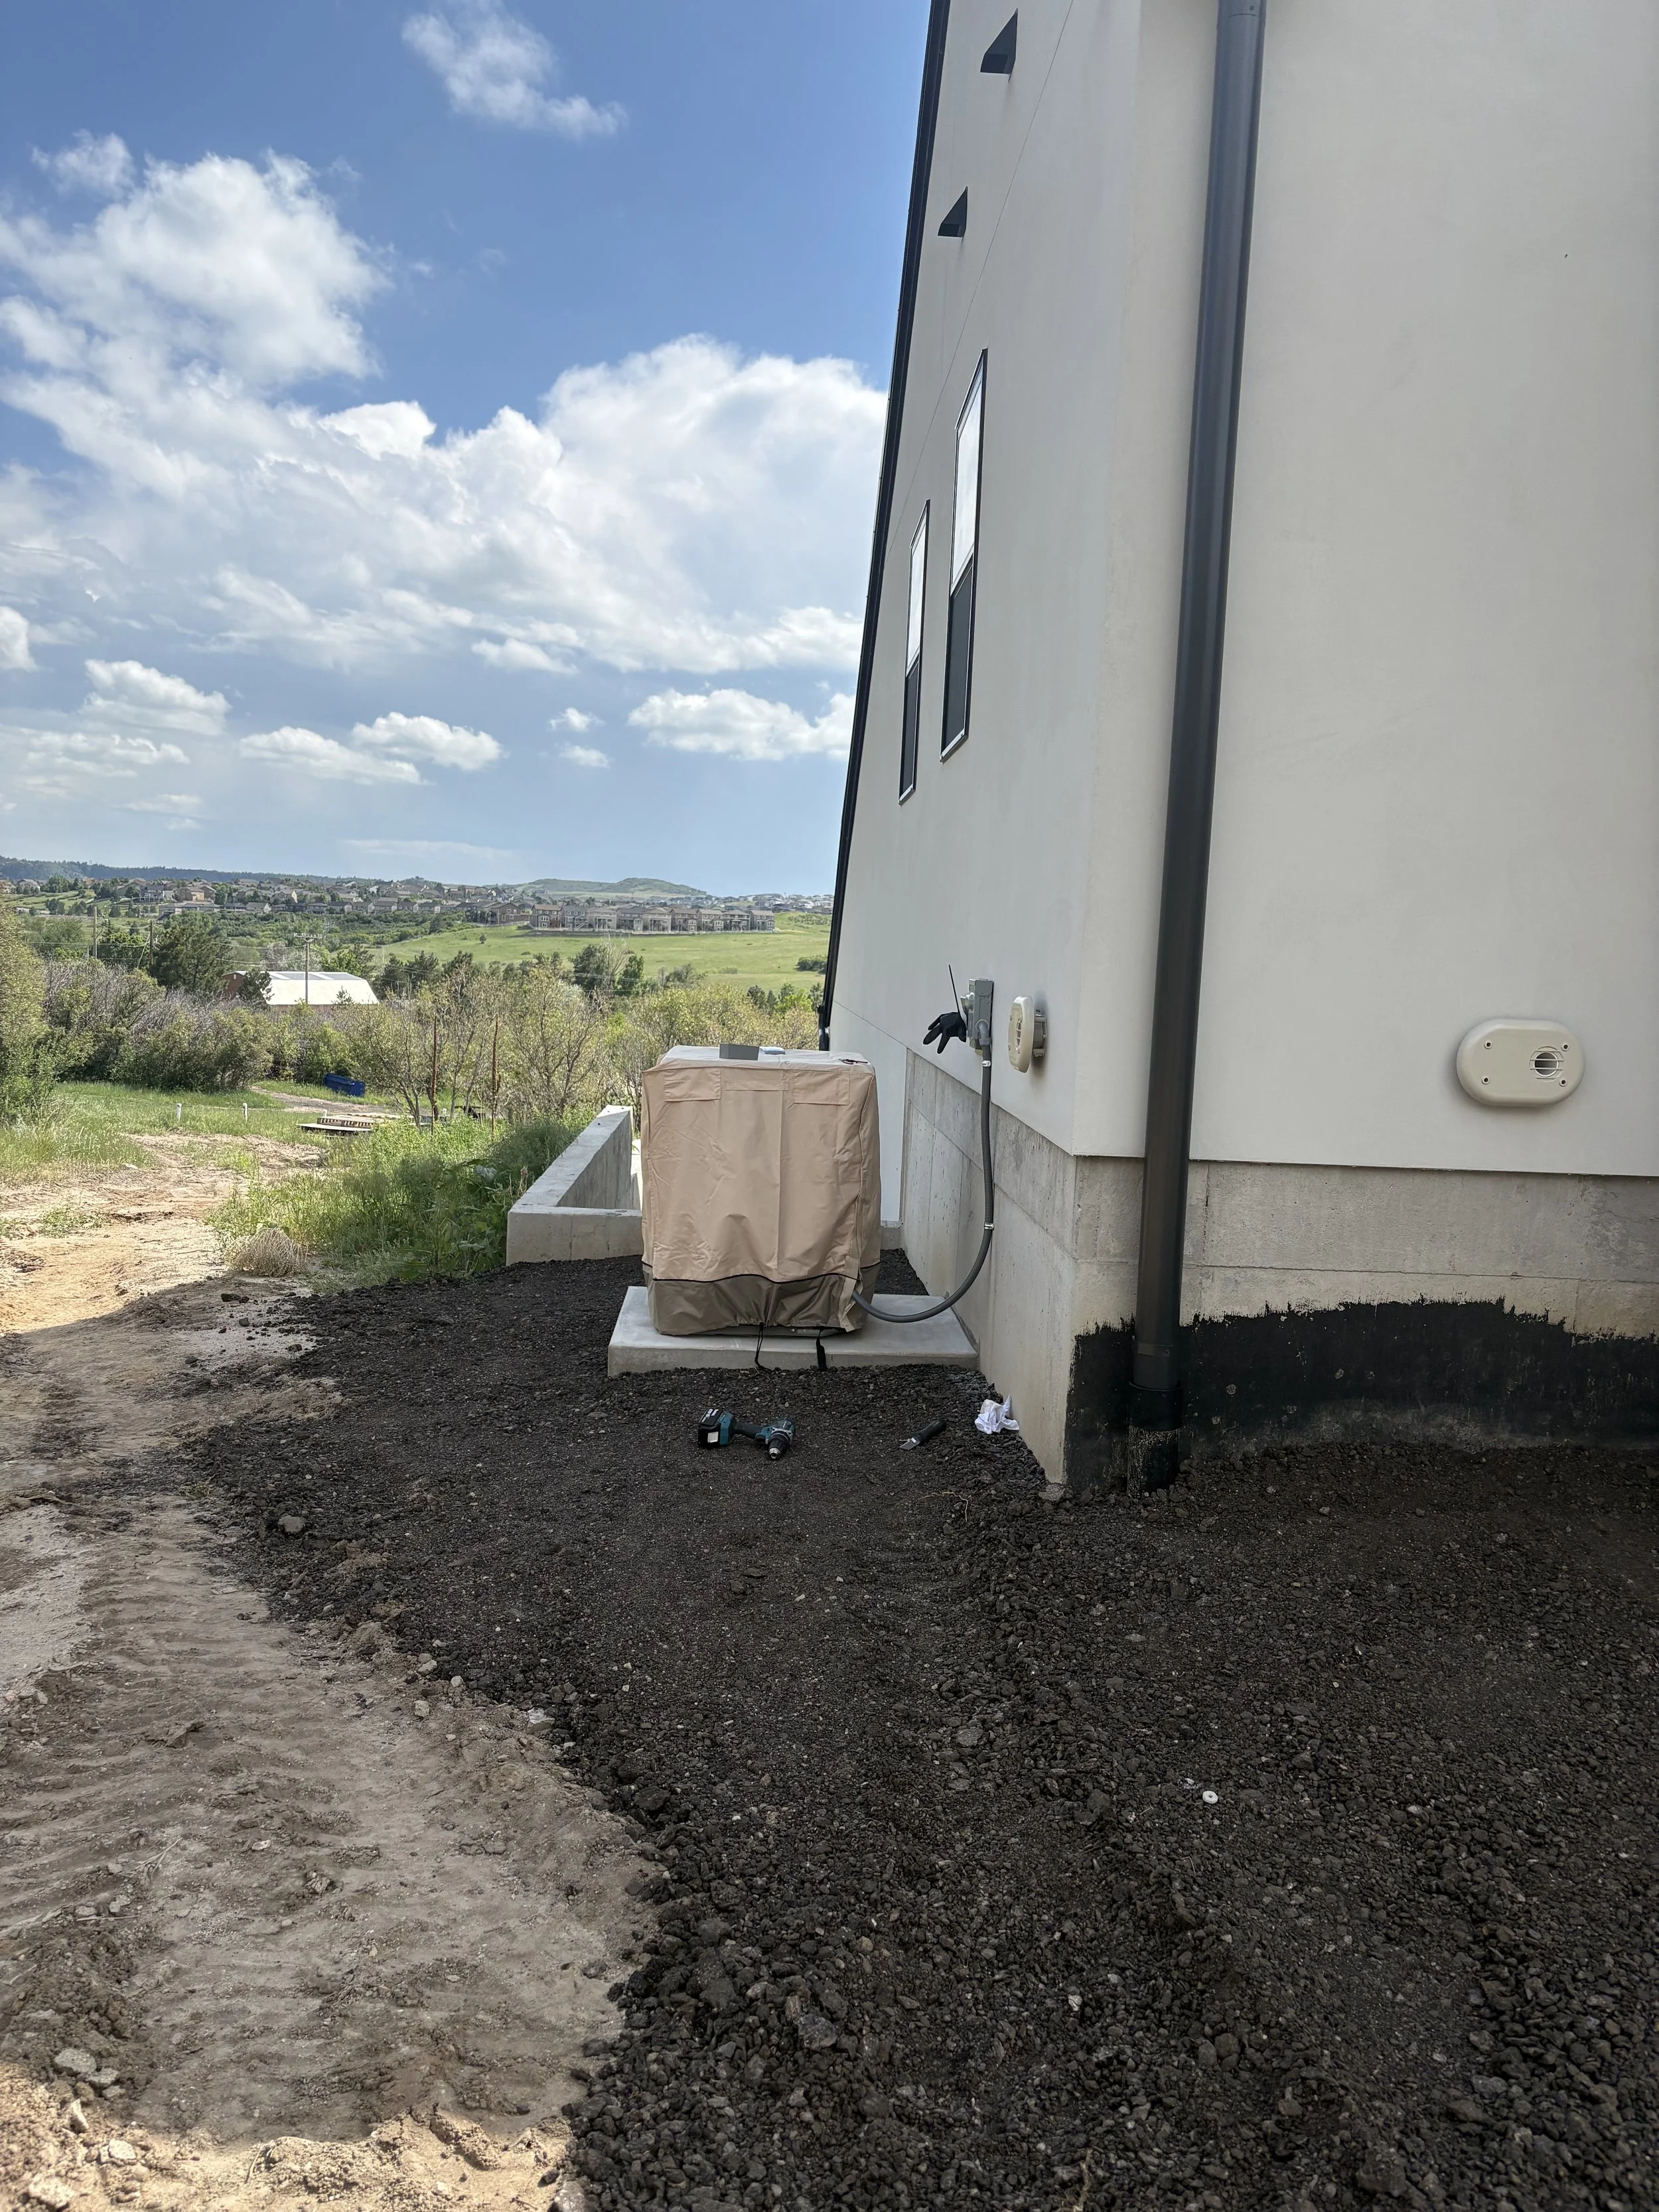
The air conditioner unit is installed and covered until it's needed.
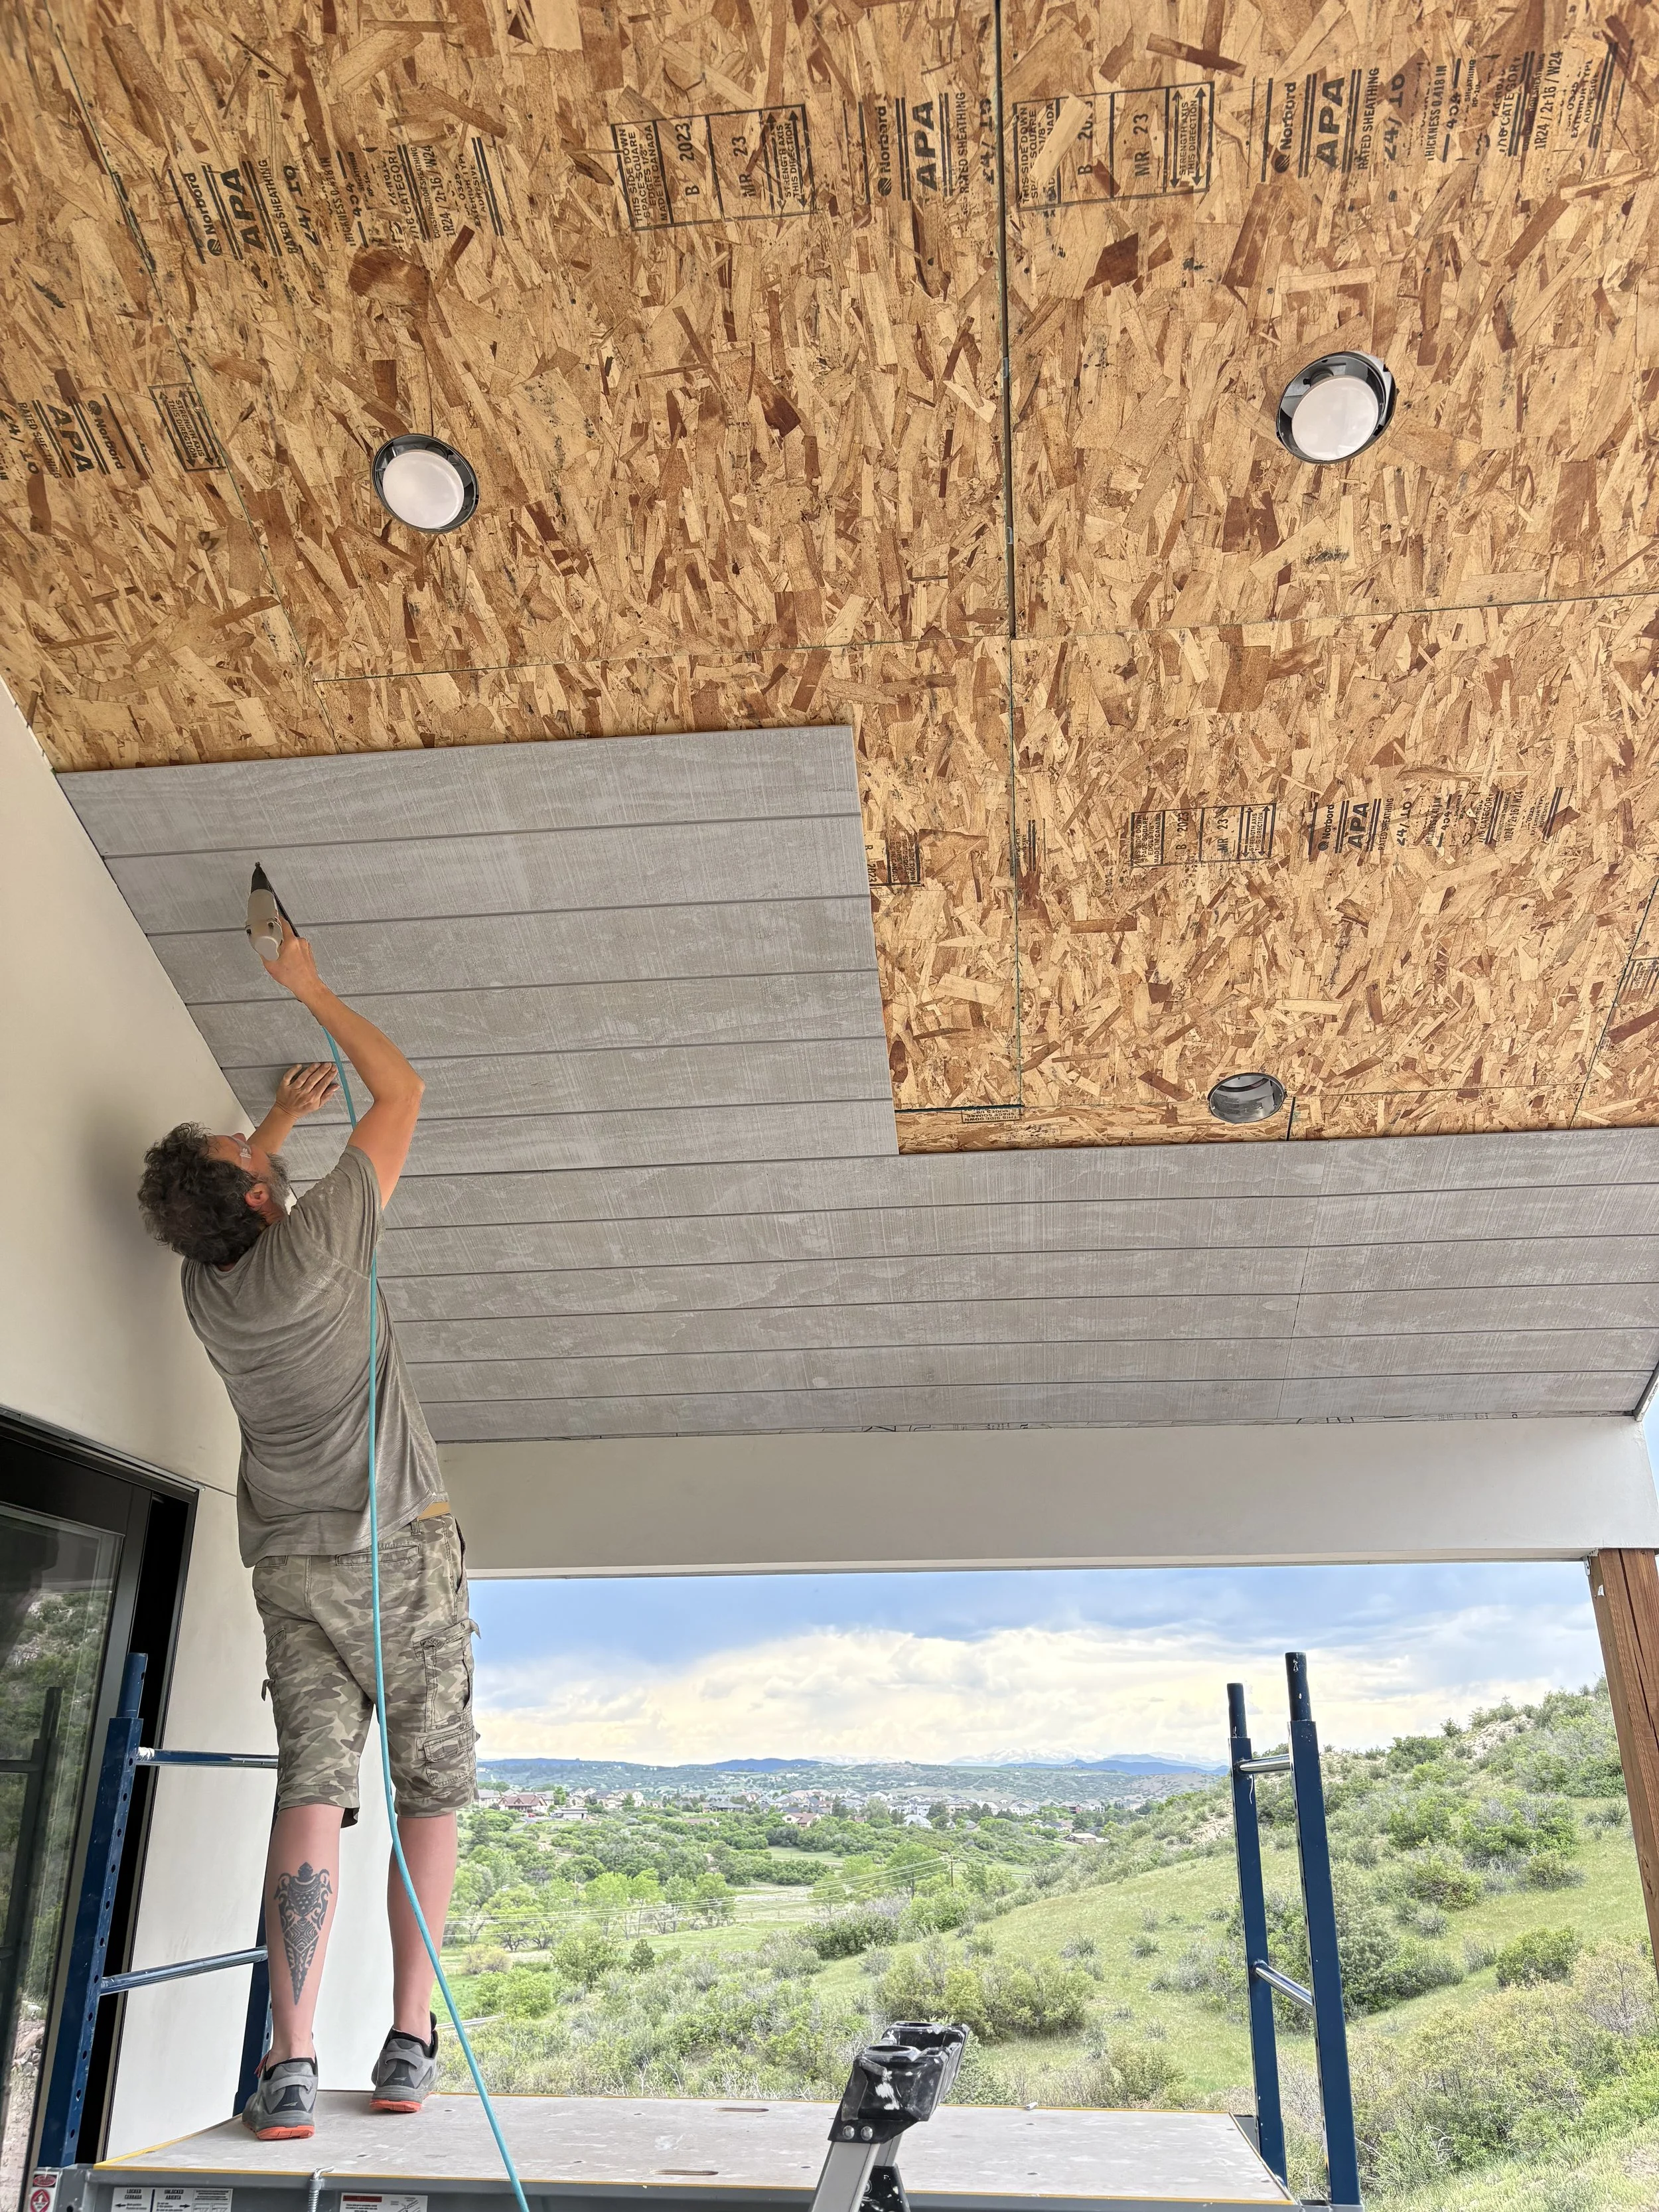
Now to more roofing. Ugh! This at least isn't the heavy metal roofing and we're somewhat shaded.
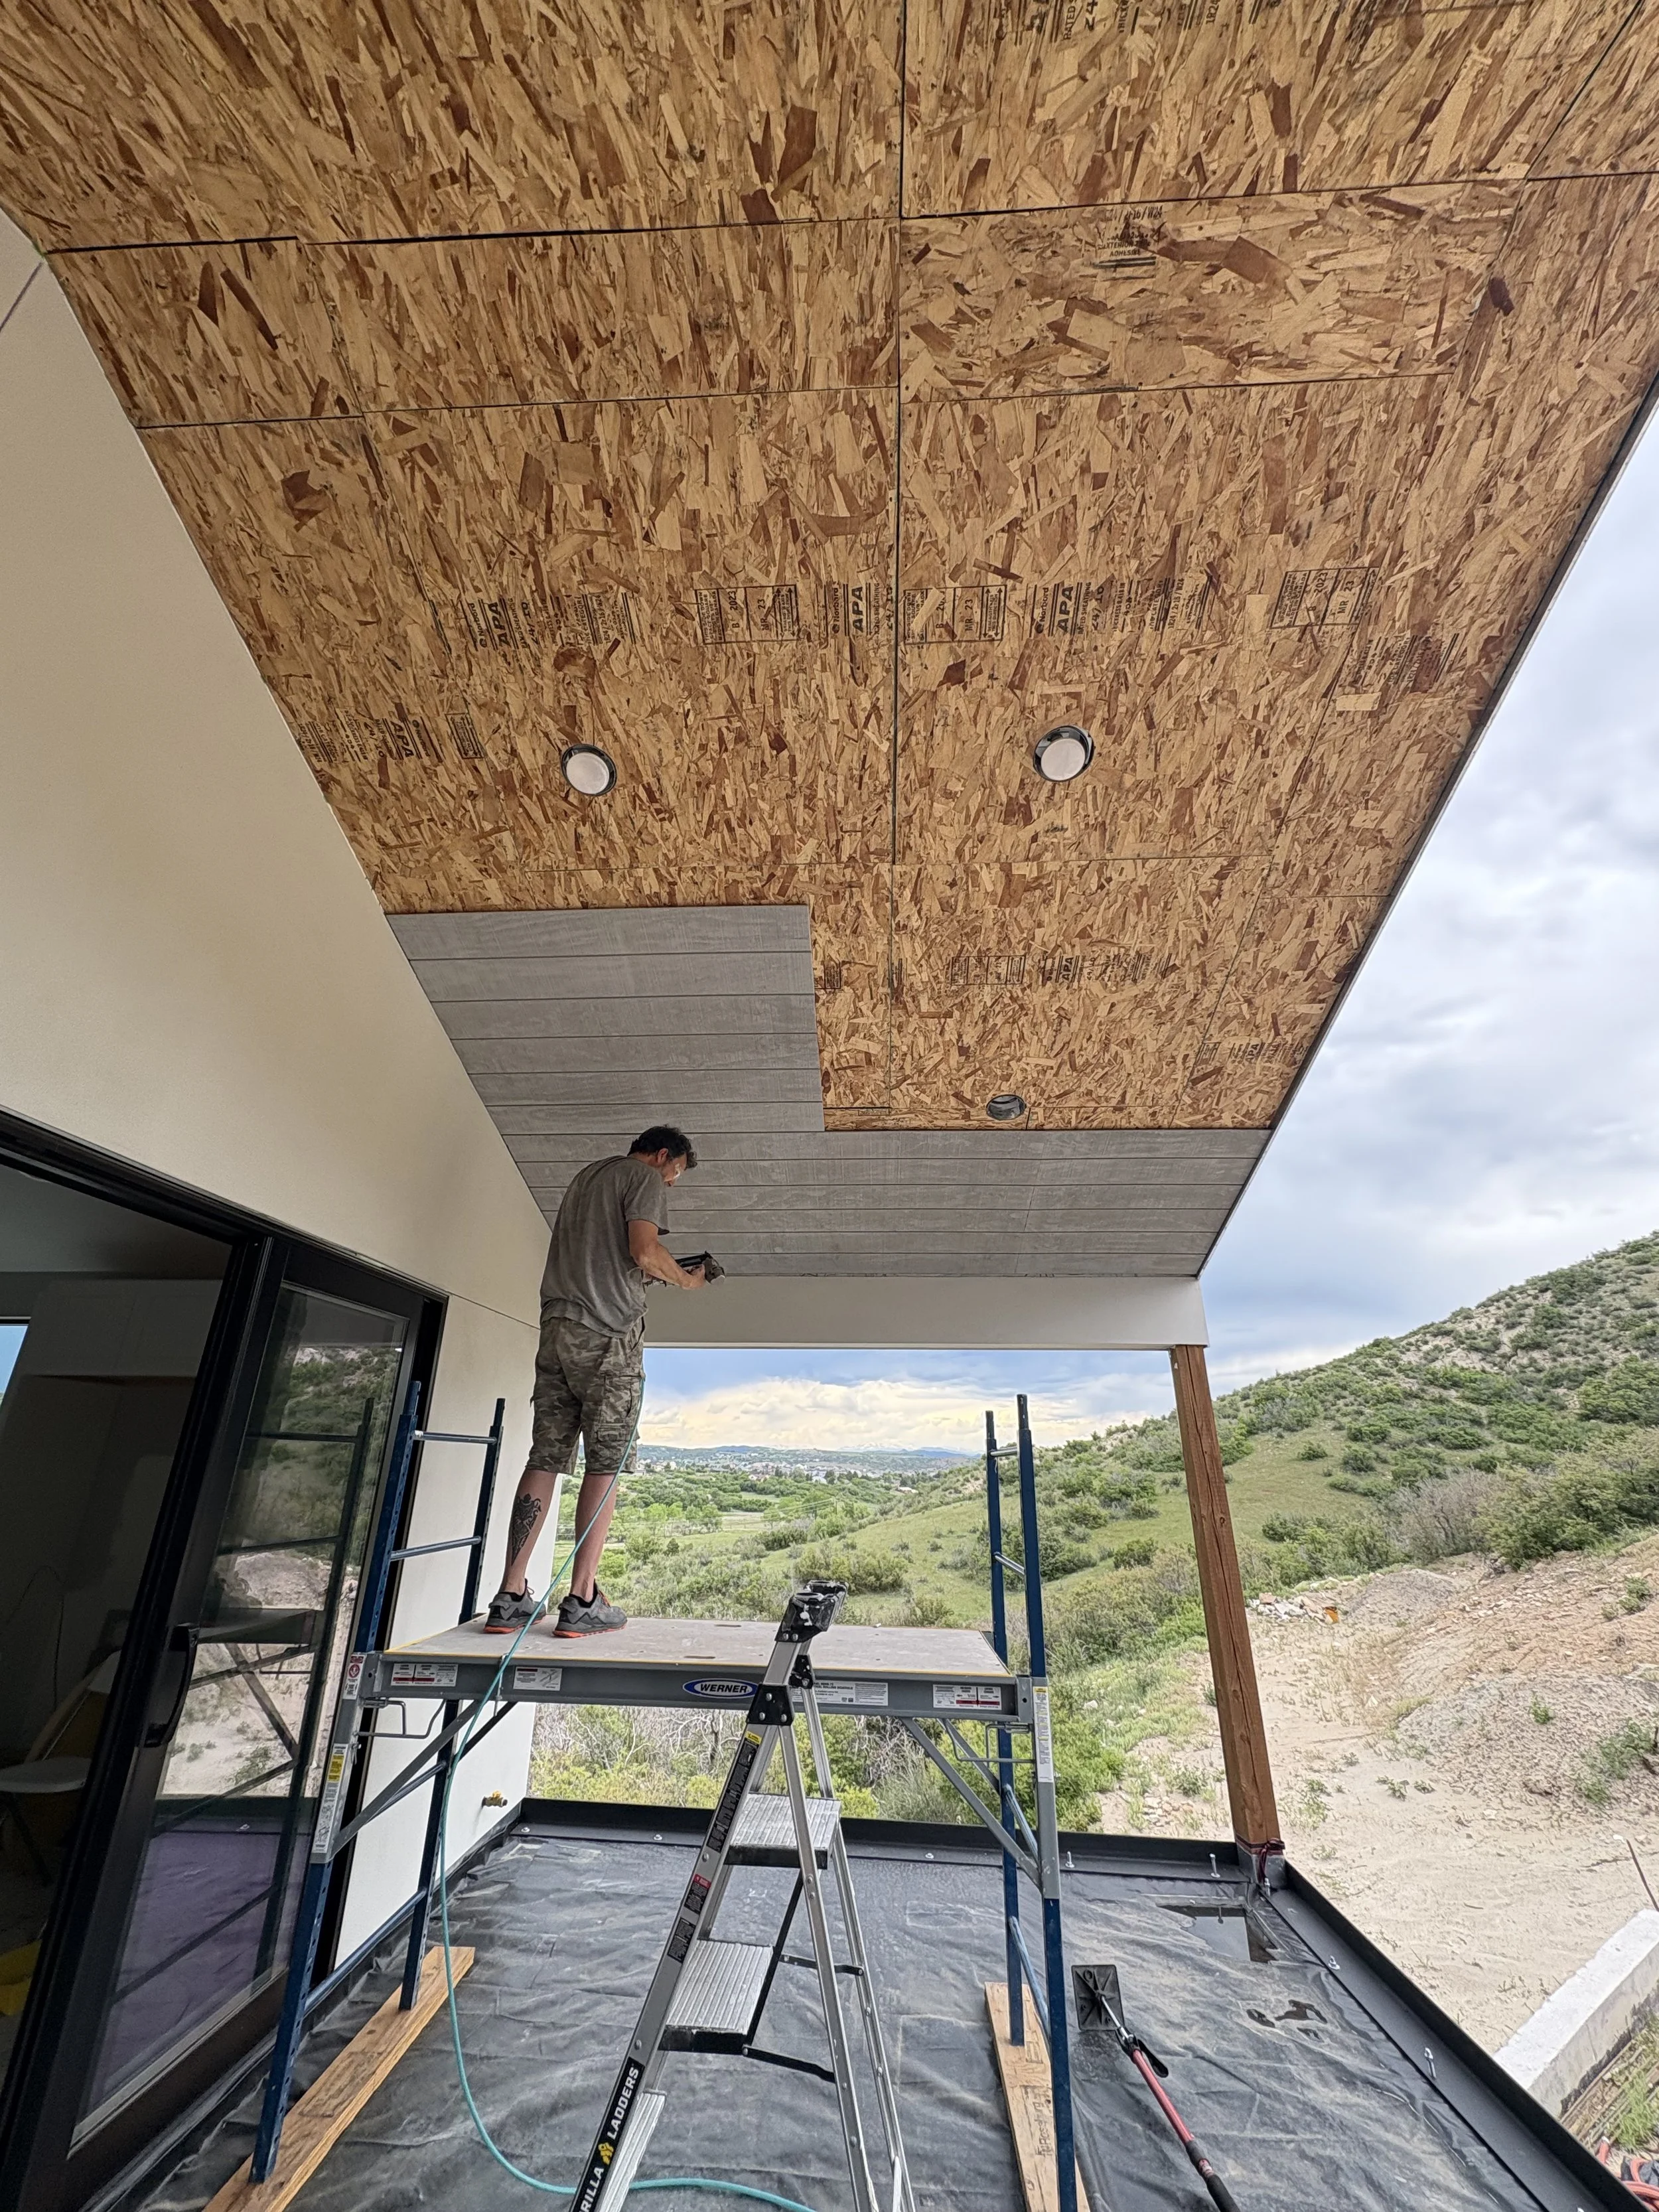
We begin the back-breaking job of installing paneling on the patio overhang.
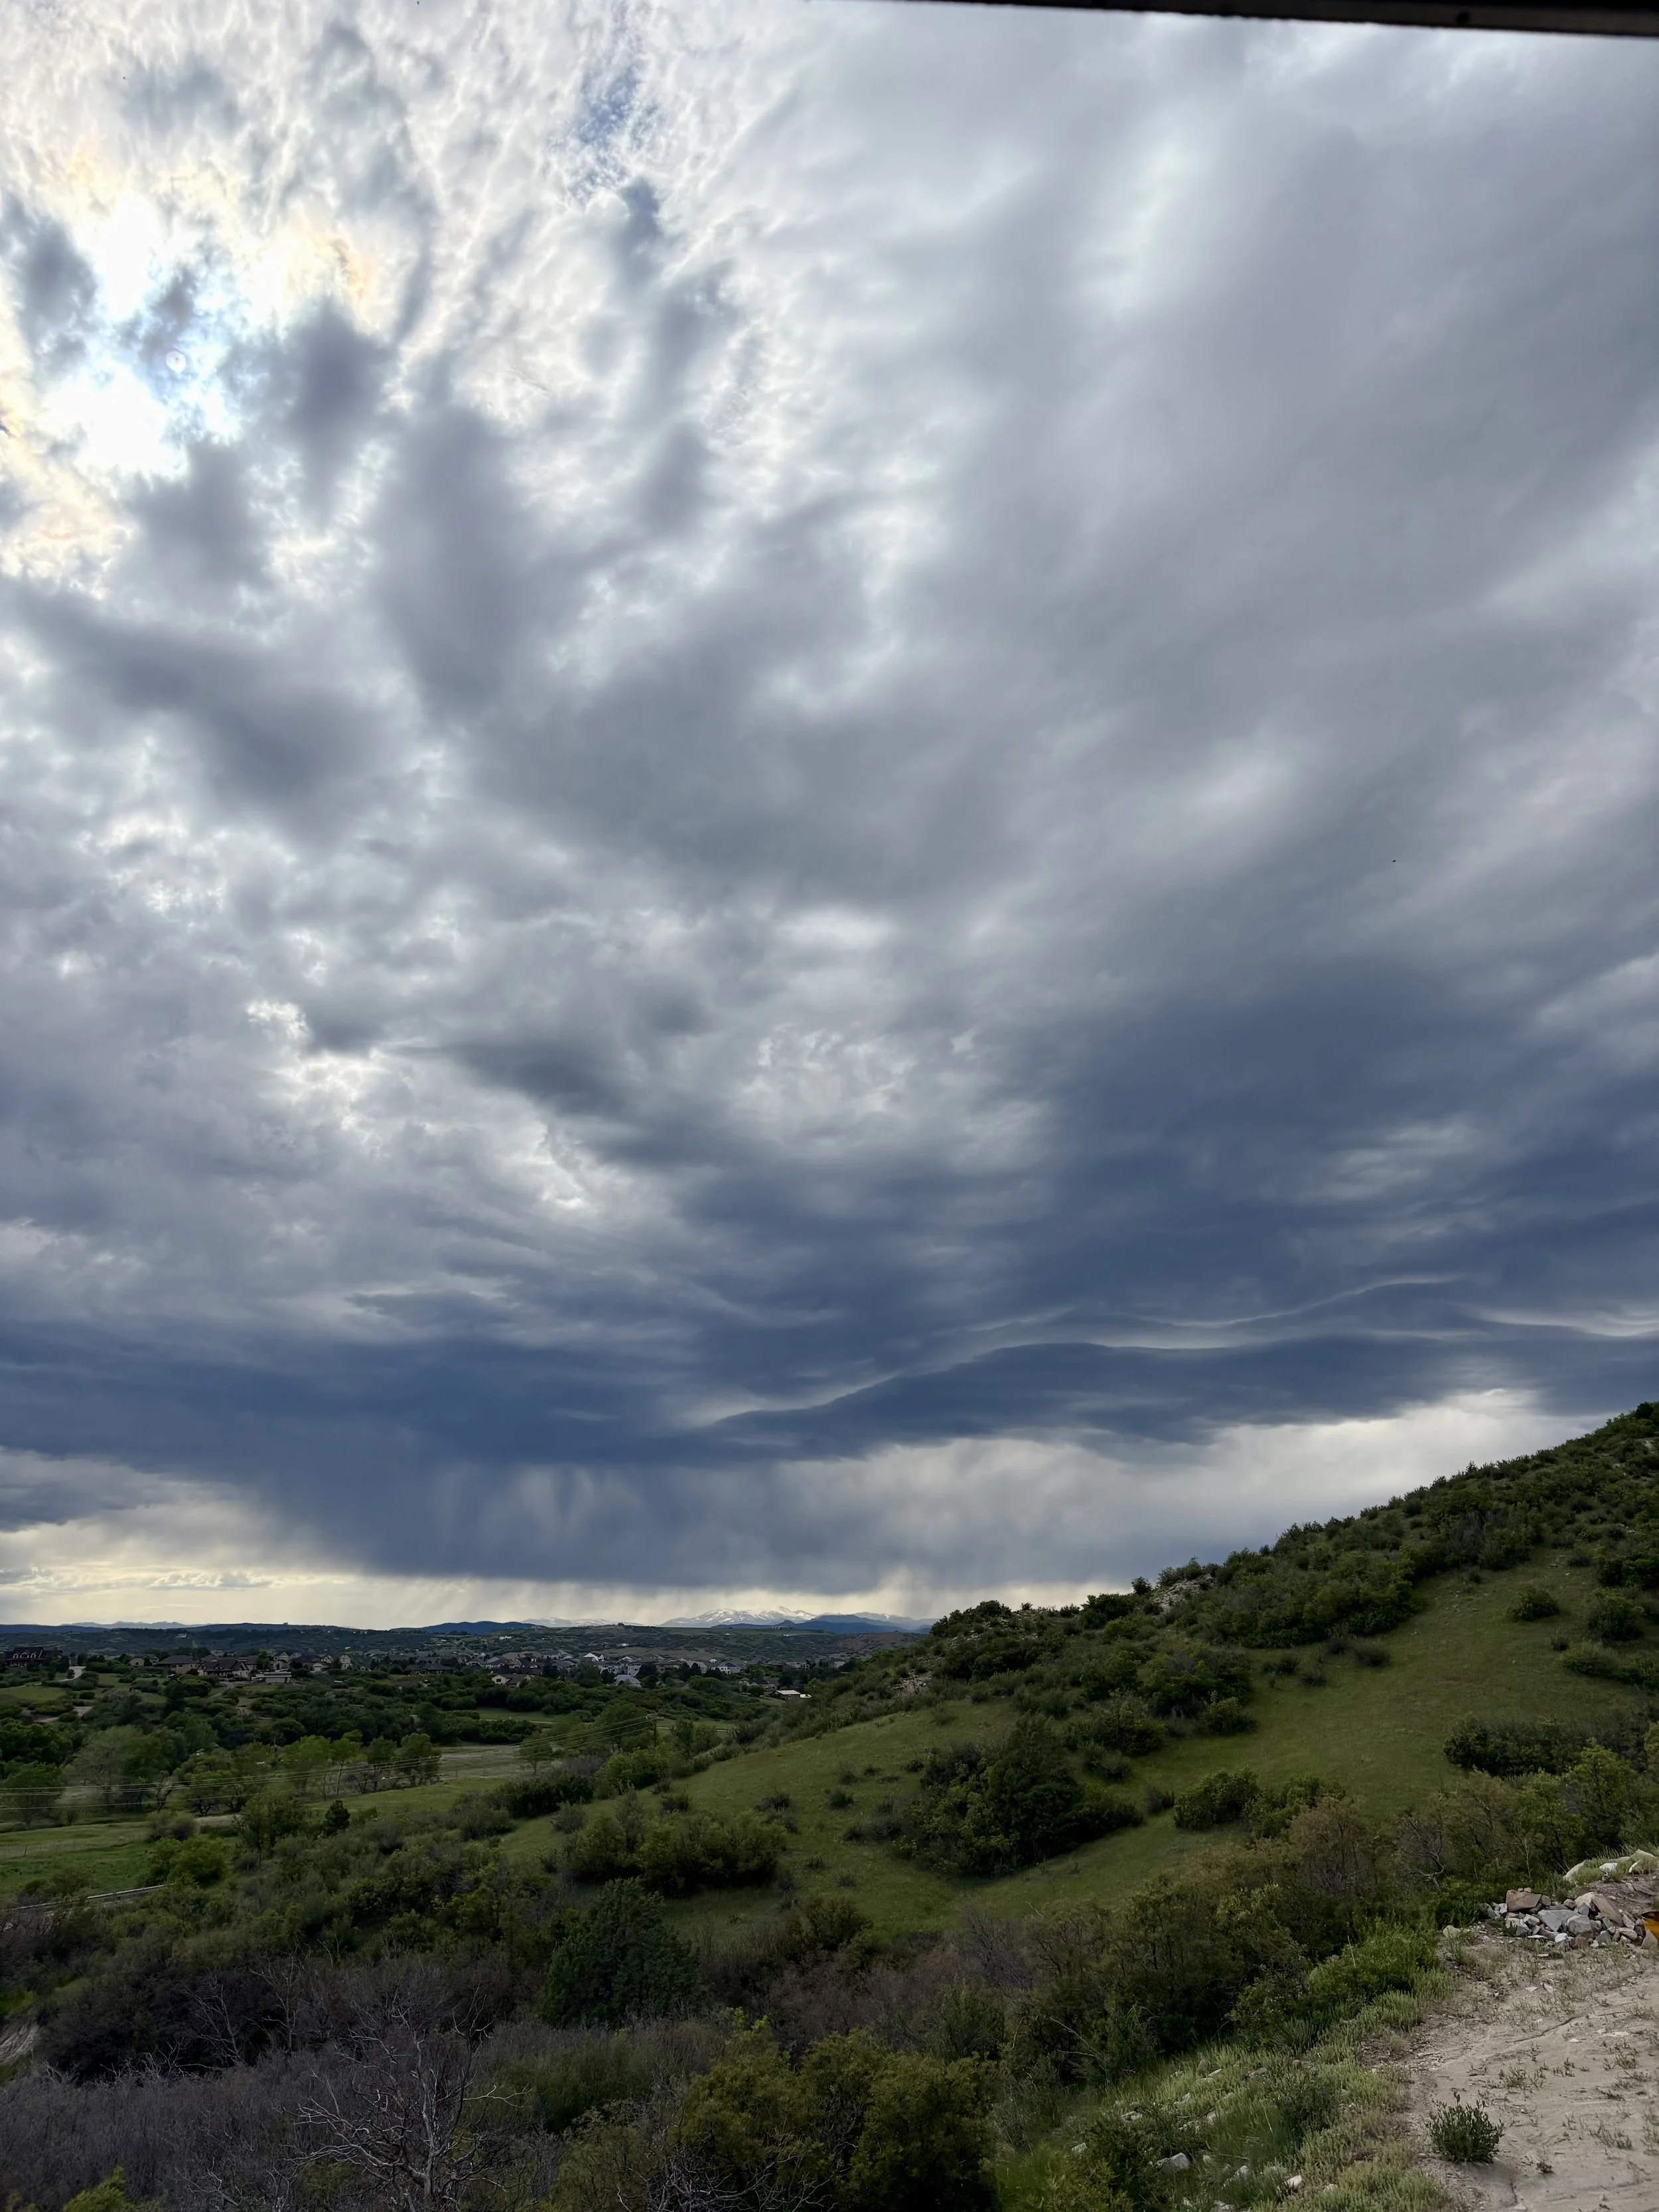
...and mother nature comes to wreak havoc by sending high winds and pouring rain! Luckily this was short storm and only took the ladder airborne!! Yikes!! Can we maybe have just ONE outdoor job that doesn't involve rain?
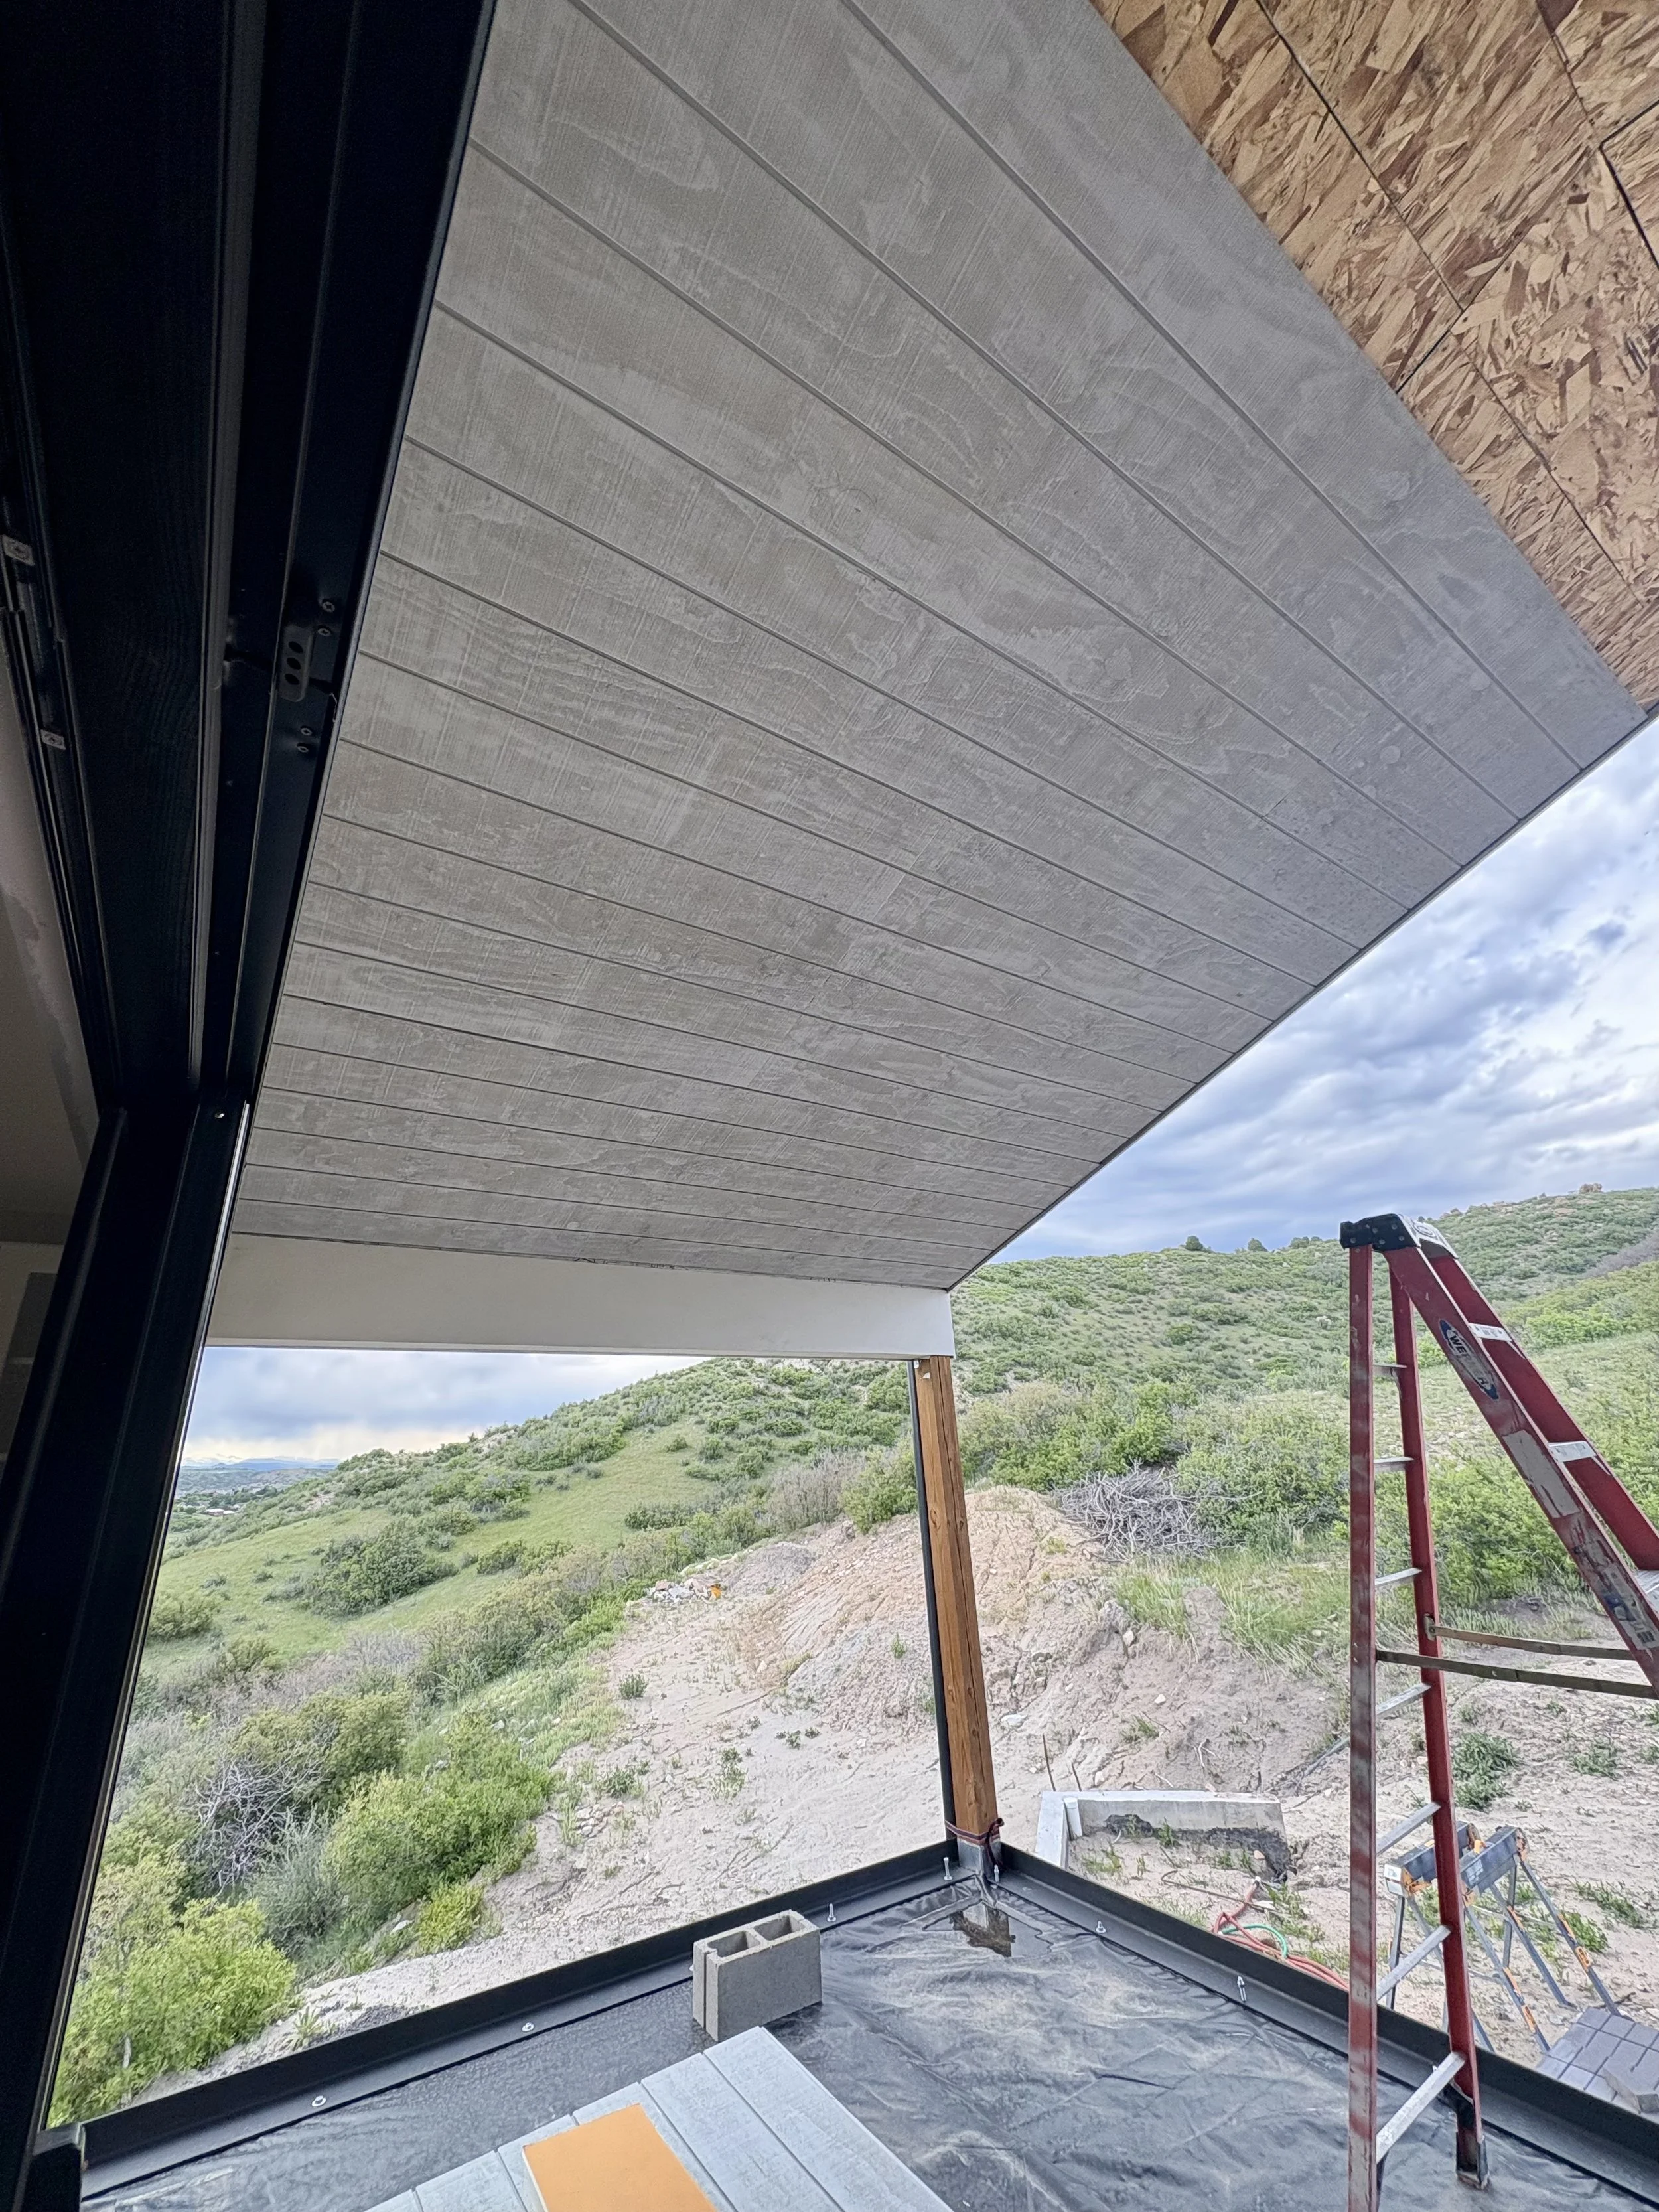
This is gonna look GREAT!
Almost finished!
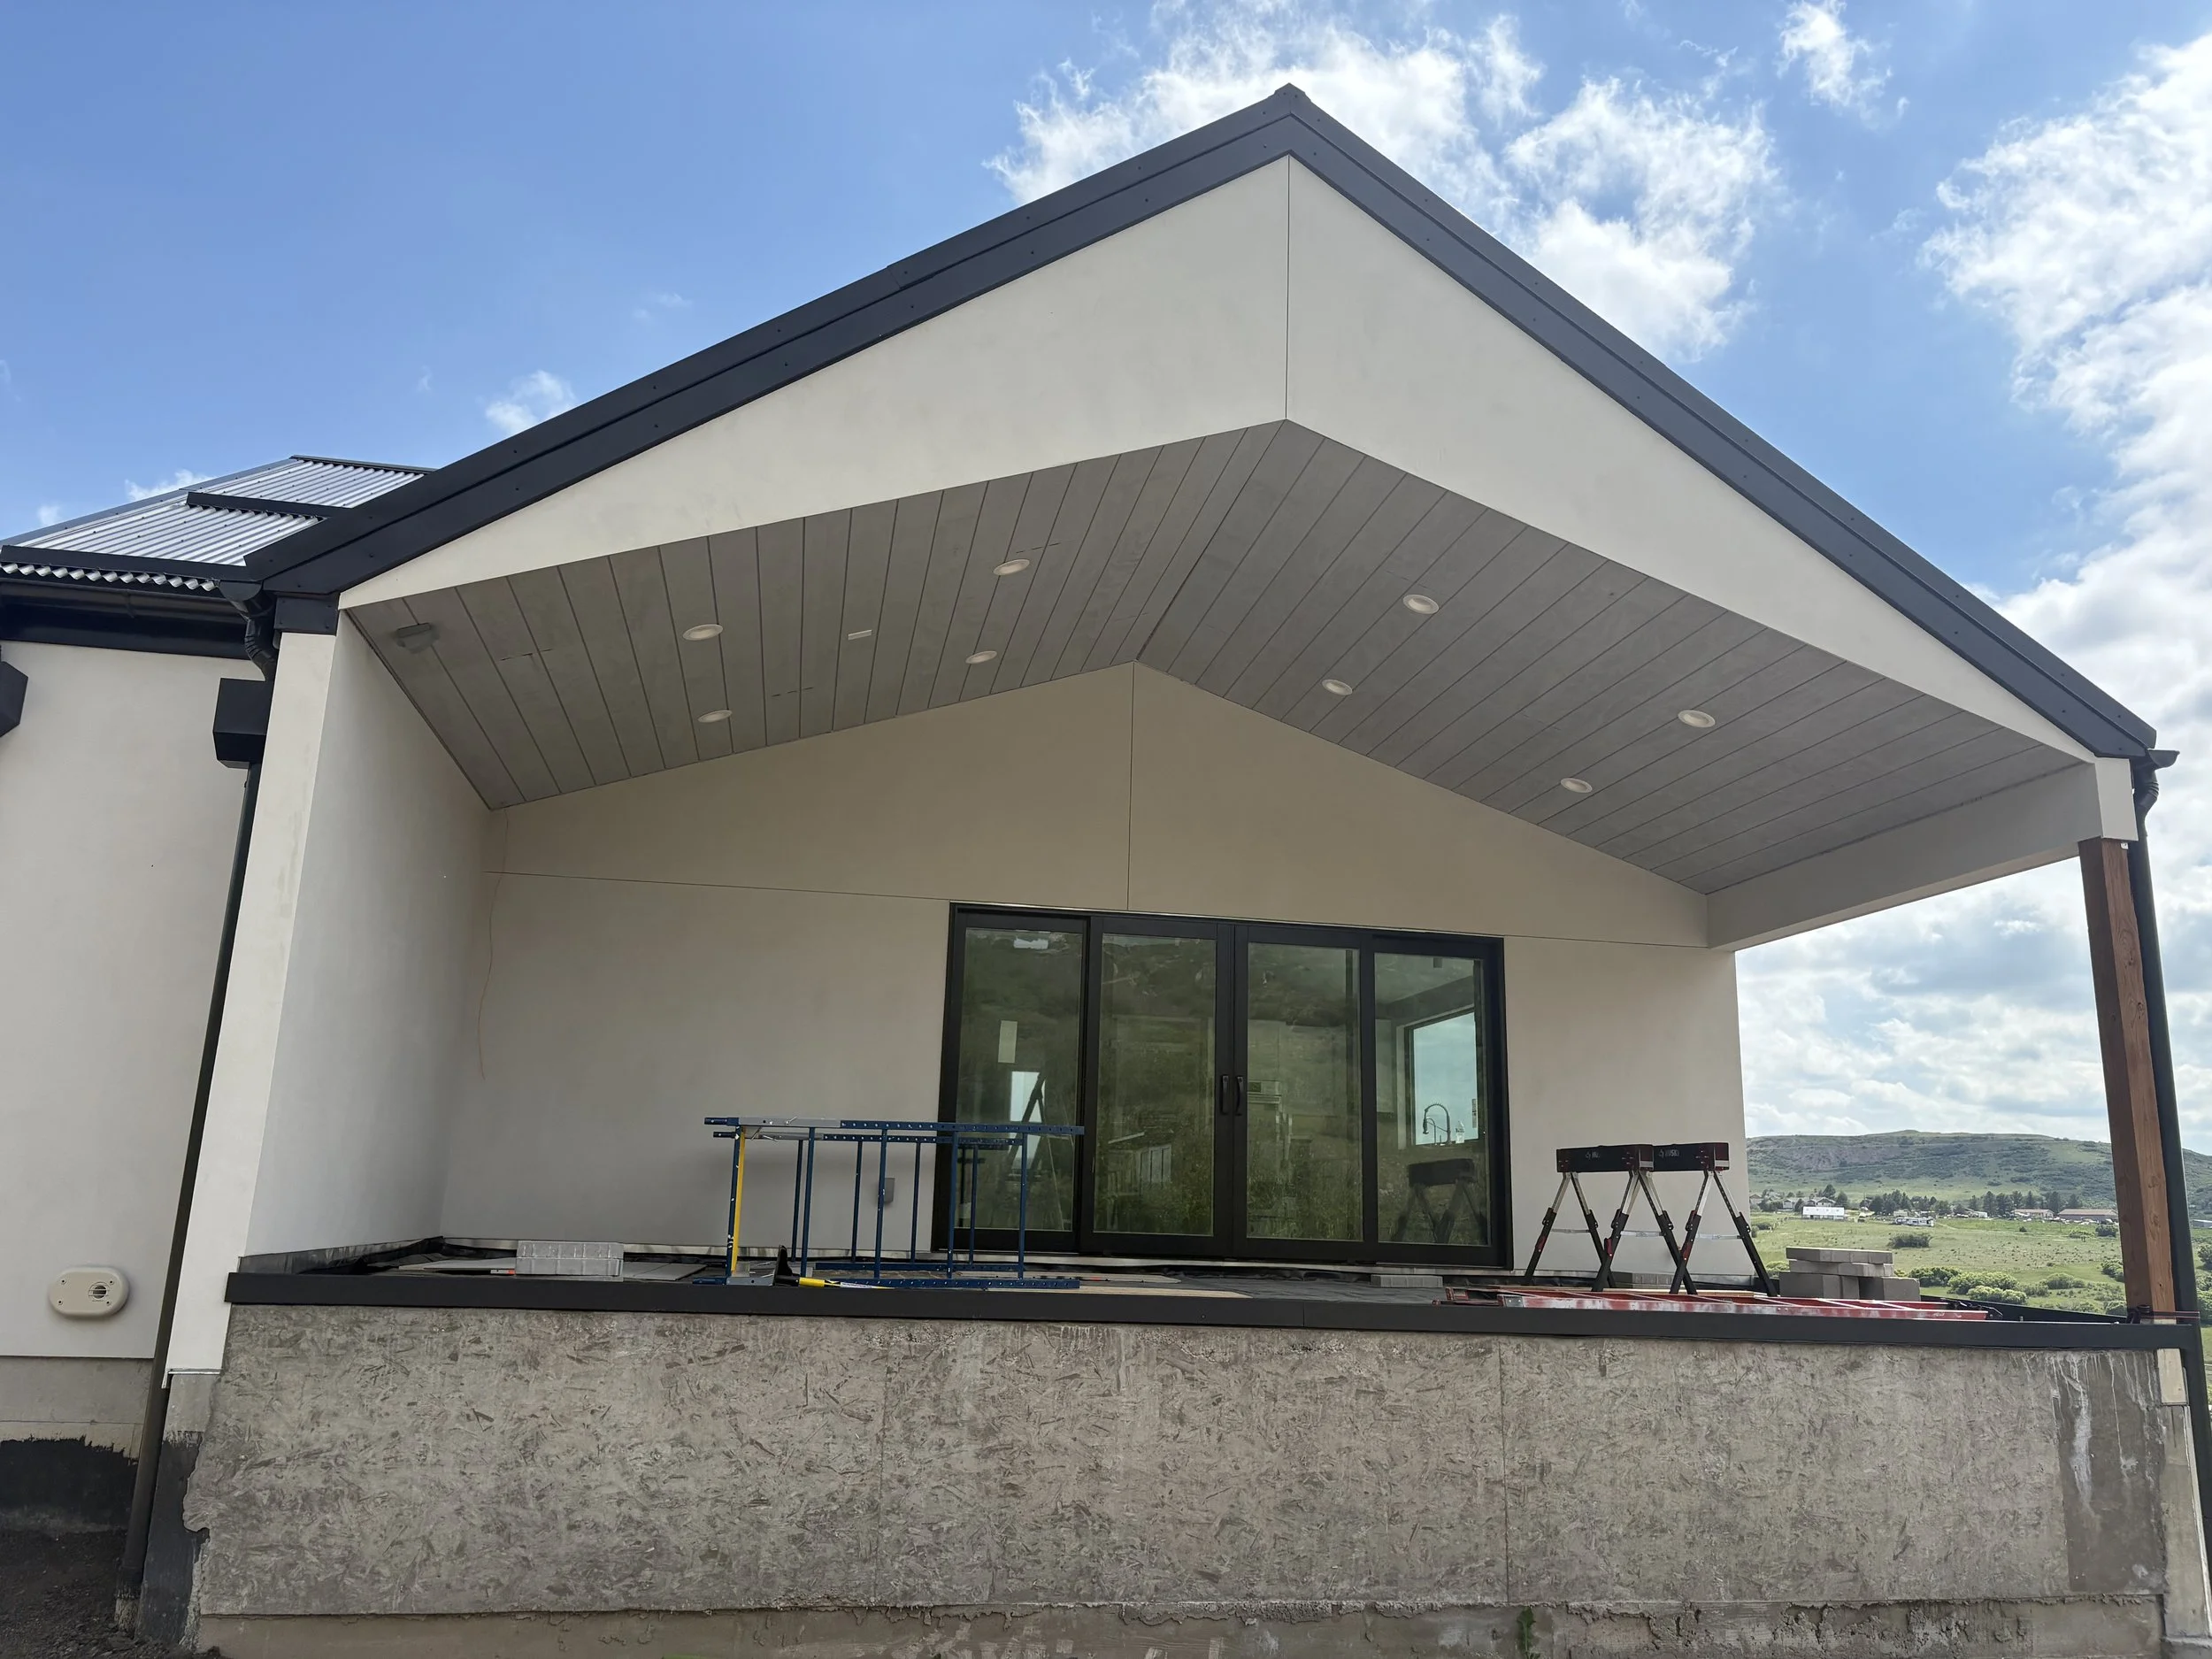
Hooray! All finished and lights are up and working! There are a few more finishings for the patio roof, but that'll be for another day.
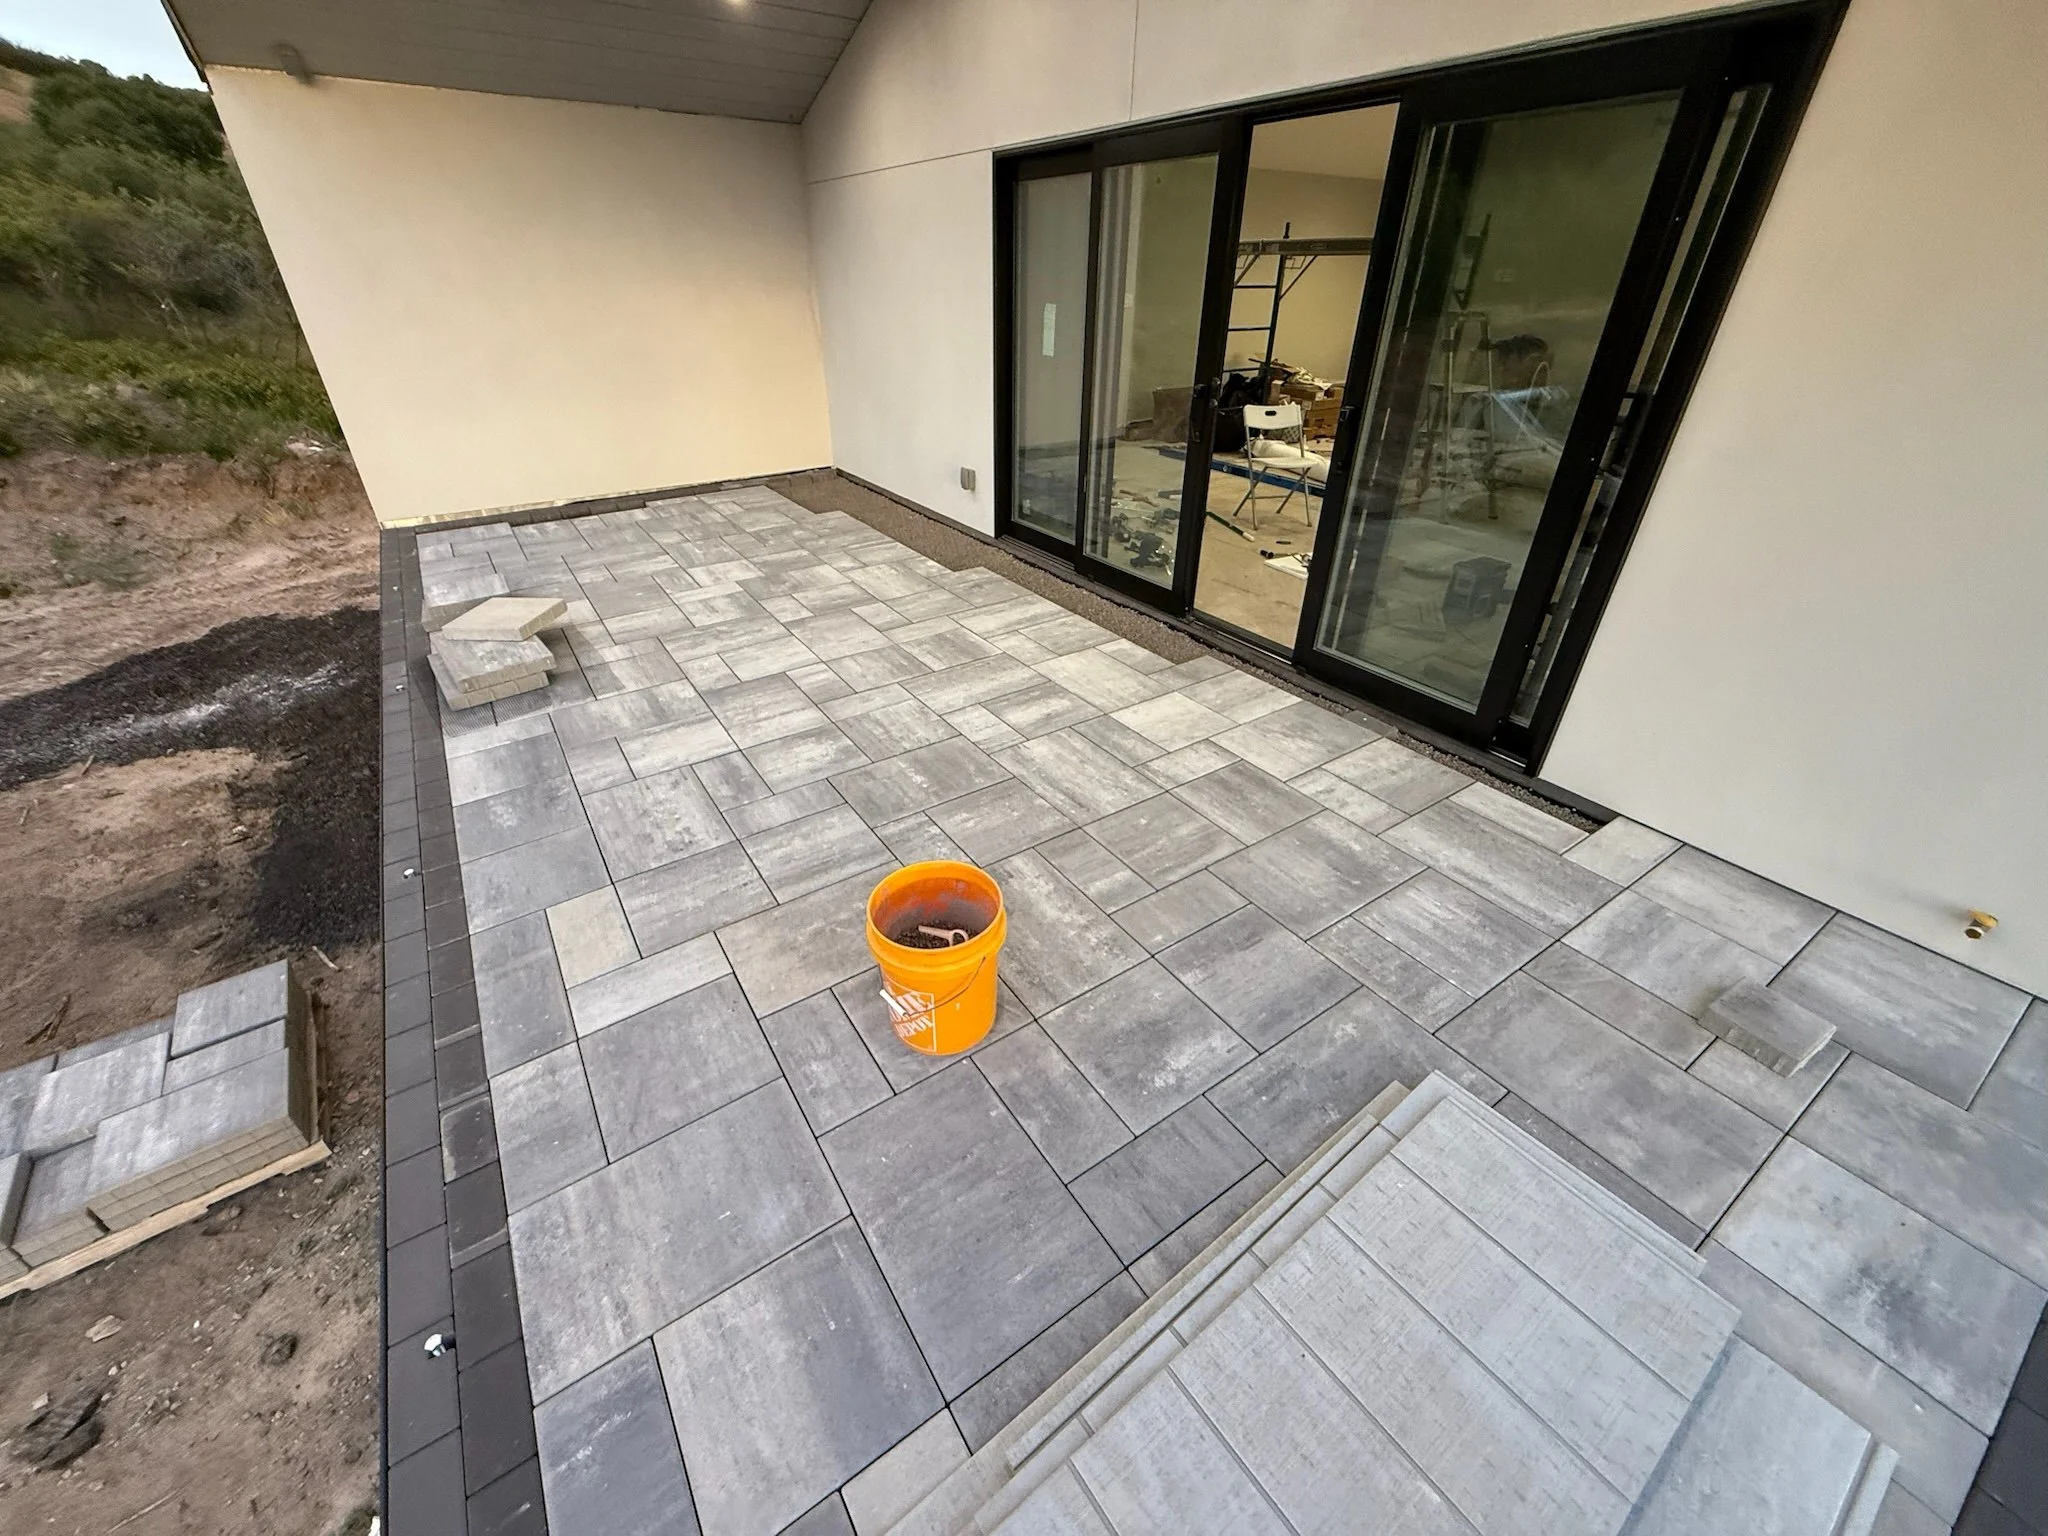
Step 21: Finishing the Patio
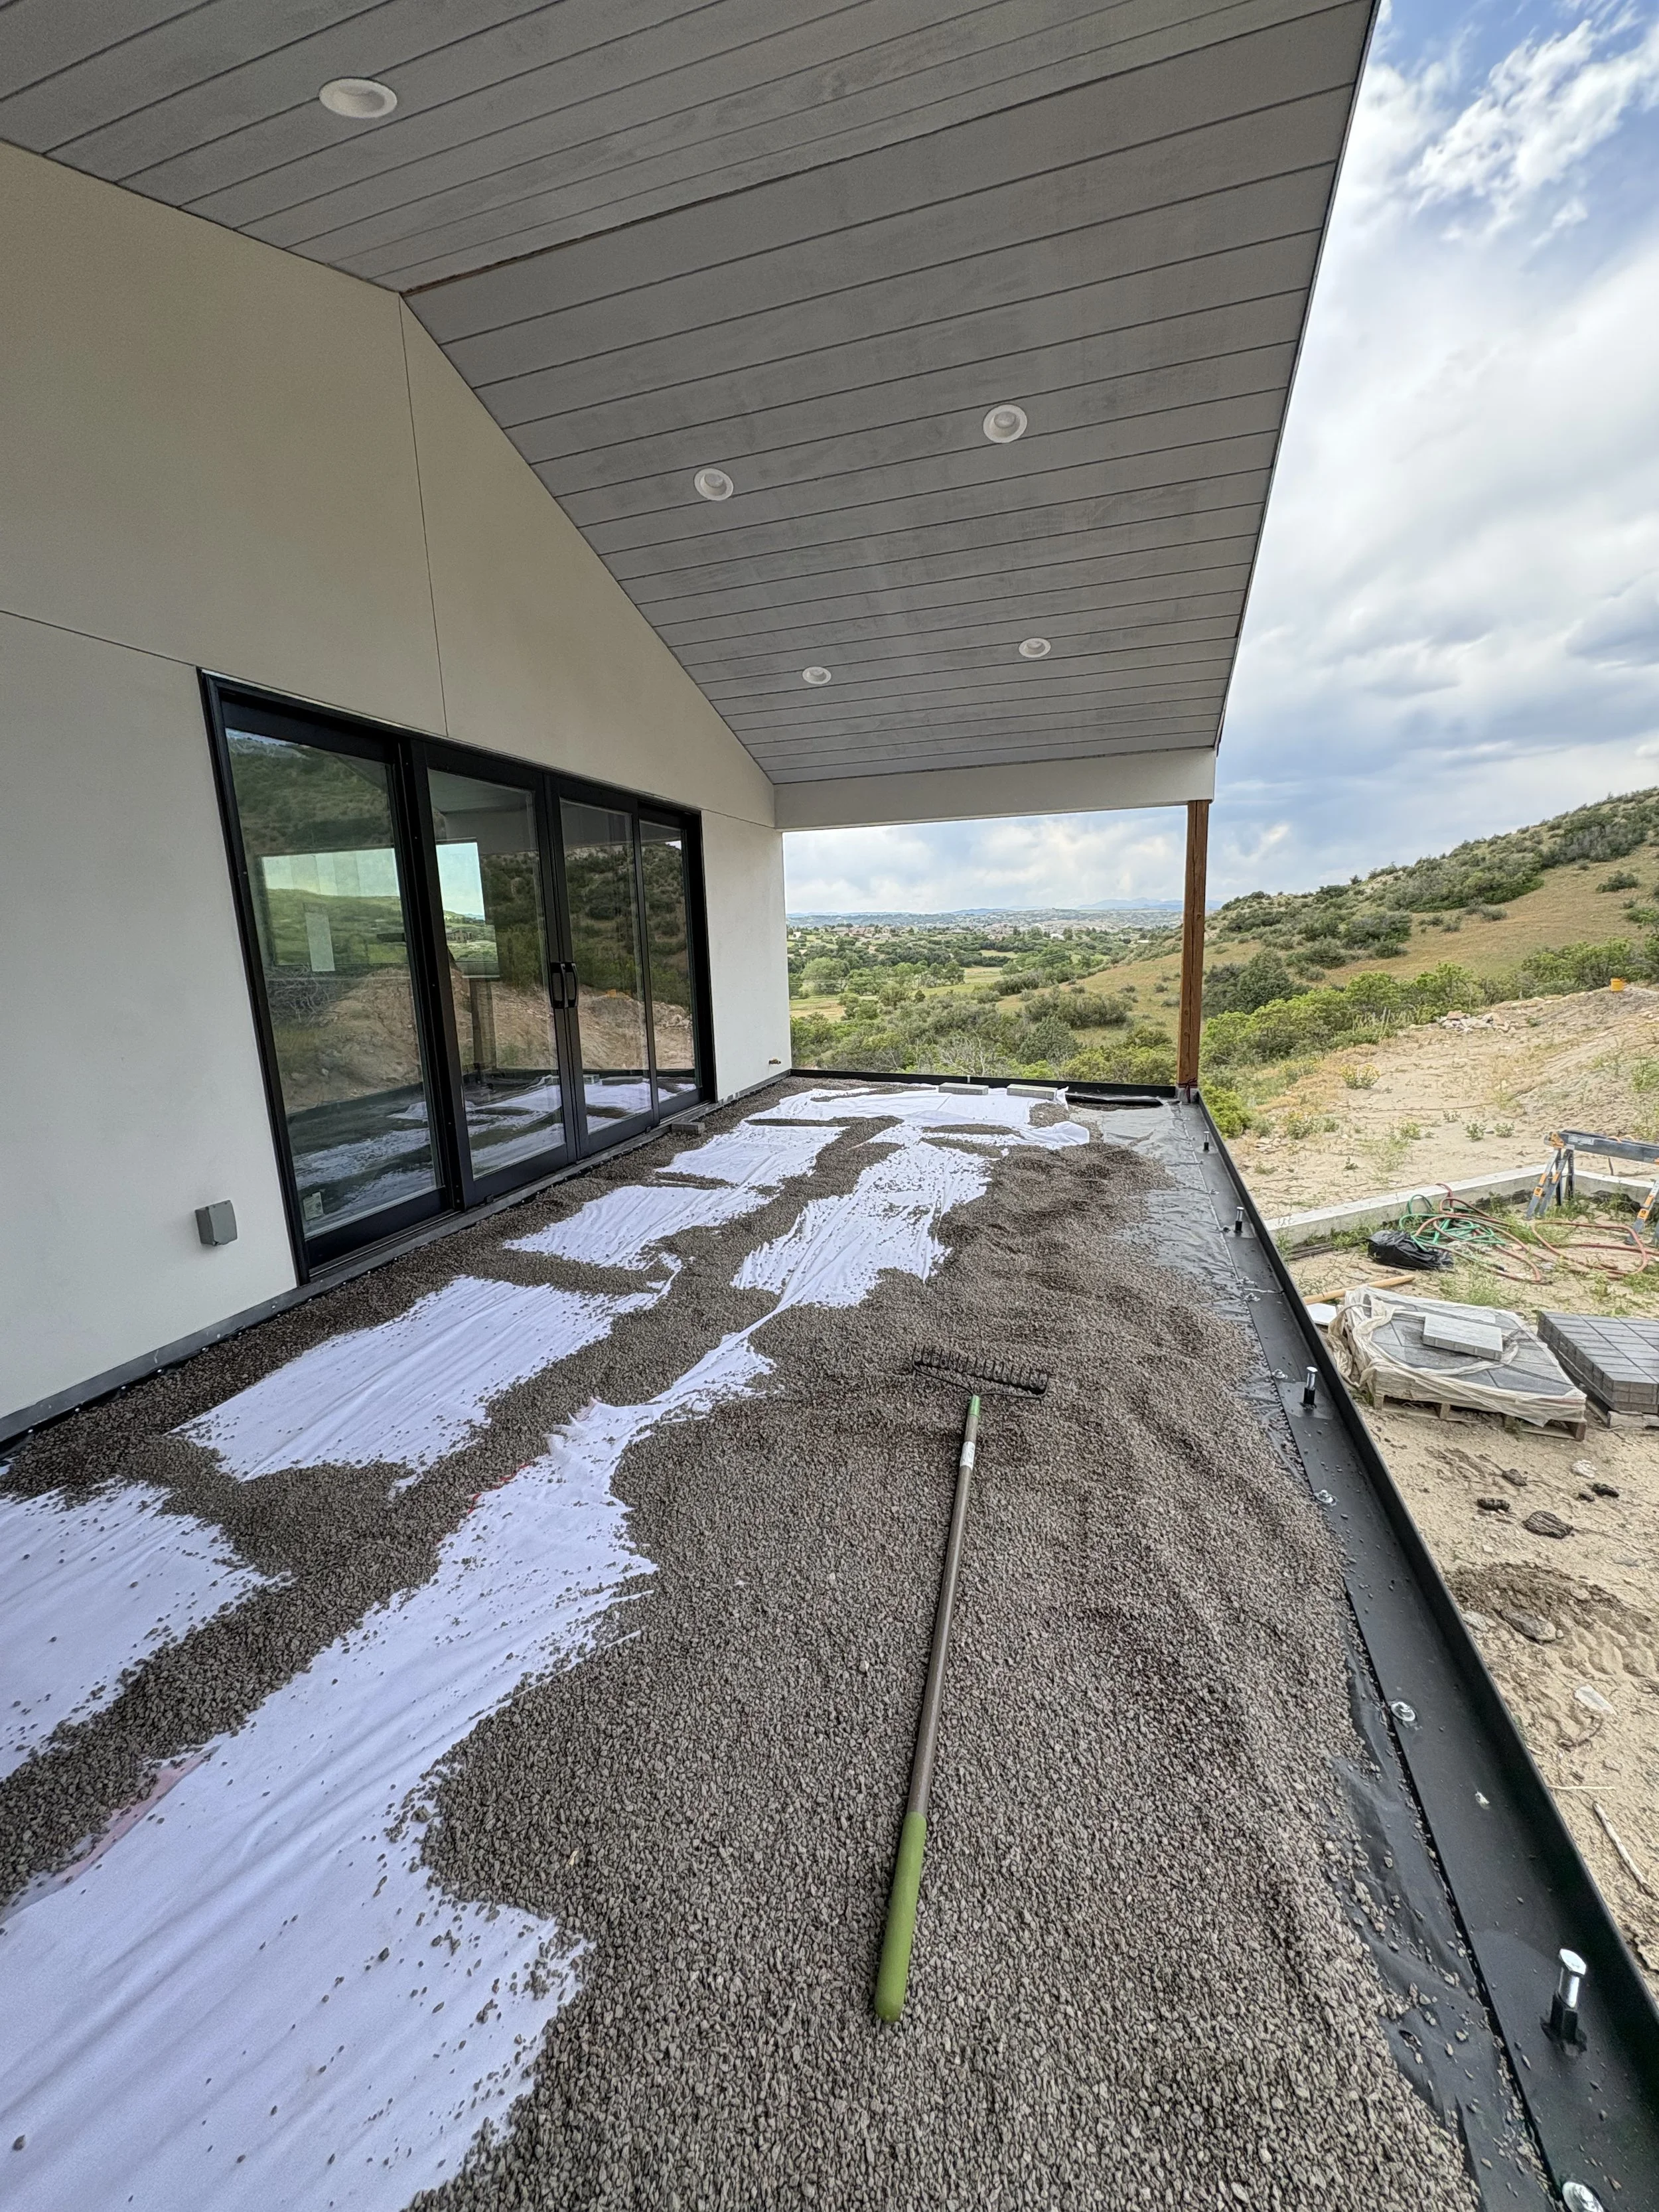
Now we begin finishing the patio floor. This requires lots and lots of gravel!
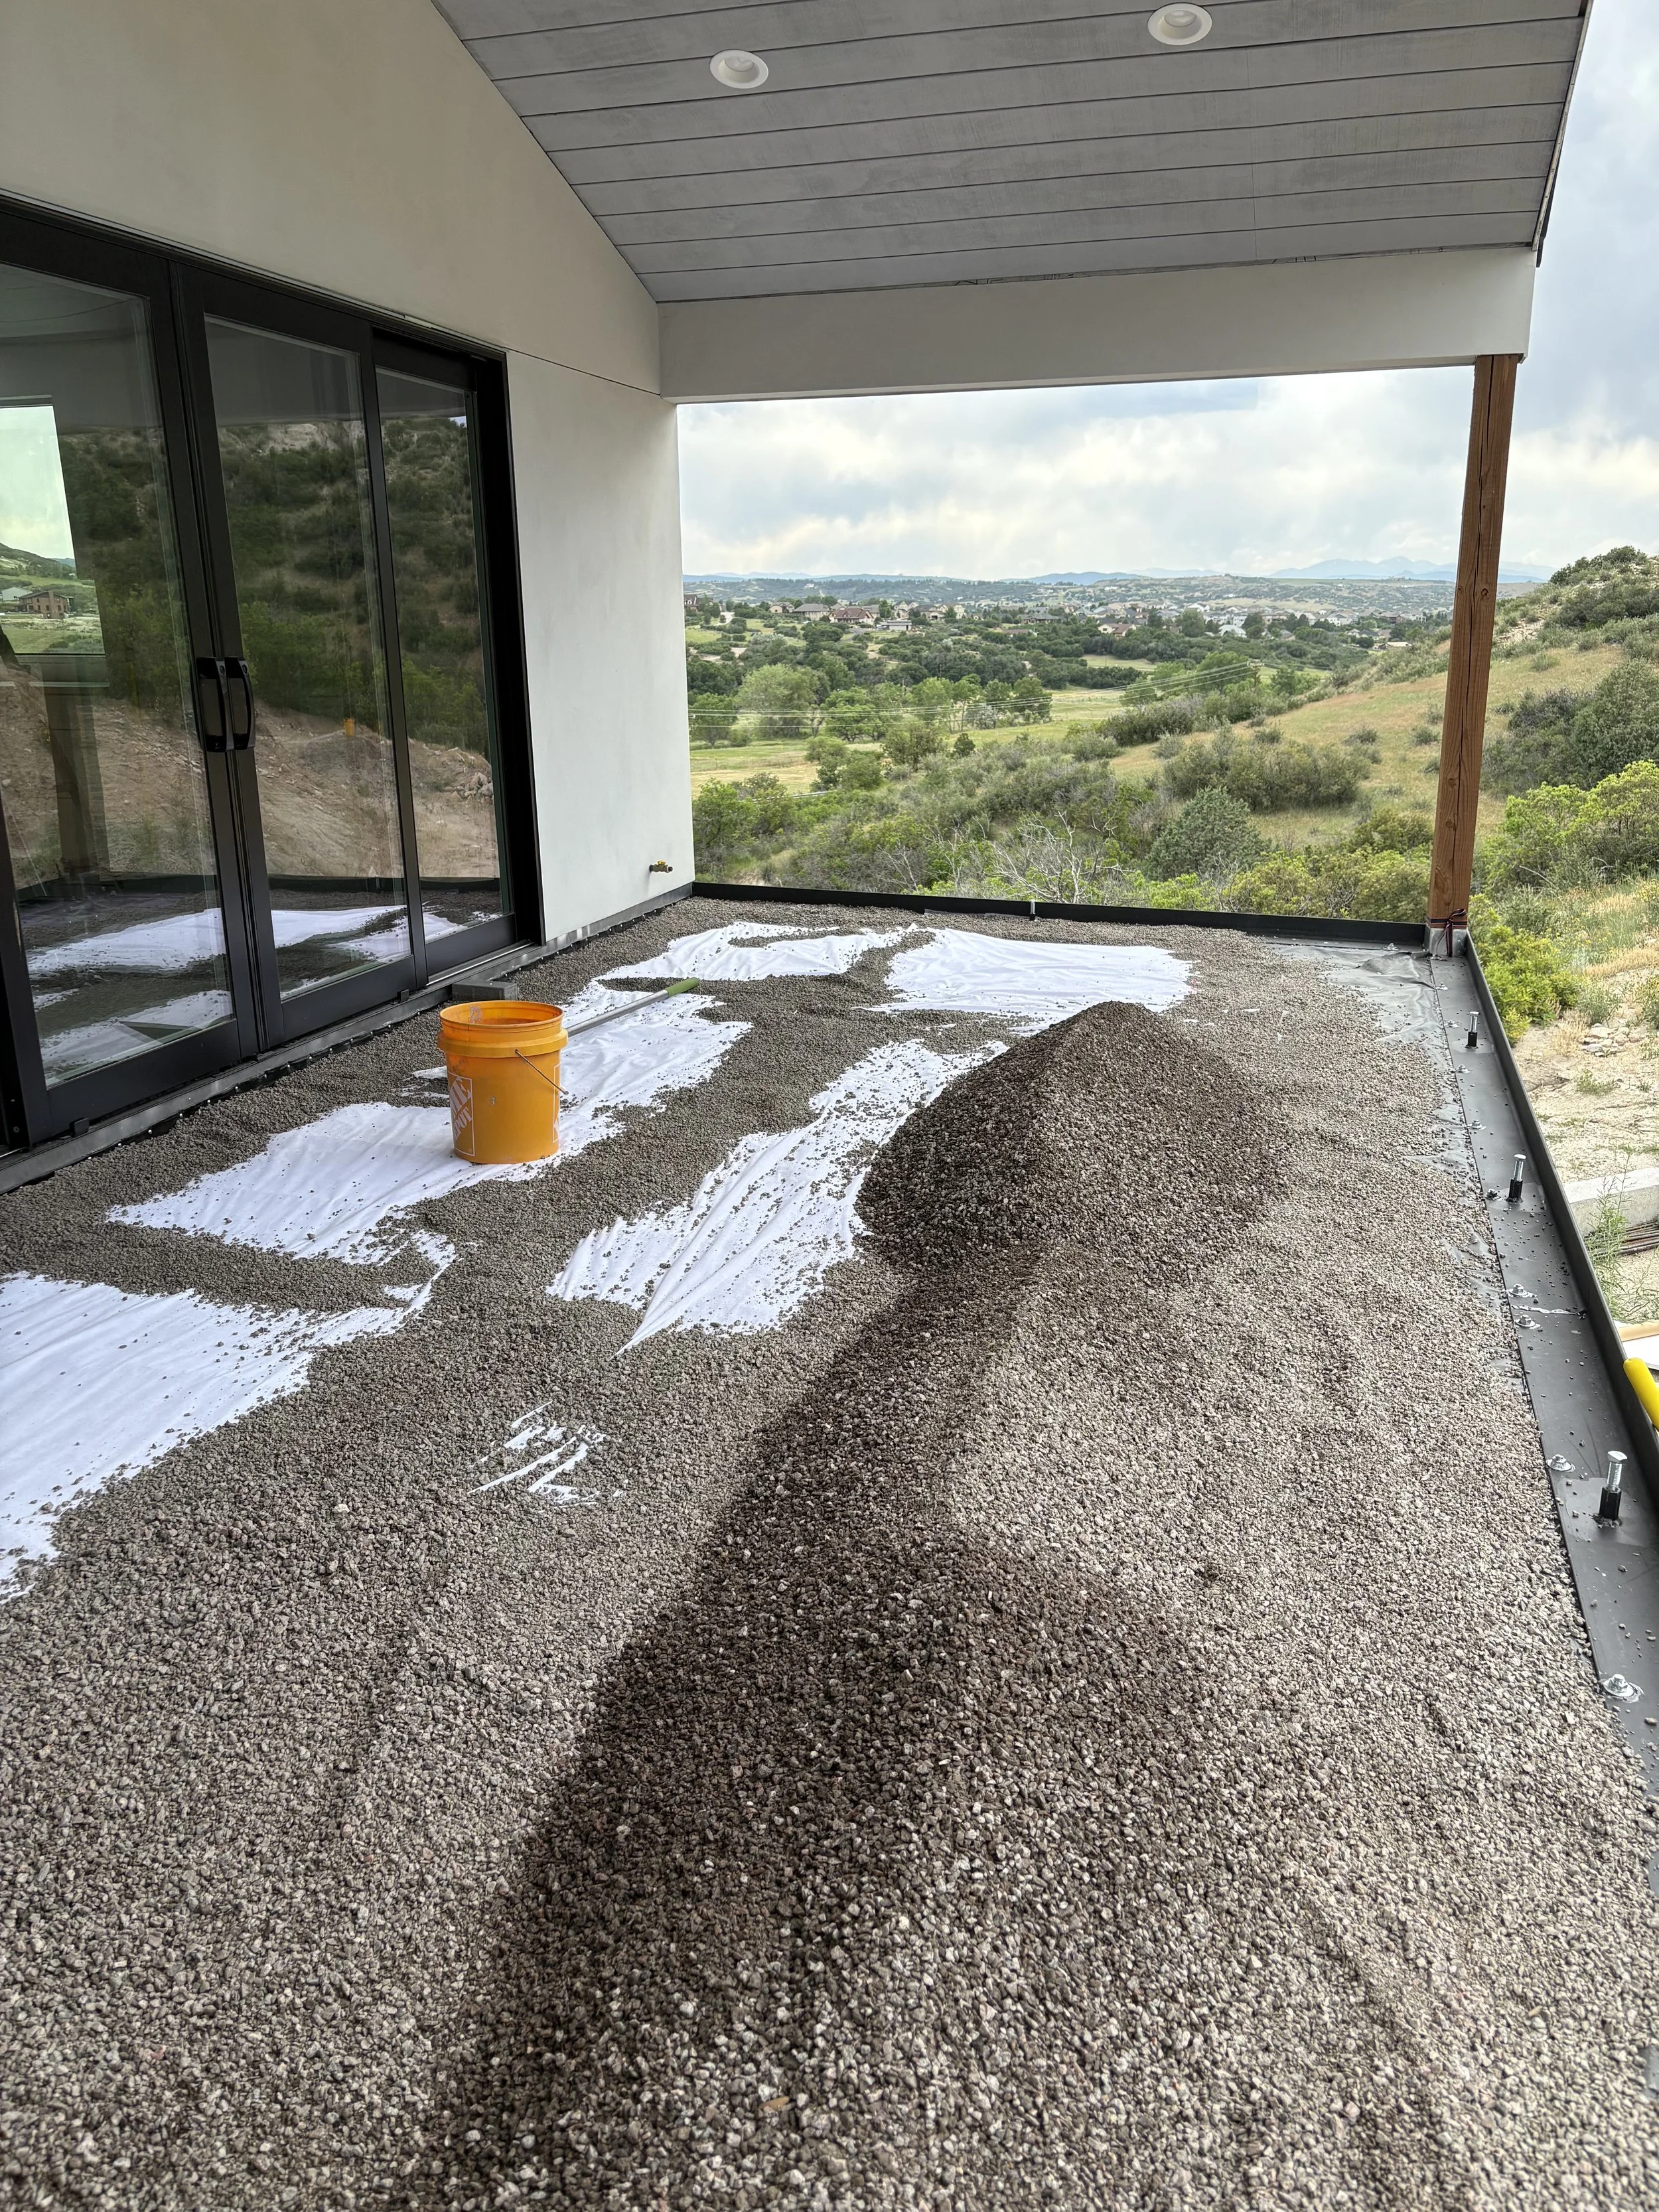
There was no easy way to get the gravel up on the patio, so Kris drove the Bobcat over and then we hoisted up one bucket at a time! Ugh!
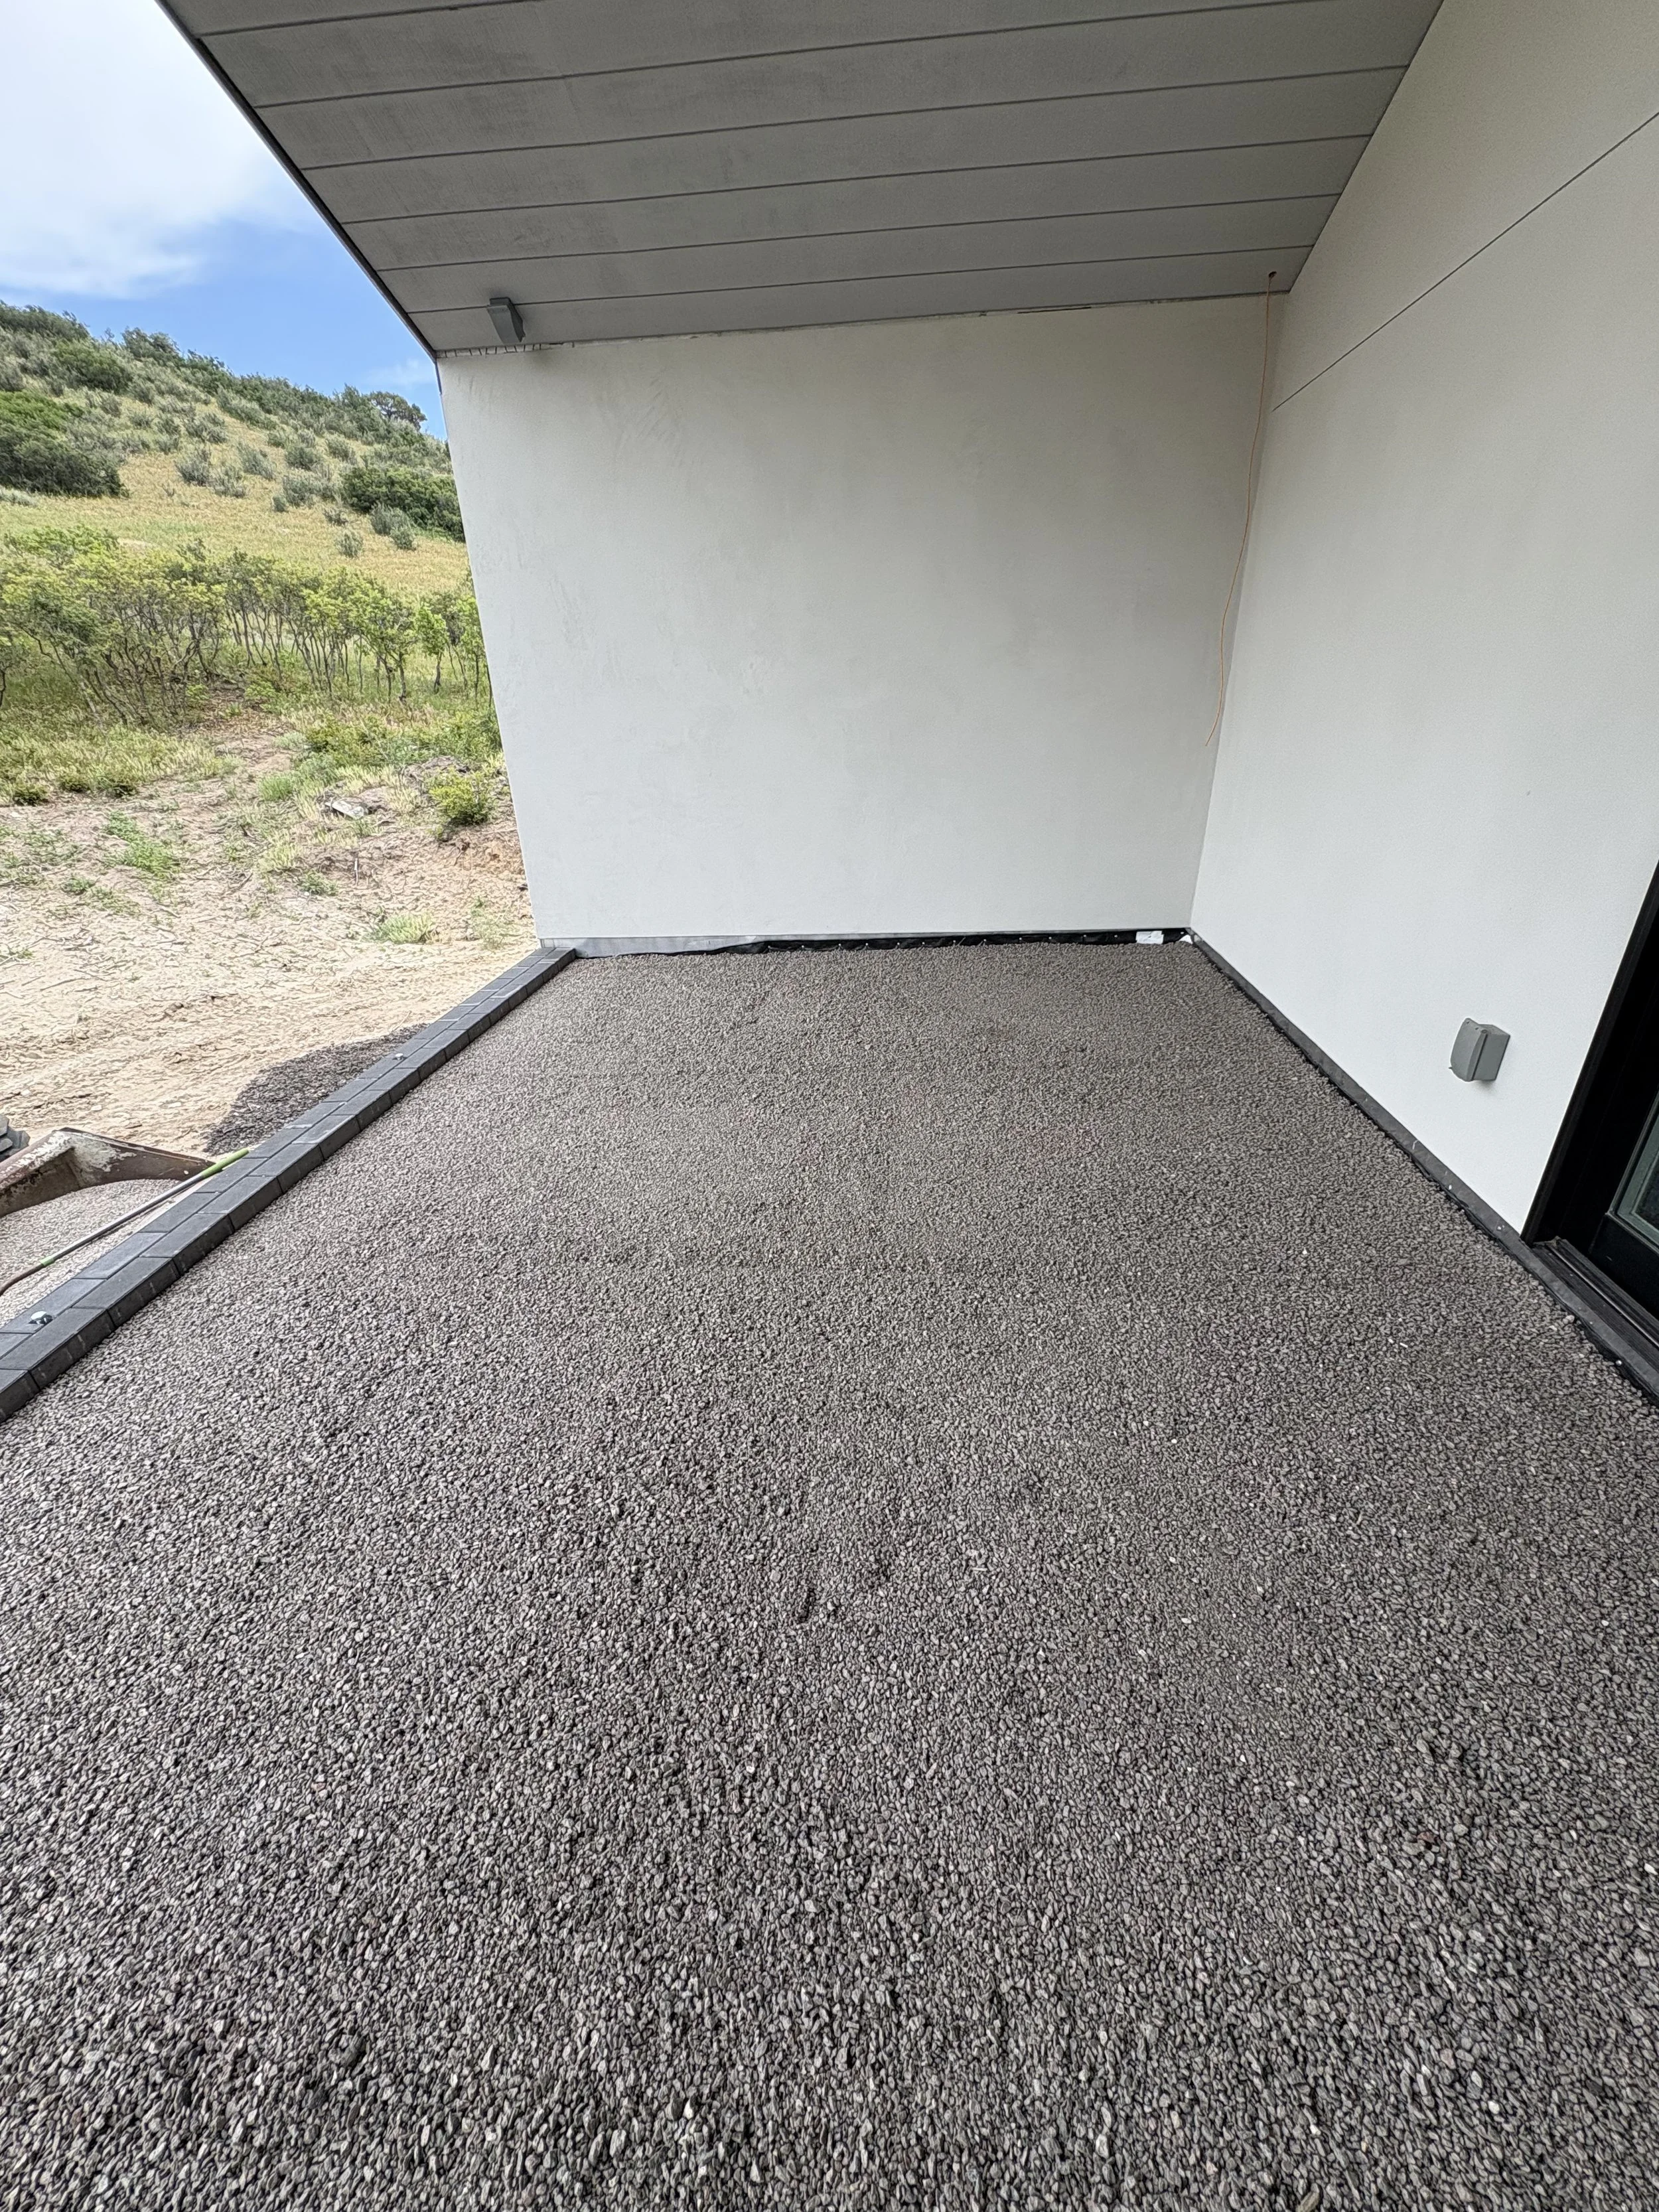
Rake the rock so it's nice and smooth!
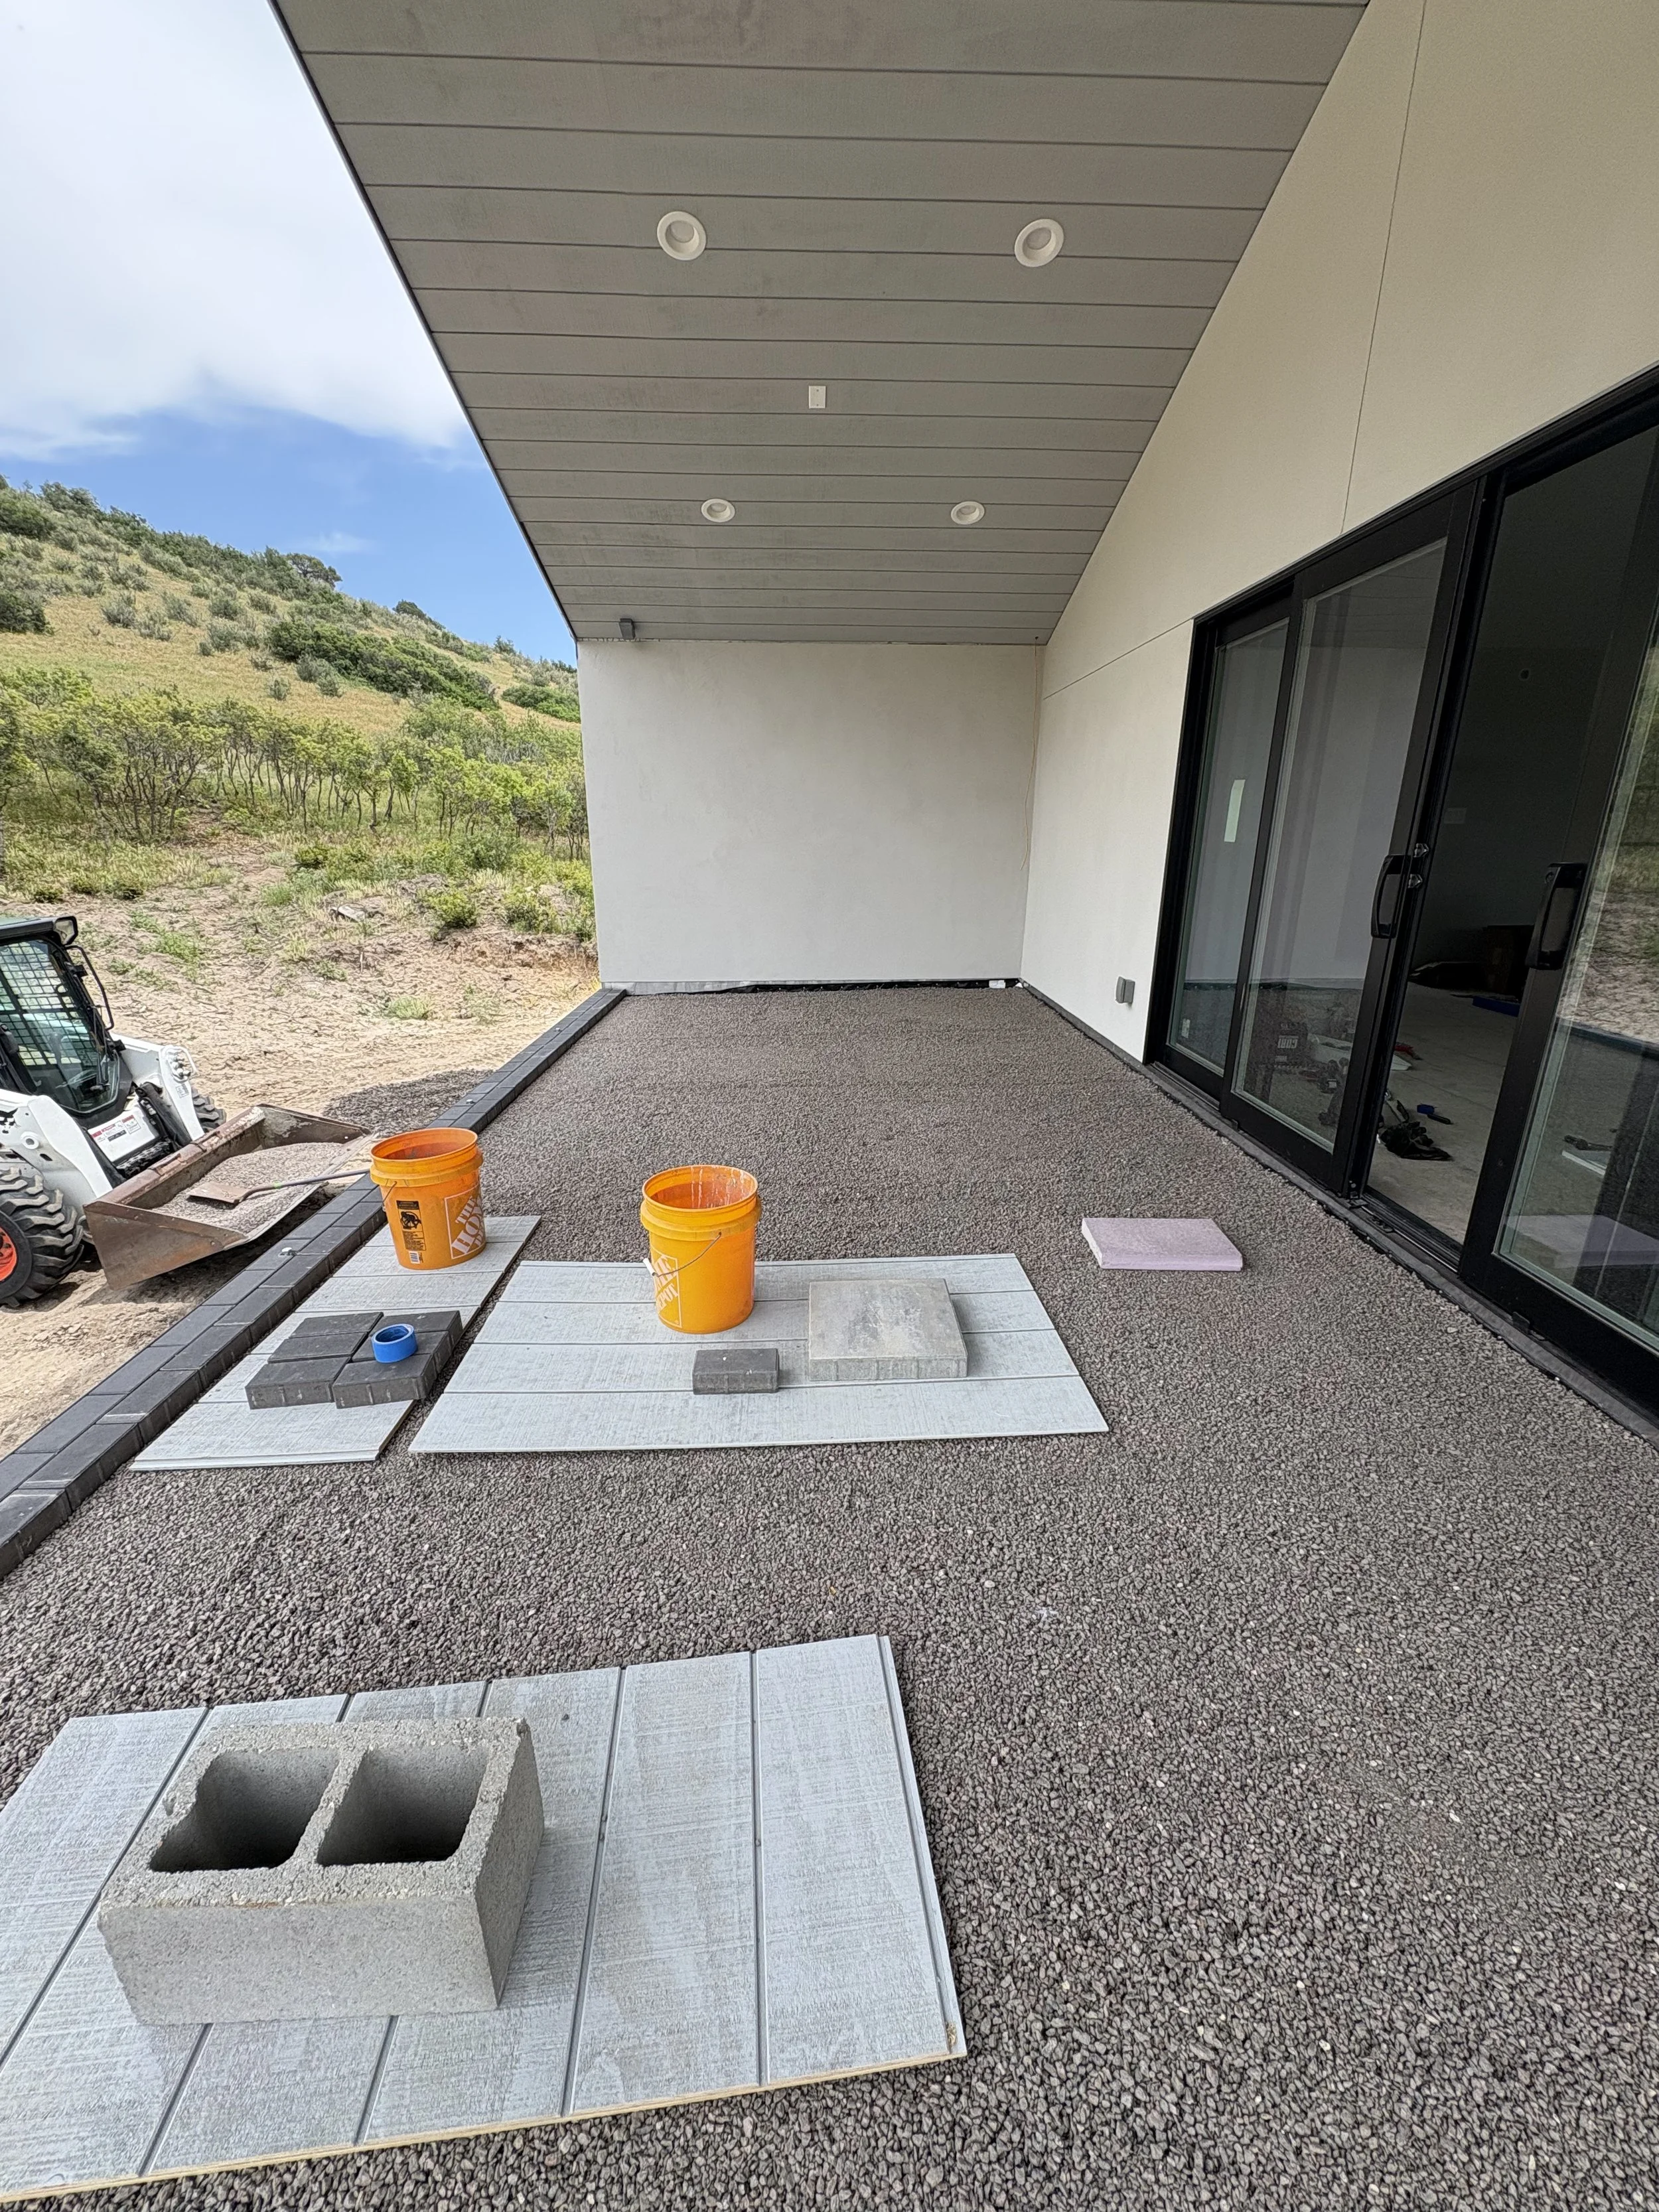
Extra pieces of roofing worked nicely to keep the footprints away as we put down the border pieces.
Now that the border is in place, we begin to install the large pavers.

We printed off a cheat sheet to make sure we have the correct pattern. It's like a jigsaw puzzle!
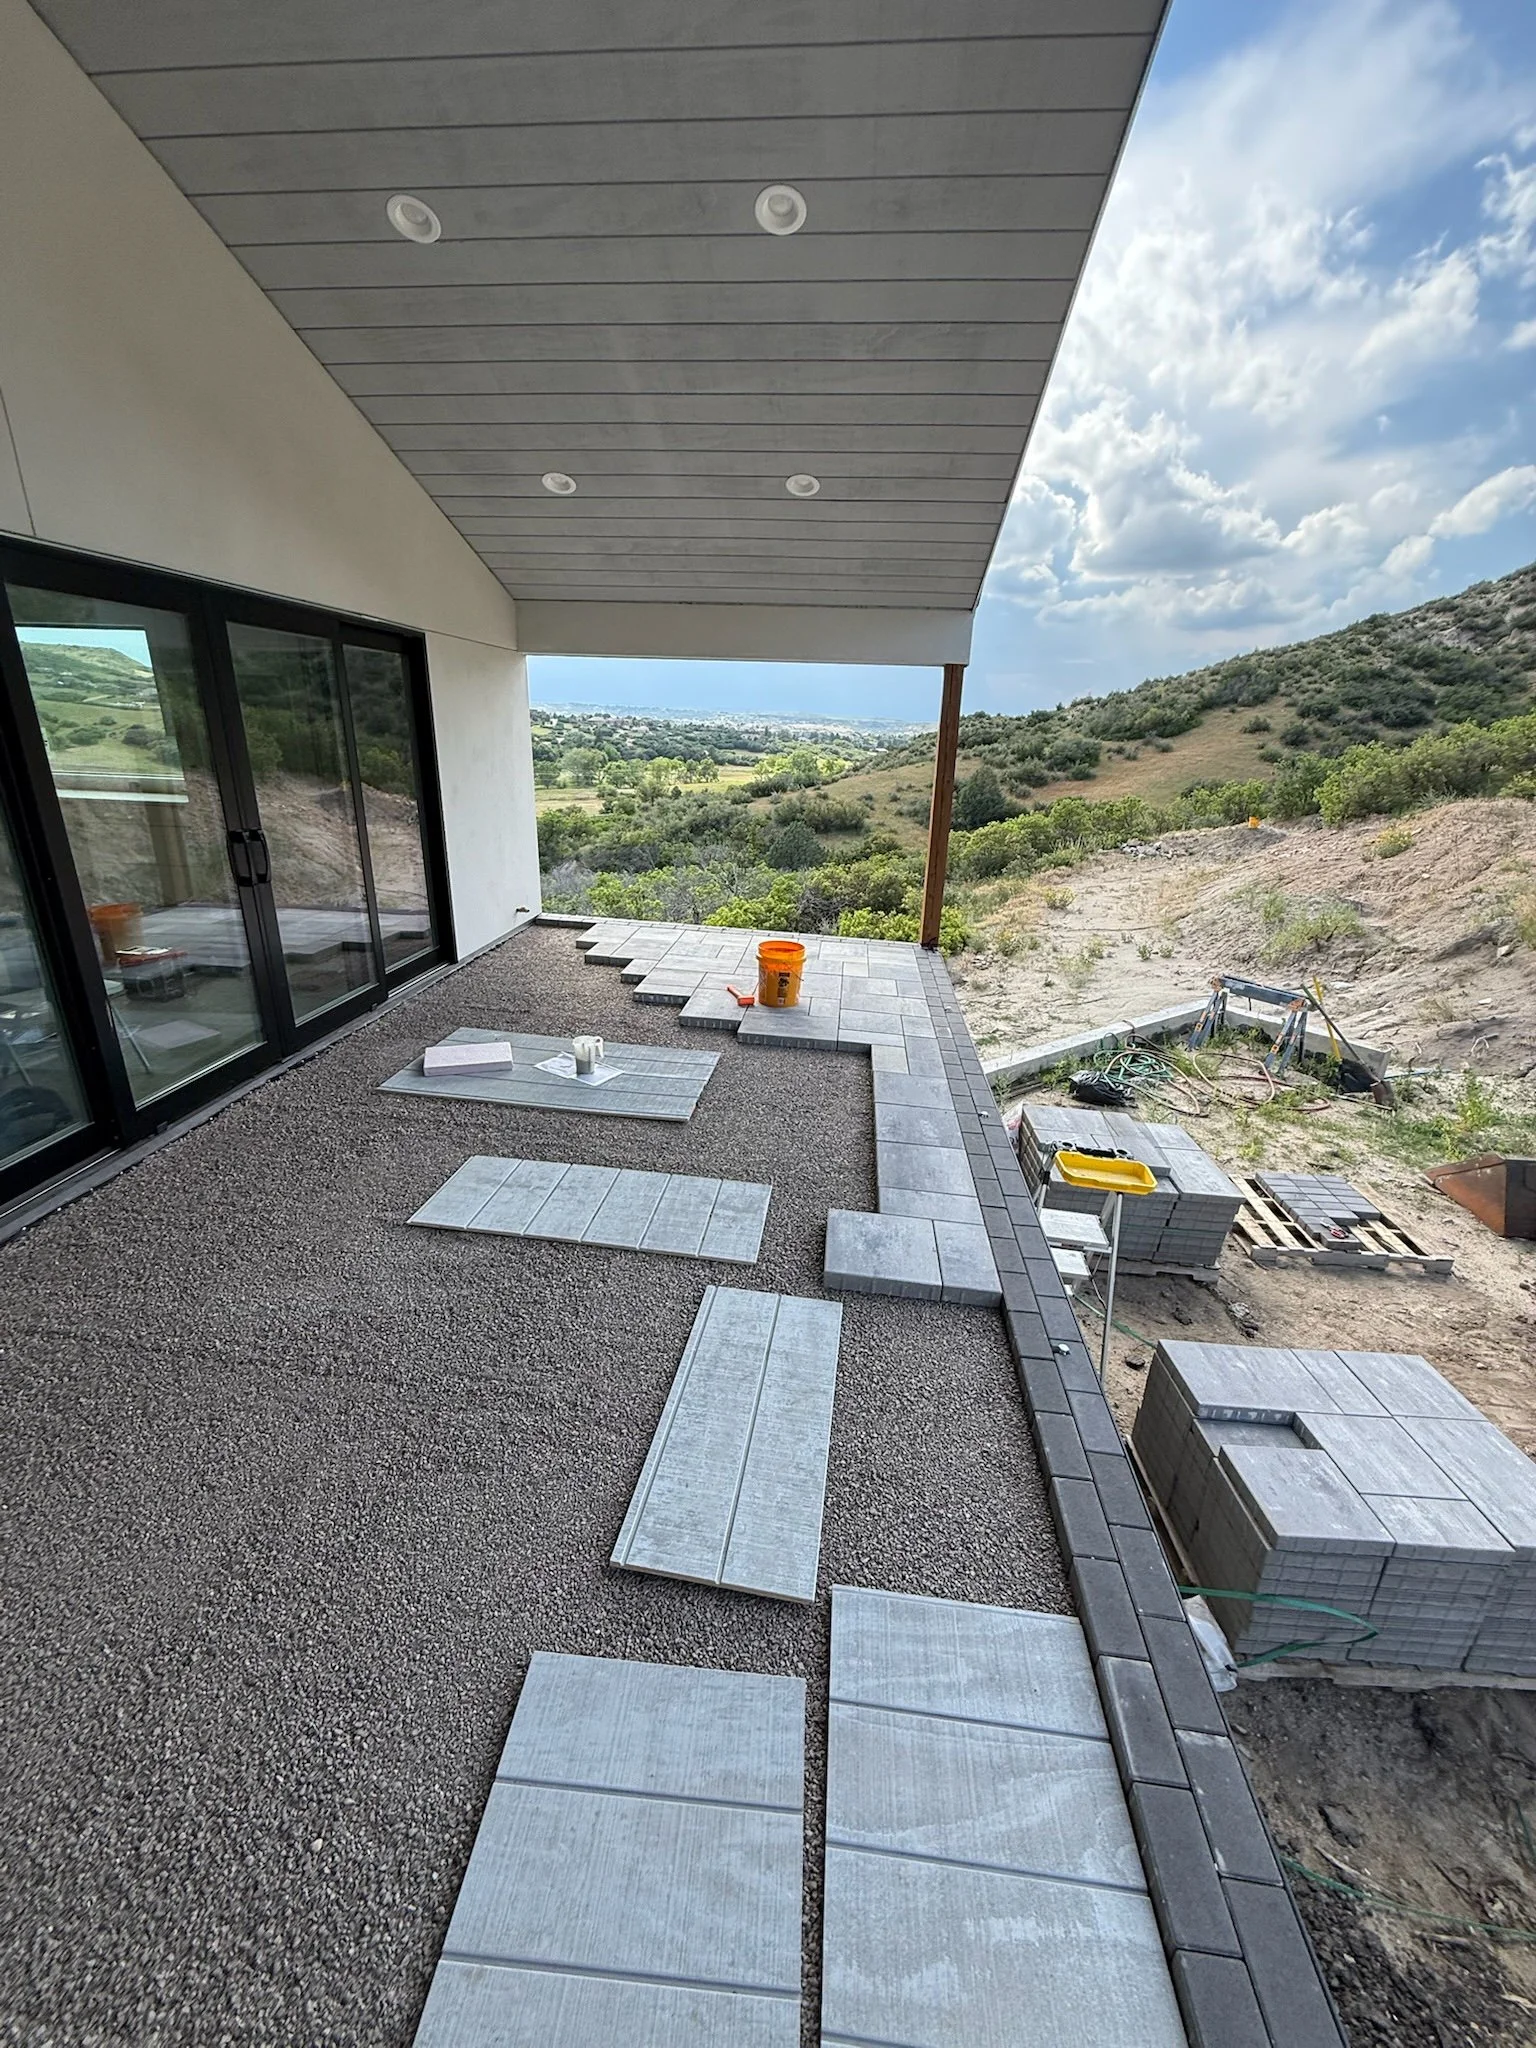
The sun starts to set for the day, but we're very happy with the progress.
A view from the other direction.
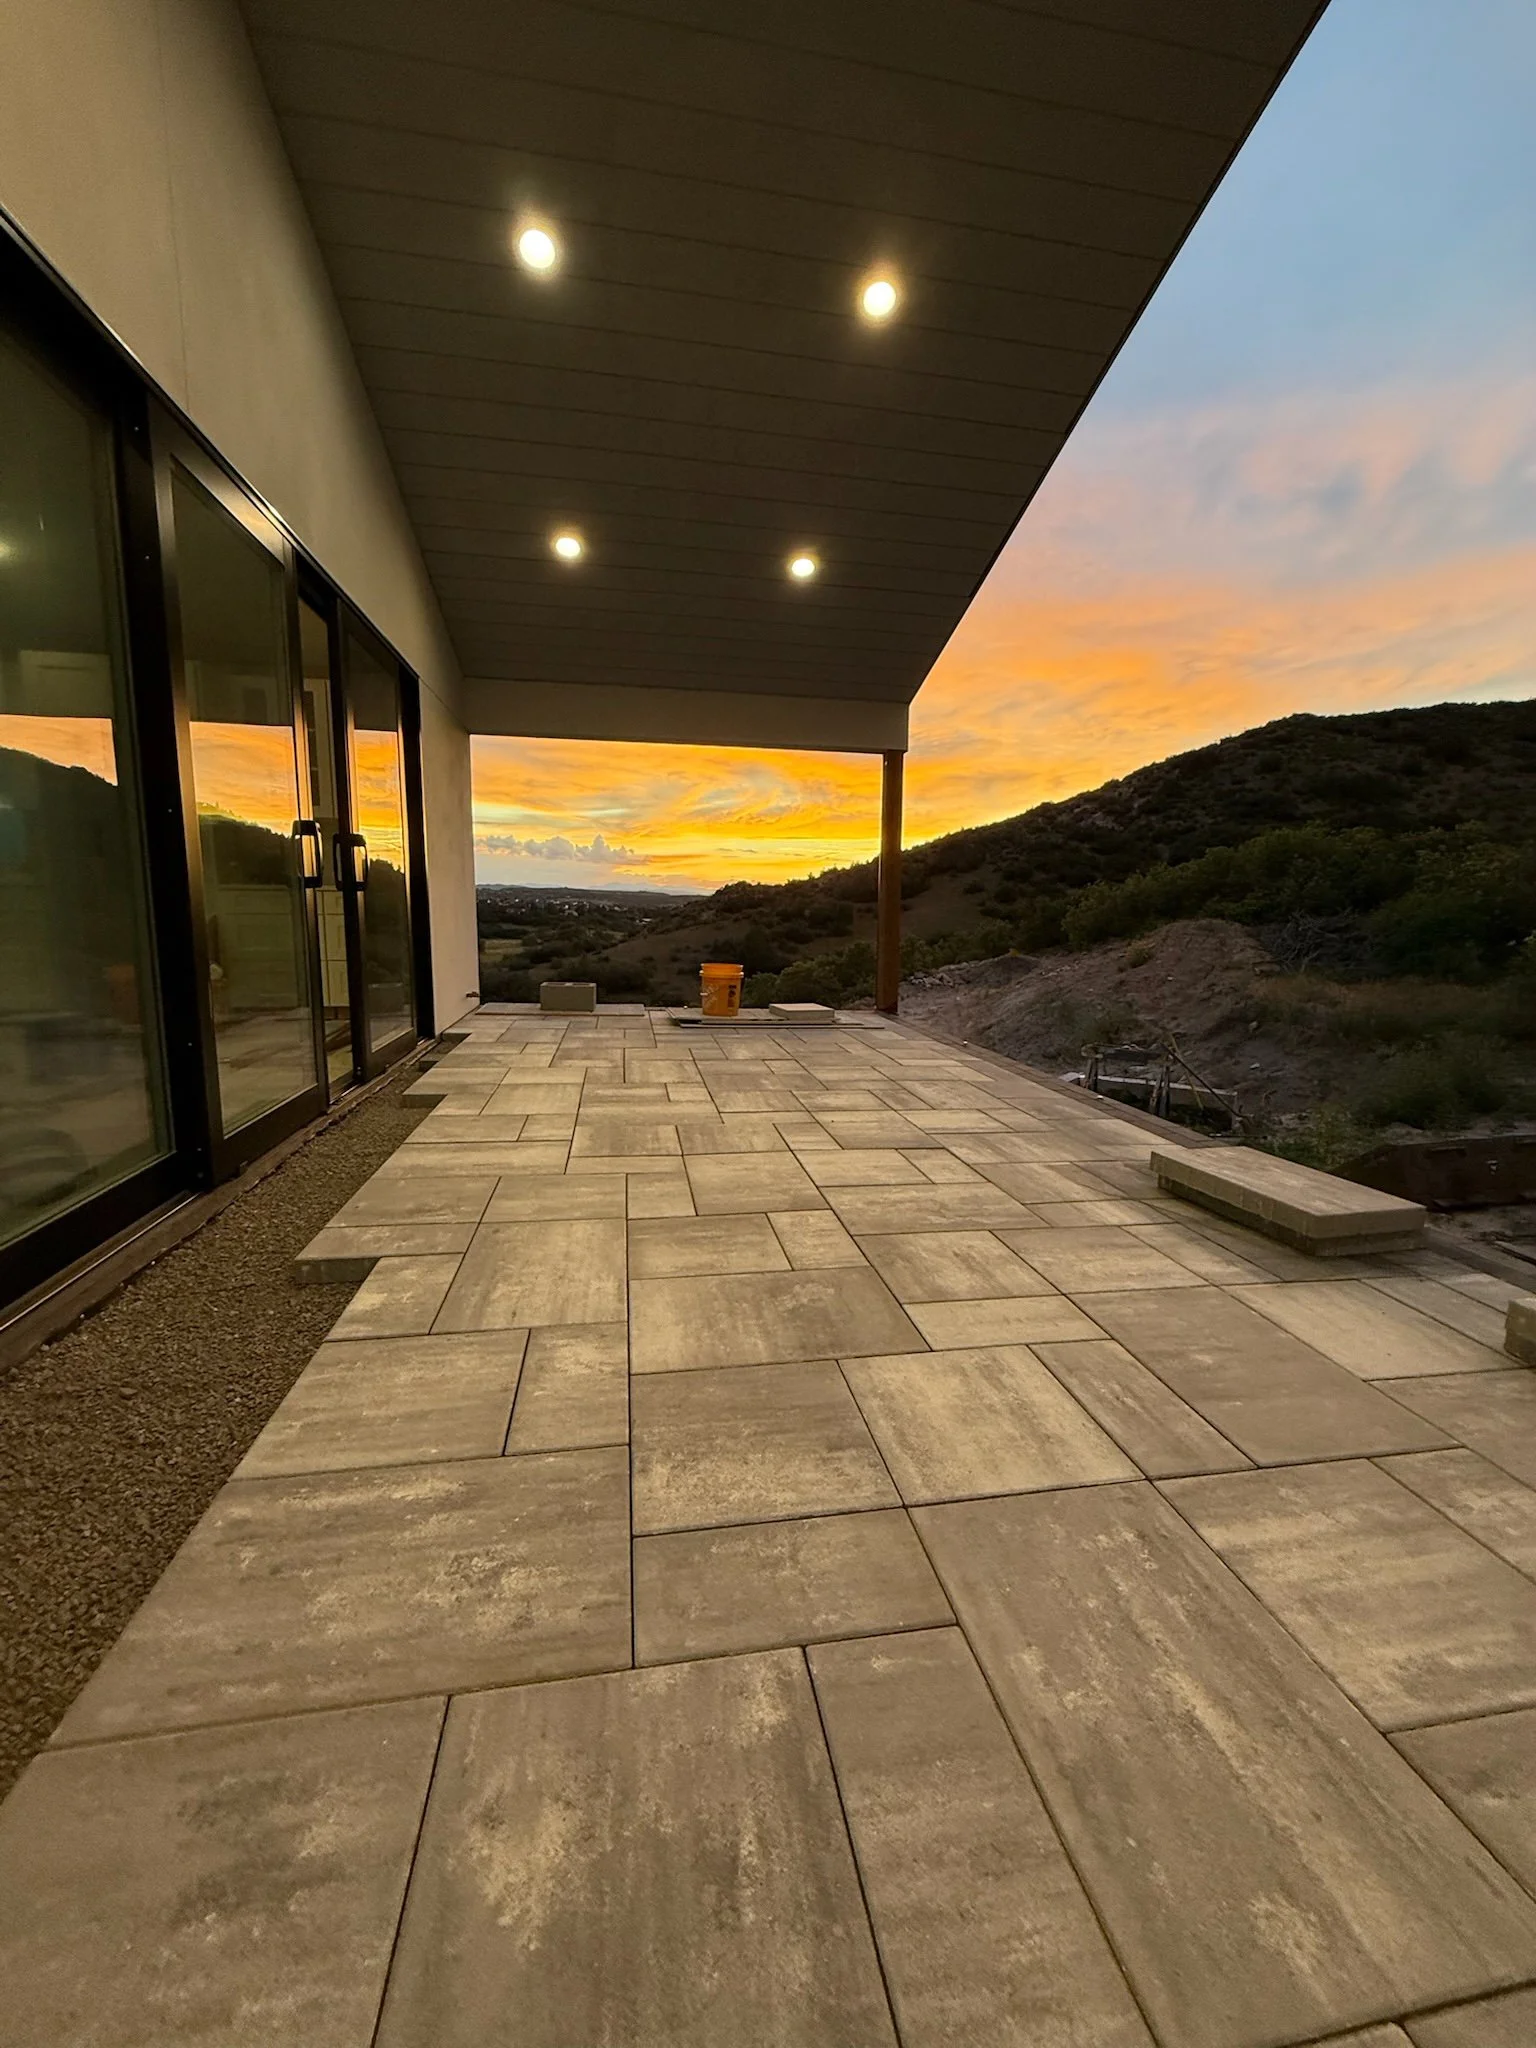
Looks pretty in the sunset!

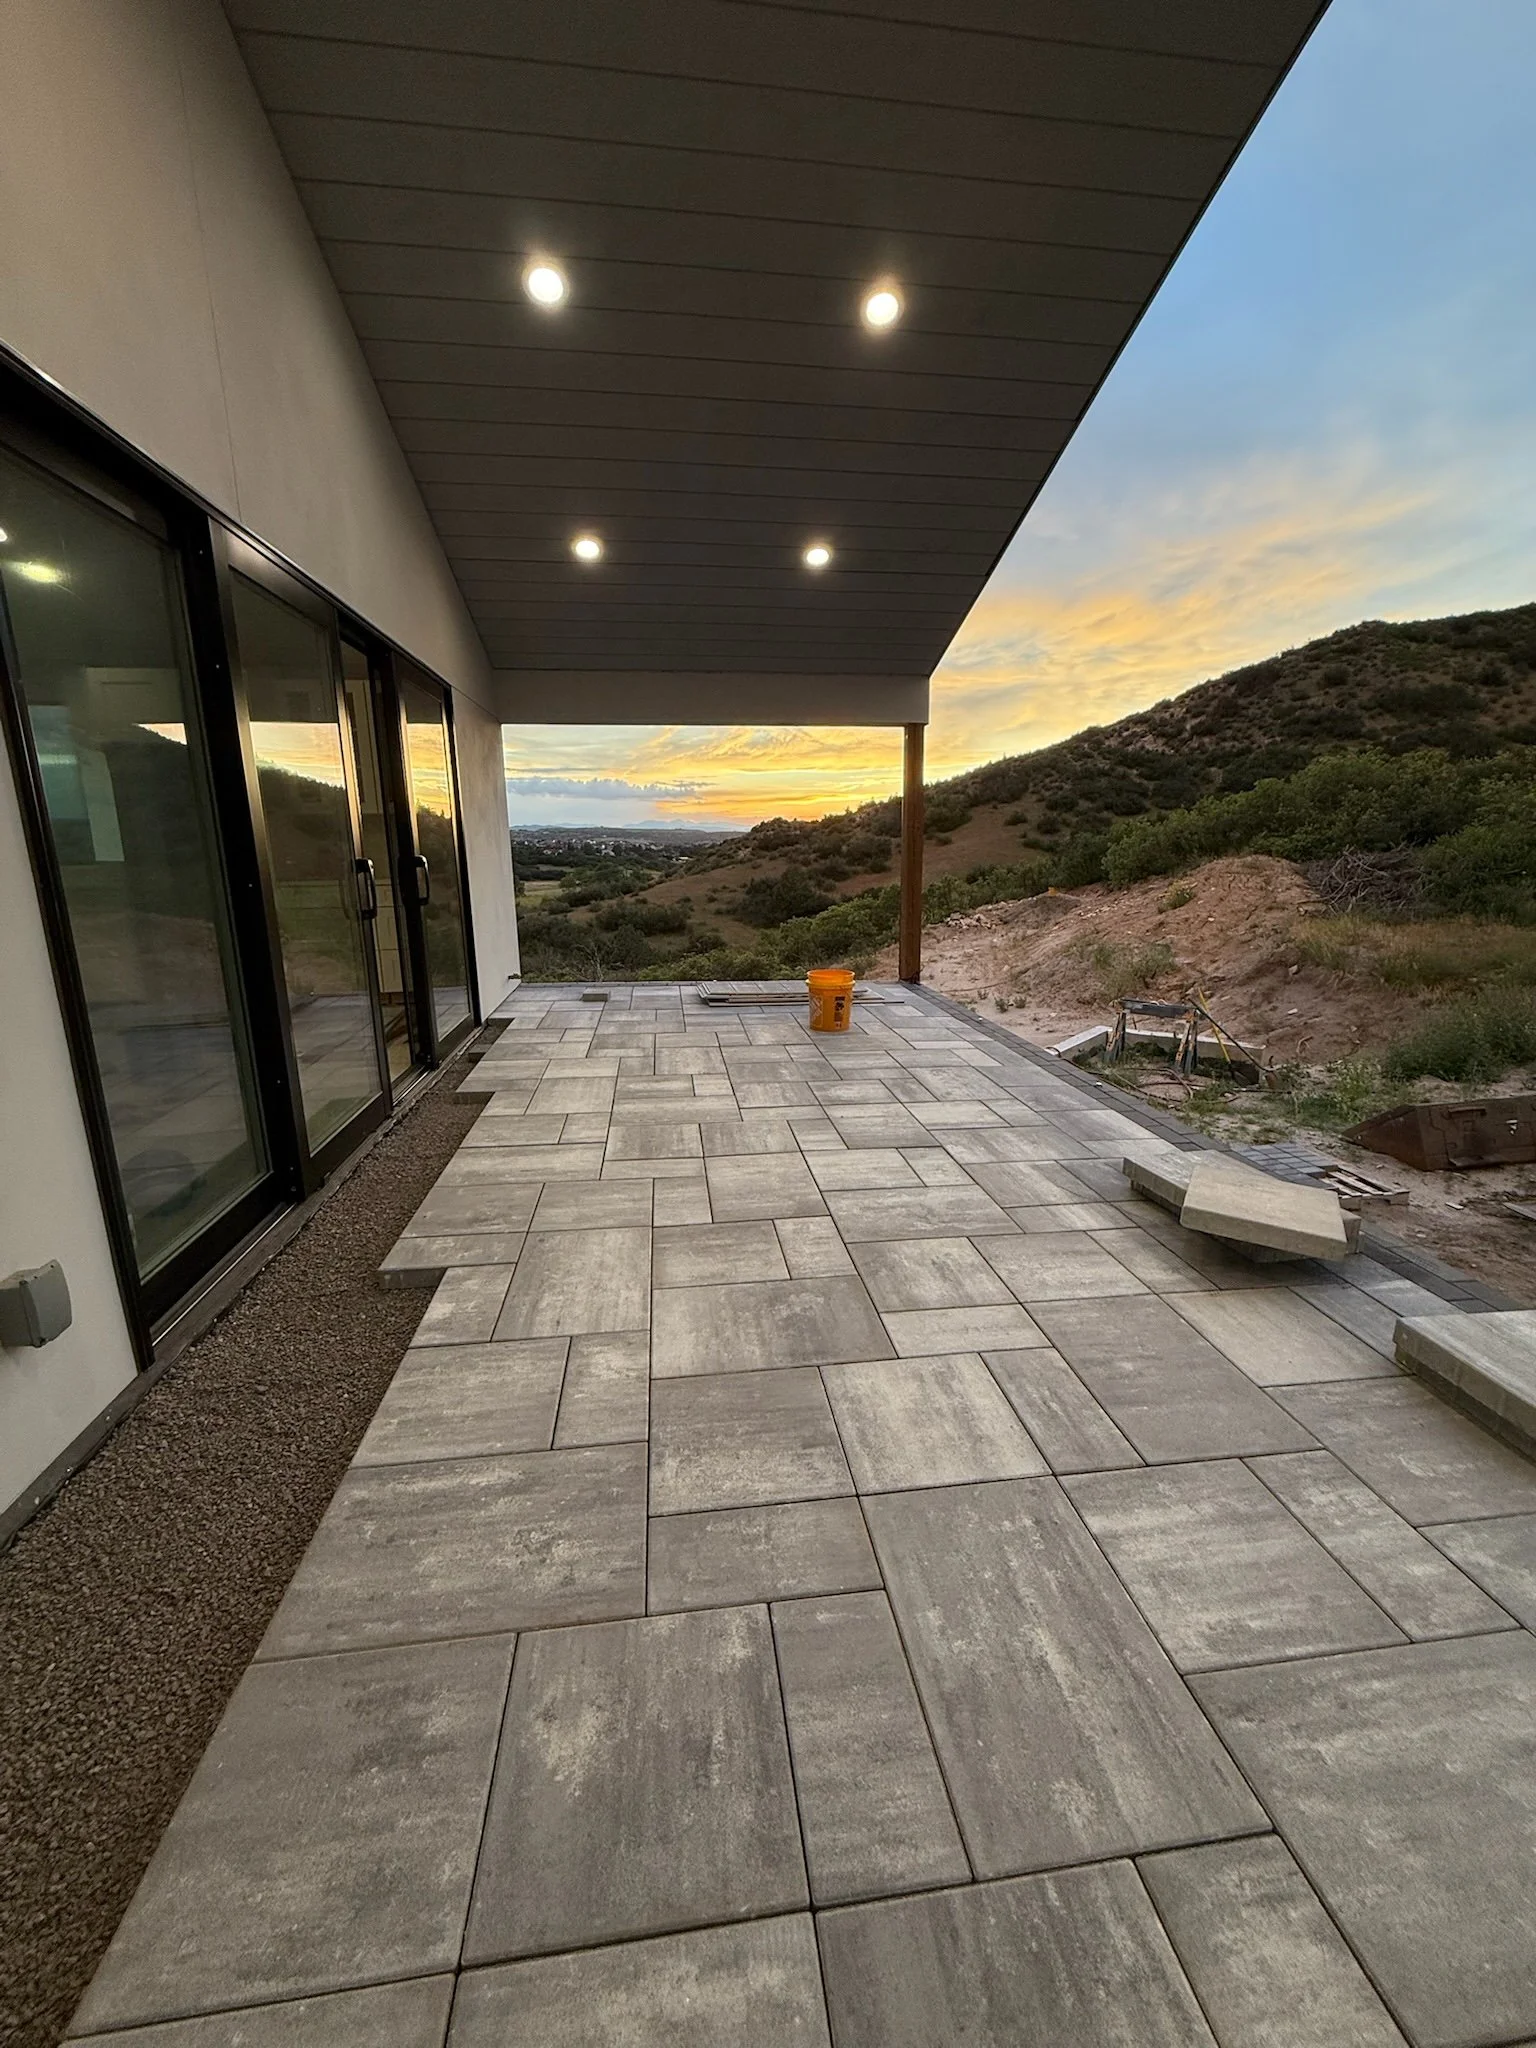
The next day we finish installing the pavers!
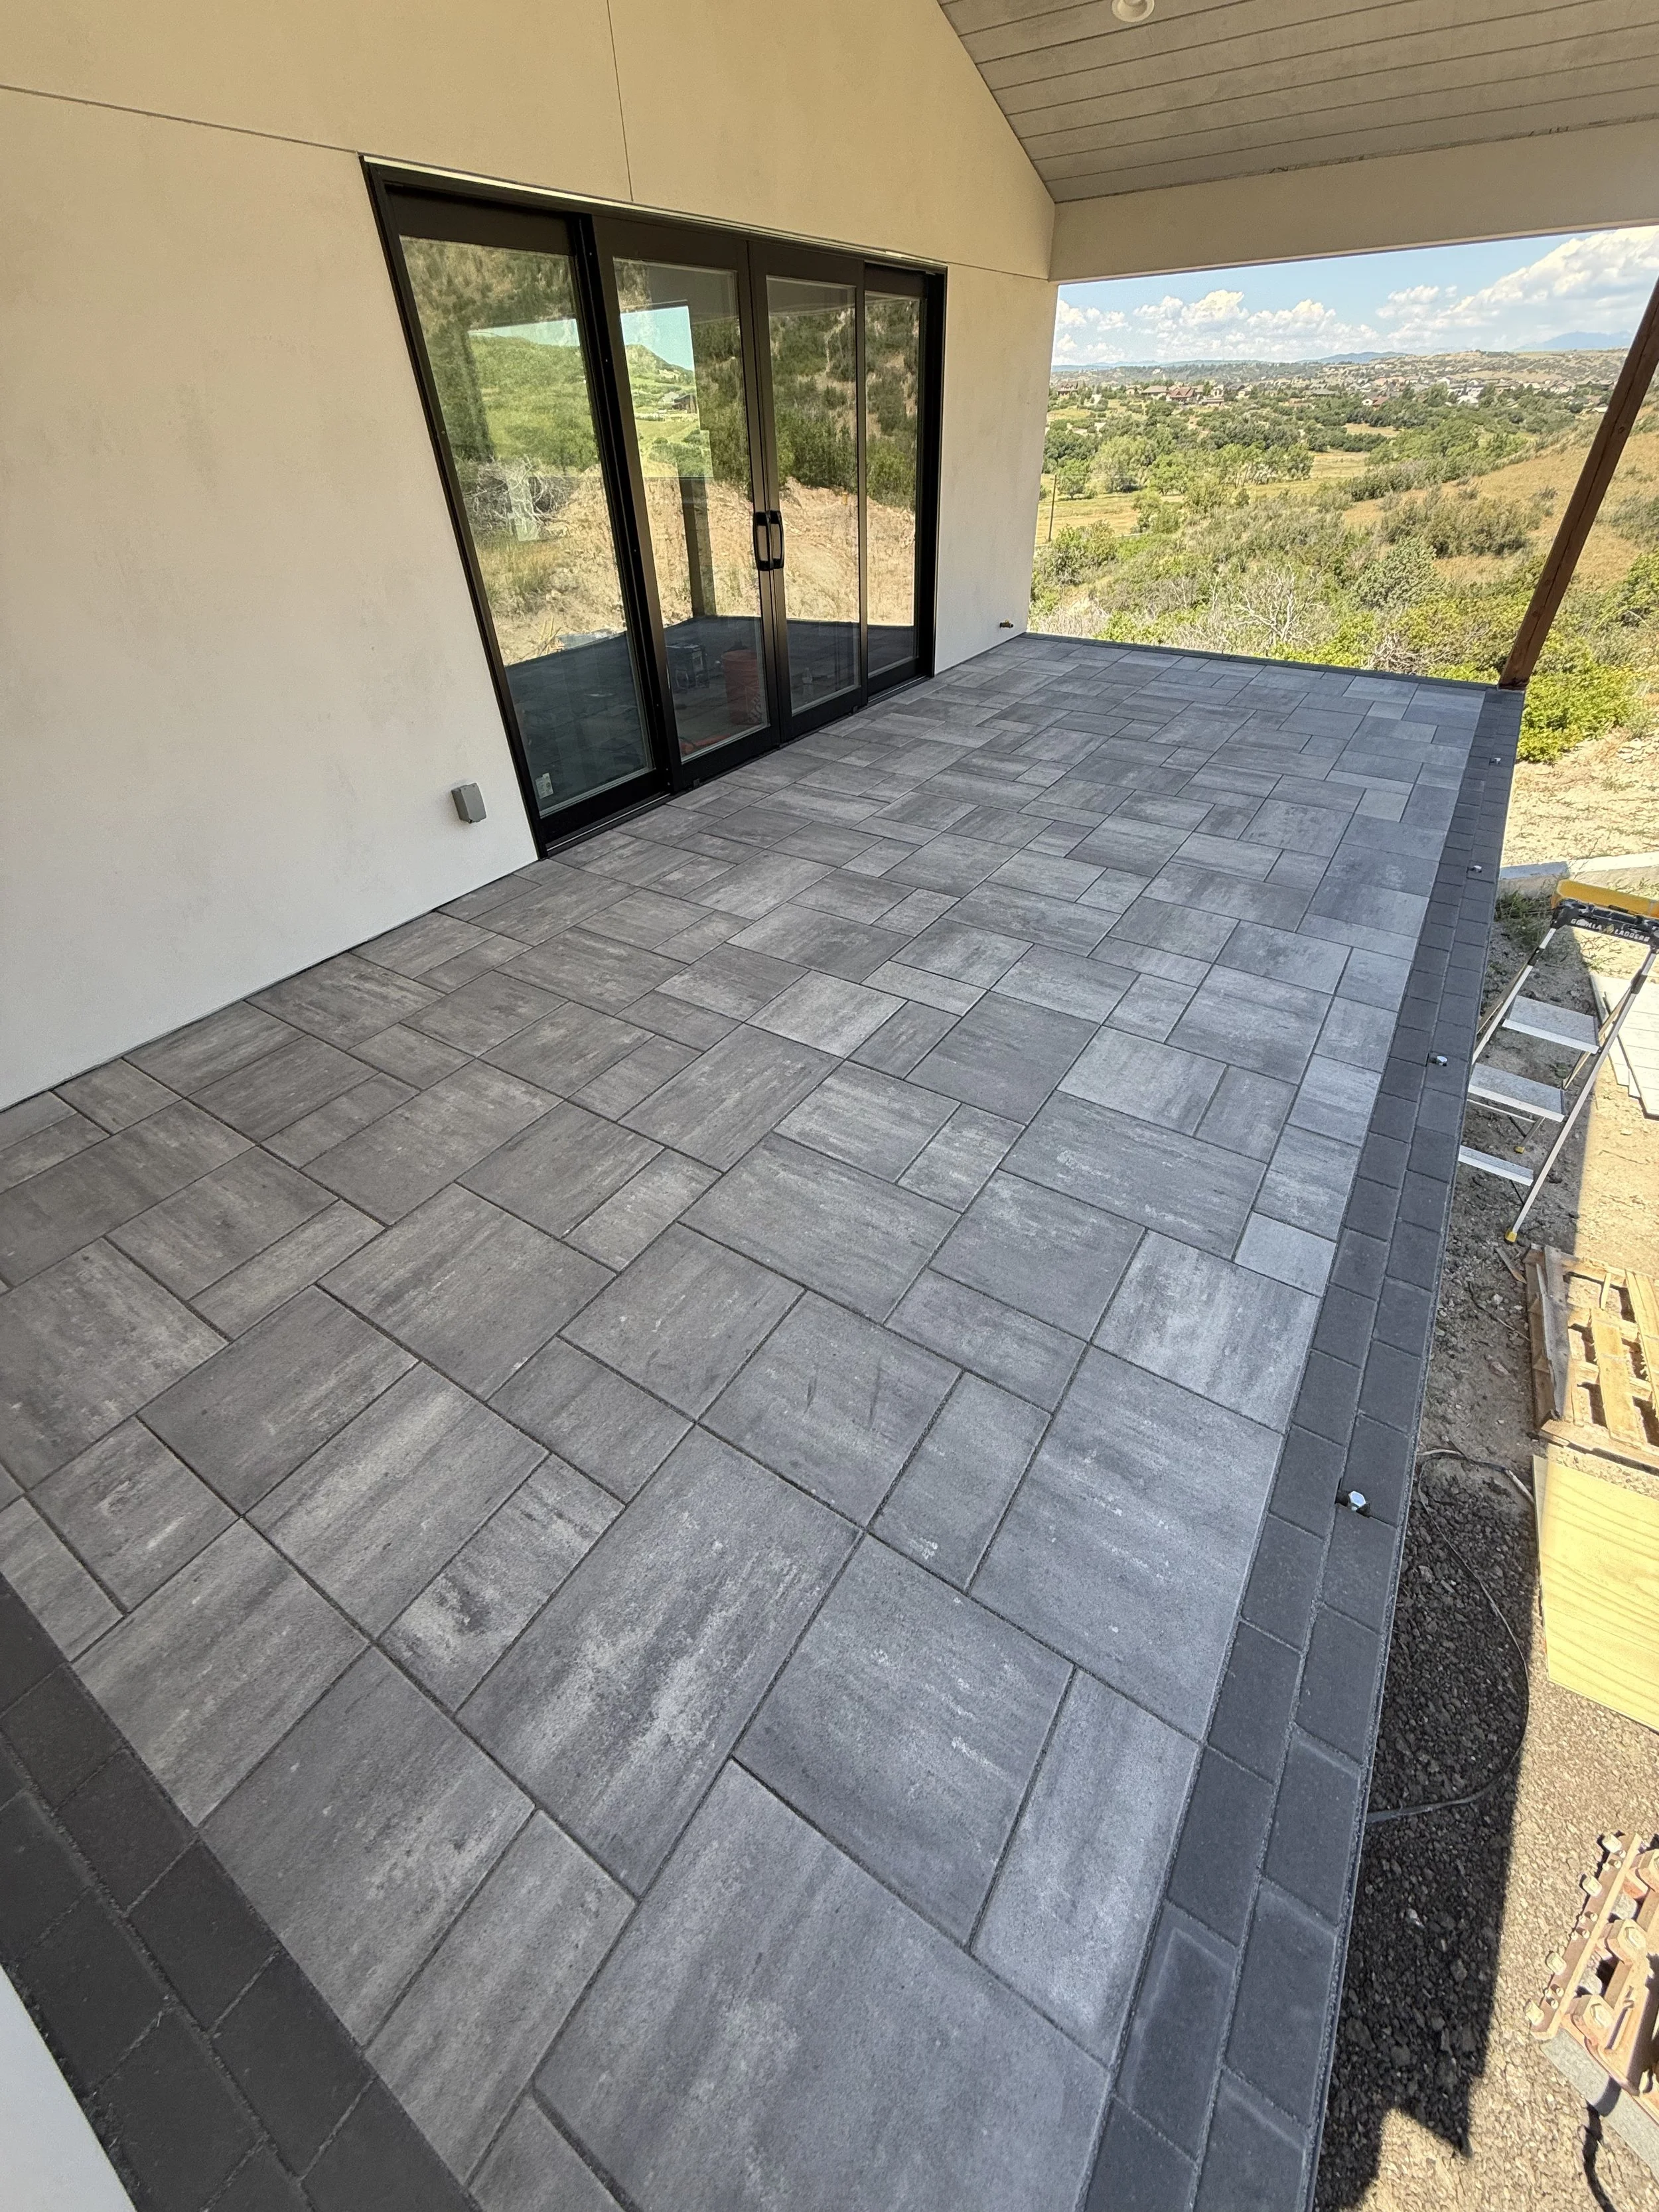
Beatiful!!
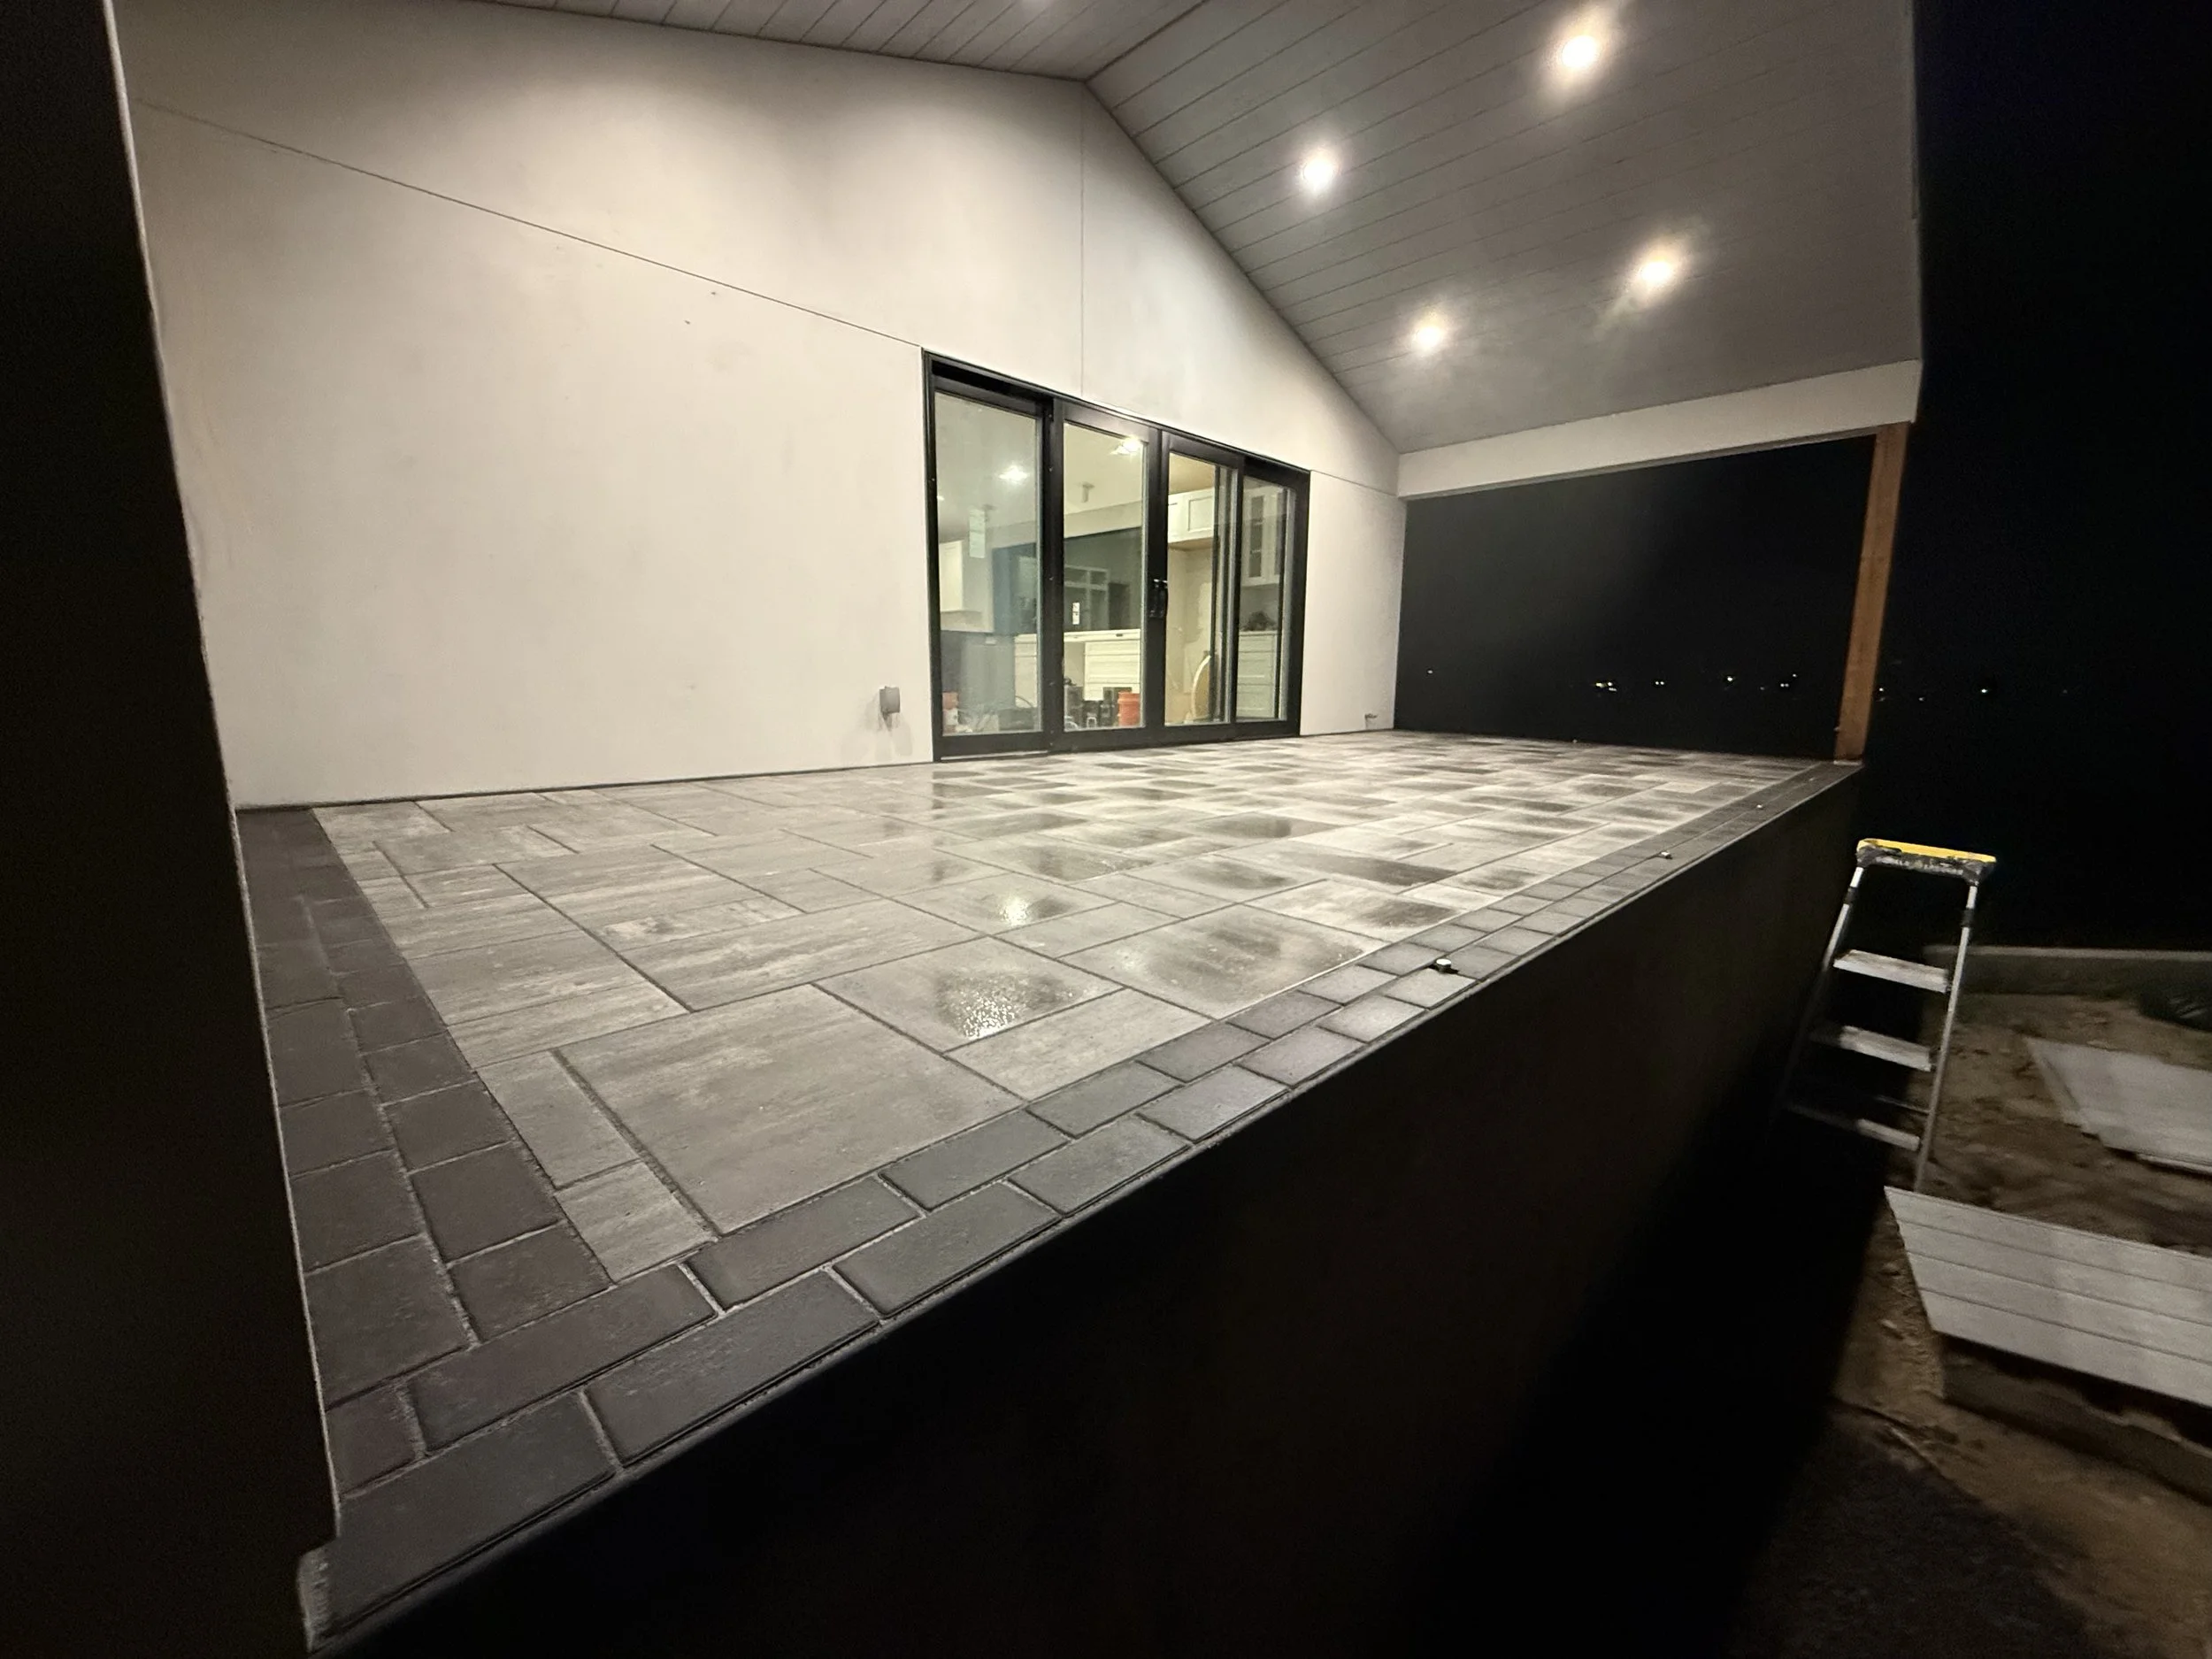
Our neighbor comes to help Kris put the polysand in between the pavers to "glue" them together. They finished well after dark! What a job, but what a beautiful patio! Can't wait for a summer BBQ!
Step 22: Clean Up and Grading
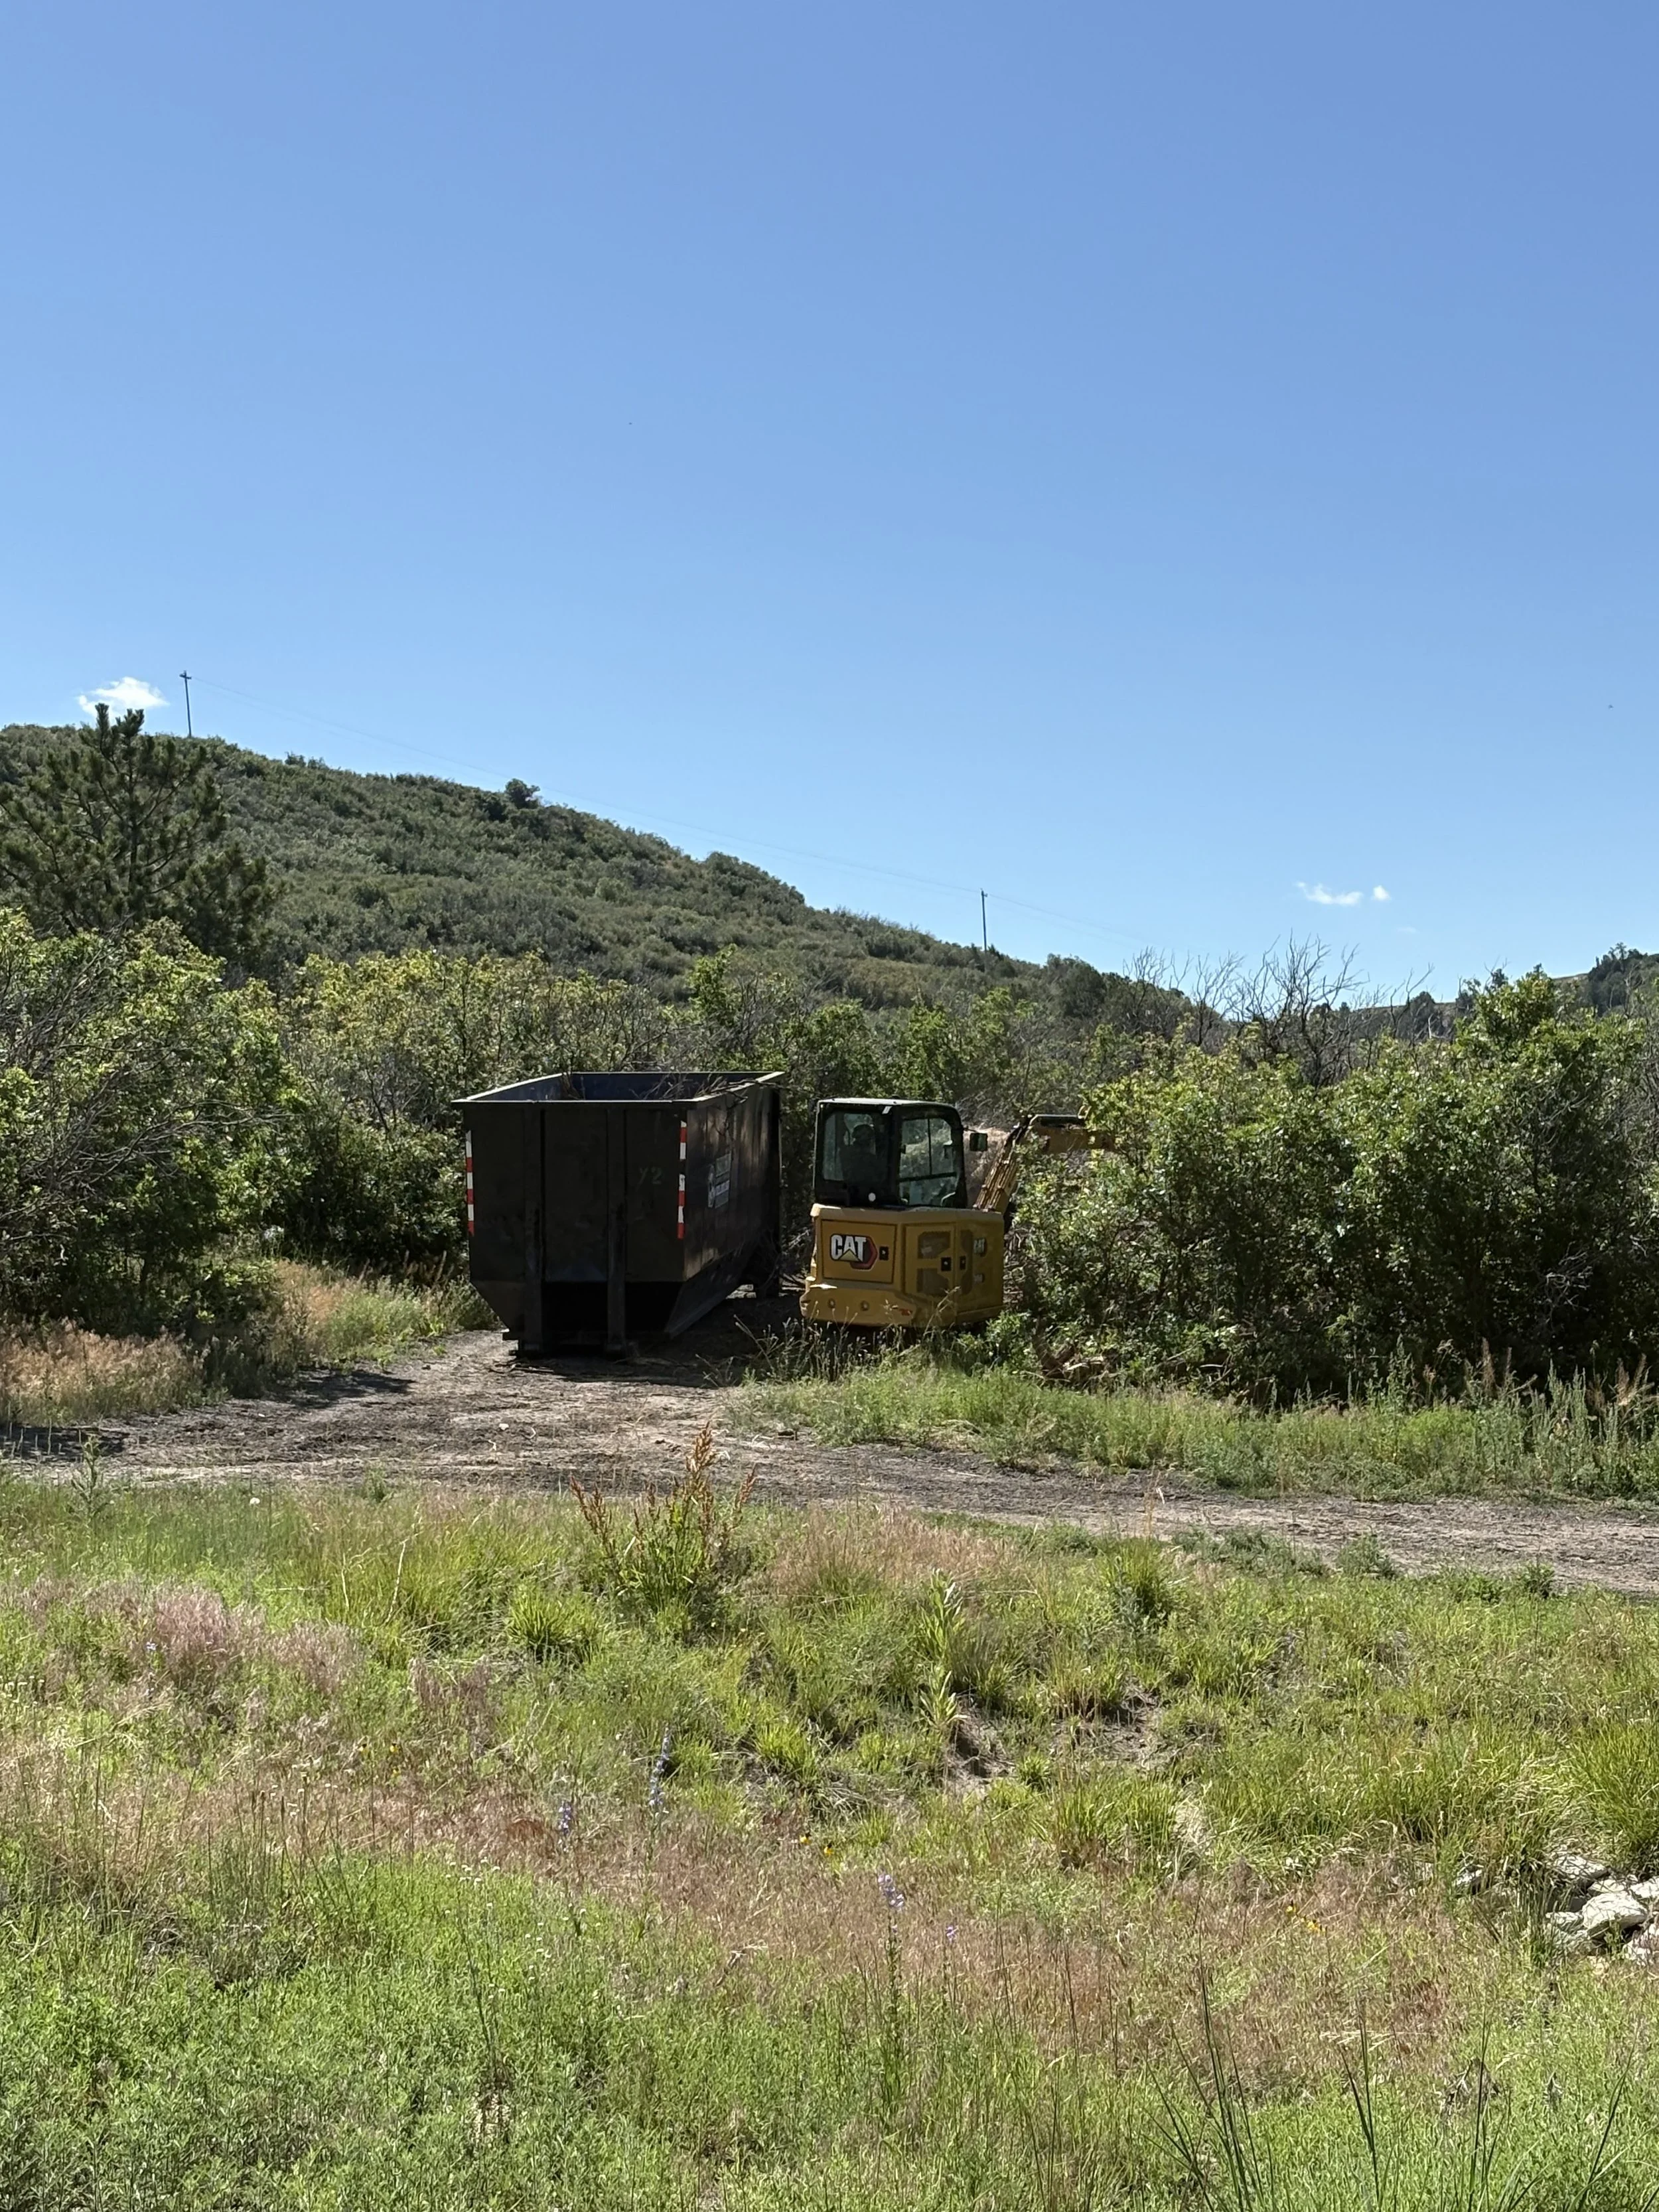
All the scrub oak we had to clear now needed to be removed before fire inspection. Time to rent another dumpster!
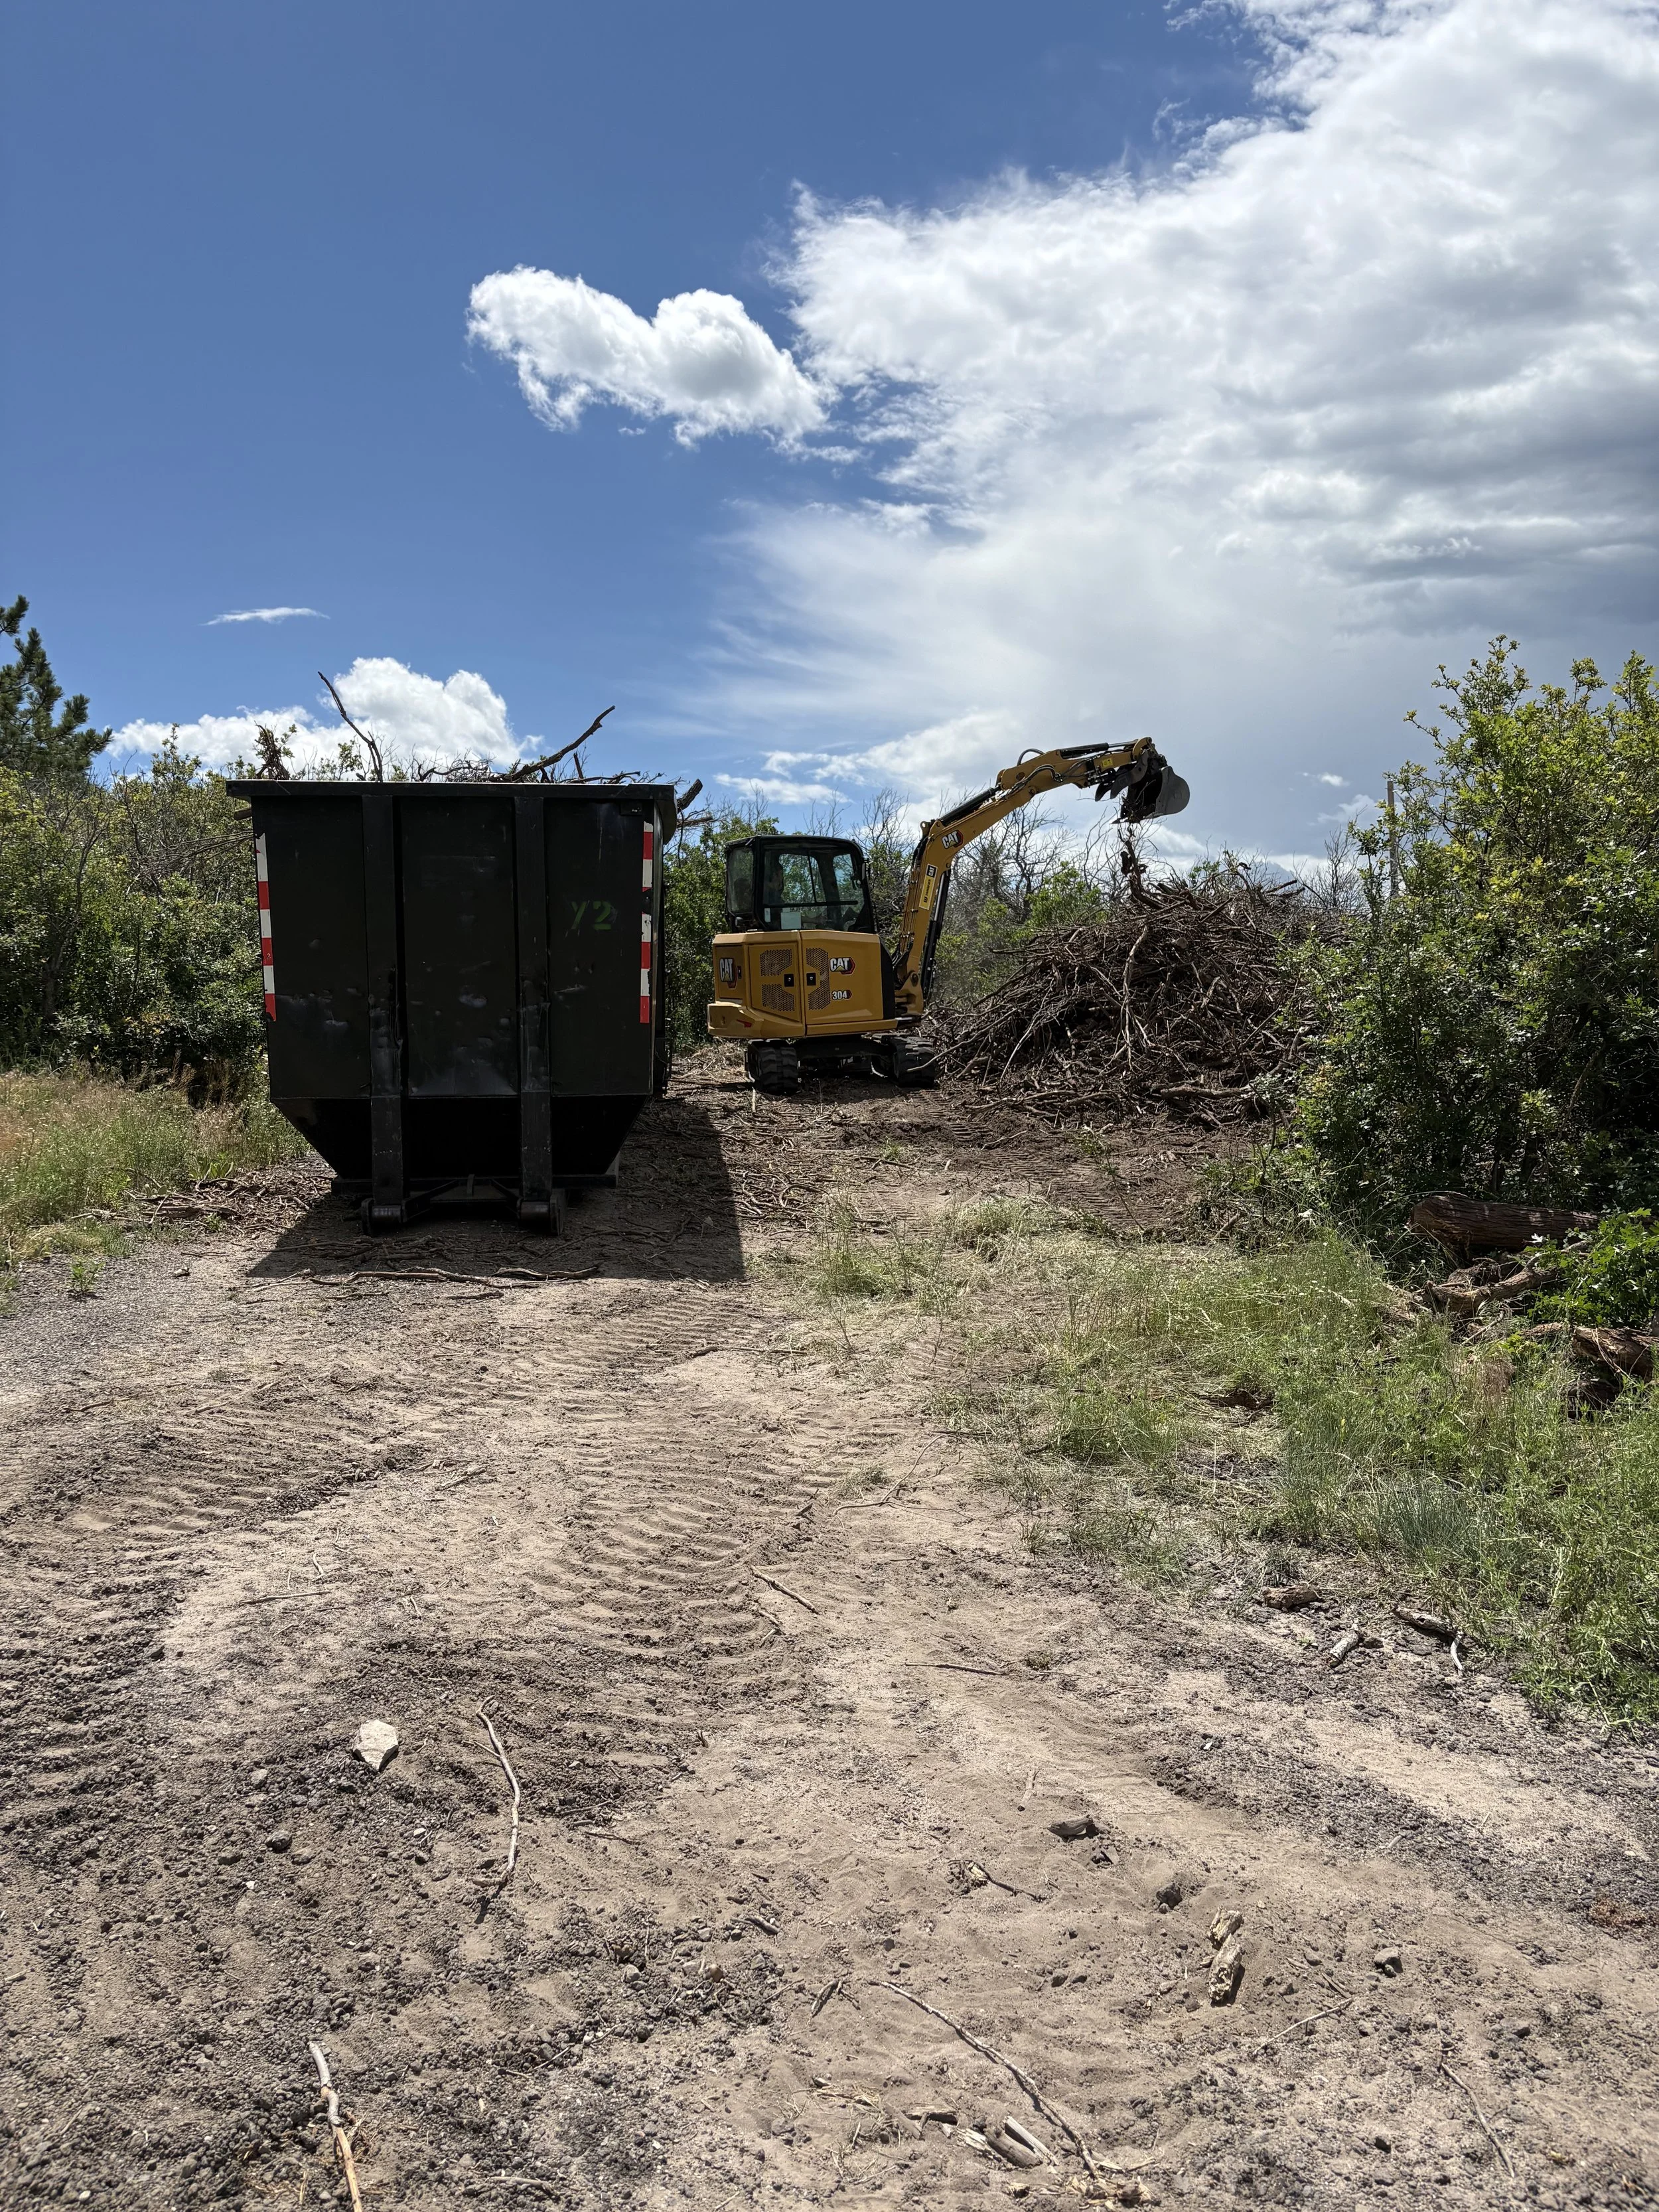
The only fun part of this job is that Kris snagged a sweet rig with air conditioning to use!
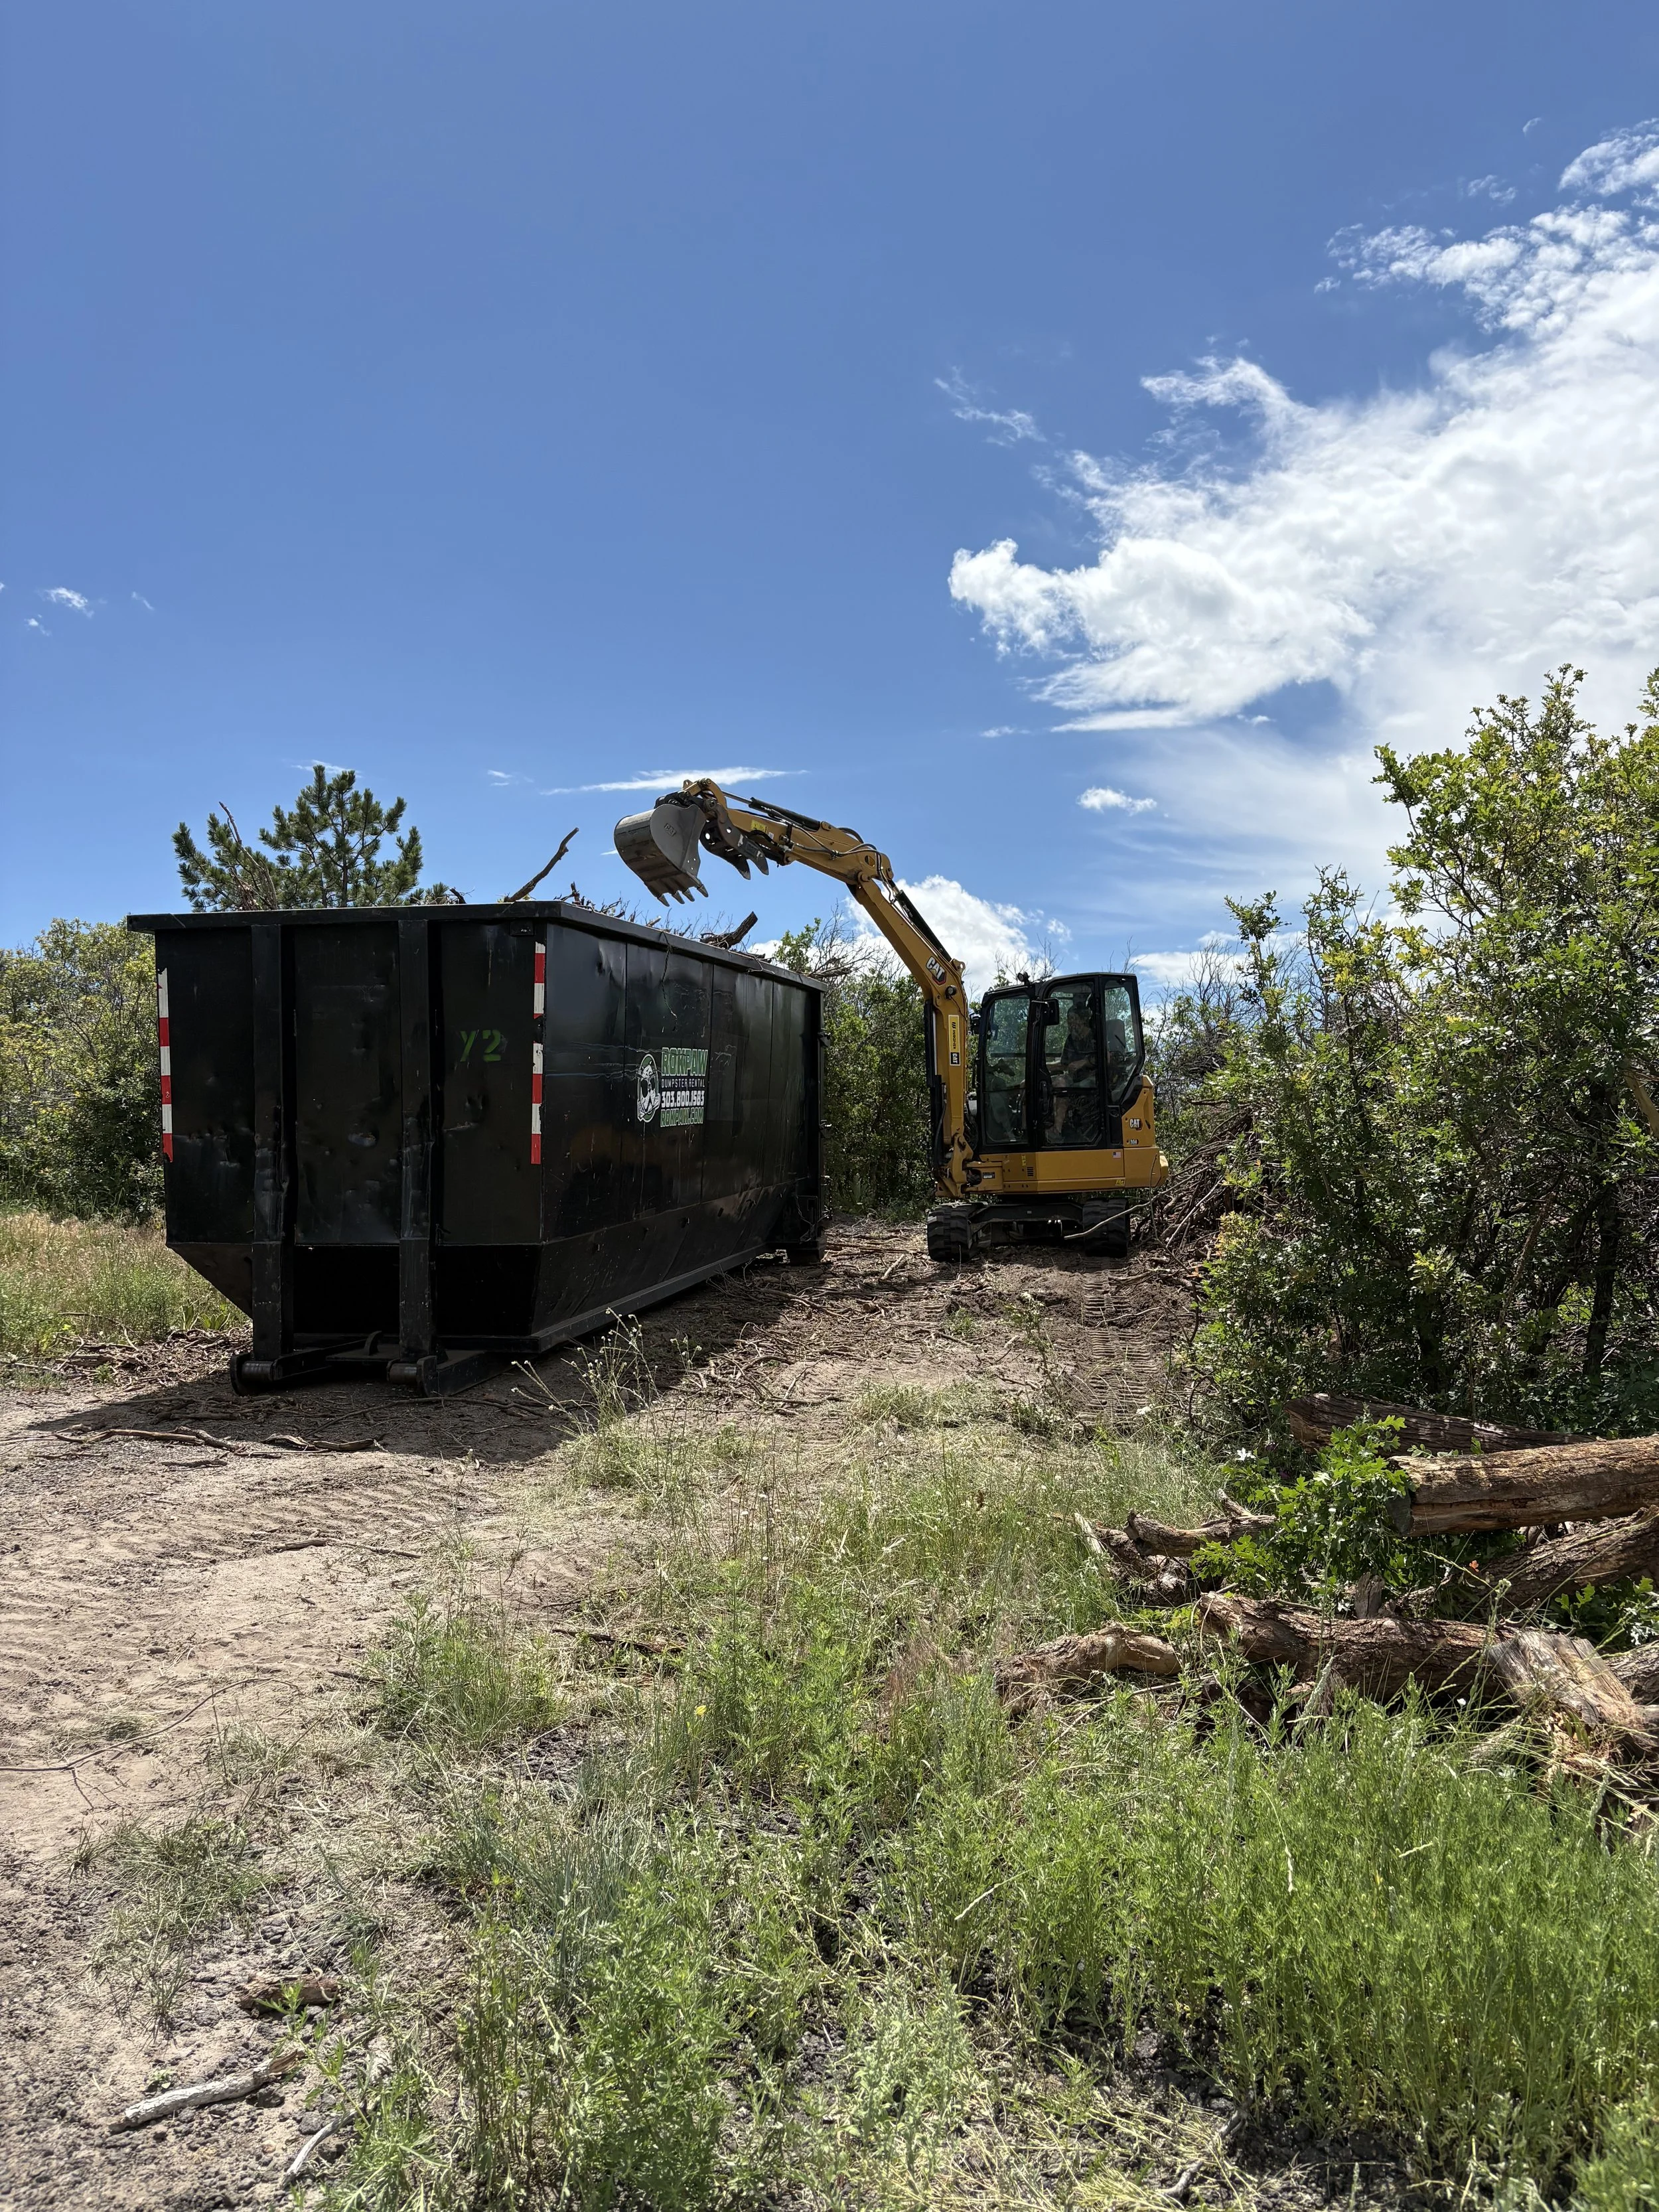
Too bad the dumpster didn't hold as much as we had hoped. At least a bulk of the brush got cleared.
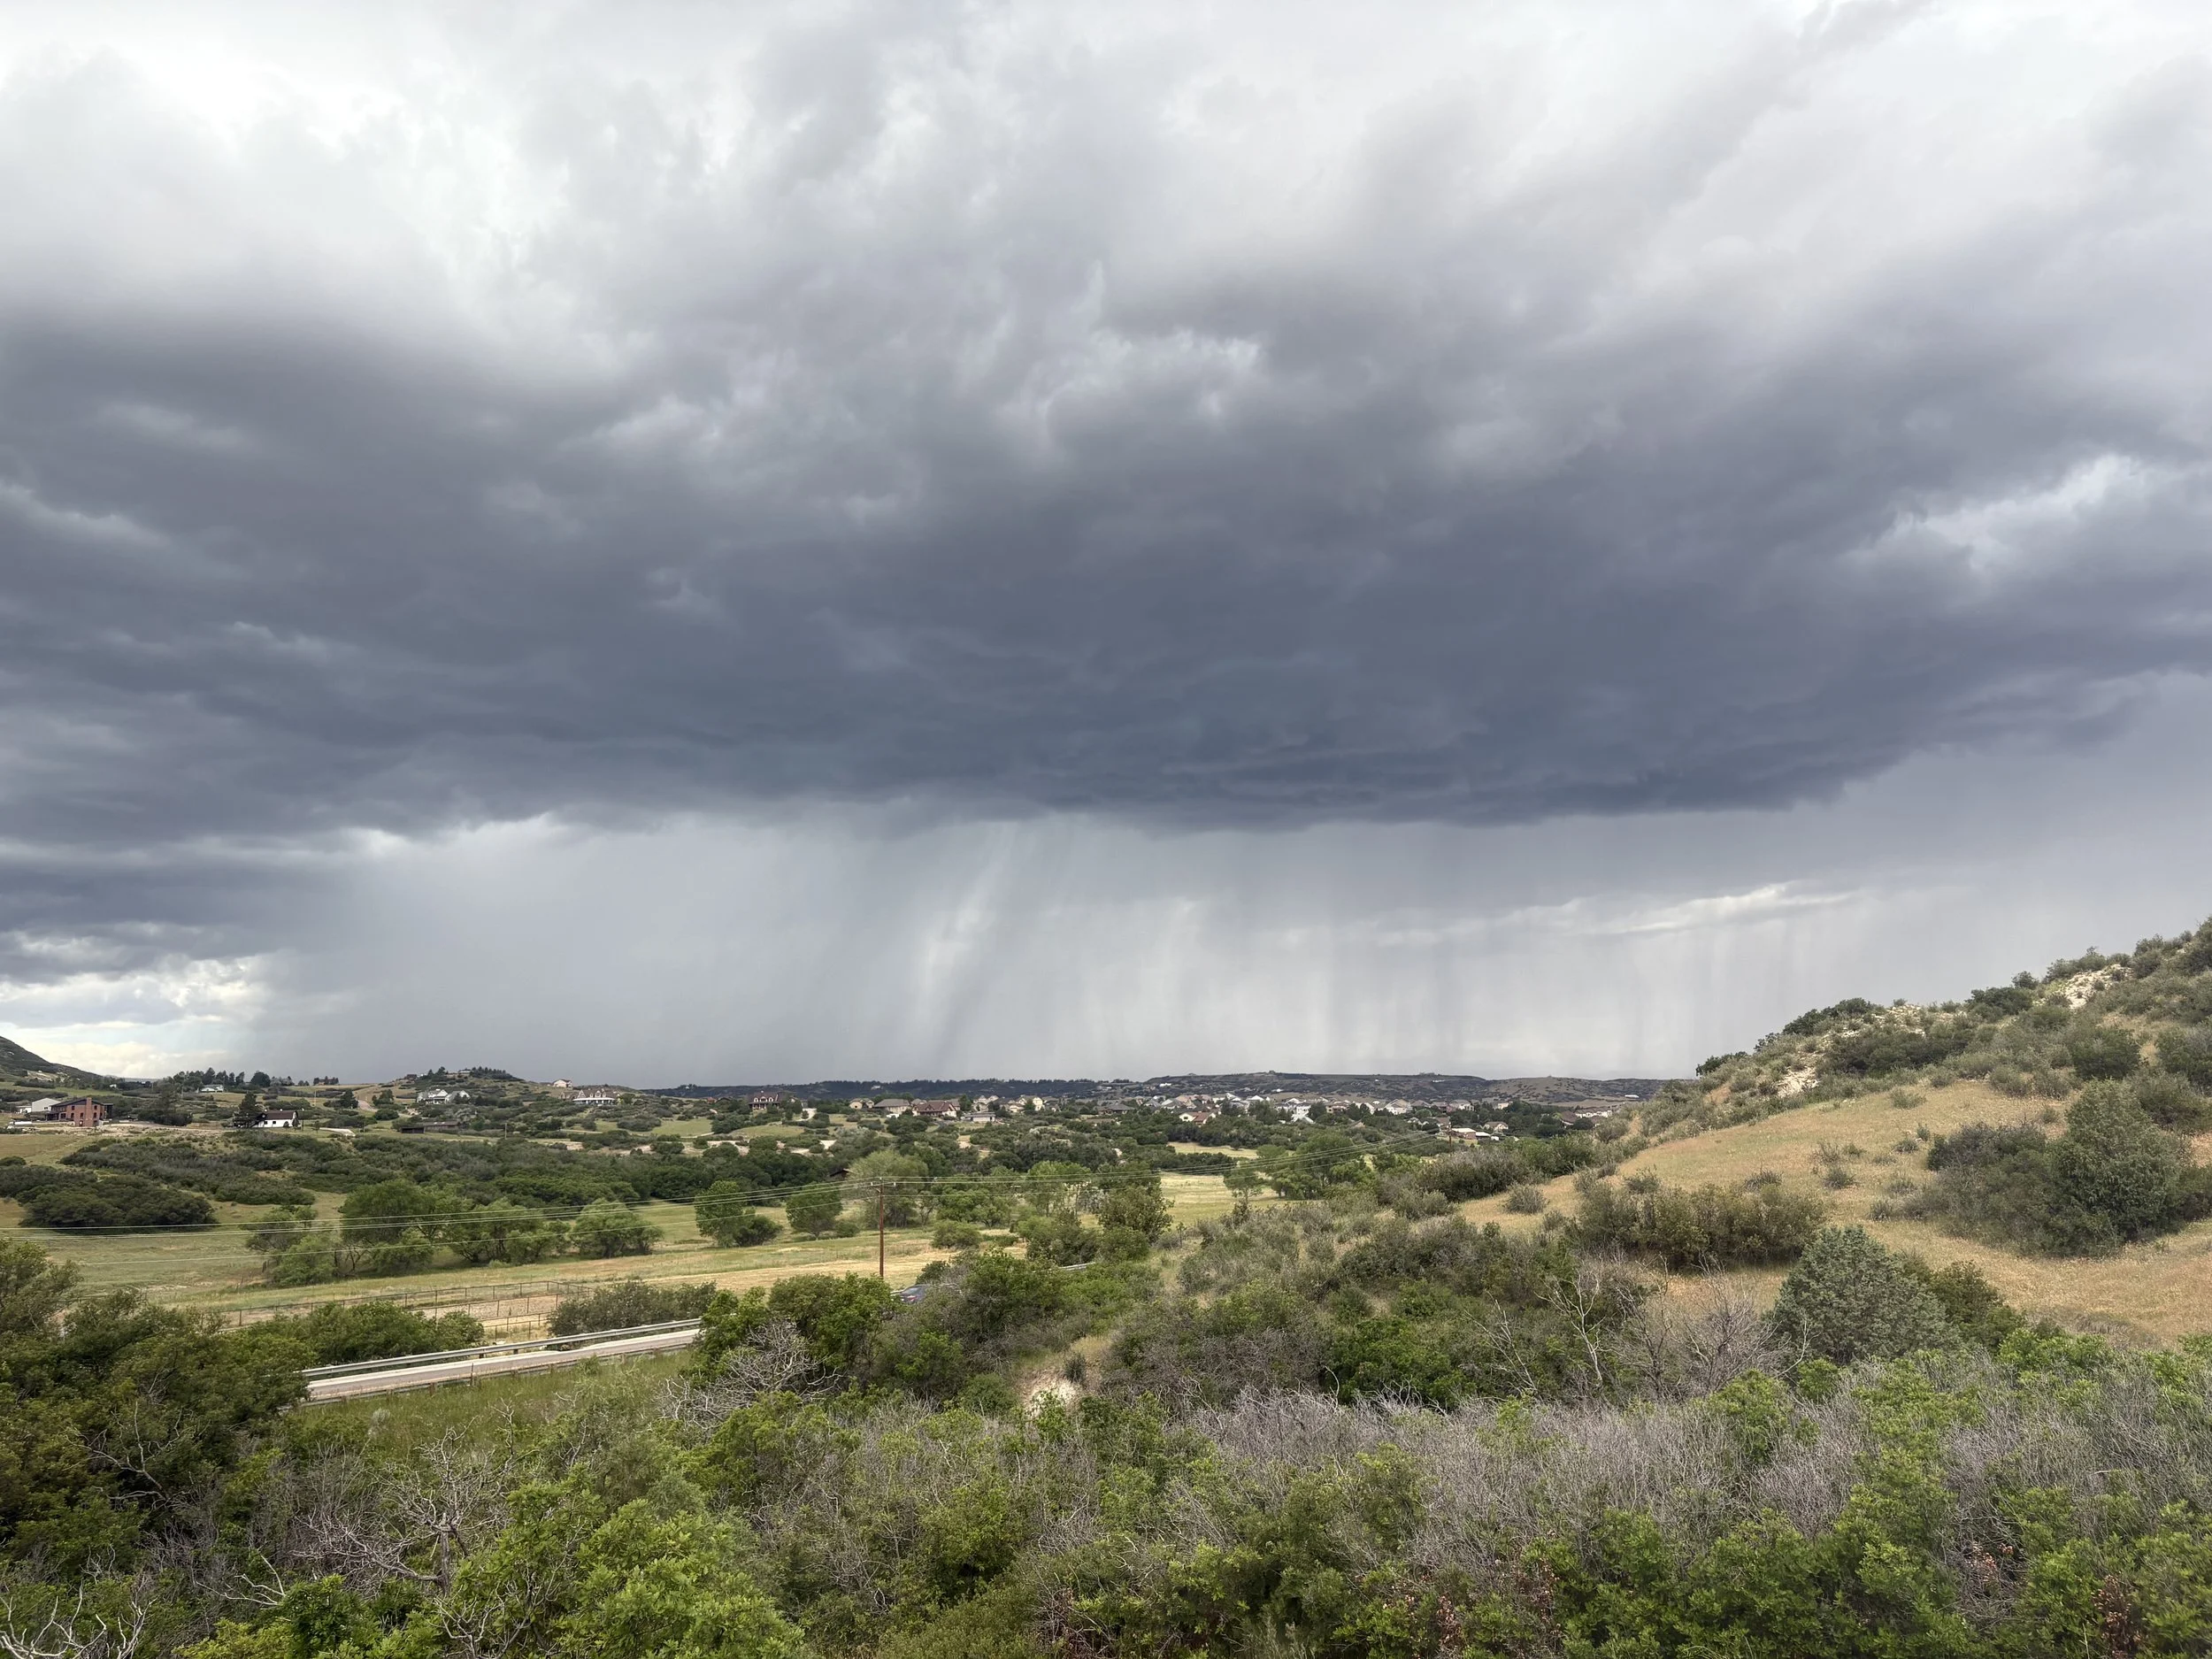
On cue, with any outdoor project, Mother Nature once again brews up a special treat for us! It does look cool as it moves in, but....
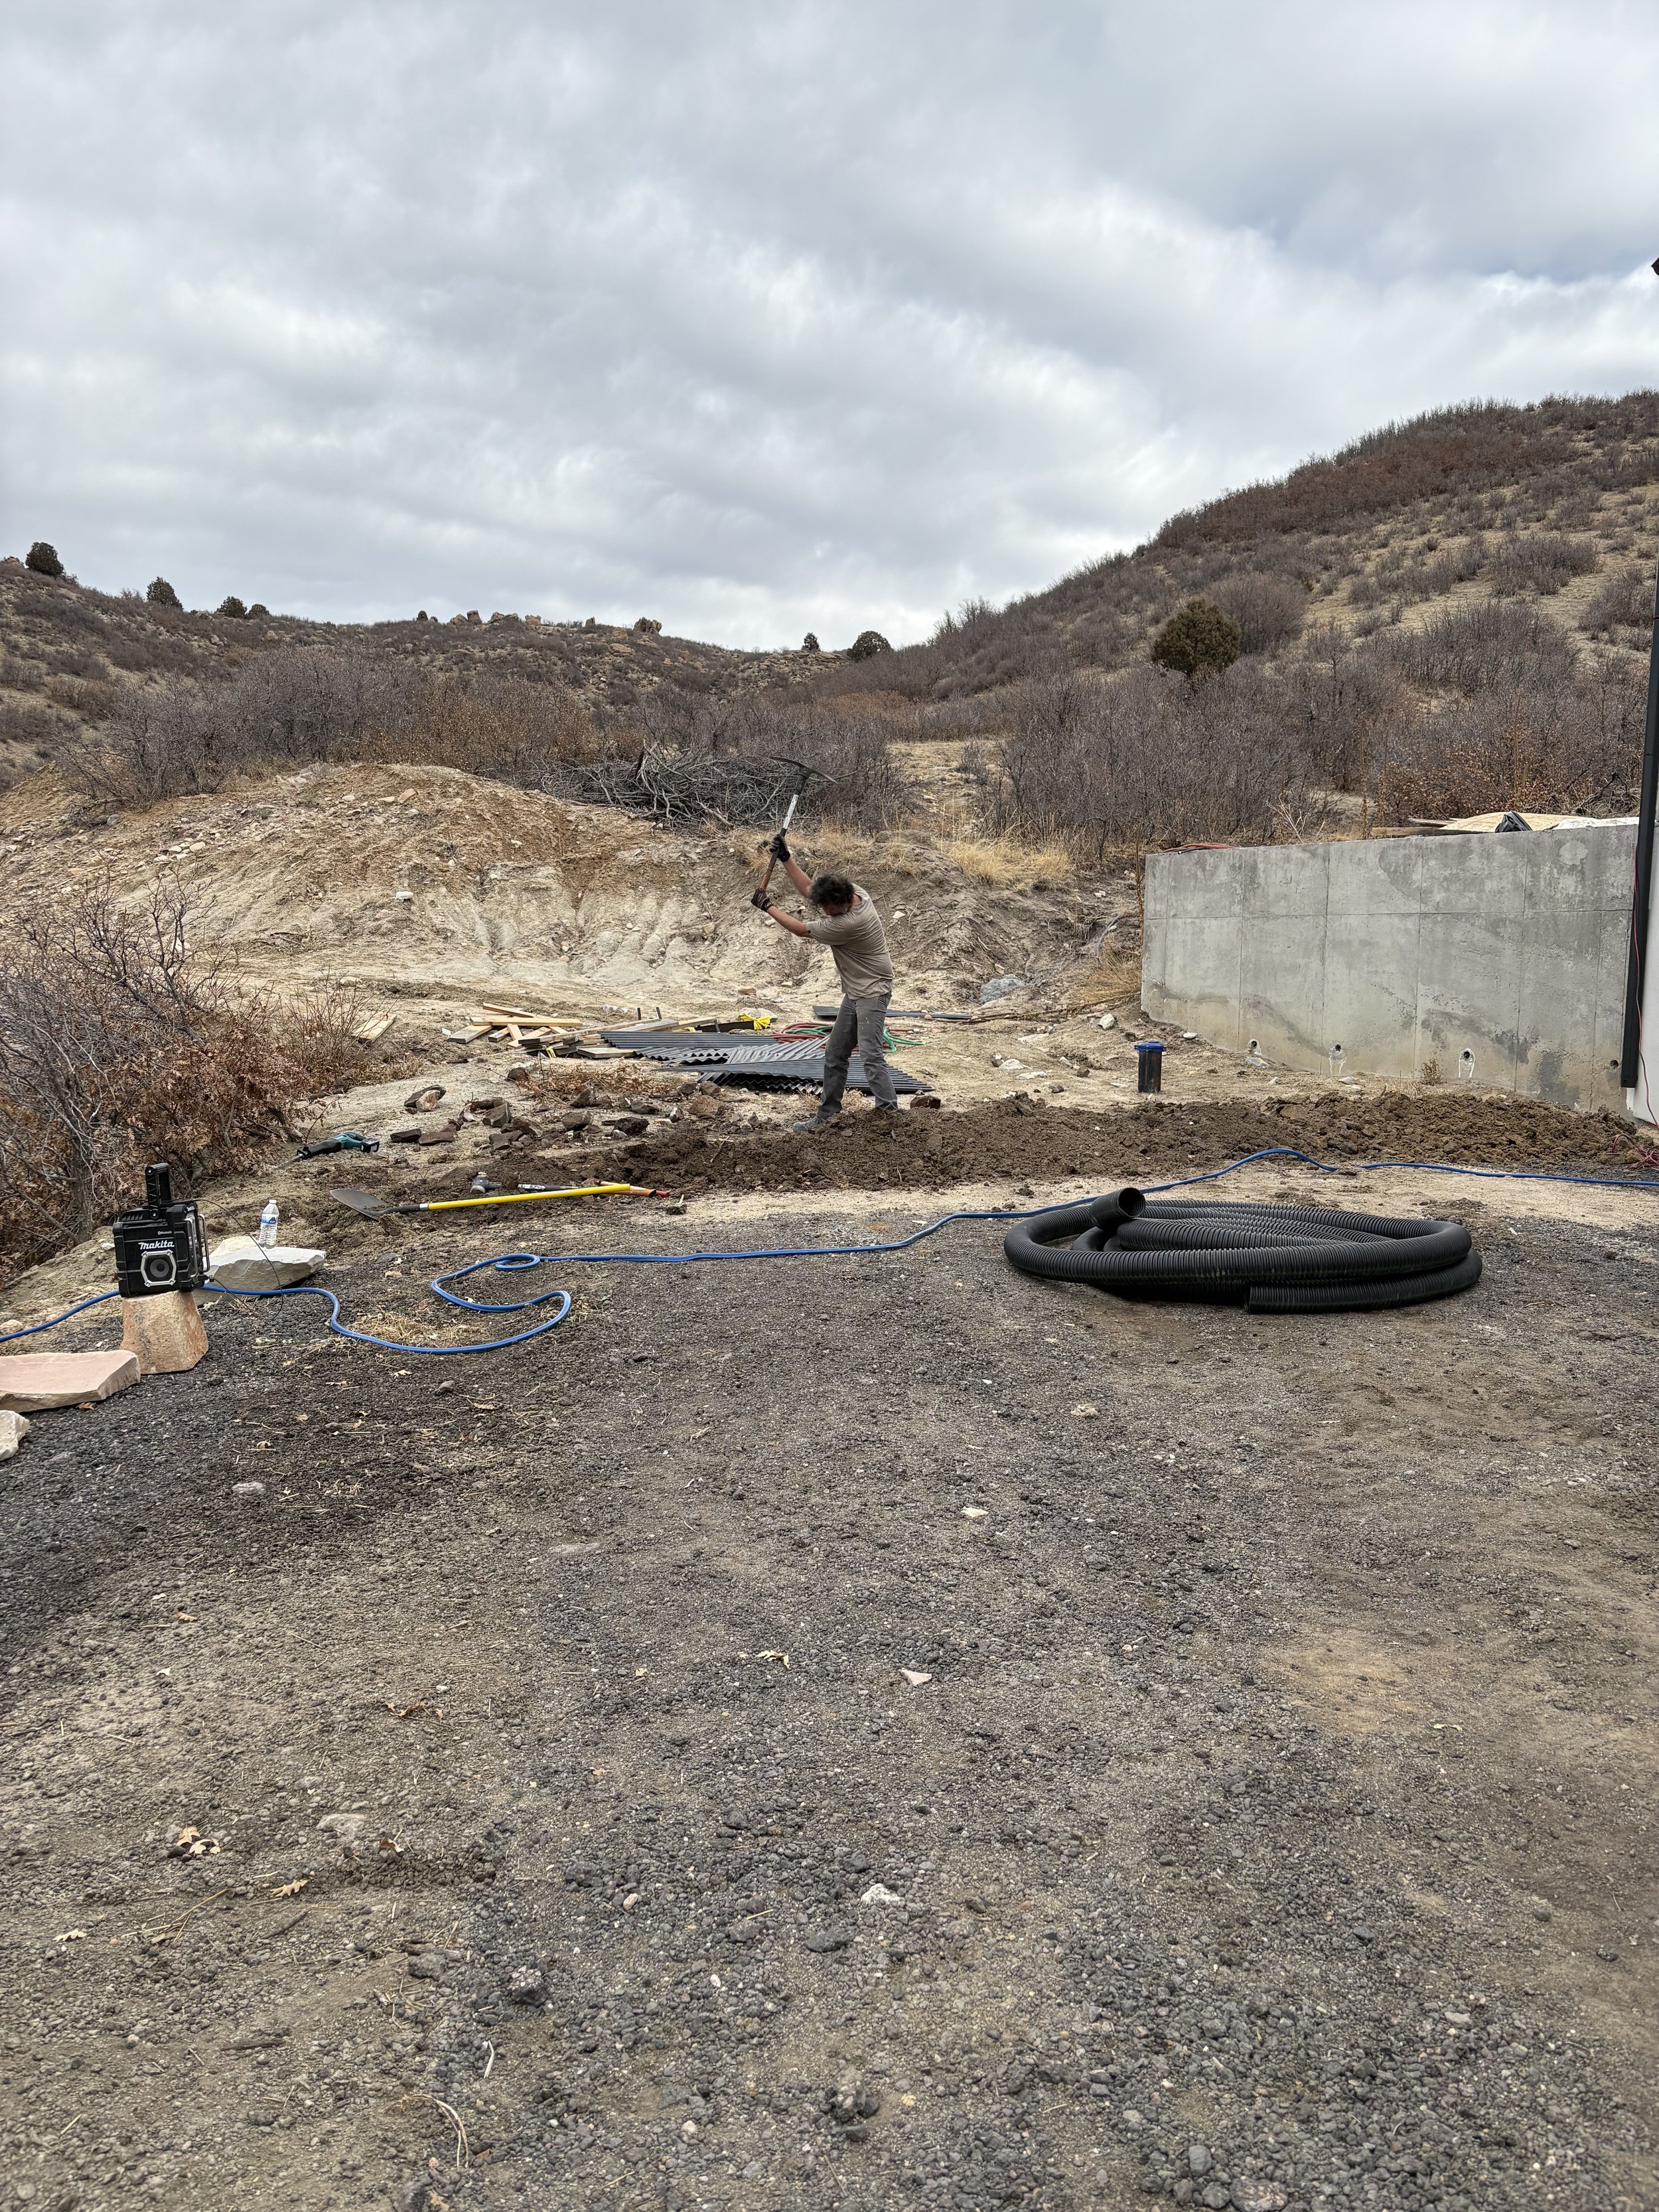
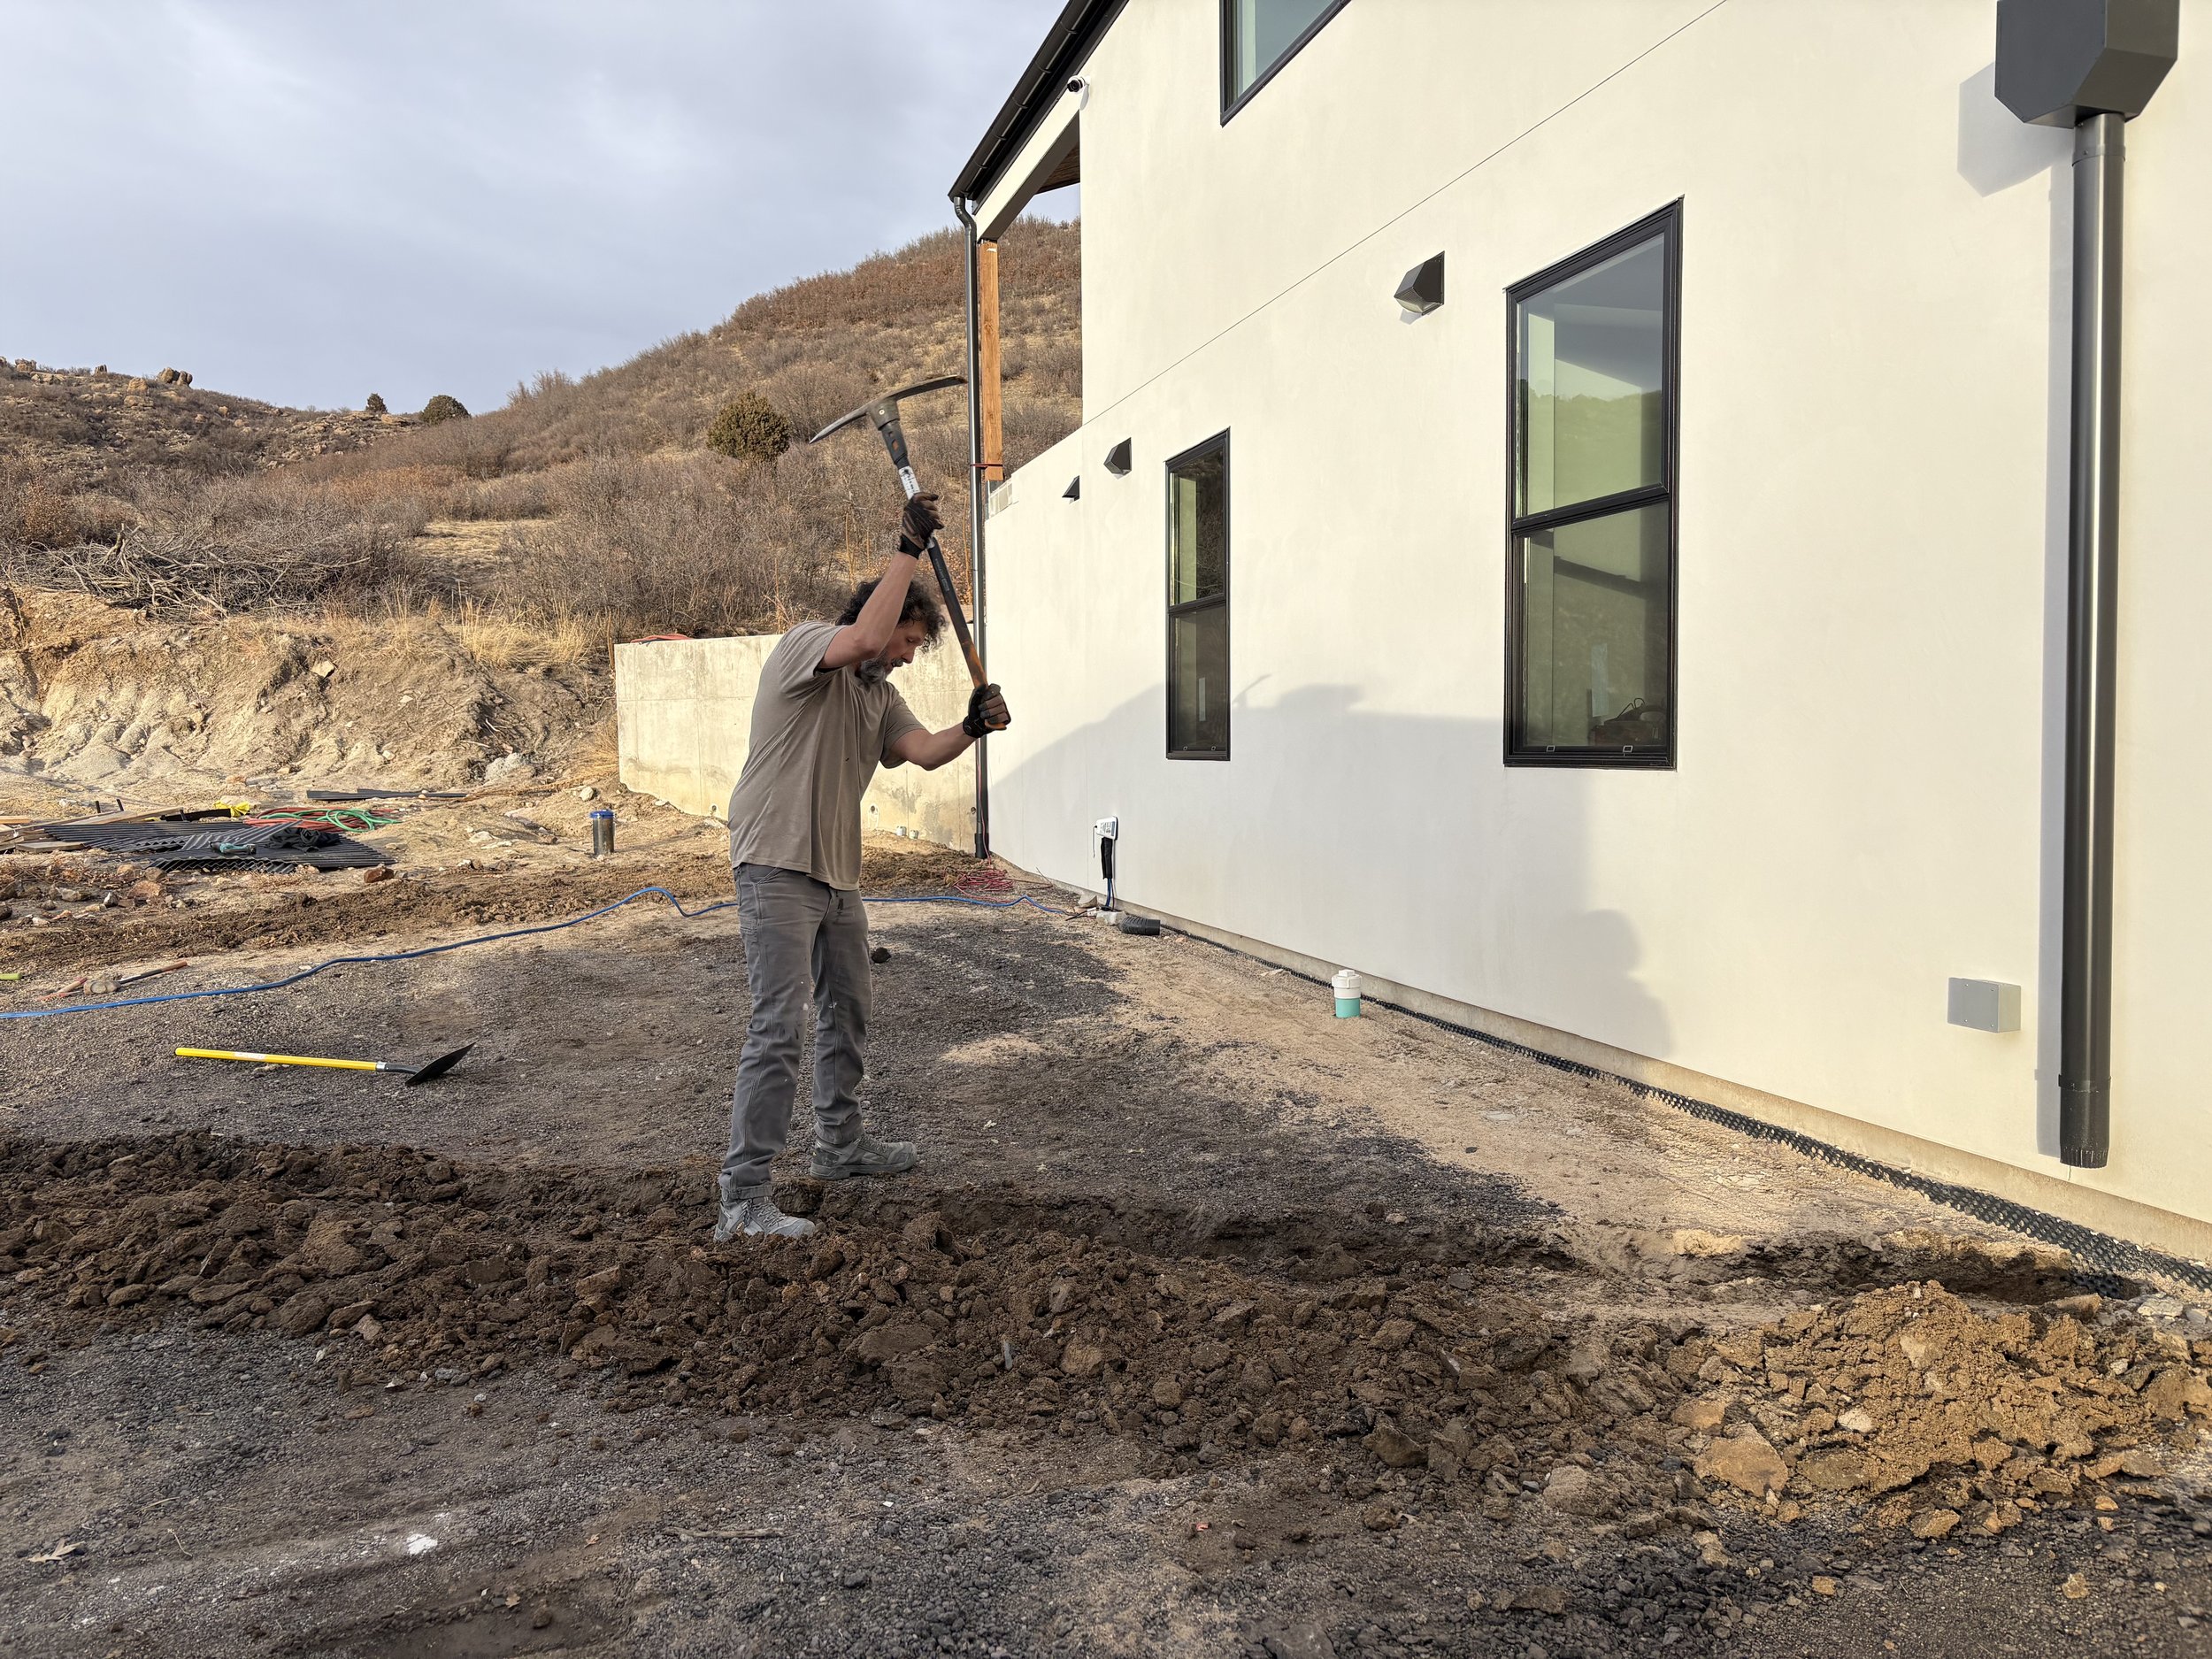
The sun returns and so it's back to work. Now we need to prepare for the drainage ditch in the front of the house. This will require some serious excavation.
Lots of playing in the dirt!
Gotta always keep tabs on the water line to the trailer! We are quite used to creating a "boardwalk" for the construction rigs to safely pass.
Things are starting to smooth out.
...and the Bobcat can officially make it up the hill to the back of the house!
This will do for the looming drainage project.
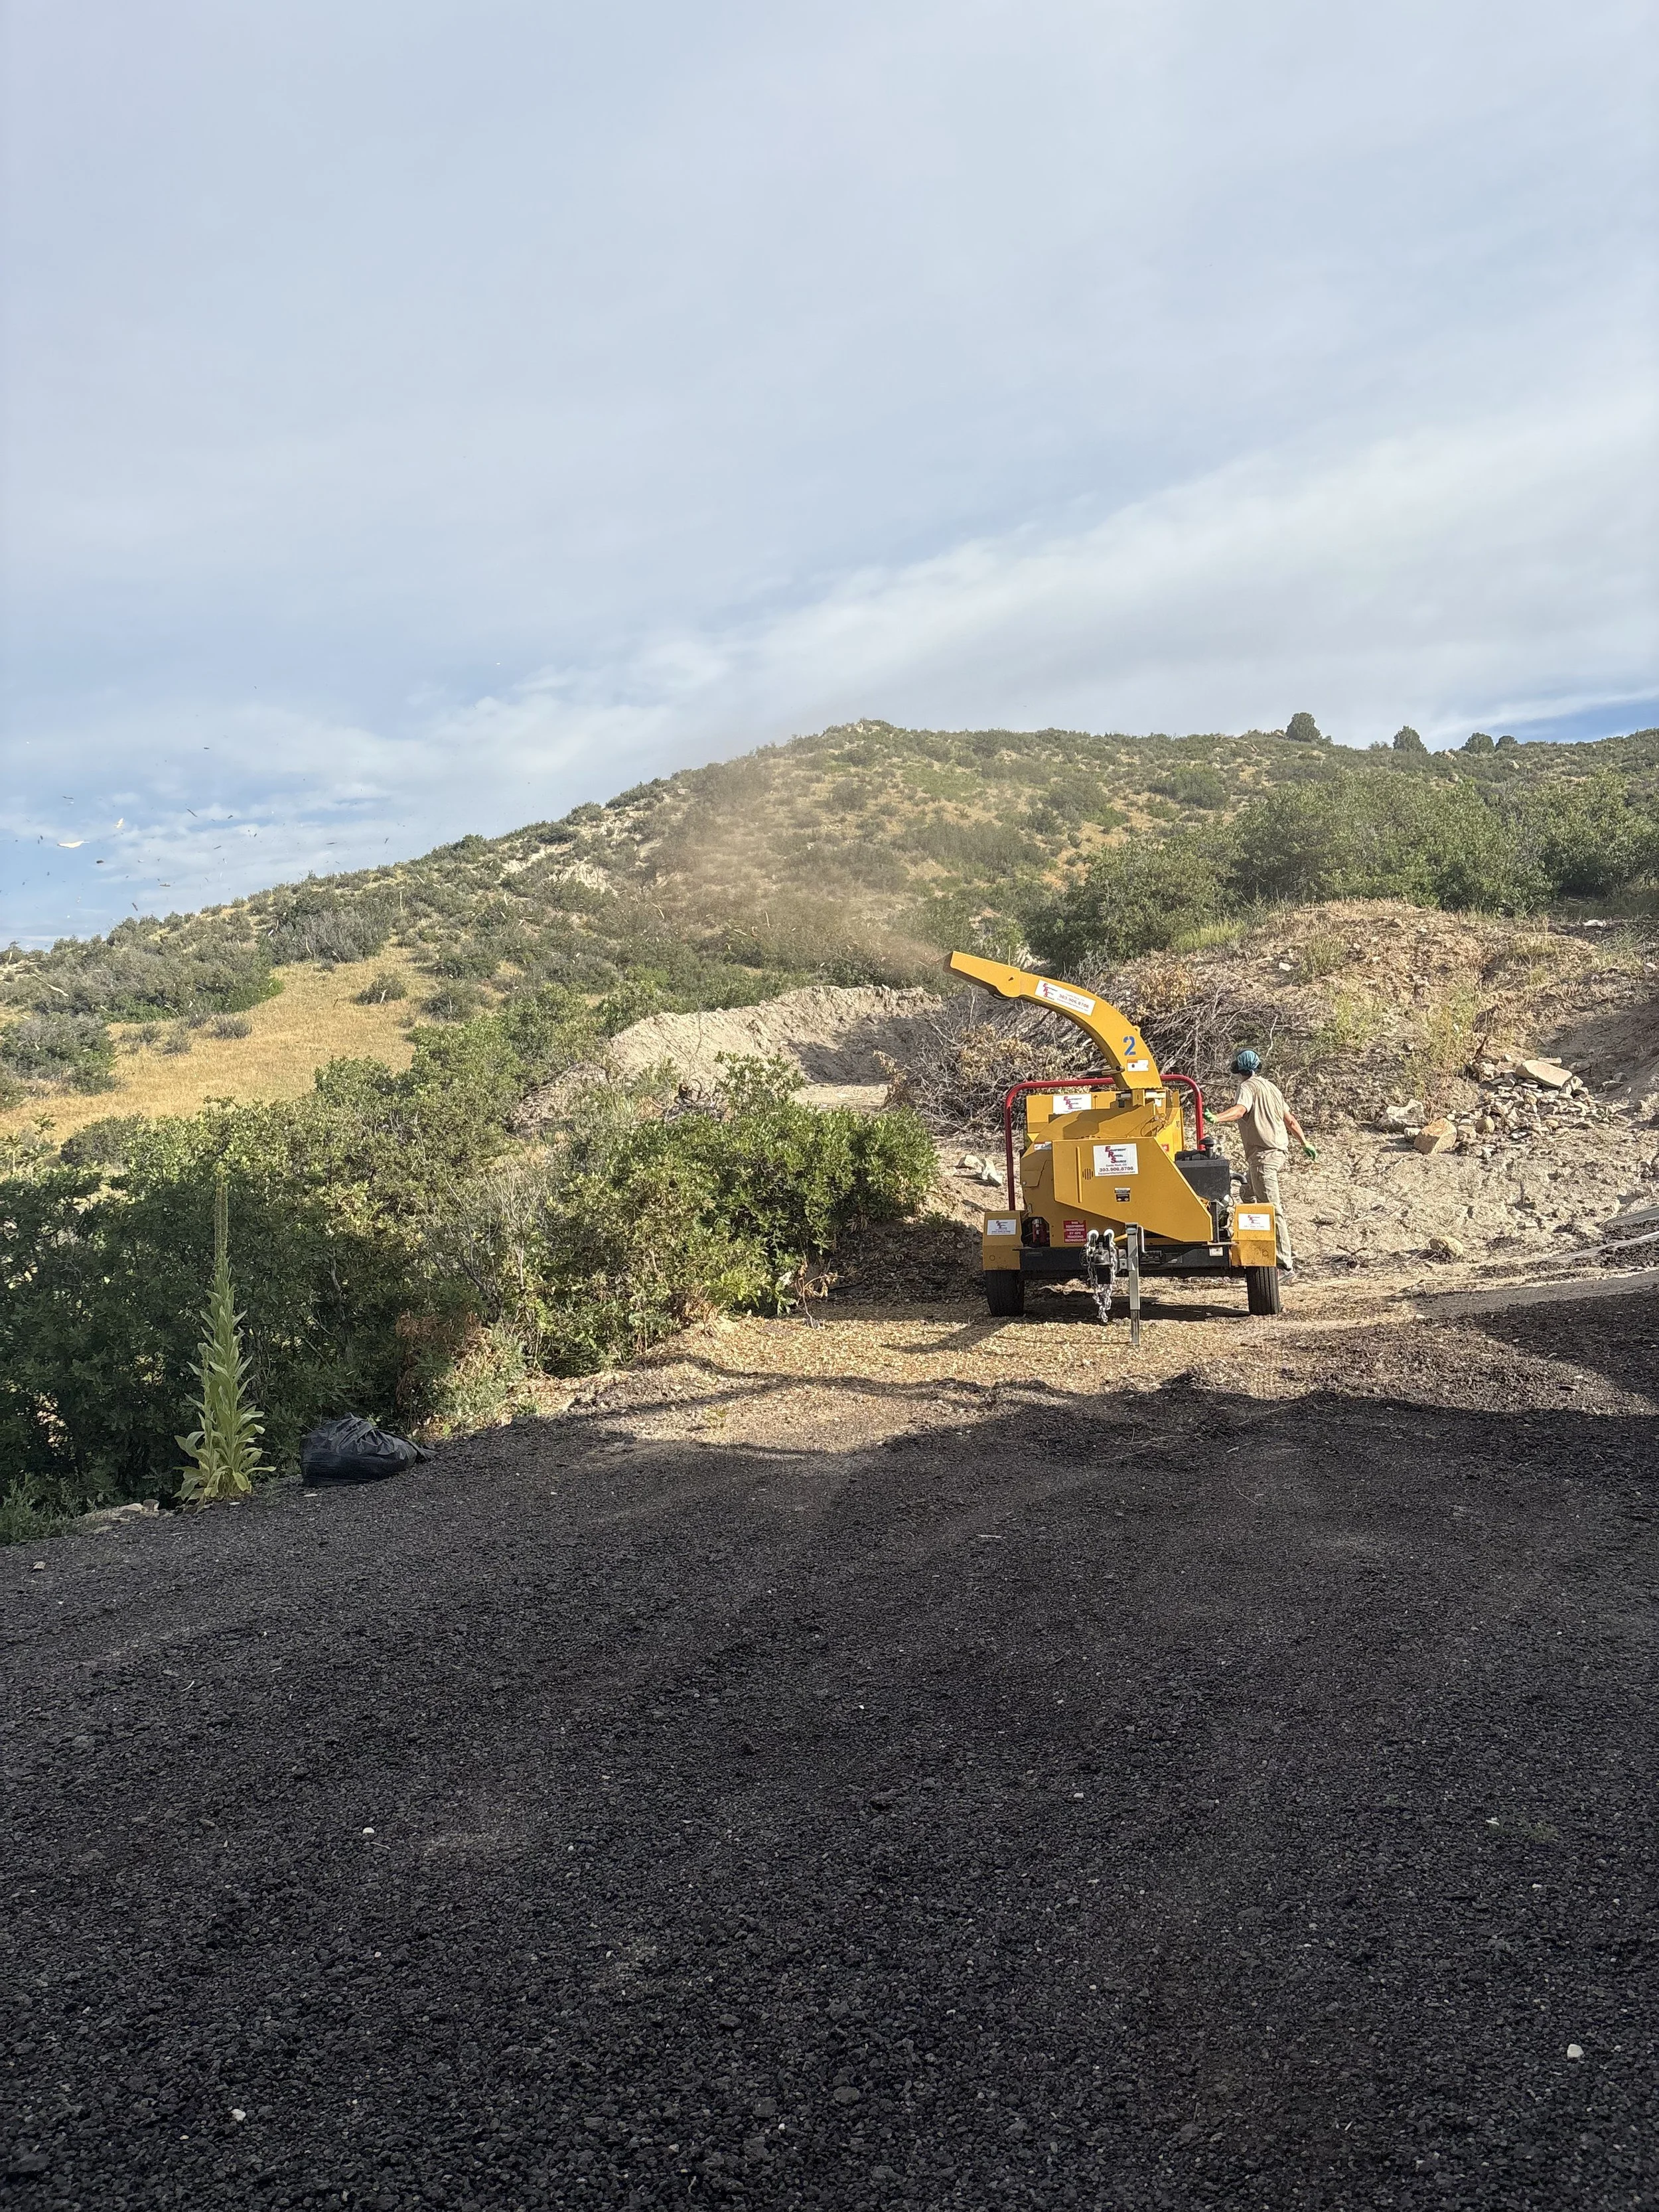
Now the super sized shredder comes in! Lots of stickers on this rig that show arms getting cut off. Yikes! Watch the limbs Kris...and yes, I mean YOUR limbs, not the tree limbs.

"What? Is there something on my face?"
Step 23: Railing All Around
Time to start installing the railing on the patio. Hobbs is enjoying the view while the railing brackets go in.
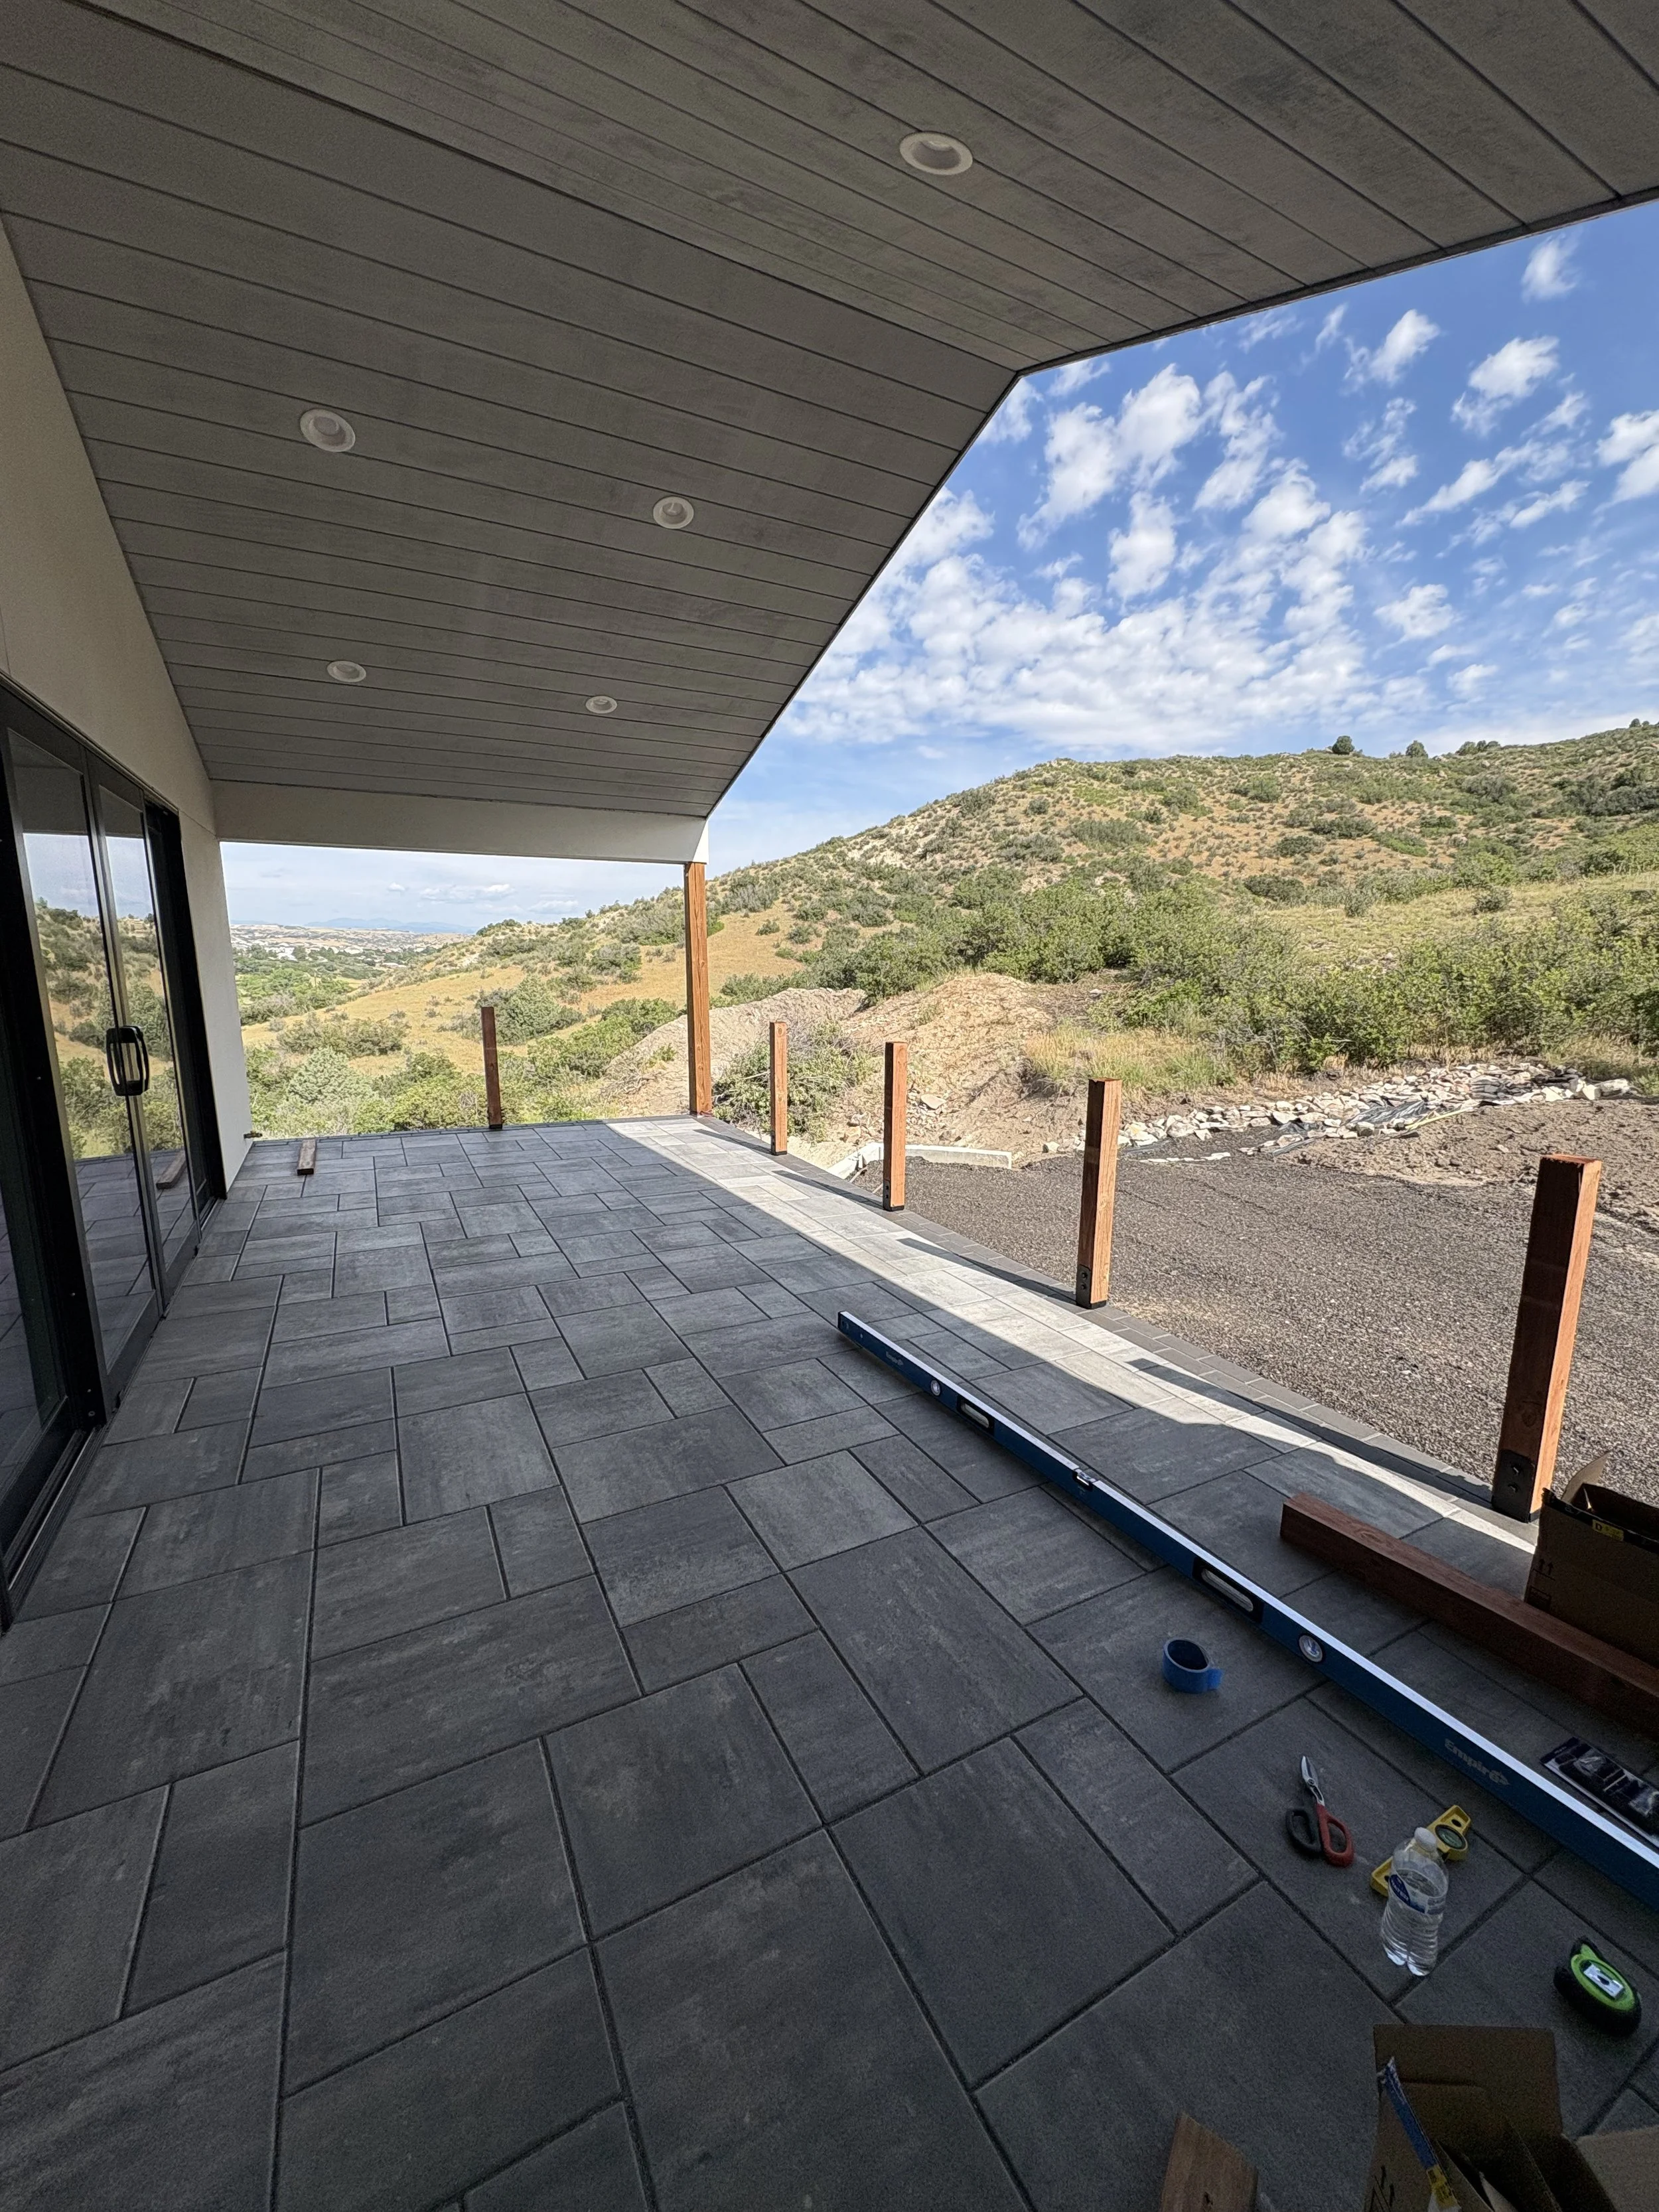
Railing posts are then attached.
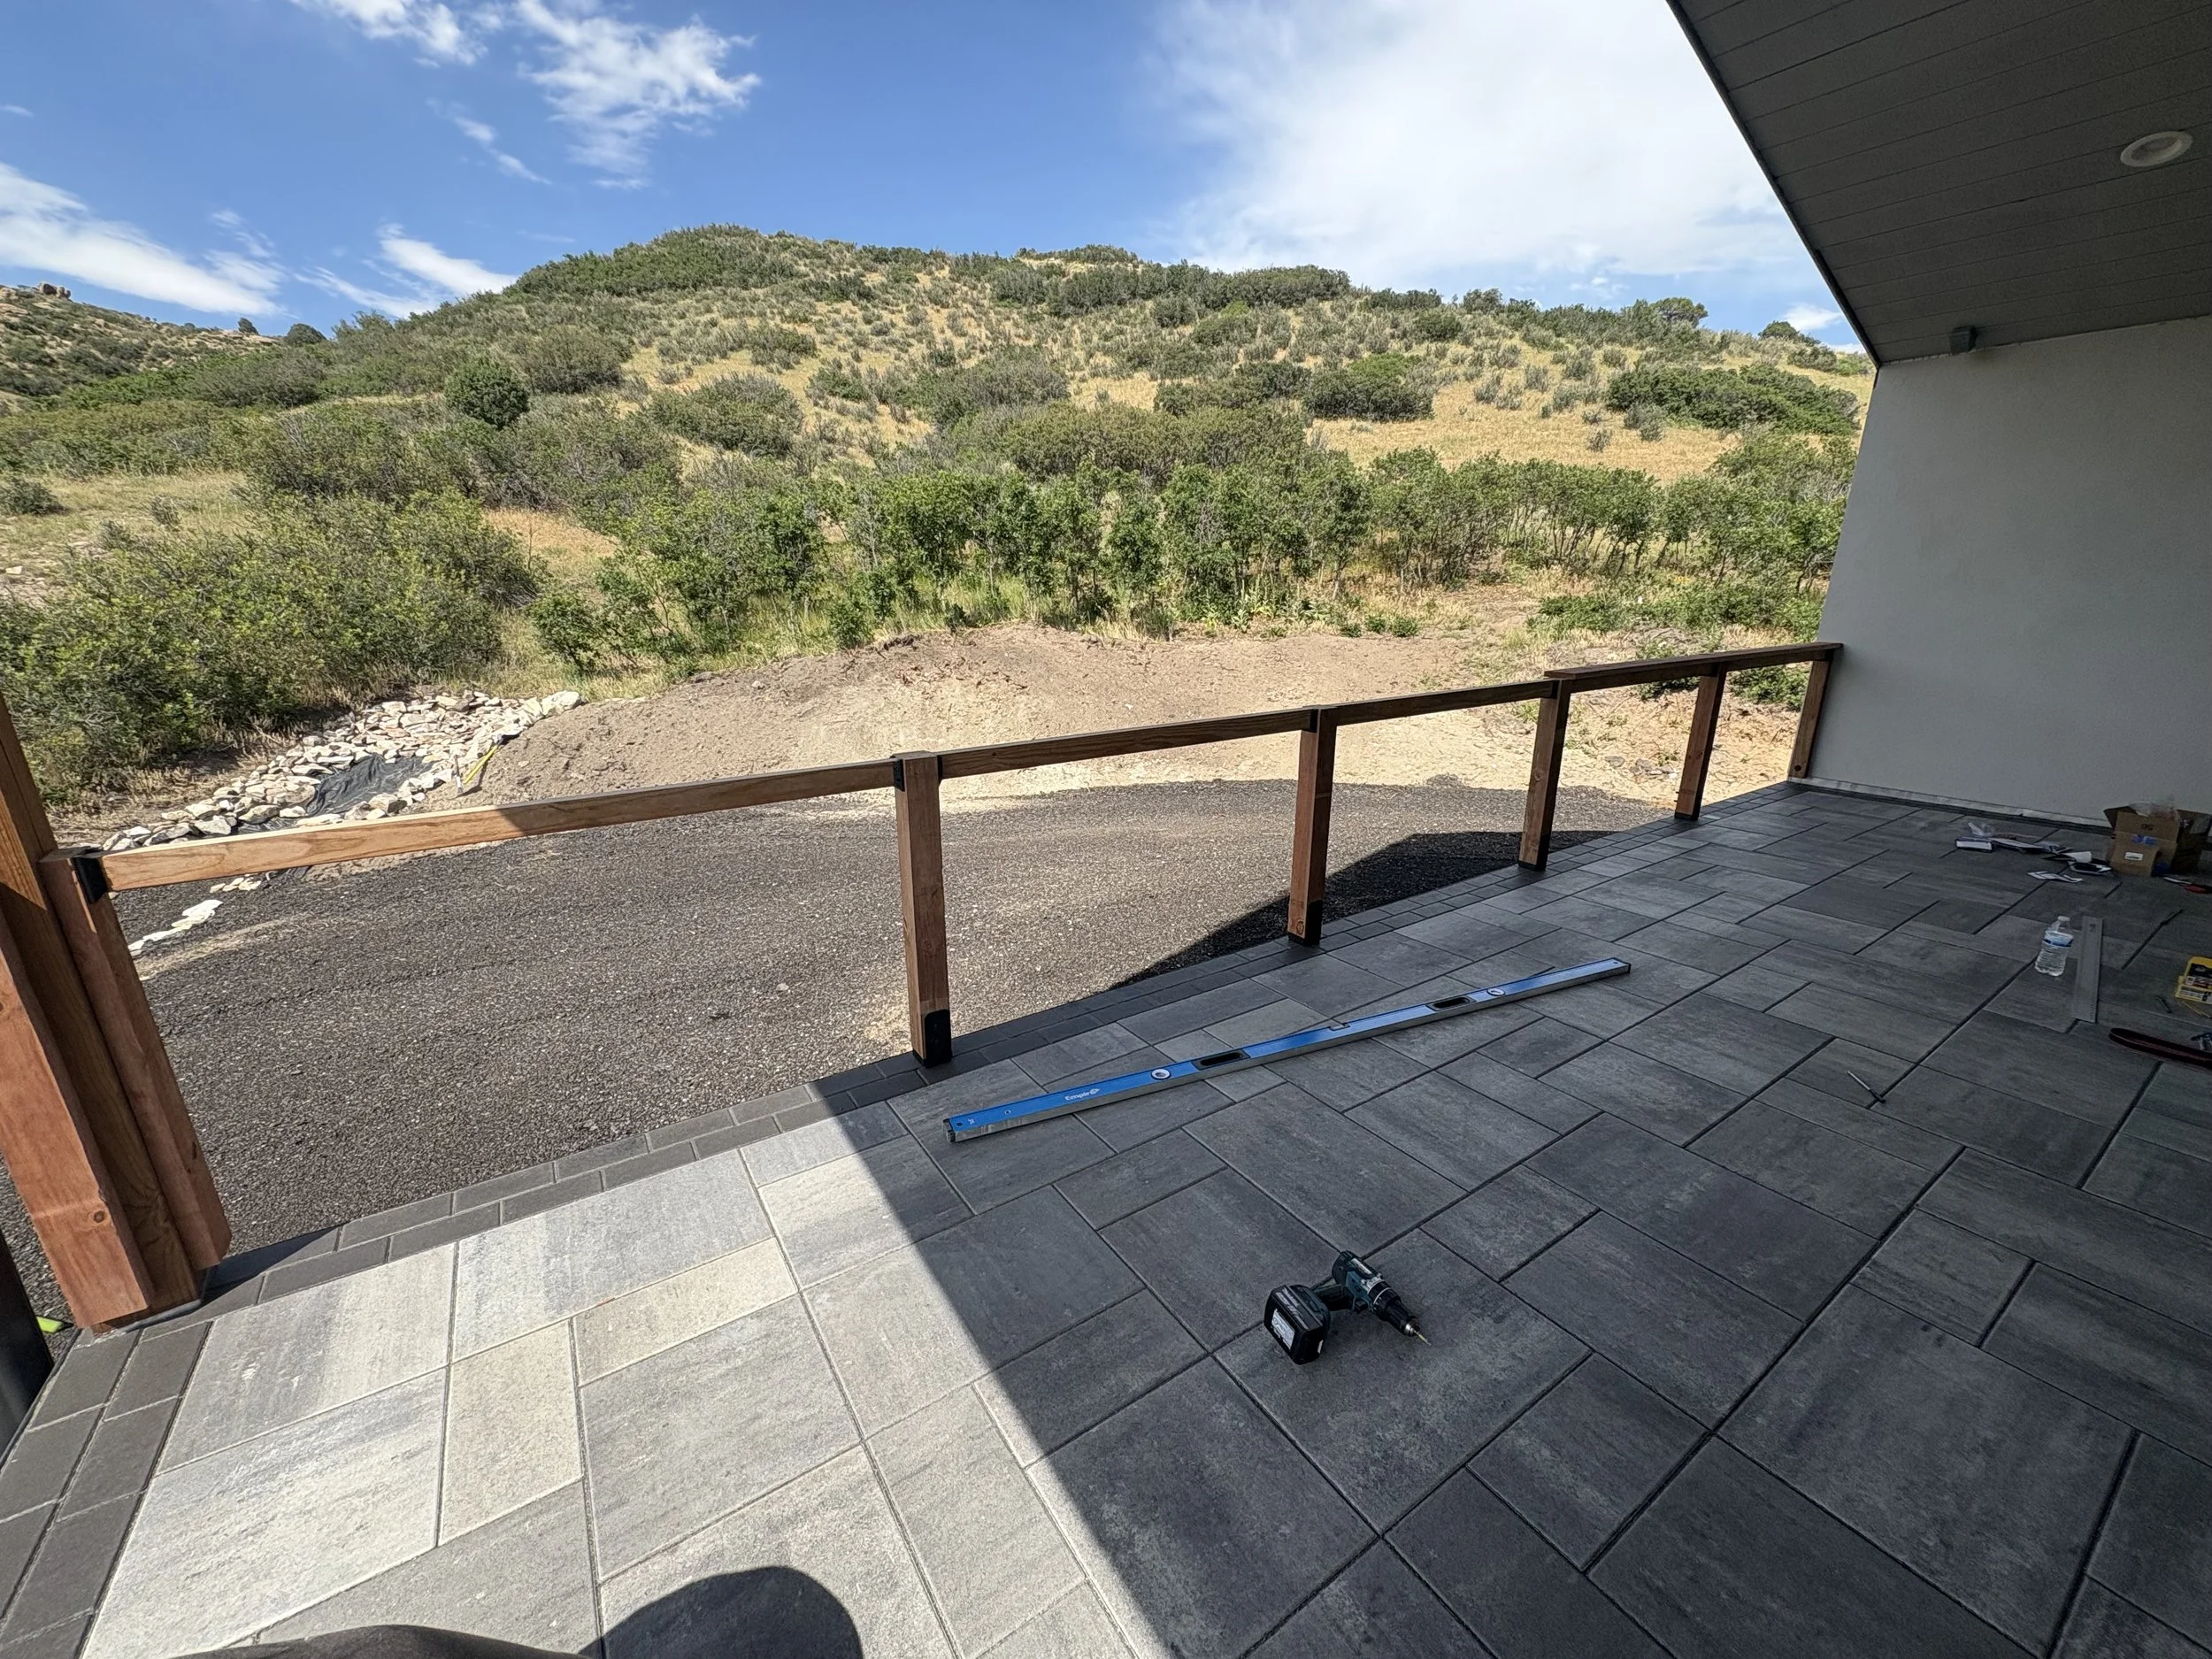
The horizontal support goes up next and it's already looking like a railing!

Here's a wider view to see the entire project.
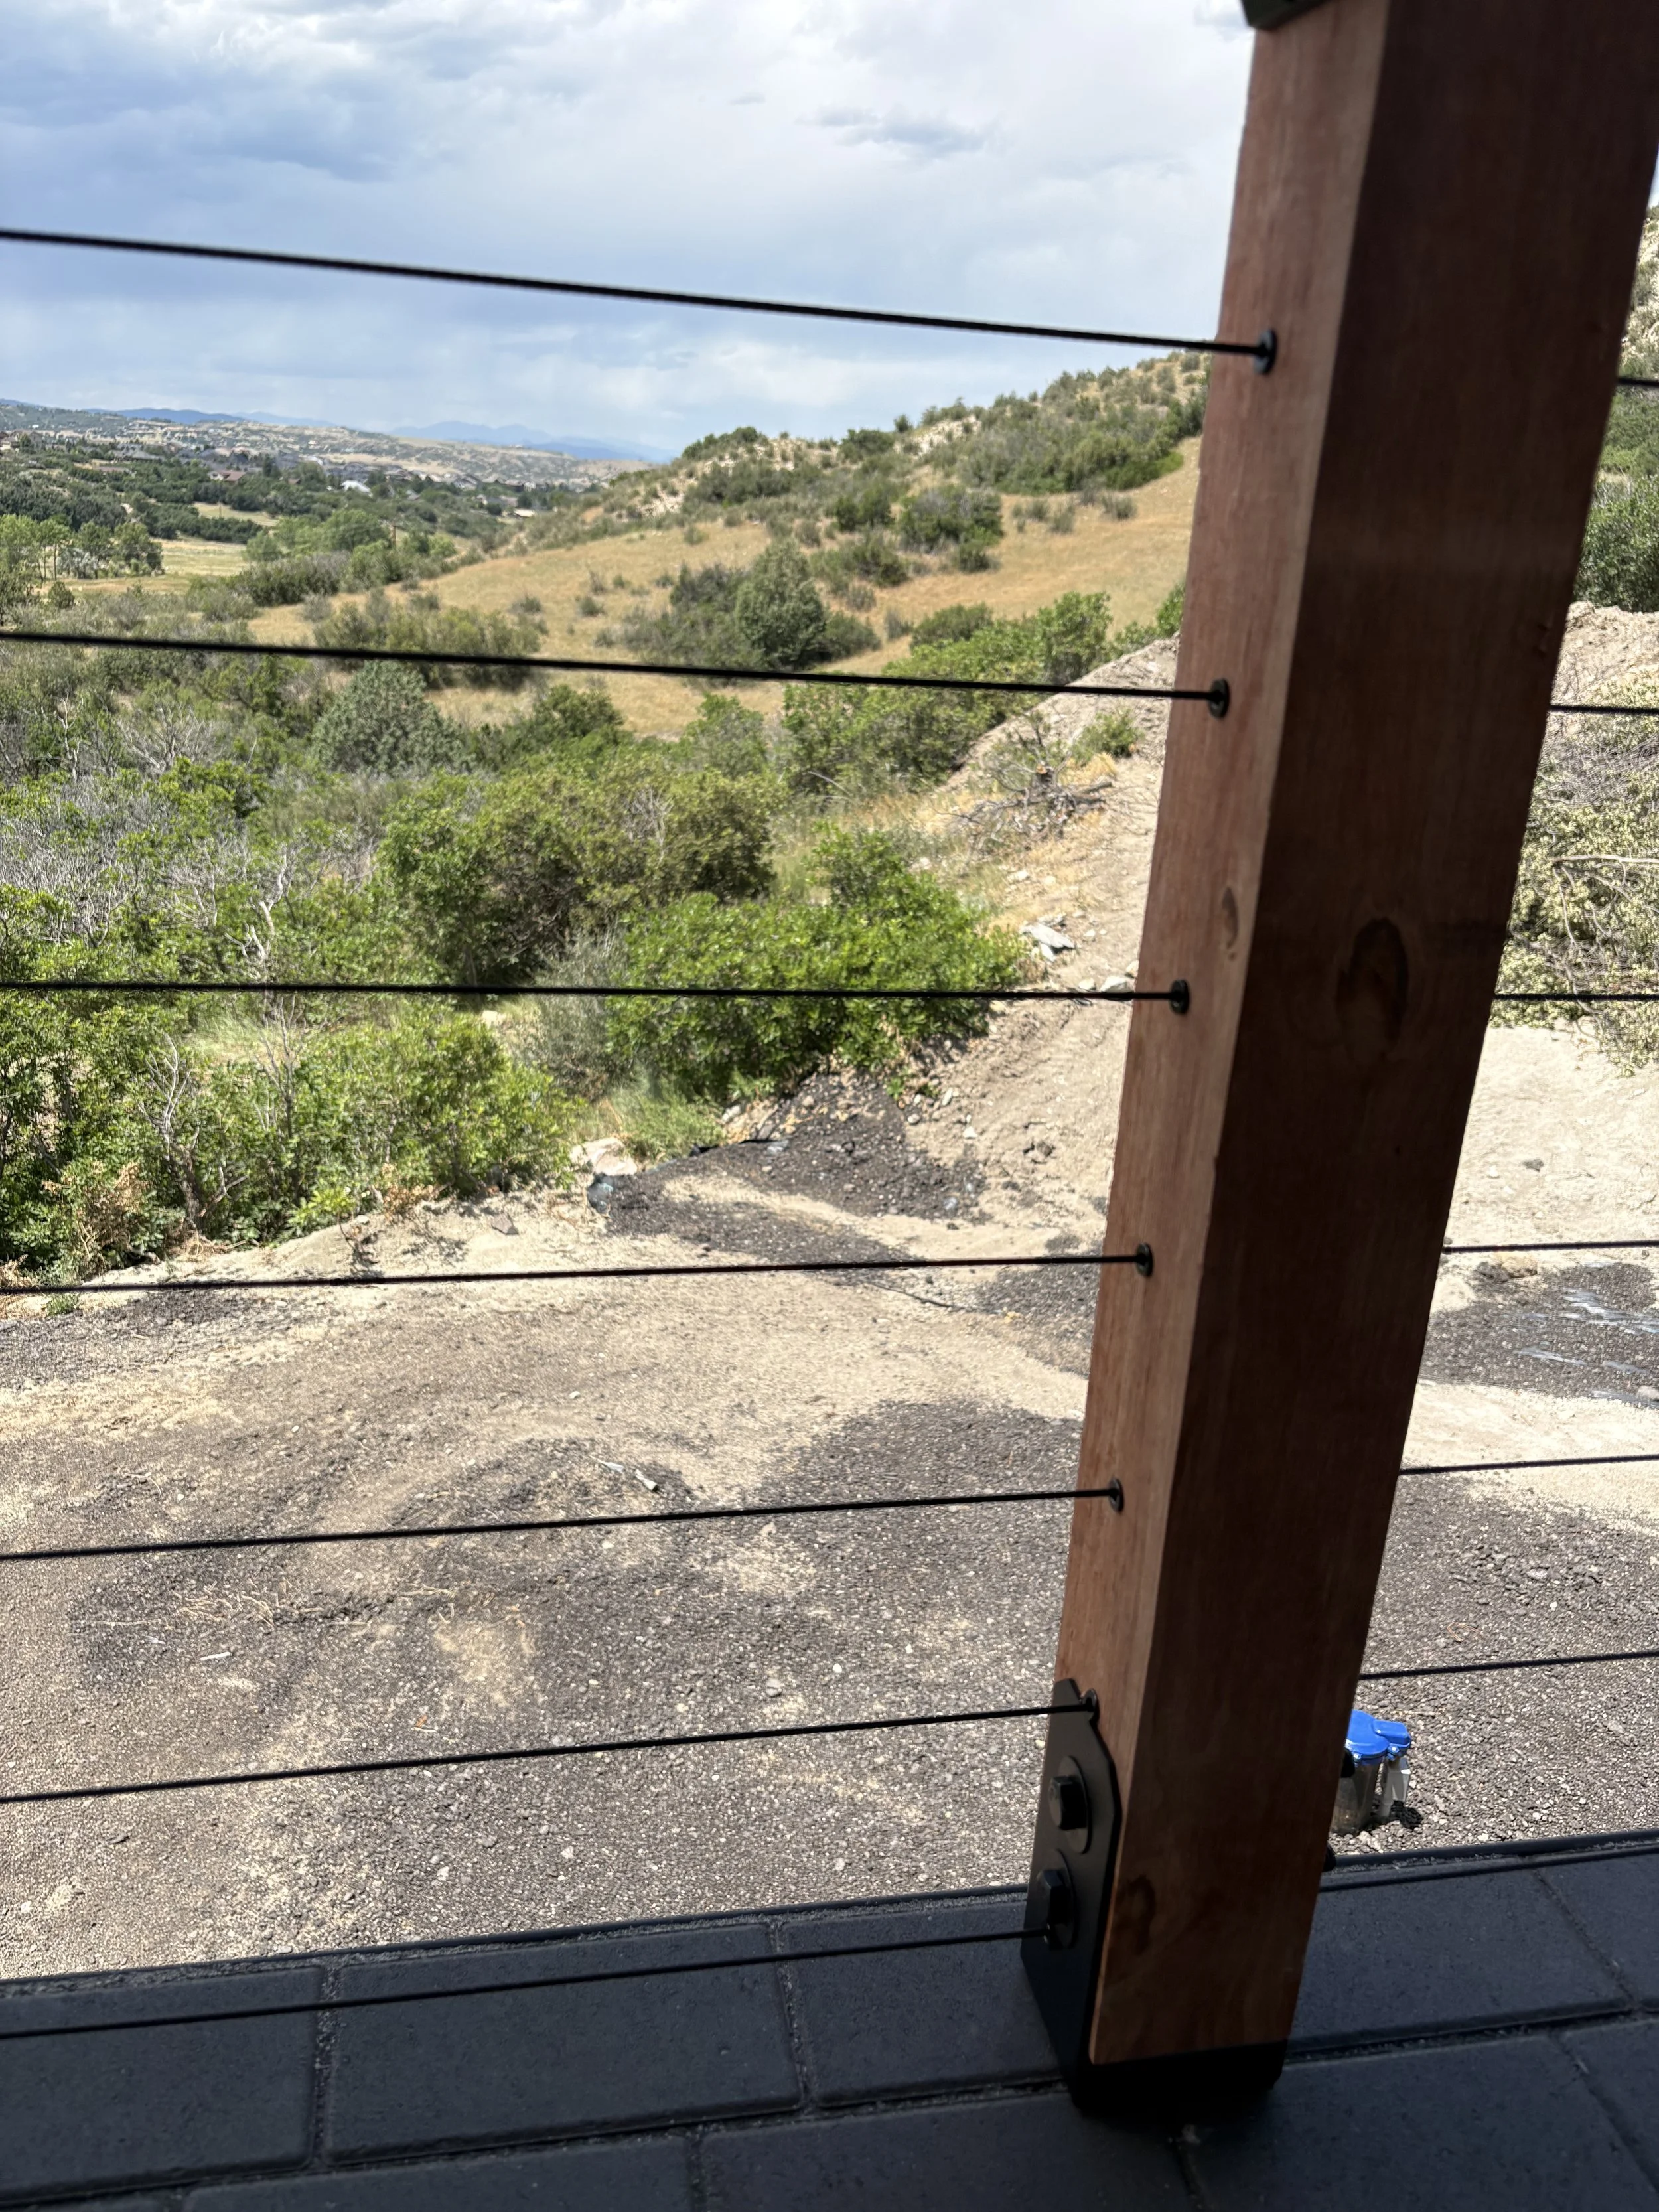
Now we install the cables. These were quite the bear to install. It seemed so easy on the instructions!
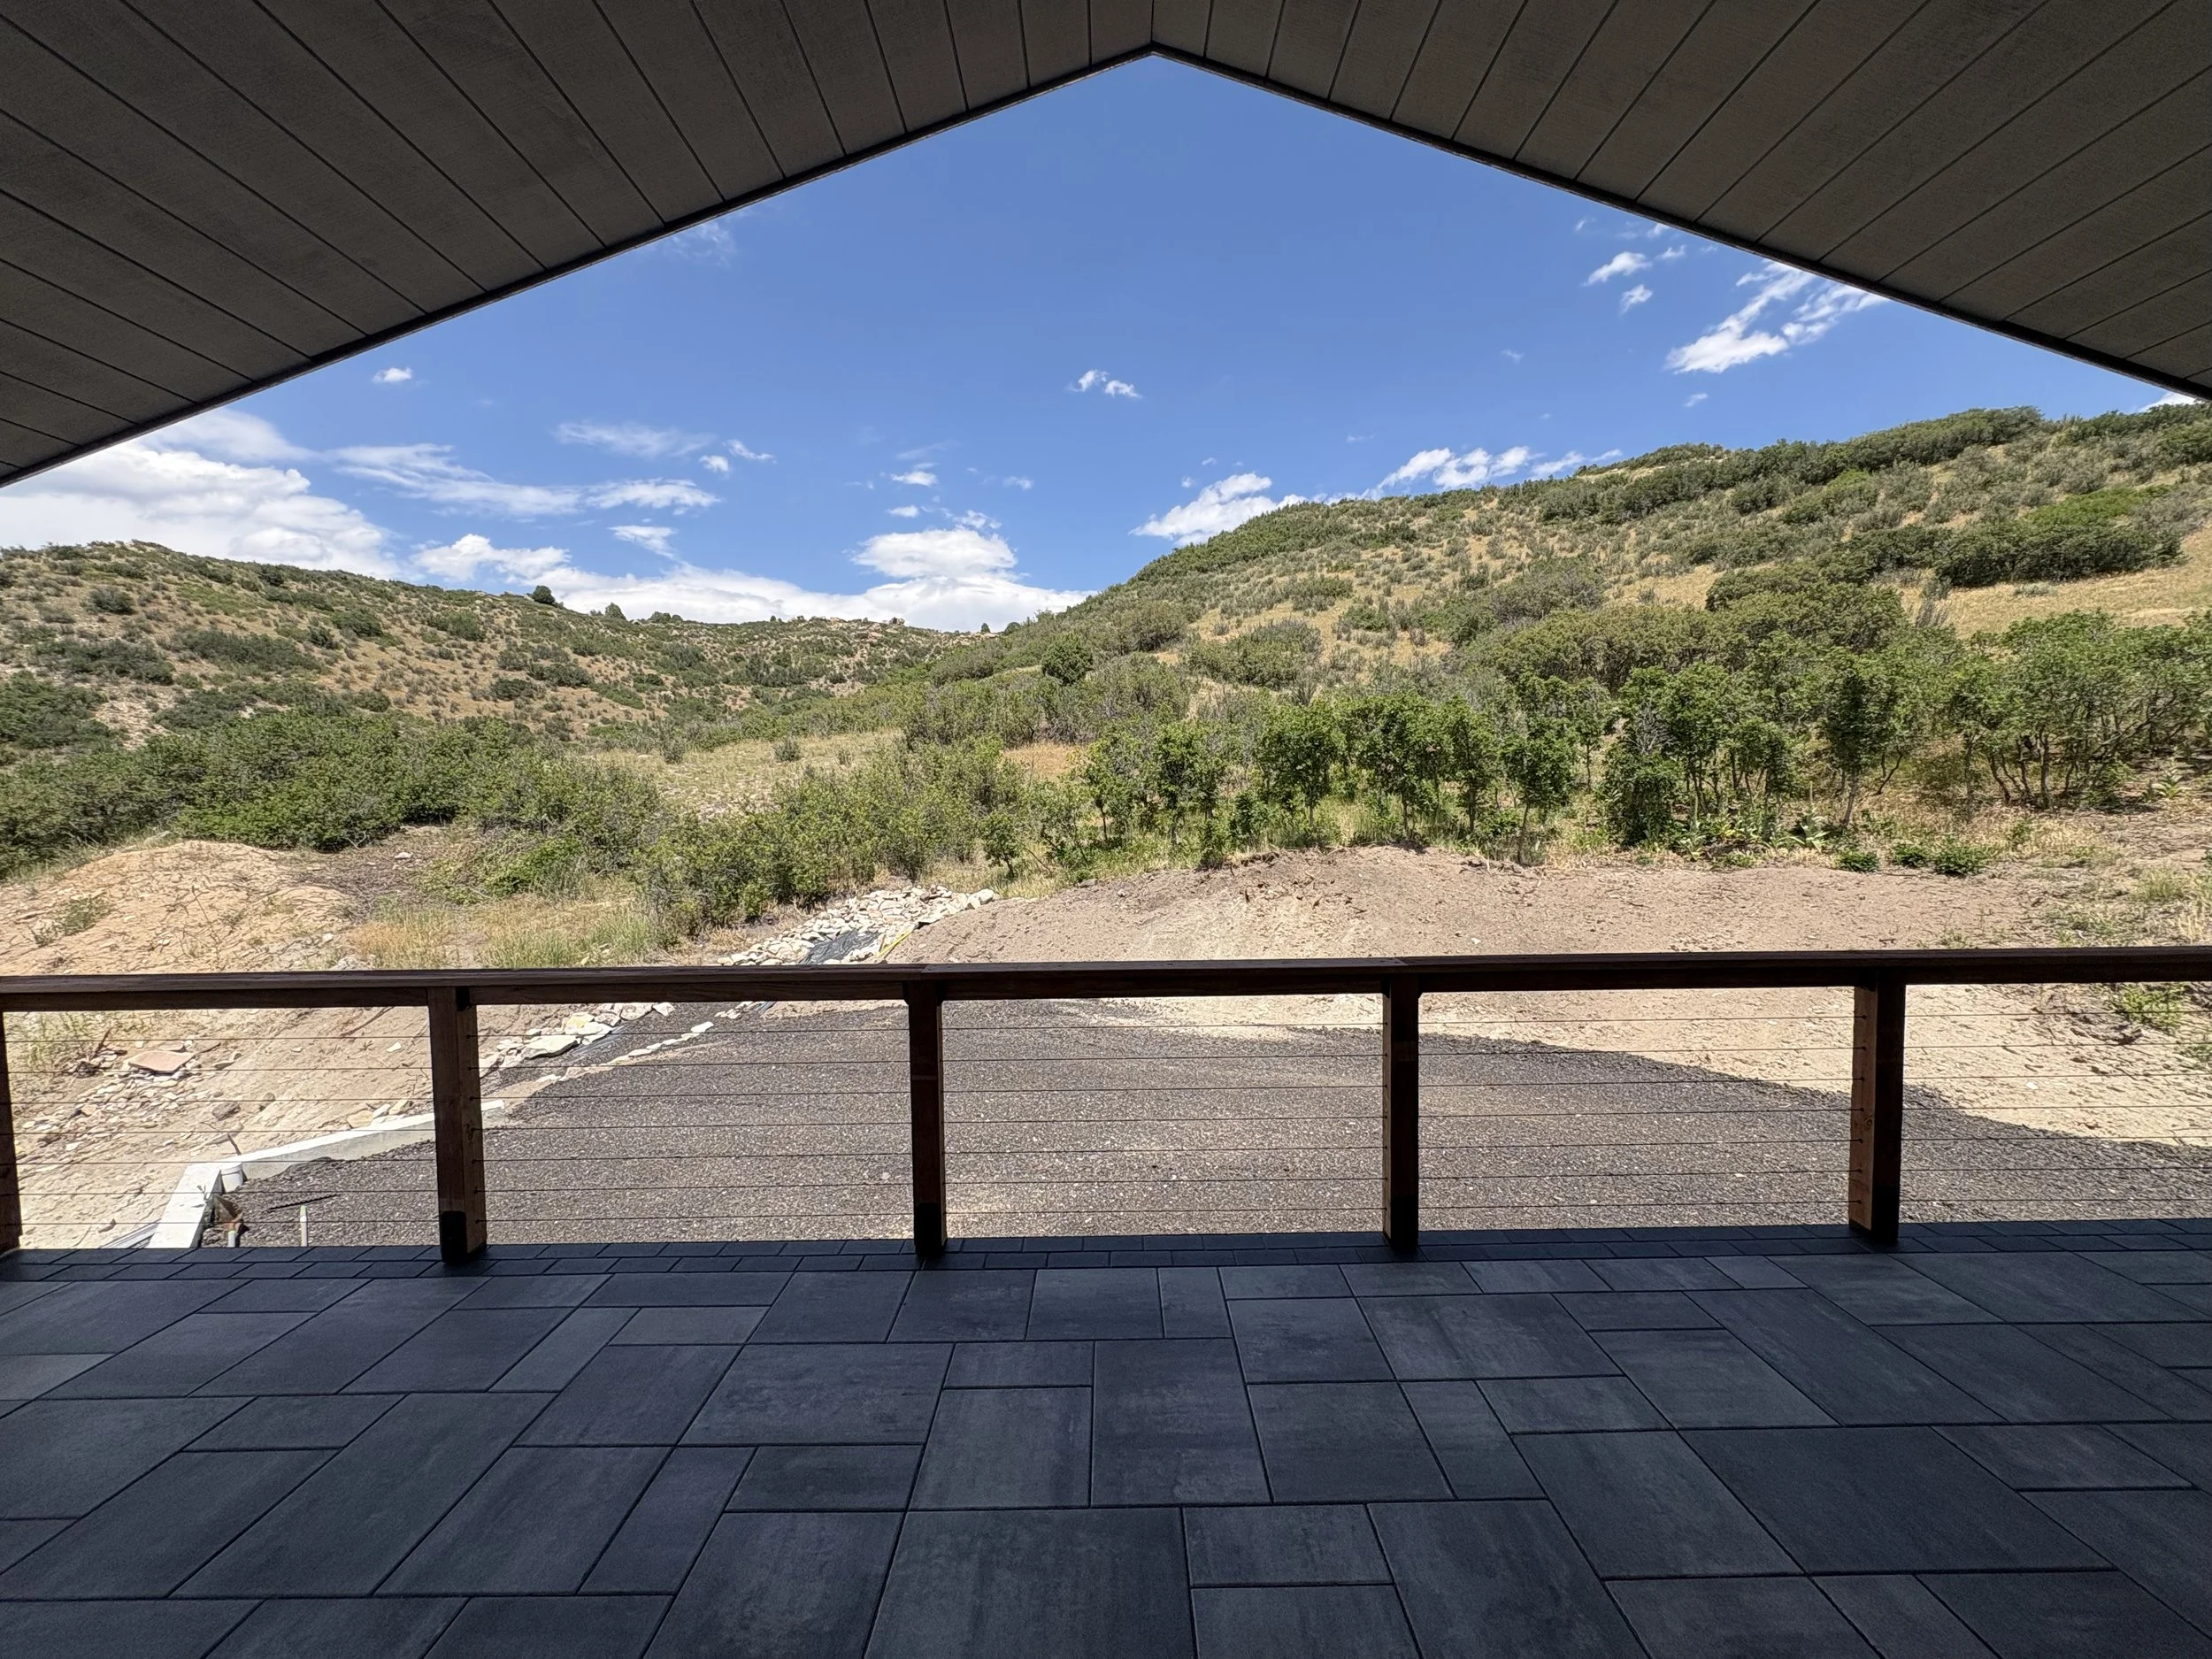
Completed! Look at that view!
Here's the northeast view...
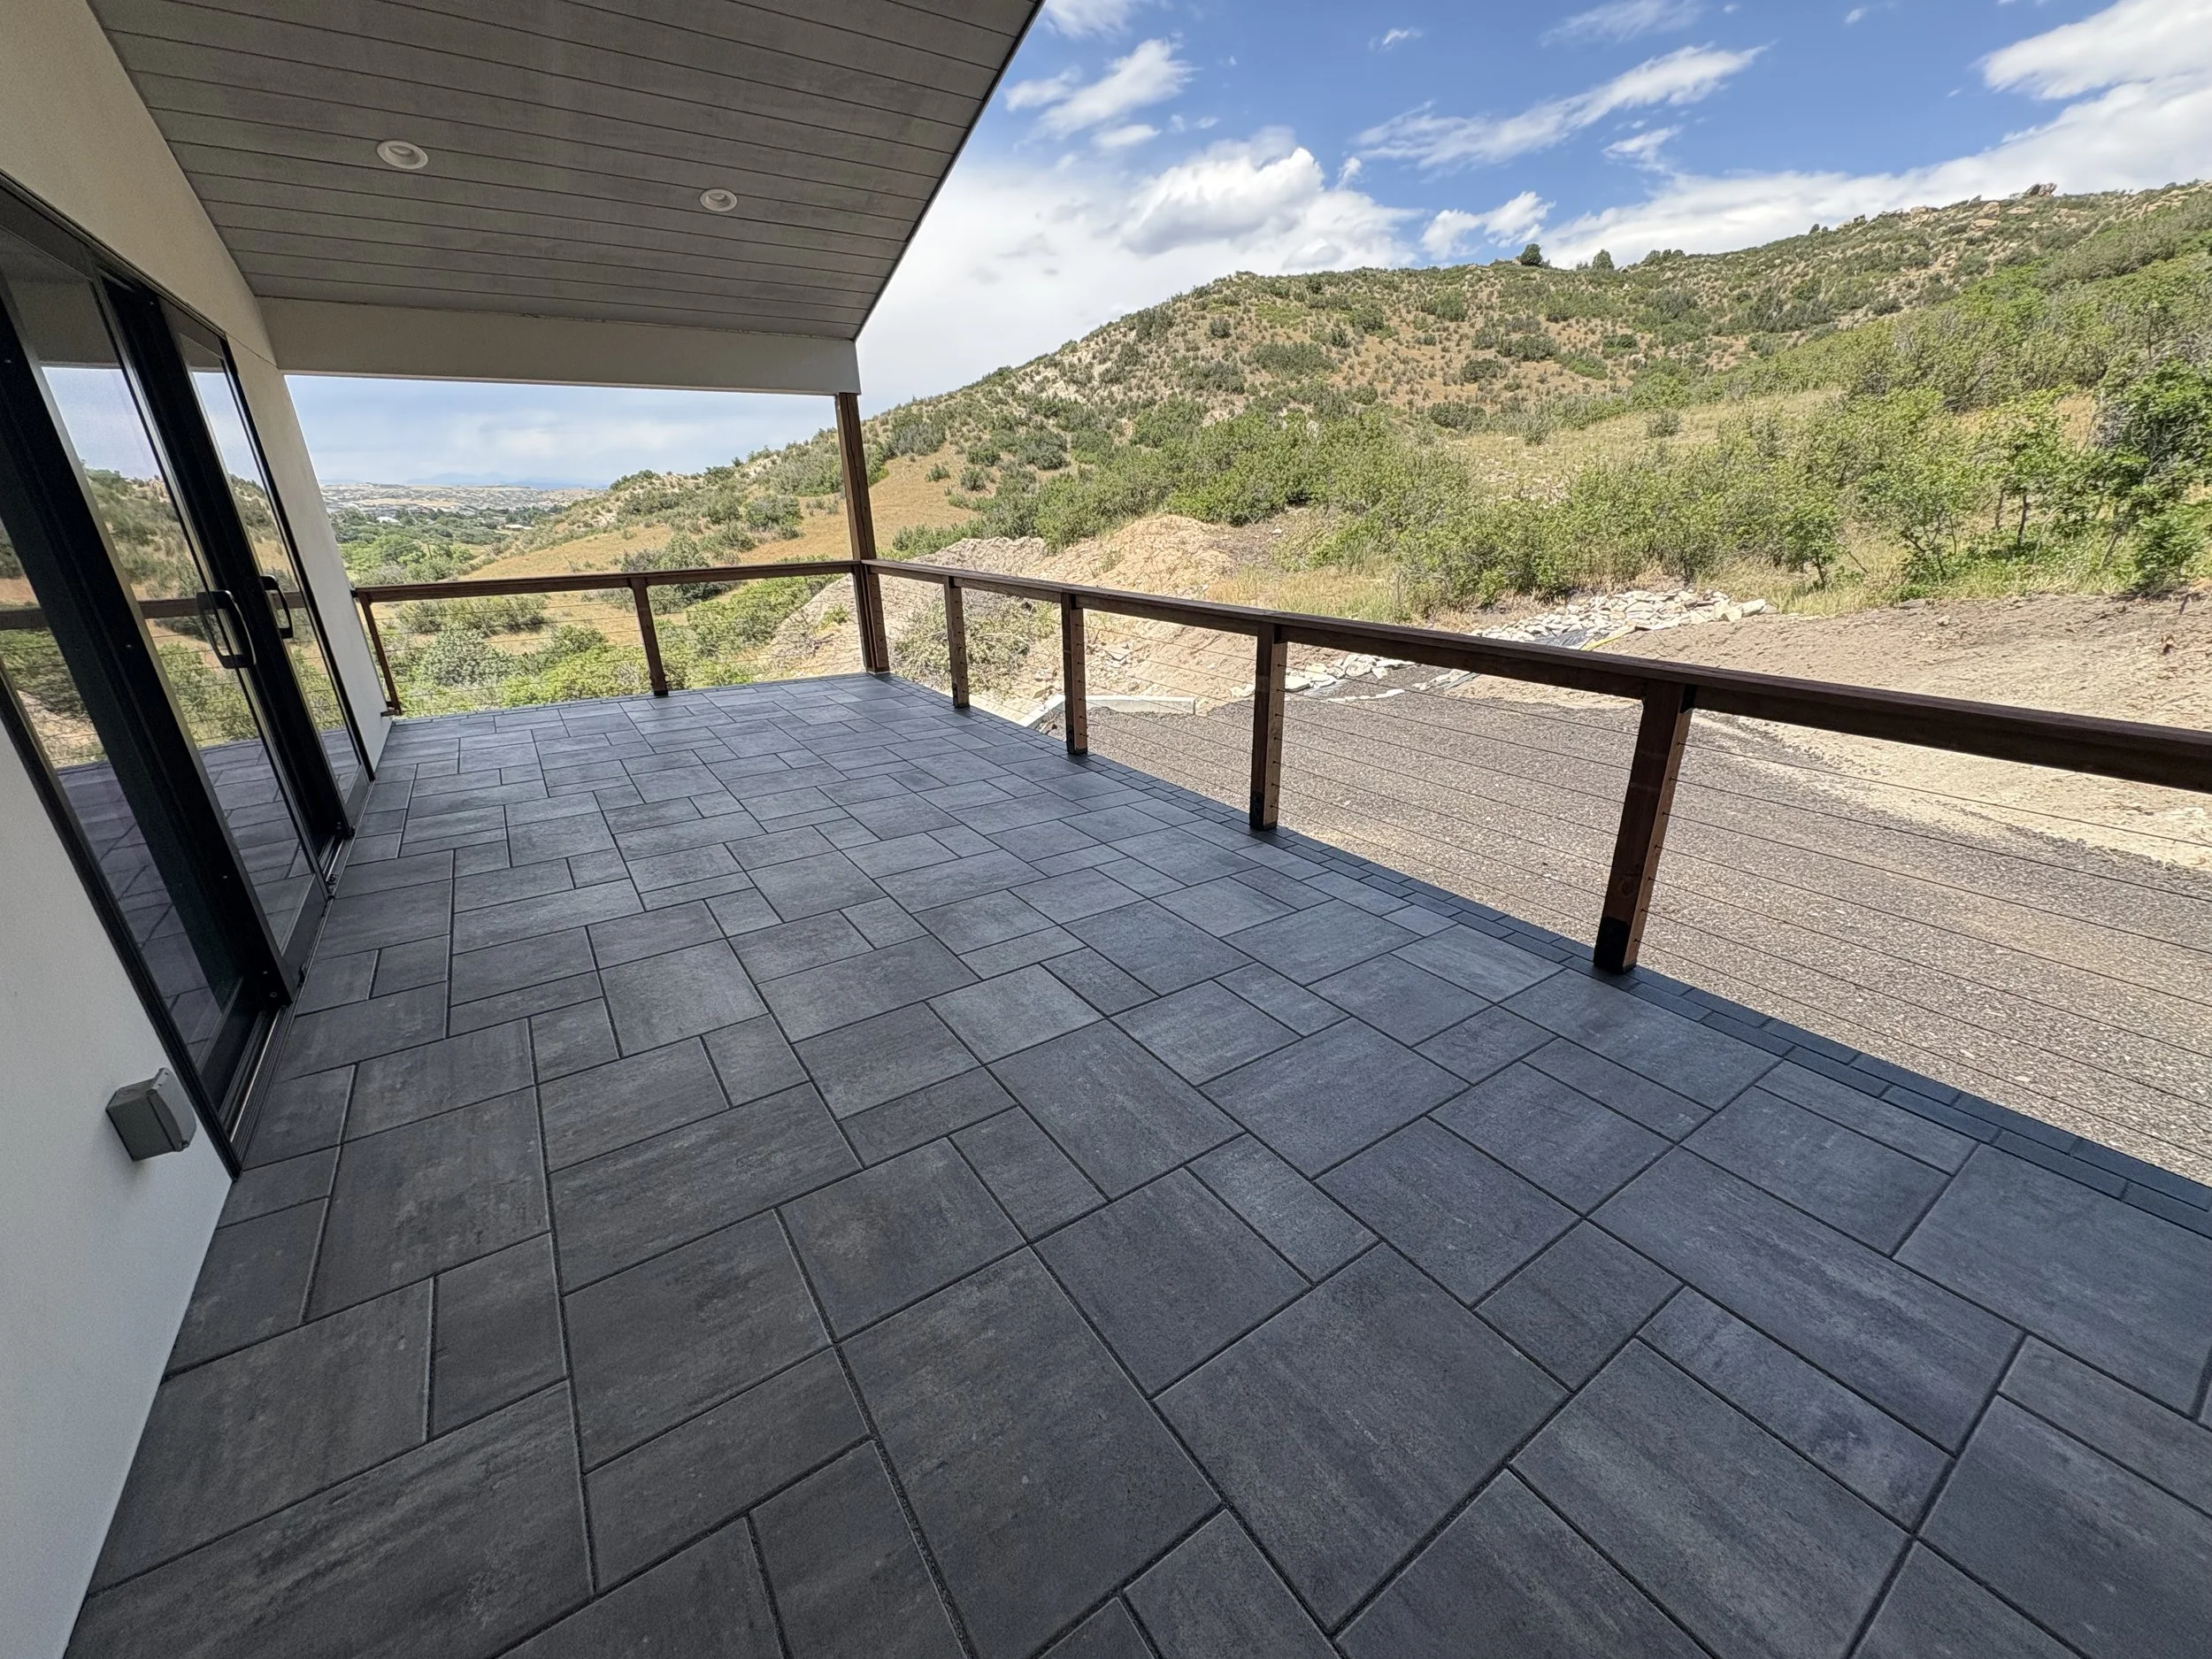
...and the northwest view.
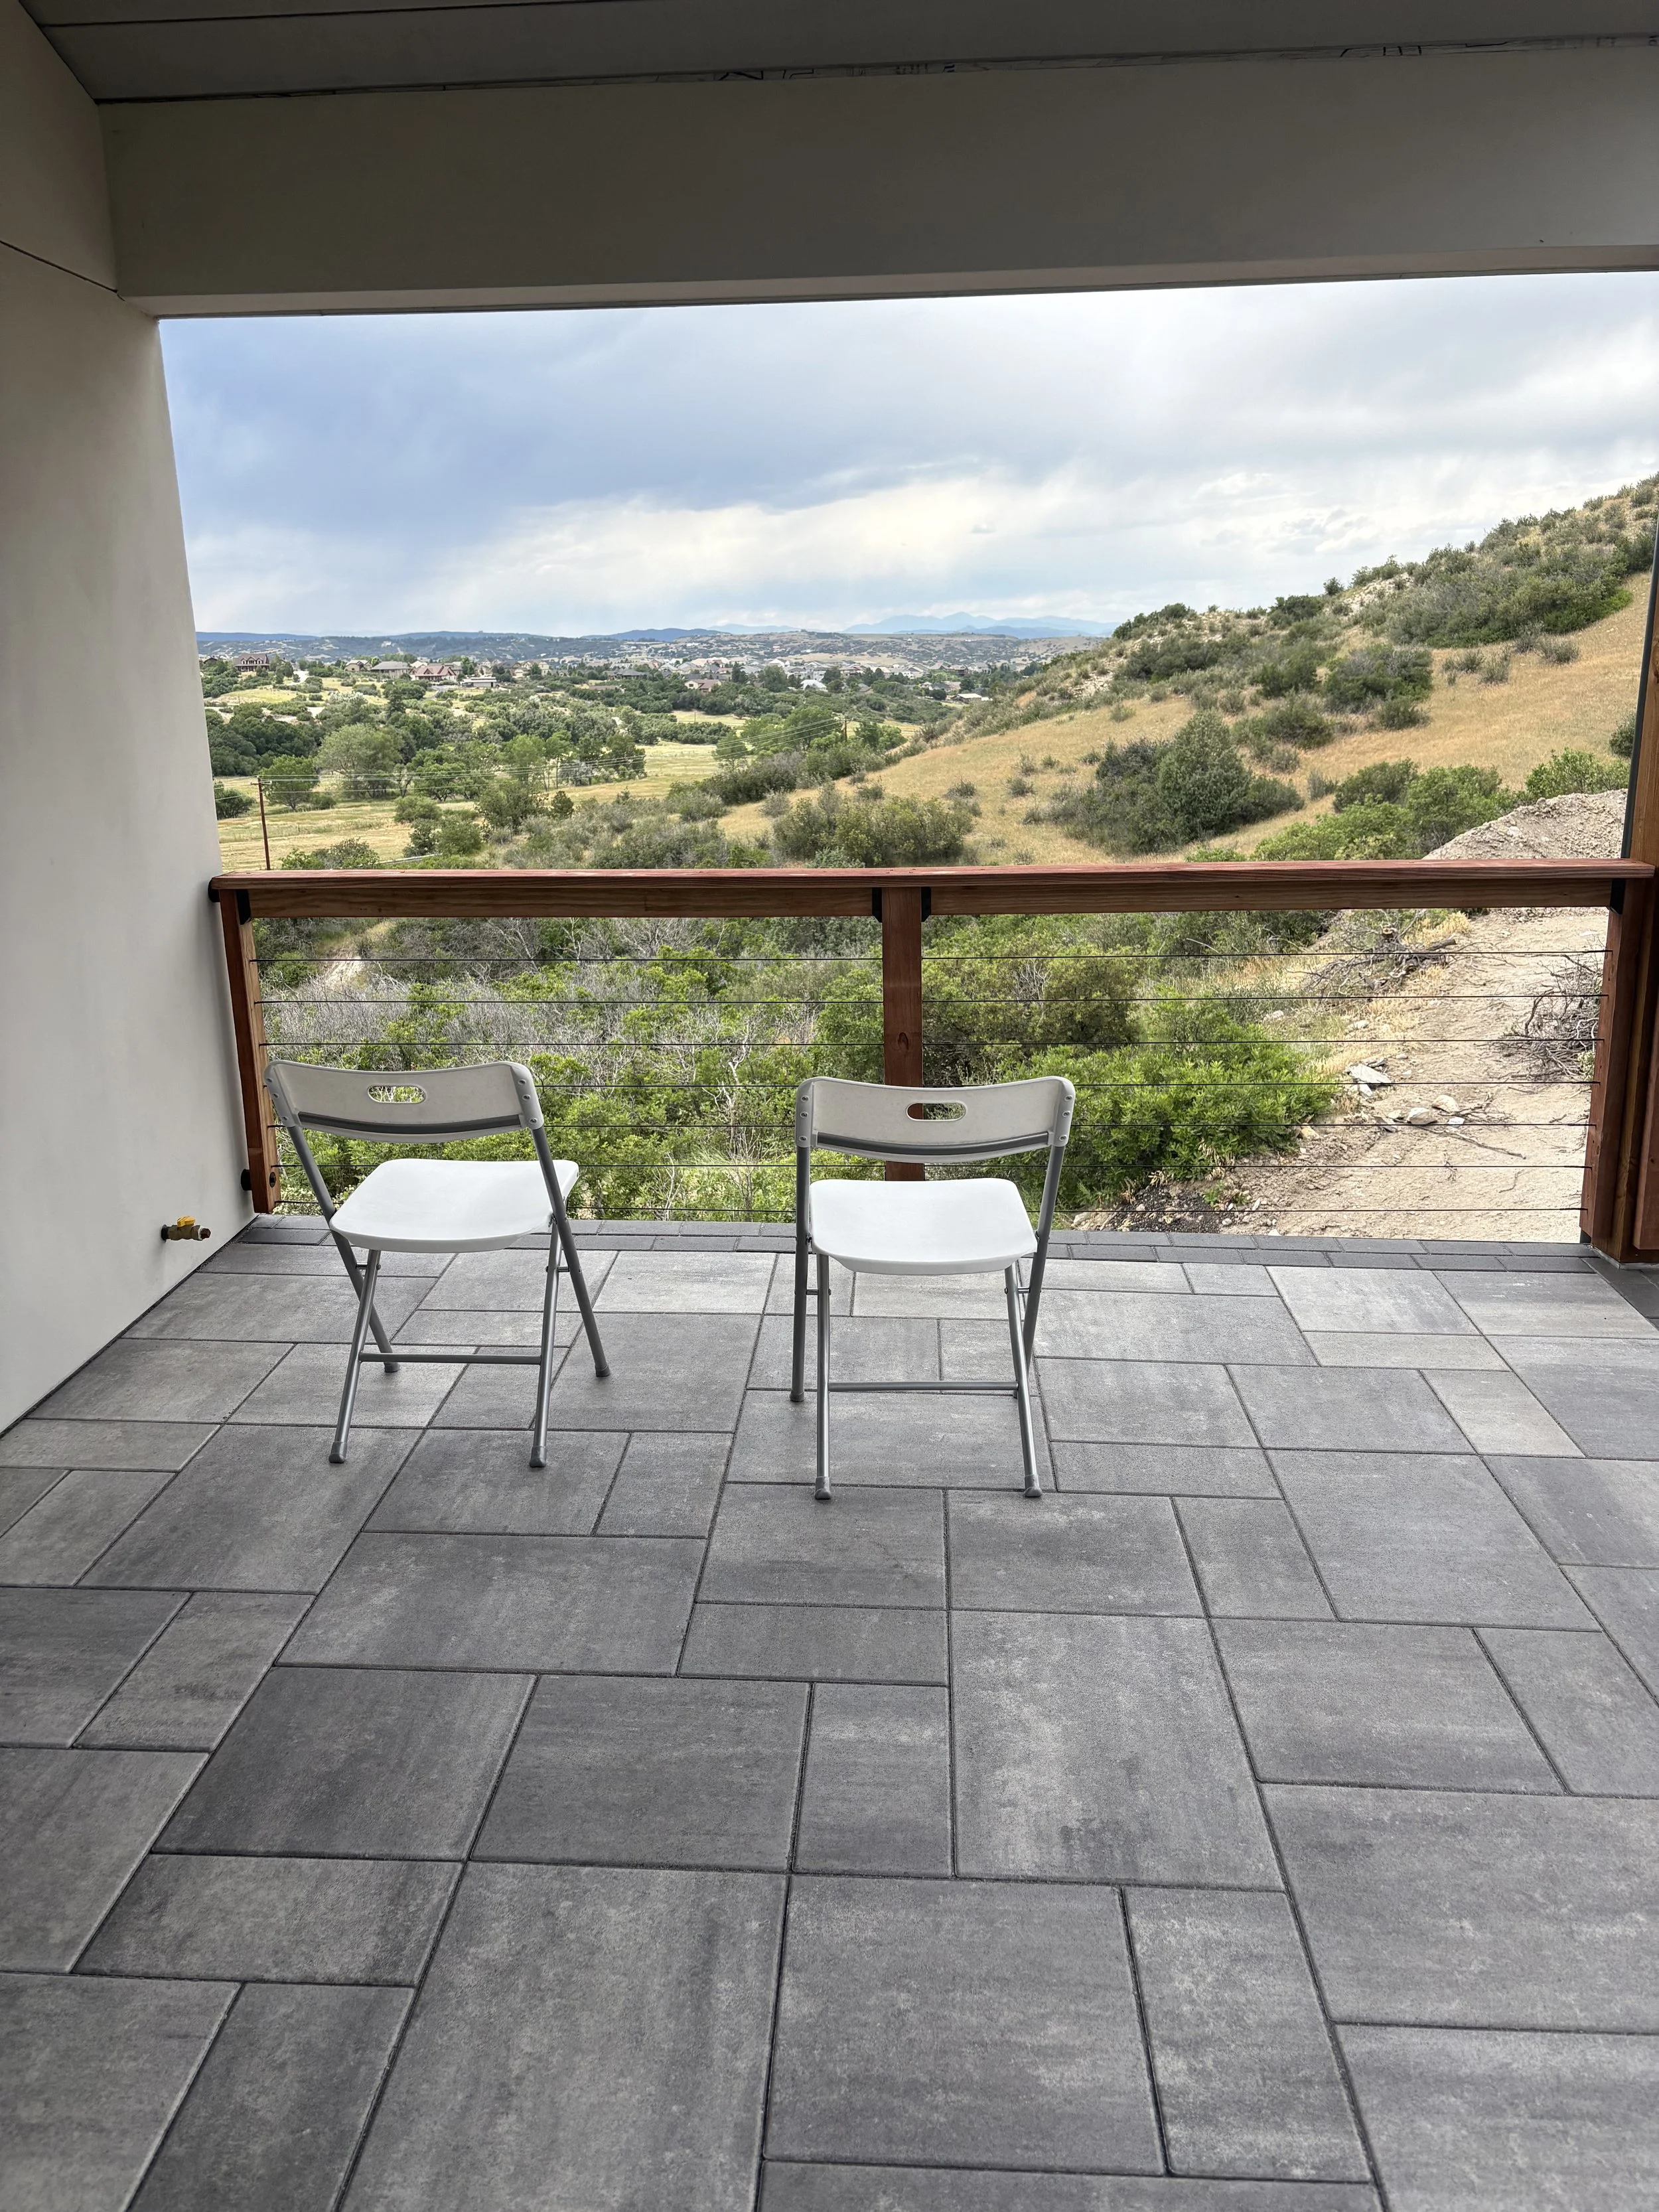
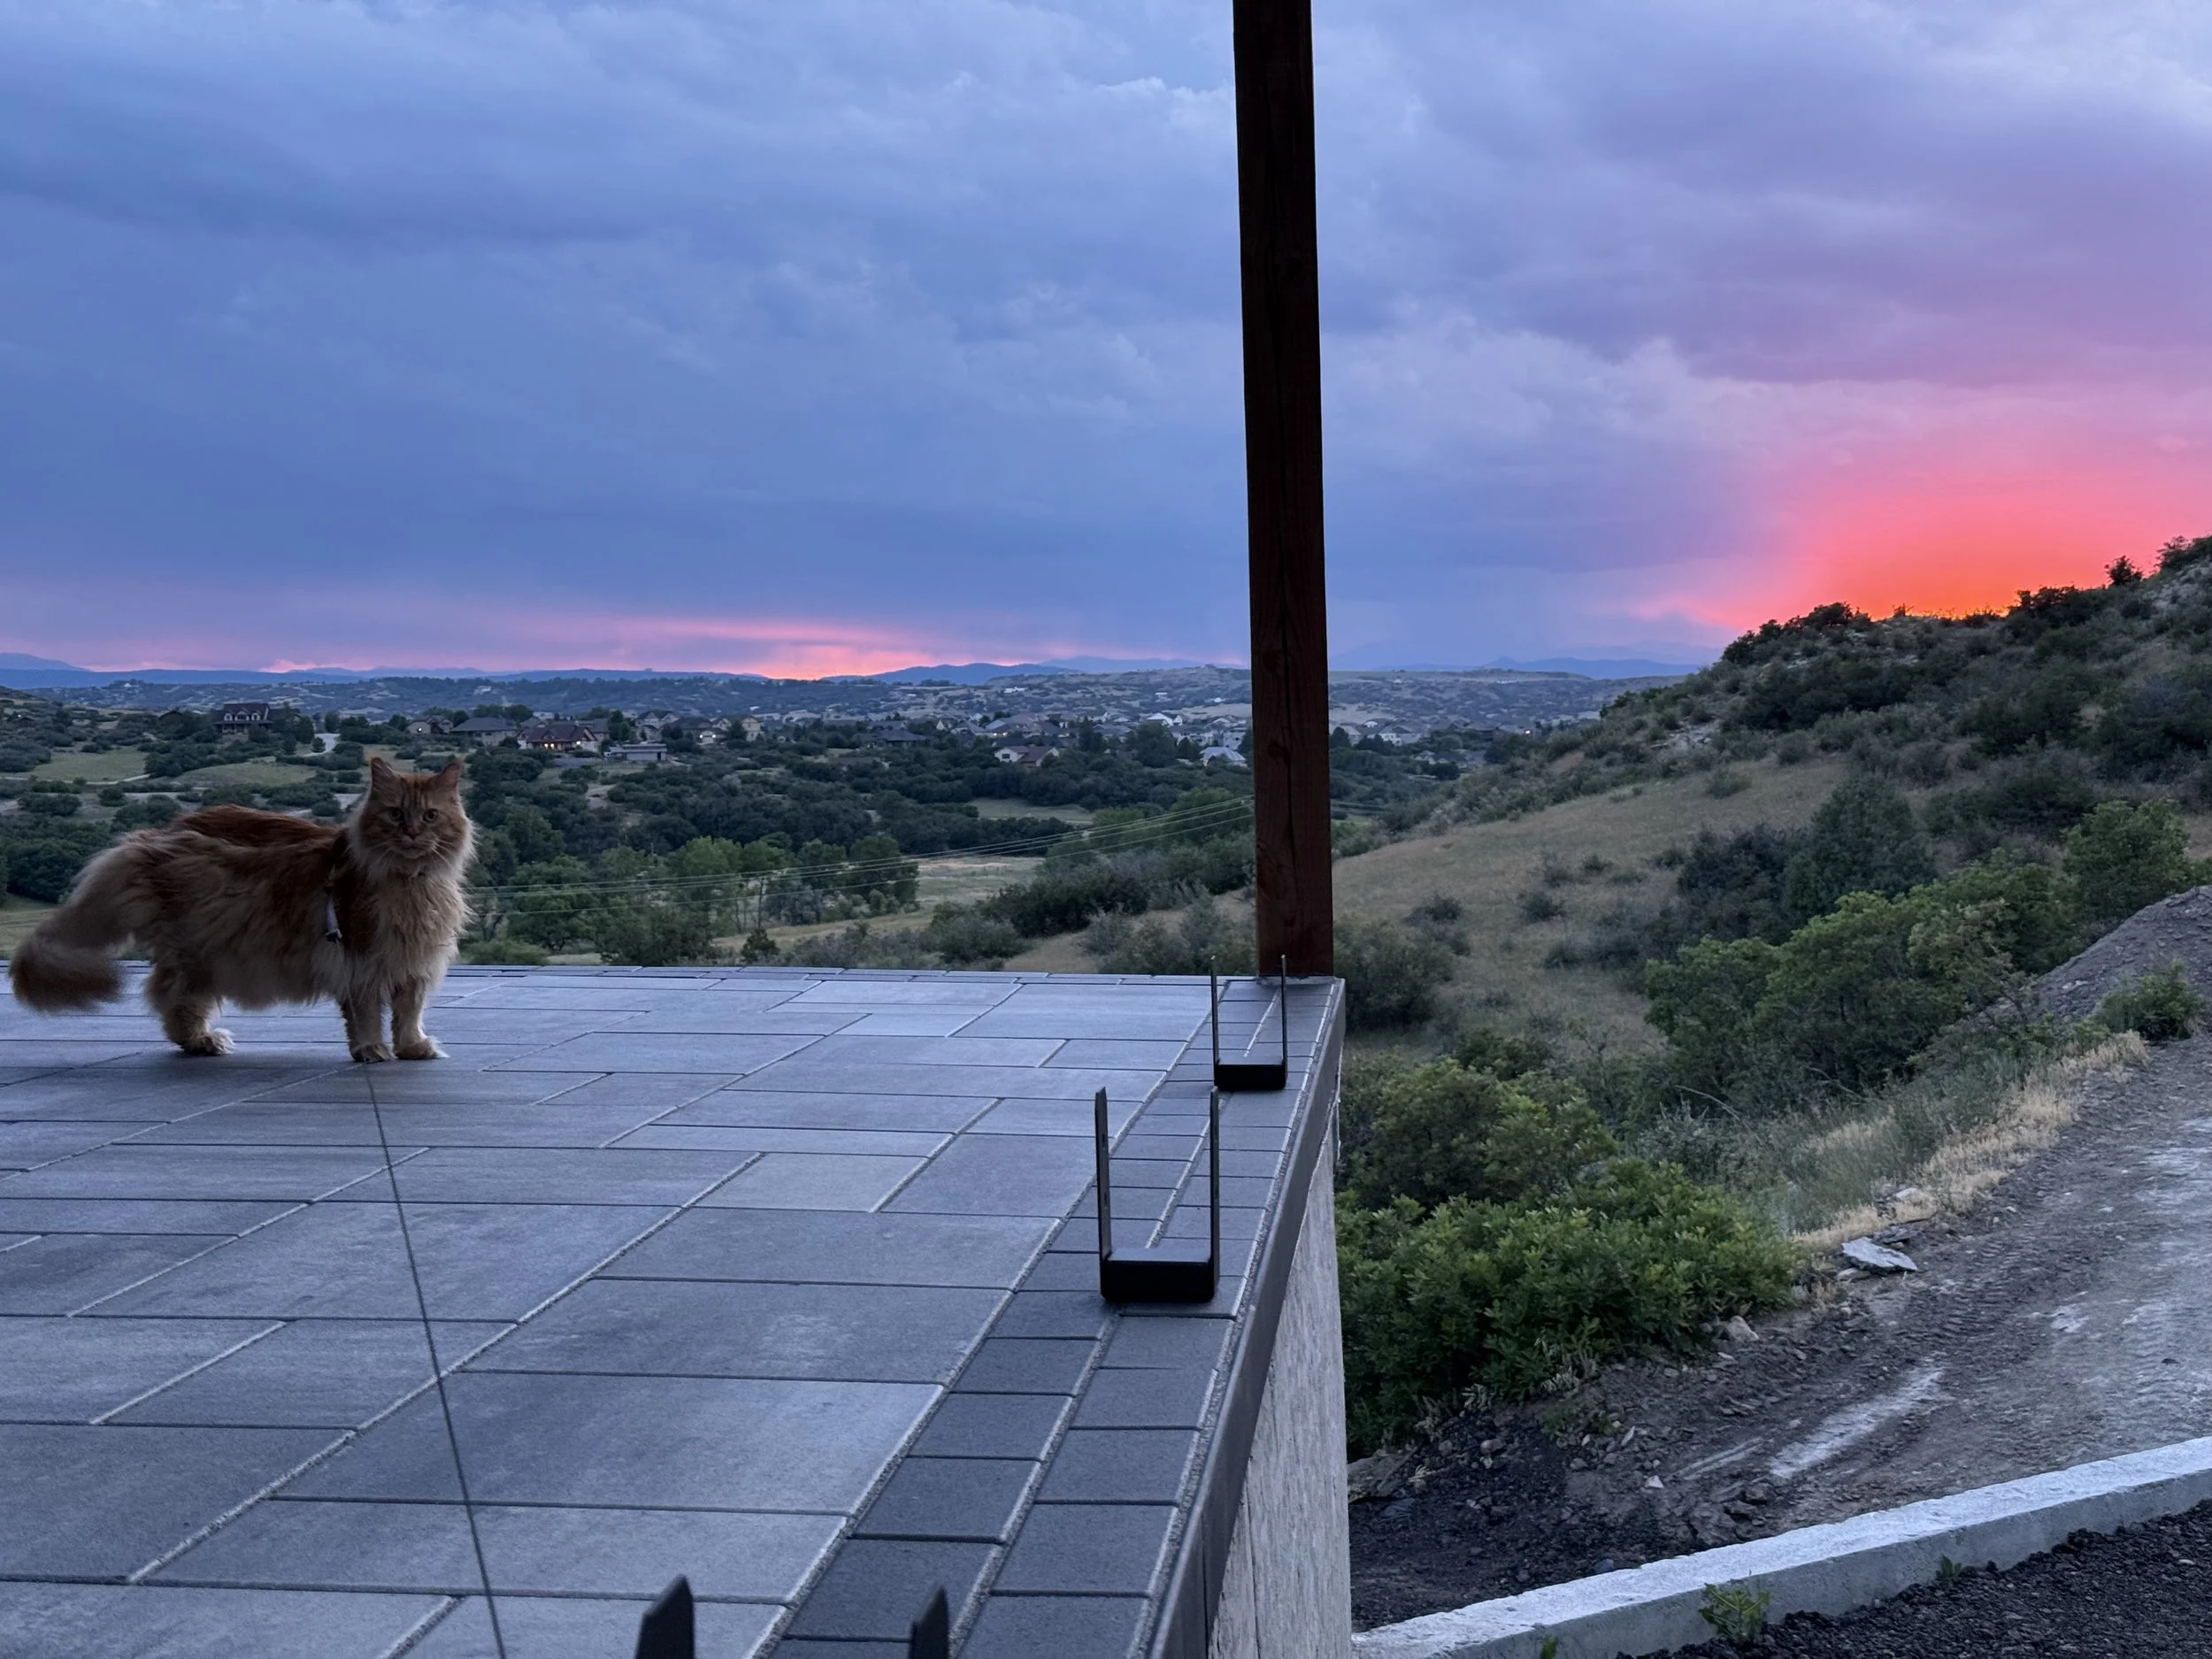
"Patio furniture" is next! Ha! We chose to look directly west.
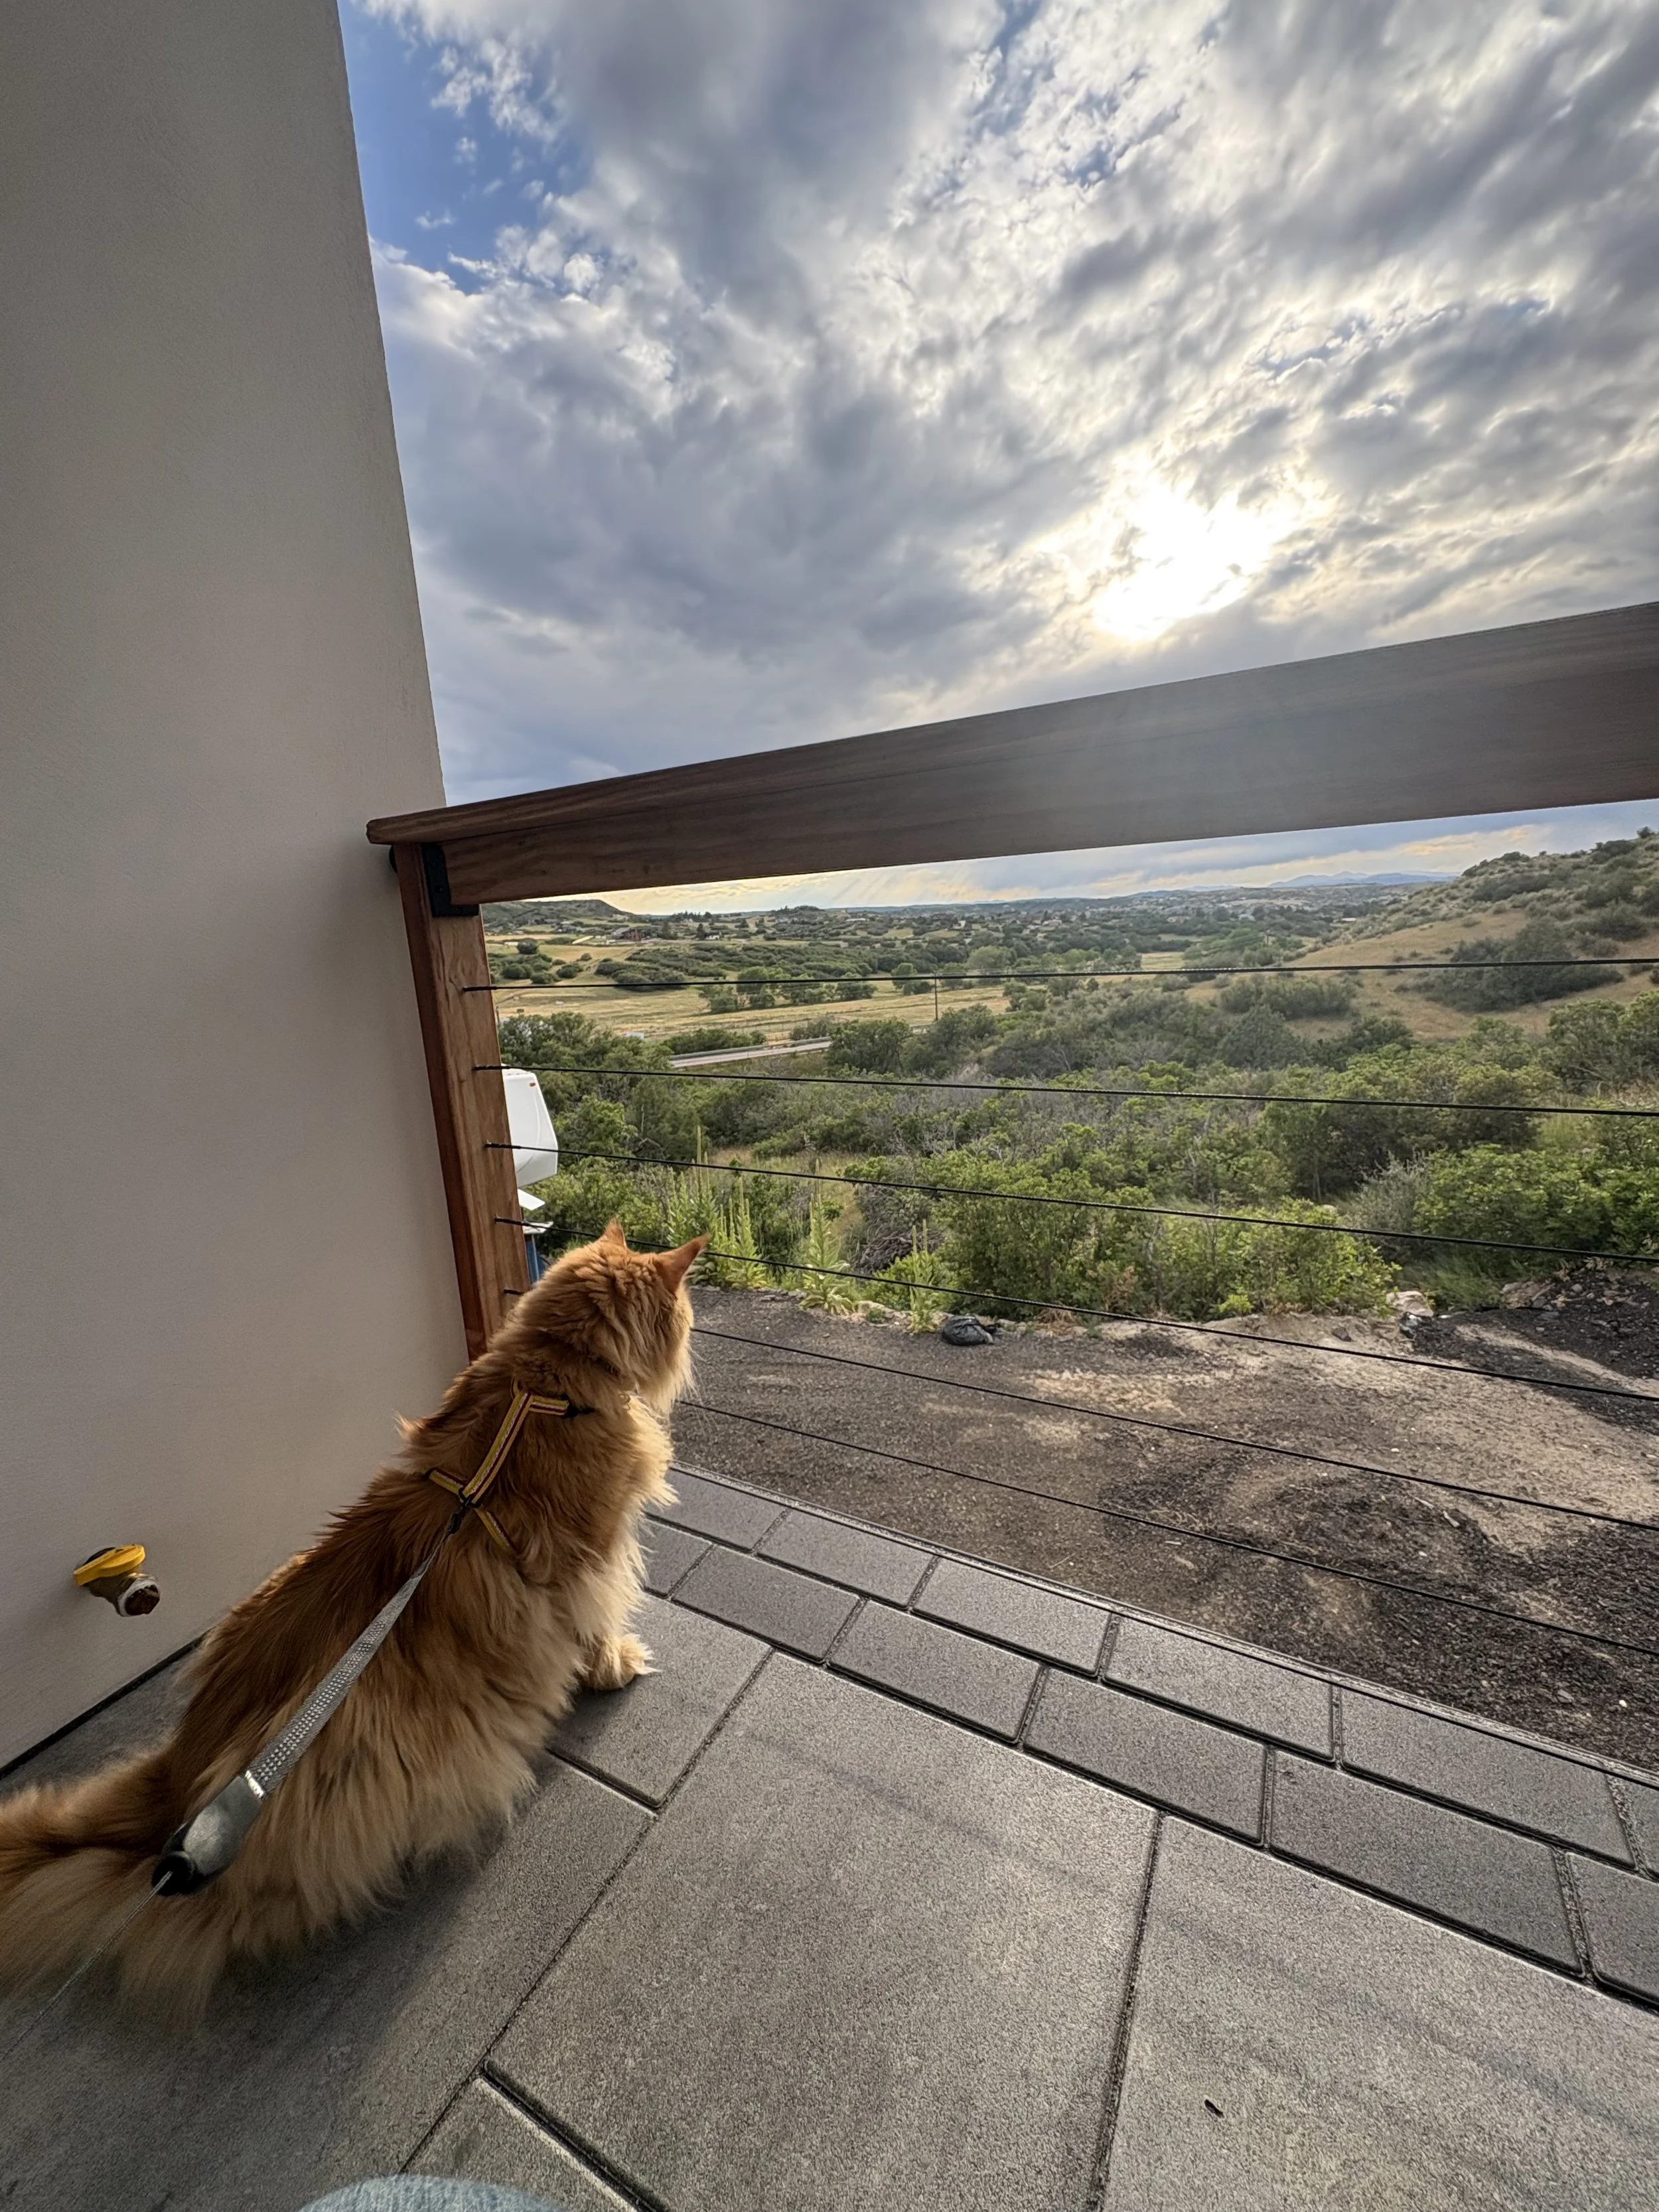
Hobbs agreed this was the best view!
Now on to the stairway railing. Getting the height and angle was tricky for sure.
We pulled out the surveying equipment to help us.
The bottom supports are installed under the railing.
All finished! No more running down the stairs without hanging on!
Here's a view from the bottom looking up! Not too shabby!
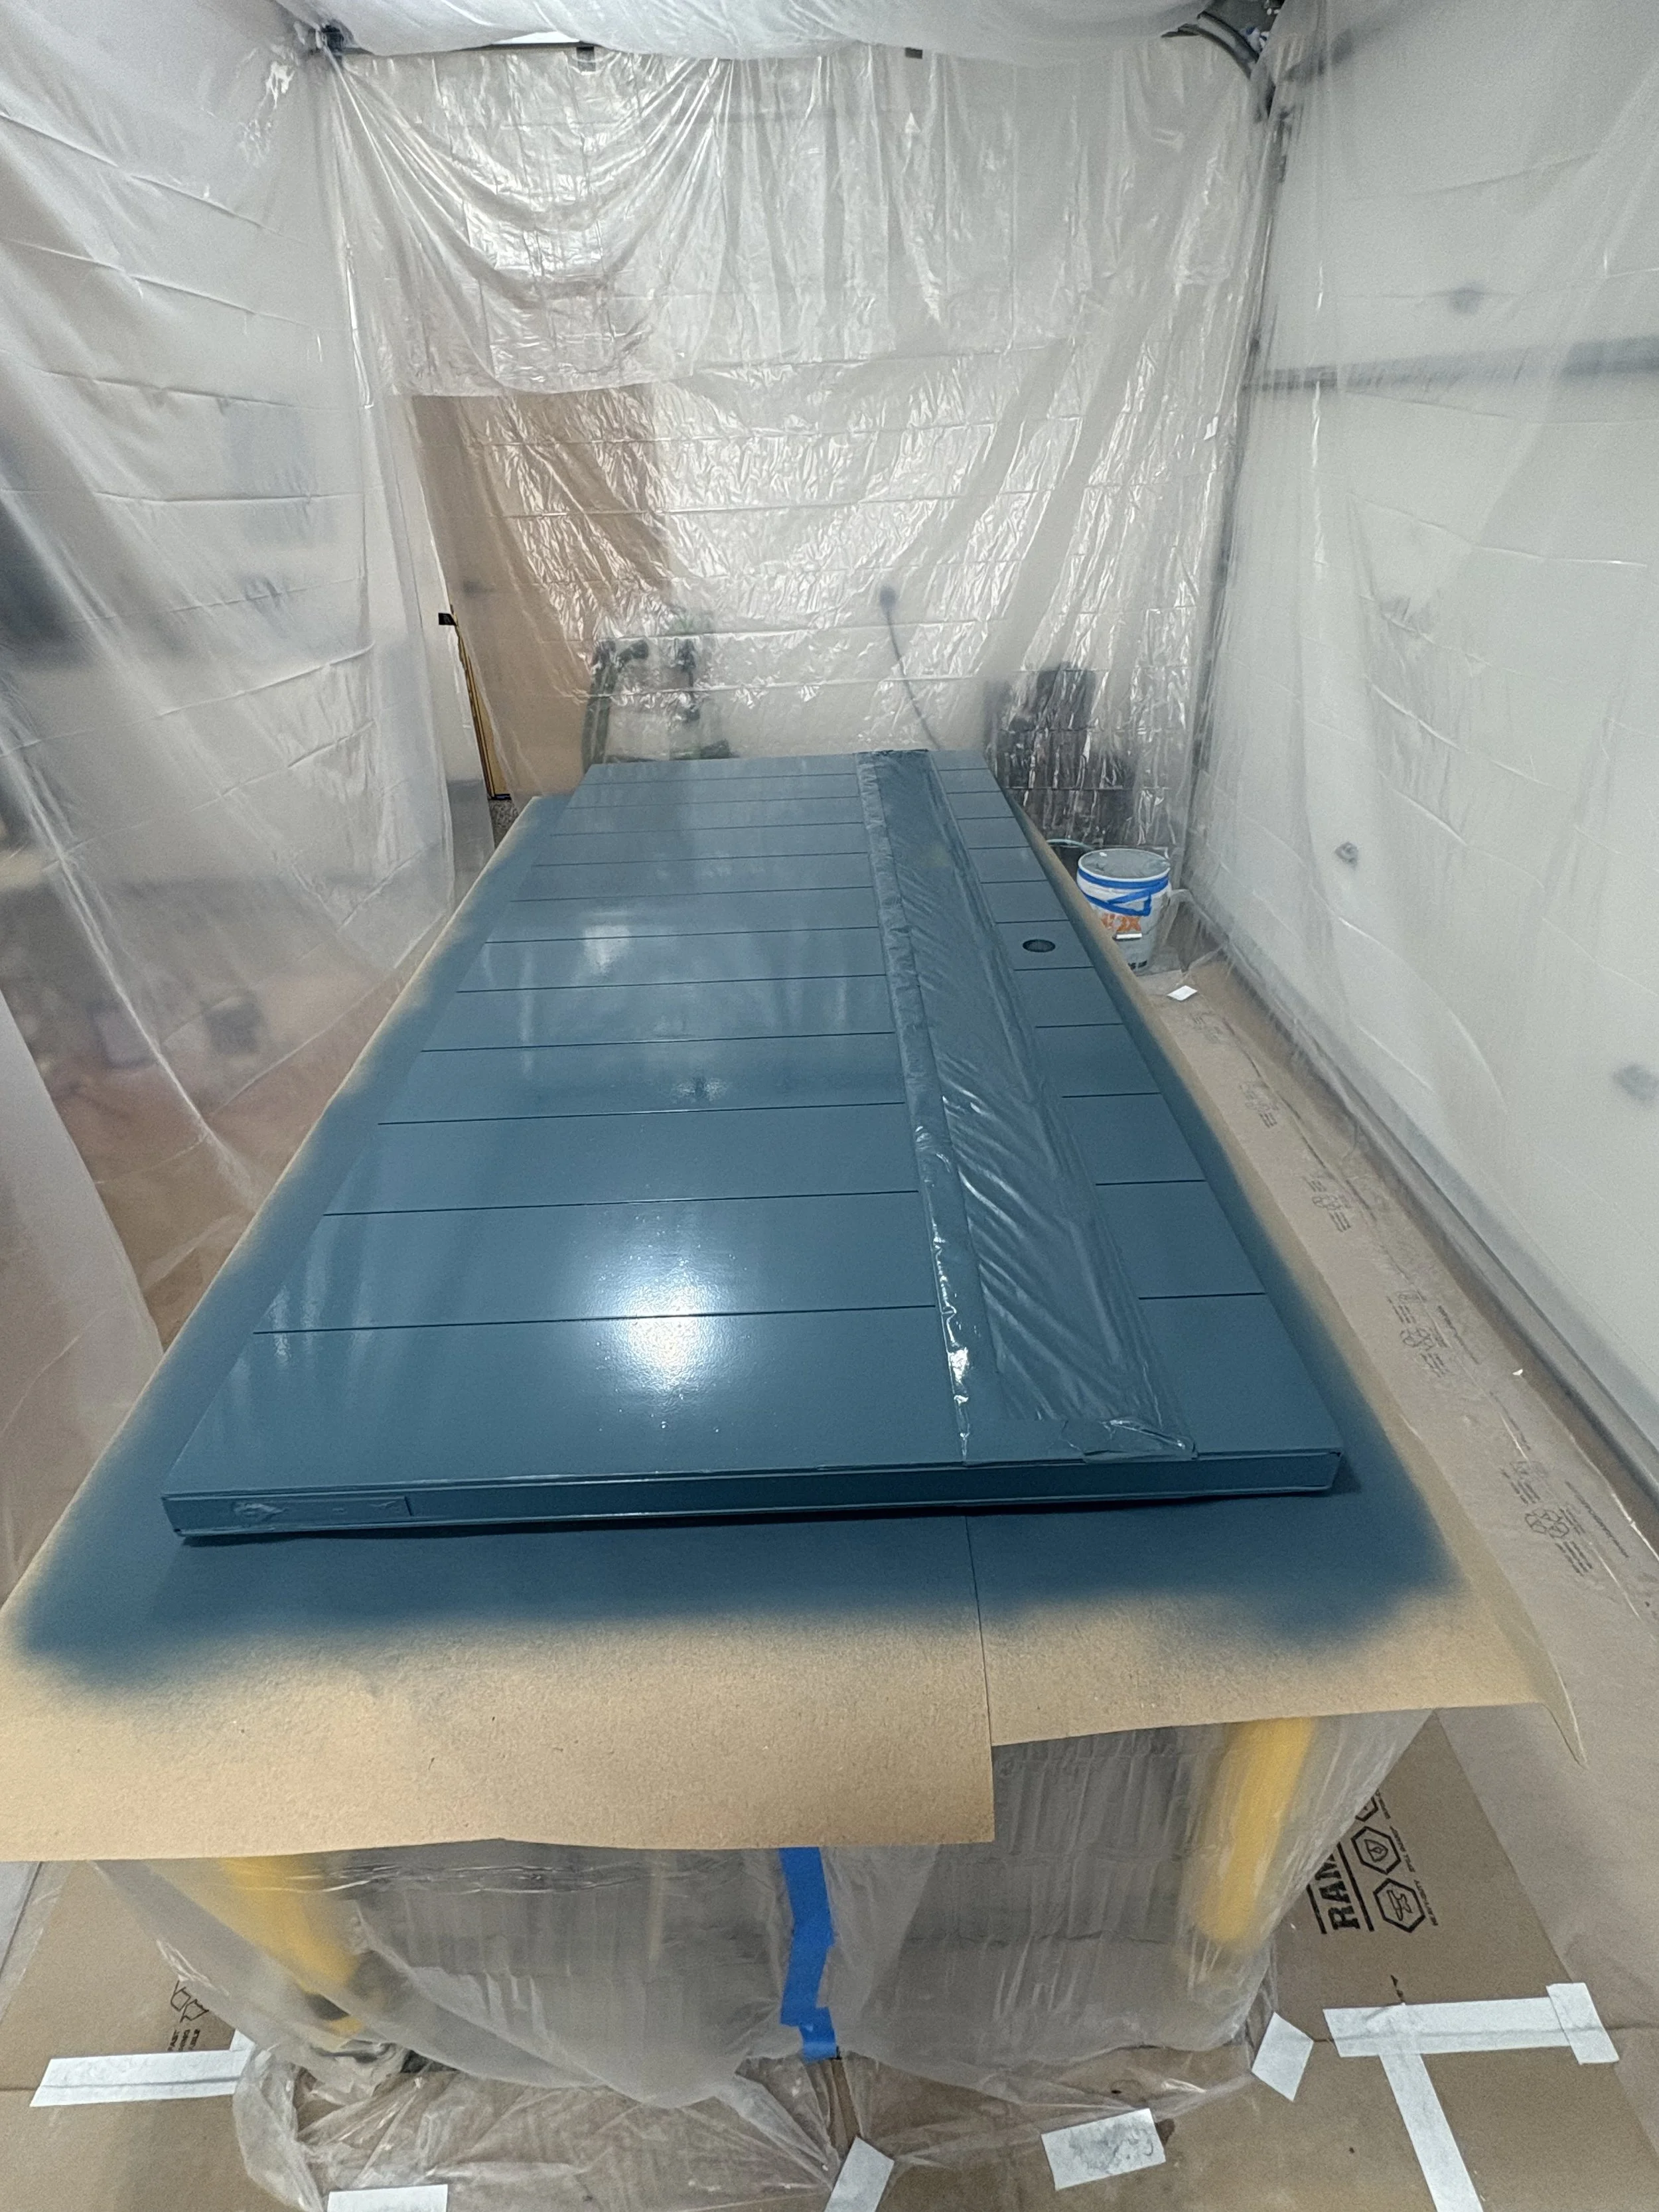
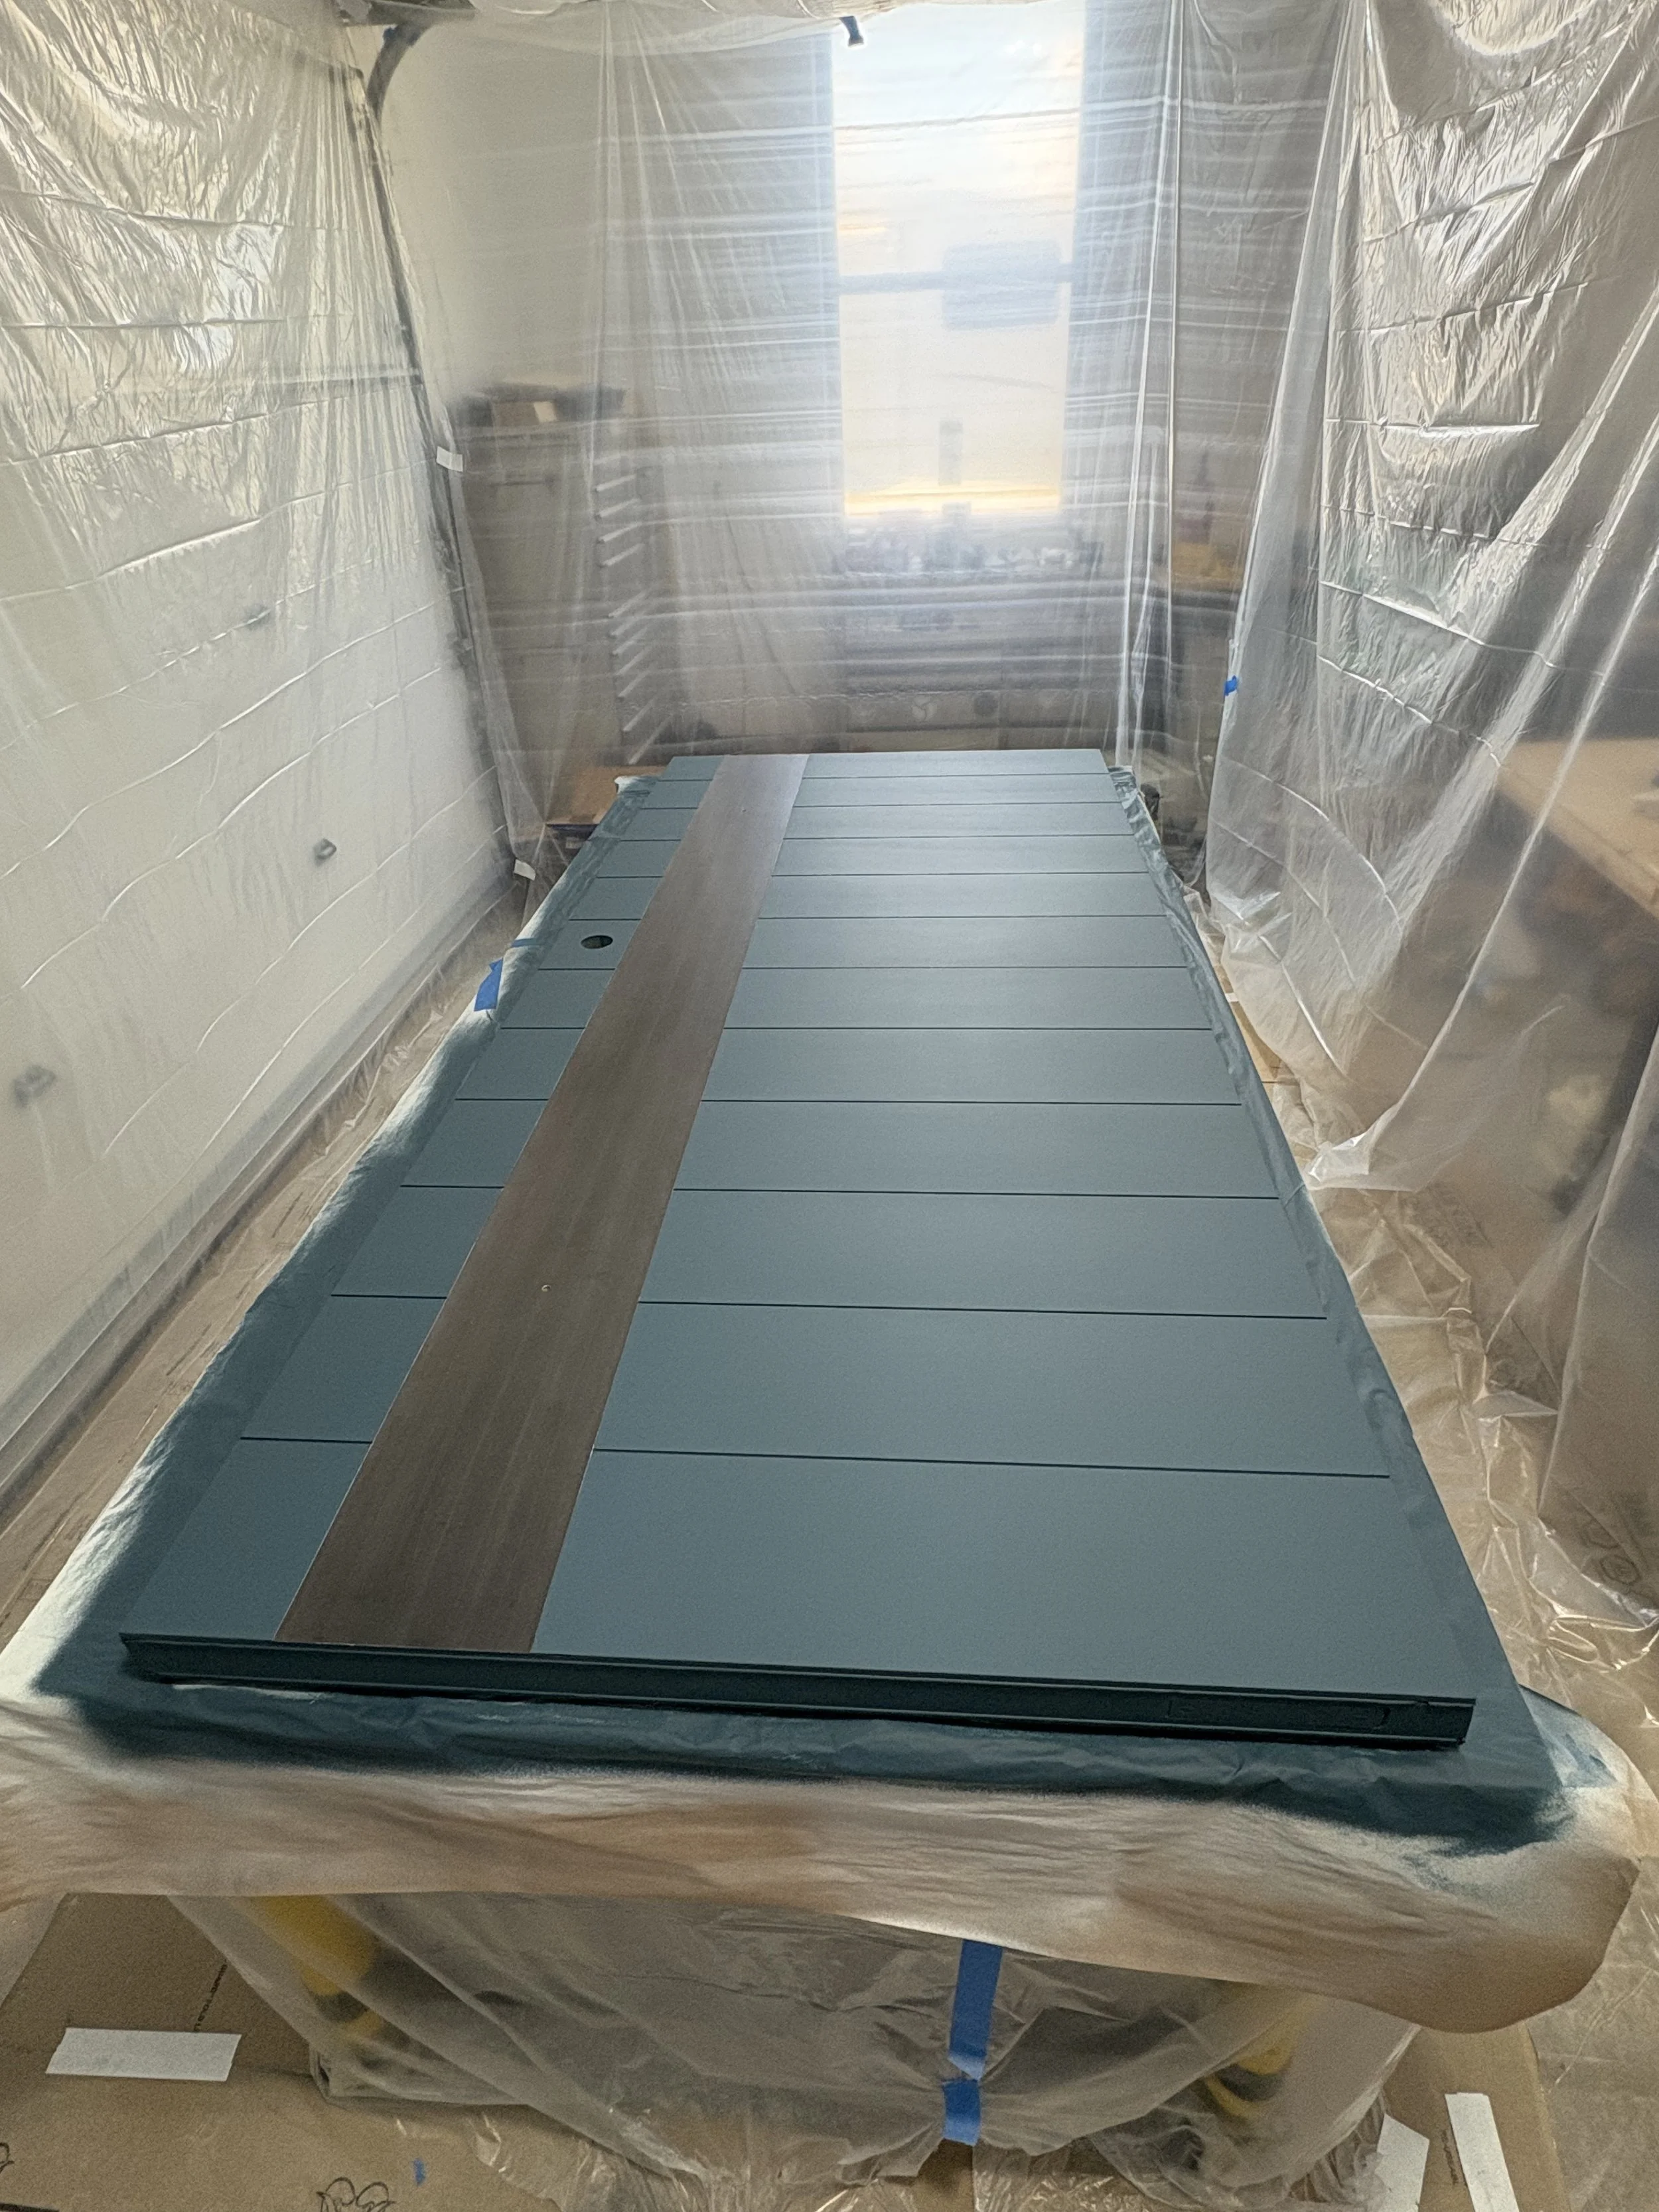
Step 24: The Front Door
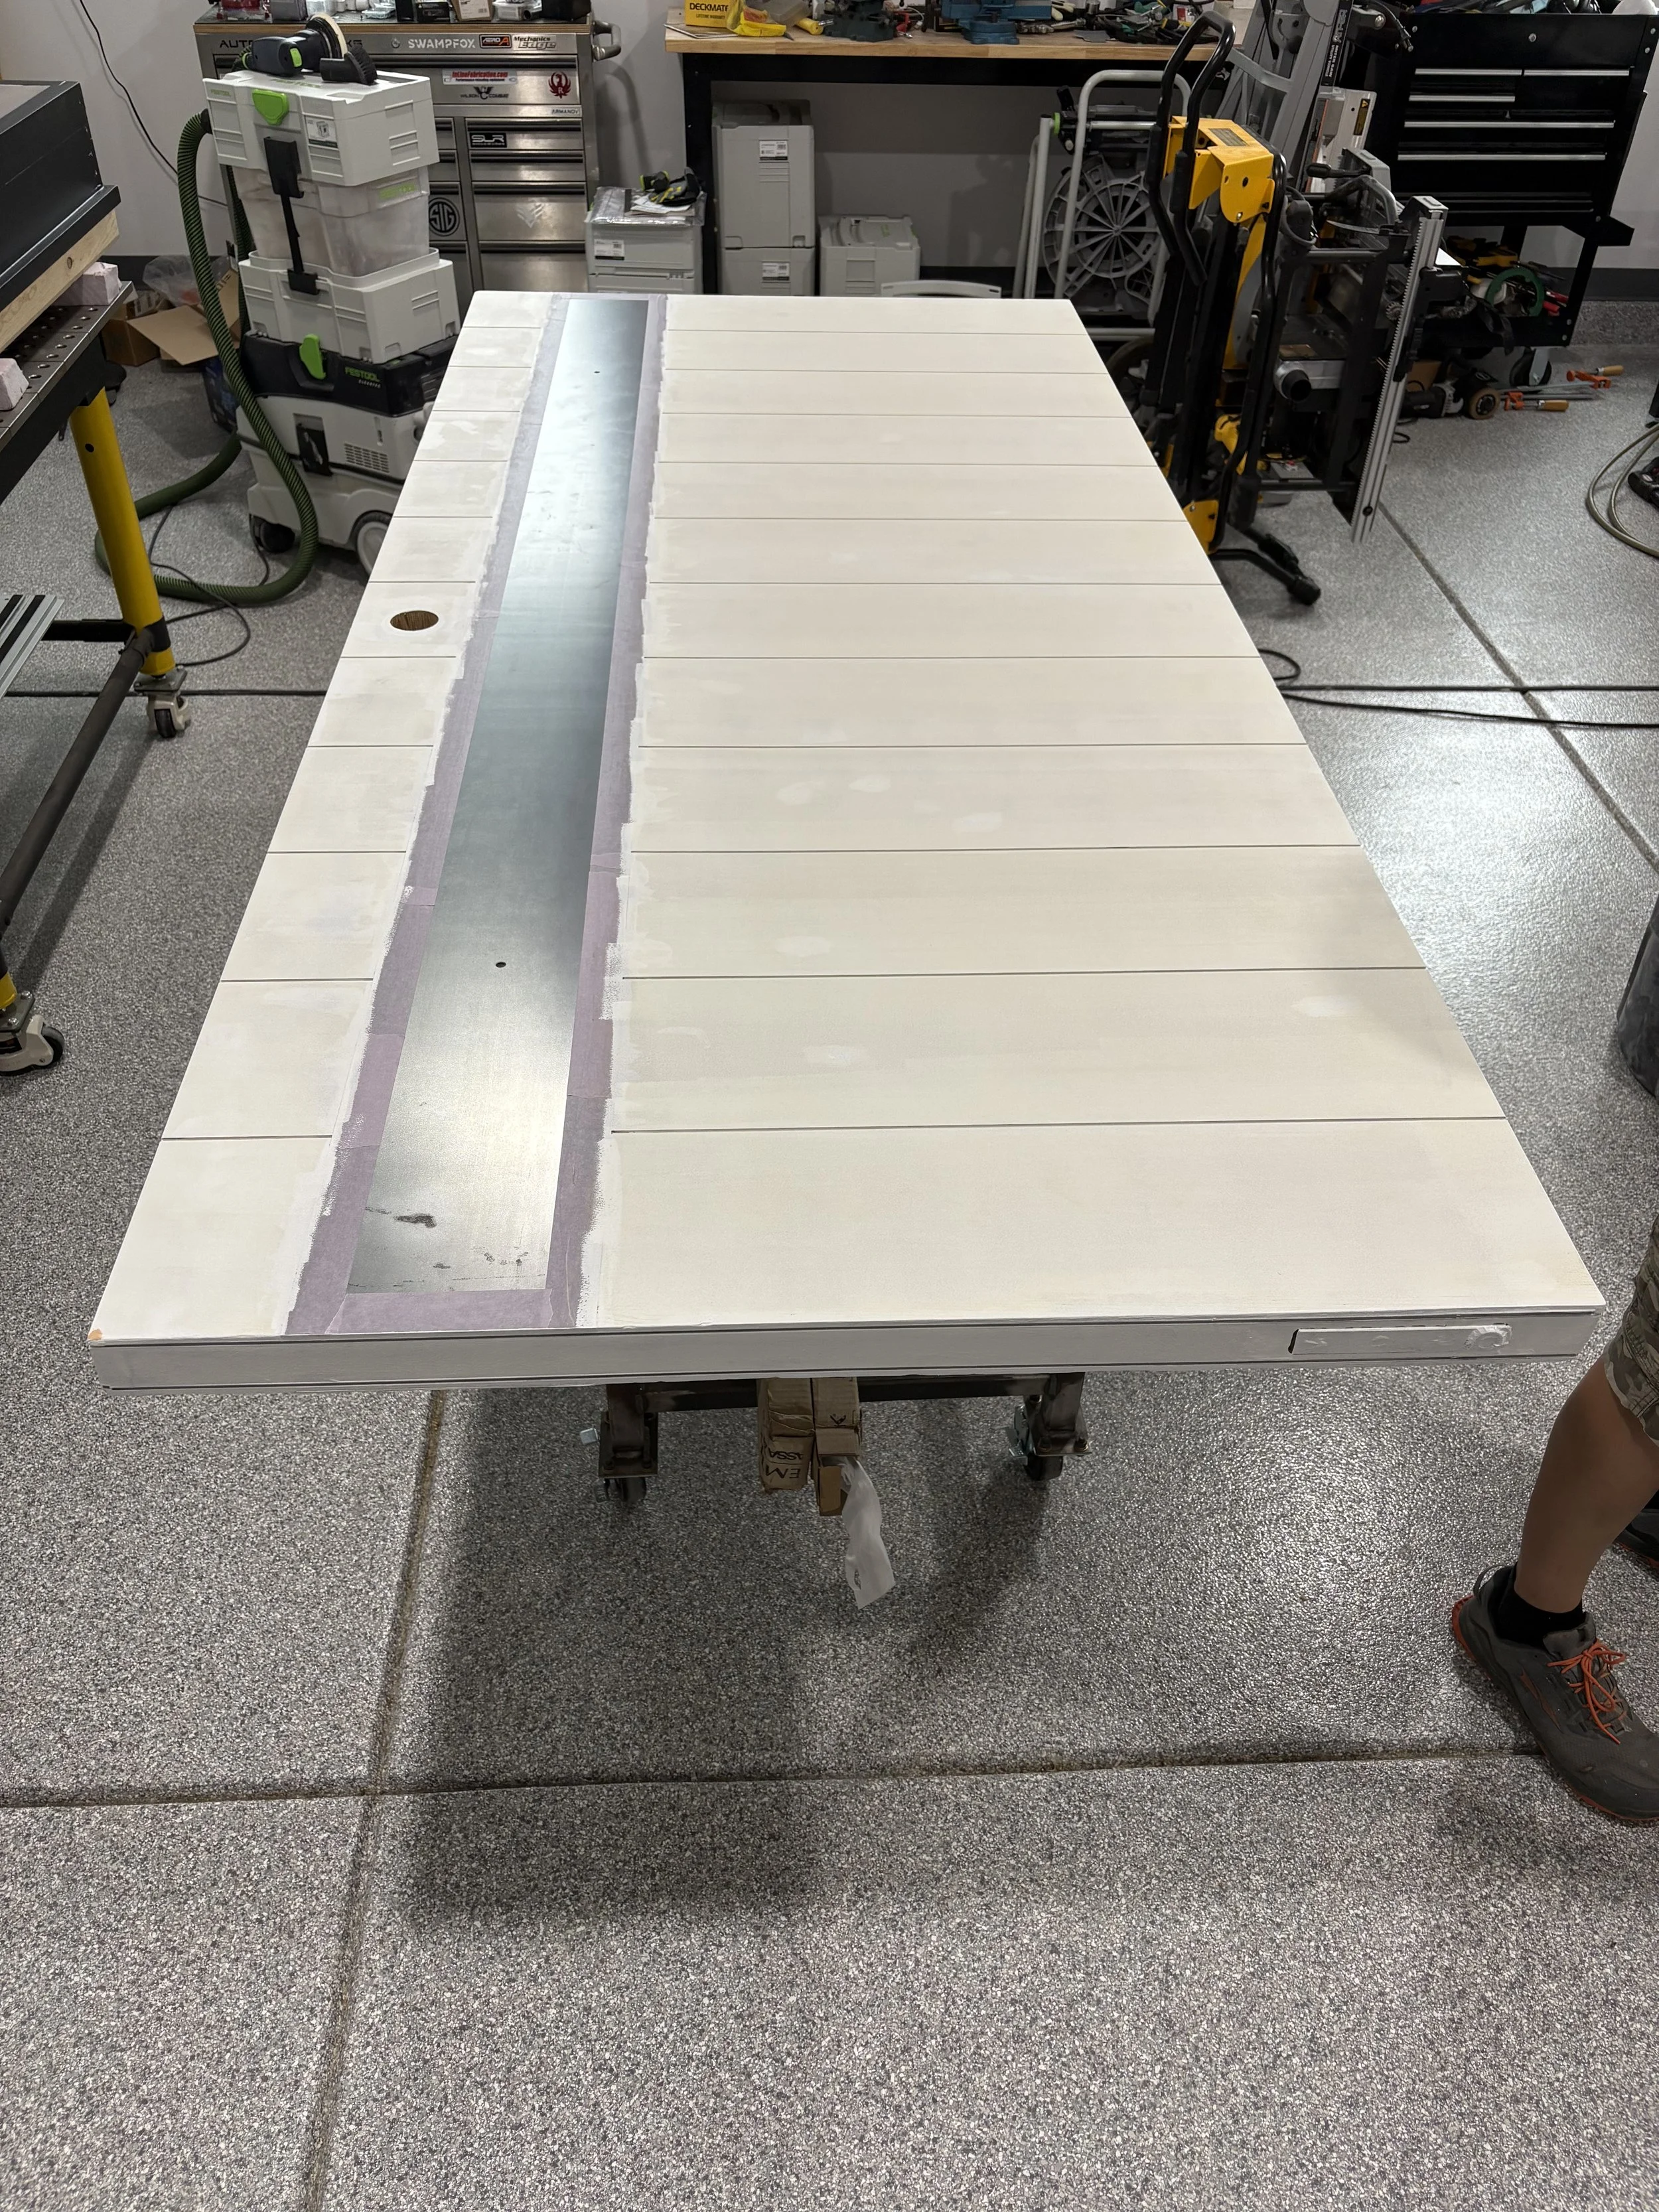
Here's the door with basic primer. We need to do a test fit before we put any kind of finishing layers on.
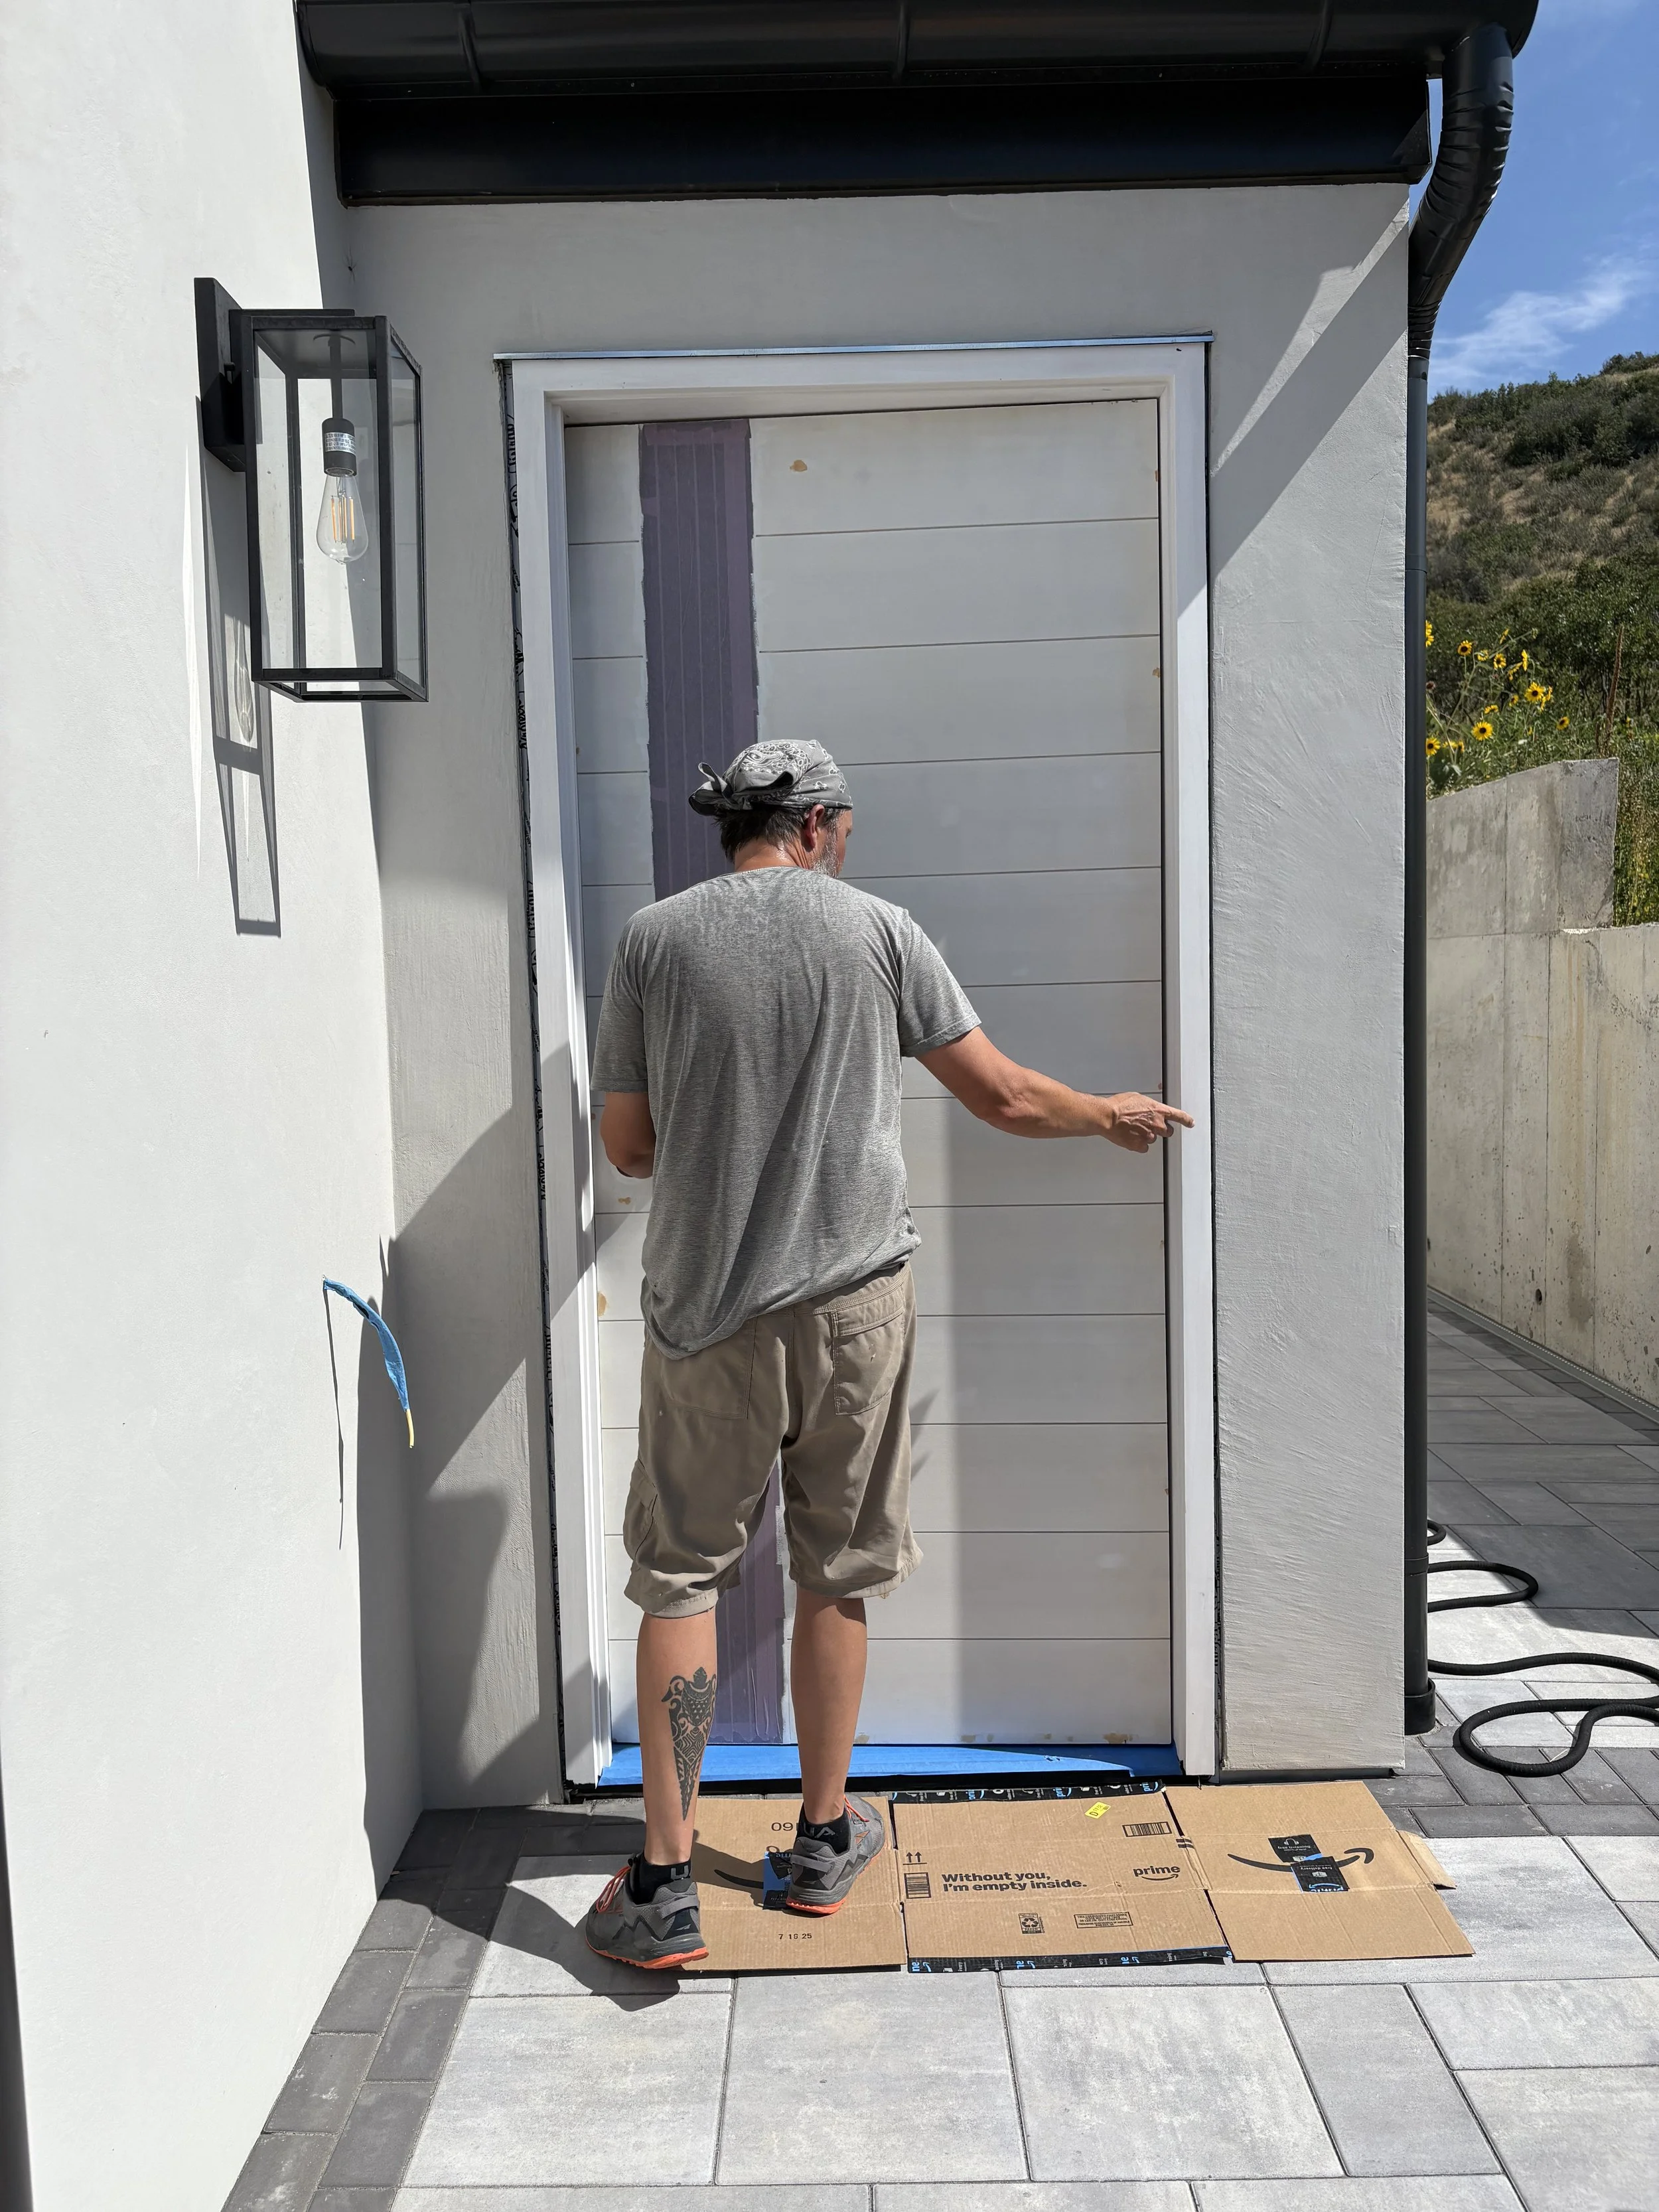
Kris does a little fine tuning.
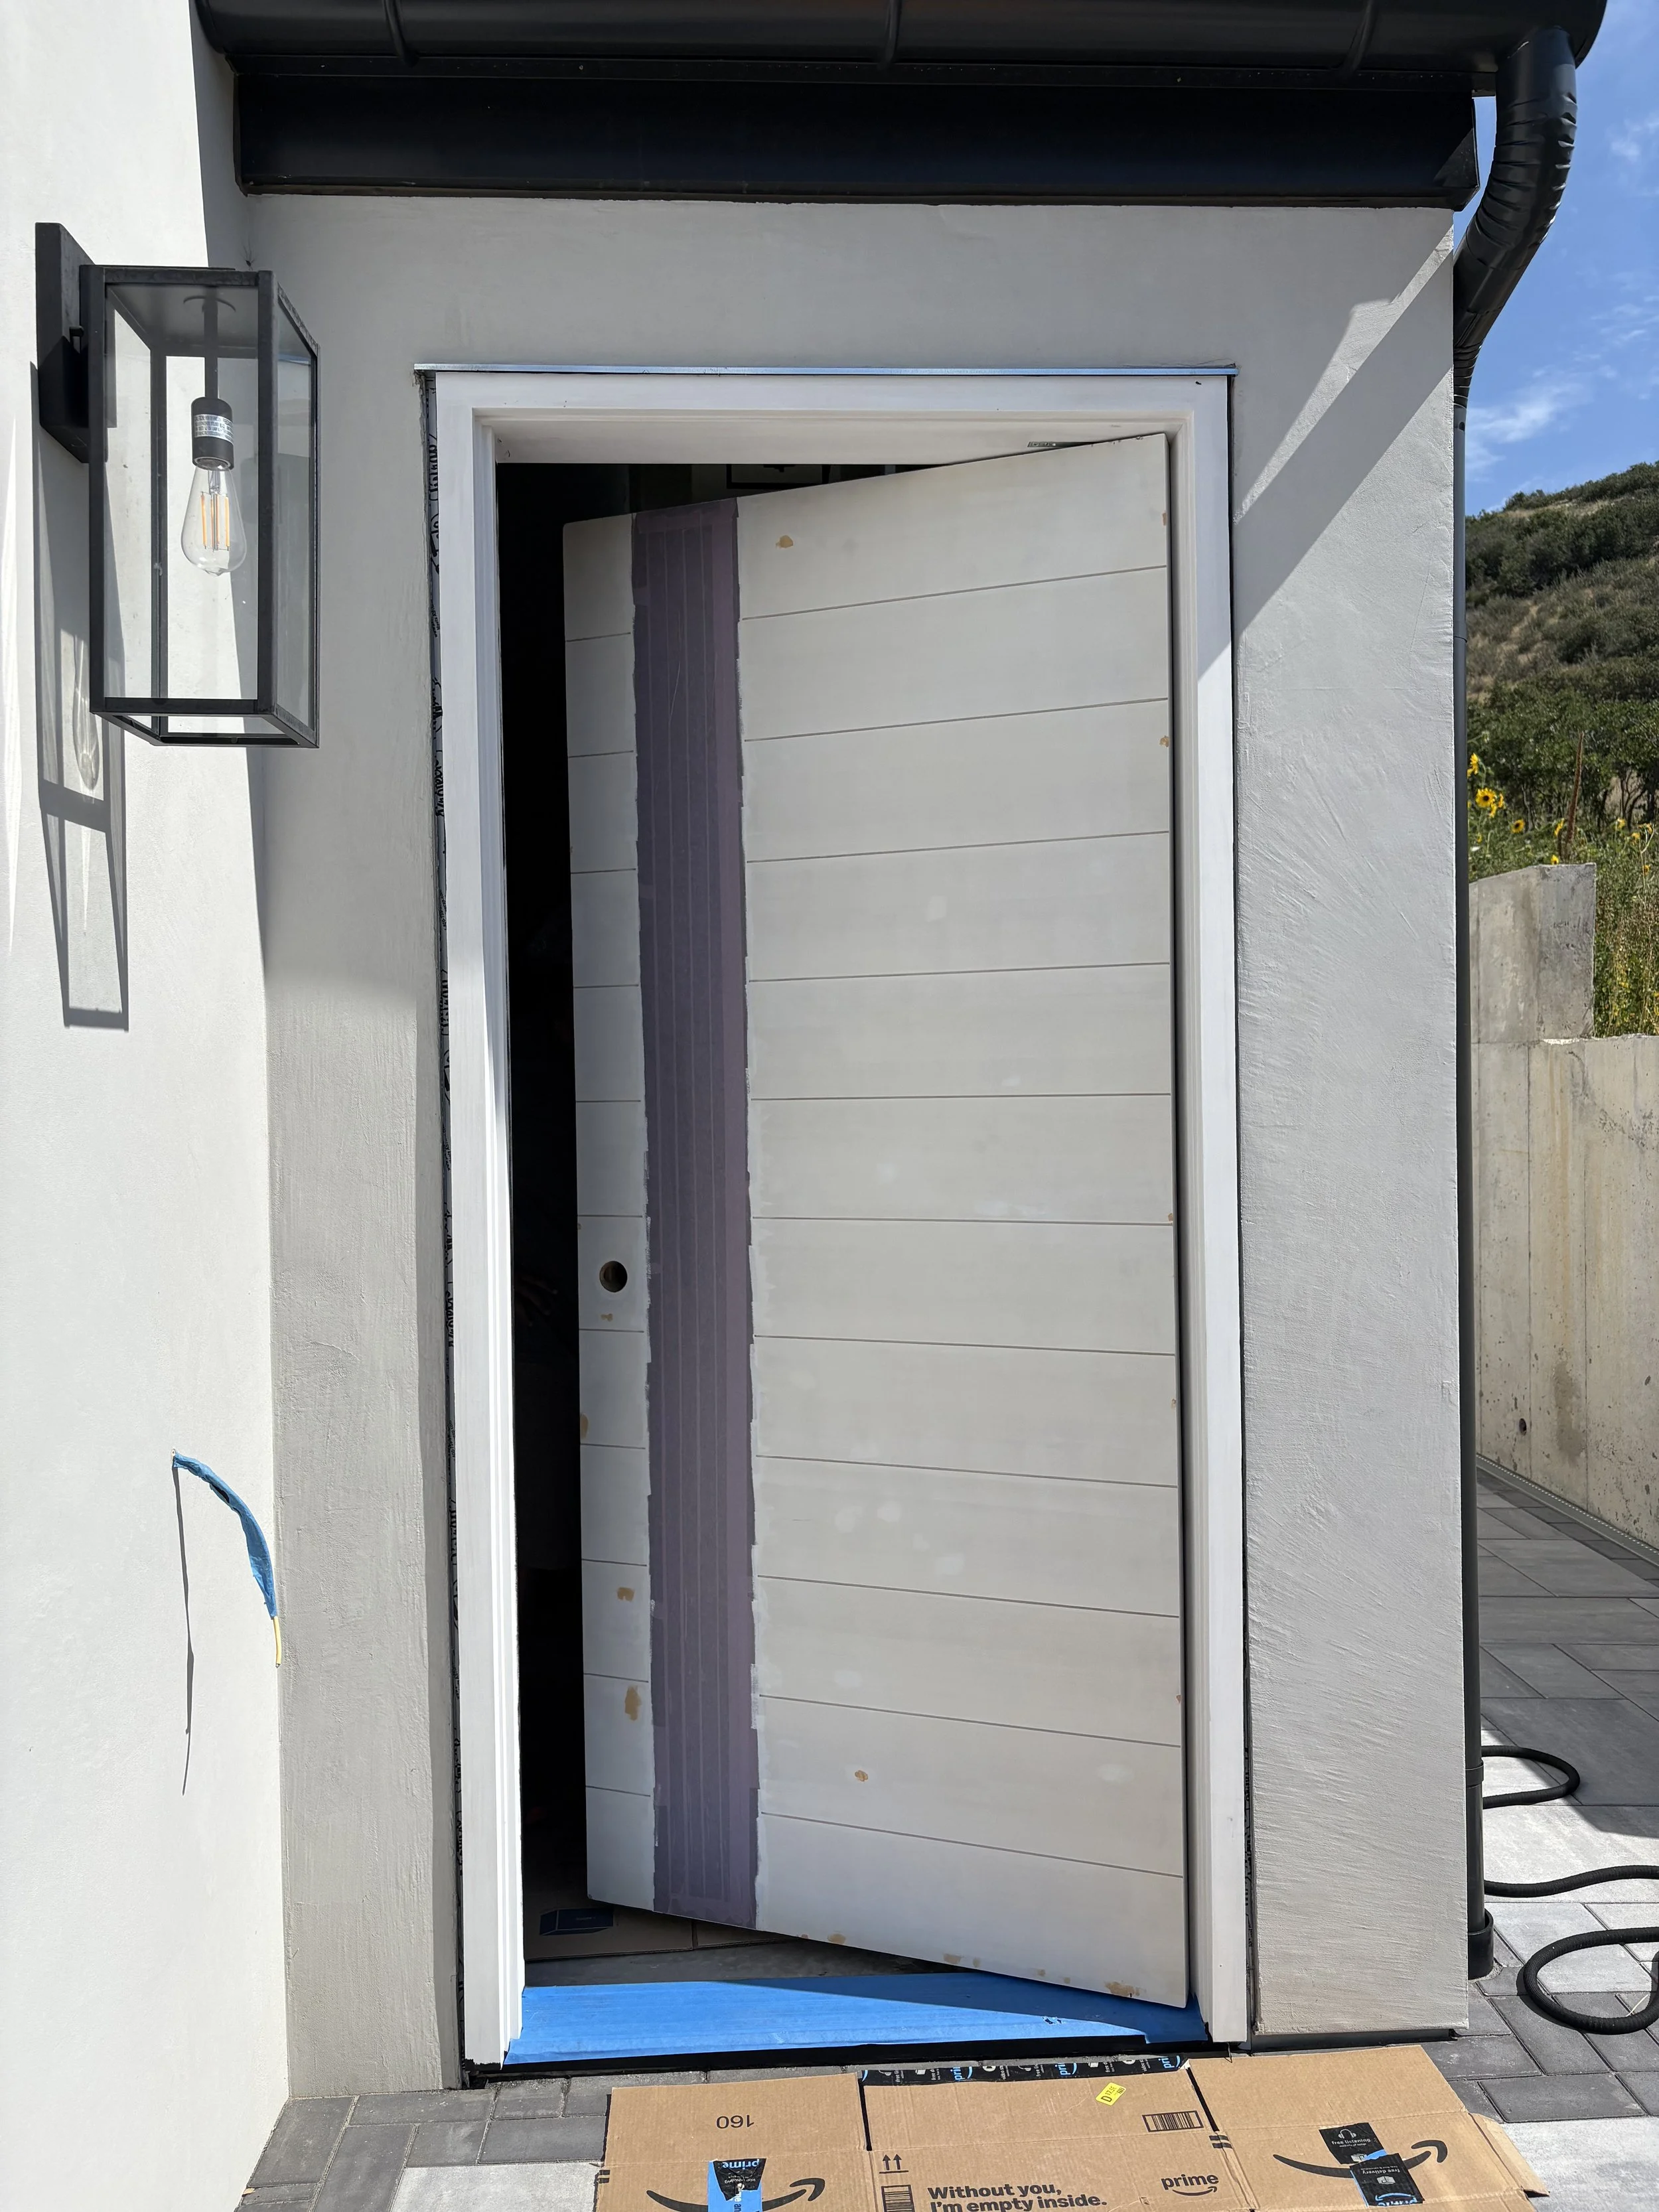
Looks like it fits, opens and closes! All important things!
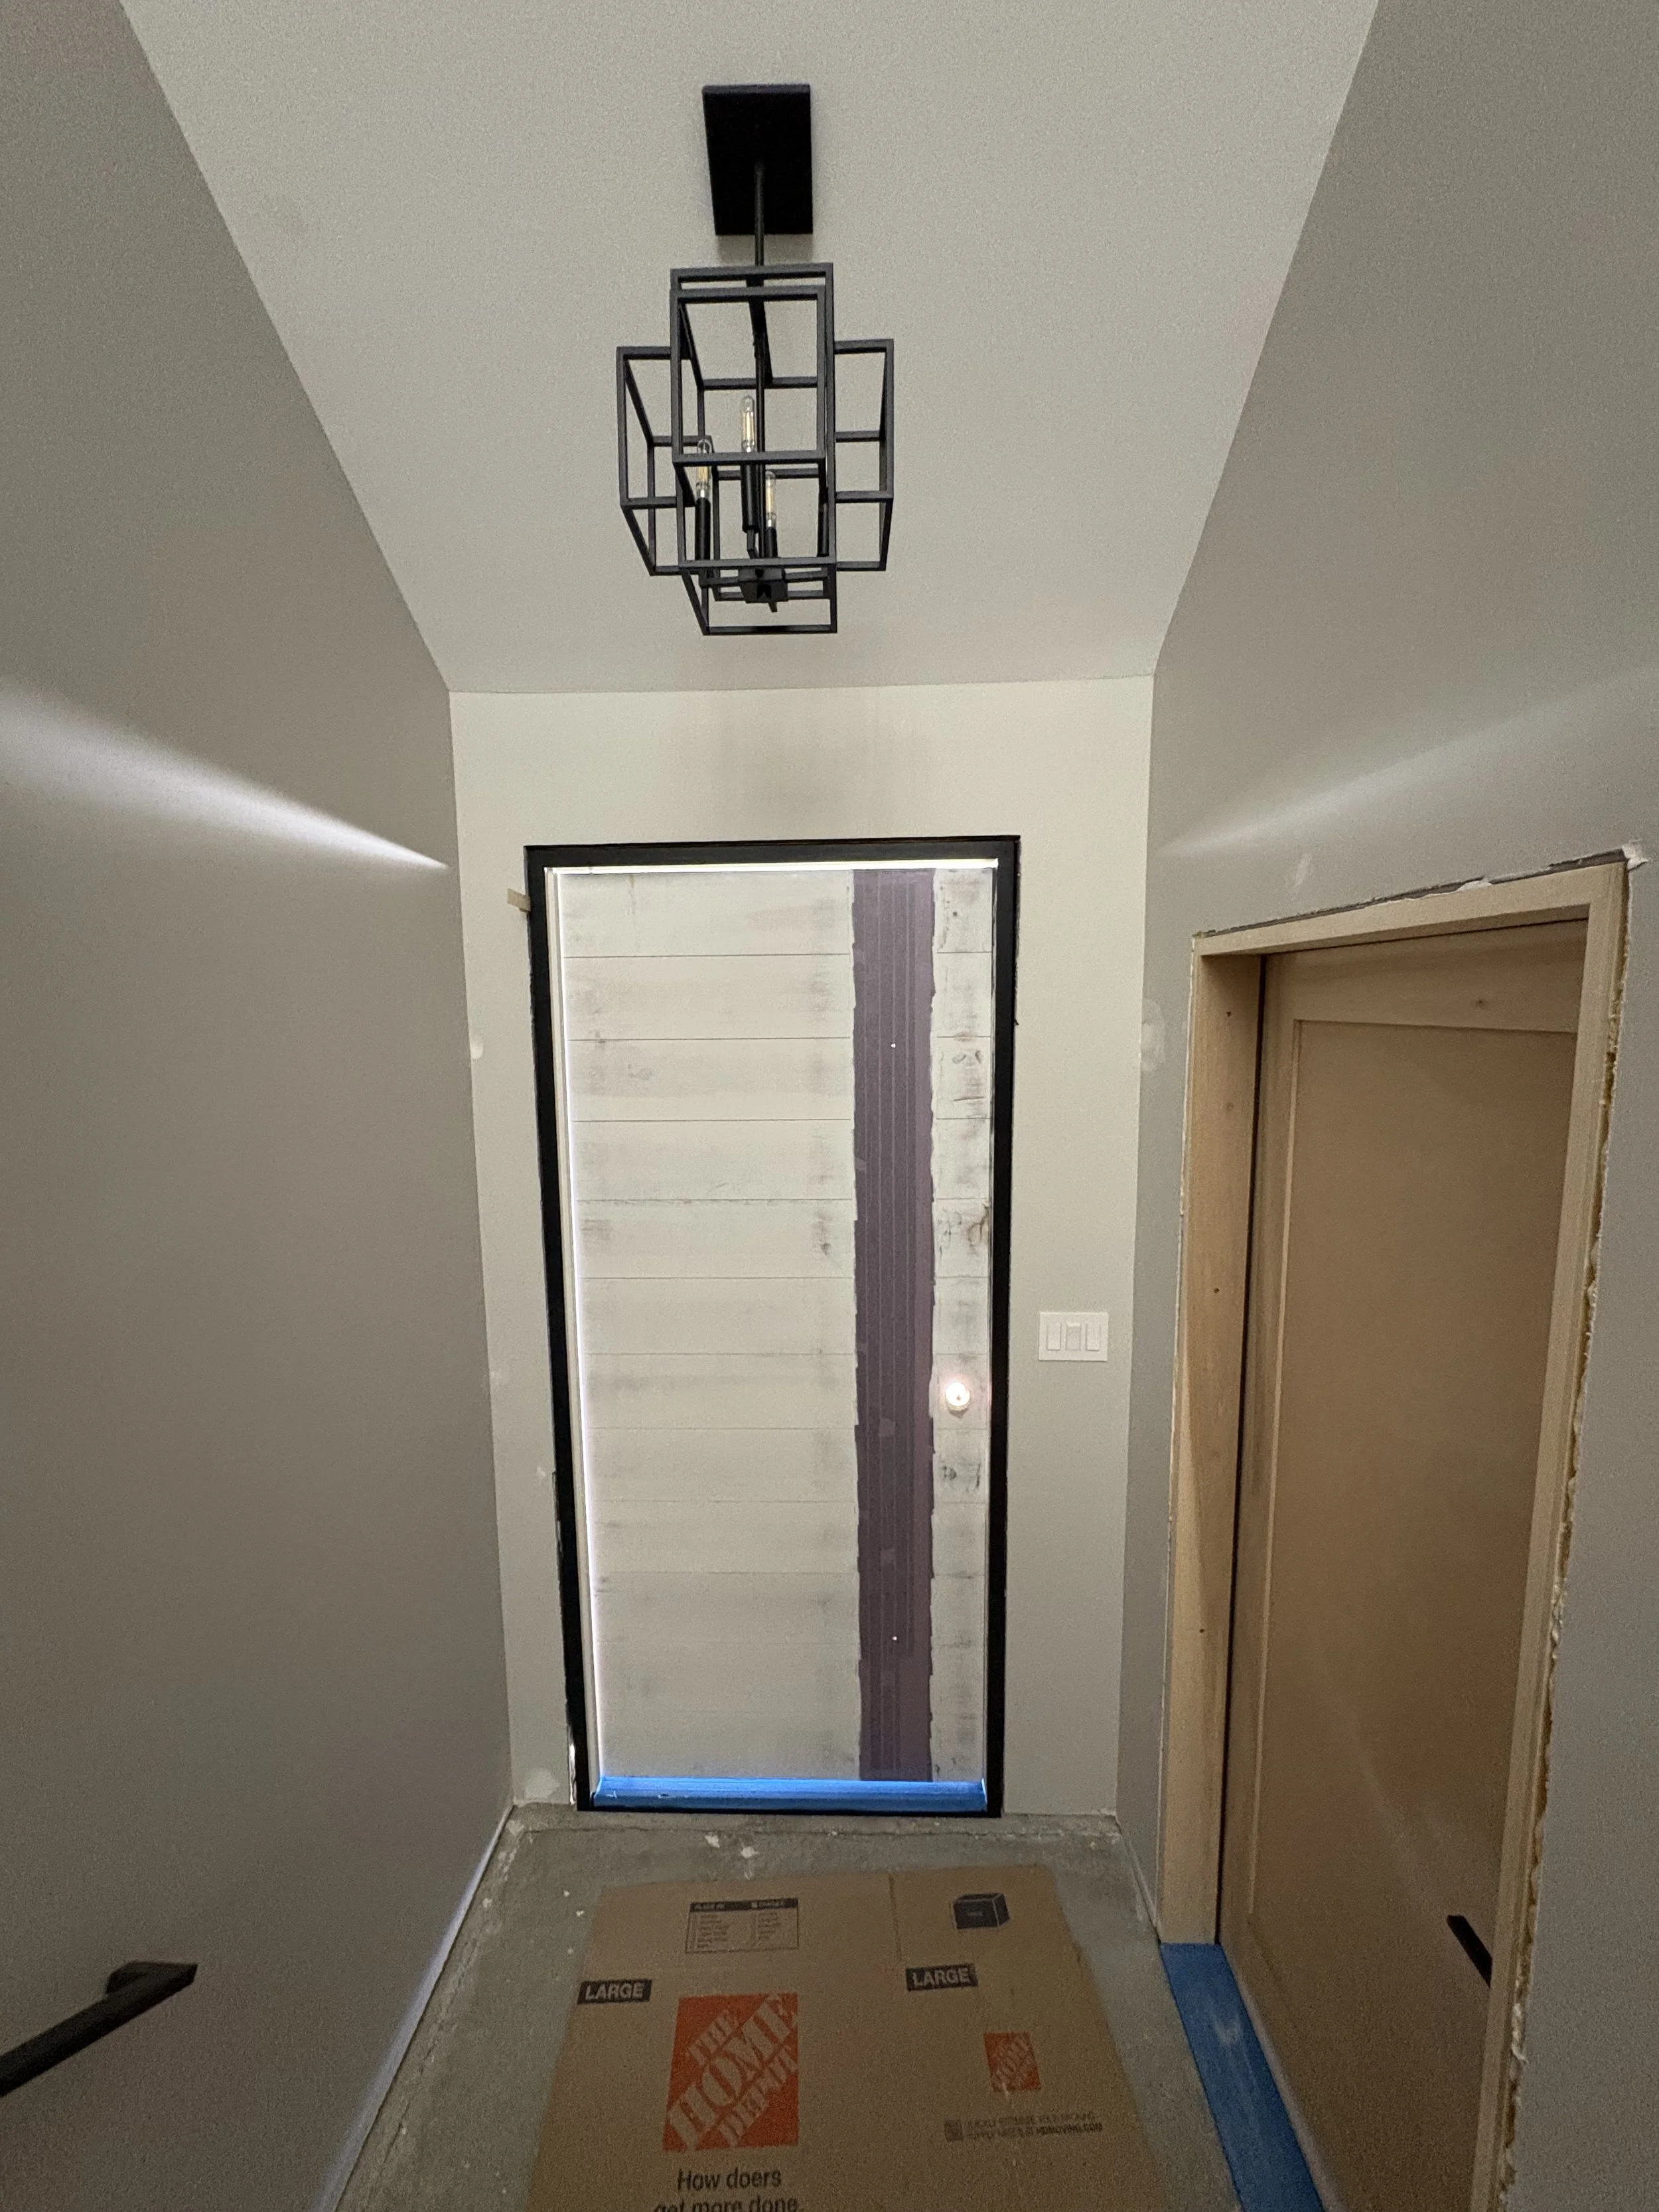
Here's a view from inside. Looks pretty good!
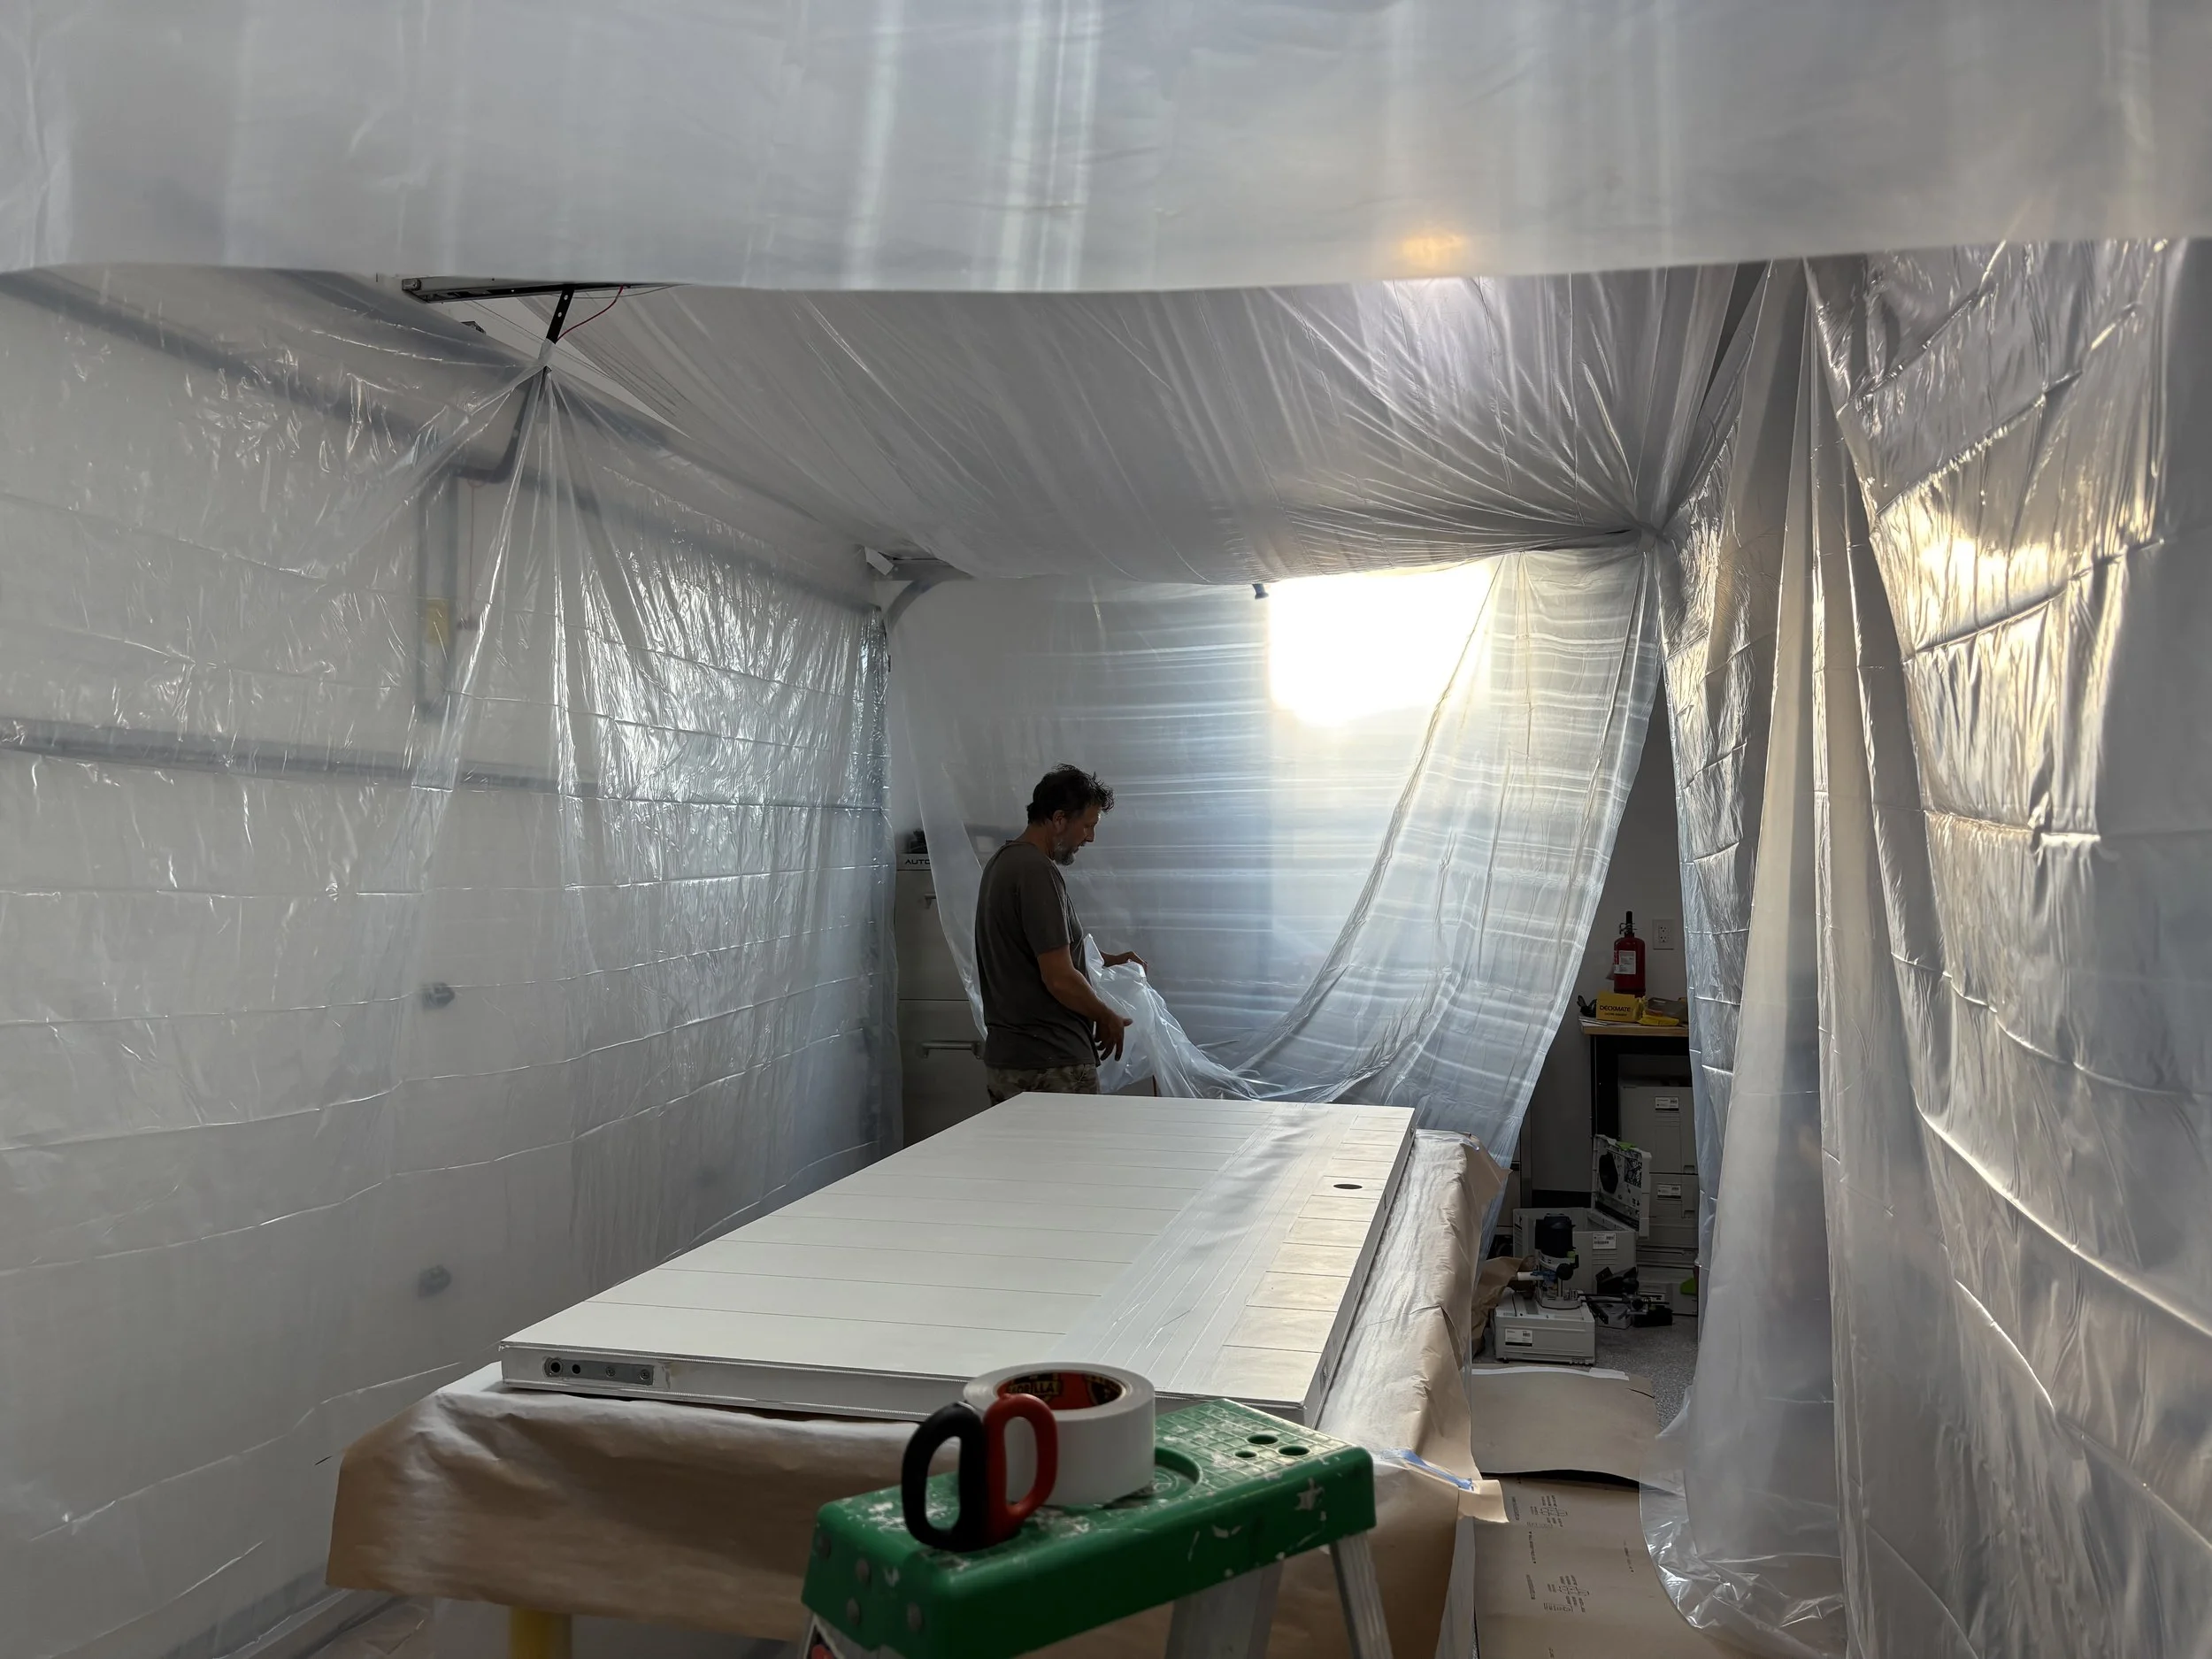
Now we line the garage with plastic to prep spraying the final color on the door.
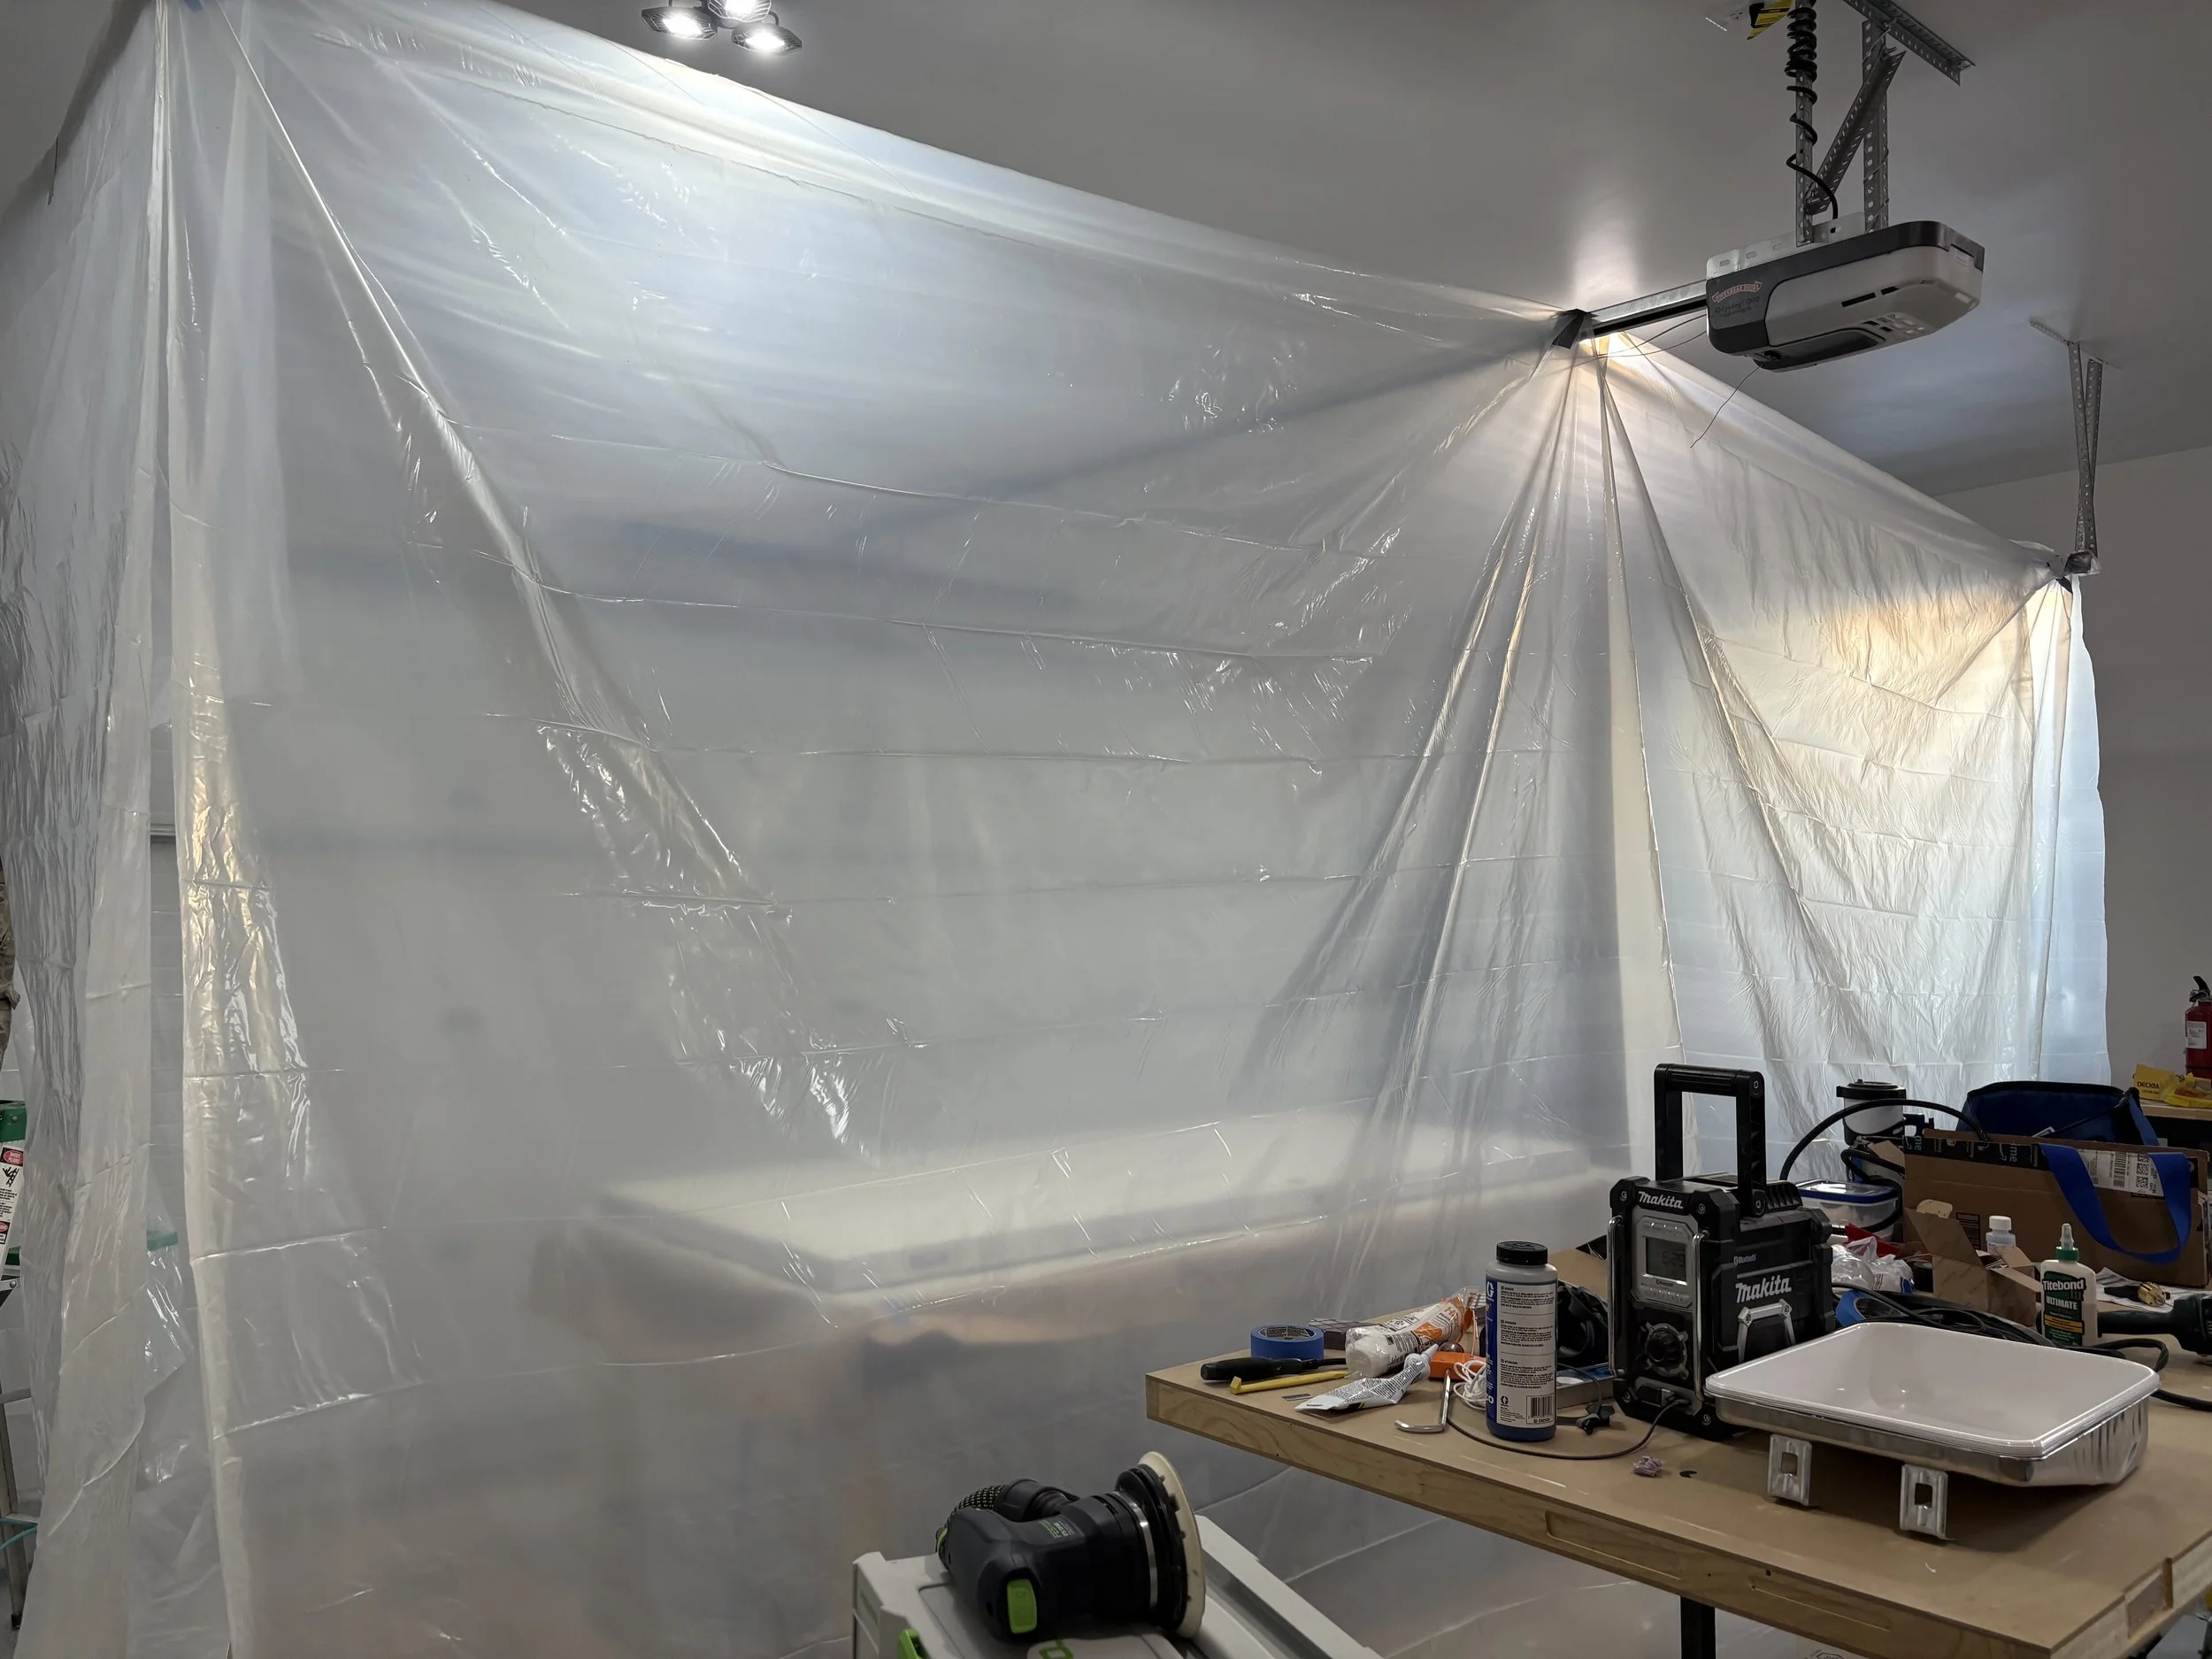
This looks like a surgical site!
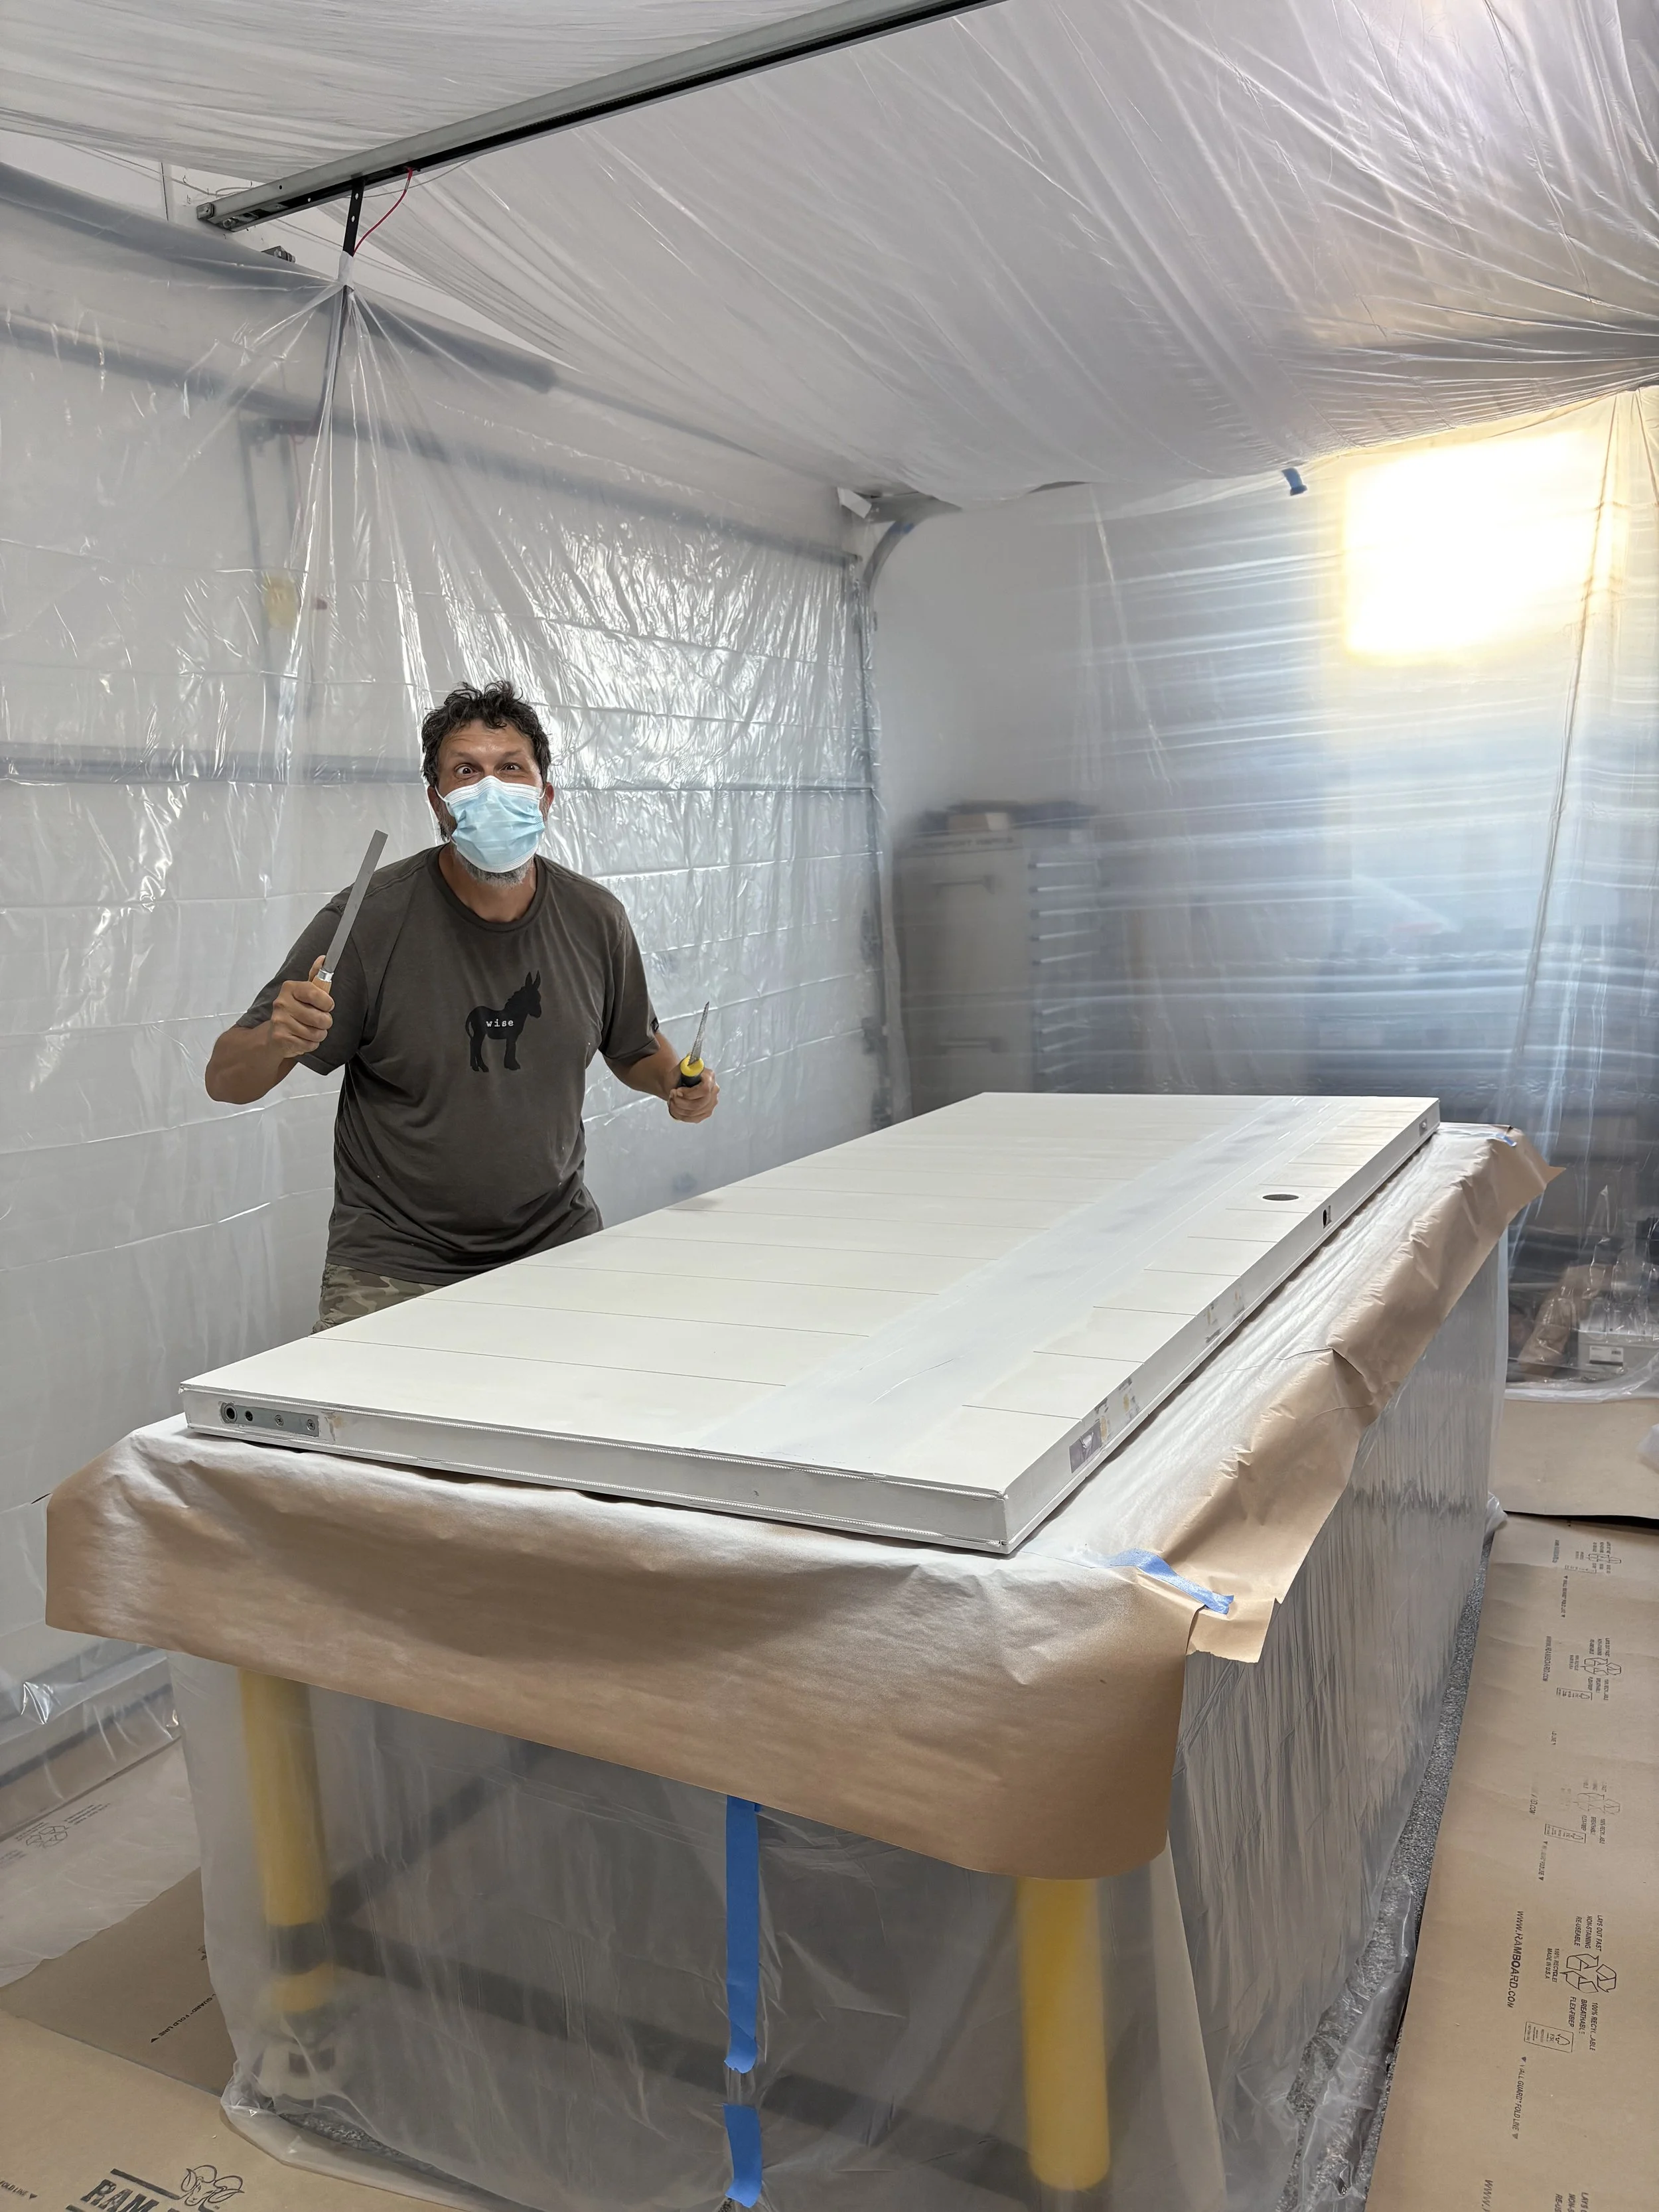
Umm, apparently Kris took that seriously and is now the mad door surgeon! Ha!
Wow! That's bright! Should add a fun pop of color to the house!
Not that the pain is dry, we move to treating the steel.
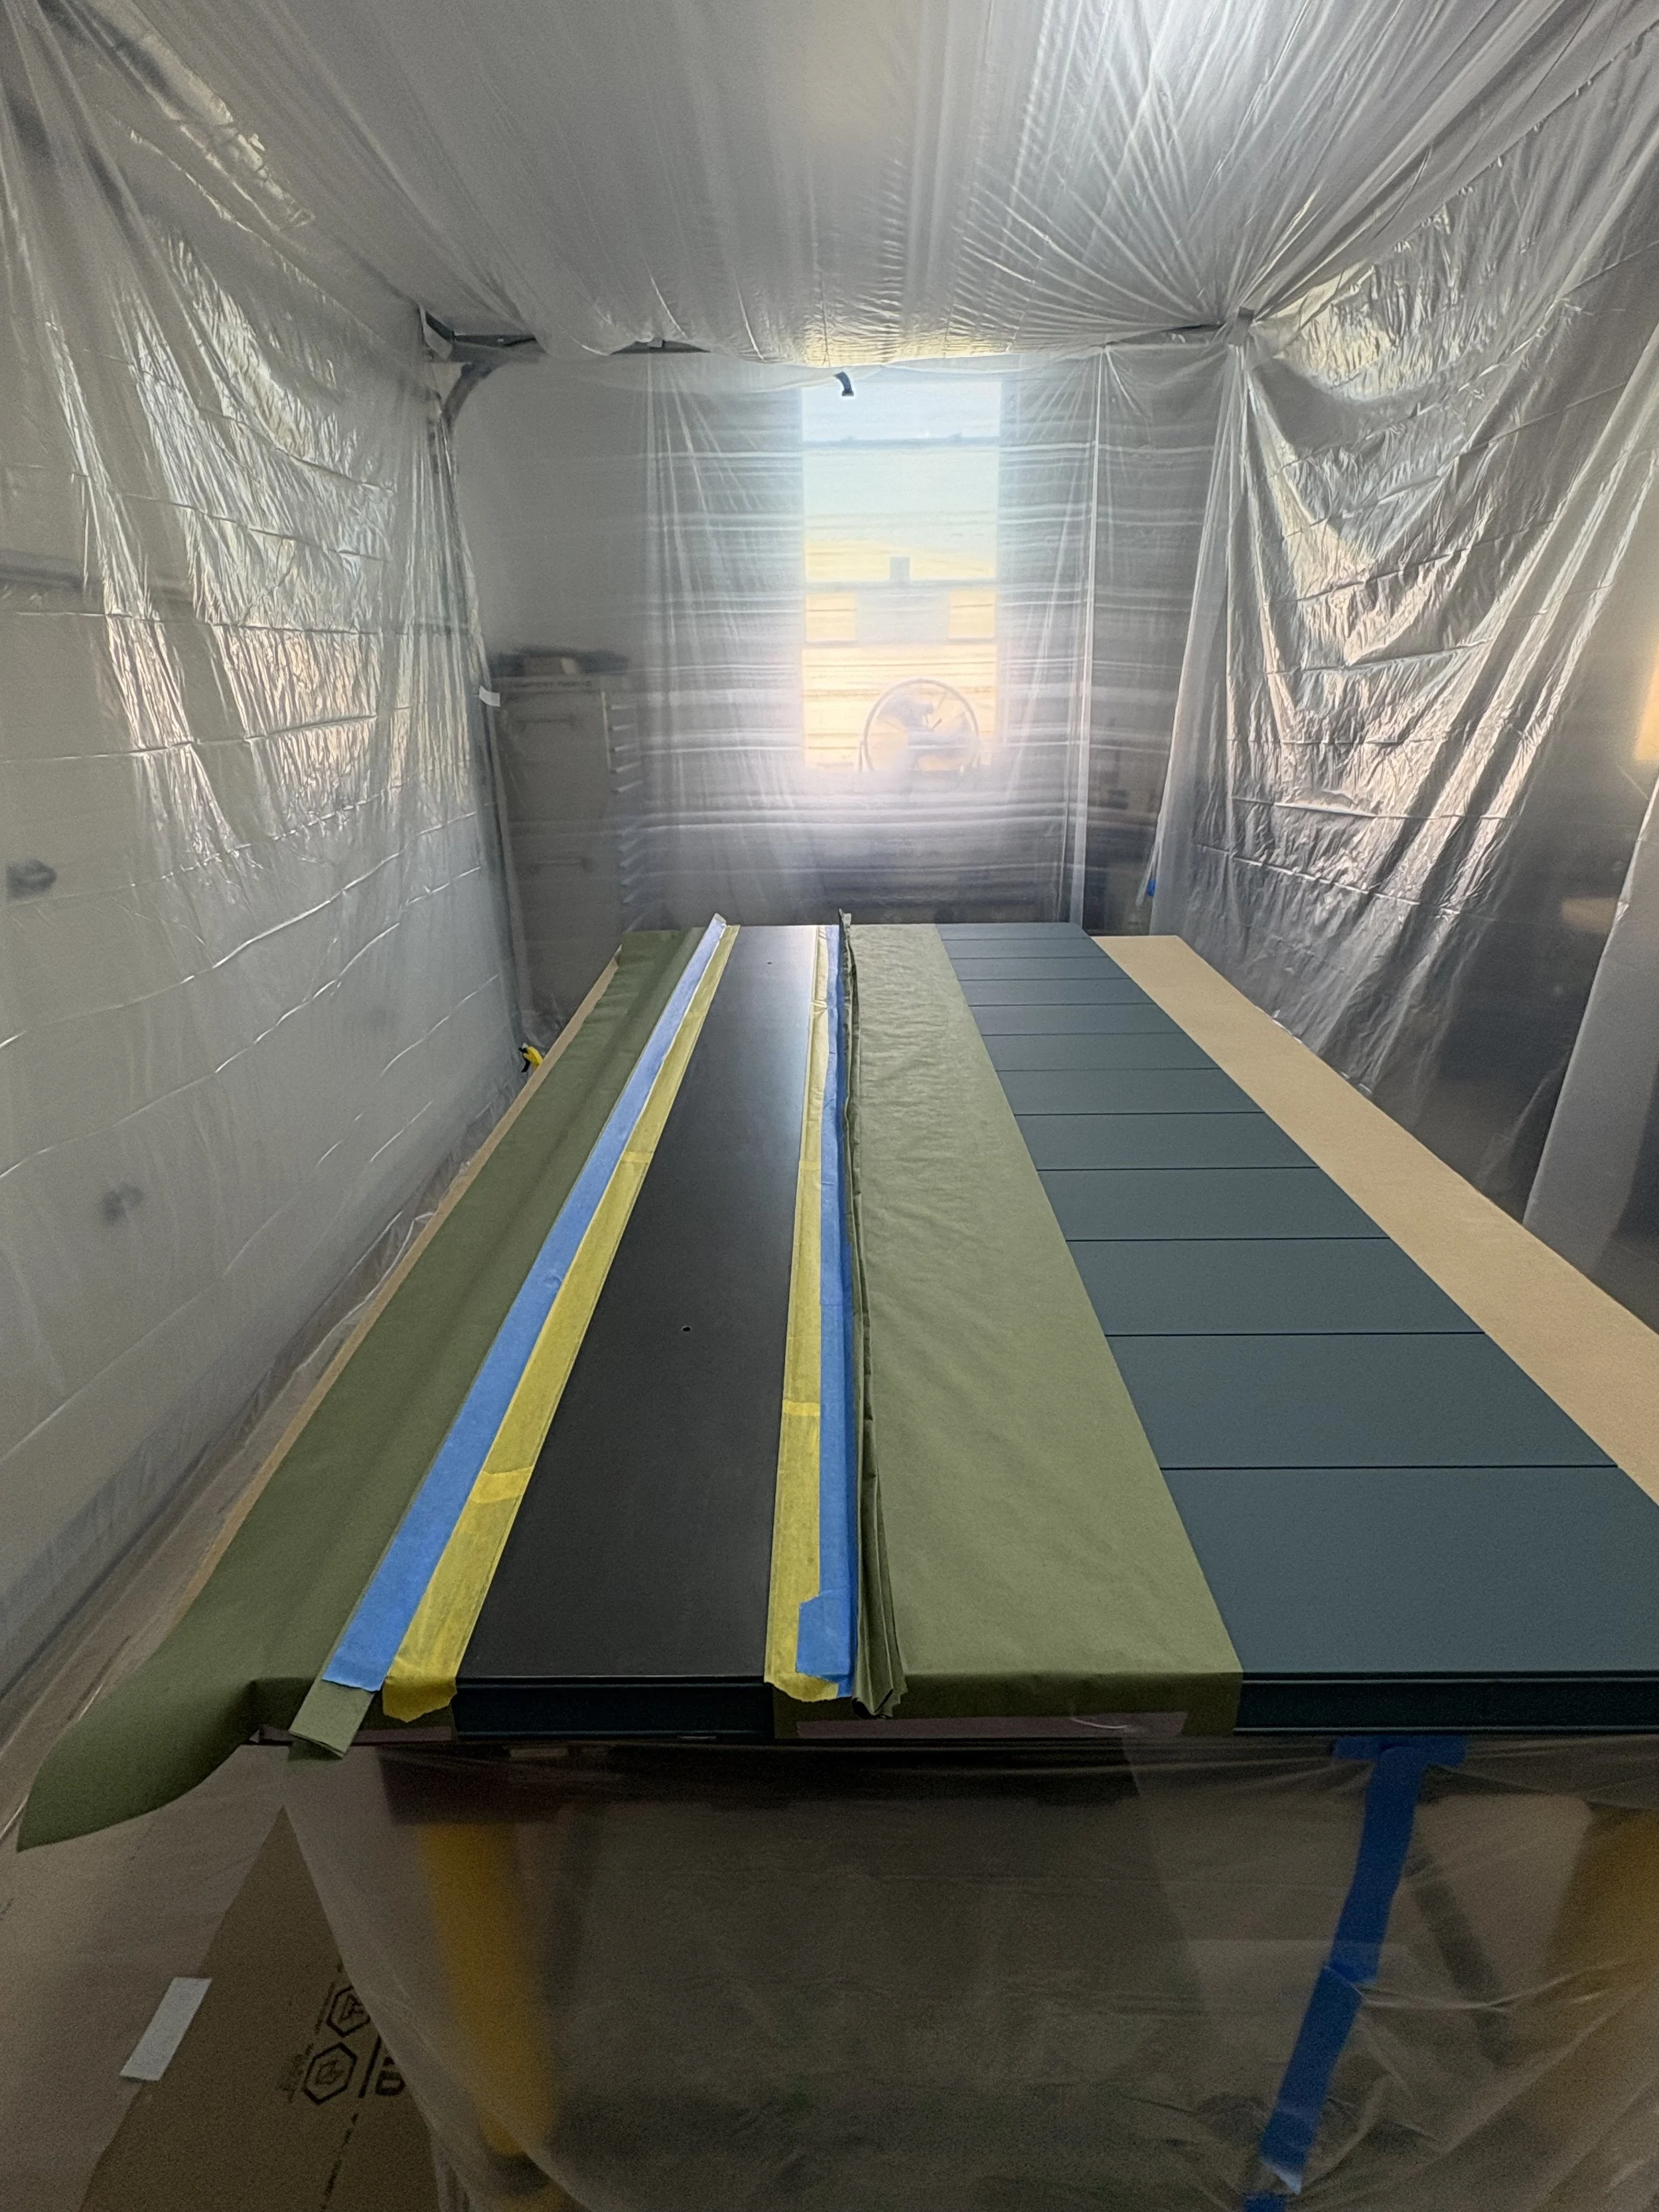
We're giving the steel a patina stain, which essentially is pouring chemicals on the steel to get it to do crazy cool things! Let's see how this goes!

This stuff is crazy toxic, so Rachel suits up!
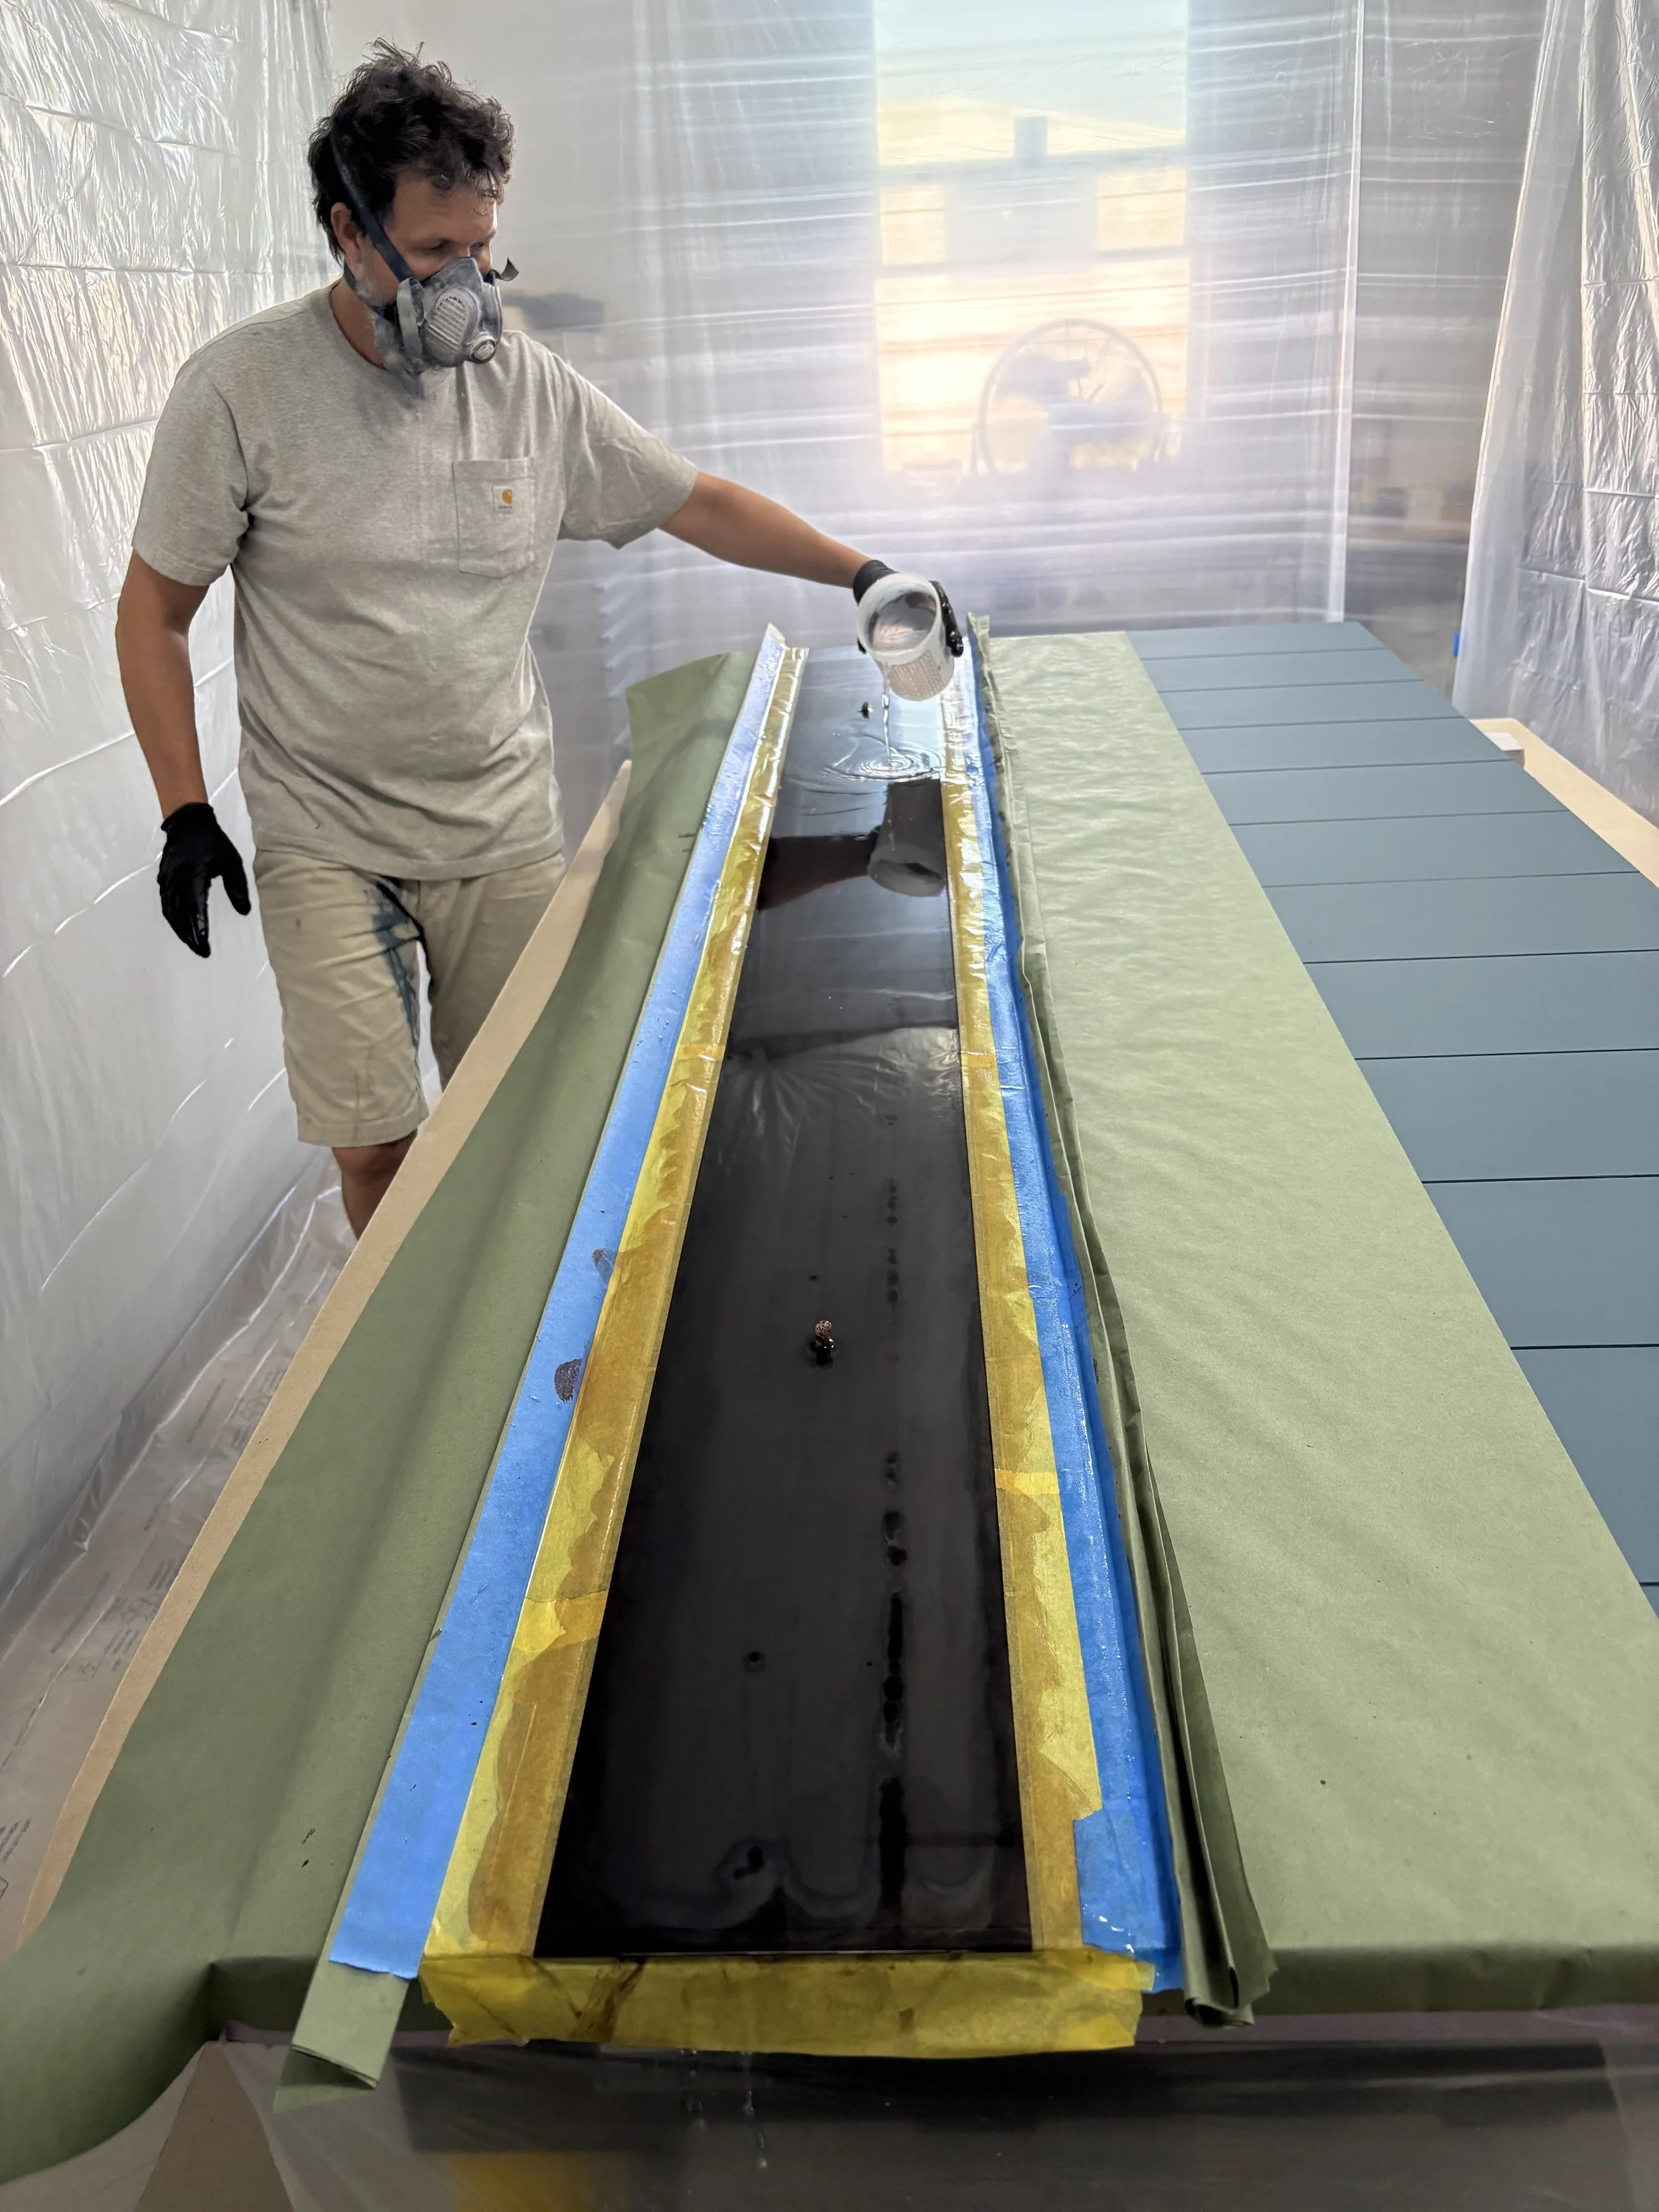
Now we add the chemicals.
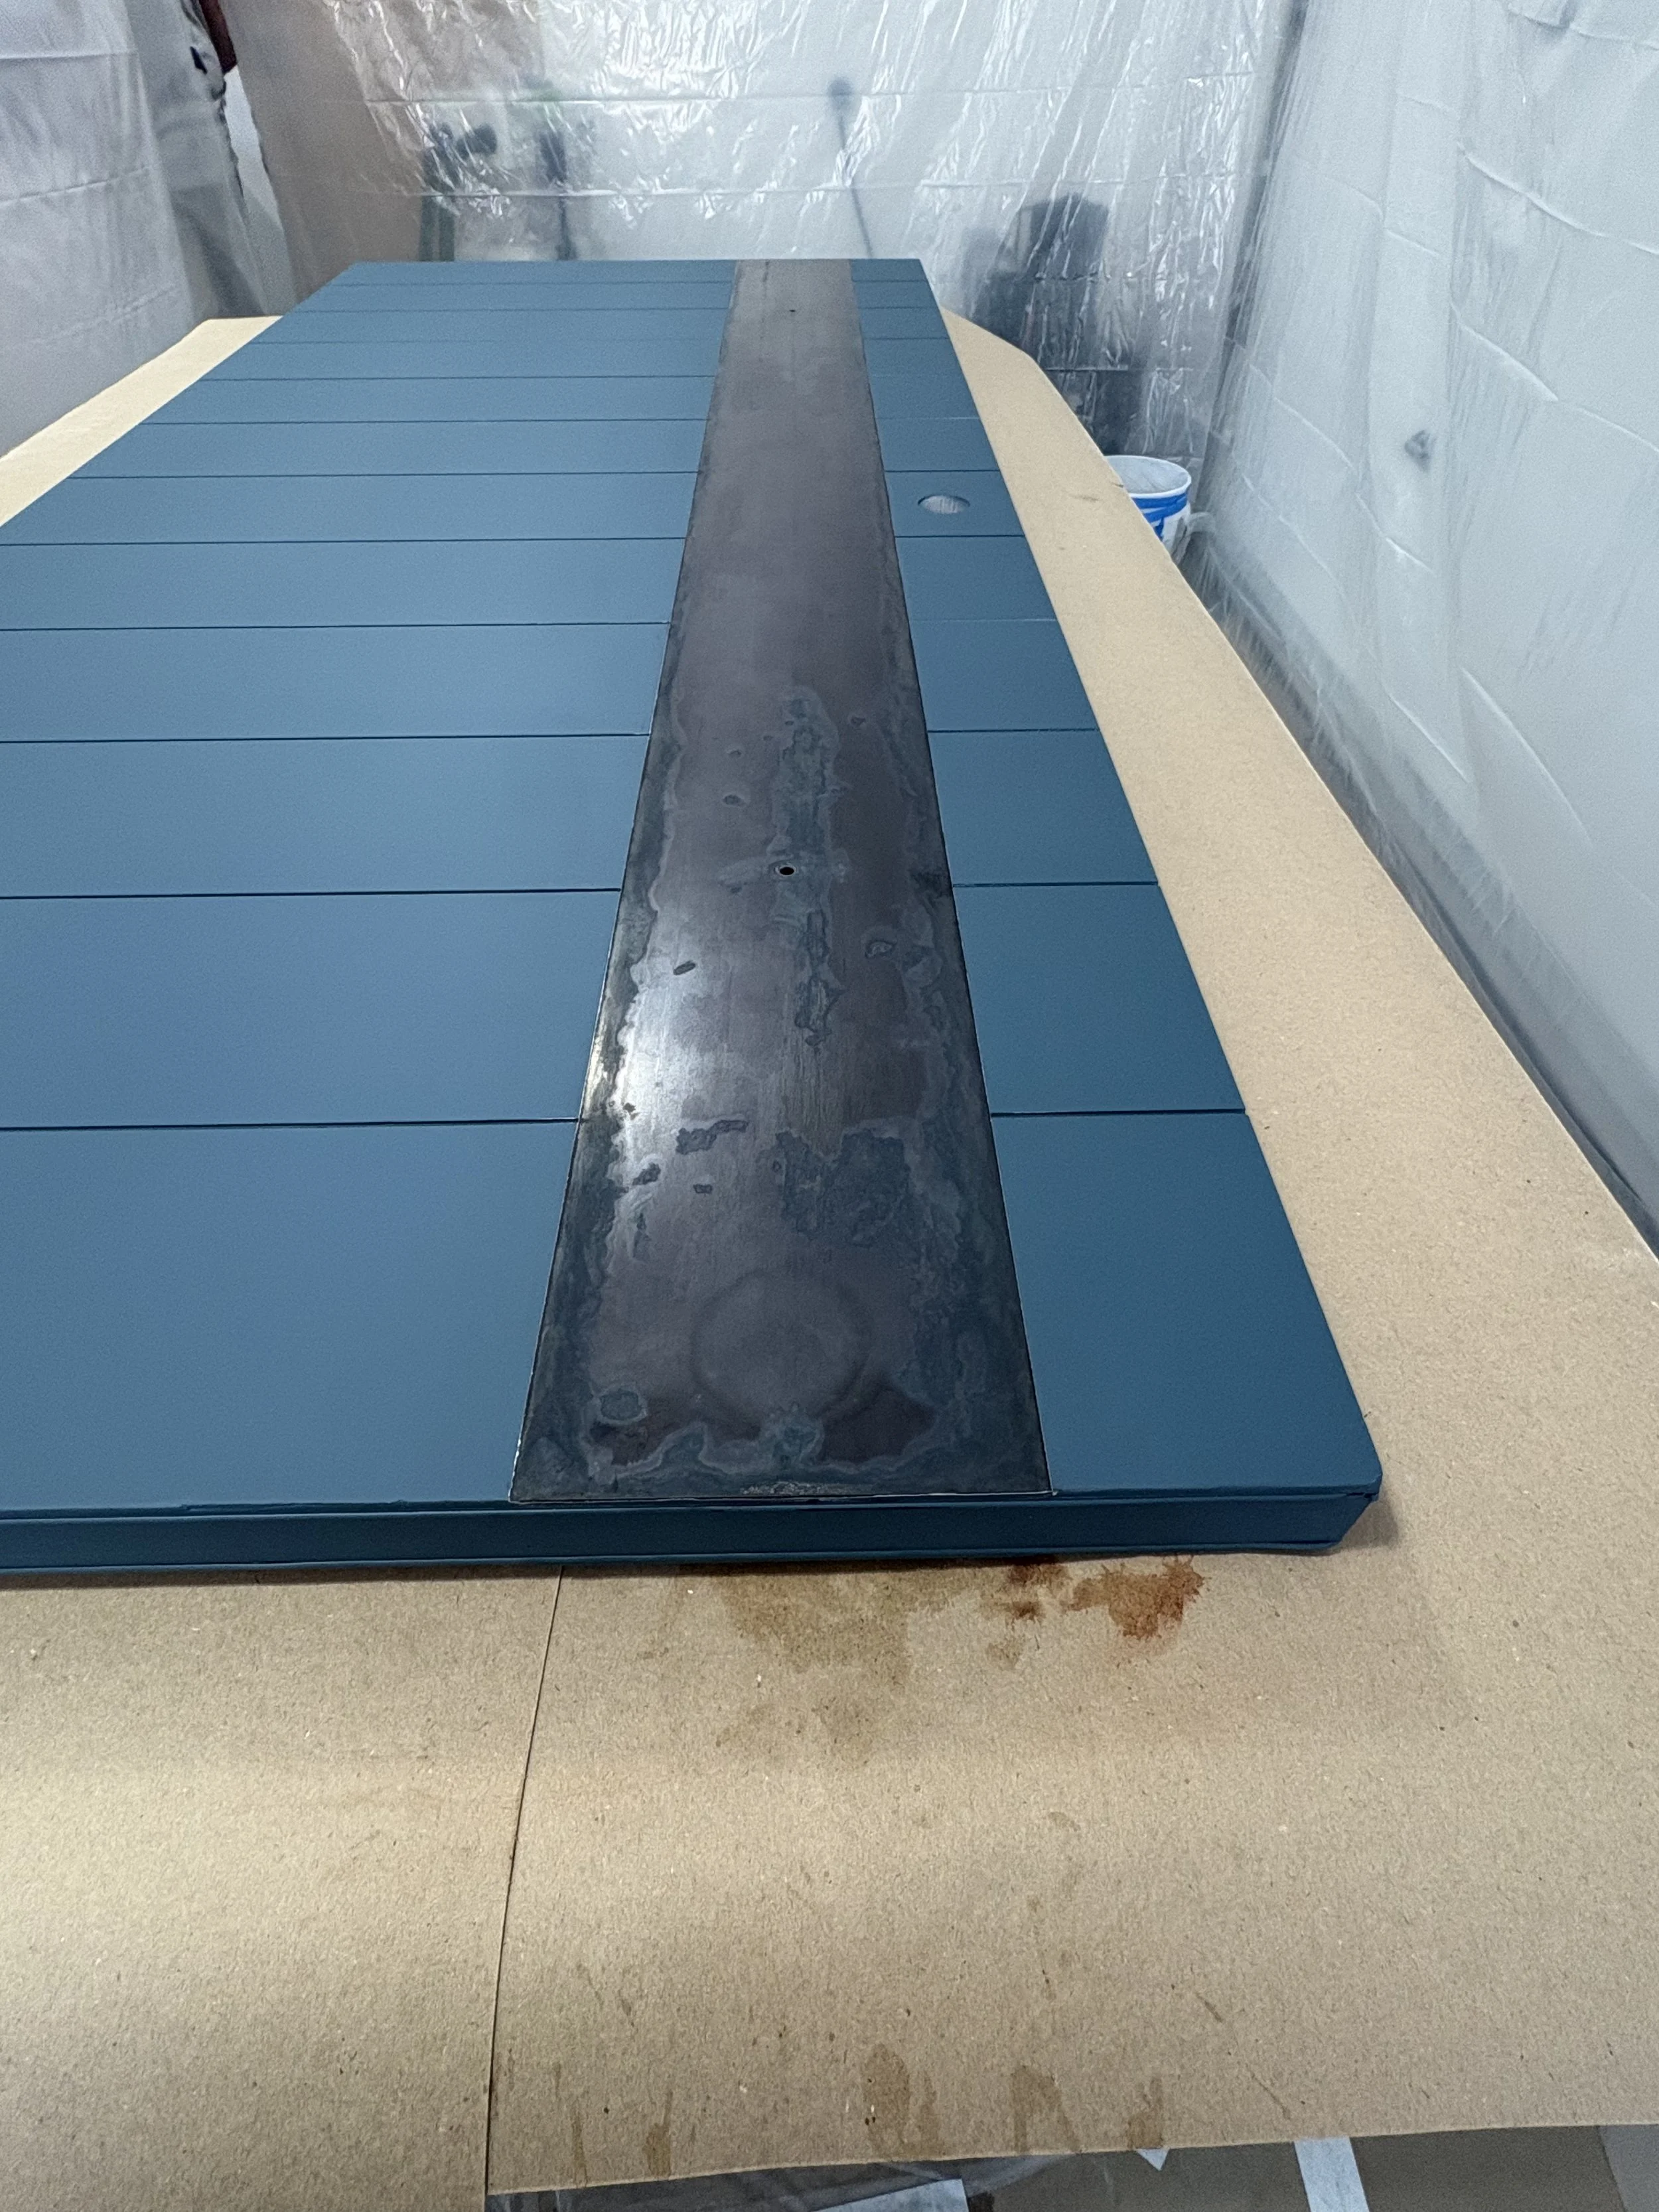
Still wet, but you can see the cool pattern forming on the steel.
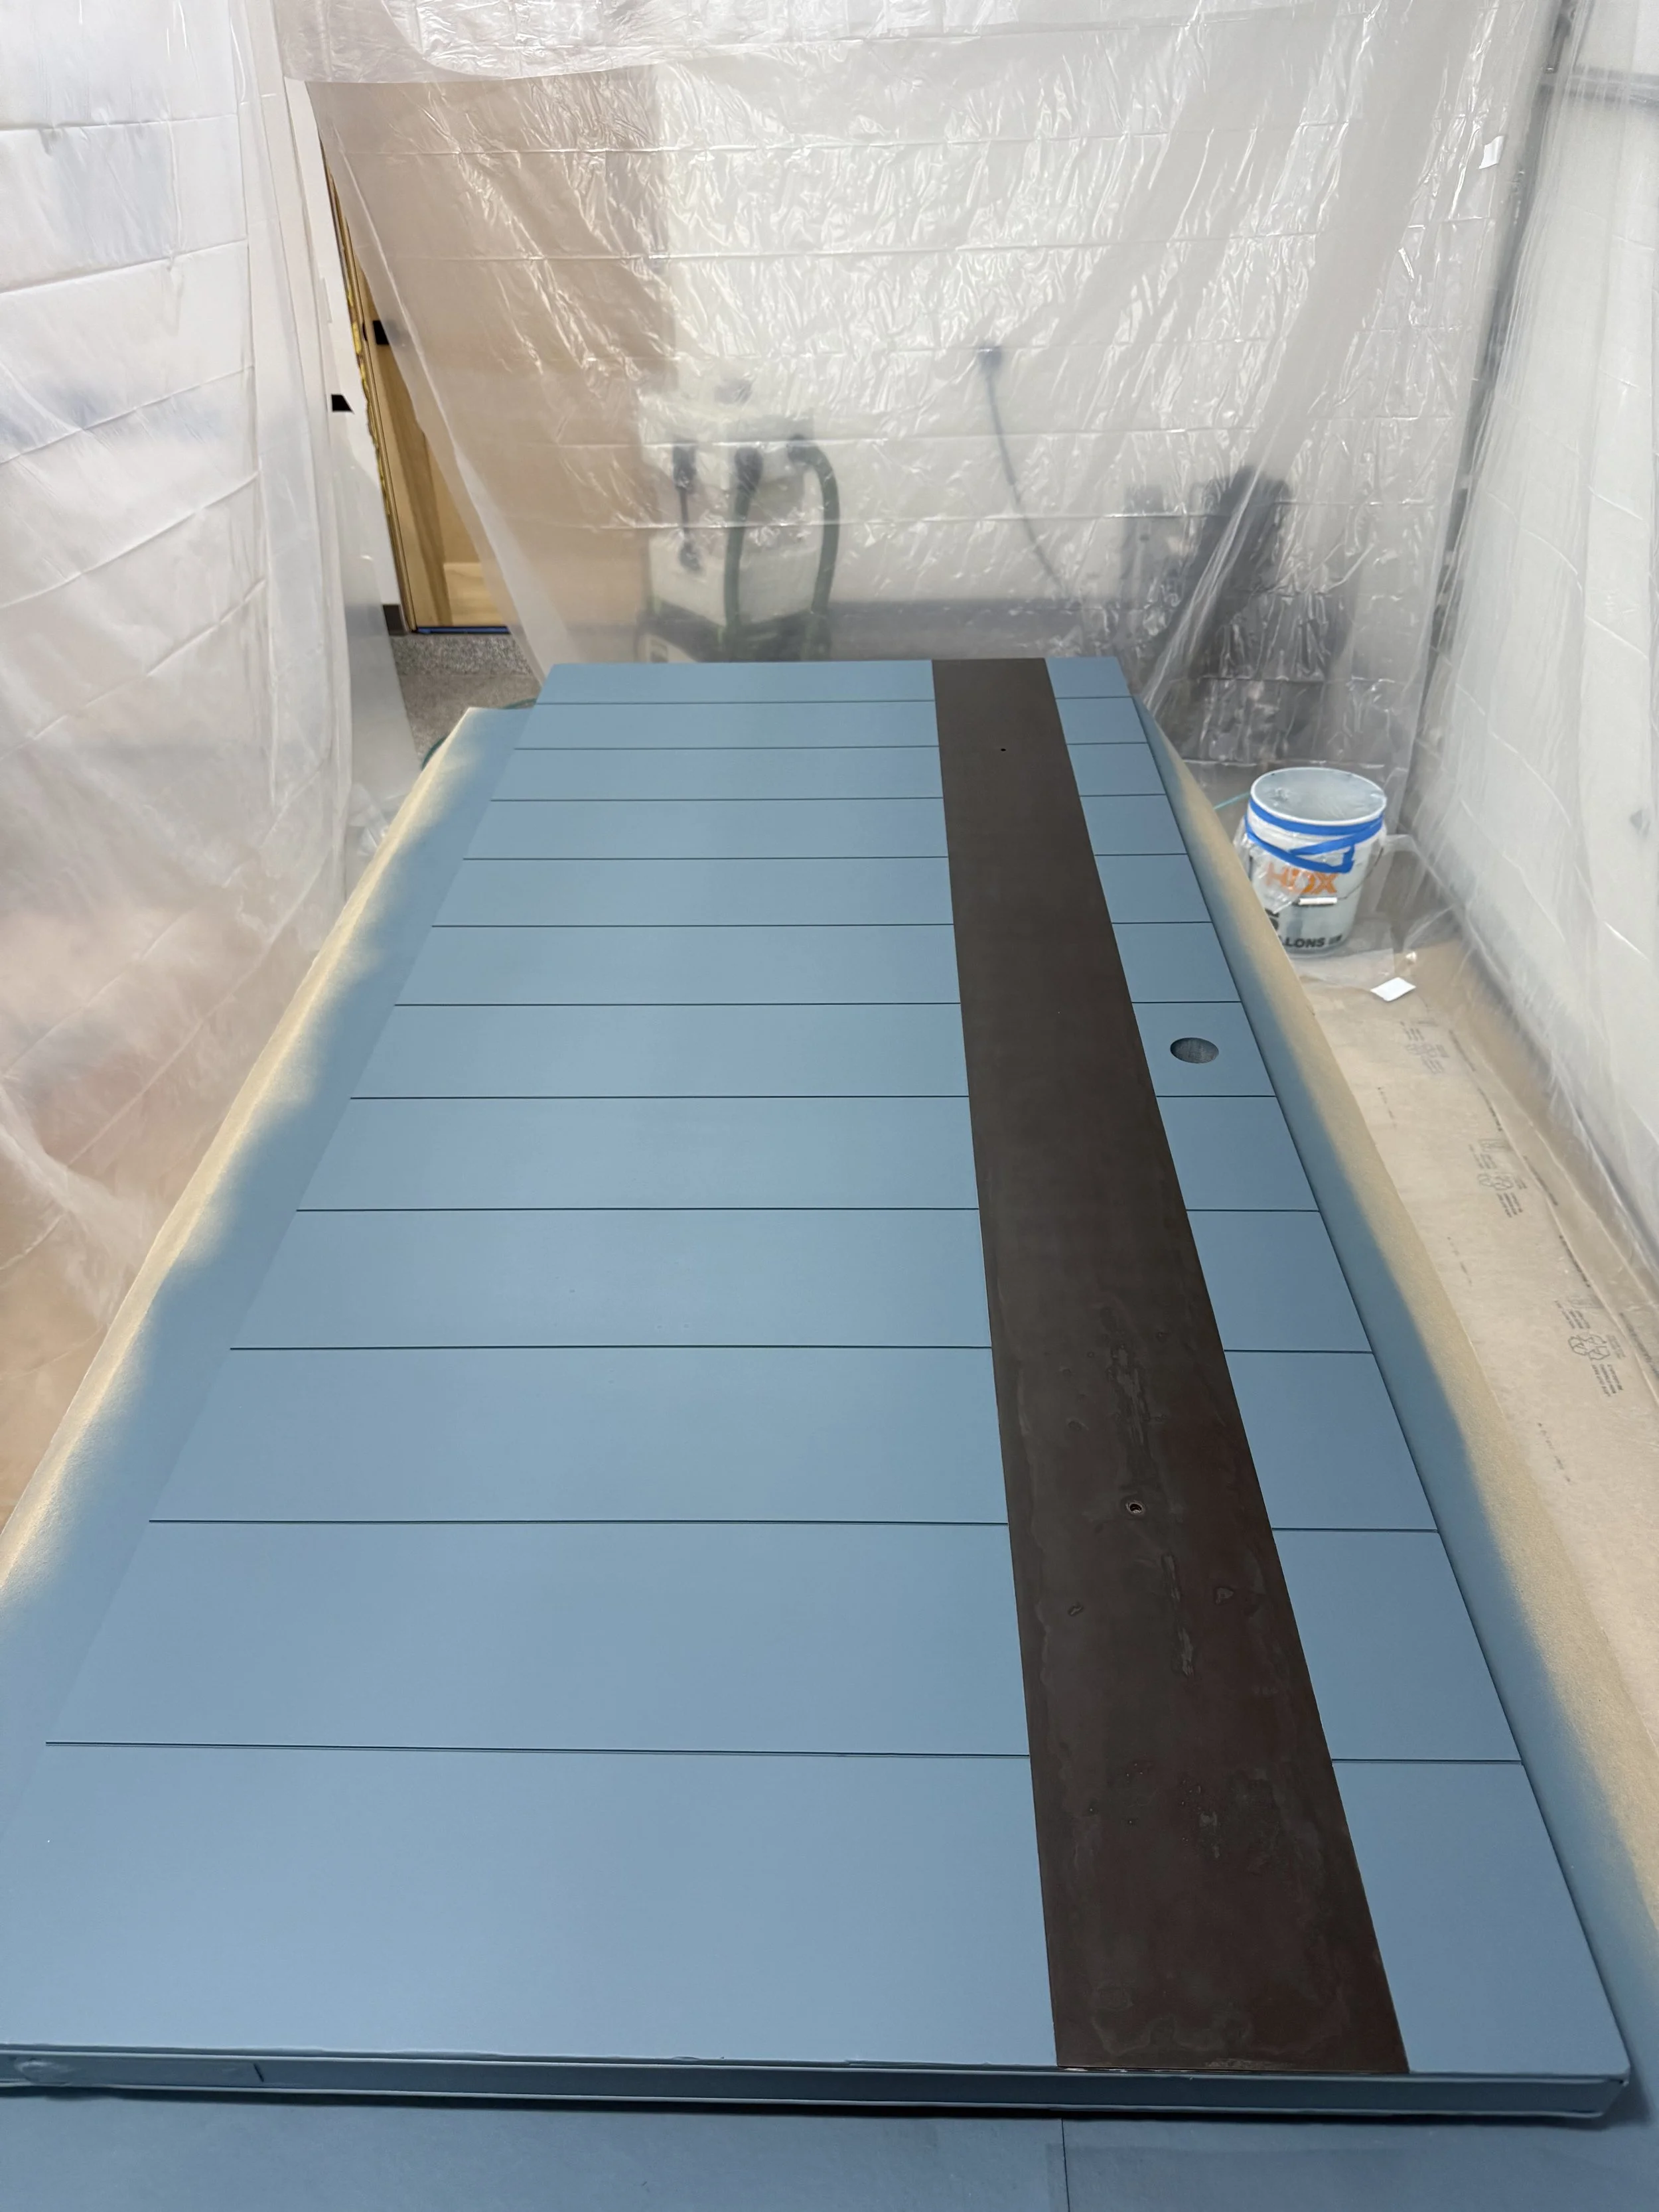
All dry and ready! Pretty good for our first try!
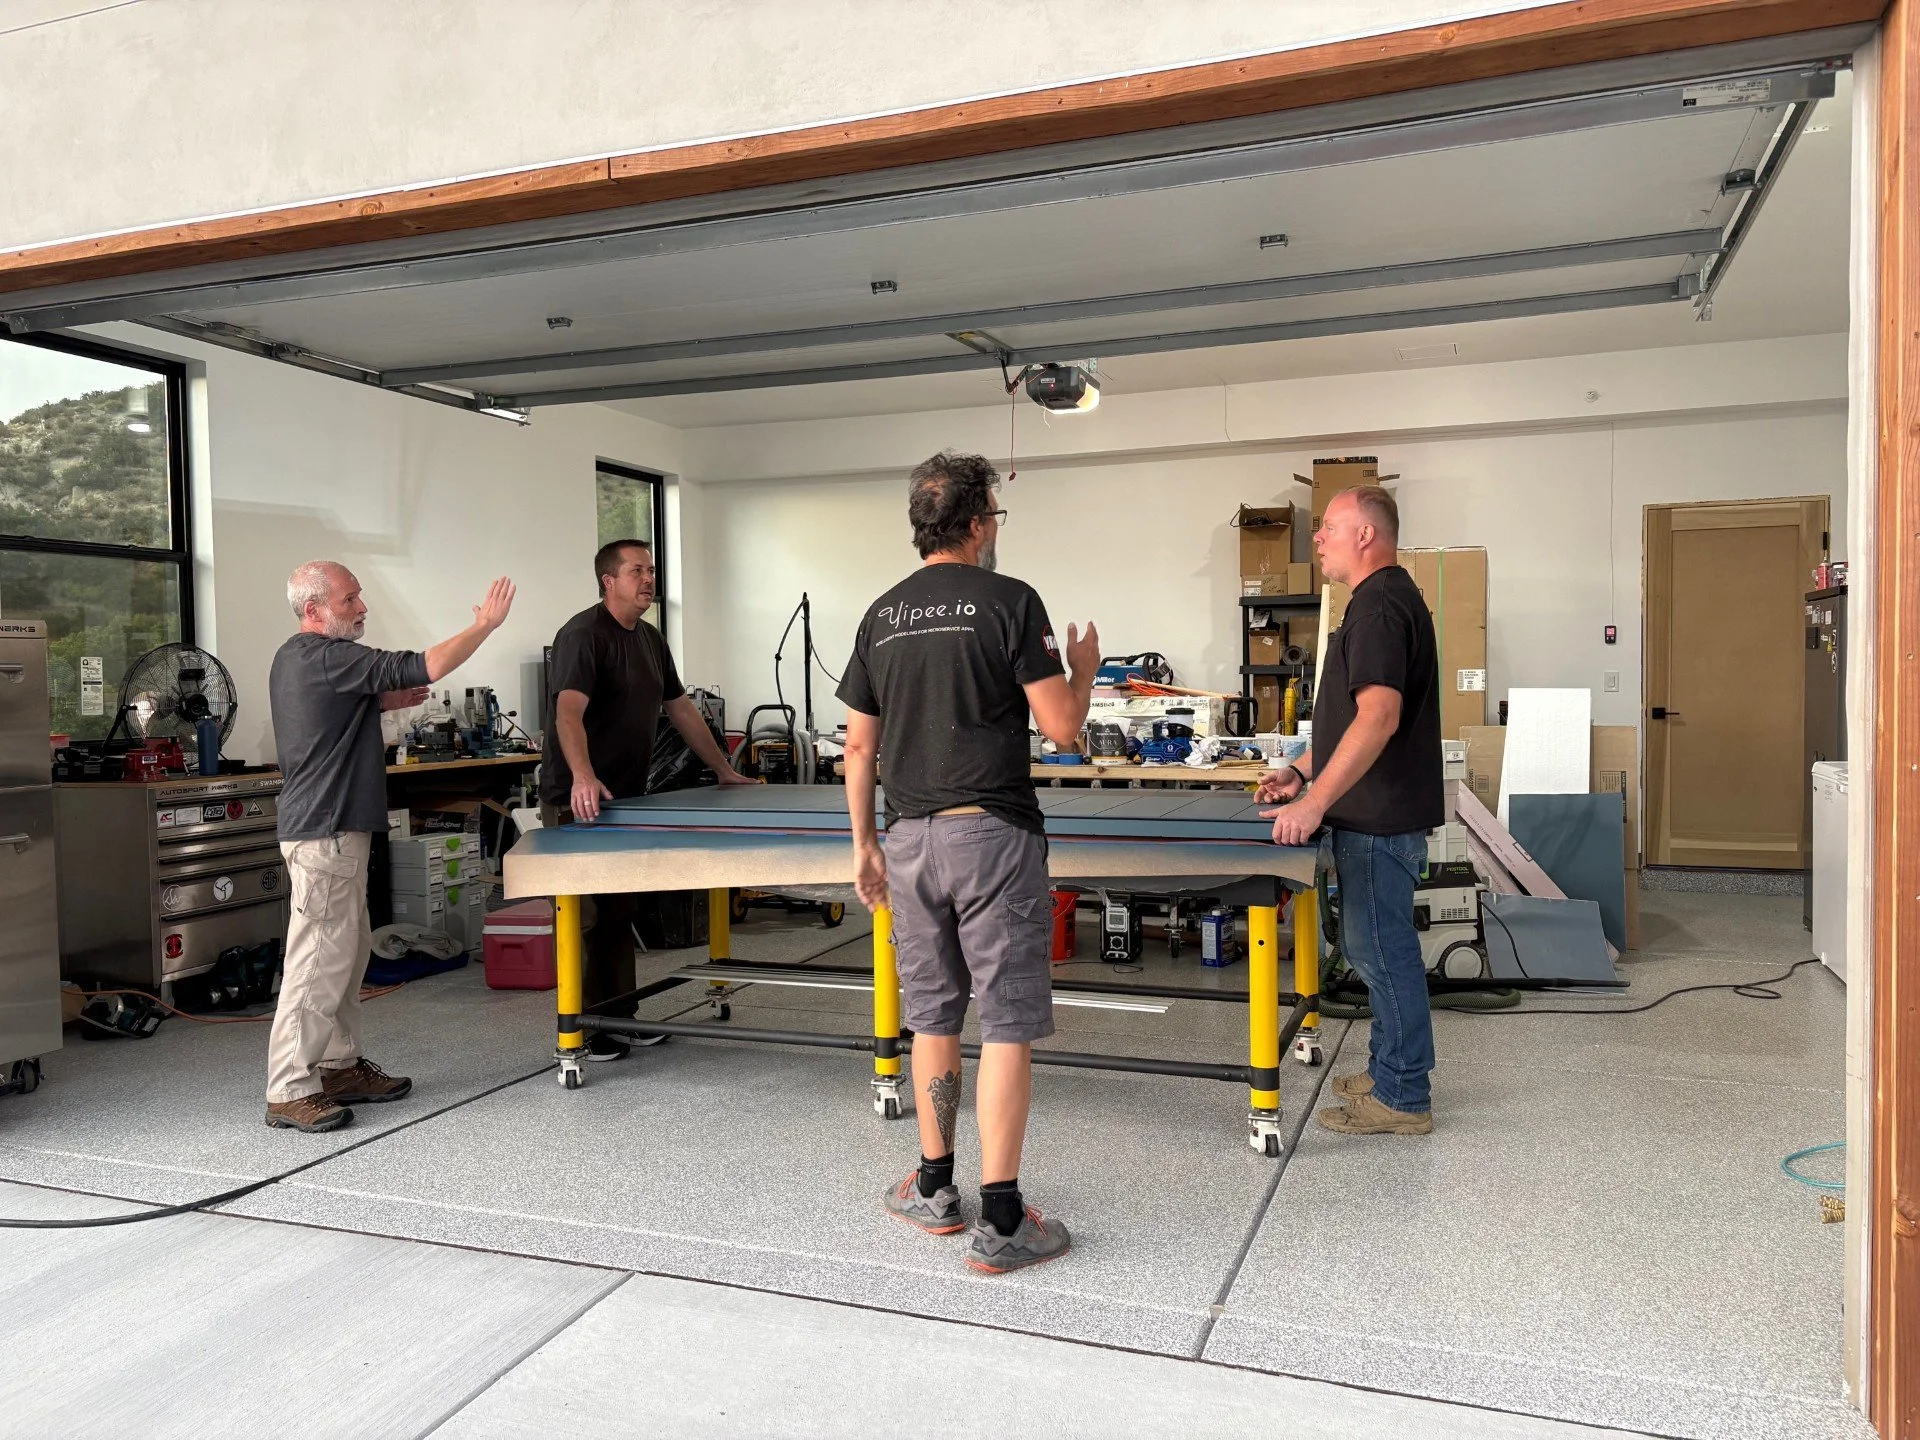
Now the final step! Installation! This door is a beast! It'll take 4 guys to carry the door over.
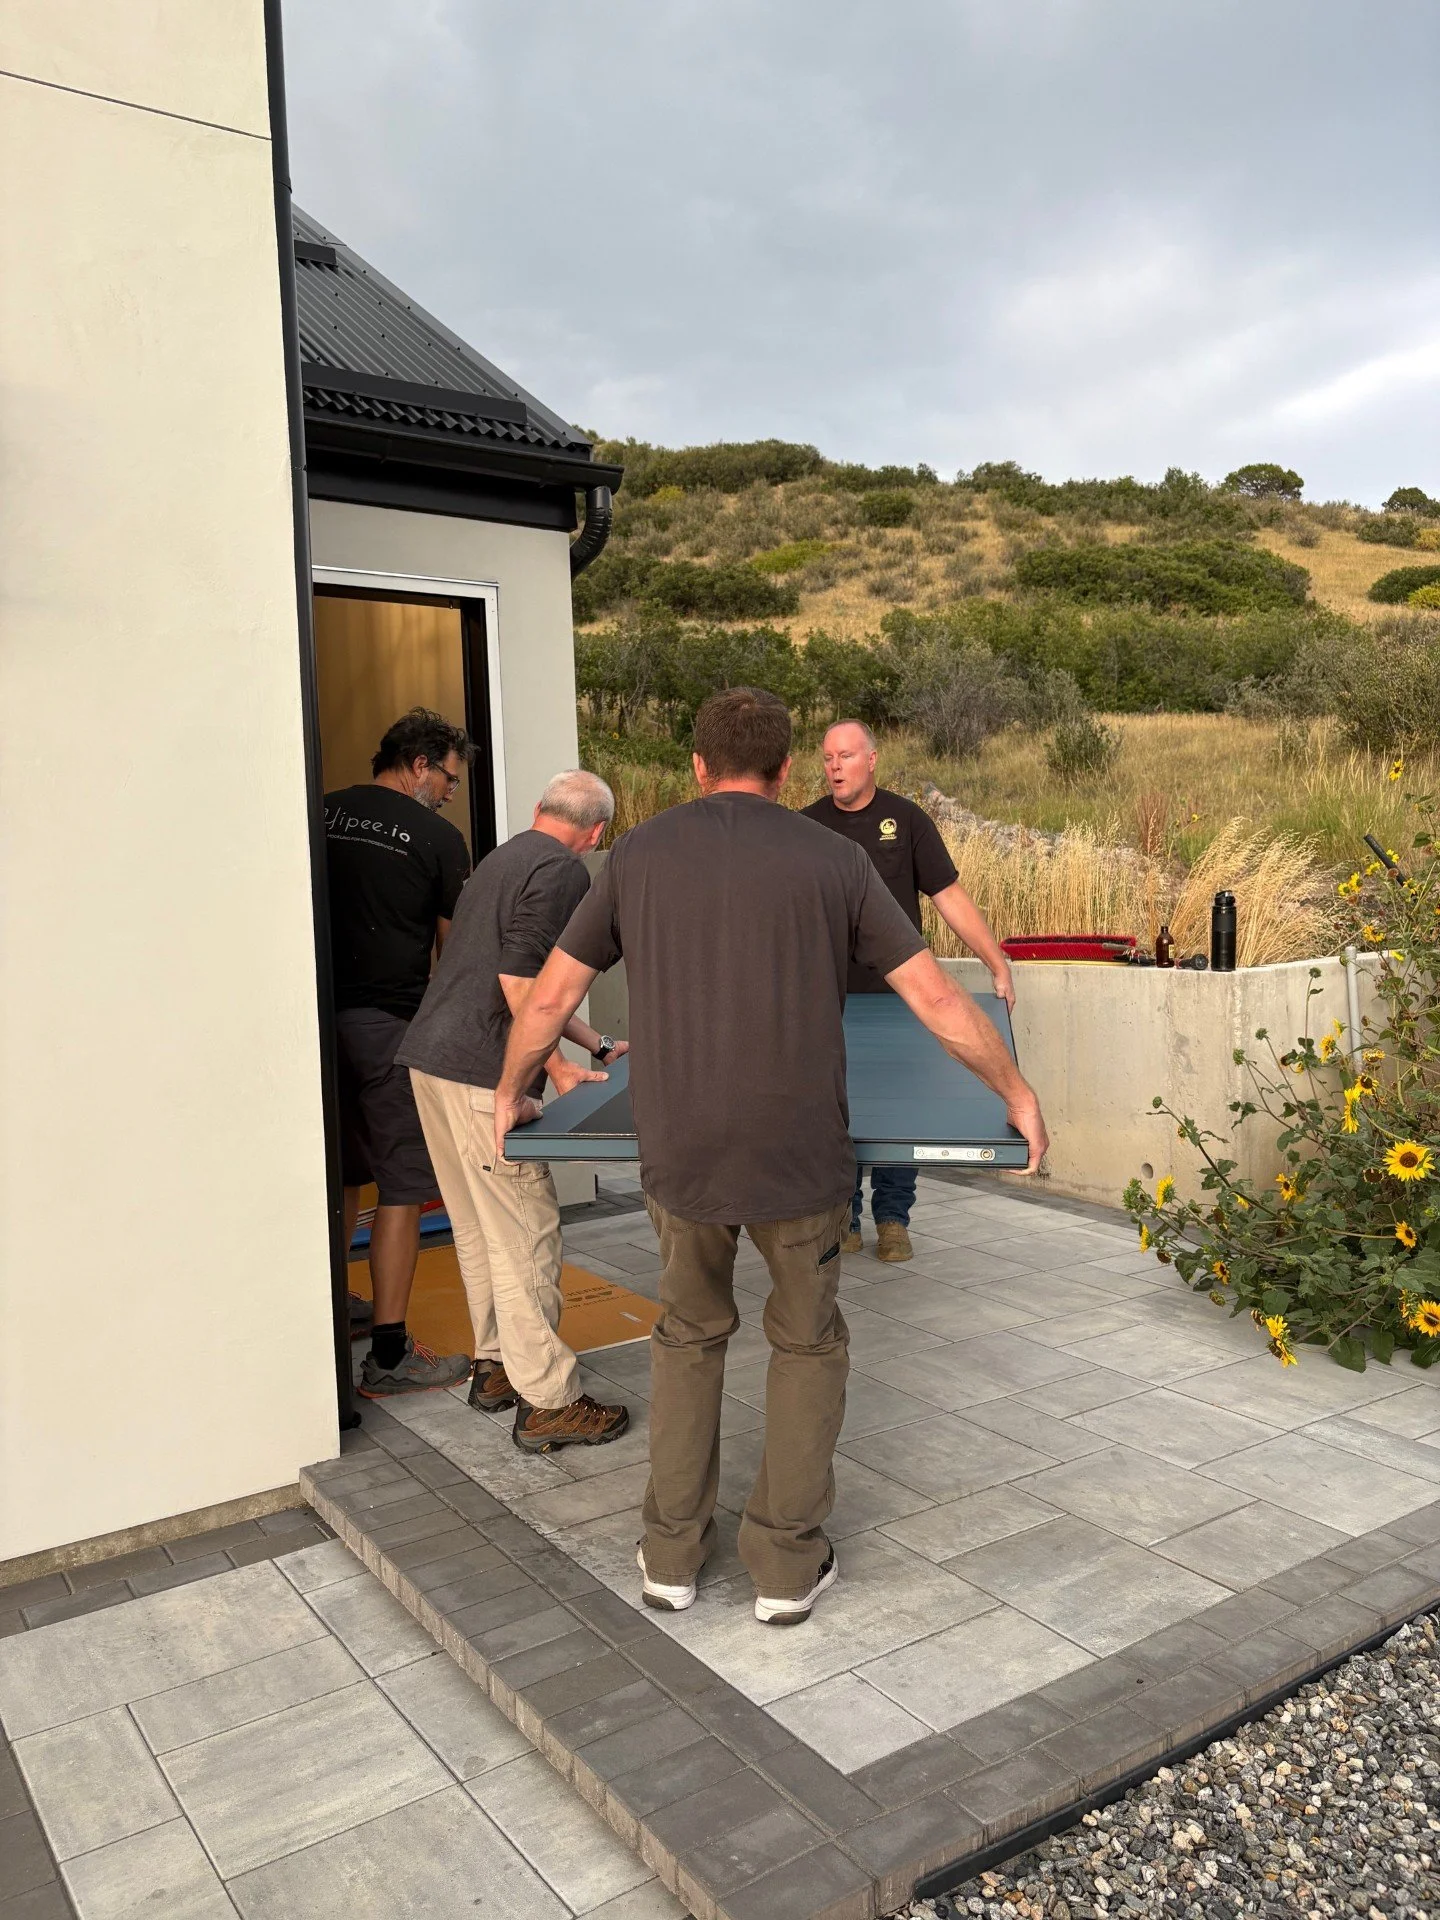
The guys line up and prepare to hoist it in.
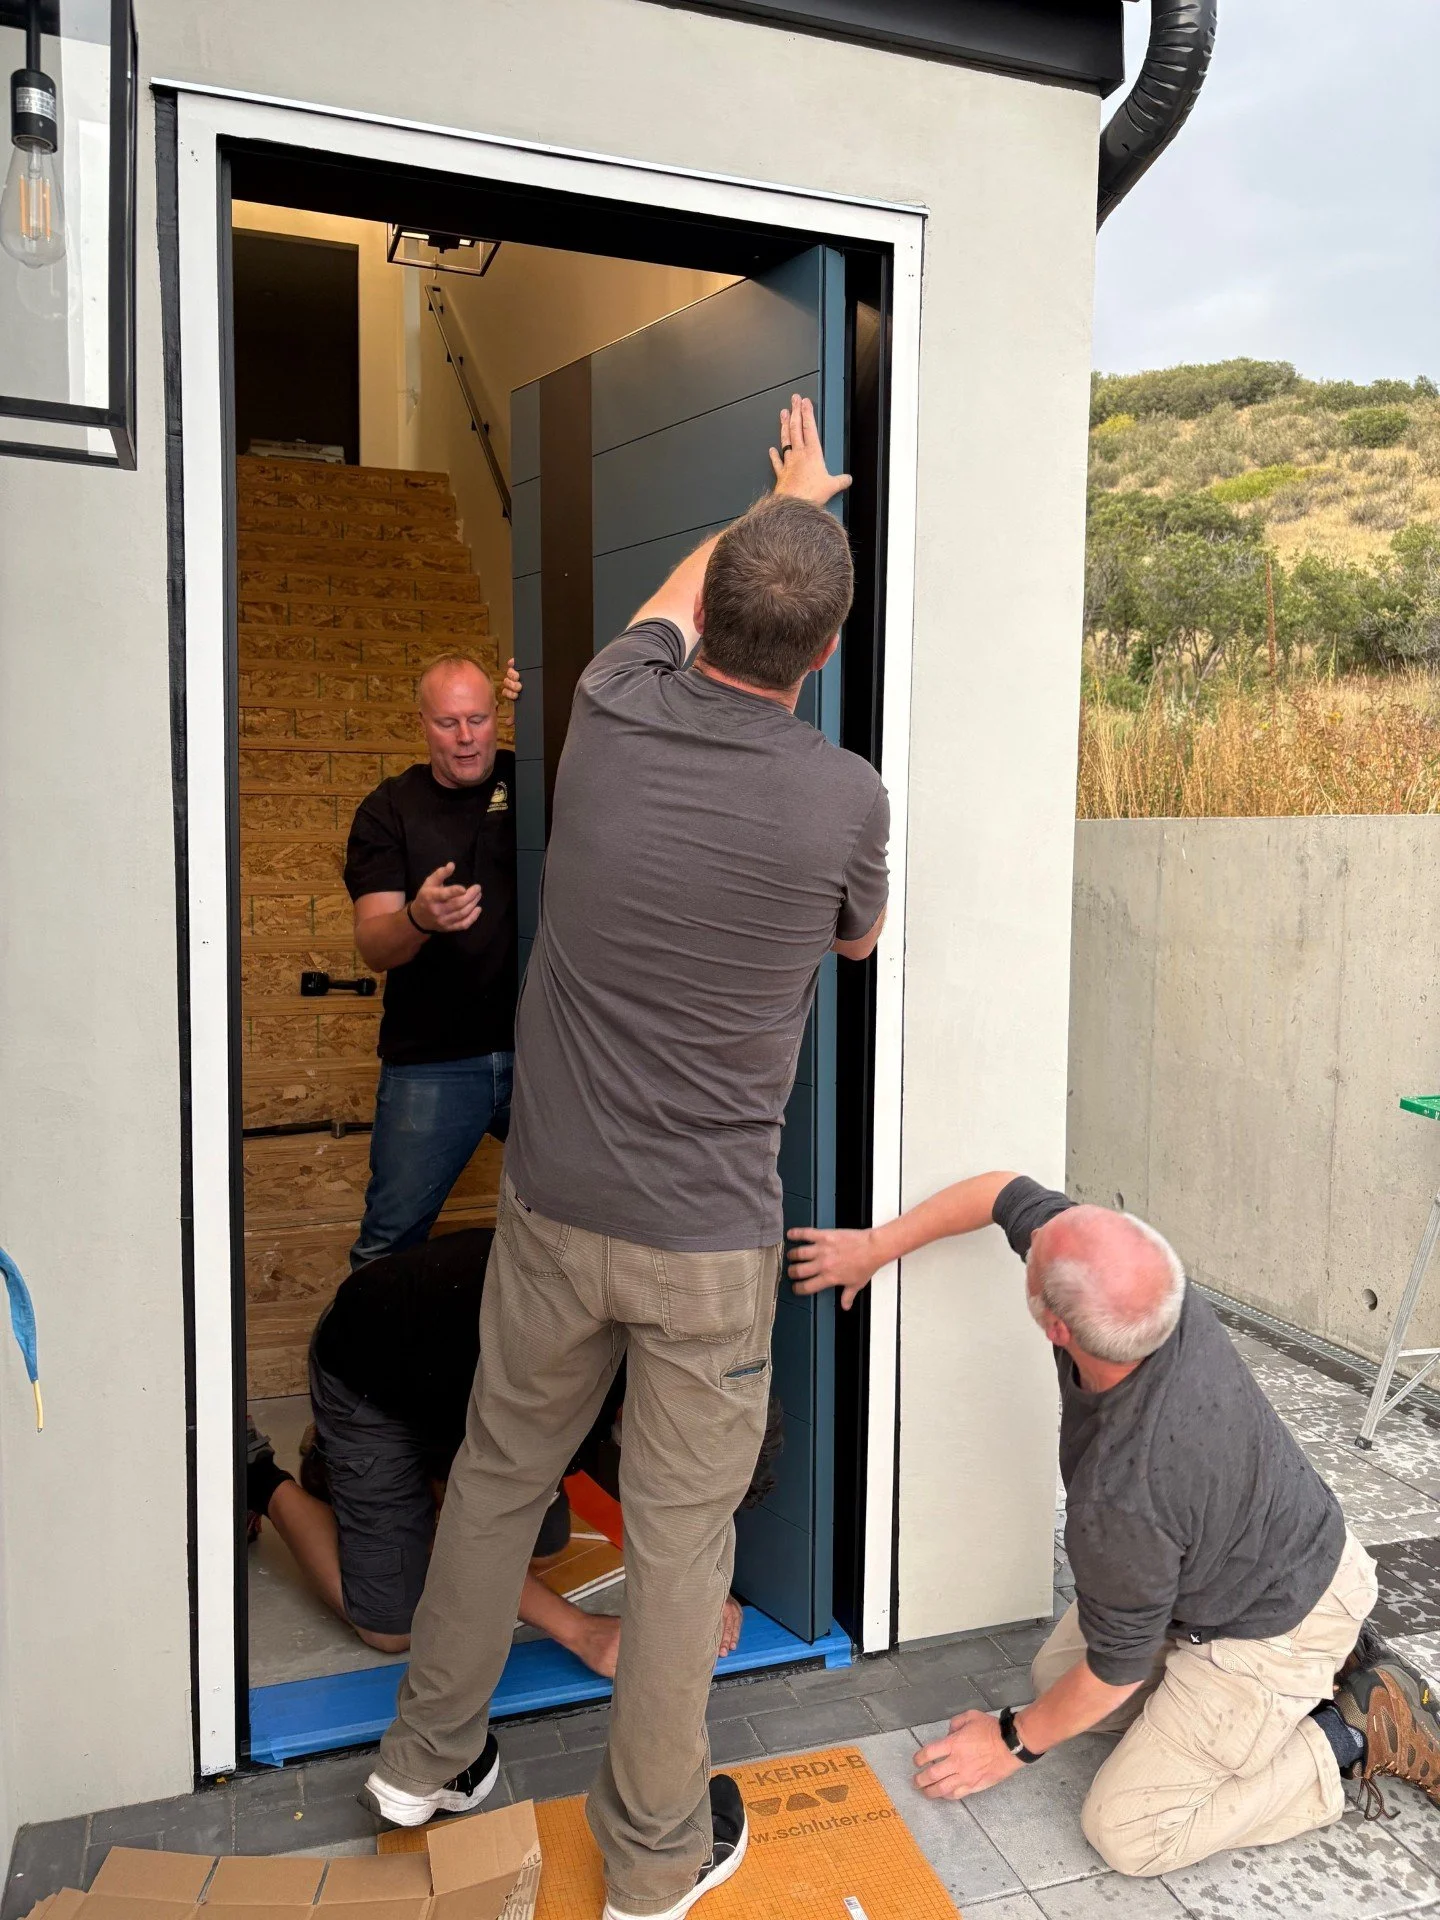
Brutally heavy, but all is going well so far.
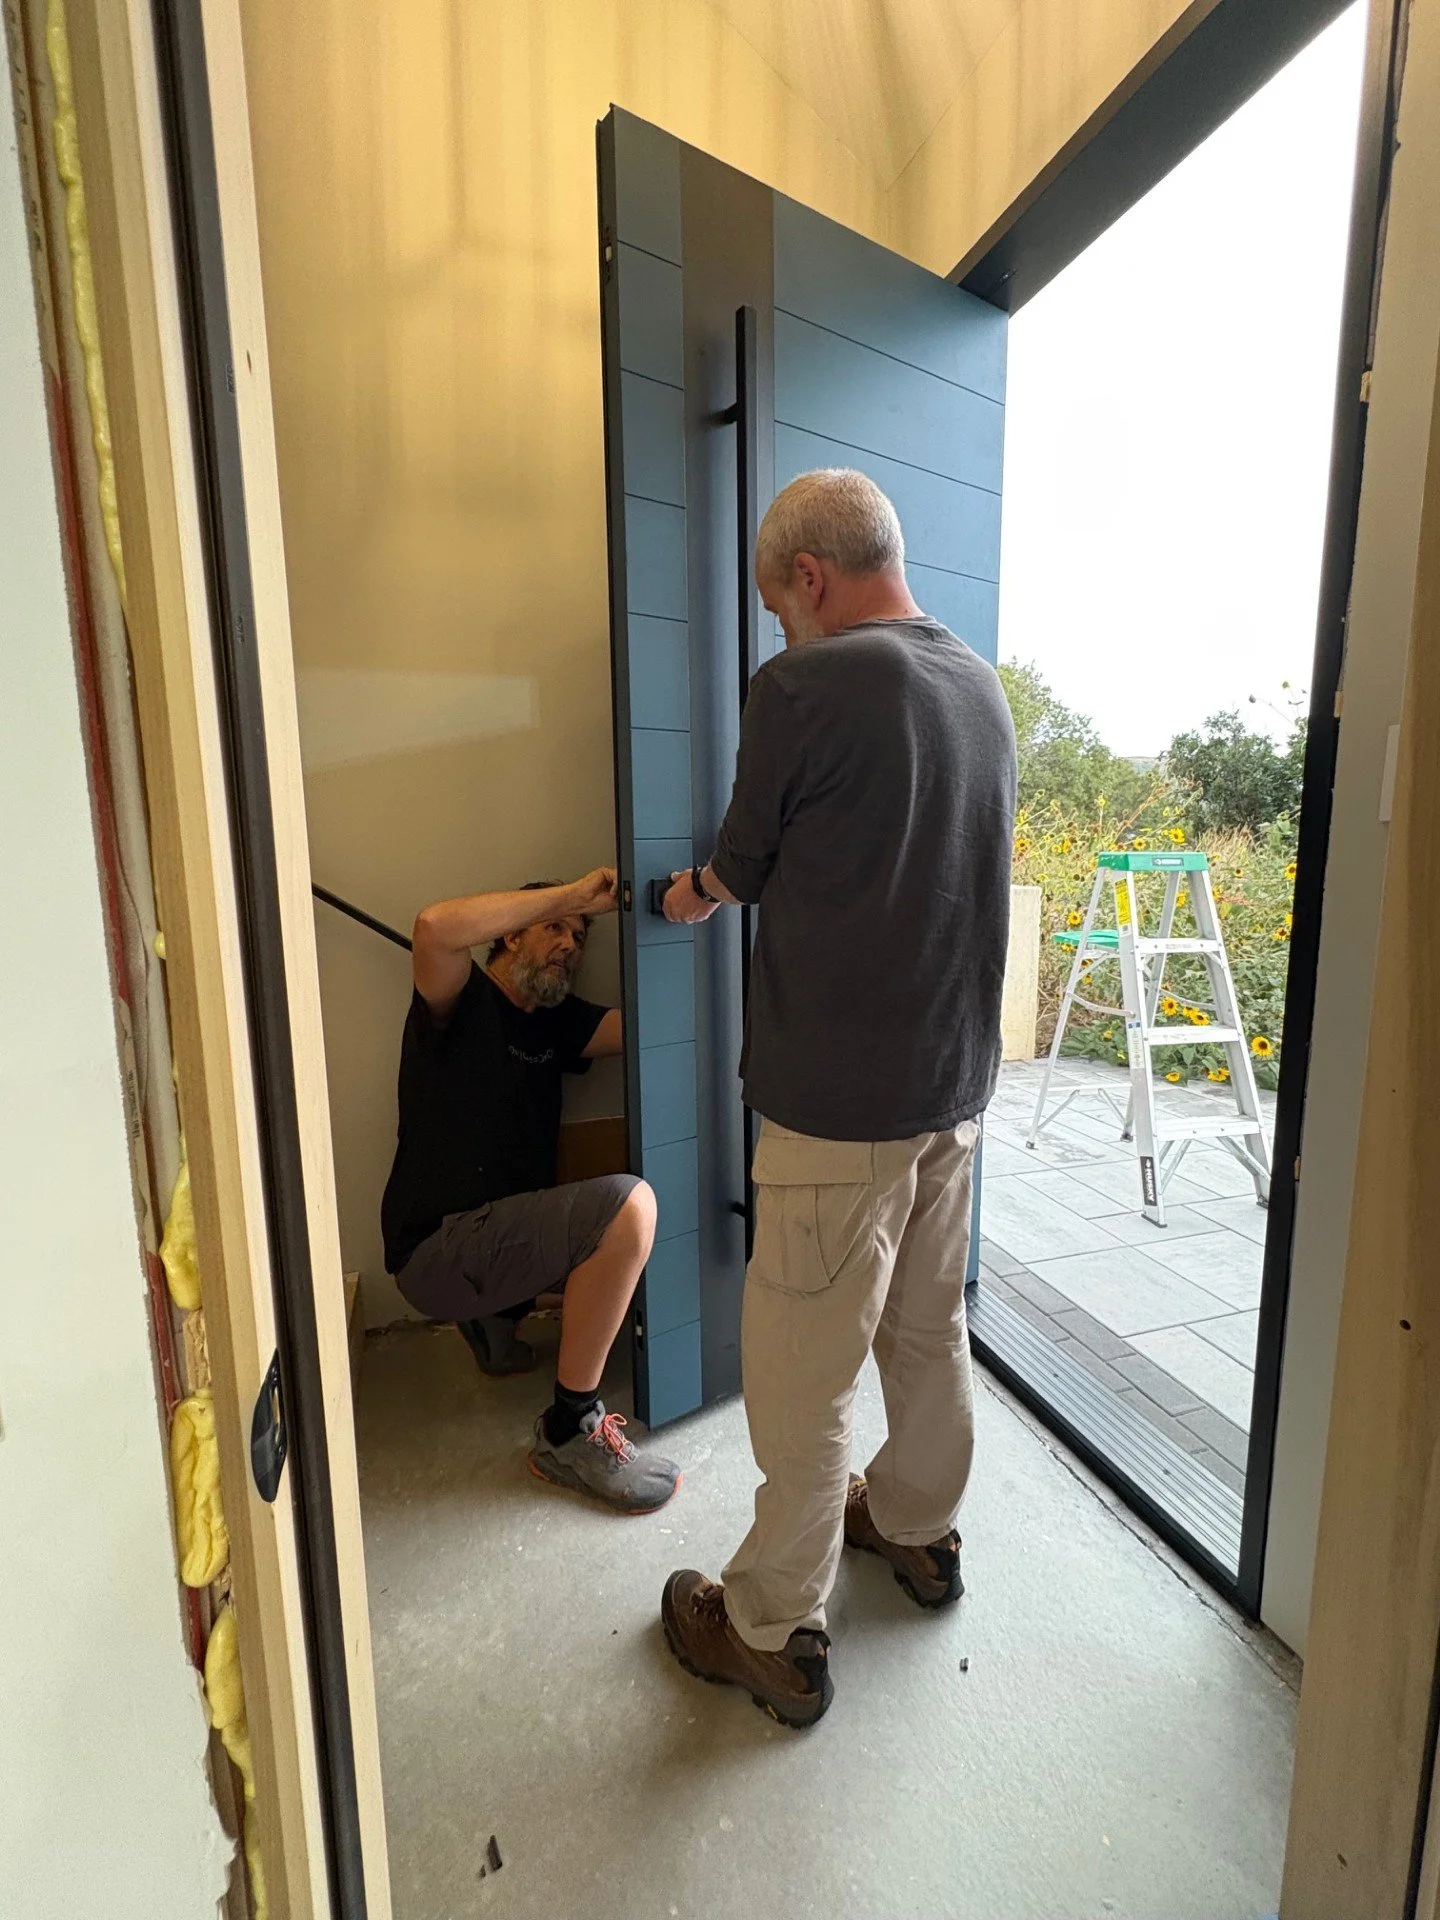
The pivot hardware is secured.
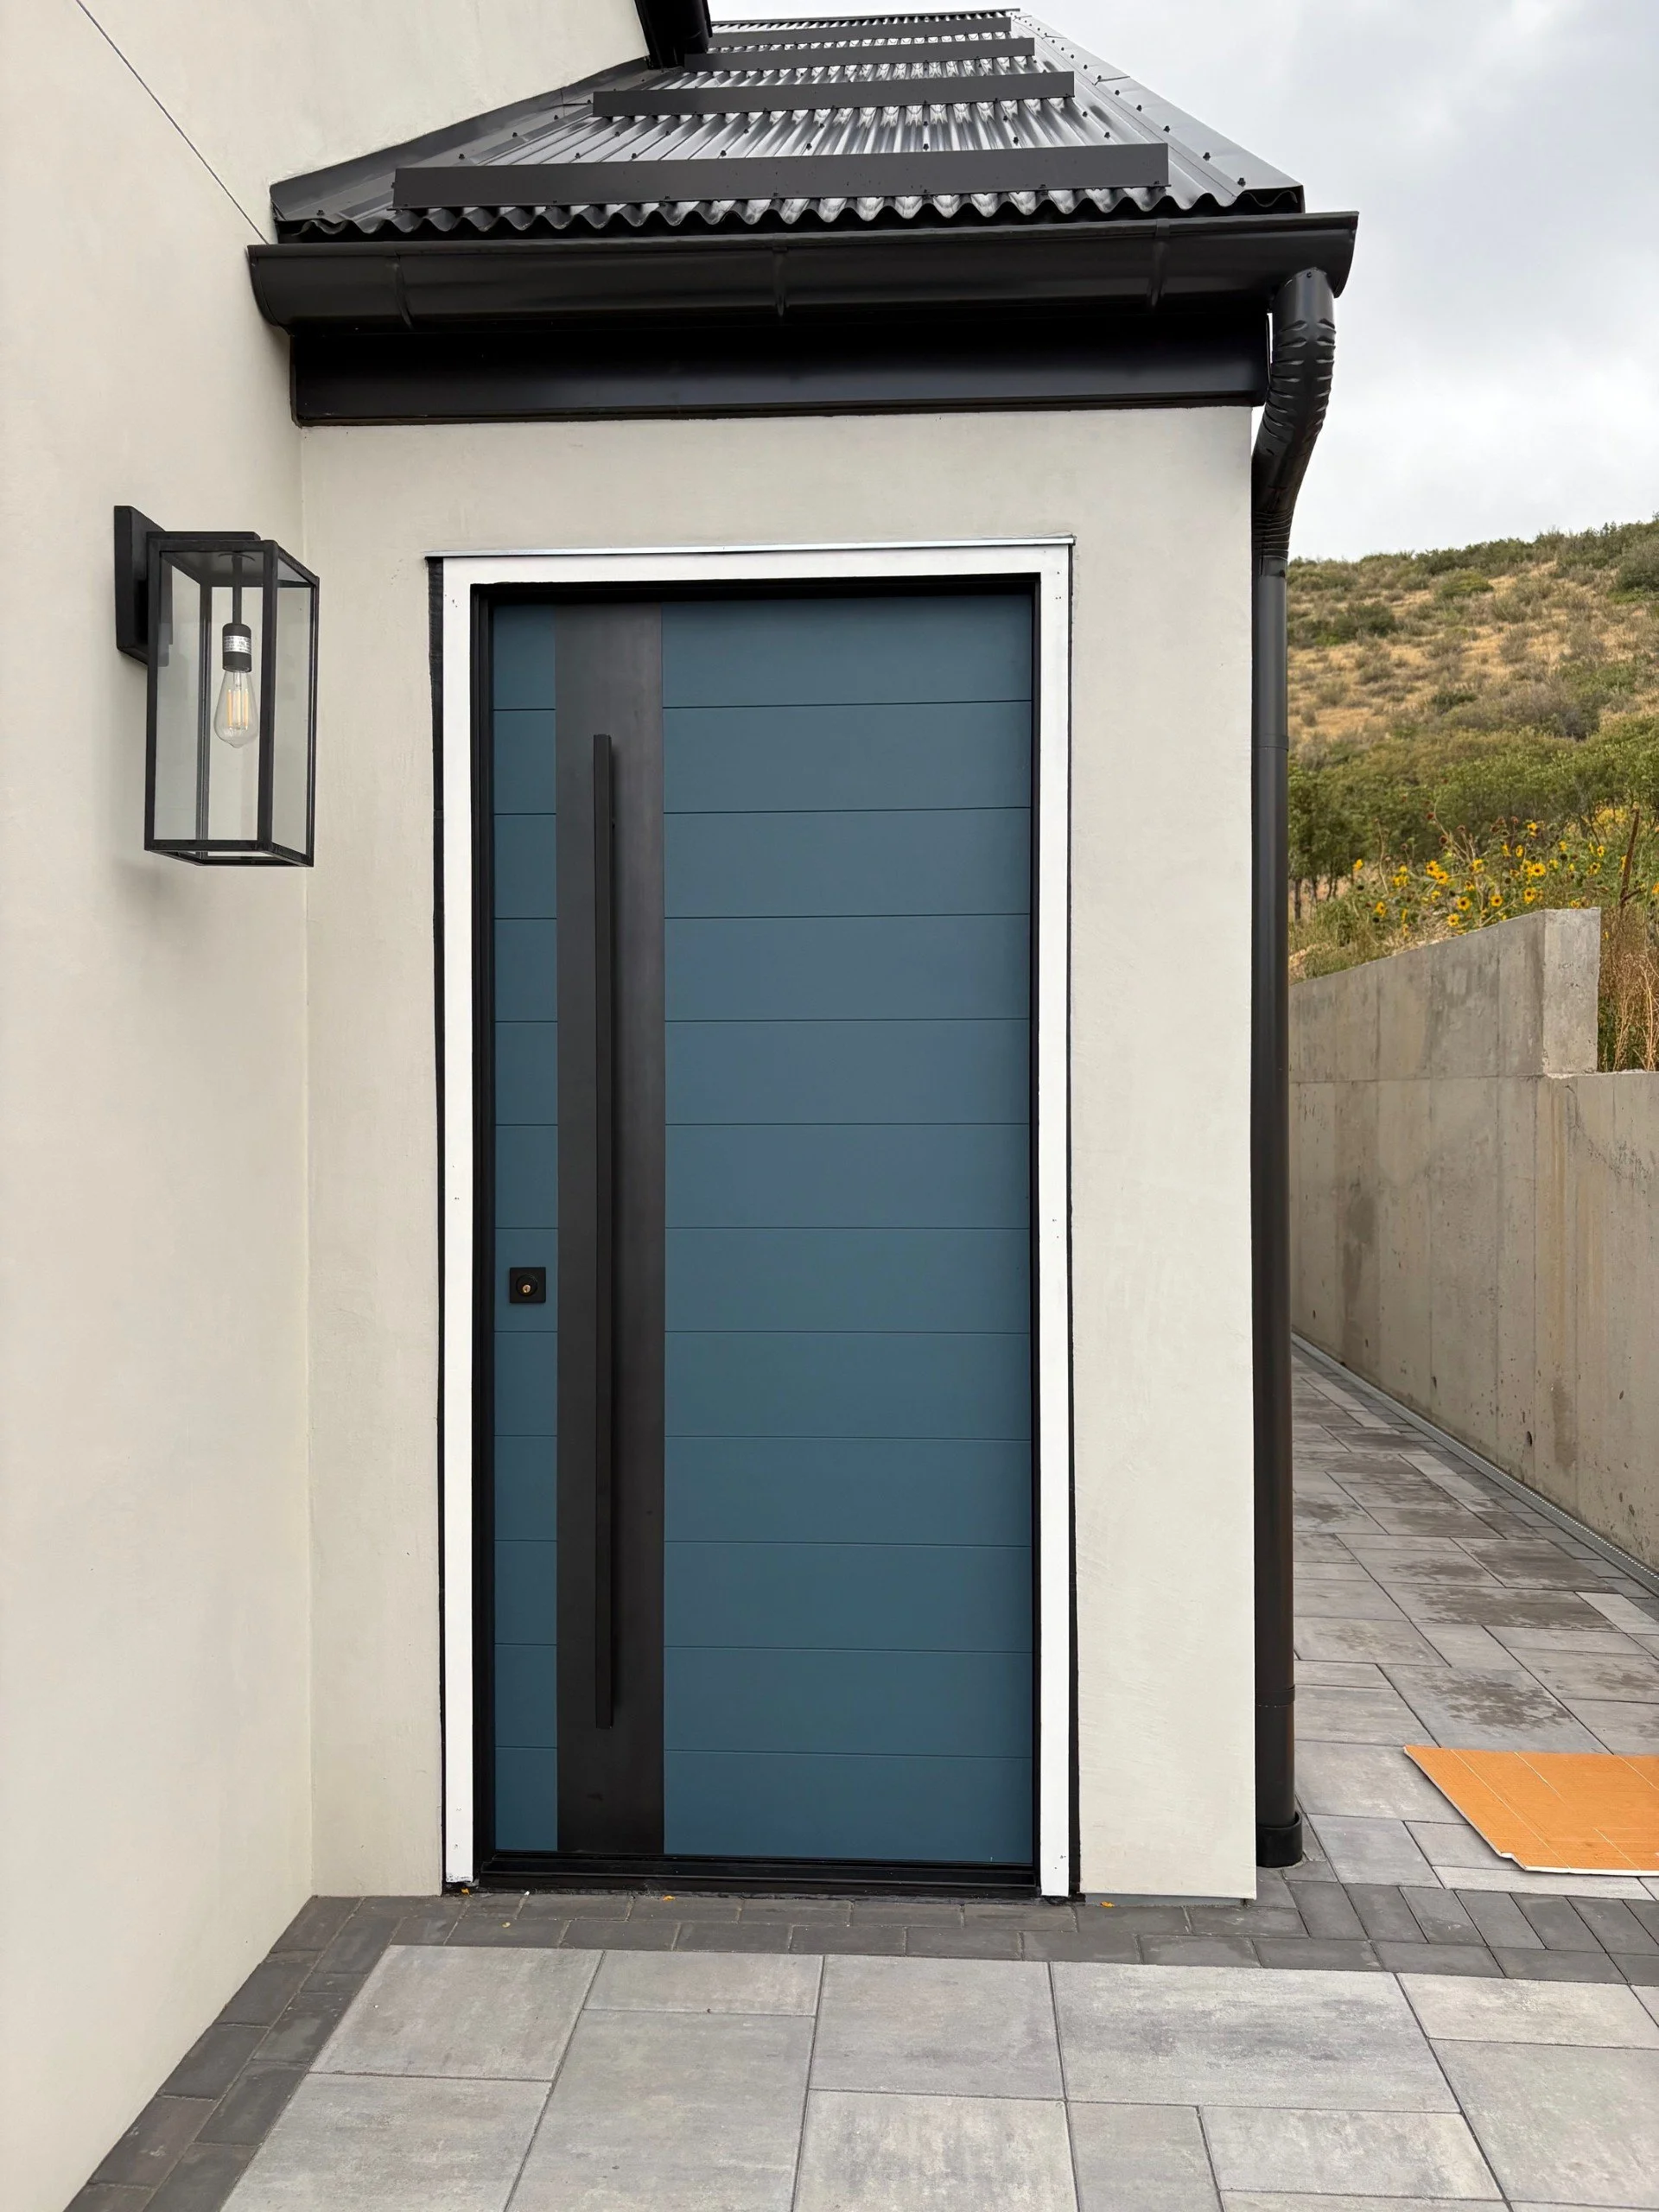
And it's in!! Looks fantastic guys!
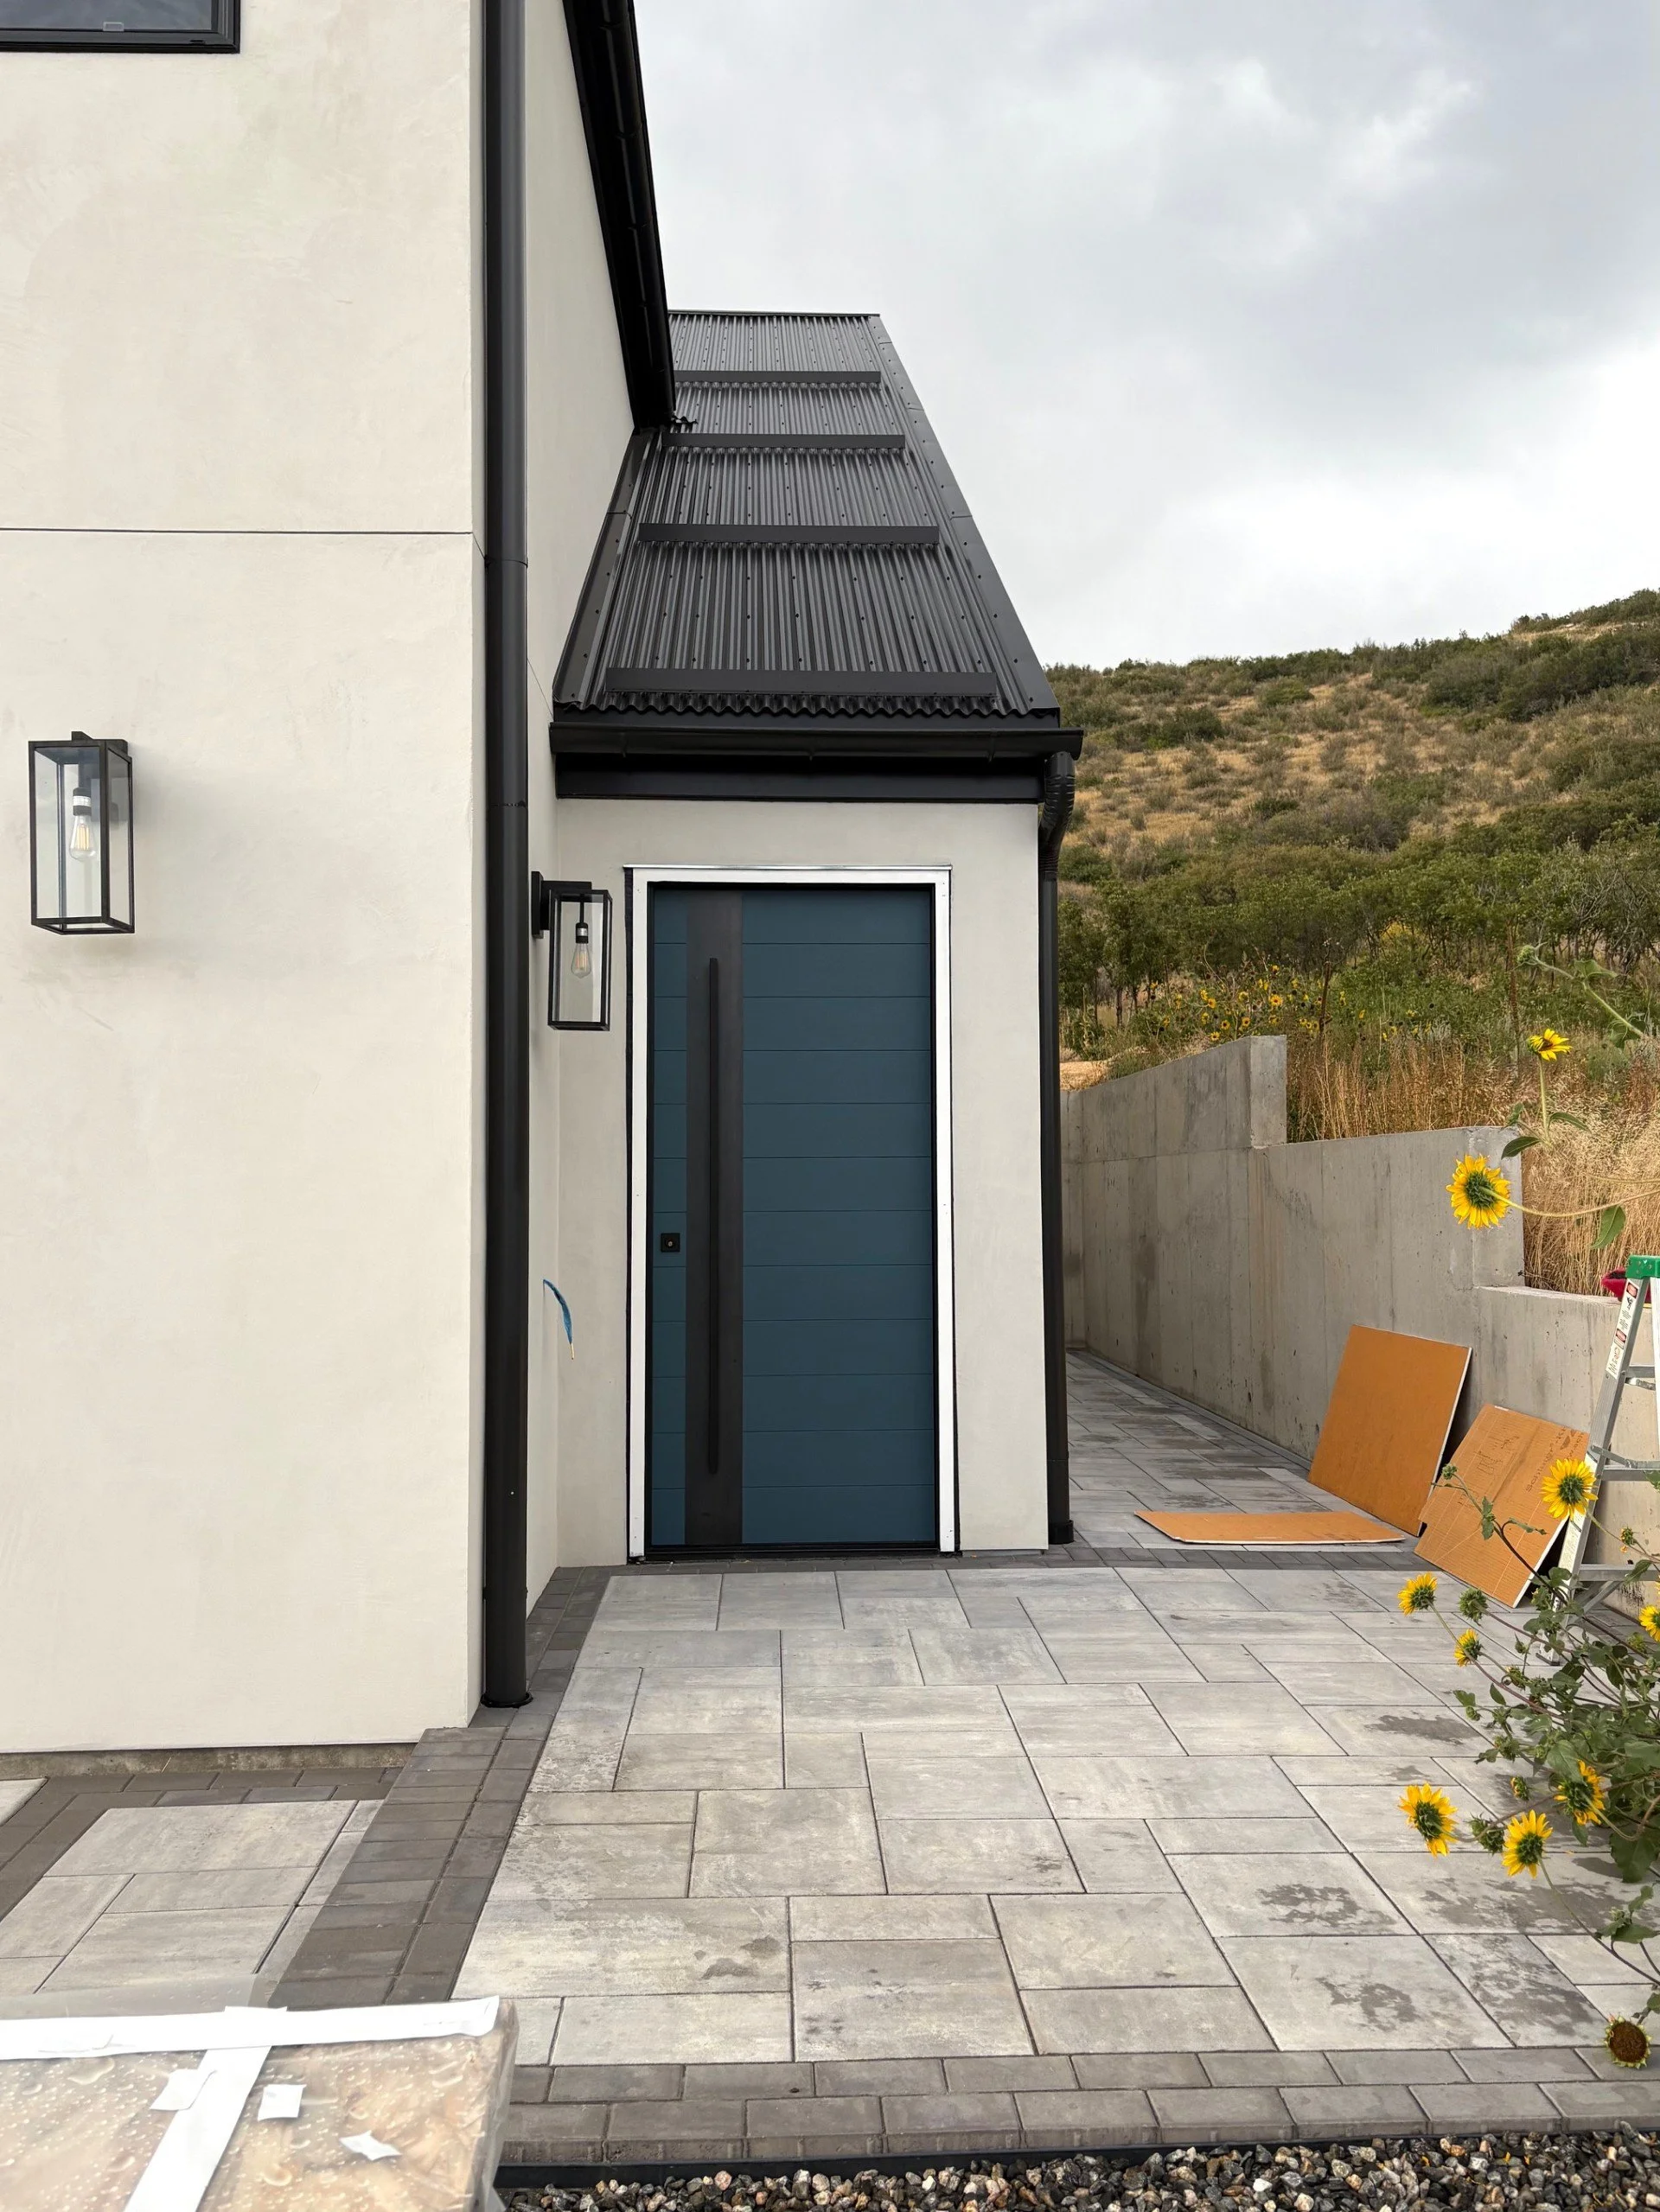
Stepping back a bit in this picture to give you a better view!
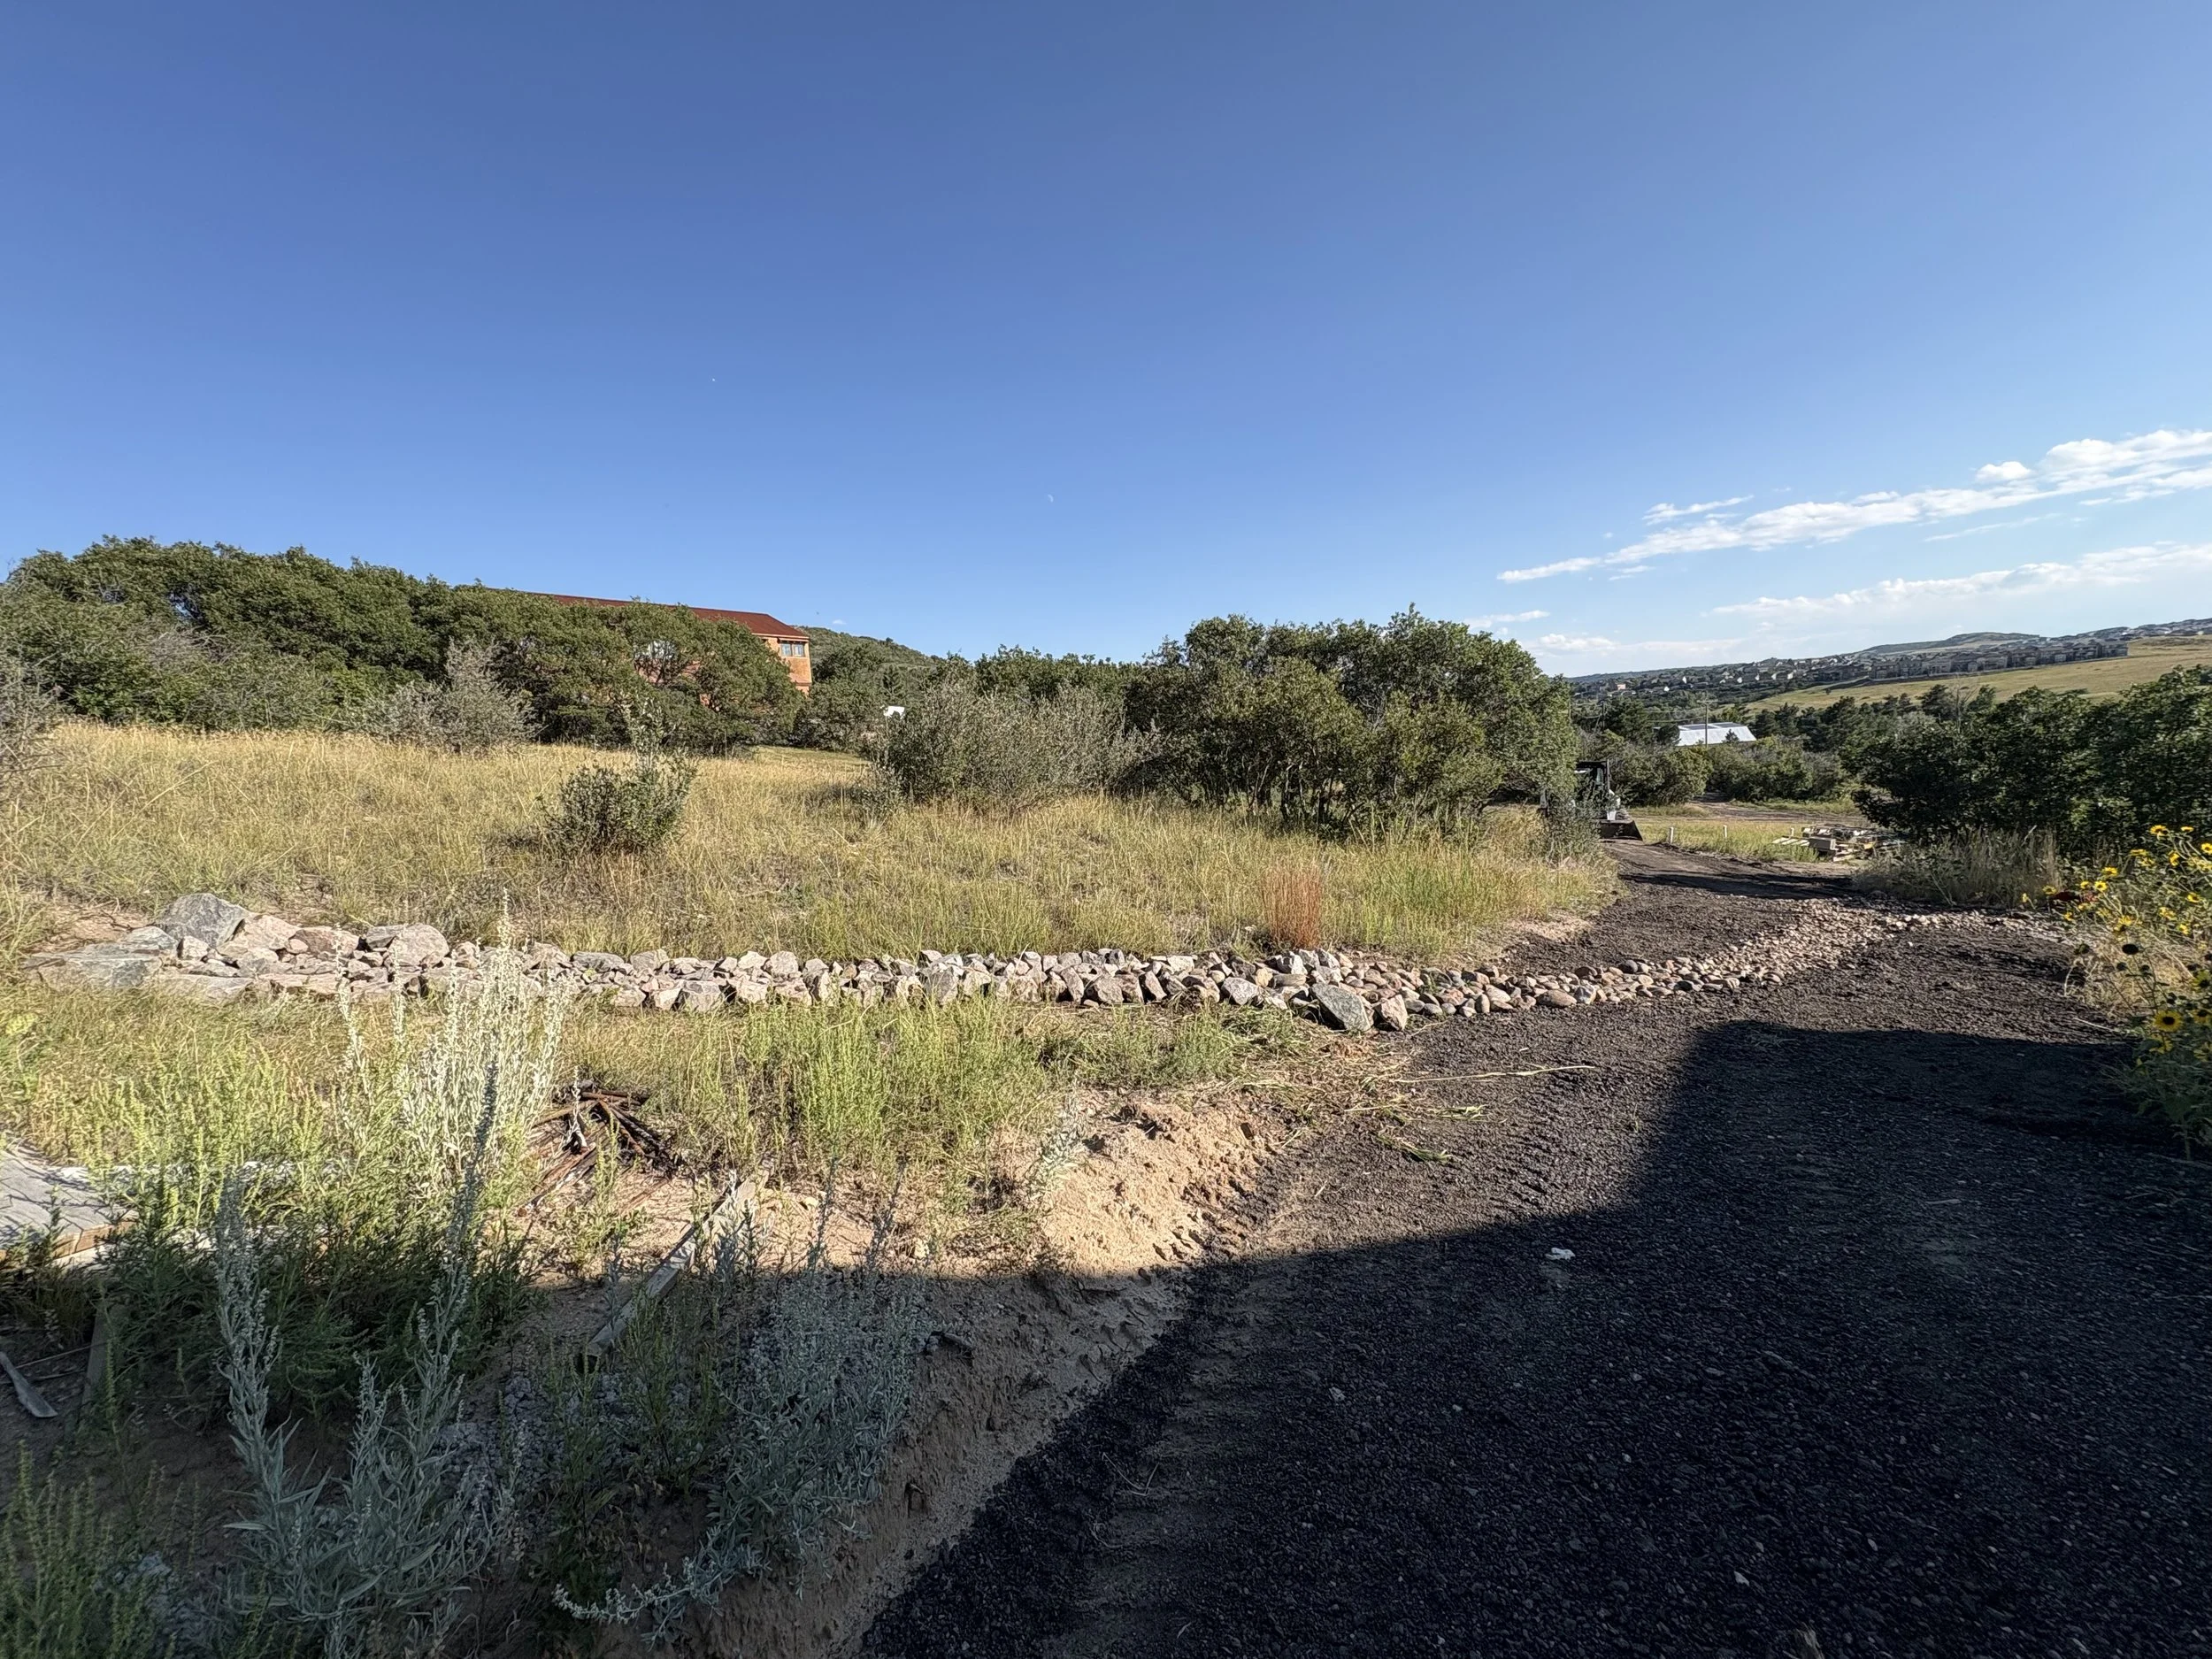
Step 25: The Drainage Ditches

Remember that dirt Kris was moving in the earlier photo gallery? This was why. A giant drainage ditch had to be built in the front of the house.
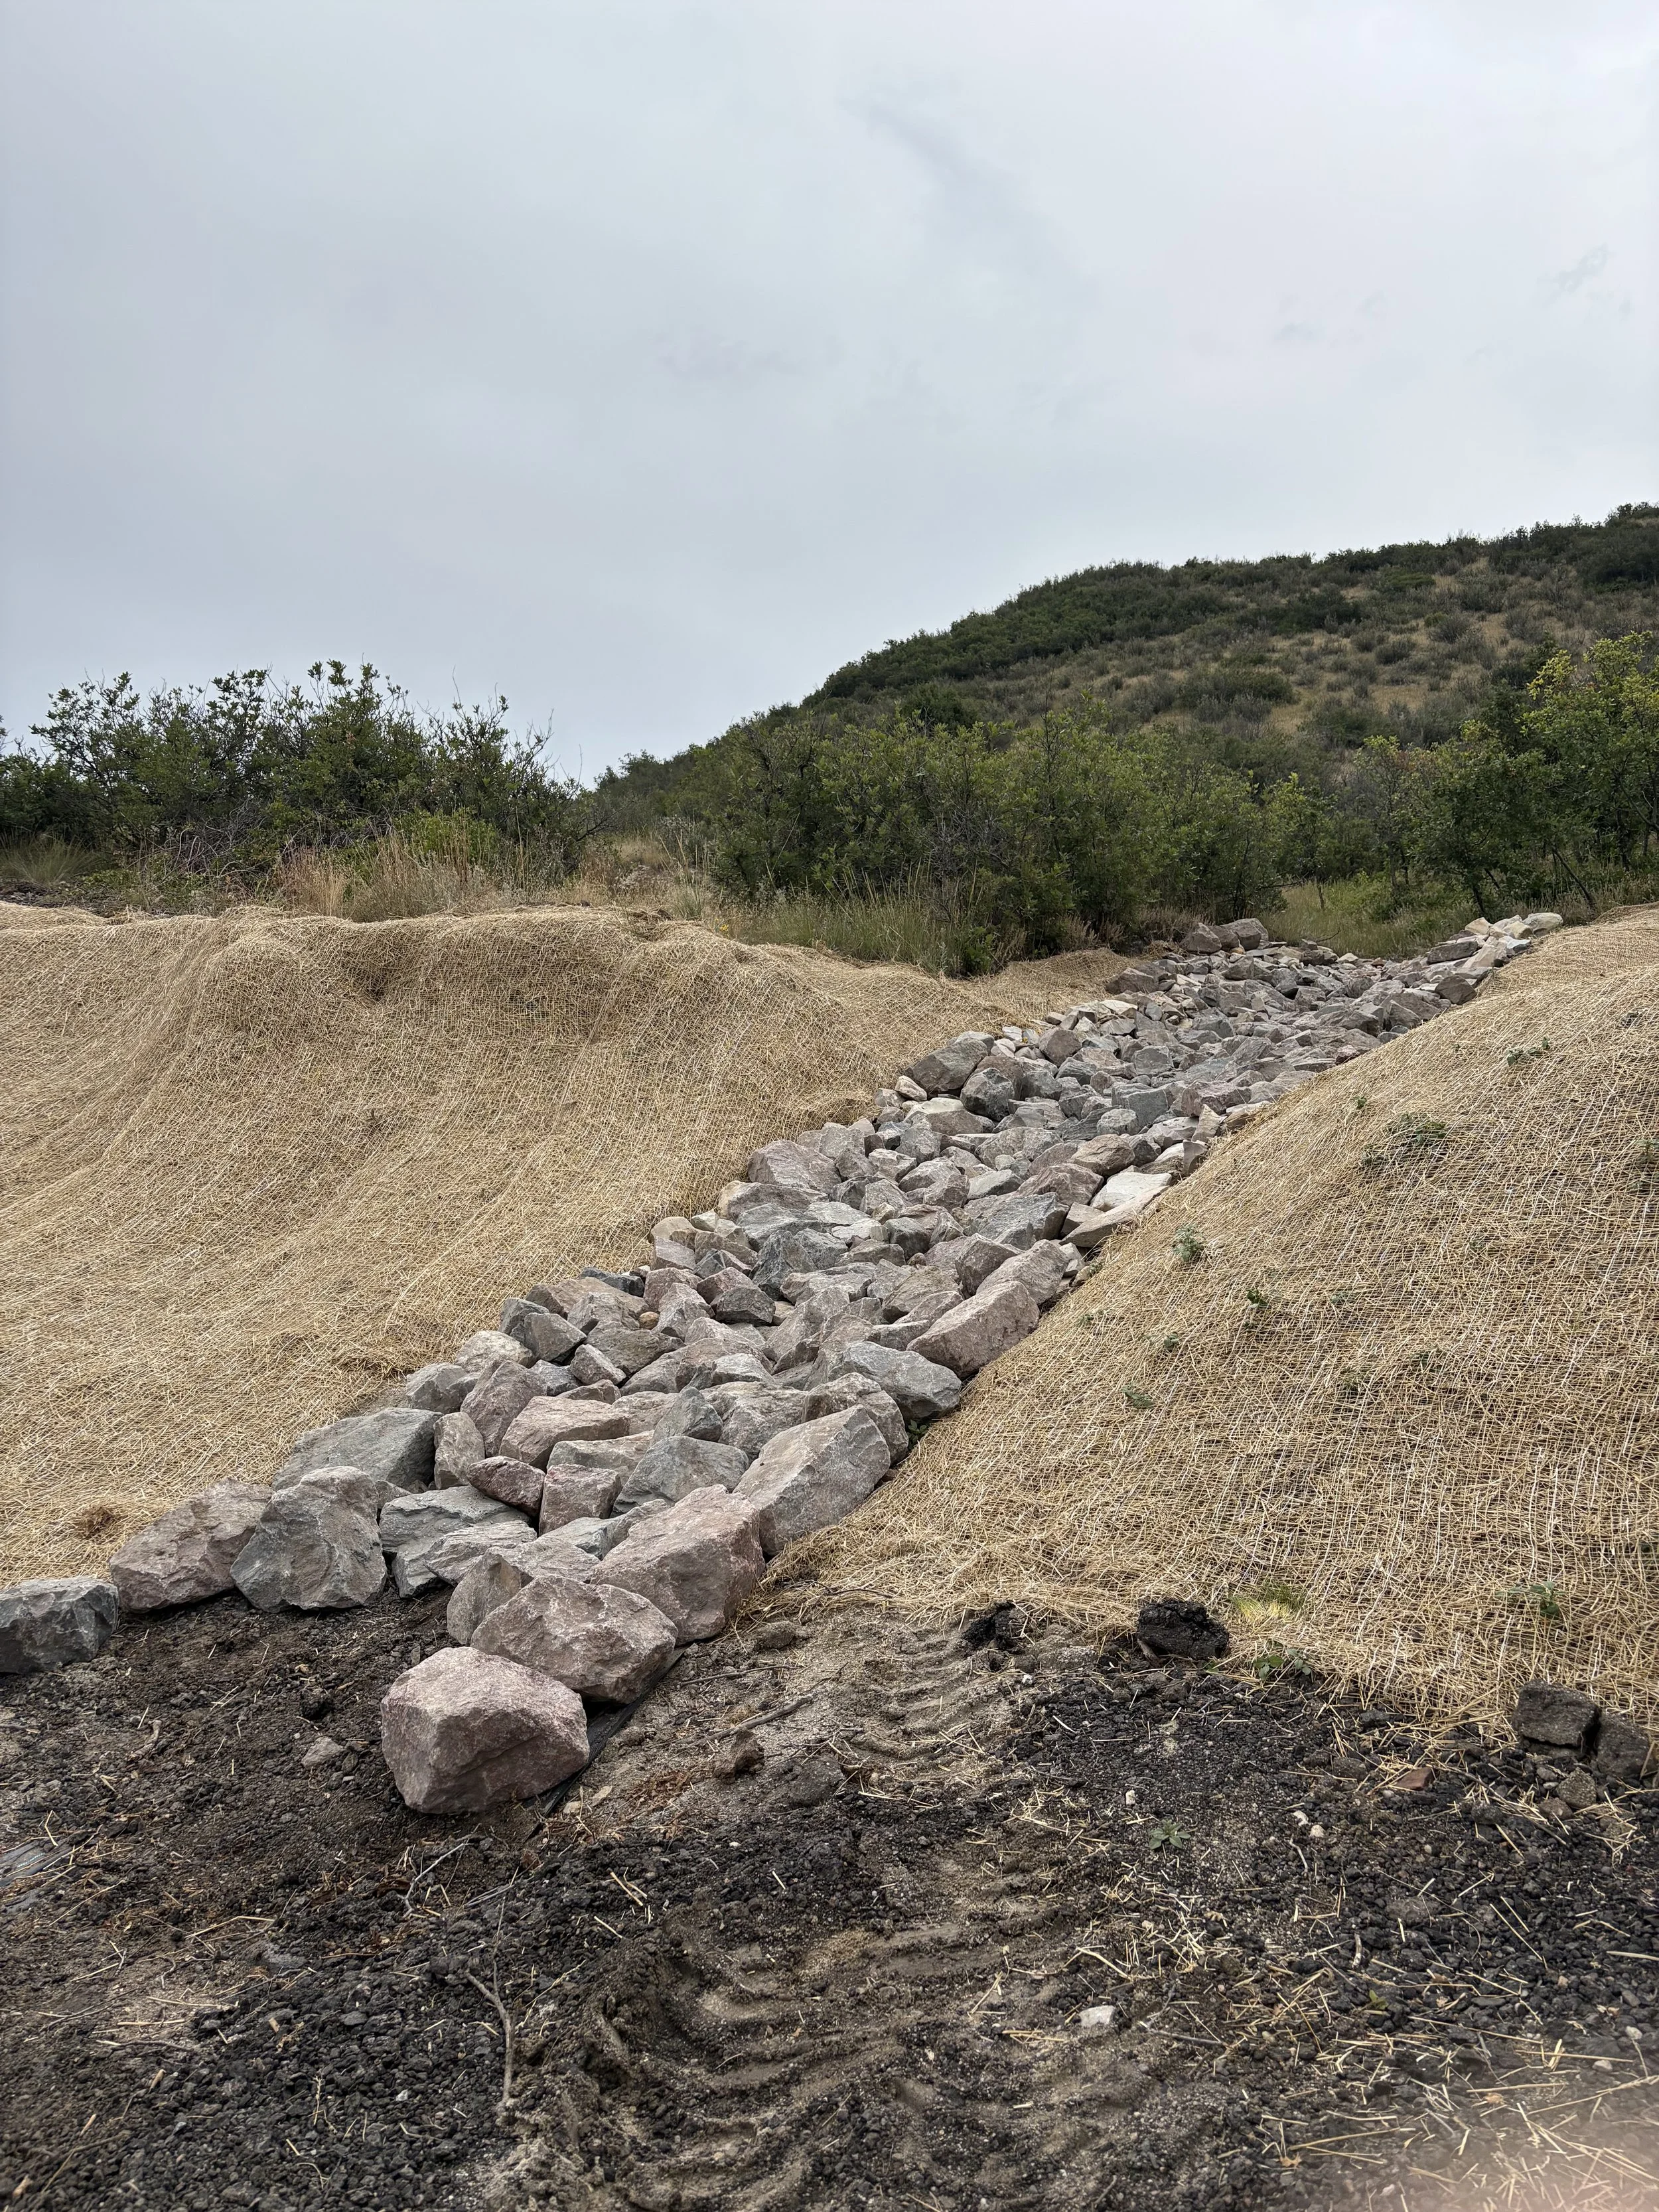
Many tons of rocks!
This is what happens when you build your house into a hill. You need a place for the water to go!
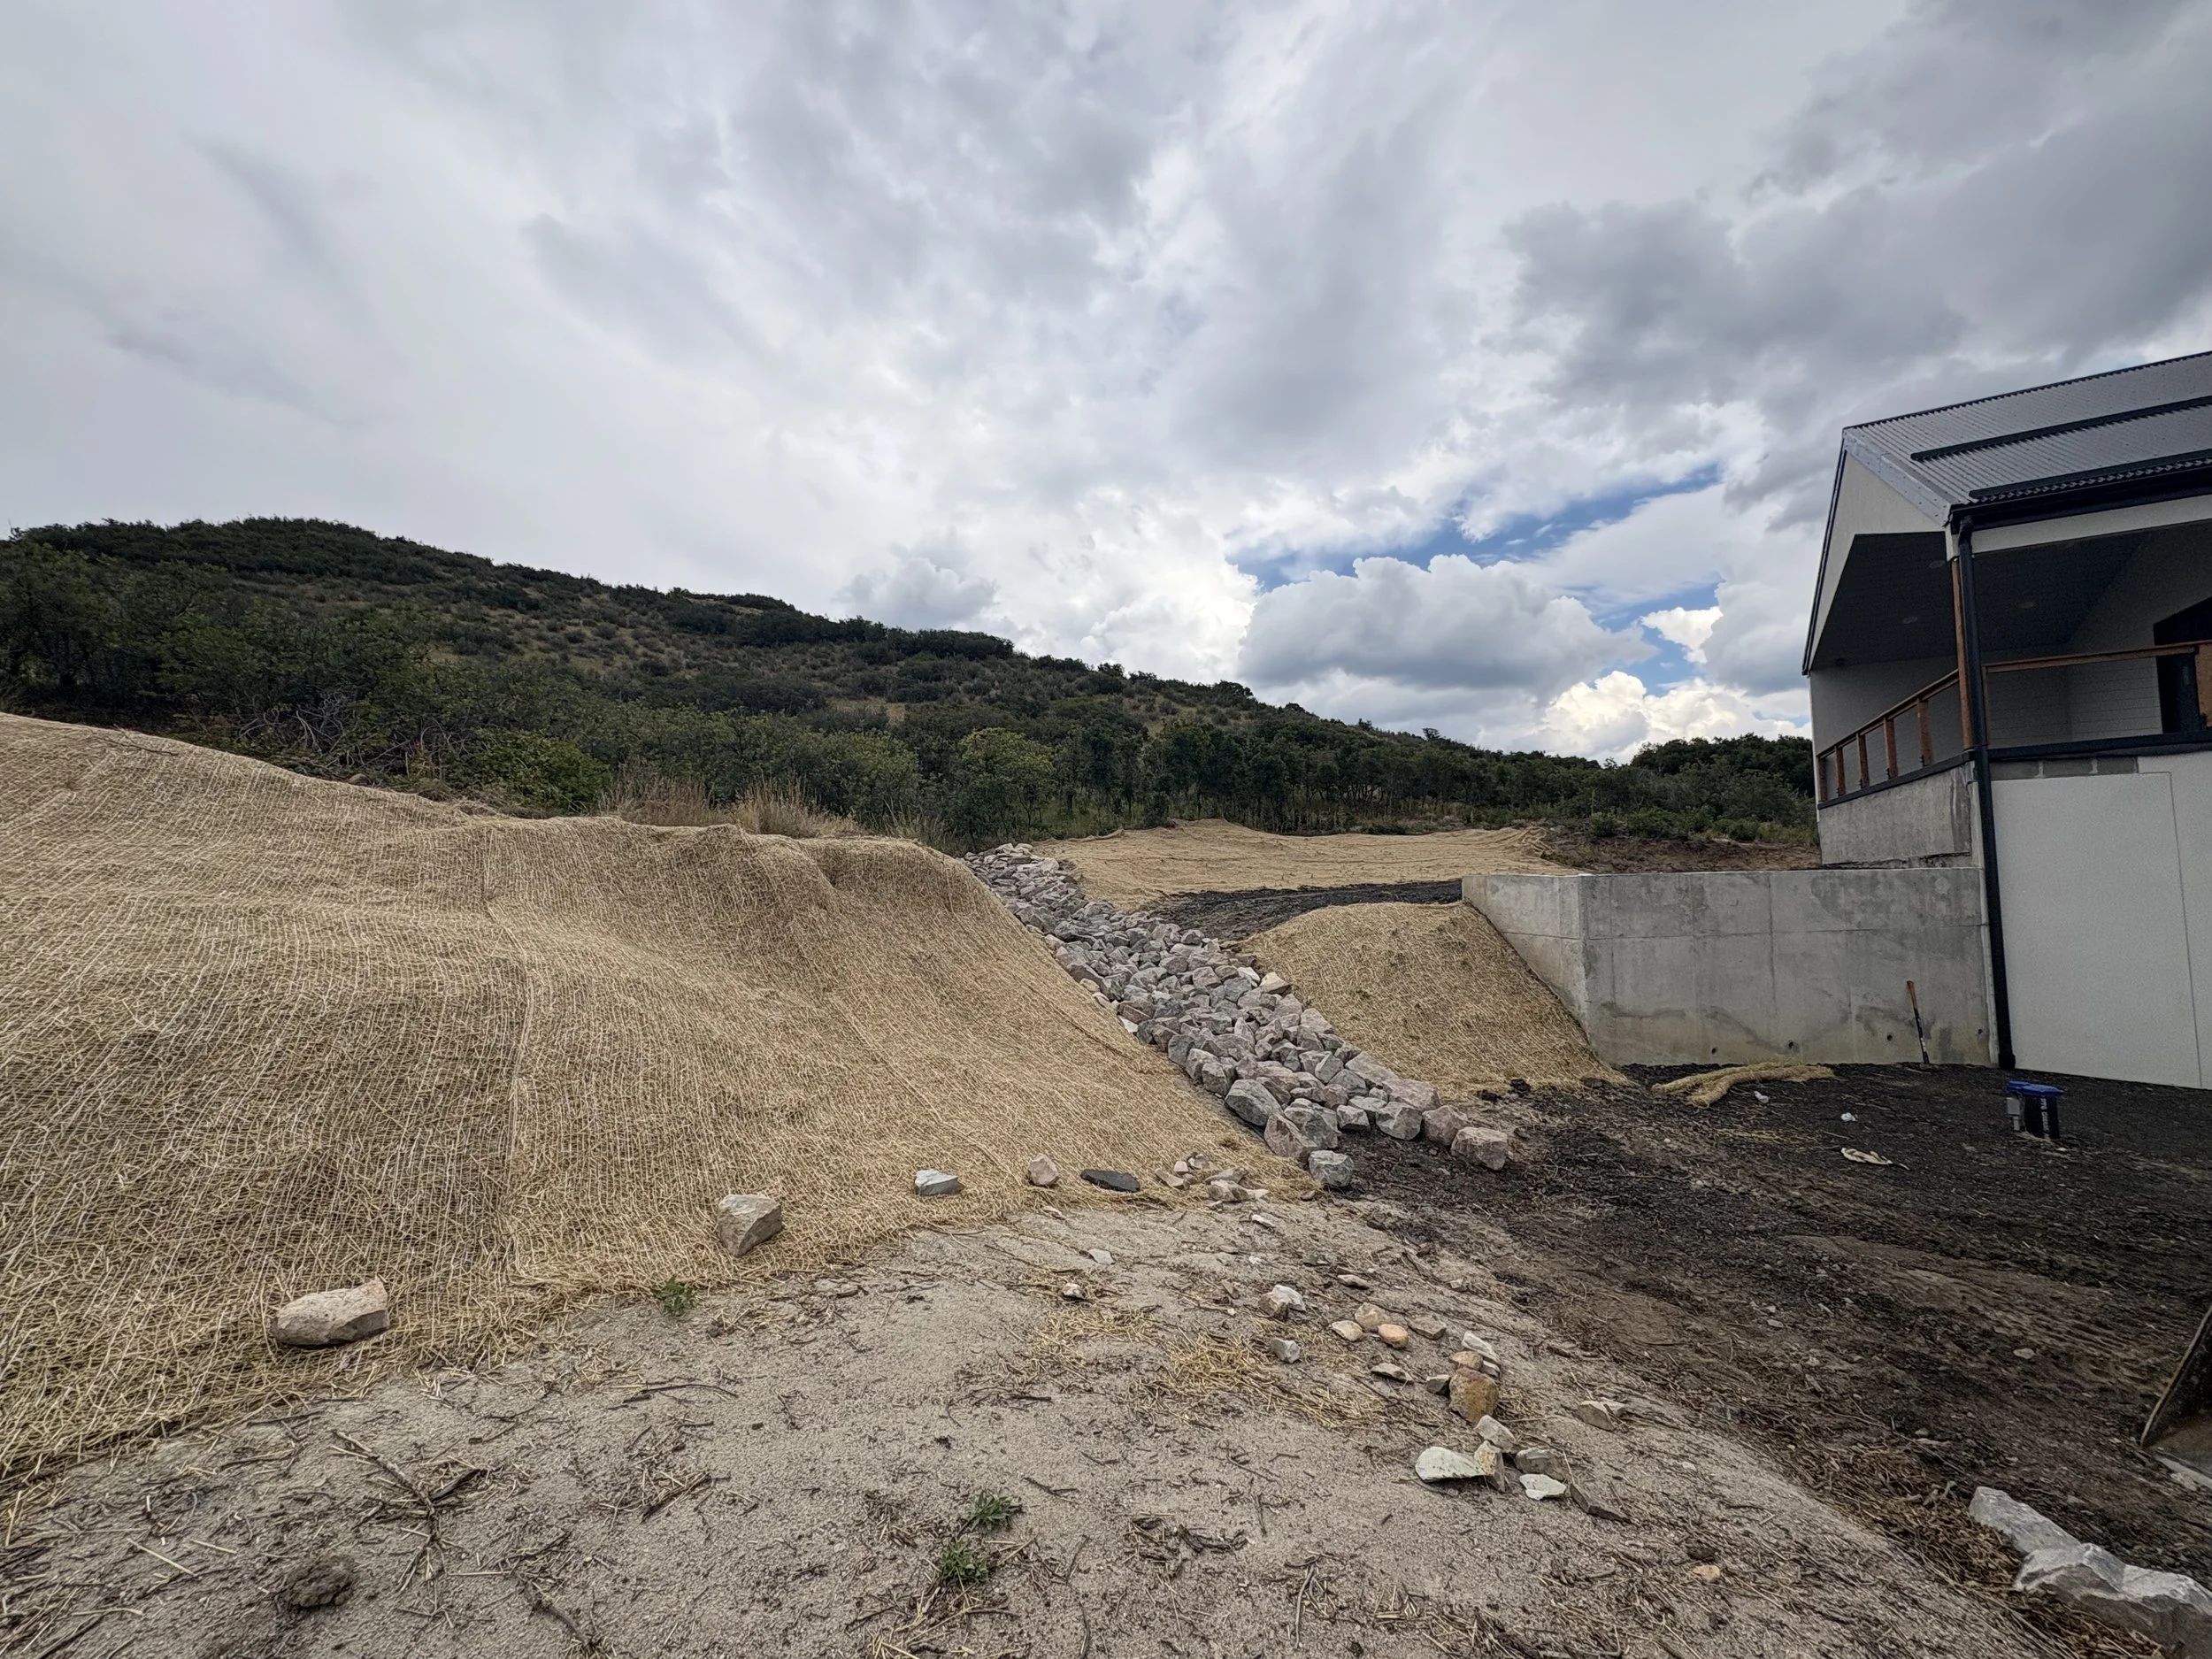
Now Kris begins filling the lower part of the drainage that goes across the driveway.
This section had to have a mix of rock sizes so the water would slow a bit before falling off the ravine side of our property.
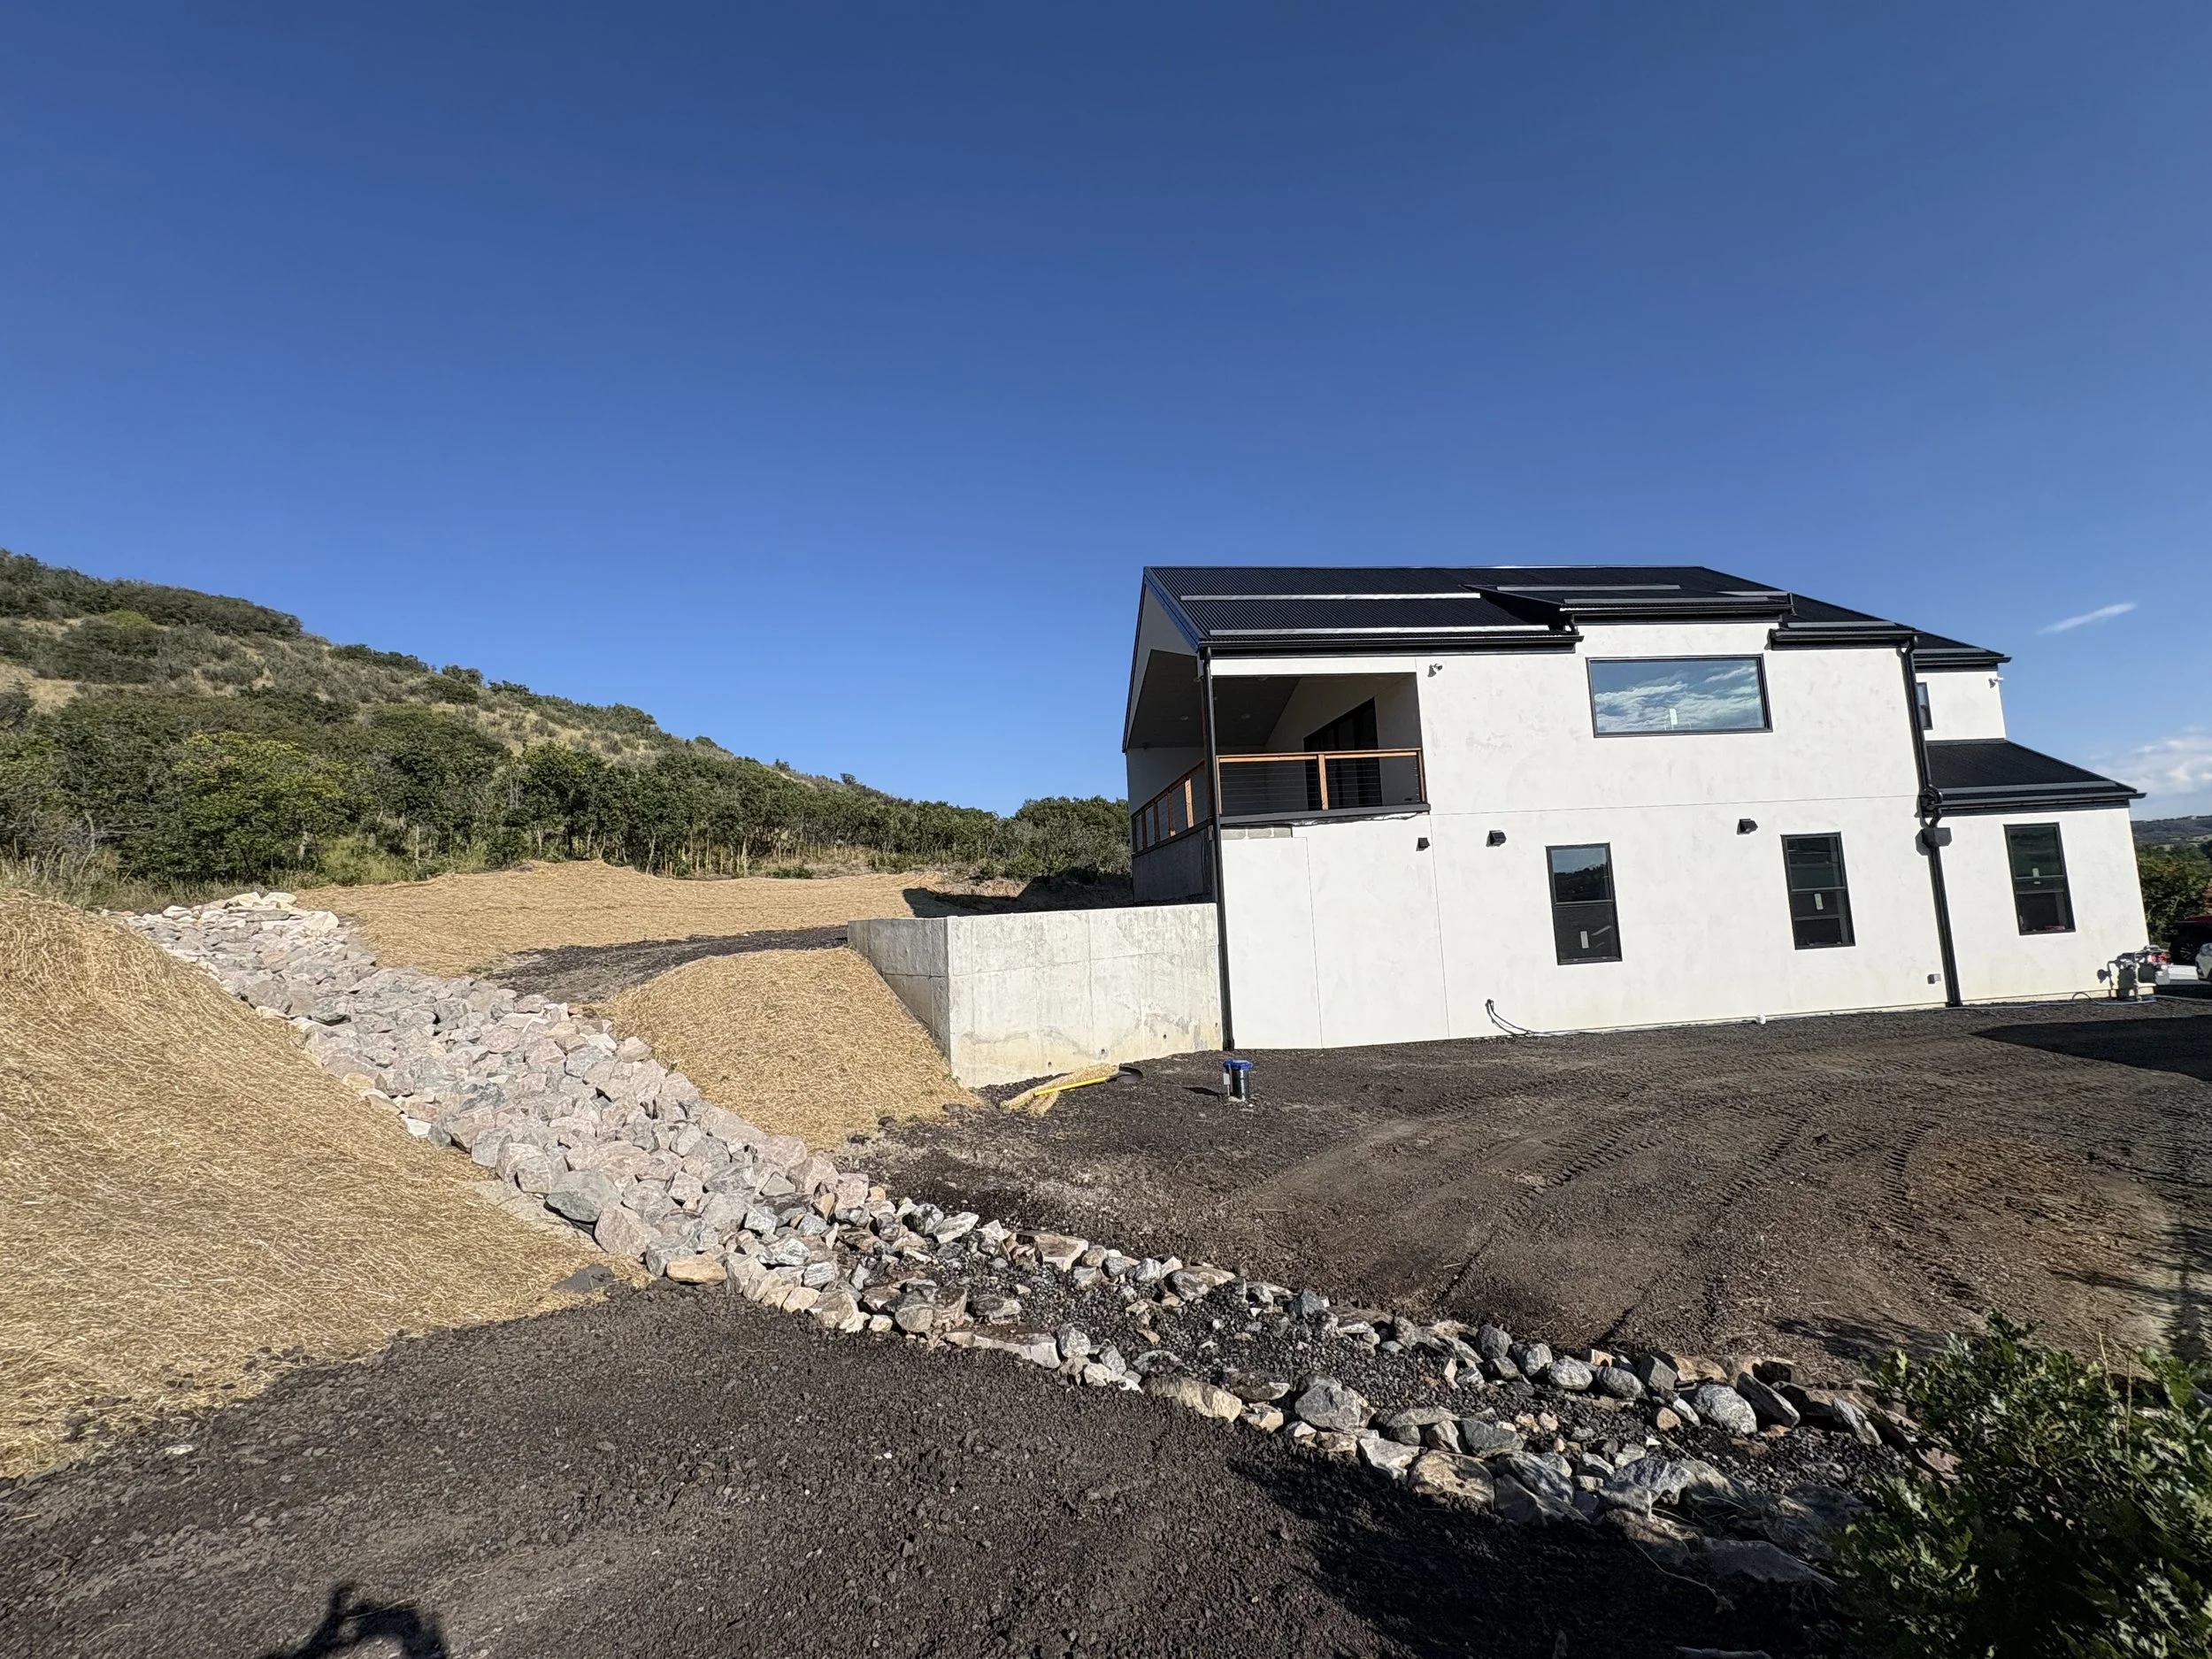
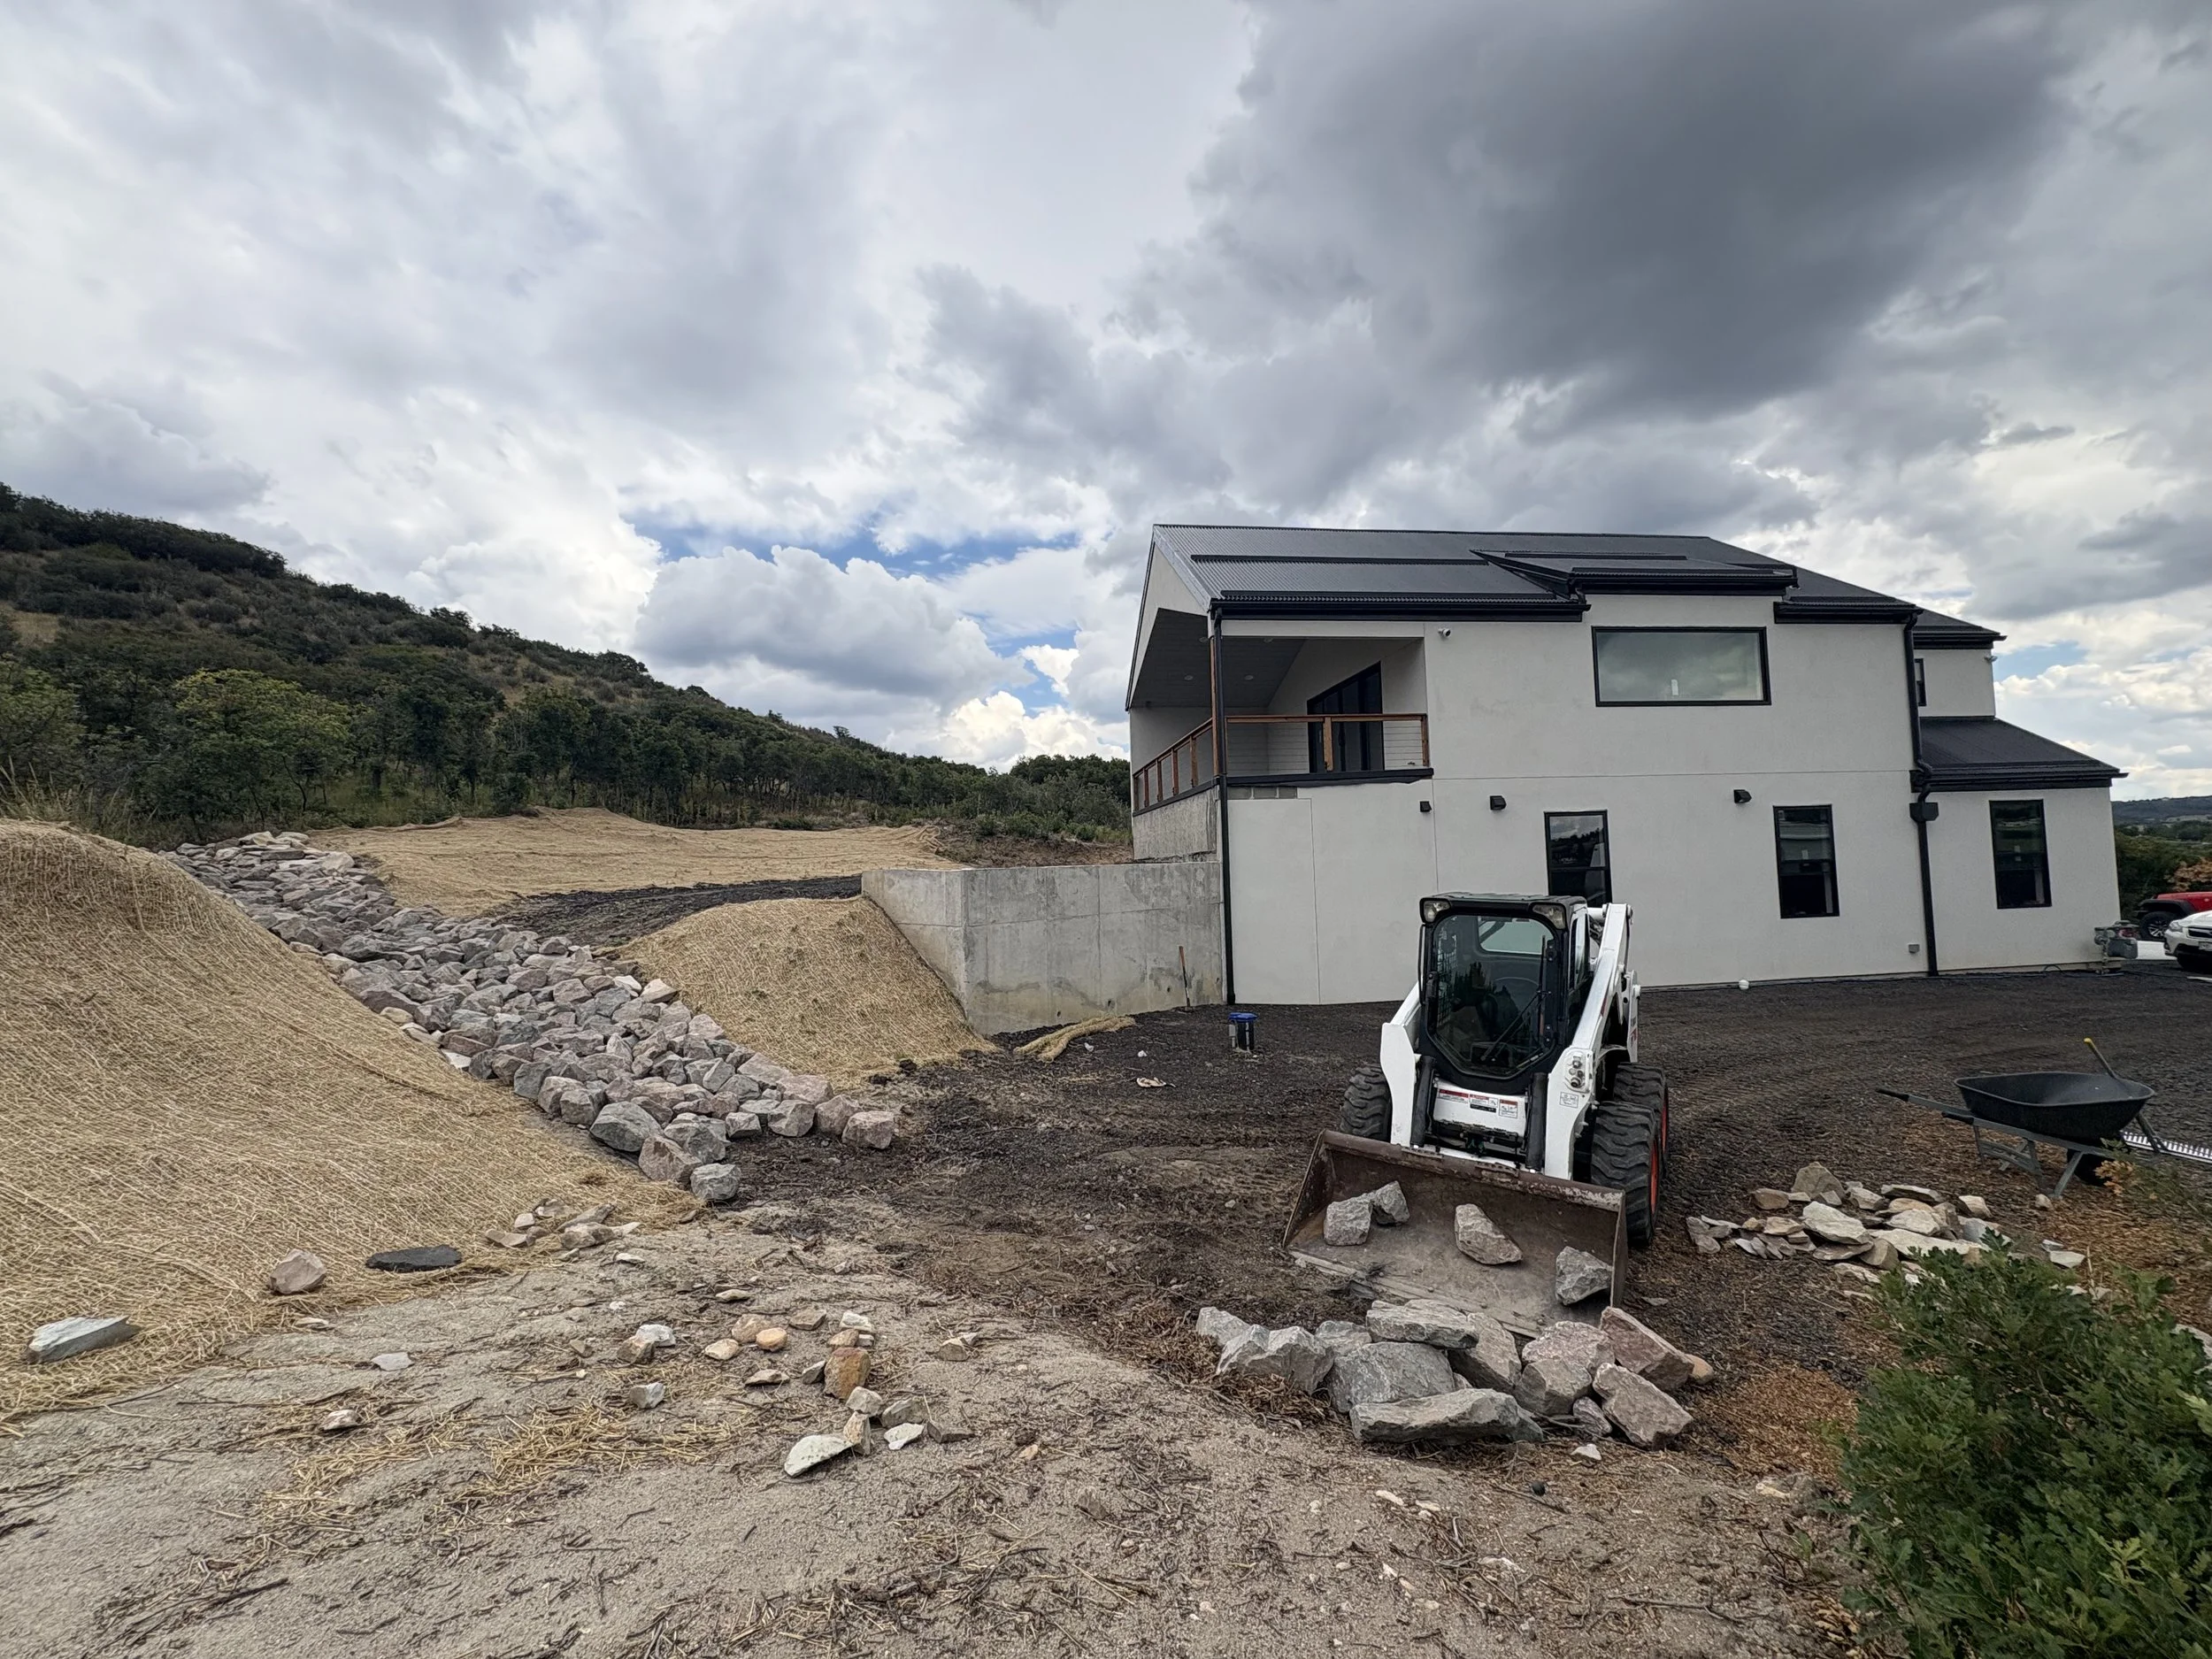
All finished in front! Now onto the back of the house.

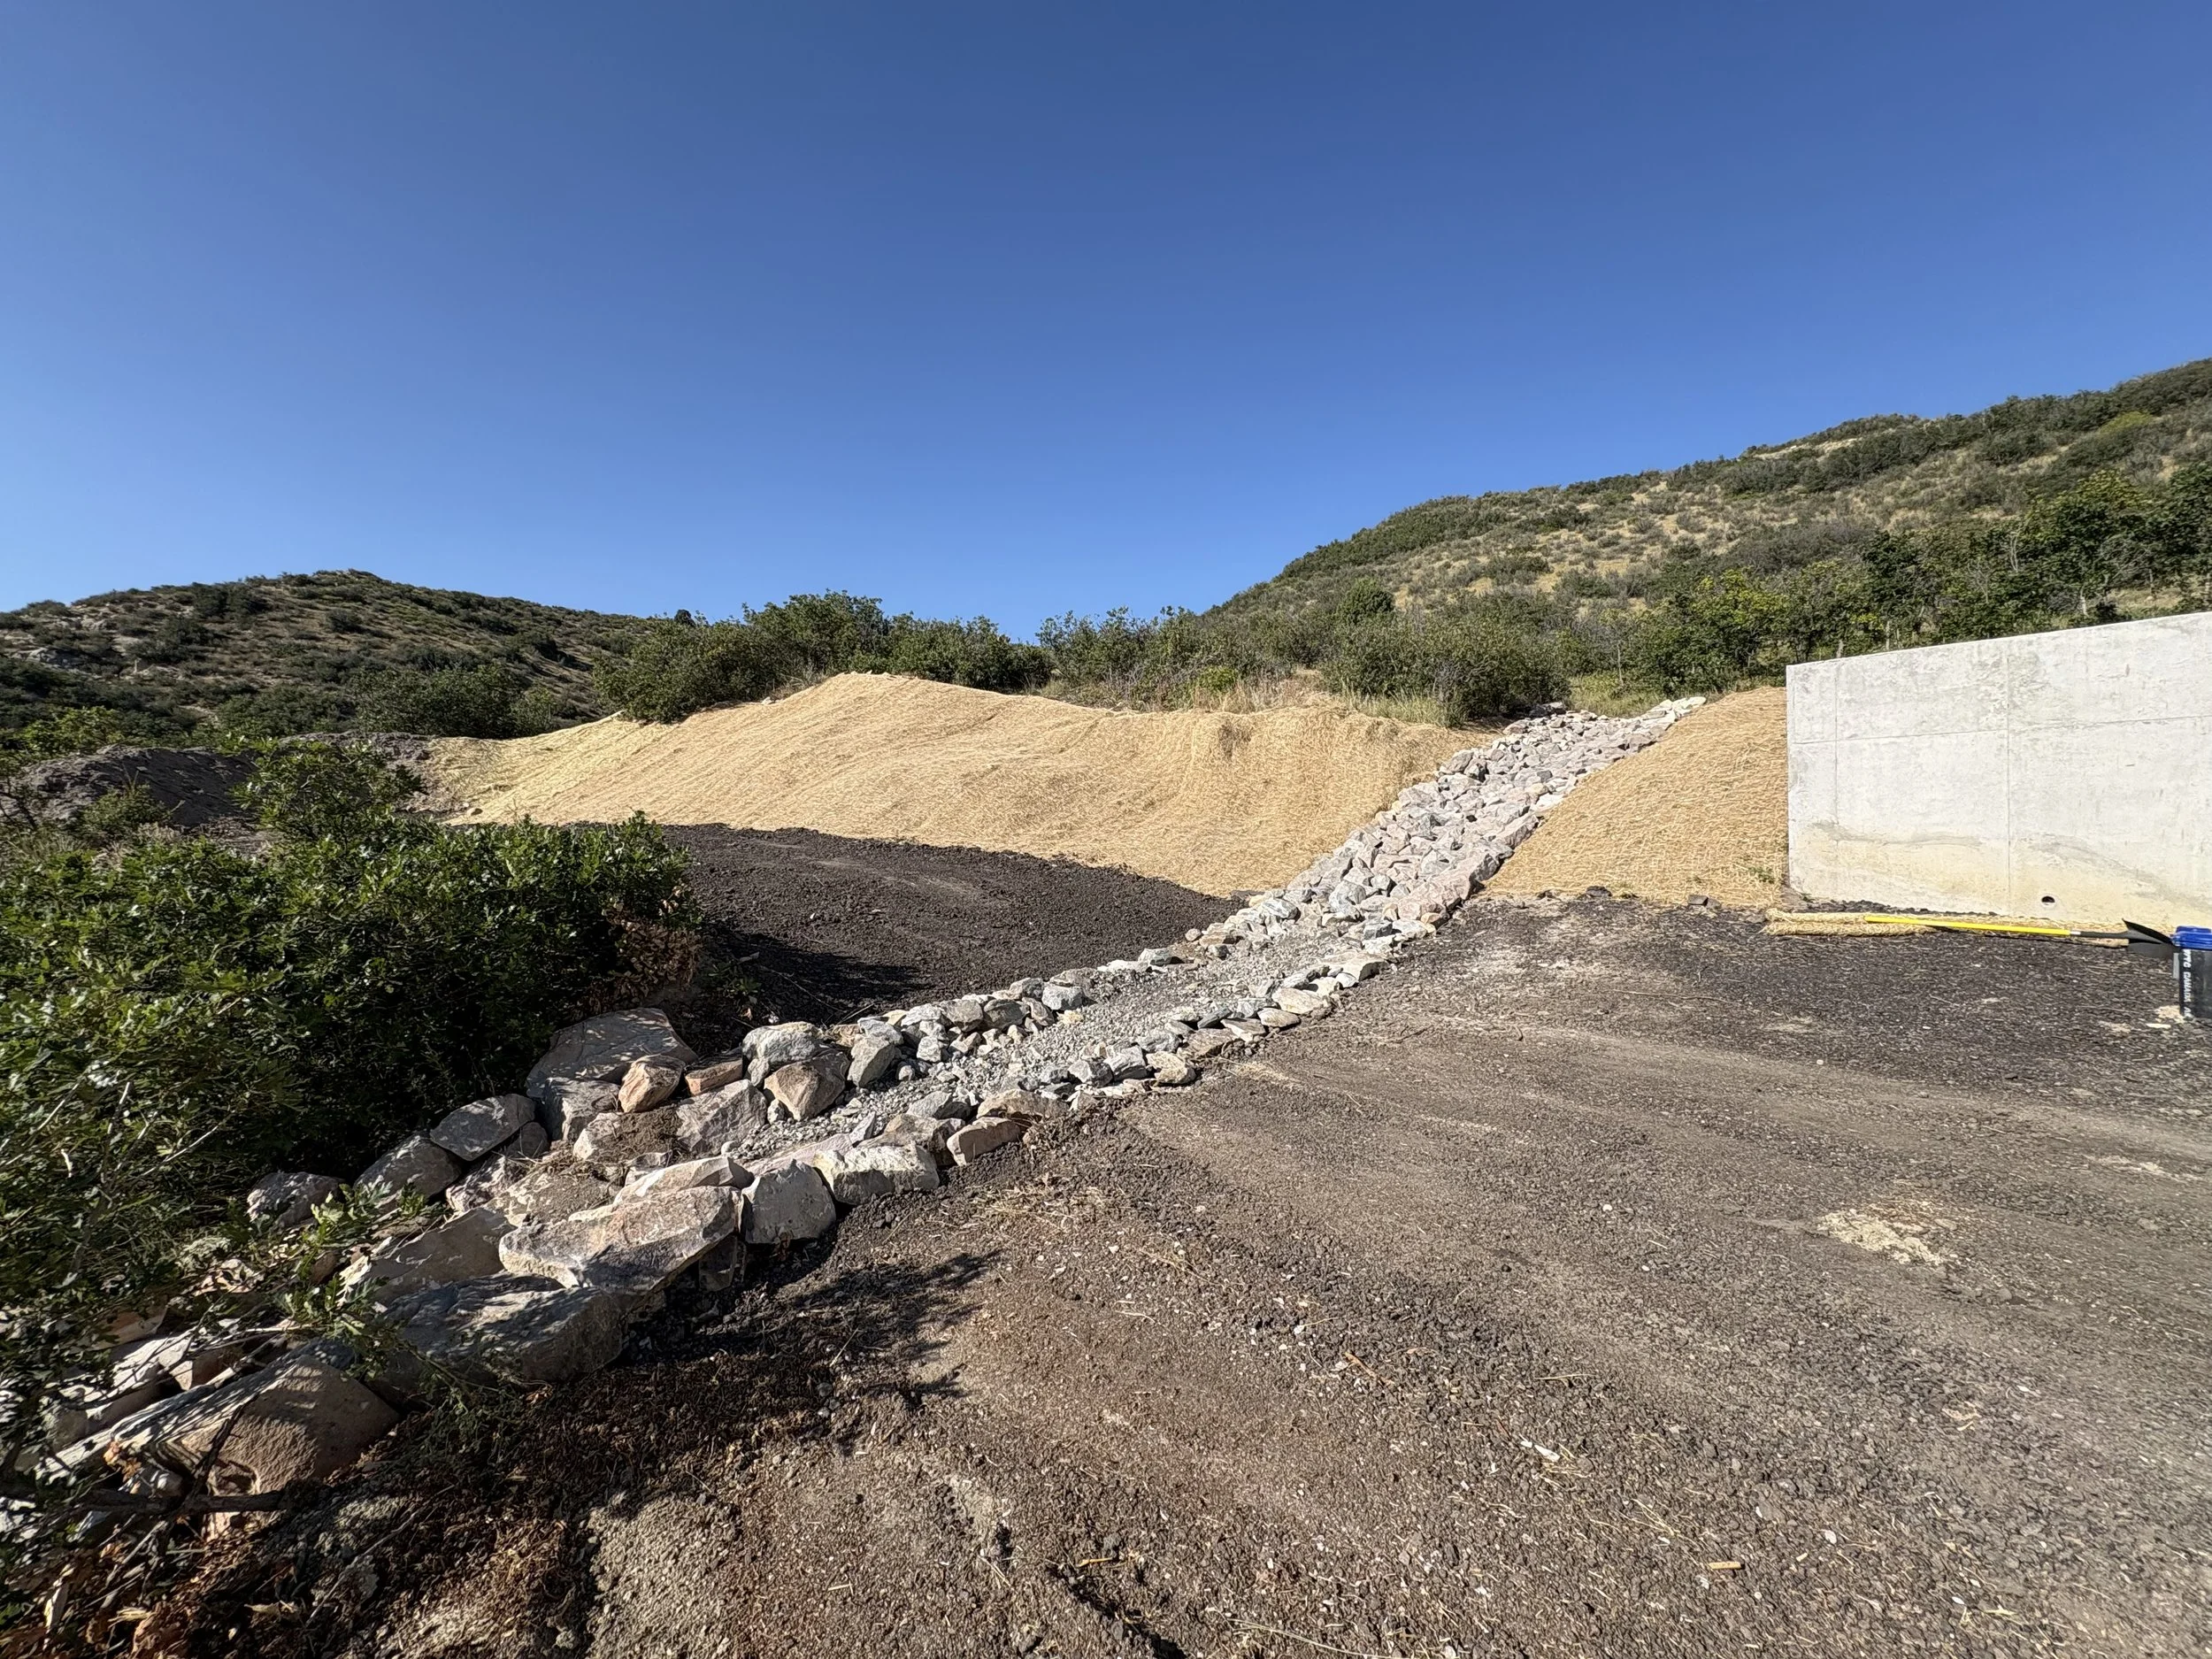
We have another main drainage line that runs to the back of the house. More rocks are required here to take water away from the house.
This one isn't as complex, but it was still a lot of rock to move!